Home Décor

Deck the Halls

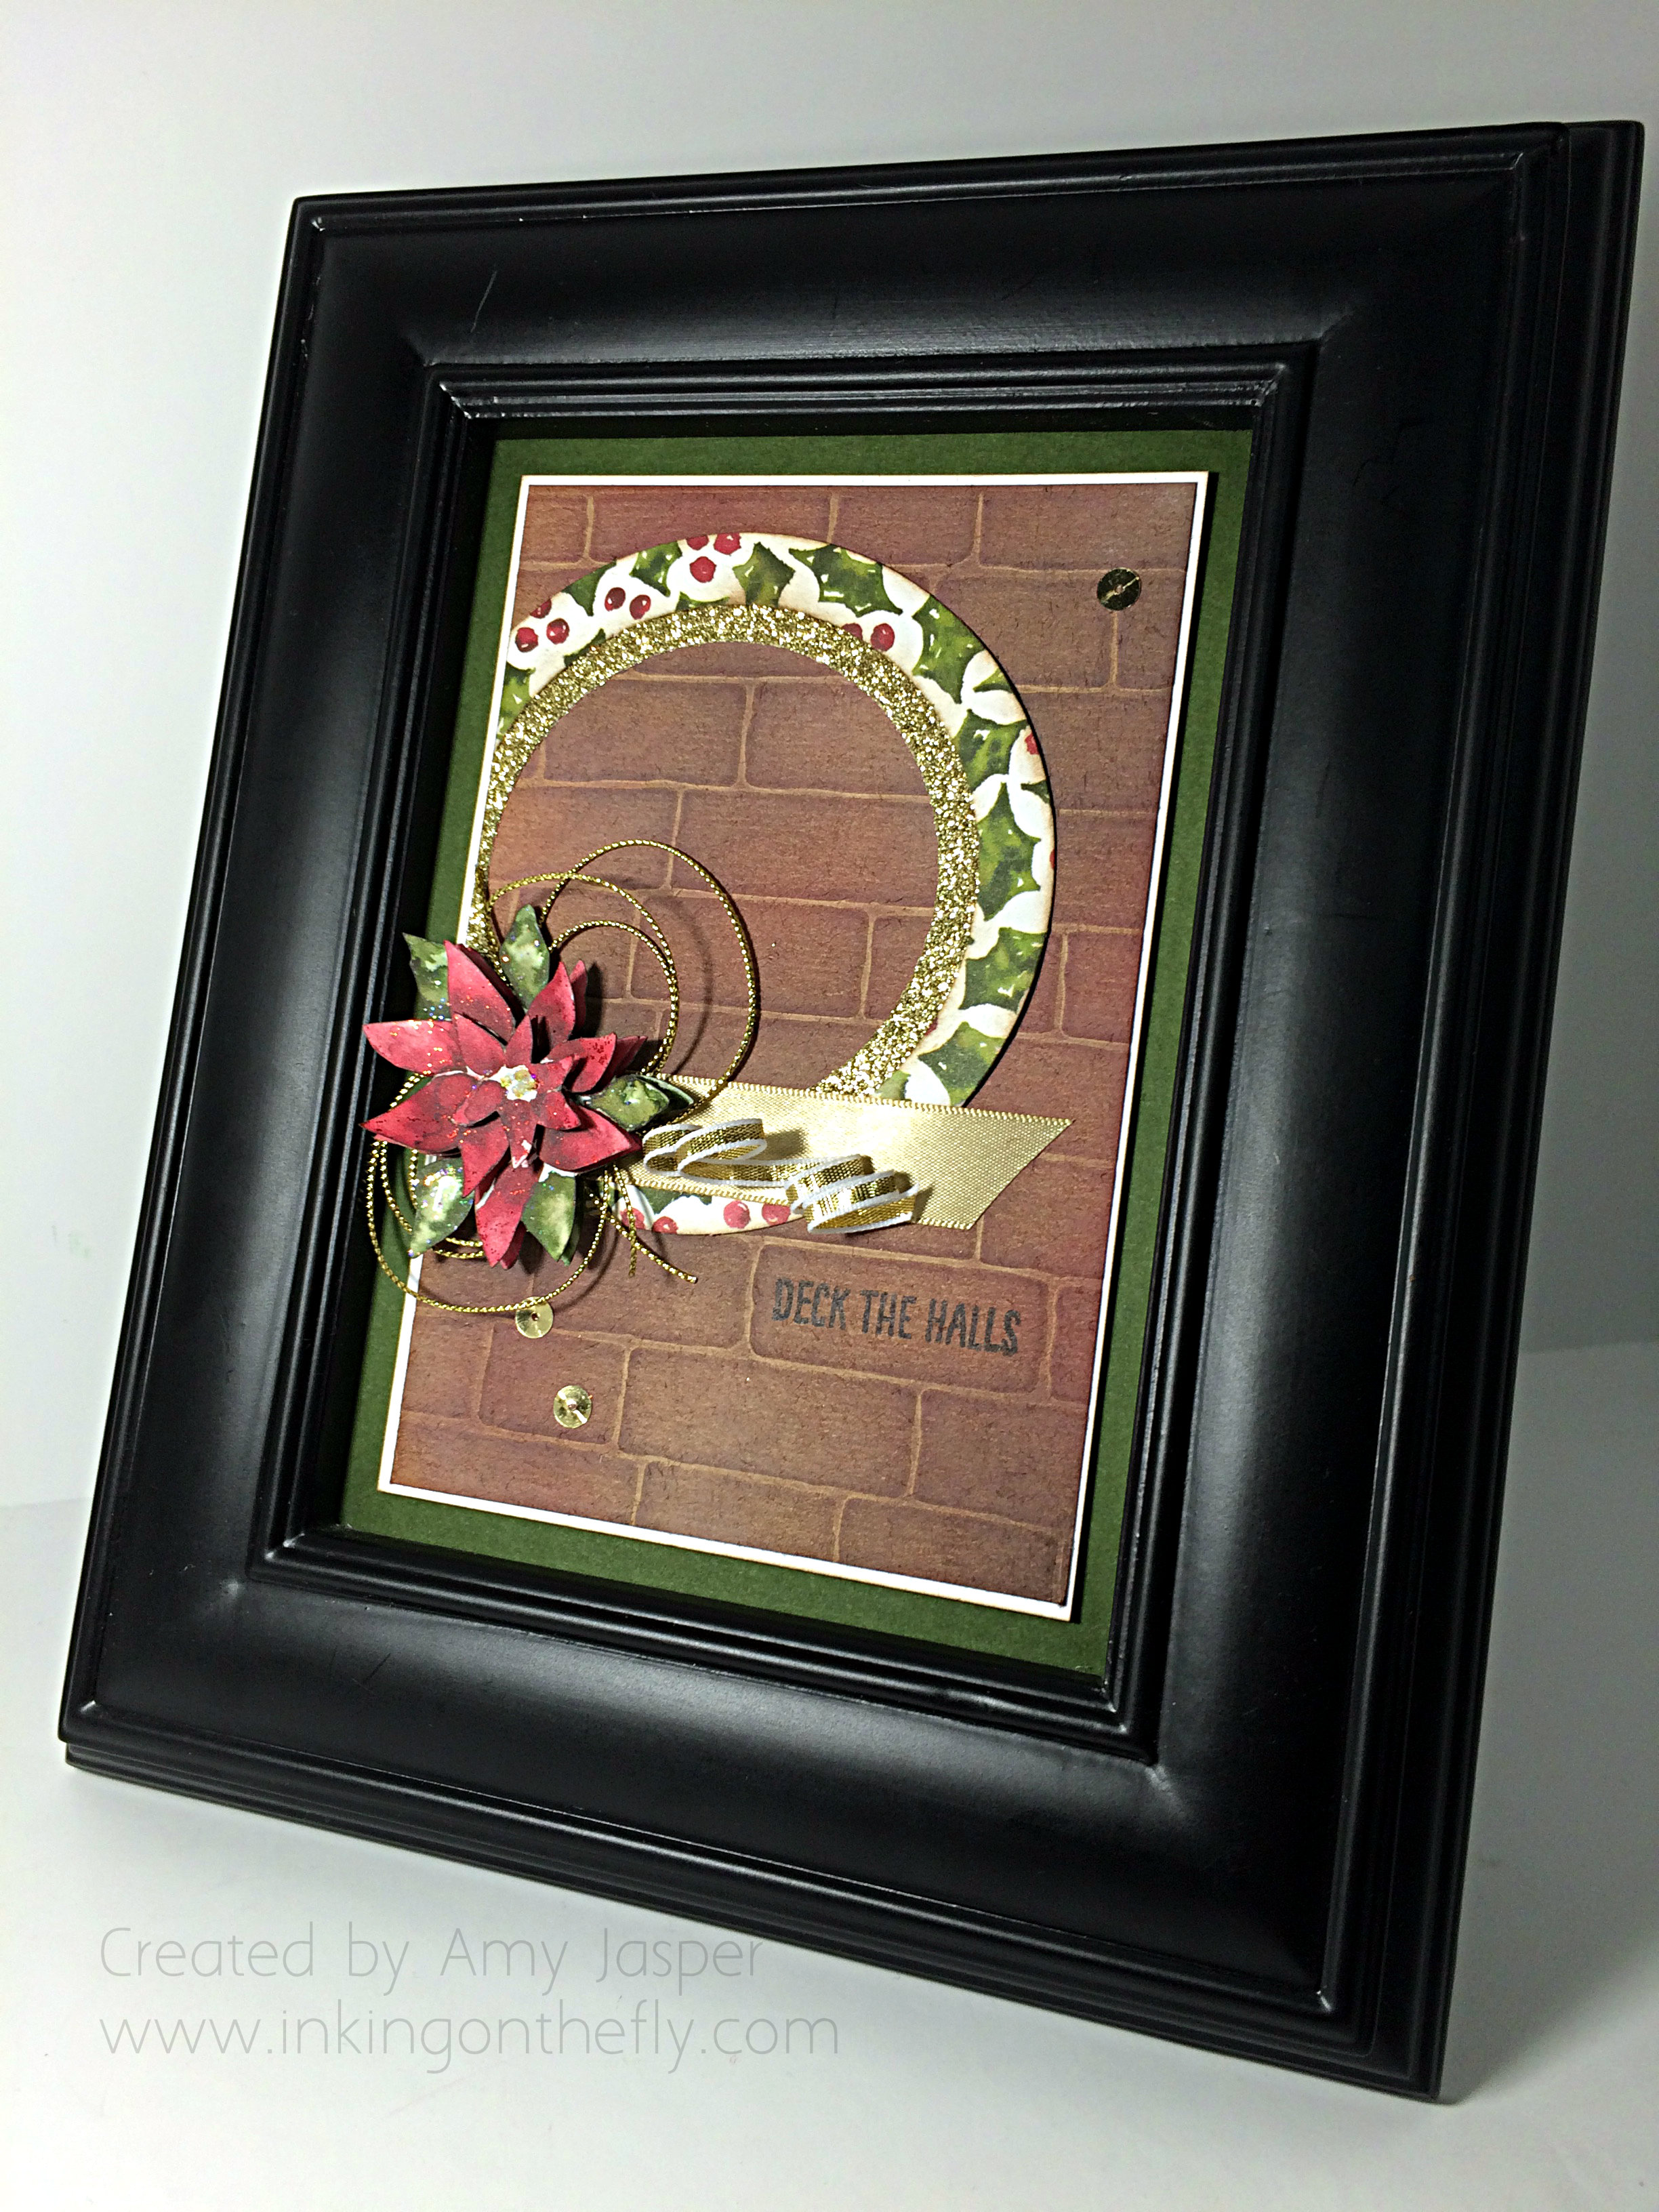
Sometimes you need to add to your home decor. Here’s a 5×7″ piece of holiday artwork you can create using Stampin’ Up products.

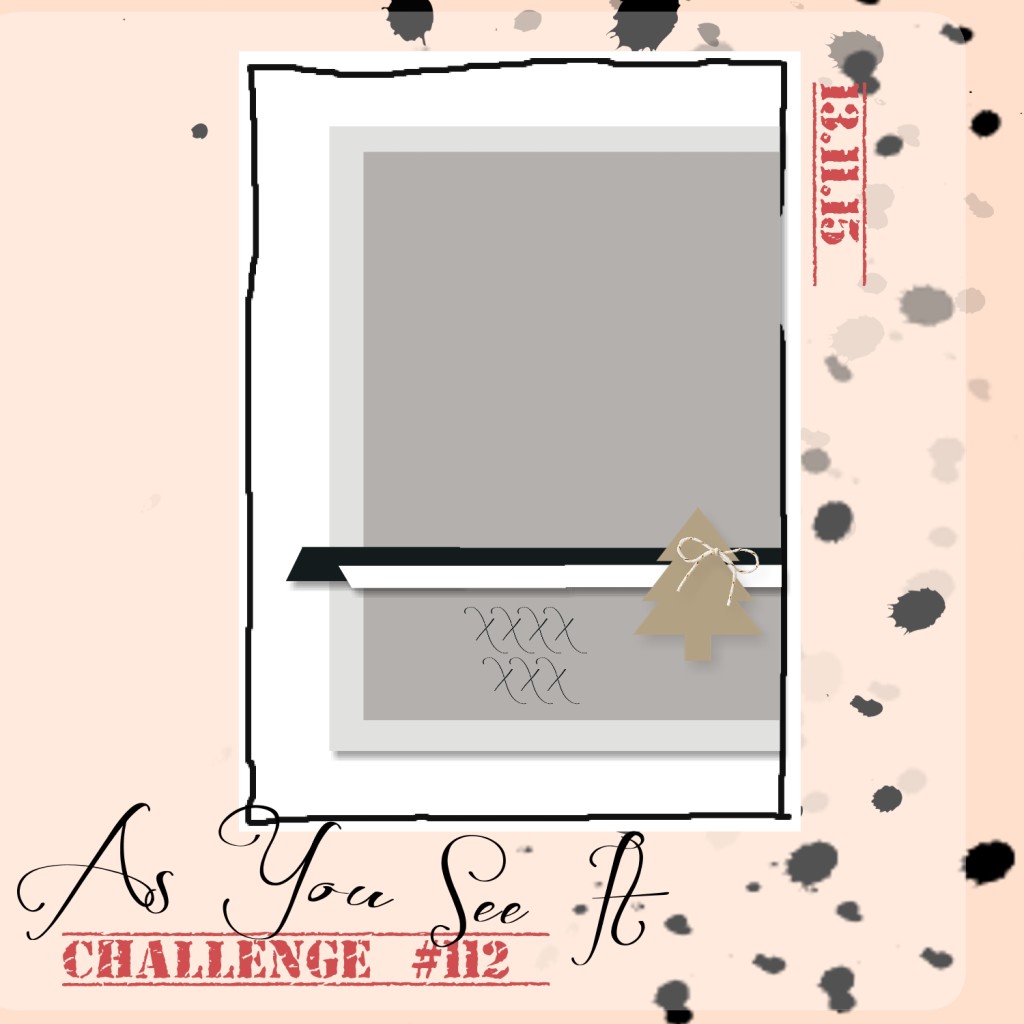
Of course, I started with this sketch challenge from the As You See It Challenge Blog.AYSIChallenge112-1024x1024 Then I decided to go with a circular background instead of a rectangle. Always trying to see things a little differently. Here’s my framed holiday artwork that I ended up with:
112 Deck the Halls Frame

I used the Season of Cheer designer series paper to create the layered poinsettia flower. Just a lot of fussy cutting using four flowers that were identical from a sheet of the patterned paper. I adhered the layers together with Stampin’ Dimensionals. Some Cherry Cobbler Dazzling Details glue was painted on the petals to add a little shimmer.

Circle Framelits were used with my Big Shot to create the wreath look with more patterned paper and some Gold Glimmer paper. I even curled the 1/8″ Gold Taffeta ribbon just like you would curl paper ribbon with your scissors. This adds a festive texture to the artwork.

But the beauty of this project is really the brick background.
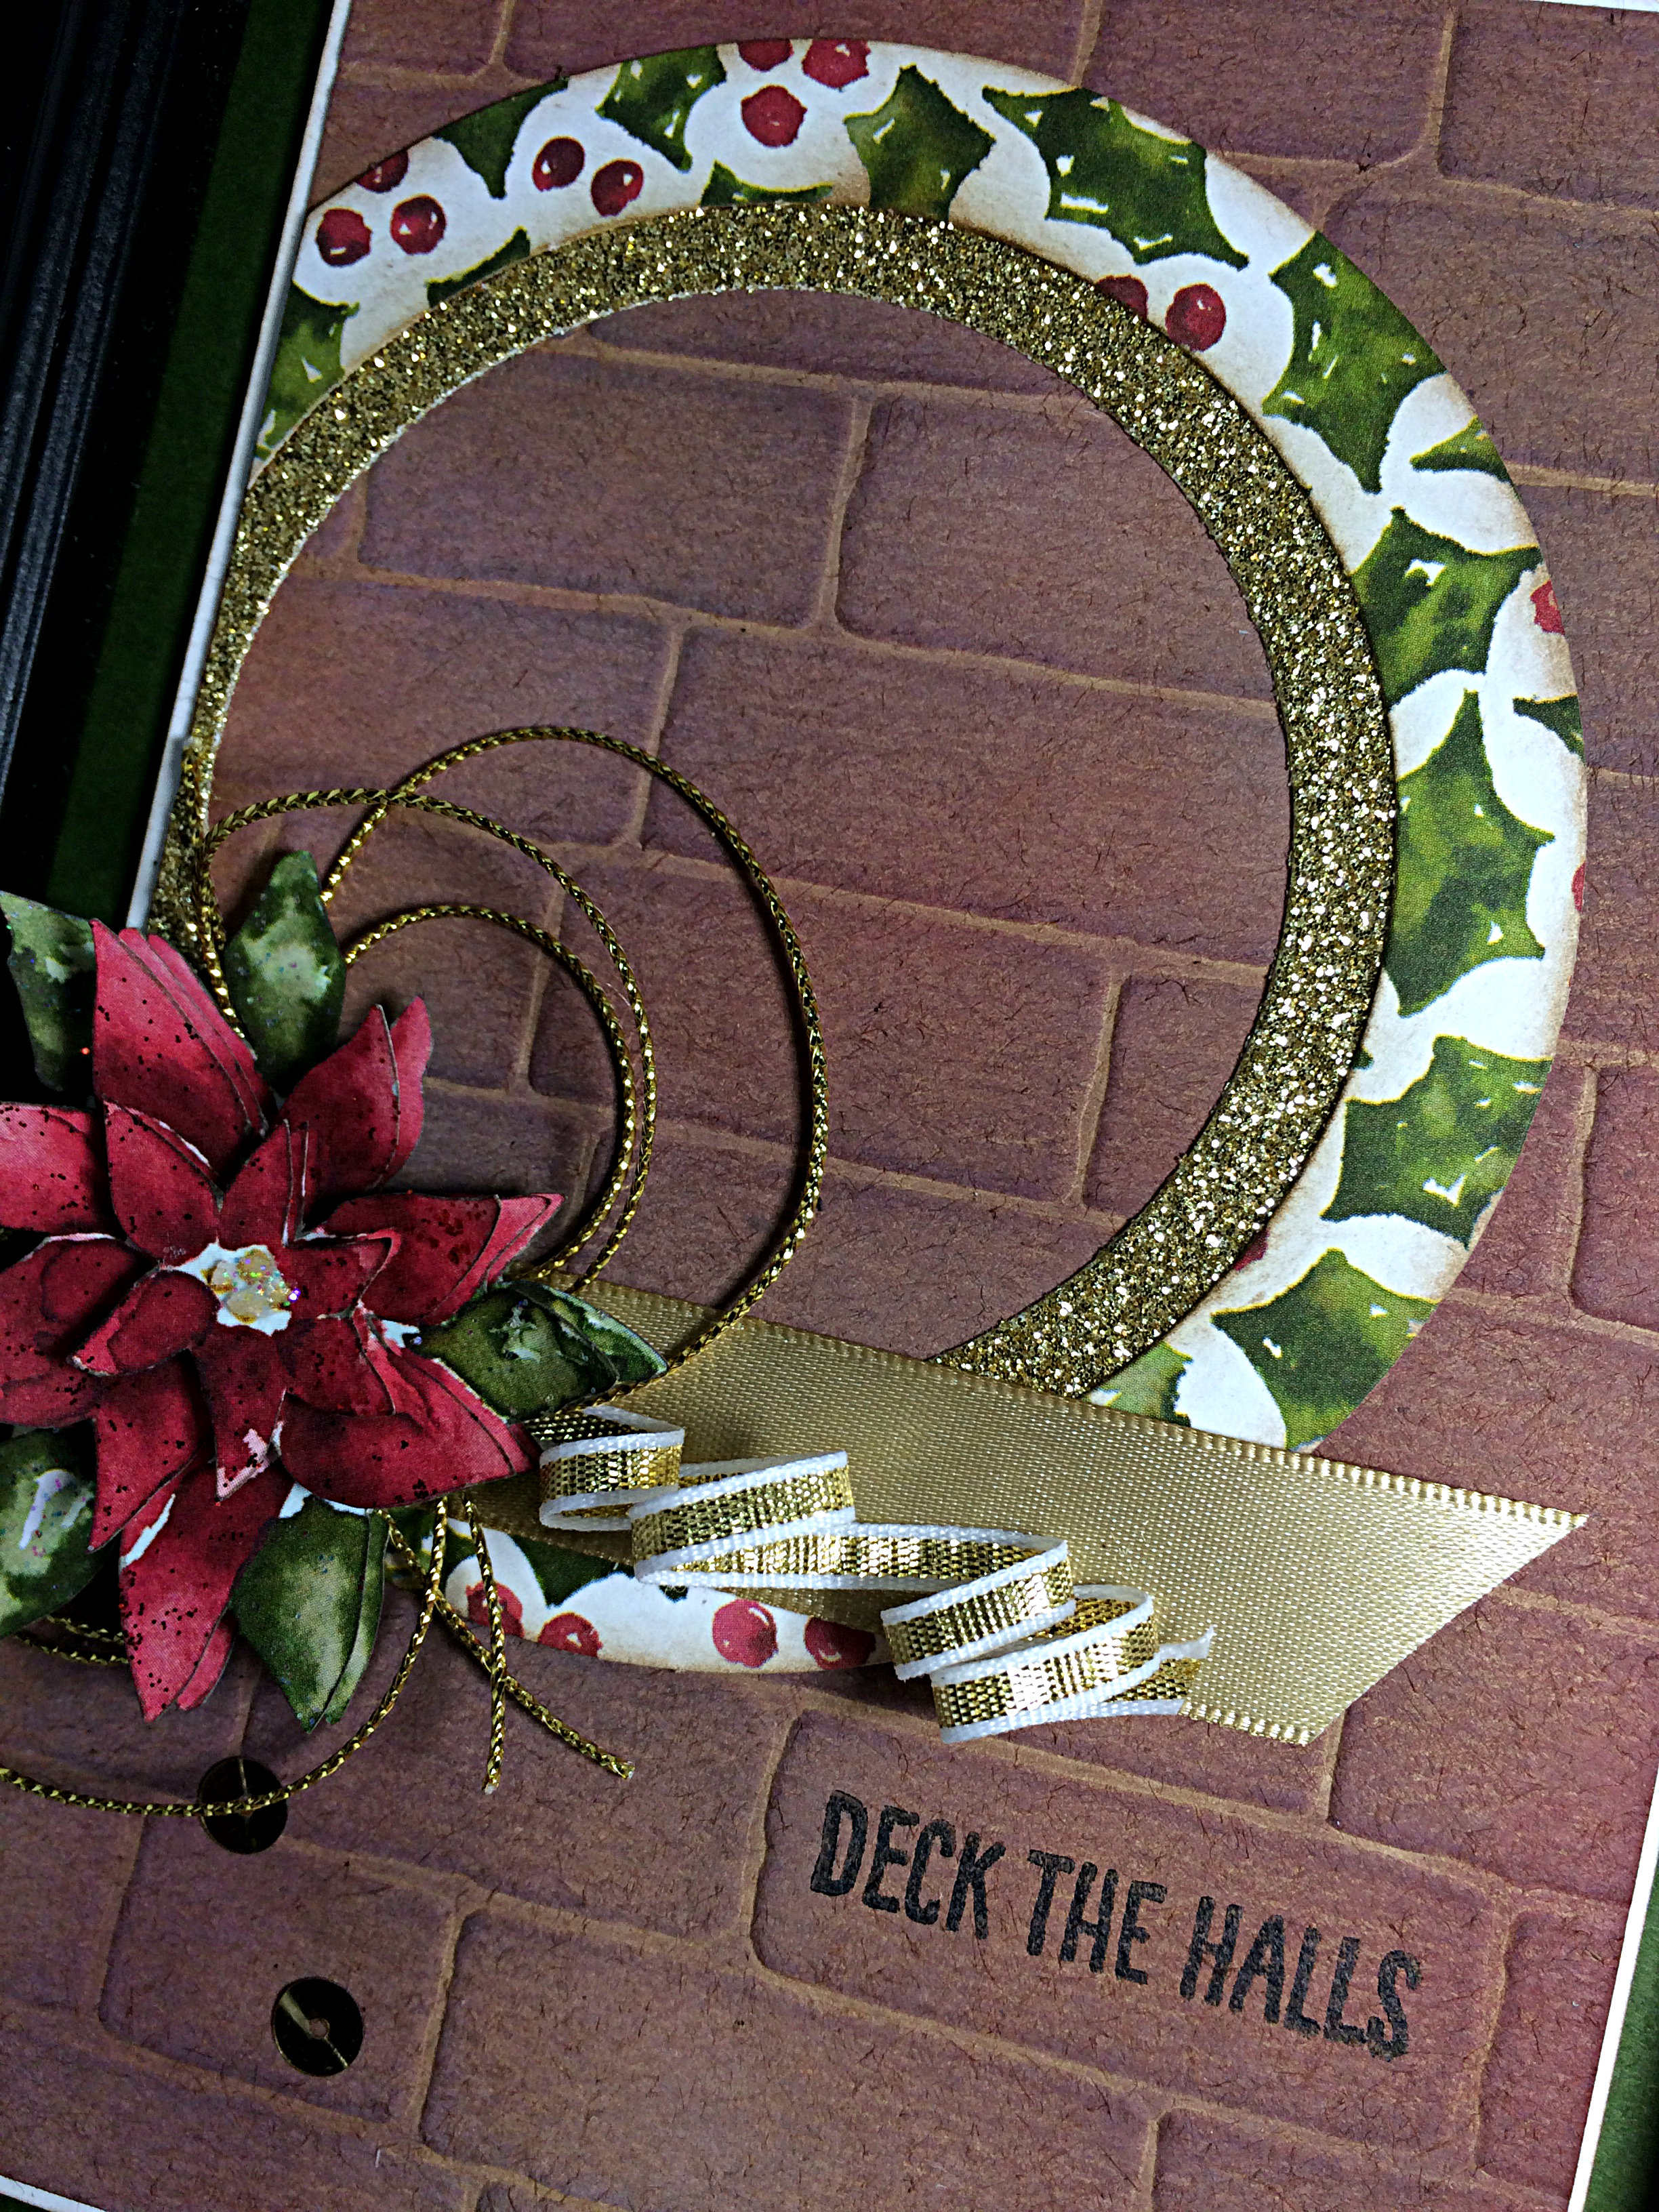
112 Created by Amy Jasper www.inkingonthefly.comI started with Kraft paper. It comes in a 12×12 pack and is a different texture than Stampin’ Up’s other cardstock. I ran a 4×6″ piece through the Big Shot with my Brick Wall embossing folder, then sponged it. I sponged it a lot! I used relatively random placements of inks: Crumb Cake and Cajun Craze first, then Whisper White craft ink to soften the orange of the Cajun Craze. Finally, Soft Suede to sort of even it all out. I love how it turned out and will likely share it with my technique class in the new year.
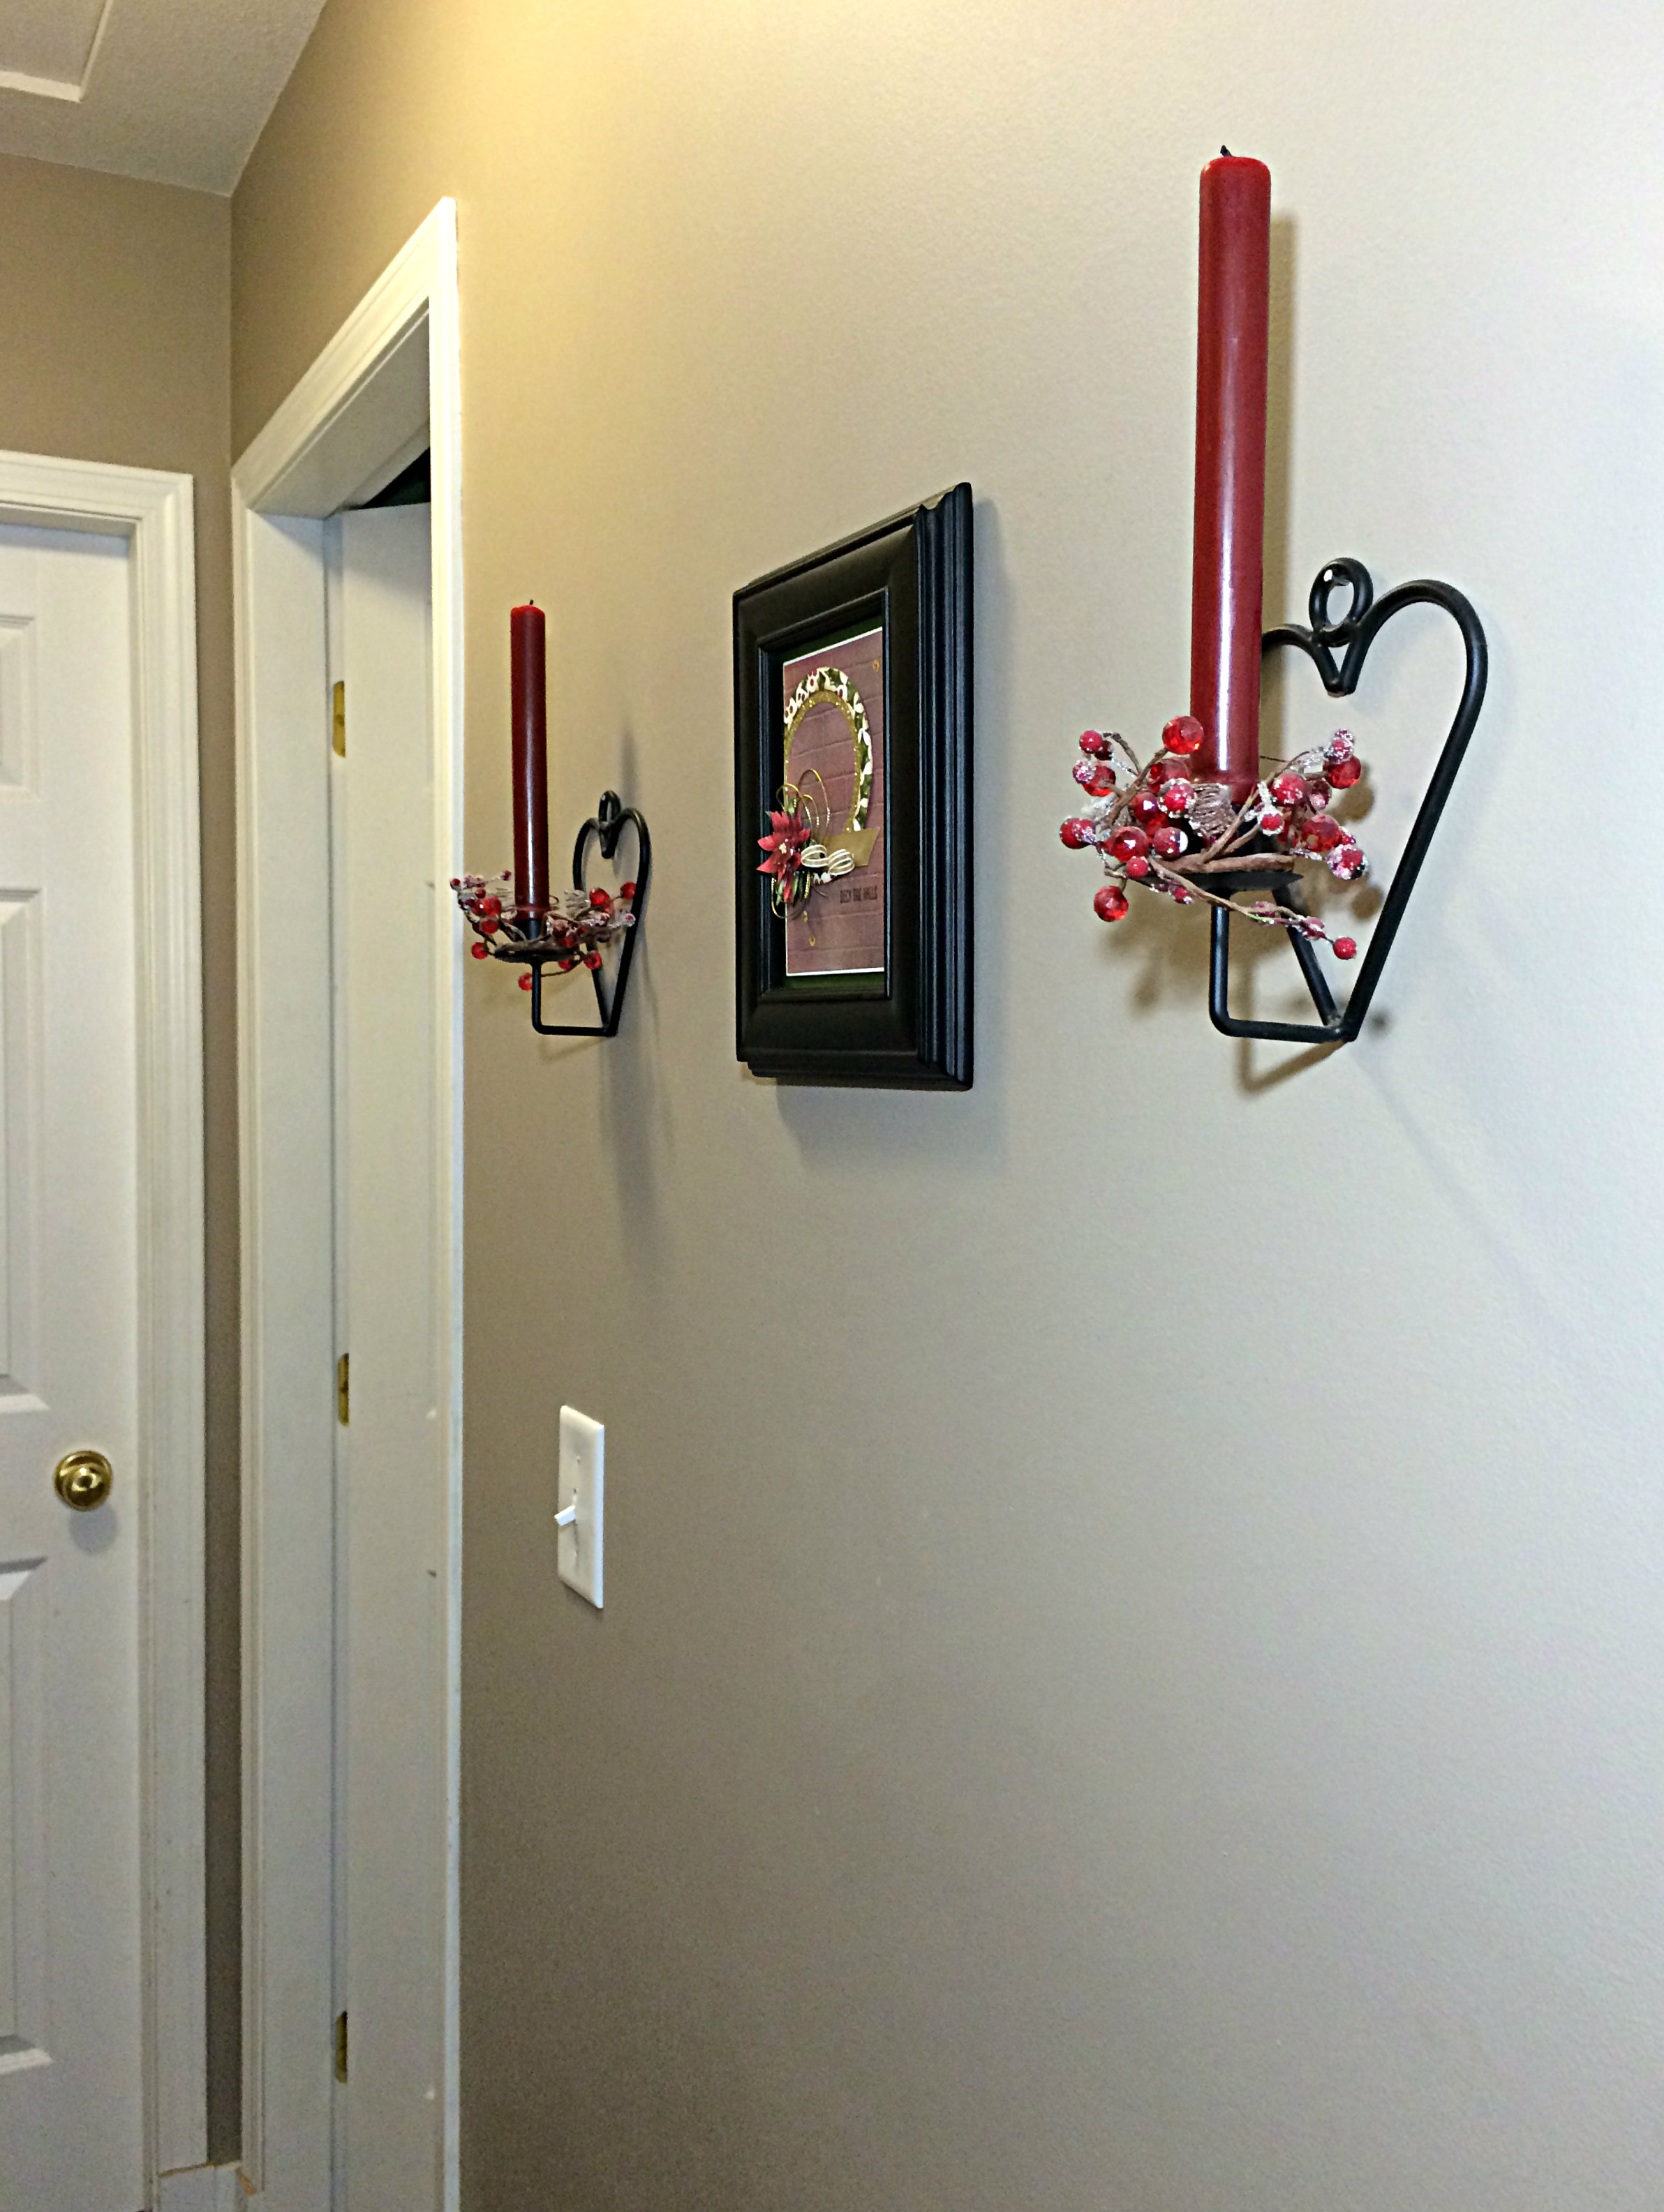
112 on the wallI’m not great at home decor, but I thought you might like to see it on the wall, in my hallway. I thought I should deck my hall with this piece of art. (I know … groan)

Okay, that’s all I’m going to write today. My son and I are heading to Abbotsford, British Columbia, less than four hours from here, for a youth event. Whoop Whoop! Should be high-energy fun!

Have a great weekend and be sure to try this sketch for yourself. You can share it with us at the As You See It Challenge Blog! Hope you do!
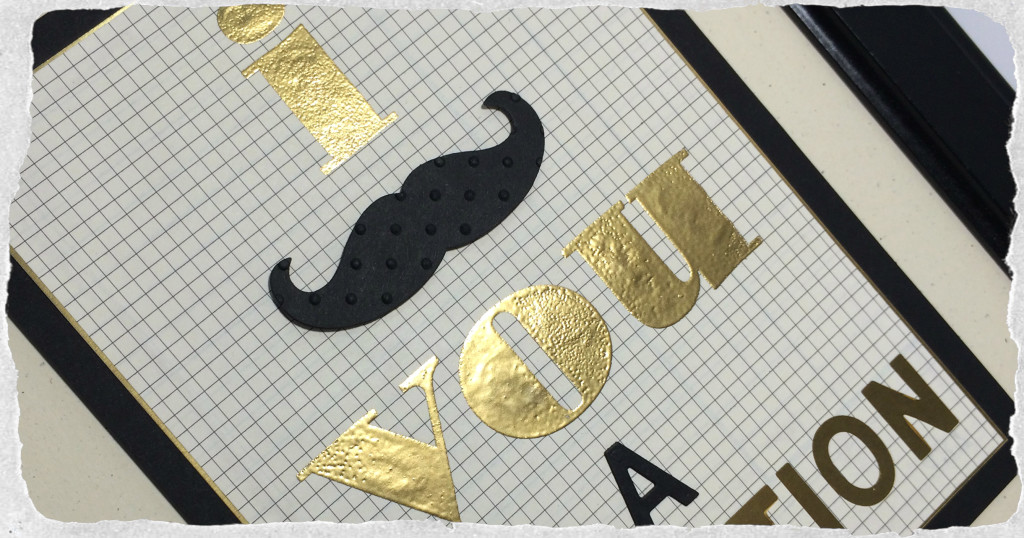
Excuse me, I mustache you a question …

041header
Welcome to my blog where I share my love of designing using Stampin’ Up paper, tools, inks and stamps! I wanted to share what I recently did with my new Mustache Framelit and Little Letters Thinlits! All this for the As You See It Challenge blog for which I am one of the designers.

It is time for another challenge from the As You See It Challenge Blog!

AYSIChallenge041

I really like challenges like this one because it’s left WIDE OPEN!! Because of the recent new catalogue, I actually have a lot of new craft supplies, but in my last box received from UPS were a few things that I was particularly excited about trying: My new Little Letters Thinlits dies and my Larger Than Life Alphabet & Numbers Photopolymer set. I really love all alphabets because they provide so many possibilities! These are also quite cost effective alphabets in comparison to getting them in alternate forms. The thinlits are much much less costly than they would be if they were offered as a Bigz Die set (though Bigz dies do offer the cutting of many more materials, while thinlits are limited primarily to paper products). The photopolymer alphabet sets (as in the case of the Larger Than Life set) is less costly than the red rubber stamps in either the clear mount or wood mount options.

041Amy

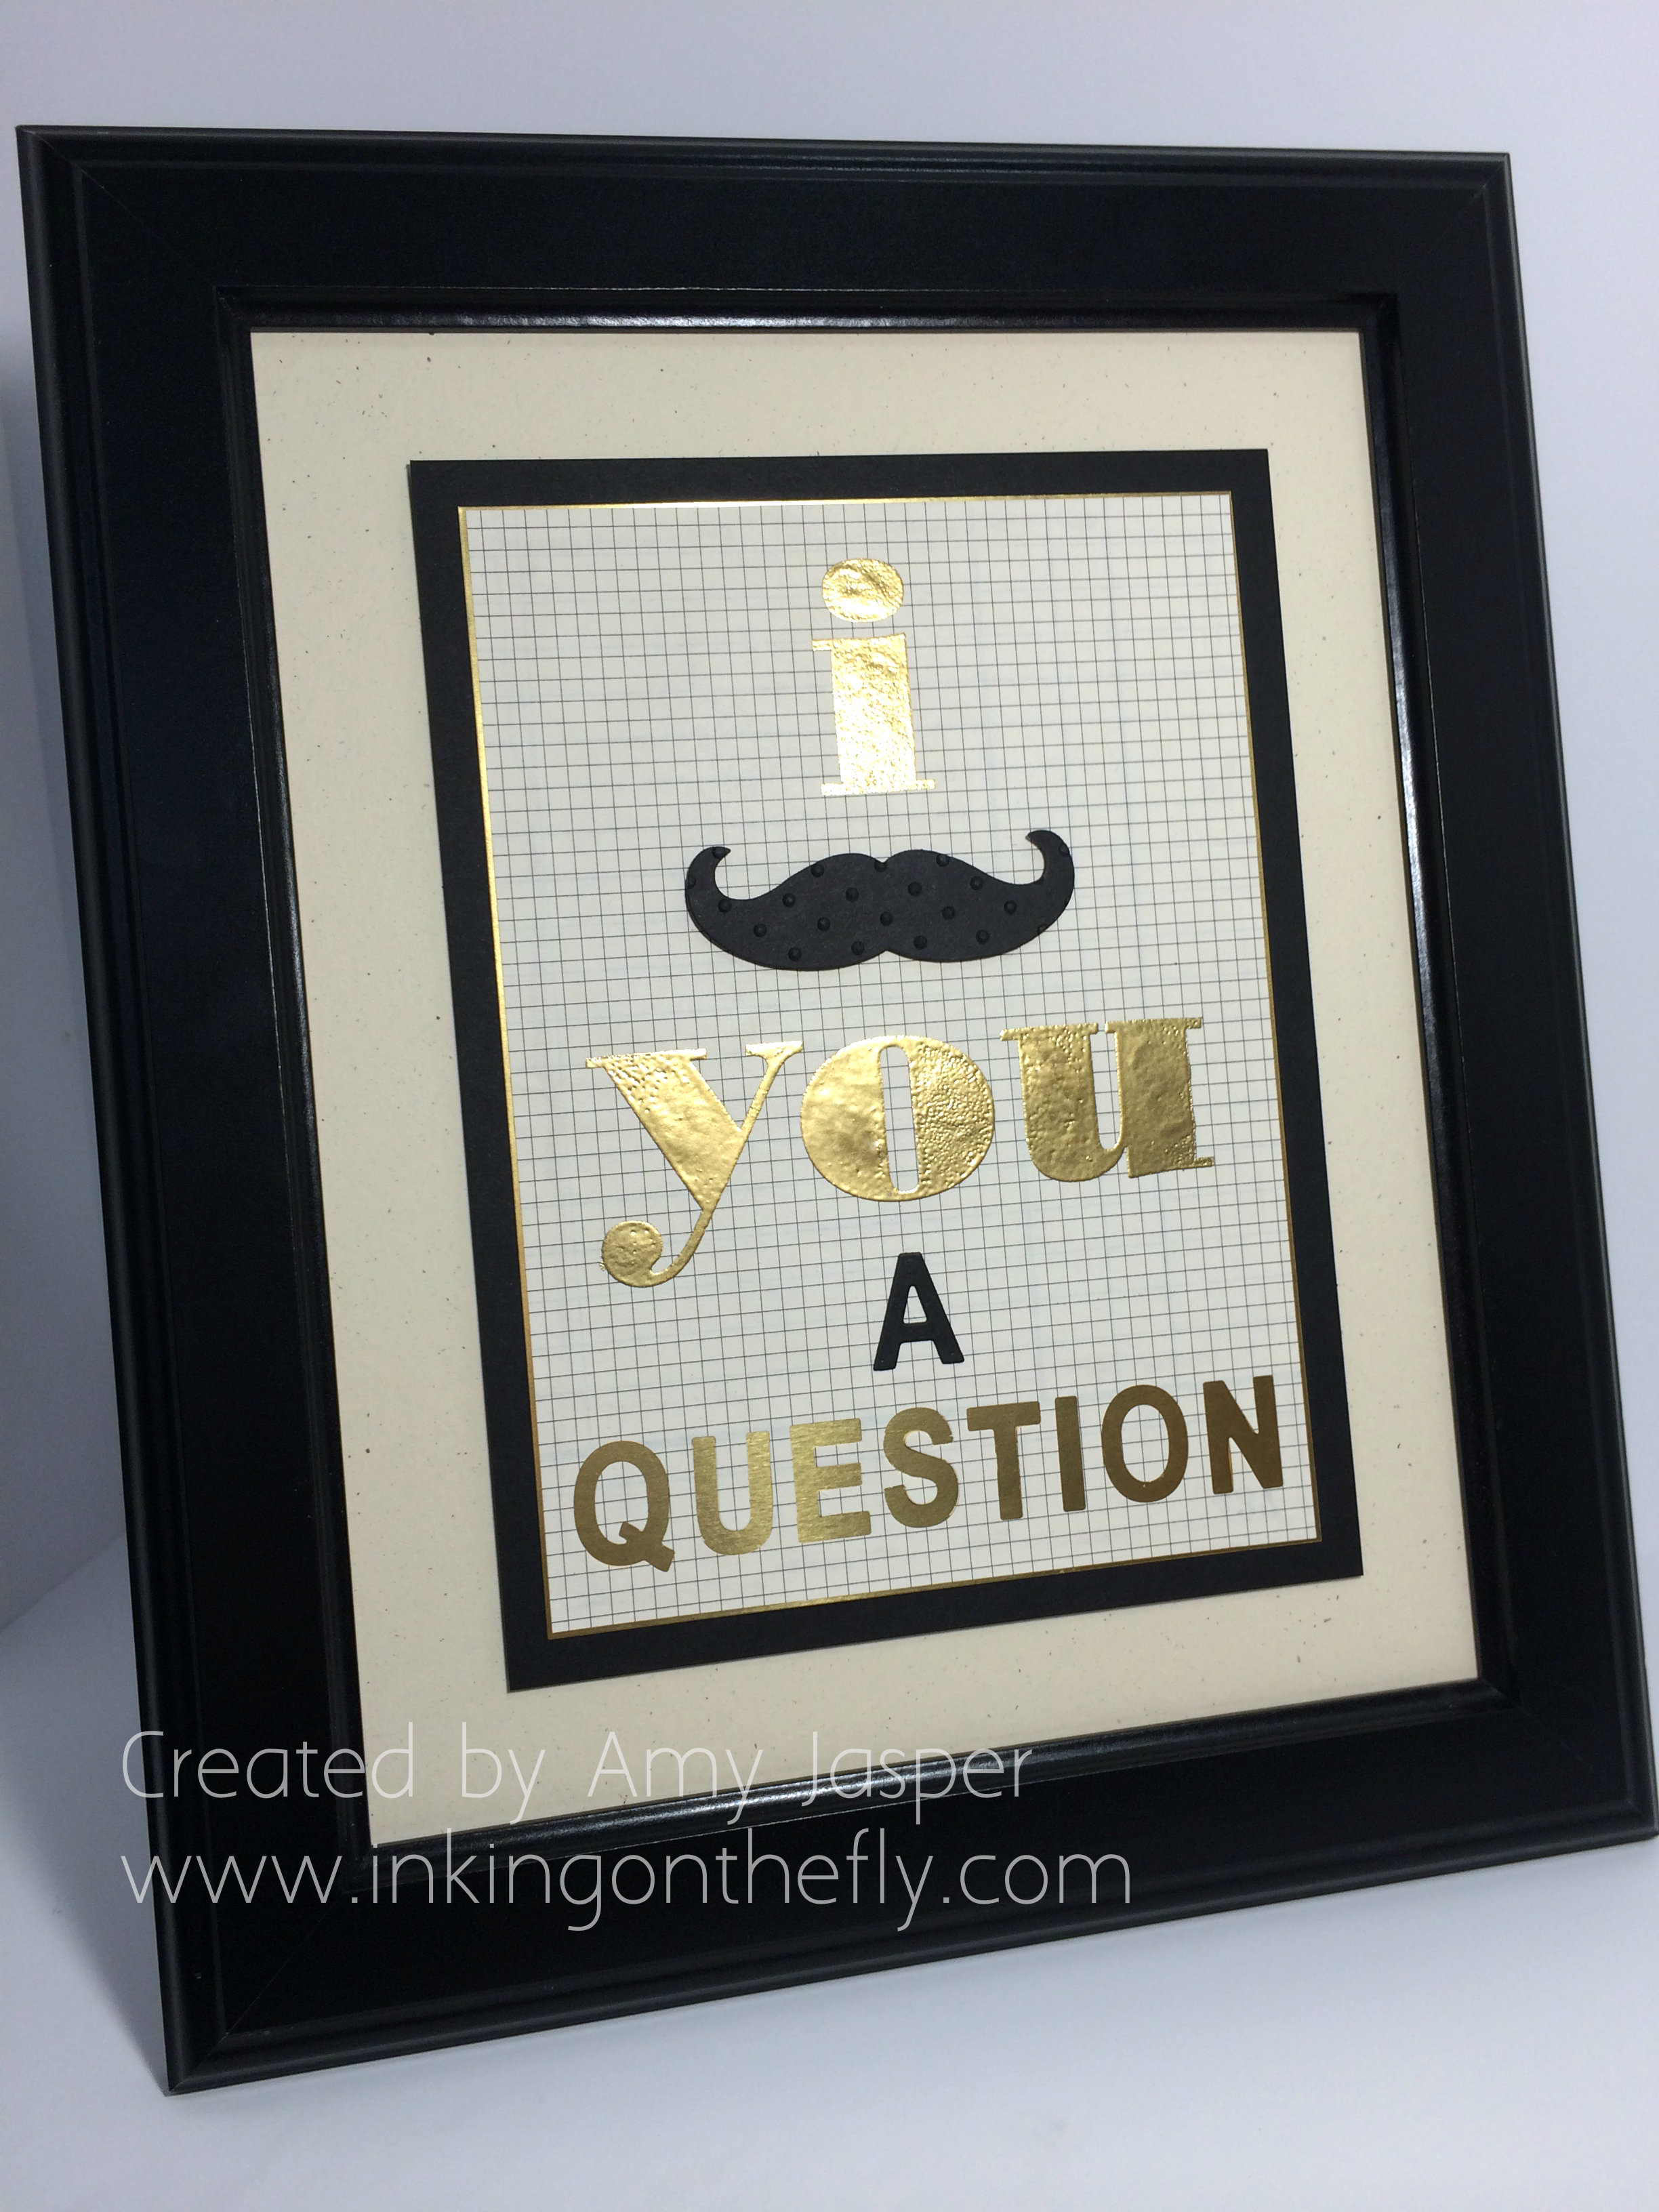
I love how the Little Letters thinlits can also be lined up on a piece of paper to cut one word – ALL AT ONCE!! This framed art showed how the thinlits can be used to add the letter A in black cardstock, but it also shows how they can be used to take away the shape of the letters from the grid patterned paper (from the new Typeset Specialty Designer Series paper) to reveal the Gold Foil Paper underneath.

041question

I lost the center of my letter “Q” for a bit there, but had a little party when I found it on the window ledge where I’d “put it away where I would find it”! The entire time that I was creating this framed project, I kept saying “I mustache you a question” at random moments to my friend, Gwen who was stamping with me at the time. I even made up a song (oh if only I could write music, it would open up so many fun possibilities!):


 “I mustache you a question,

It won’t take very long.

I mustache you a question,

I mustache it in song”


I should have paid more attention in piano lessons, lol!

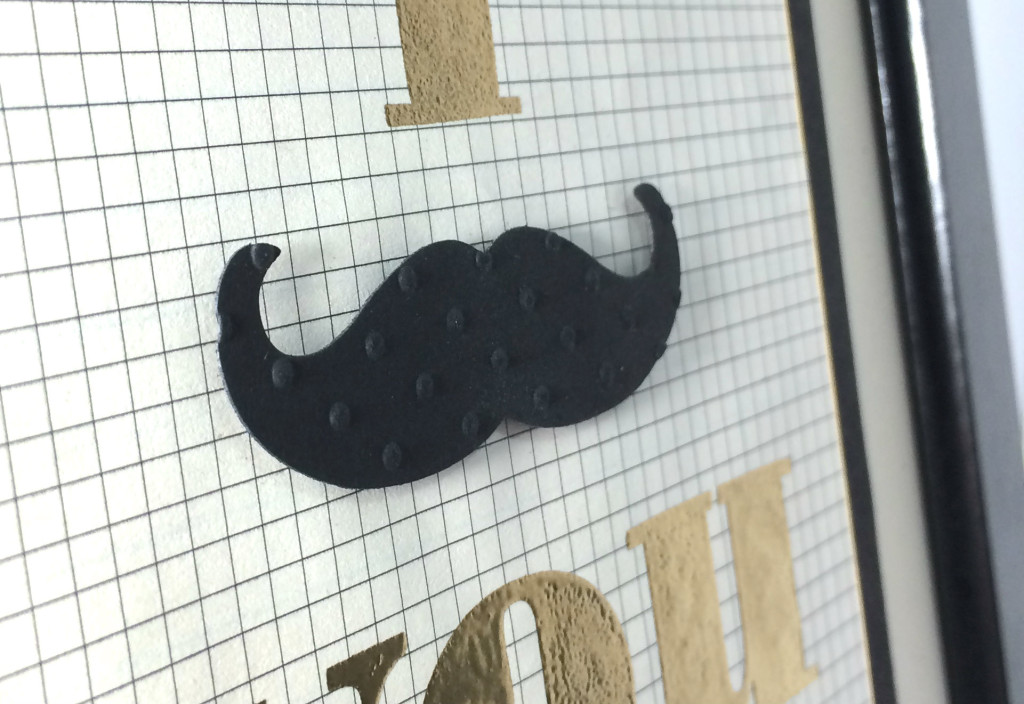
041mustache

The adorable Mustache Framelit was one item from the new Catalogue that I just couldn’t pass up. I used Basic Black cardstock and, after cutting it out with the mustache framelit, I used my Perfect Polka Dots embossing folder to add texture and make it even more fun. The mustache is, of course raised up with Stampin’ Up Dimensionals.

Those beautiful gold embossed letters are from the Larger Than Life Alphabet and Numbers set. I love the boldness of these letters!

041Amy

Now the entire is framed with a thin mat of Gold Foil paper that also shows through the cutout of the letters spelling “question”. Then I have it matted with Basic Black cardstock and finally matted again with the 8×10 piece of Naturals Ivory cardstock so that it would fit in the black frame.

I love it and it makes me smile! I hope it does the same for you!

What is your most recent craft supply item? This is an easy one for you to submit to the challenge blog! Who doesn’t want to create something with their new supplies?!! All you have to do is put it on Pinterest or your blog and link it up to the challenge!

Don’t forget to leave a comment and have your name entered into the draw. Only a few days left before the draw date on Sunday, June 15th!

Thanks for stopping by!

Amy


Designer-Badge

Welcome. It’s new!

I decided to try a new blogging site as I know that many people are unable to access my previous blog properly on their tablets and phones. This blog shouldn’t give you any trouble! … I hope …

To celebrate my new blog, I decided to open up with a little contest! For the next 4 weeks, I invite you to comment on my posts. Every time you comment, your name will be entered into a draw (so be sure to let me know your name or at least your email address).

On June 15th, one lucky winner will be drawn to receive a stamping care package. If you love to craft with Stampin’ Up products, then I know you’ll love this!

So, let the commenting begin! Give me a little encouragement, your thoughts on a project, or maybe what you hope to see on my blog in the future.

I will be developing and improving this new website, but if I’m missing anything, just go back to www.amyjasper.stampinup.net or contact me for the info you’re looking for.

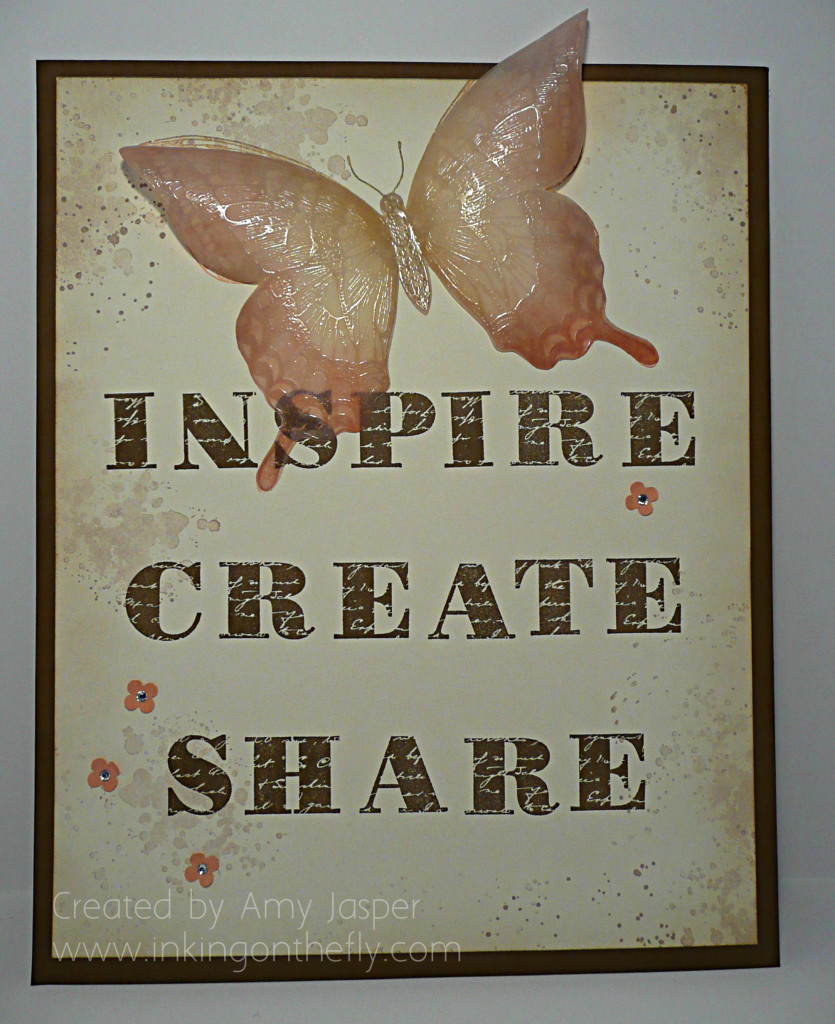
And because I don’t want to leave you without a project to see, here’s a wall art piece that I created. I will eventually put it in a cool frame and display it in my craft room.

inspirecreateshare

That Swallowtail butterfly is gorgeous, isn’t it! I have used her on many projects. This time, I stamped her with Versamark ink on Vellum and heat embossed with clear embossing powder. I then coloured the back with Calypso Coral, Crisp Cantaloupe, and Daffodil Delight. I stamped the Swallowtail image onto the Very Vanilla cardstock as well, so that I could layer the vellum over top. The vellum is attached with strategically placed Multipurpose Liquid glue so that her wings still have some shape.

I have used the Gorgeous Grunge stamp set, the little flower punch from the Itty Bitty Punch Pack, and I’ve used the Morning Post stamp set for the lettering. Unfortunately, the punch and the alphabet set are both on the retiring list. Not sure if they are still available. But be sure to snatch them up if they are, because I love them both and I’m sure you will too!

The base layer and the lettering of this project are actually done in Soft Suede. They look a little Early Espresso in this photo, which looks not too bad either, lol!