Techniques

Deck the Halls

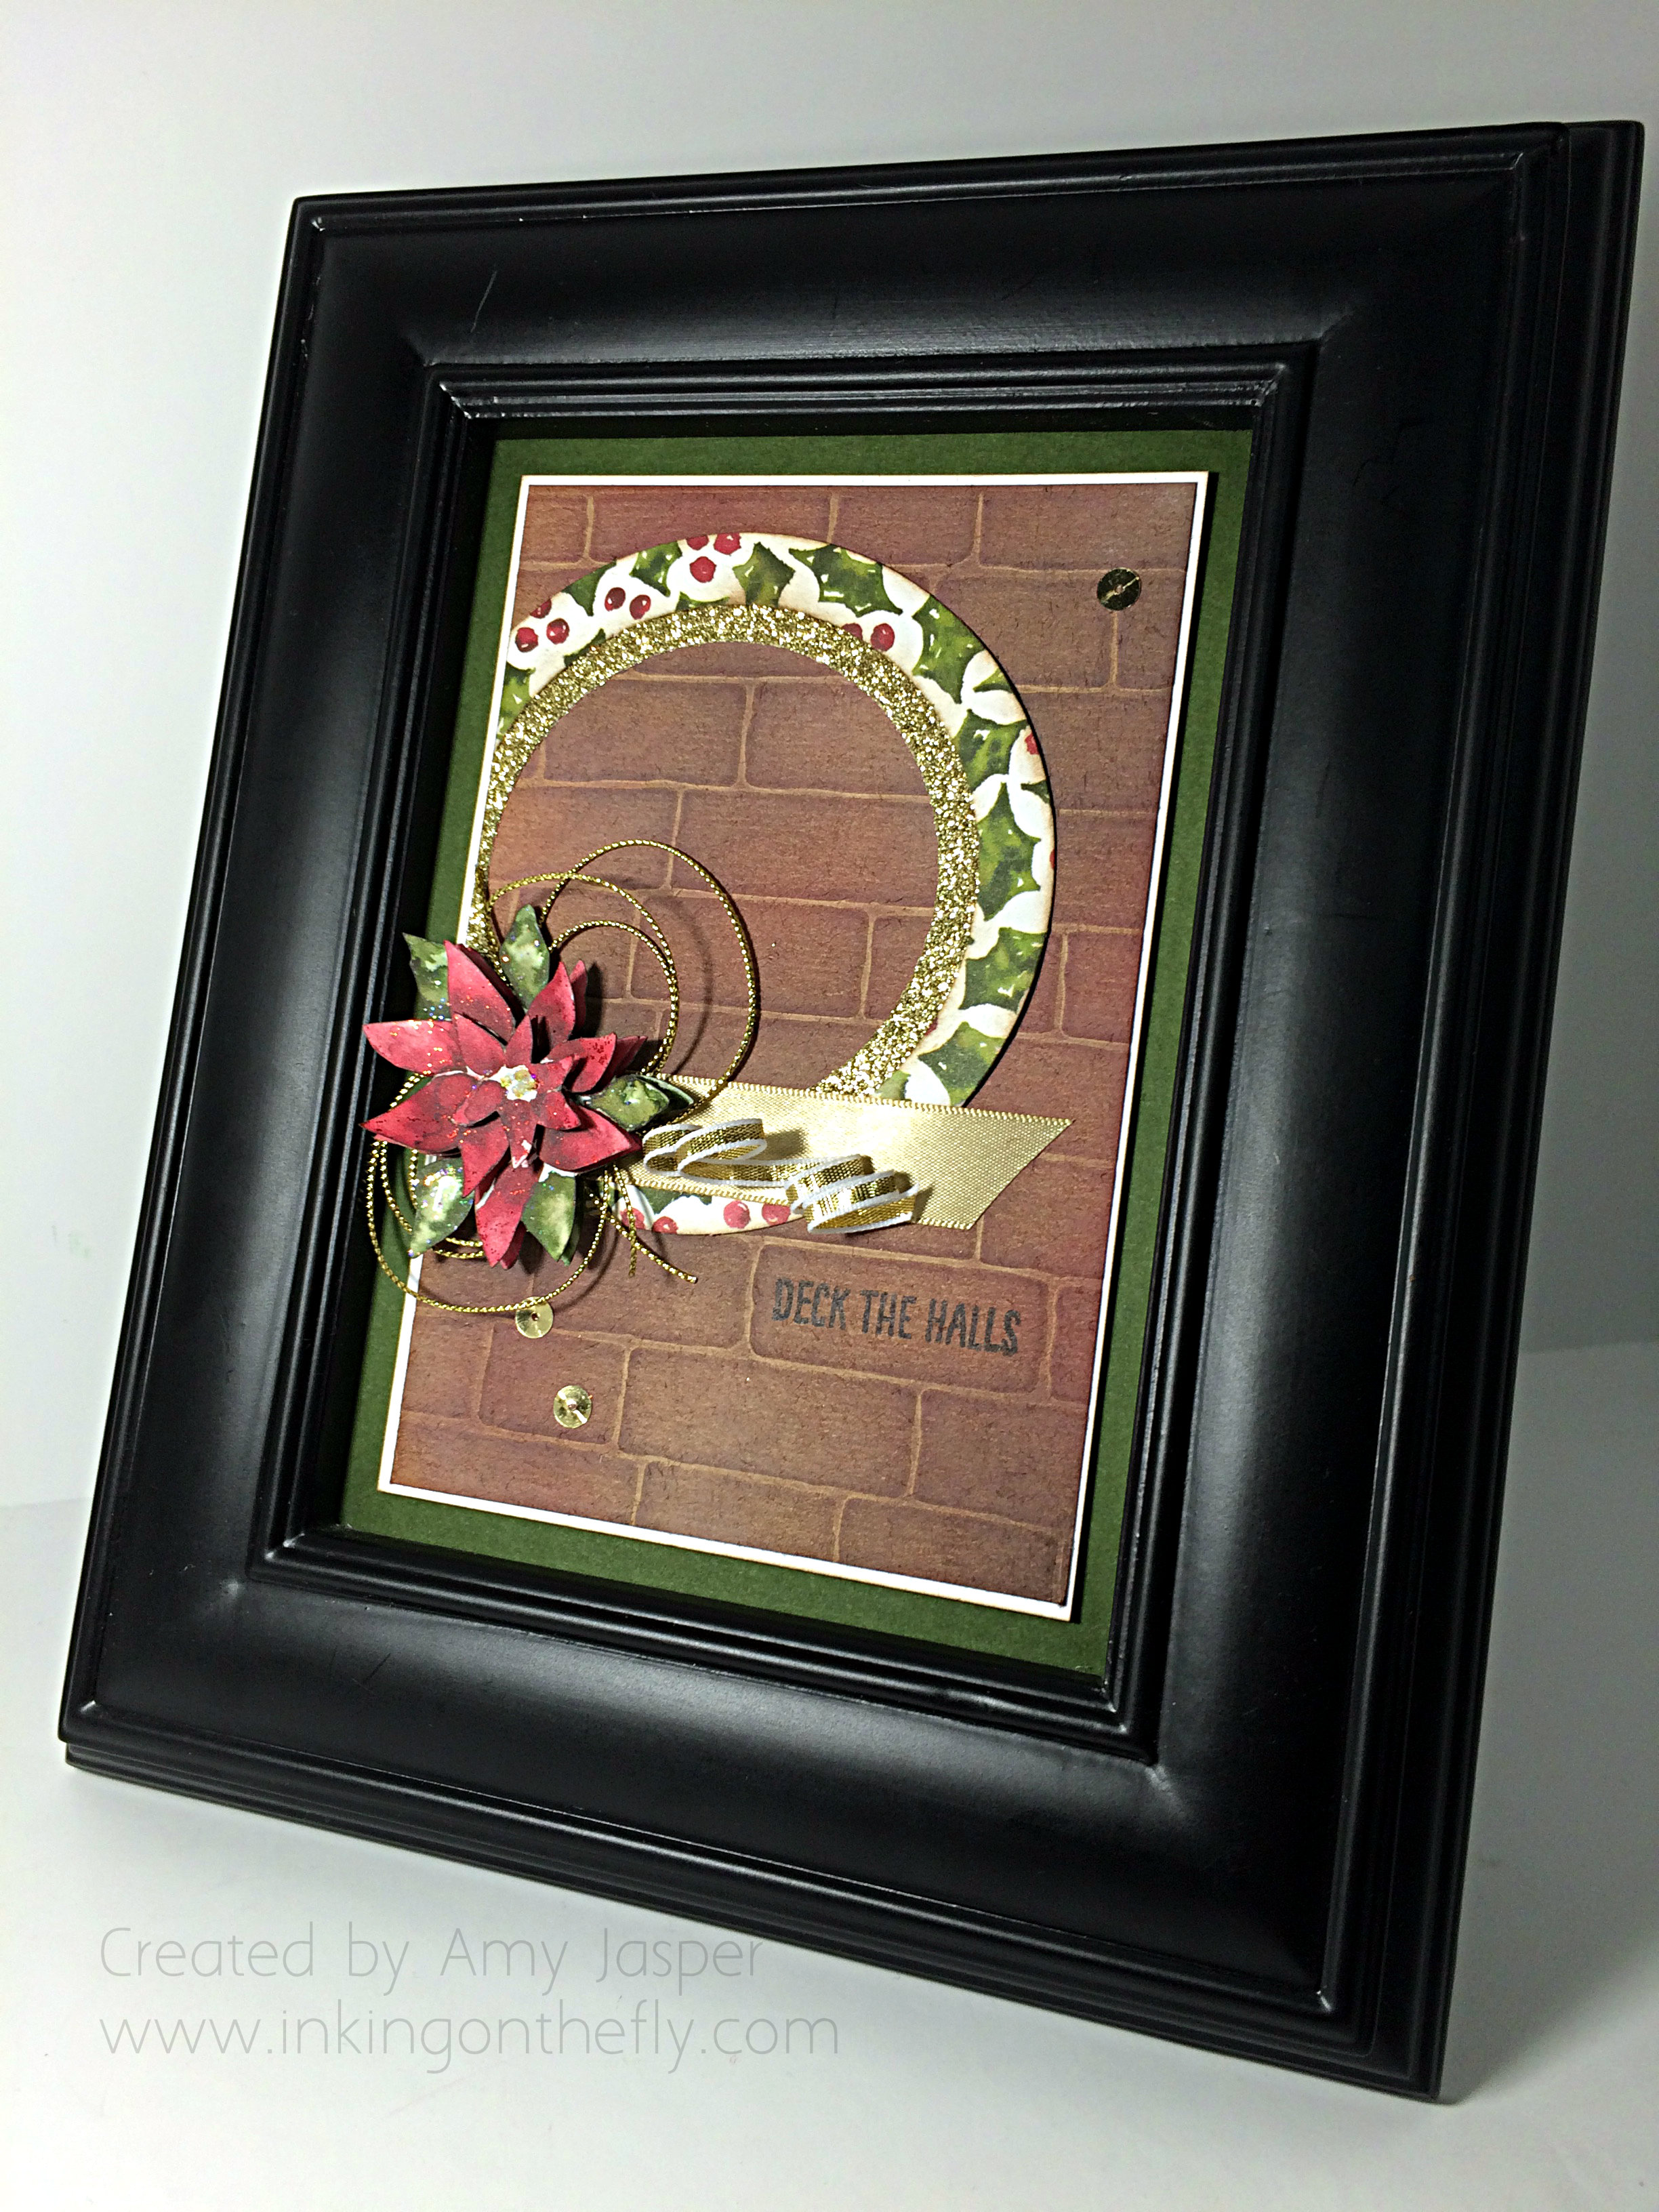
Sometimes you need to add to your home decor. Here’s a 5×7″ piece of holiday artwork you can create using Stampin’ Up products.

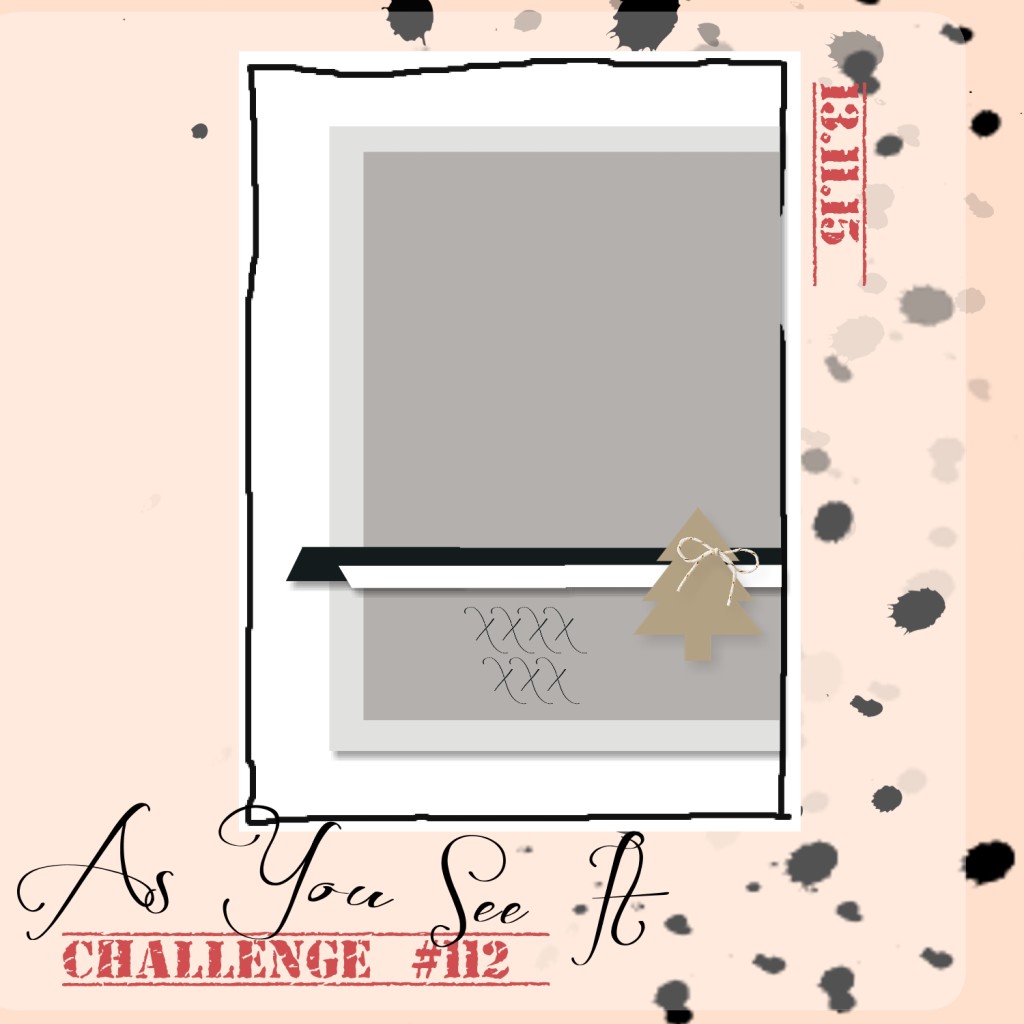
Of course, I started with this sketch challenge from the As You See It Challenge Blog.AYSIChallenge112-1024x1024 Then I decided to go with a circular background instead of a rectangle. Always trying to see things a little differently. Here’s my framed holiday artwork that I ended up with:
112 Deck the Halls Frame

I used the Season of Cheer designer series paper to create the layered poinsettia flower. Just a lot of fussy cutting using four flowers that were identical from a sheet of the patterned paper. I adhered the layers together with Stampin’ Dimensionals. Some Cherry Cobbler Dazzling Details glue was painted on the petals to add a little shimmer.

Circle Framelits were used with my Big Shot to create the wreath look with more patterned paper and some Gold Glimmer paper. I even curled the 1/8″ Gold Taffeta ribbon just like you would curl paper ribbon with your scissors. This adds a festive texture to the artwork.

But the beauty of this project is really the brick background.
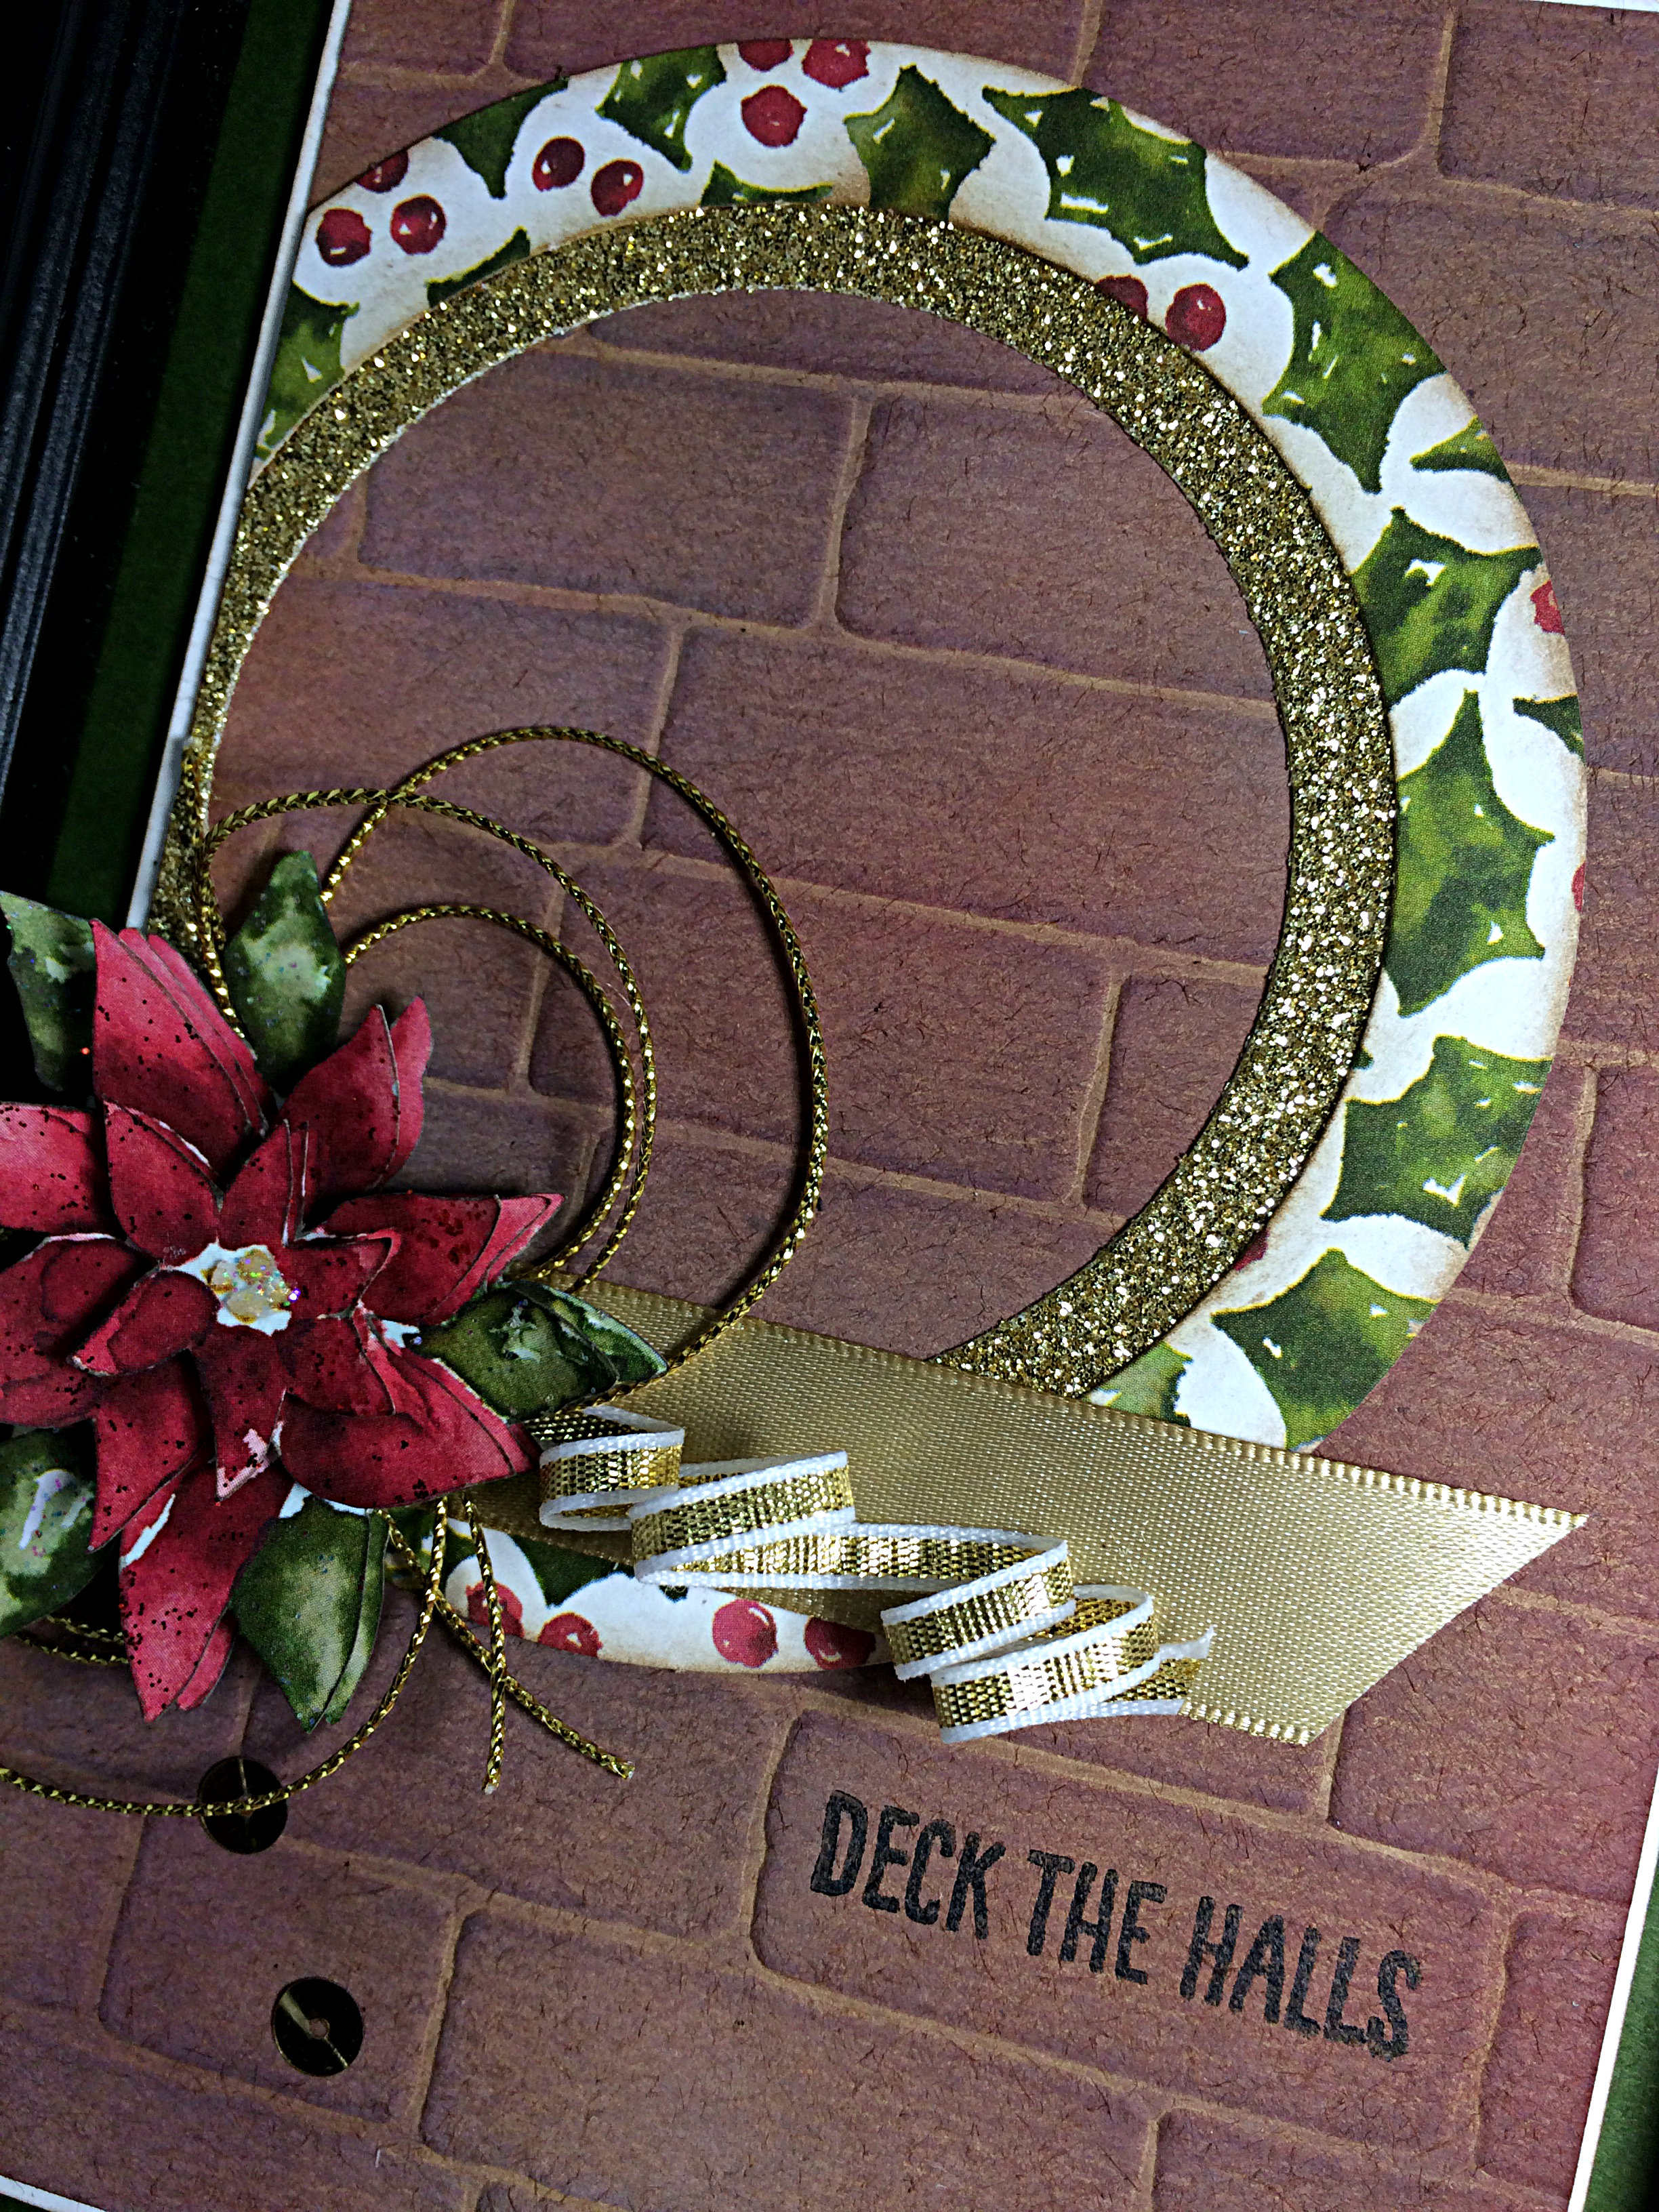
112 Created by Amy Jasper www.inkingonthefly.comI started with Kraft paper. It comes in a 12×12 pack and is a different texture than Stampin’ Up’s other cardstock. I ran a 4×6″ piece through the Big Shot with my Brick Wall embossing folder, then sponged it. I sponged it a lot! I used relatively random placements of inks: Crumb Cake and Cajun Craze first, then Whisper White craft ink to soften the orange of the Cajun Craze. Finally, Soft Suede to sort of even it all out. I love how it turned out and will likely share it with my technique class in the new year.
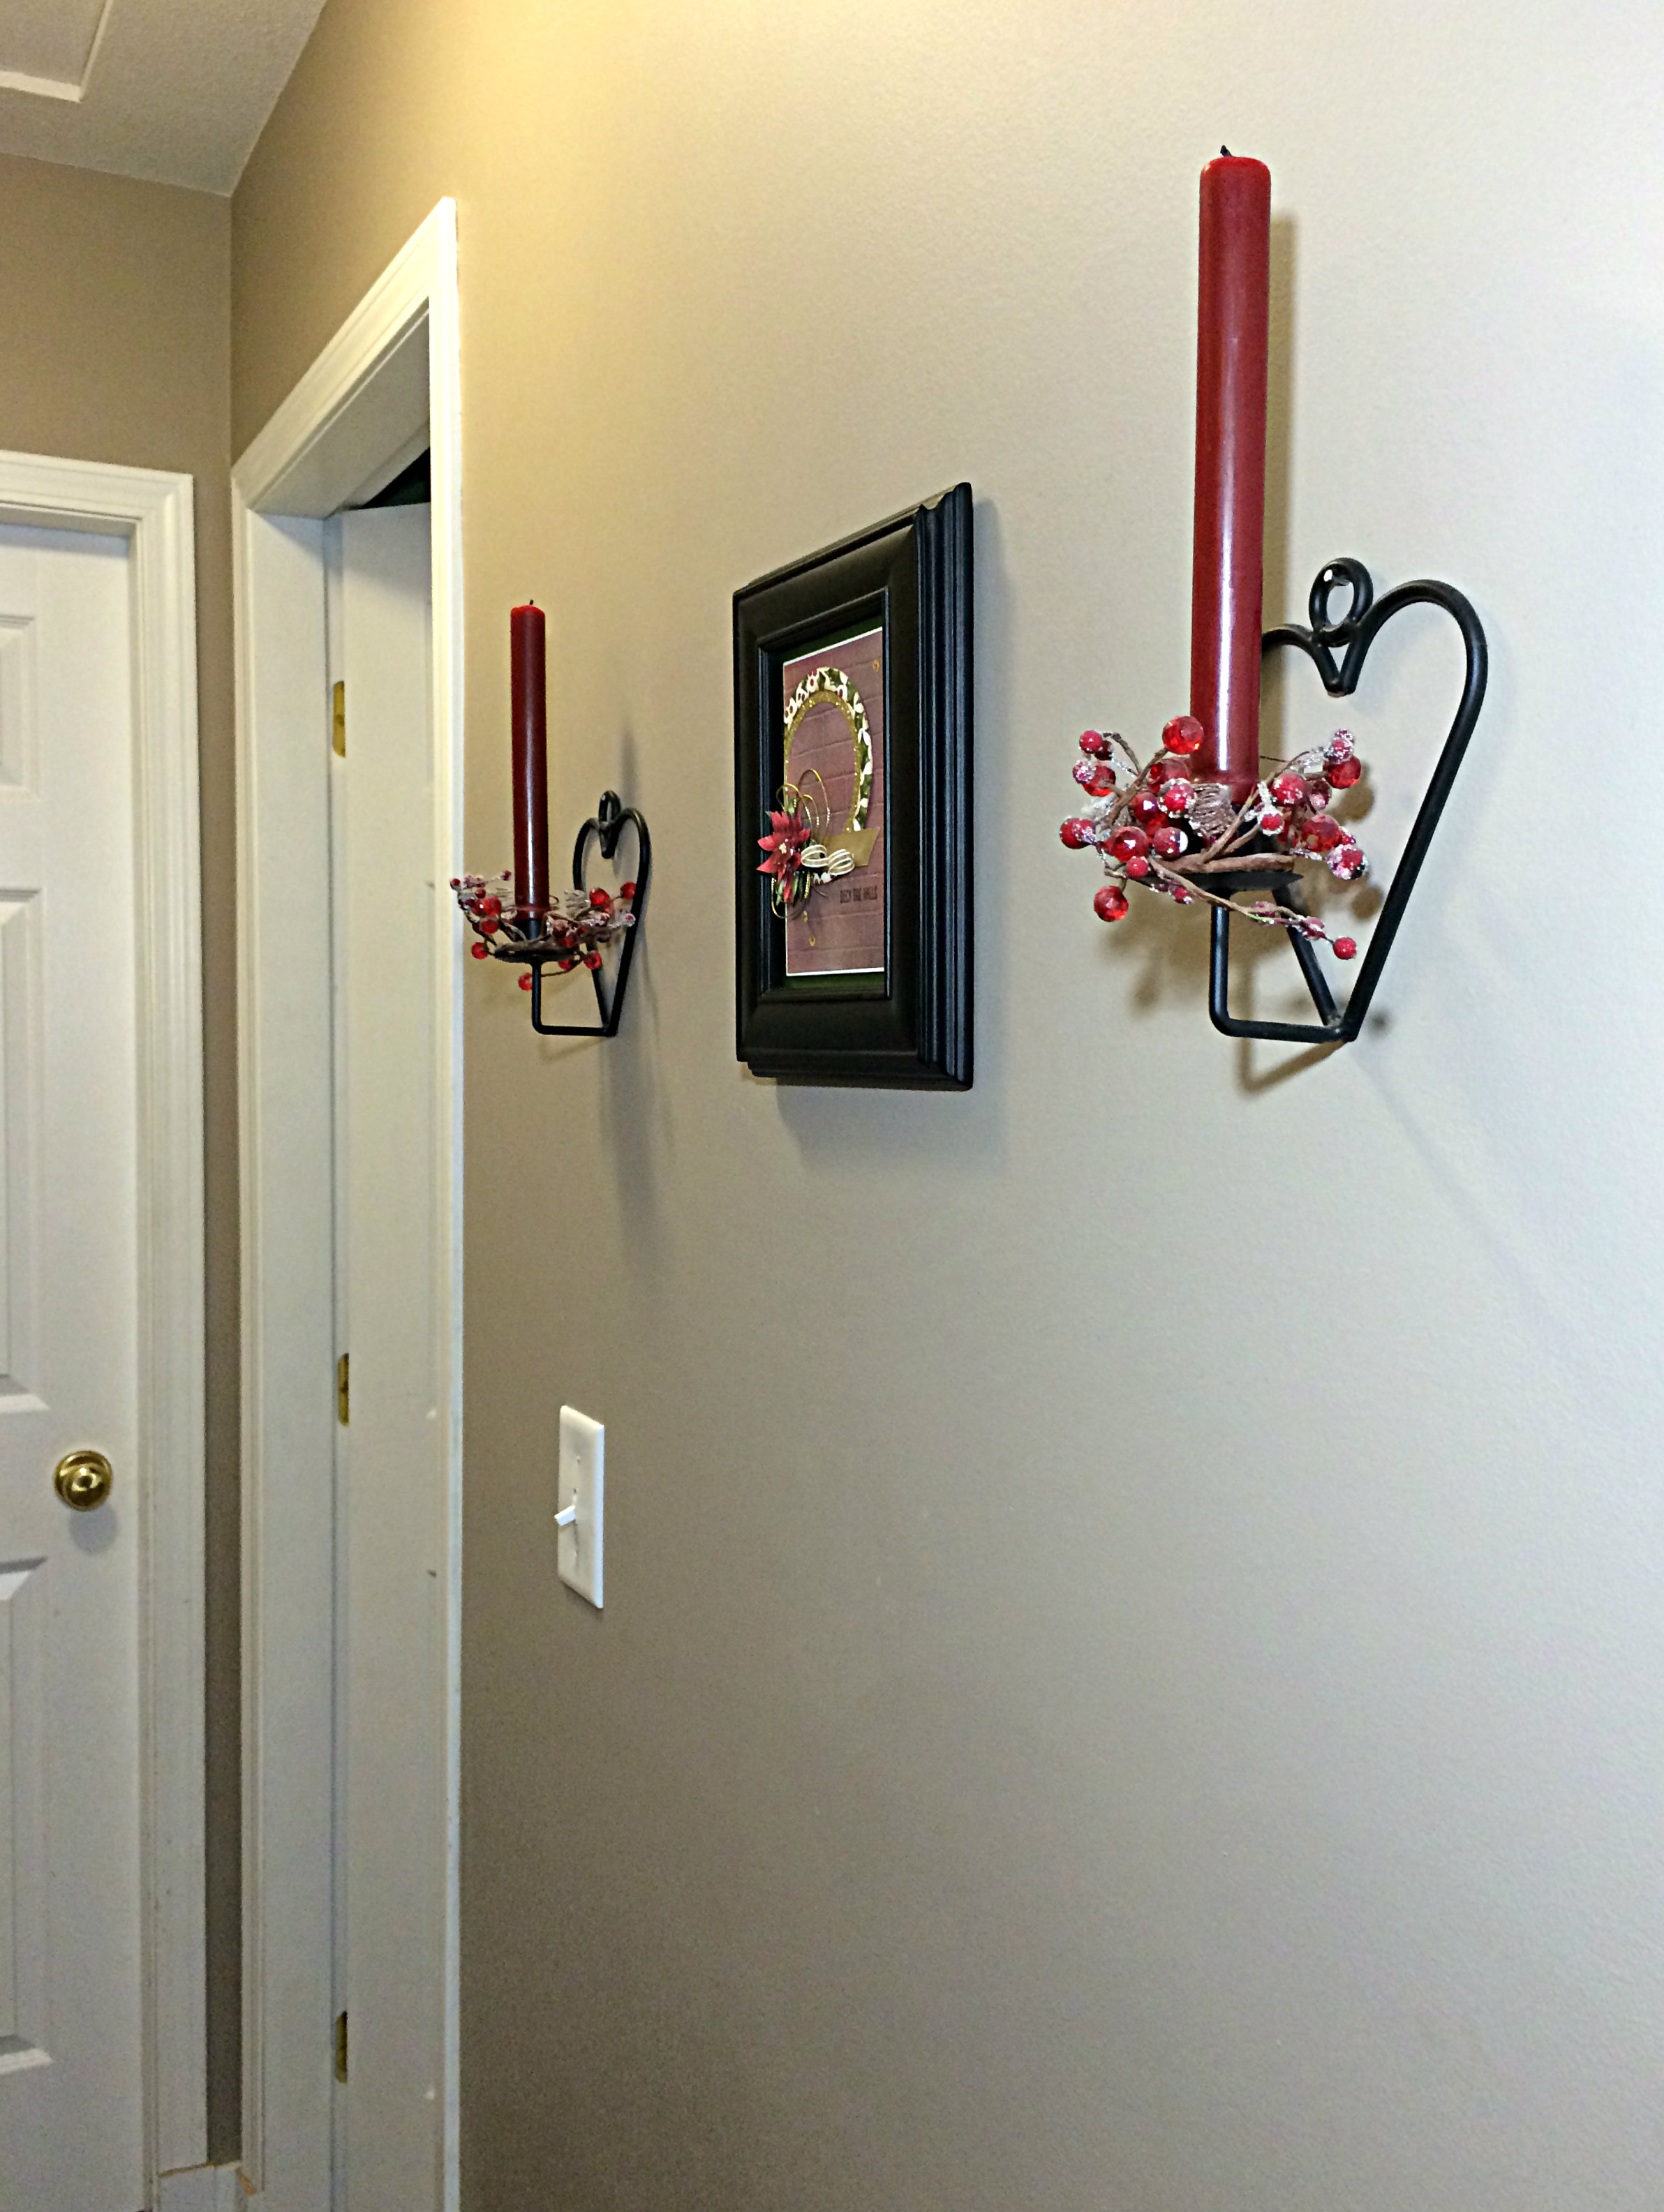
112 on the wallI’m not great at home decor, but I thought you might like to see it on the wall, in my hallway. I thought I should deck my hall with this piece of art. (I know … groan)

Okay, that’s all I’m going to write today. My son and I are heading to Abbotsford, British Columbia, less than four hours from here, for a youth event. Whoop Whoop! Should be high-energy fun!

Have a great weekend and be sure to try this sketch for yourself. You can share it with us at the As You See It Challenge Blog! Hope you do!
Woodland Embossing Folder

The Woodland embossing folder by Stampin’ Up! is so versatile for Christmas, Halloween, fall, winter, summer – it can literally be used for anything!

My new favourite is to use it to create a forest scene. I’ve seen this done by a few other demonstrators, but I ran into a few problems along the way and thought I could share my trouble-shooting with you.

First, here’s the card I made and have since fallen in love with:

Woodland Embossing Folder card tutorial by Amy Jasper www.inkingonthefly.com

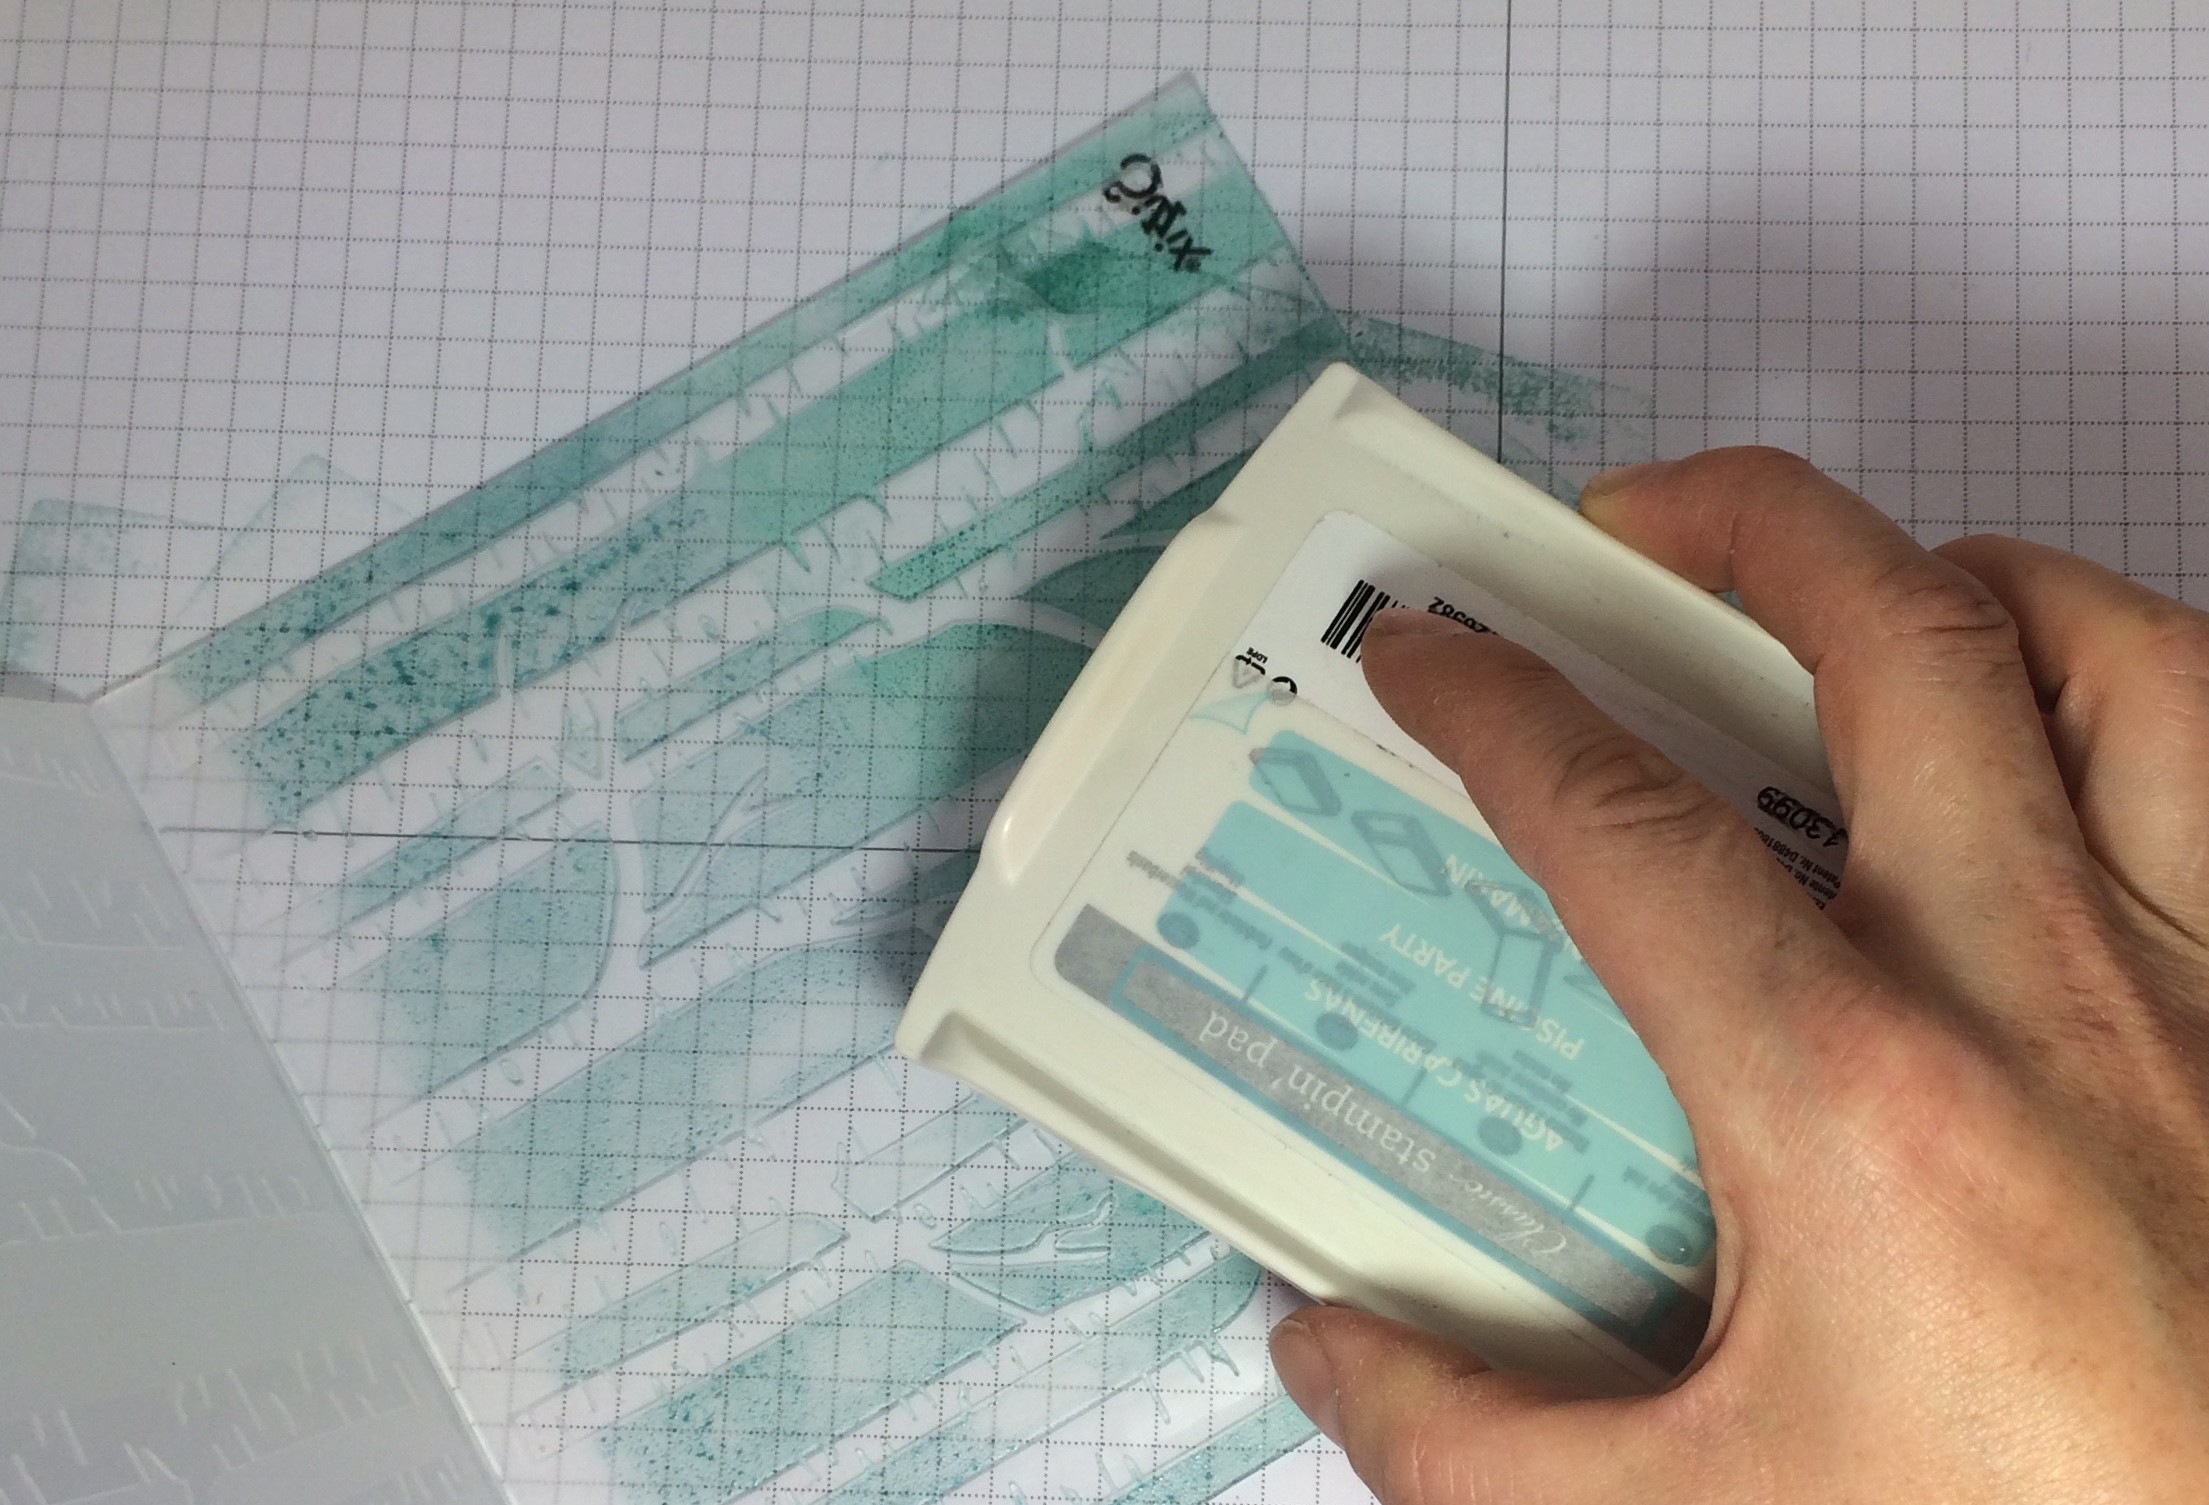
To created this card, I used a direct ink pad to embossing folder technique. This has been done before, but this time I used Soft Sky where the lower half of the sky was going to be, then used Pool Party for the upper half of the sky.

Woodland Embossing Folder card tutorial by Amy Jasper www.inkingonthefly.com

My first few attempts gave me blobs and pools of colour that didn’t jive with my expectations. This is likely because my ink pads are nice and juicy. Normally, you want a juicy ink pad for great colour distribution, but it can backfire a bit on you with solid flat sections on a stamp or when you want to use the ink pad for sponging techniques.

You could work with some of these effects for a different overall look, but I was looking for something softer and smoother.

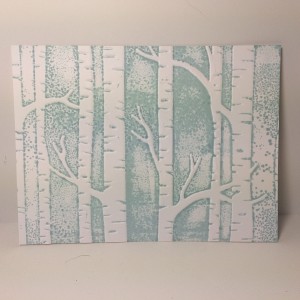
image

Soft Sky ink – no brayer

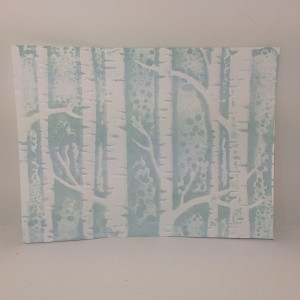
image

Soft Sky ink – spritzed with water – no brayer

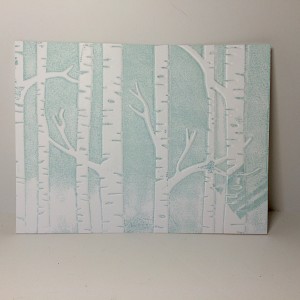
image

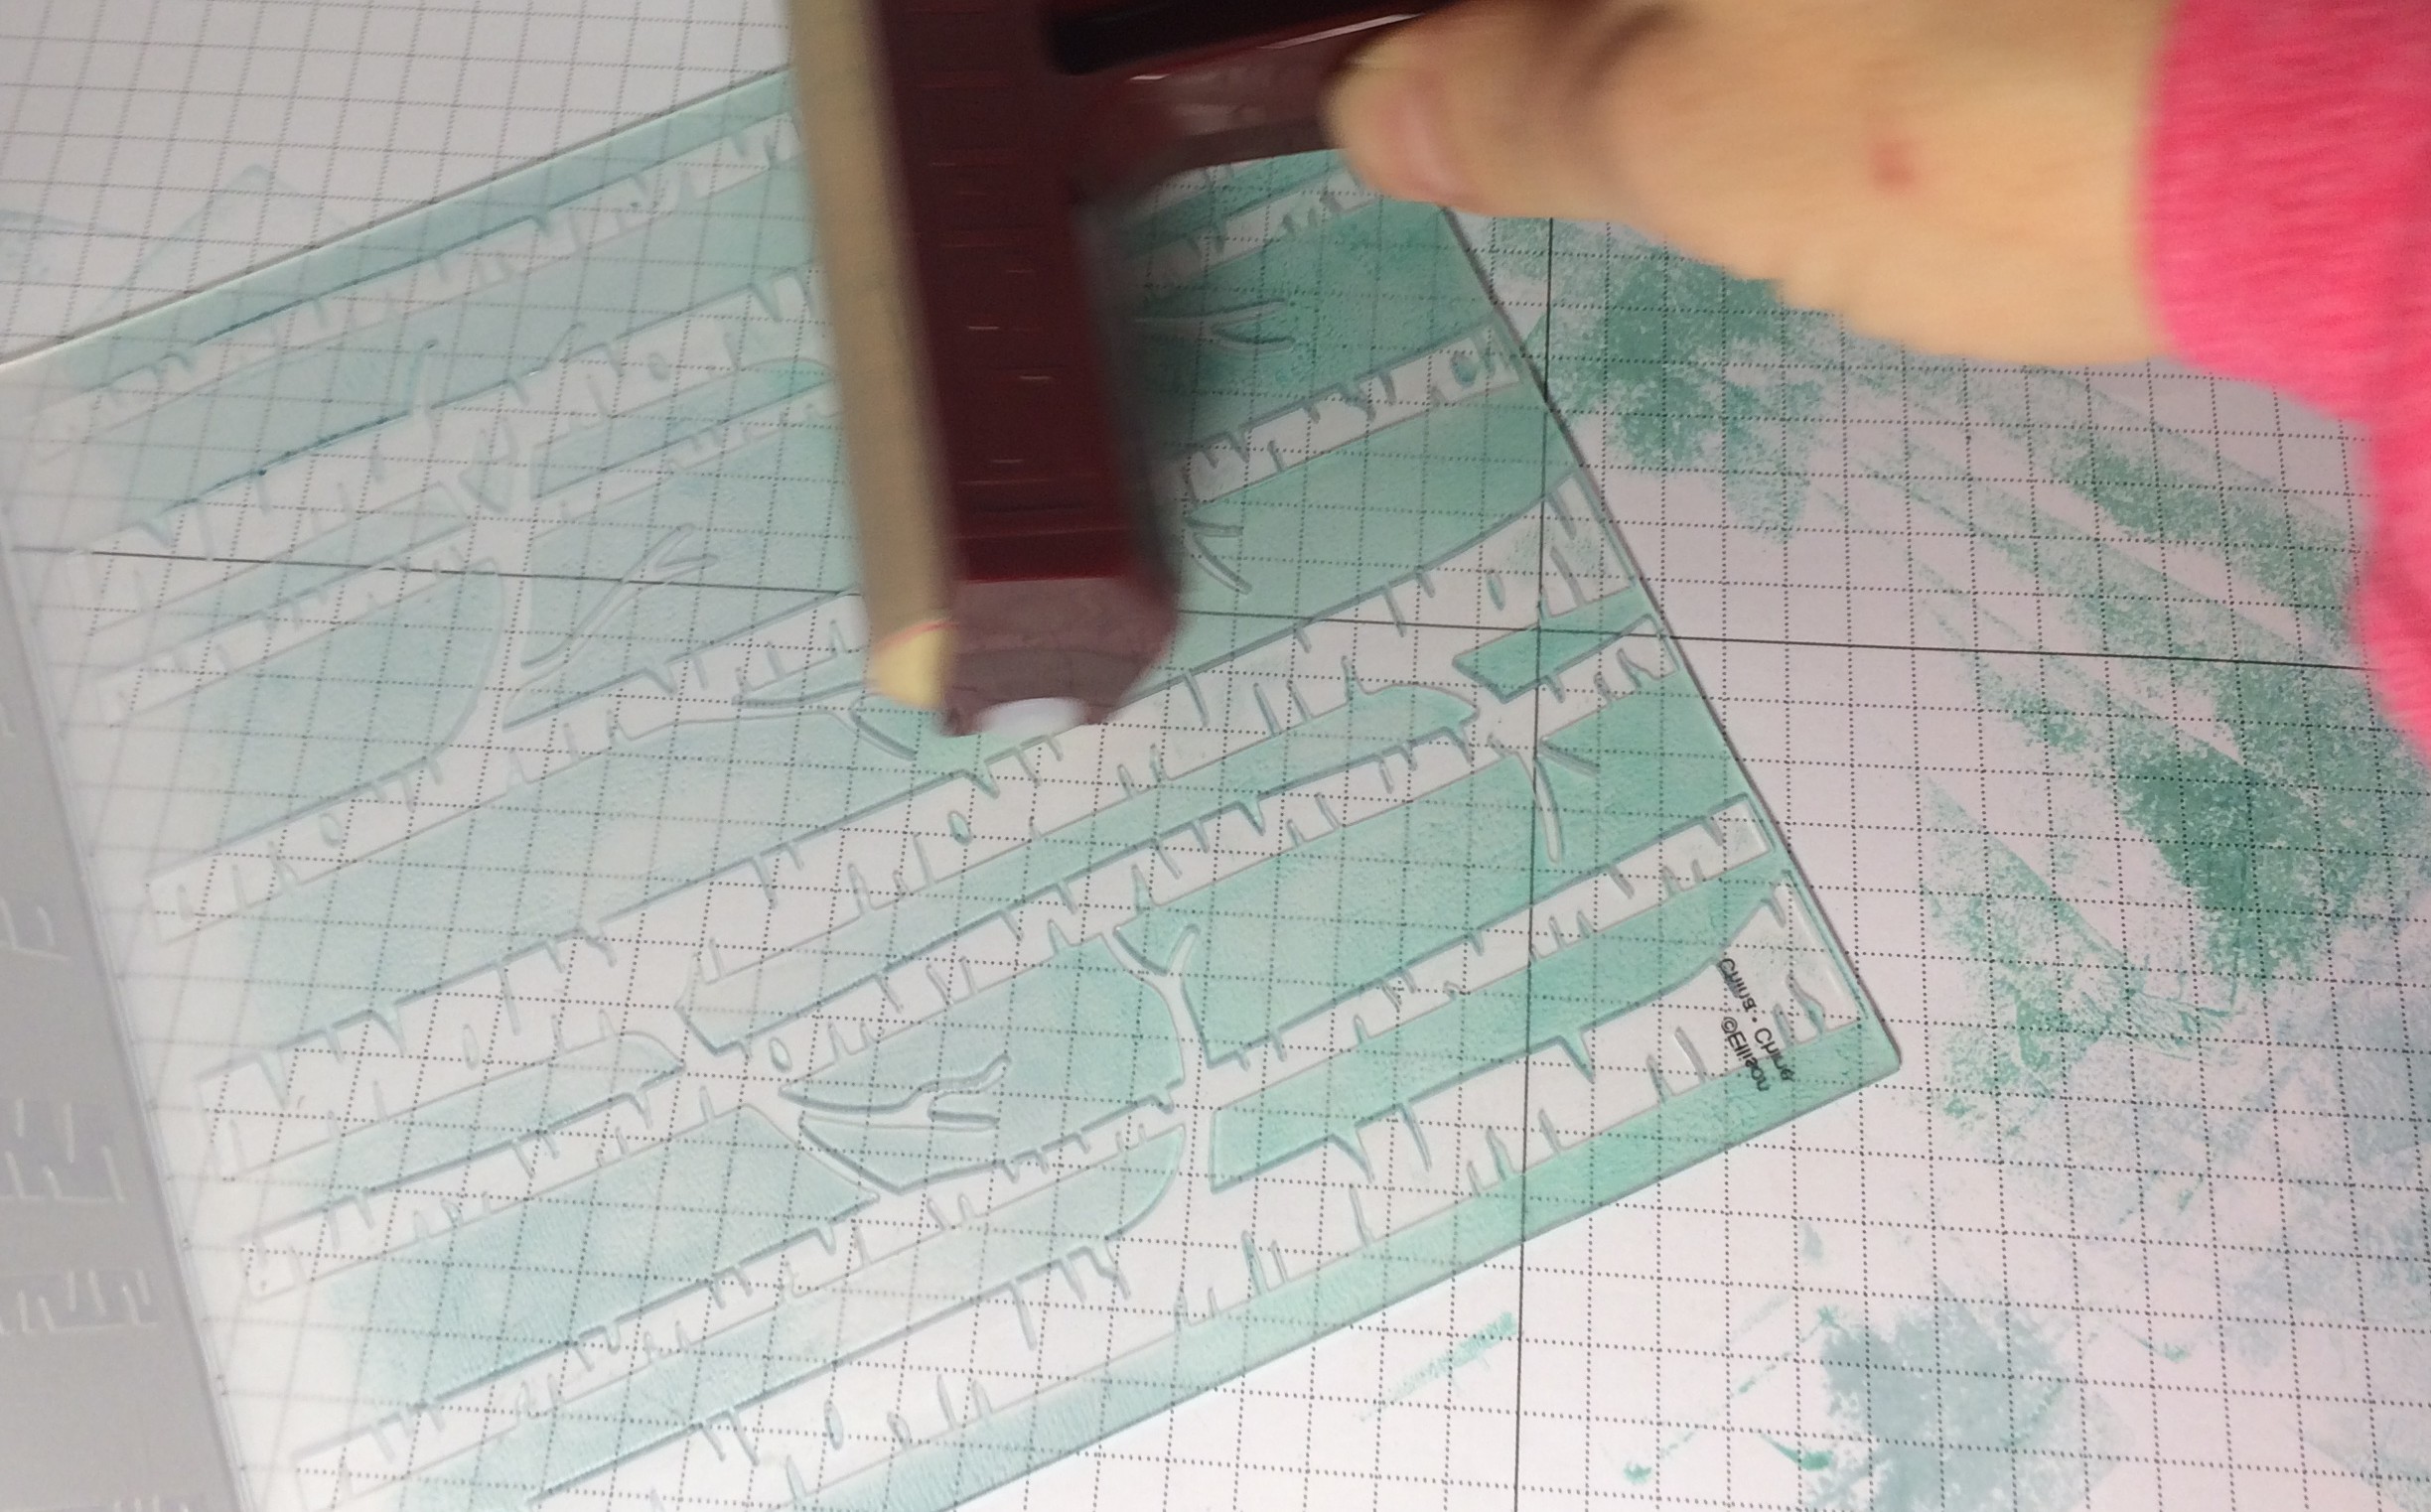
Soft Sky ink – with brayer

When I get blotches of ink on a stamp (like when I used my Definitely Dahlia background stamp), I will often roll my brayer over the stamp surface after inking it to thin and smooth the ink. I decided to try it with the ink on my folder.

Woodland Embossing Folder card tutorial by Amy Jasper www.inkingonthefly.com

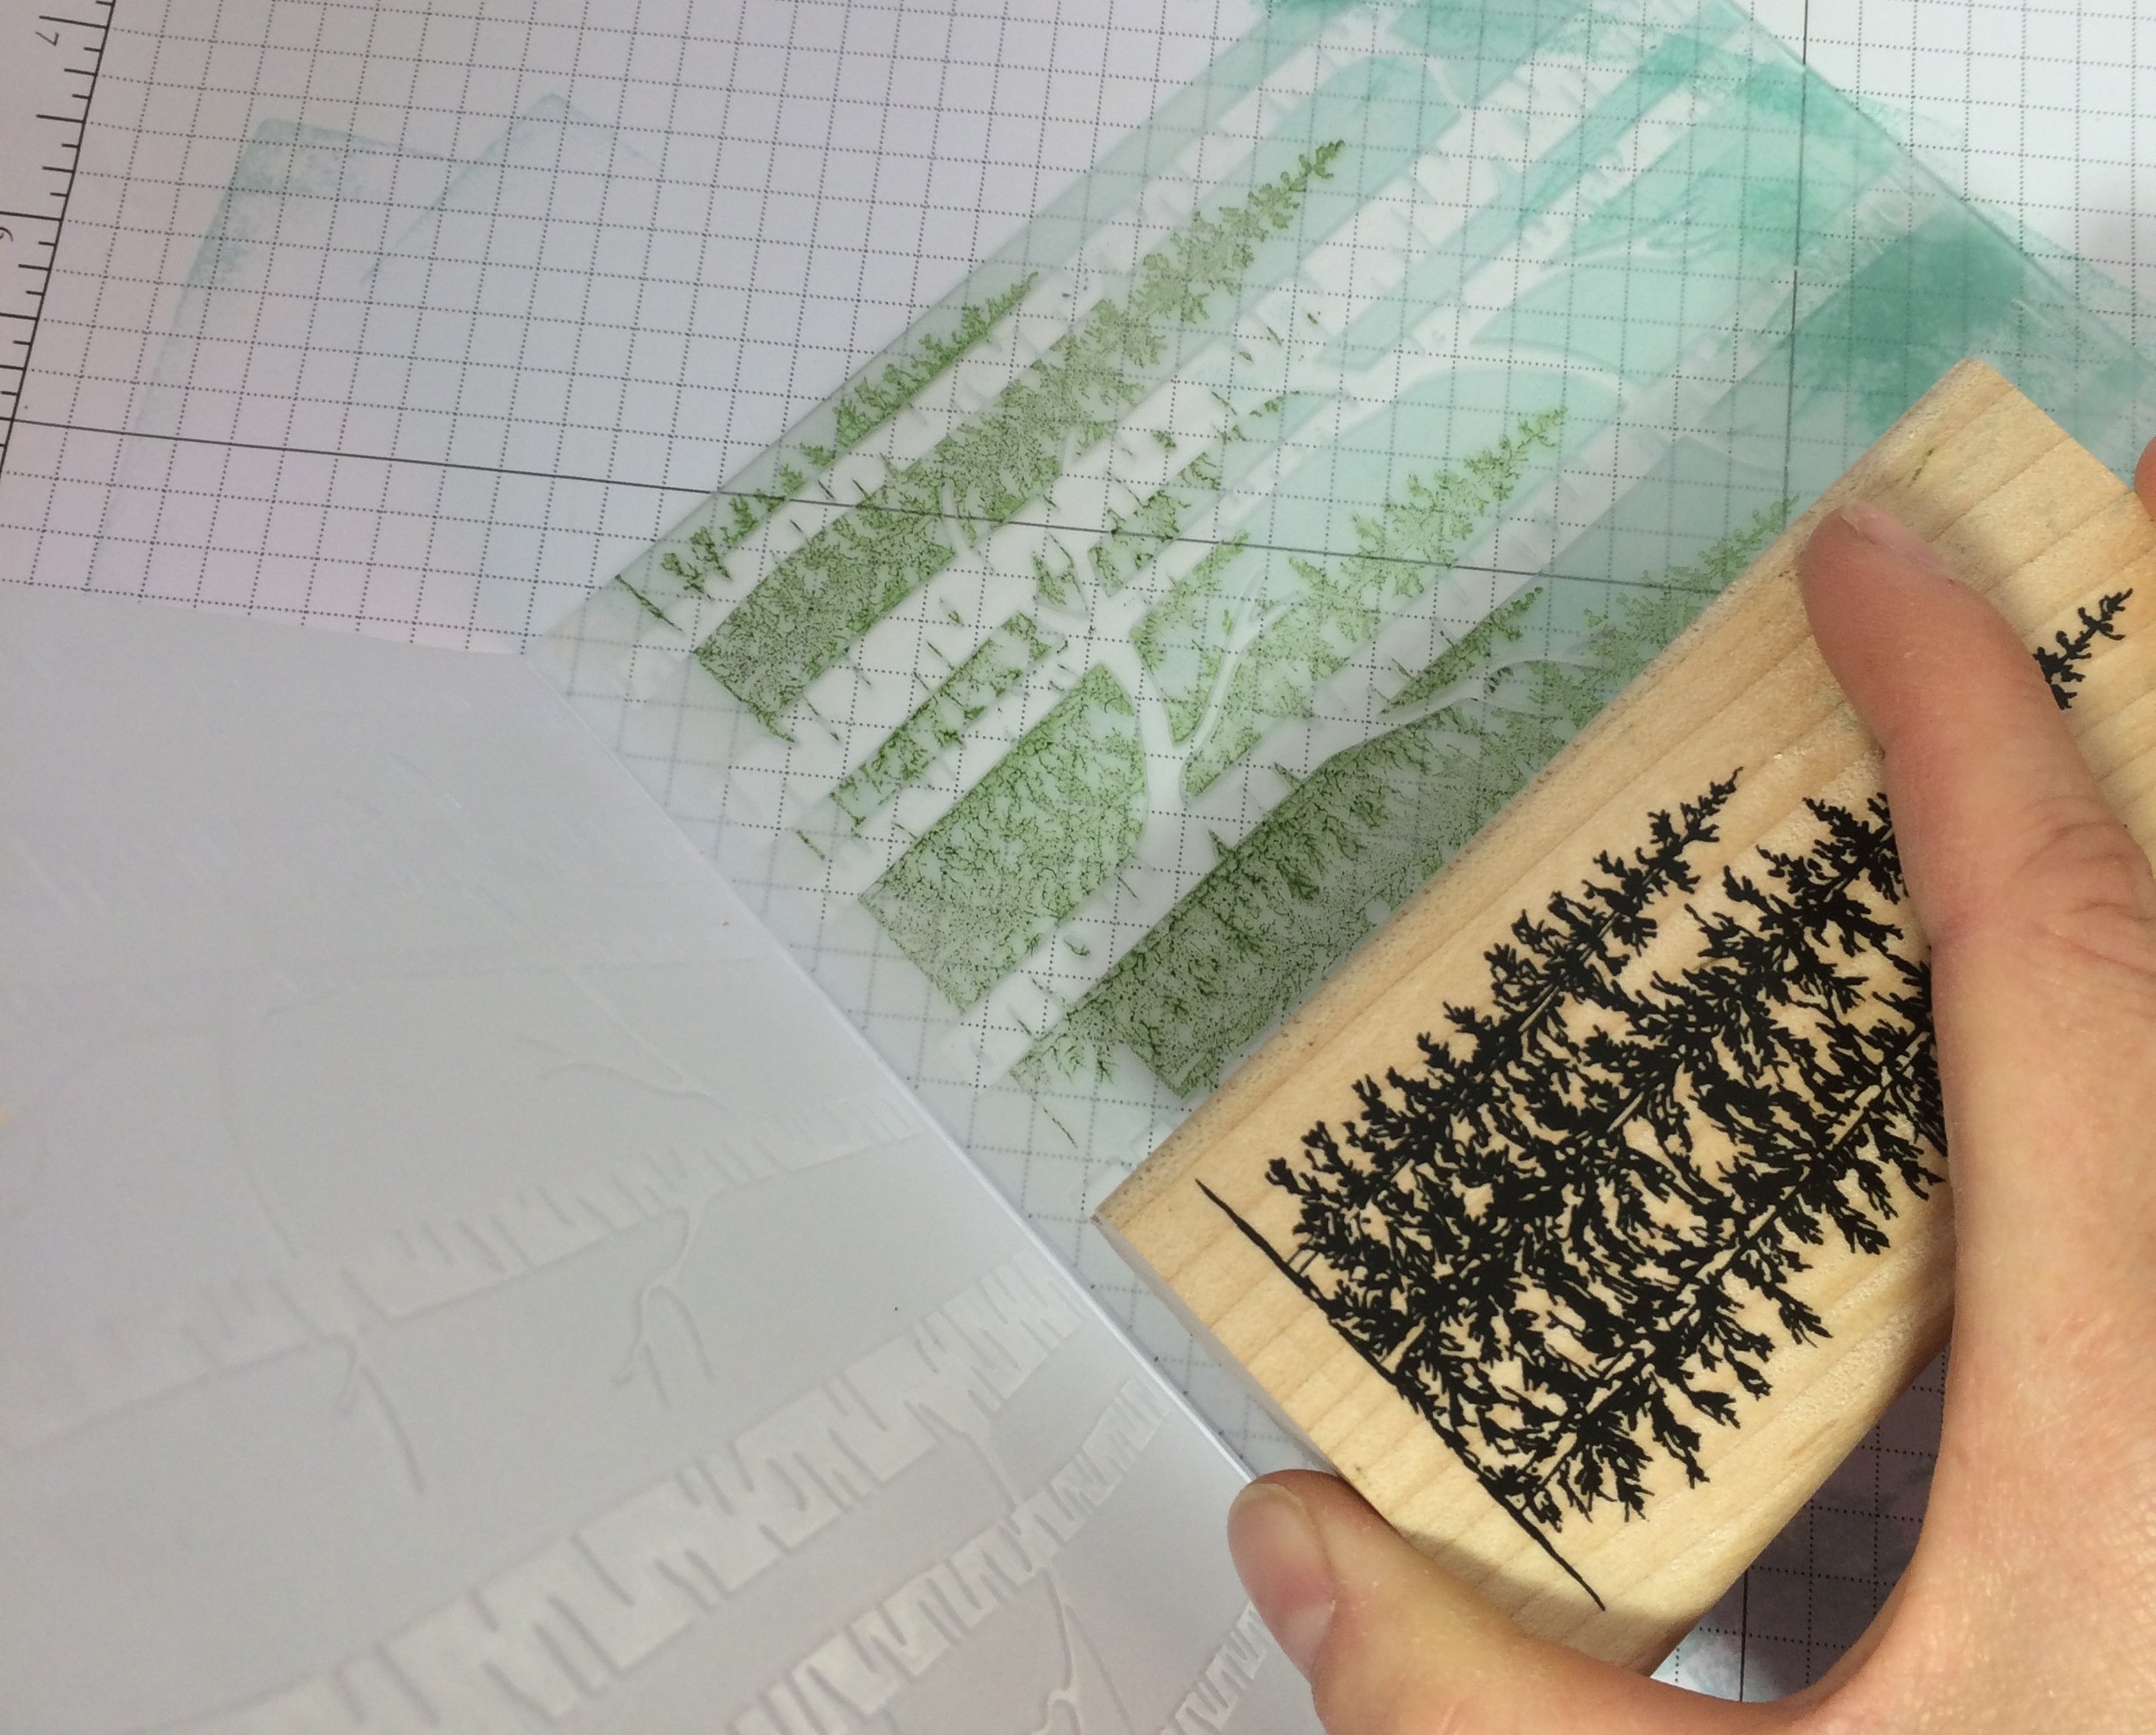
Once I sorted out my sky and decided on the Pool Party/Soft Sky ink  combo, I could proceed with directly stamping my Winter Wonderland trees with Mossy Meadow ink on the Woodland embossing folder. I stamped them in varying heights and was careful to re-ink my stamp each time to ensure every tree was solid.

Woodland Embossing Folder card tutorial by Amy Jasper www.inkingonthefly.com

With my images and inking completed, I was ready to press my Whisper White cardstock. If you lay the paper on the un-inked side of your embossing folder, you will avoid the risk of smudging the ink on the cardstock. I chose to lay my paper dead center on the un-inked side of the folder so that the messy bottom area of my stamped trees wouldn’t show on my cardstock, but I would have a nice tree line showing in the middle-upper area of my cardstock piece.

Woodland Embossing Folder card tutorial by Amy Jasper www.inkingonthefly.com

Fold it all together carefully, holding it so it does. not. move, run it through the Big Shot.

Woodland Embossing Folder card tutorial by Amy Jasper www.inkingonthefly.com

Vacant areas actually work on this project, because it is an art piece. You can interpret those vacant areas as wisps of clouds or even snow.

Woodland Embossing Folder card tutorial by Amy Jasper www.inkingonthefly.com

Finishing the card was simple. I didn’t want to cover up the pretty woodland image, but wanted to highlight it as much as I could. I started with a Crumb Cake mat behind the embossed cardstock and layered that on my Thick Whisper White card base with Stampin’ Dimensionals.  The sentiment from the Hostess stamp set, Six Sayings, was stamped in Early Espresso ink on a Whisper White banner. Linen Thread tied in a bow to finish it with a bit of natural texture.

The final touch is adding the 3 sequins (pronounced “seek-wins”, not “sequence”, lol!). I thought of them as Christmas ornaments hanging from the trees, but they could also be thought of as sparkly snow softly falling from the sky.

Woodland Embossing Folder card tutorial by Amy Jasper www.inkingonthefly.com

You can order any of these products by clicking the ‘shop now’ button on my website or by contacting me through my email.

Now, don’t stop there. If you liked this tutorial, go and give it a try for yourself. Don’t have that embossing folder? Play around with what you have and see what you come up with!

Now get stamping!

Woodland Embossing Folder card tutorial by Amy Jasper www.inkingonthefly.com

Happy Winter Scene

I haven’t had my coffee yet. Hang on …

Ah … first sip is always the best.

It’s 6:30am on Friday morning. Usually I do my Friday post on Thursday, but hubby and I hunkered down for a couple episodes of “Chuck” on Netflix with a bucket of Chocolate Peanut Butter Häagen-Dazs Ice Cream instead. Seriously, how could I resist that?!

September is almost over. The kids are settling well into their school routine and I’m almost settled into my fall routine as well. The days are getting cooler and it’s getting close to the last time I’ll need to mow the lawn for the season. This time of year I start thinking ahead to winter. I think it’s because, as a crafter, I have to start planning my Christmas projects so they can all be ready before December 1st.

Ok, I don’t actually get everything done by December 1st, but I will tell myself that every year until I get it right! I need my December to relax with family and enjoy some Bailey’s in my coffee and have fun at Christmas parties. I need to be done by December!

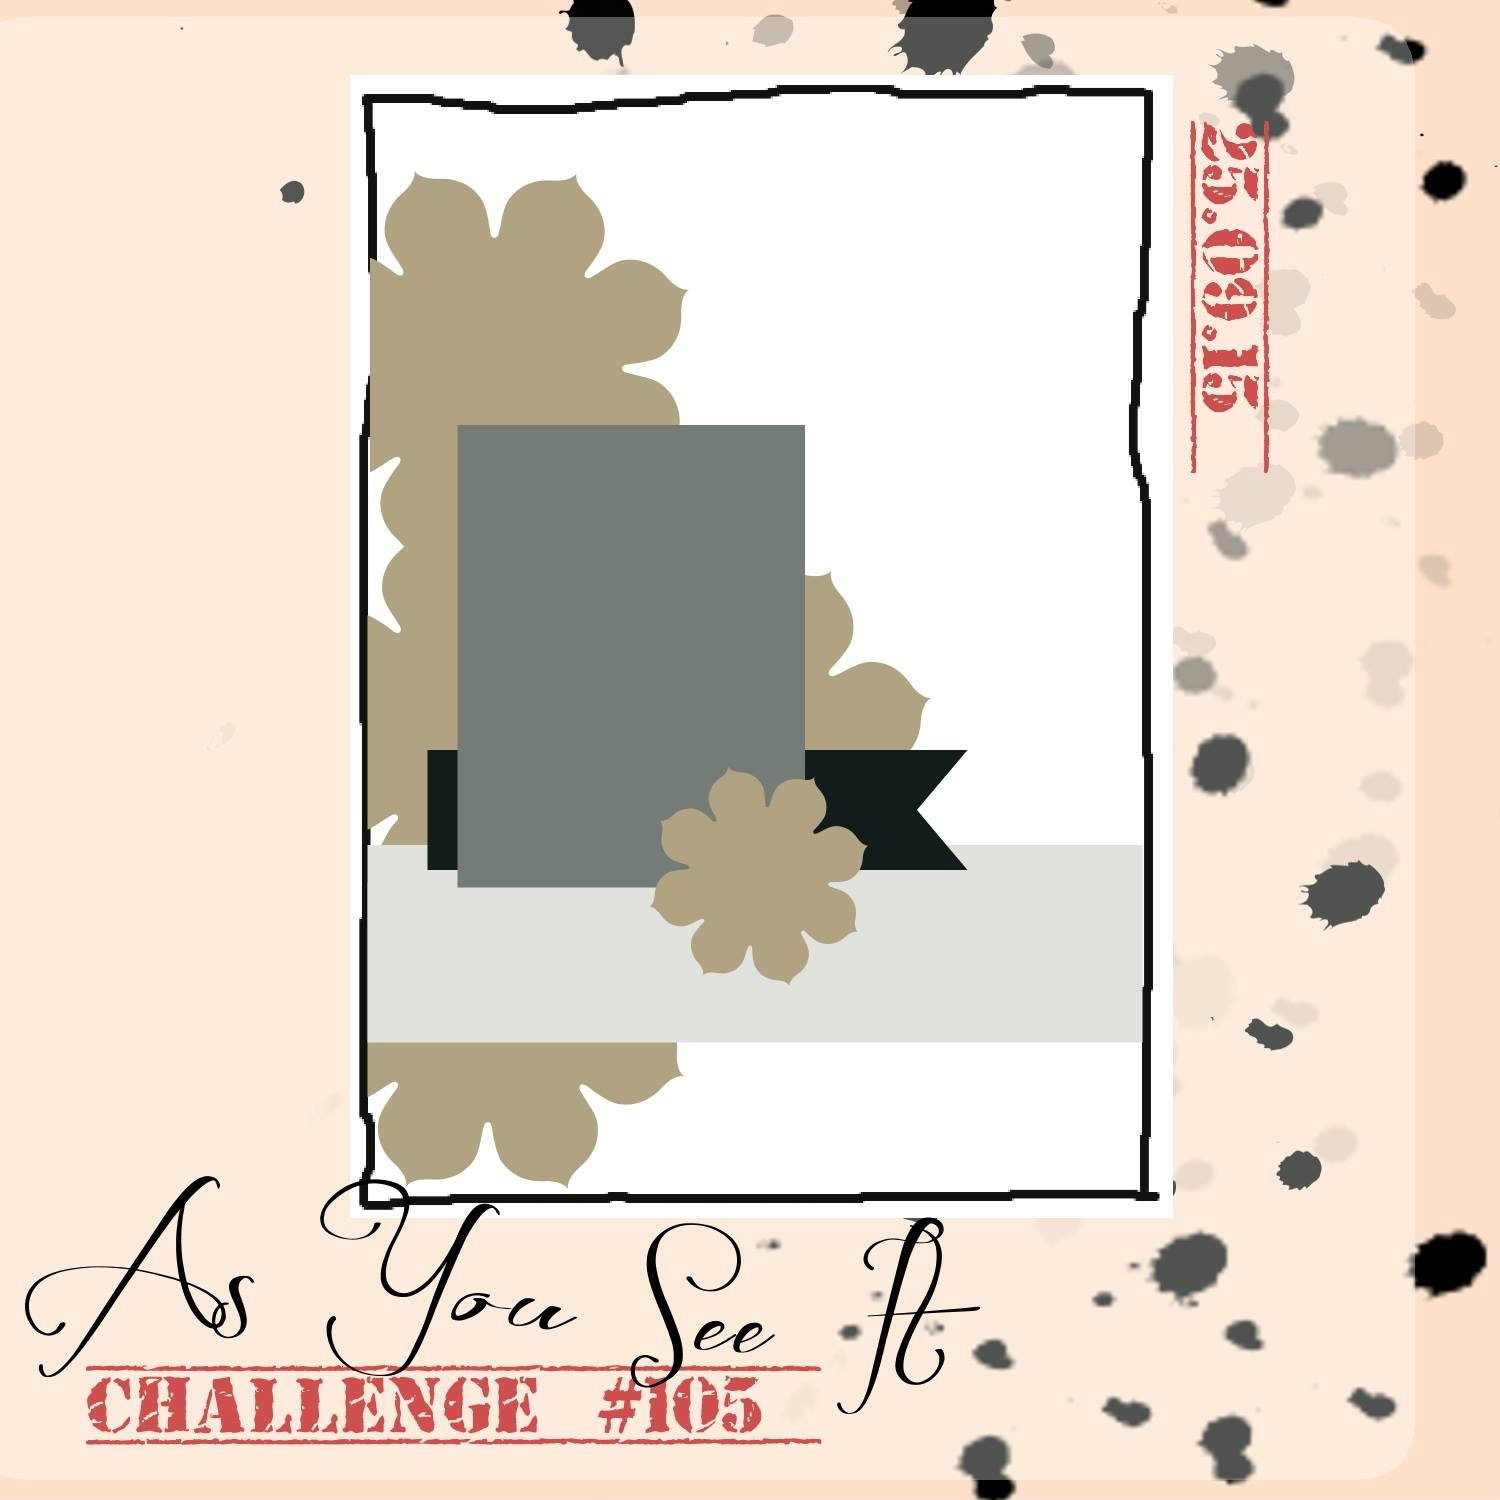
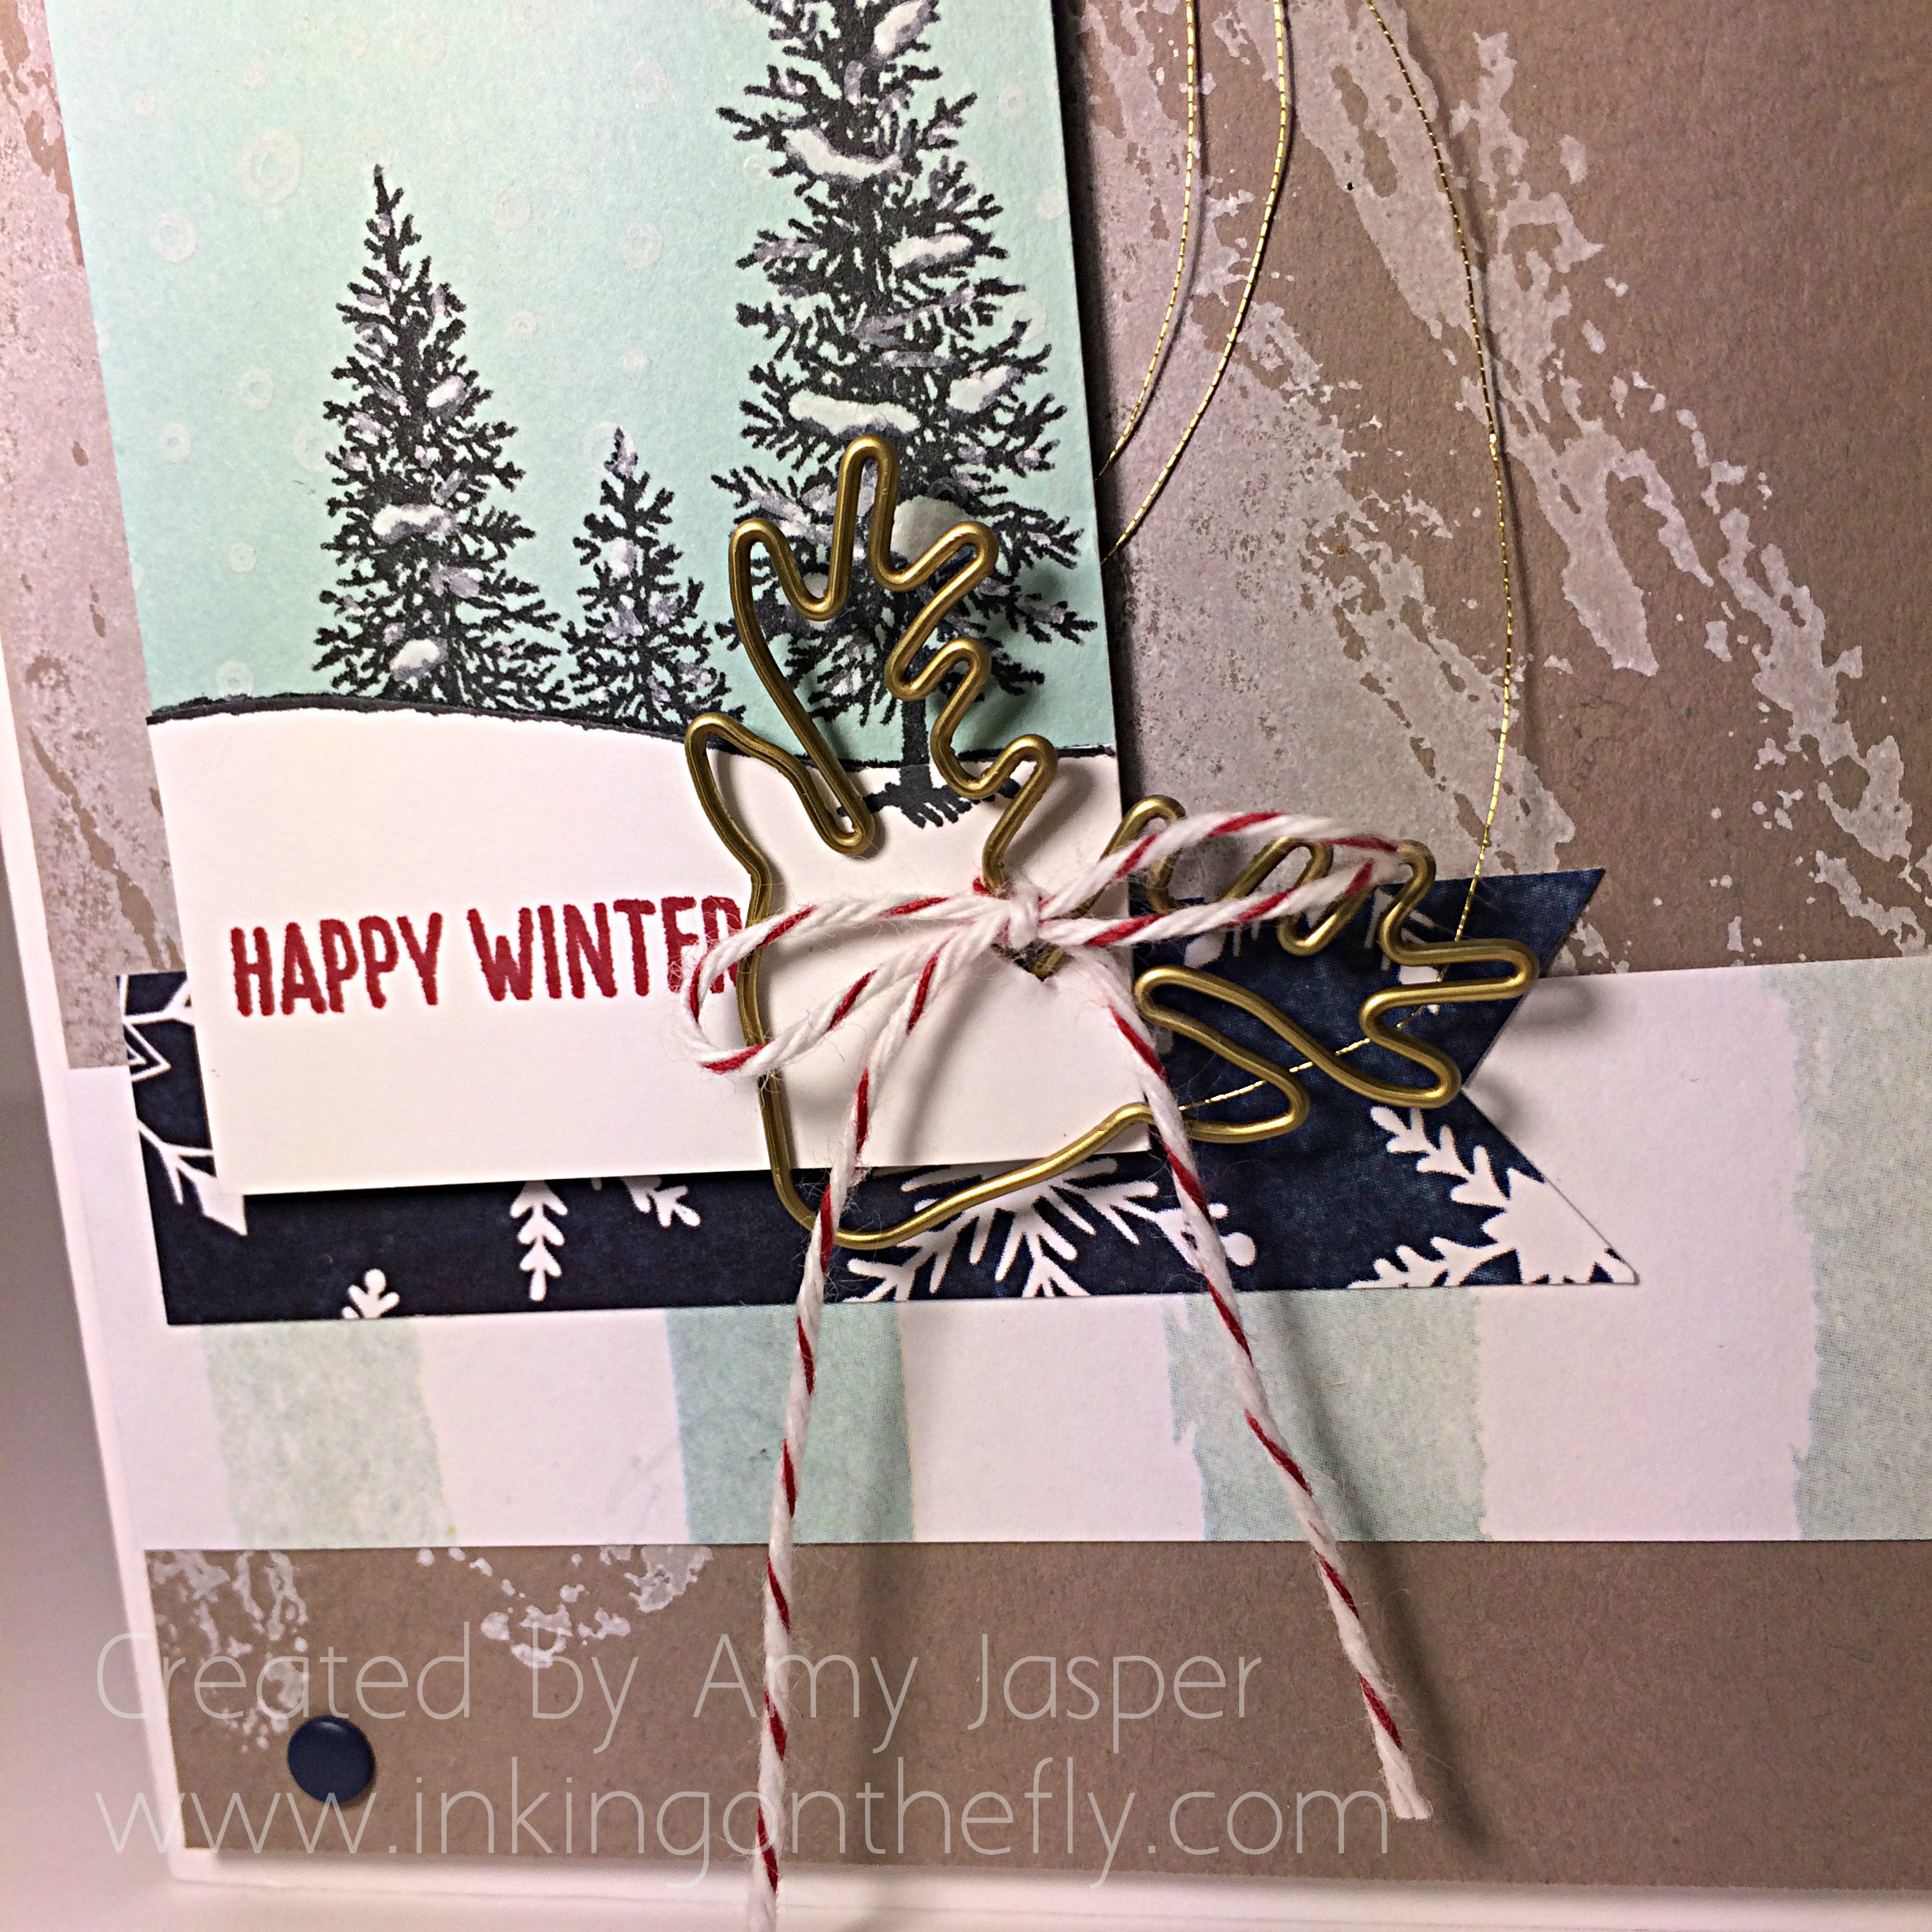
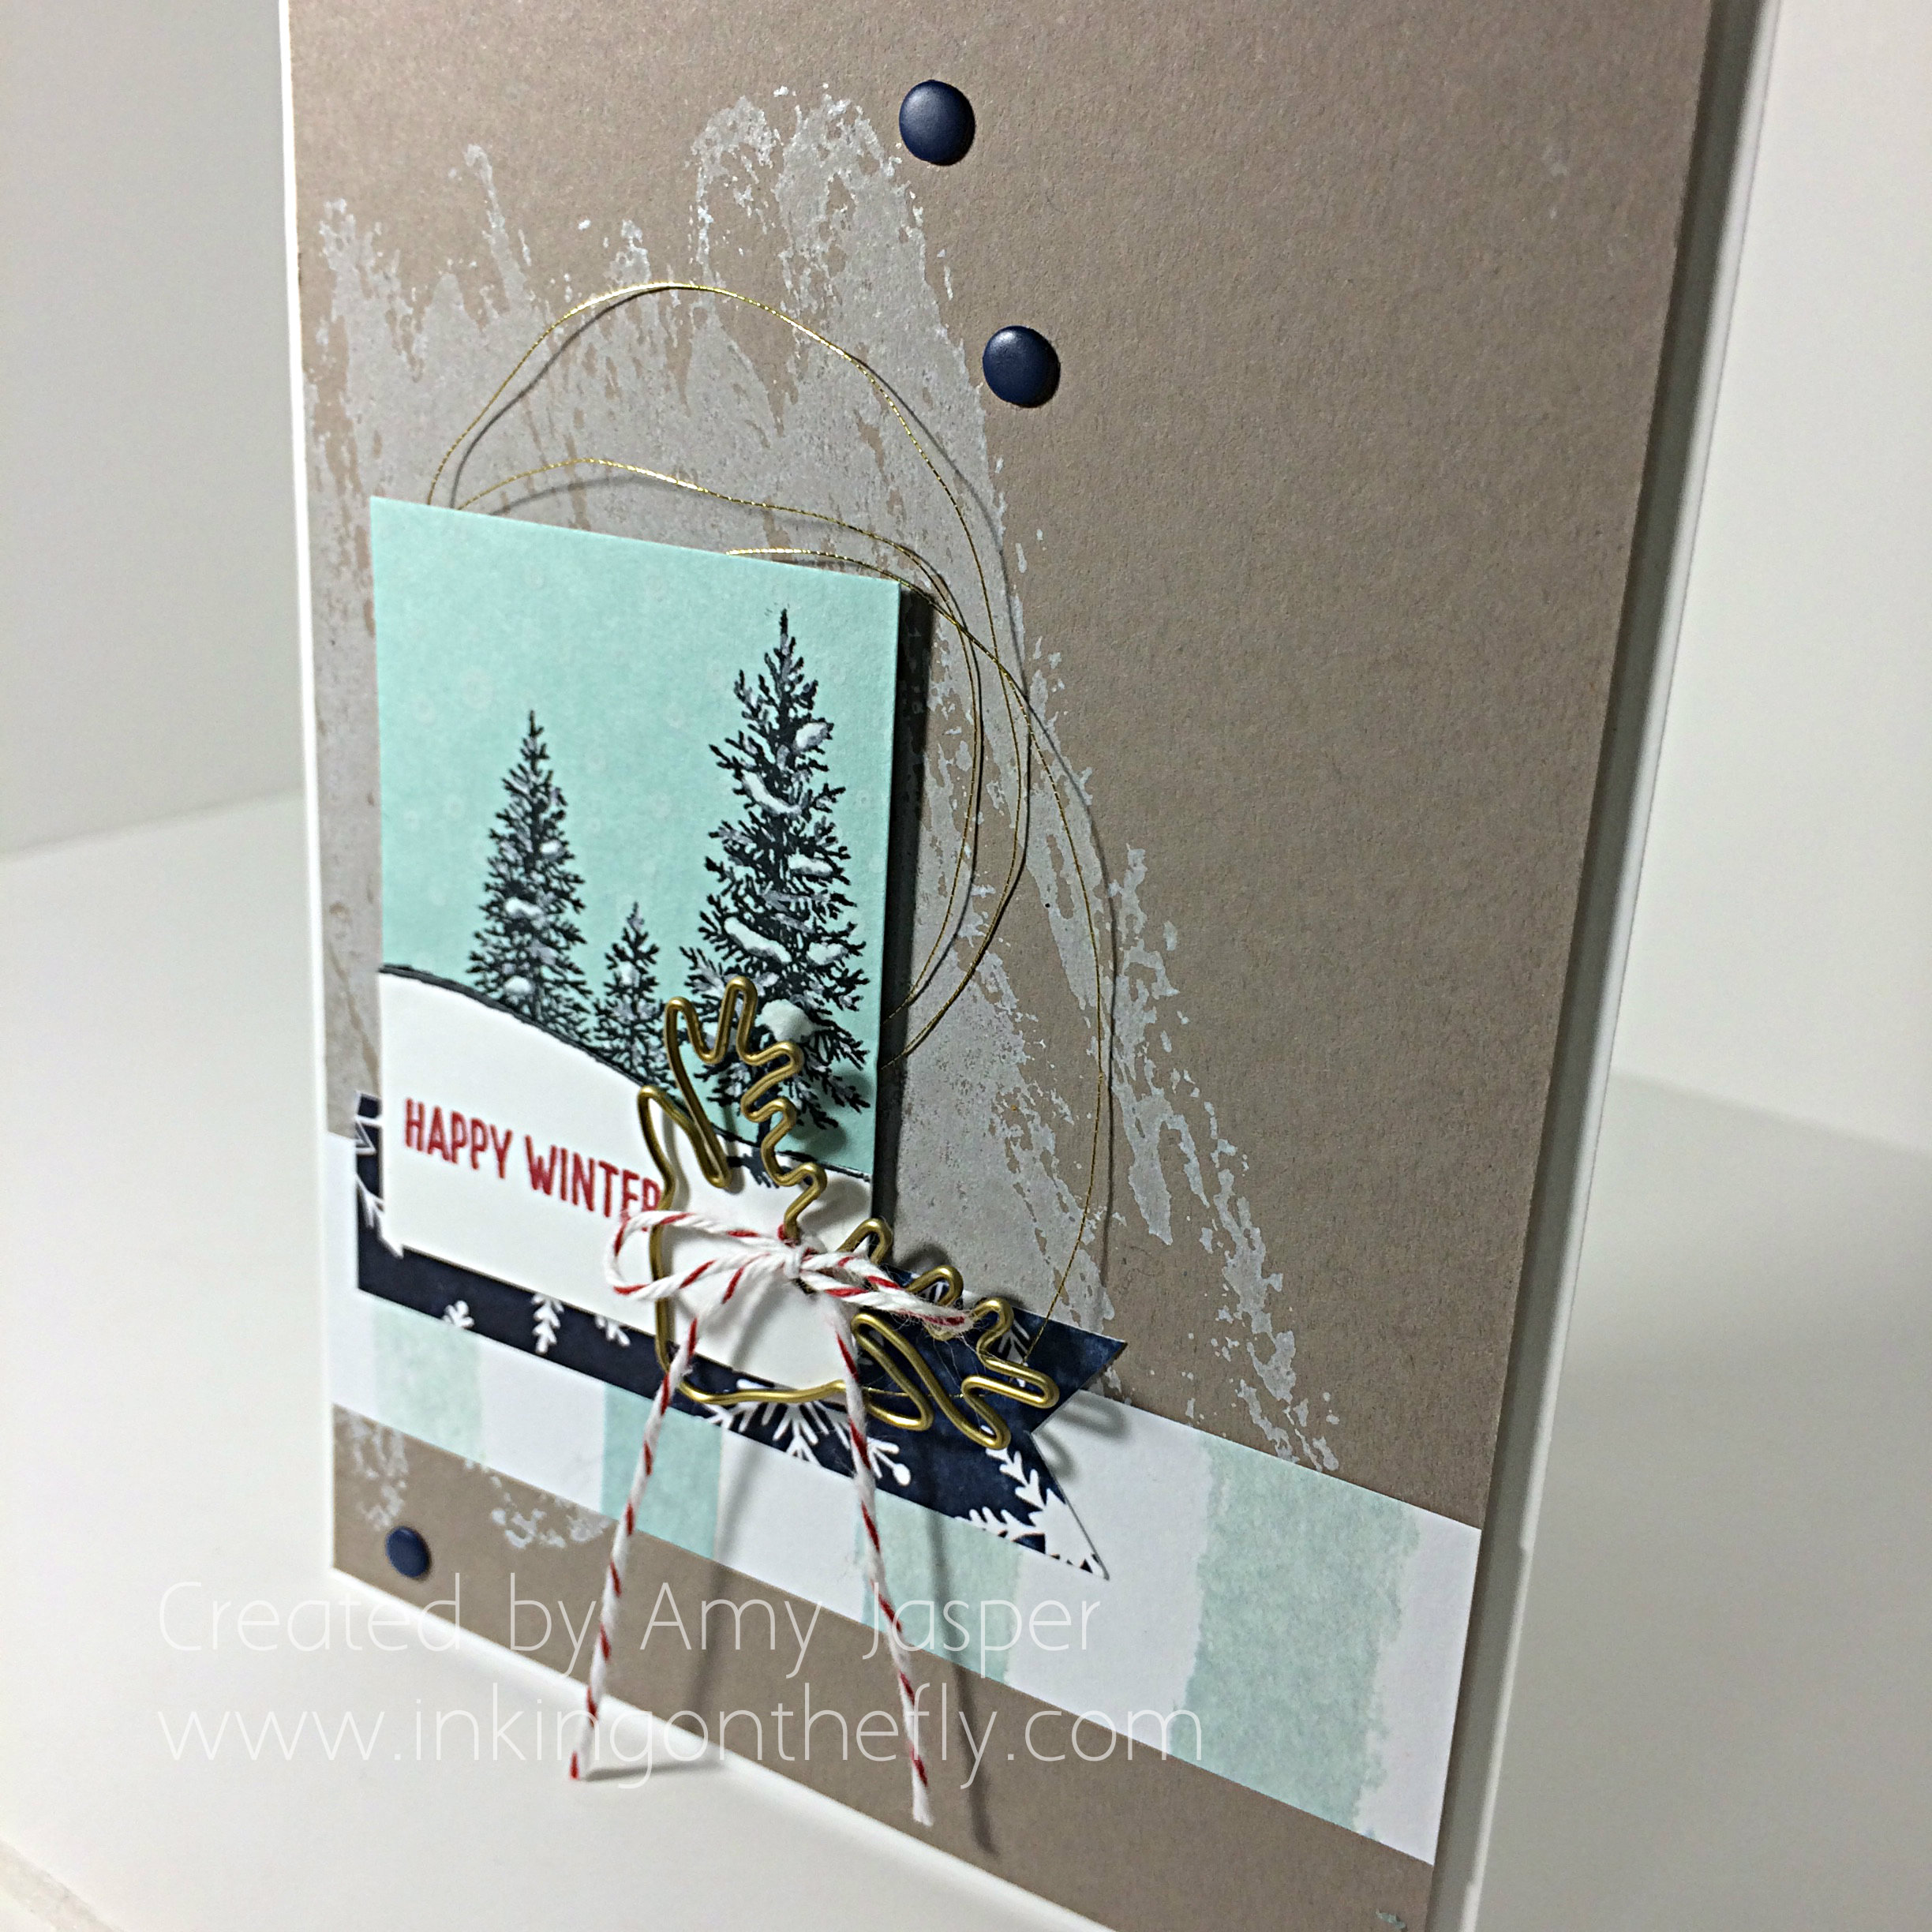
My card today features Tip Top Taupe, Pool Party, and Night of Navy, all wrapped up with a splash of Cherry Cobbler. But first, here’s the sketch from As You See It Challenge #105.

105AYSIHave you been to the challenge site lately? We are so excited to have a few new designers added to our design team, giving you more samples of the challenges each month!

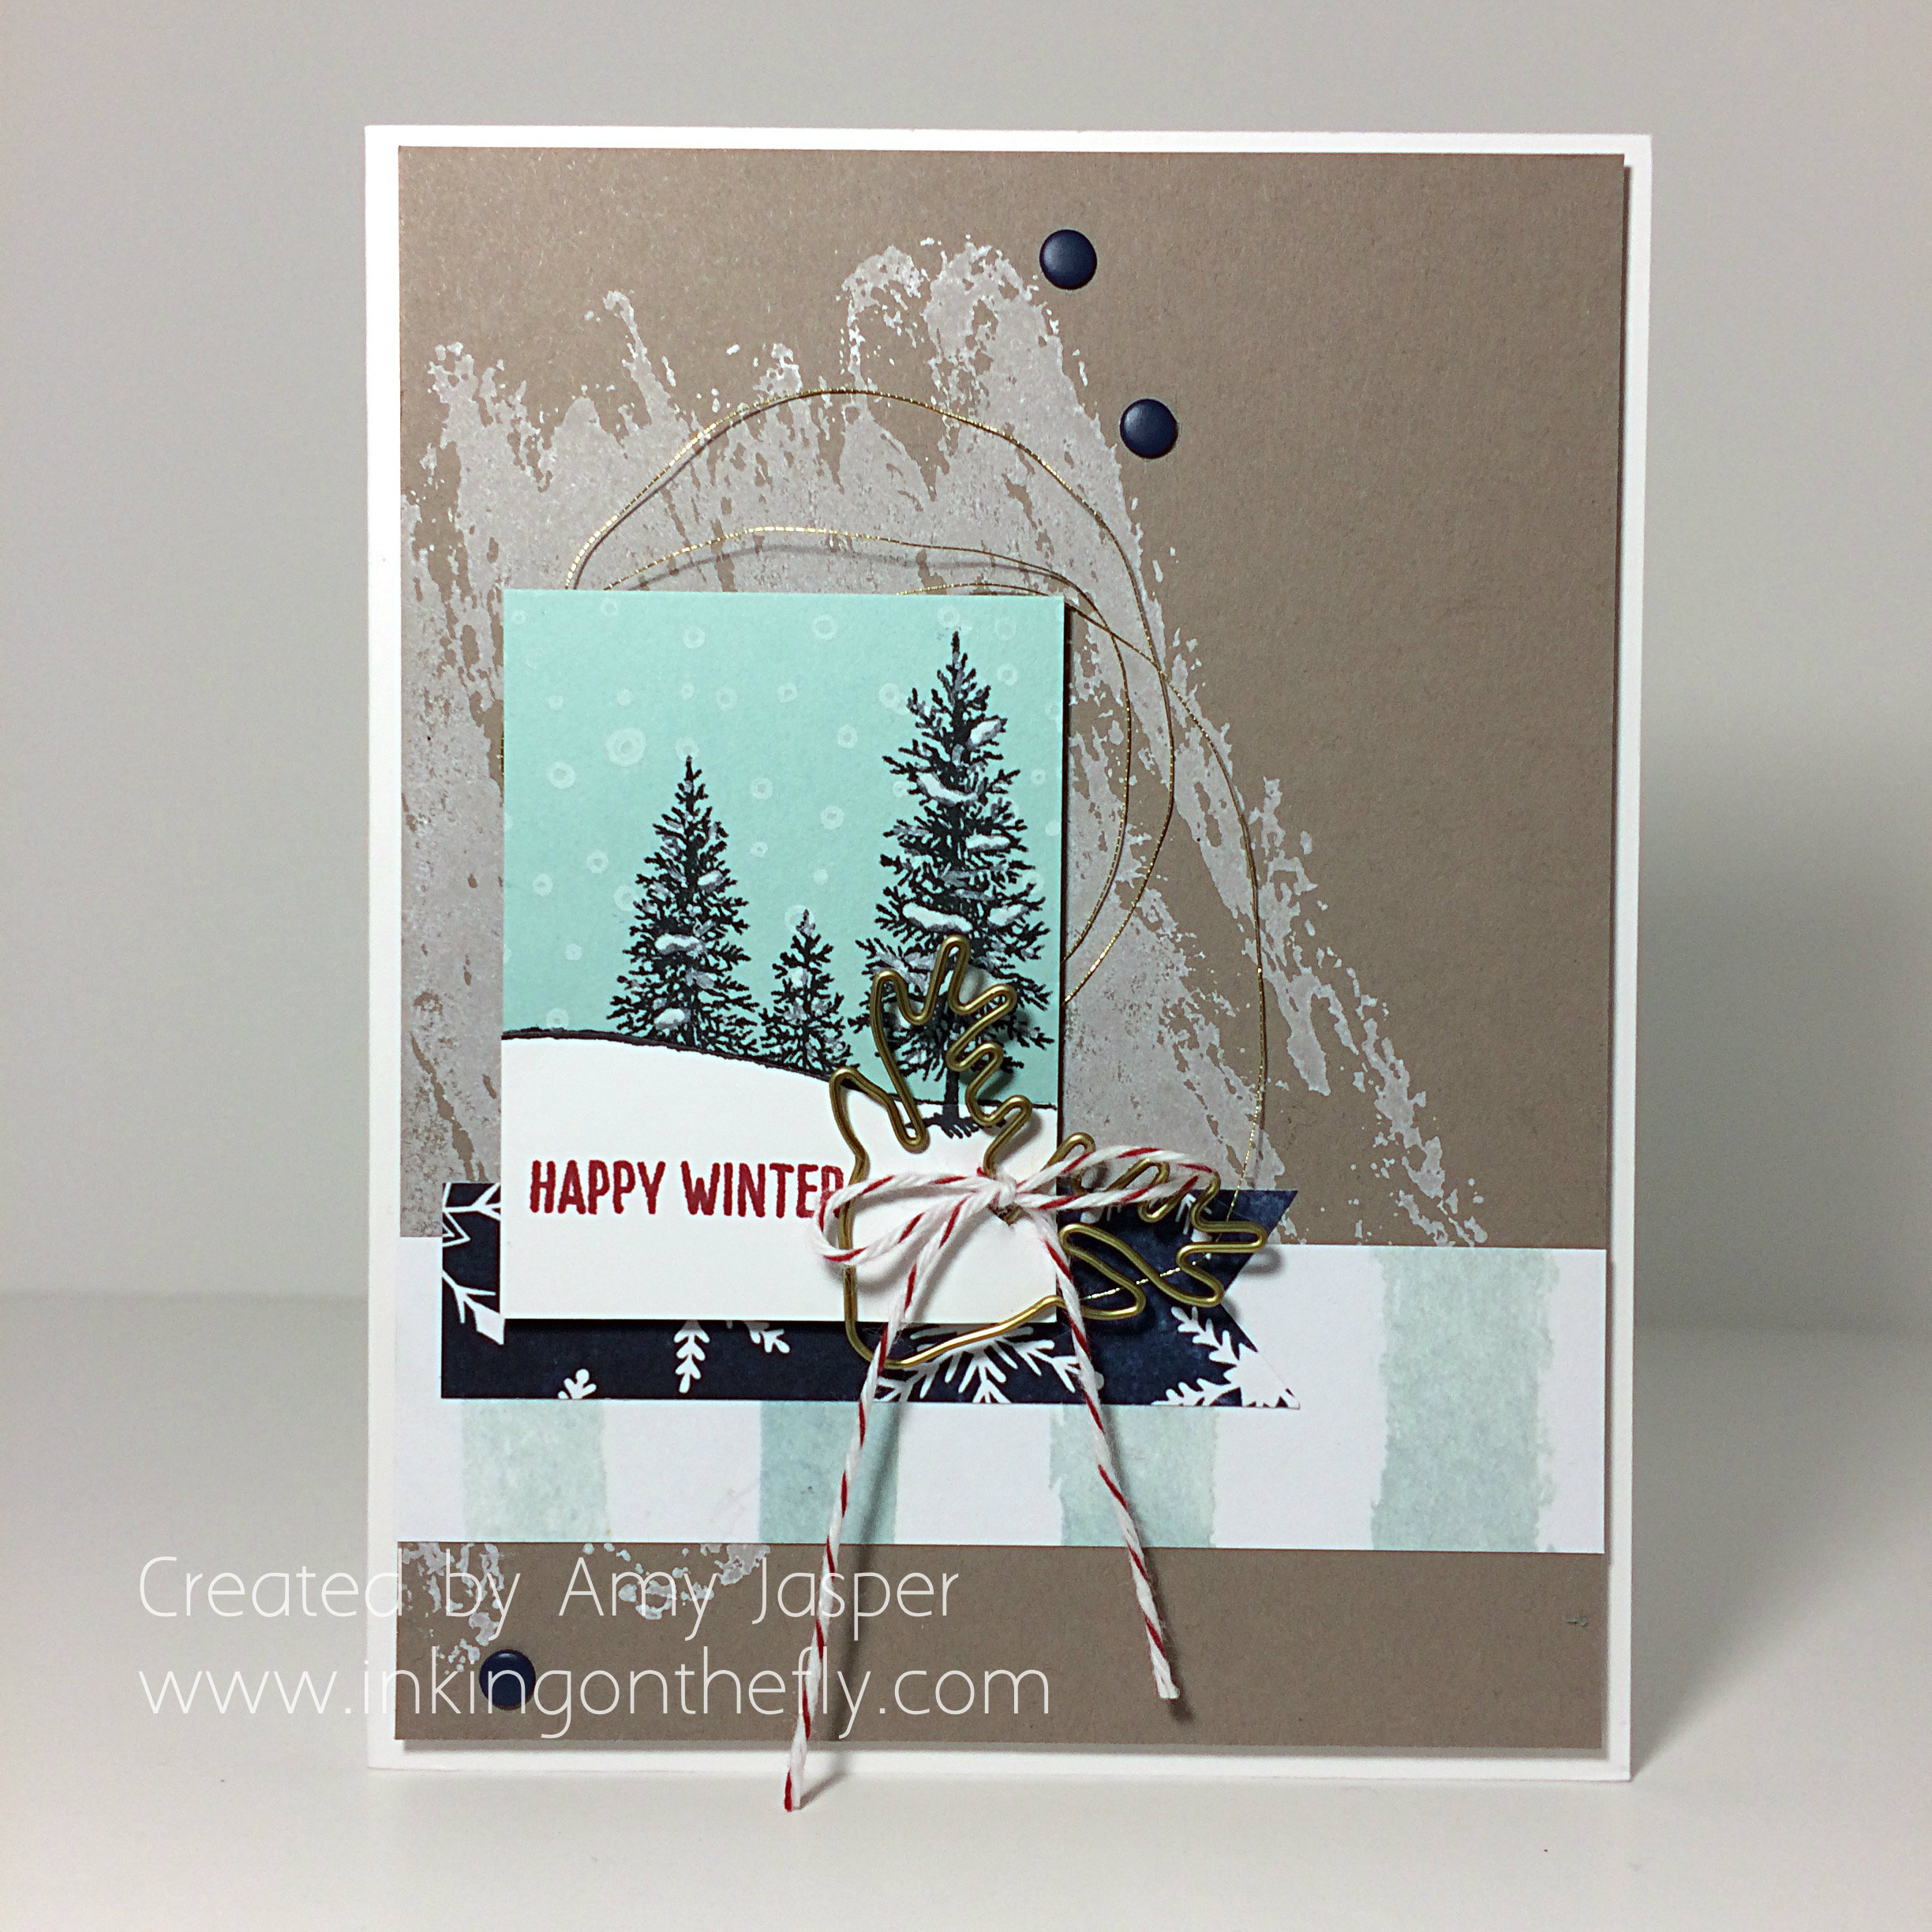
105AmyJasperI haven’t pulled out my Craft Whisper White ink for a while, nor have I used my Watercolour wash background stamp, so I thought I’d use them together! I stamped the background on an angle for the sketch. I think I might use it on an angle more often!!

The Season of Cheer Designer Series paper, combined with the neutral, but warm, Tip Top Taupe cardstock offers a calm and peaceful look. I used the Happy Scenes photopolymer stamp set for the tree image, stamped with Tuxedo Black Momento ink on Pool Party cardstock. I used my Chalk Marker to highlight the snow on the trees and stamped the snow falling with my trusty Whisper White craft ink. I then stamped a second image on Whisper White cardstock and fussy cut along the line of the hill so that the trees were cut right off. This I attached over the Pool Party cardstock to created the white snowy ground. “happy winter” was stamped with Cherry Cobbler ink.

105reindeerThen came the fun part.

I wanted to attach the Reindeer Paperclip, but was having trouble getting it to hold in the lower right hand corner at the angle I wanted it to be in. After looking a bit online for how other people attach those adorable clips, I came across an image of some packaging (completely unrelated to Stampin’ Up), that showed paperclips stored in slits on their storage sheet! Brilliant! Out came the craft knife! I cut a small slit, slipped that paper clip through it and tied a bow with my Cherry Cobbler Baker’s Twine to finish it off.

105angleFinal touches on the card include the Gold Metallic thread in large loops in behind the winter scene which is popped up on Stampin’ Dimensionals, and the Night of Navy Candy Dots.

And there you have it folks! This is a great card for my to do with my Monthly Stampers group. If you’re in my area and are interested in joining my group, this is a great time to check us out.

I’d better go and make my kids school lunches as it’s now 7:30 and everyone else is awake, getting ready for the day.

Be sure to try this sketch and share it on the As You See It blog!