Daisy Lane Cut Out

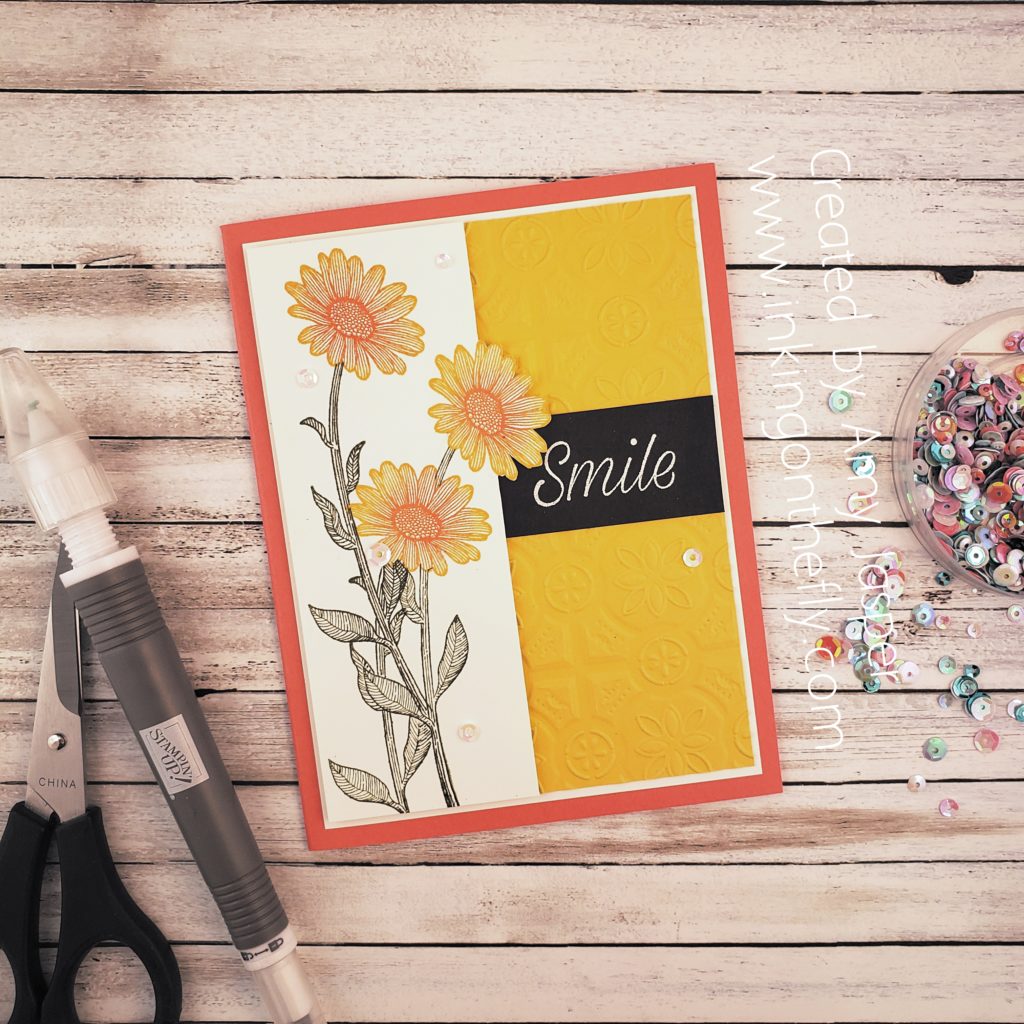
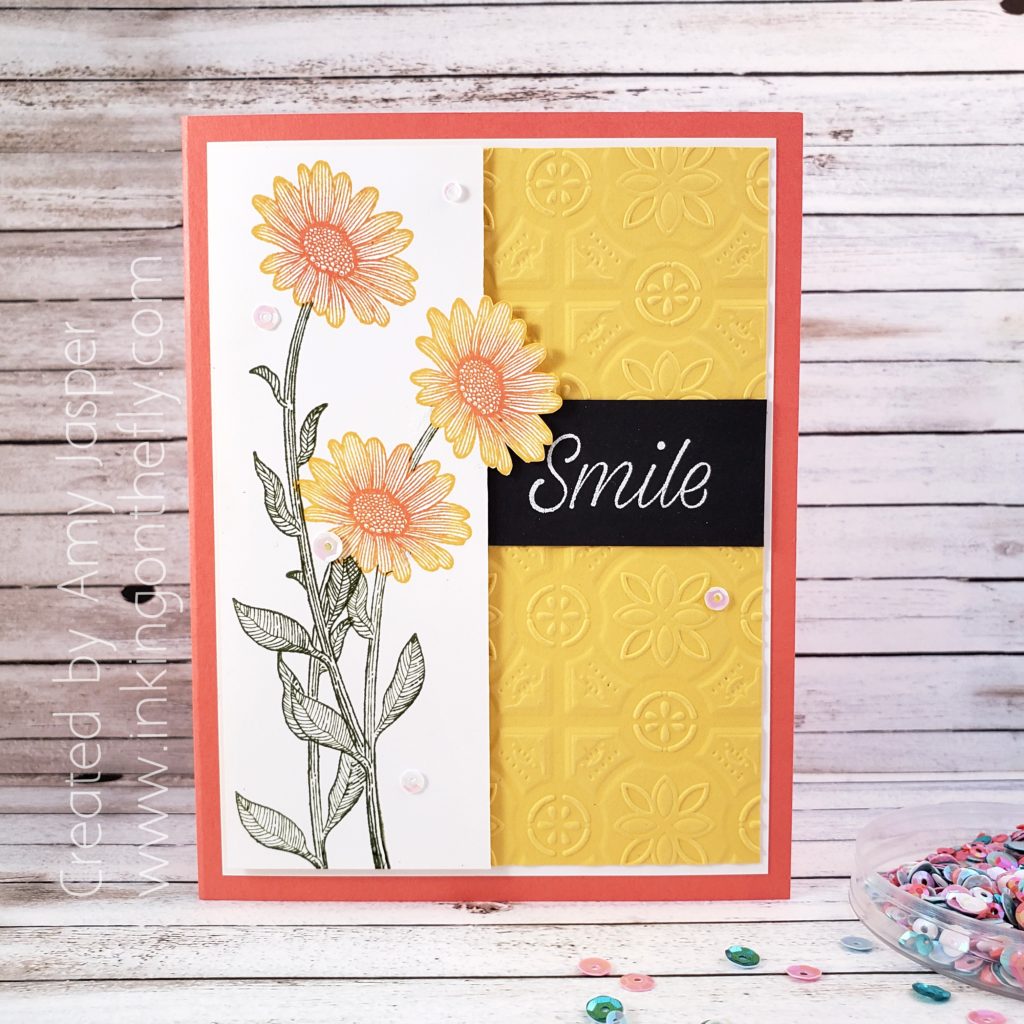
The new 2019-2020 Stampin’ Up! Annual Catalogue has officially launched! It’s full of gorgeous things! The card today shows off stamped images using the new Daisy Lane stamp set.

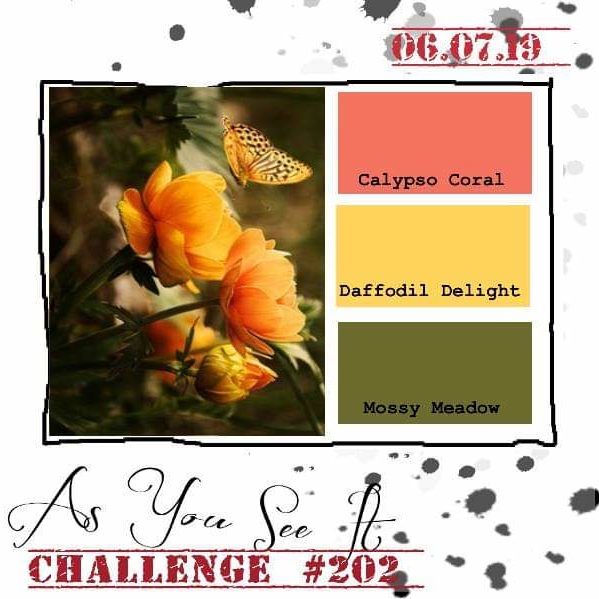
Here’s the As You See It Challenge that inspired my creativity:

These colours are so great together. I added a bit of Basic Black for a striking contrast to the colours in the card.

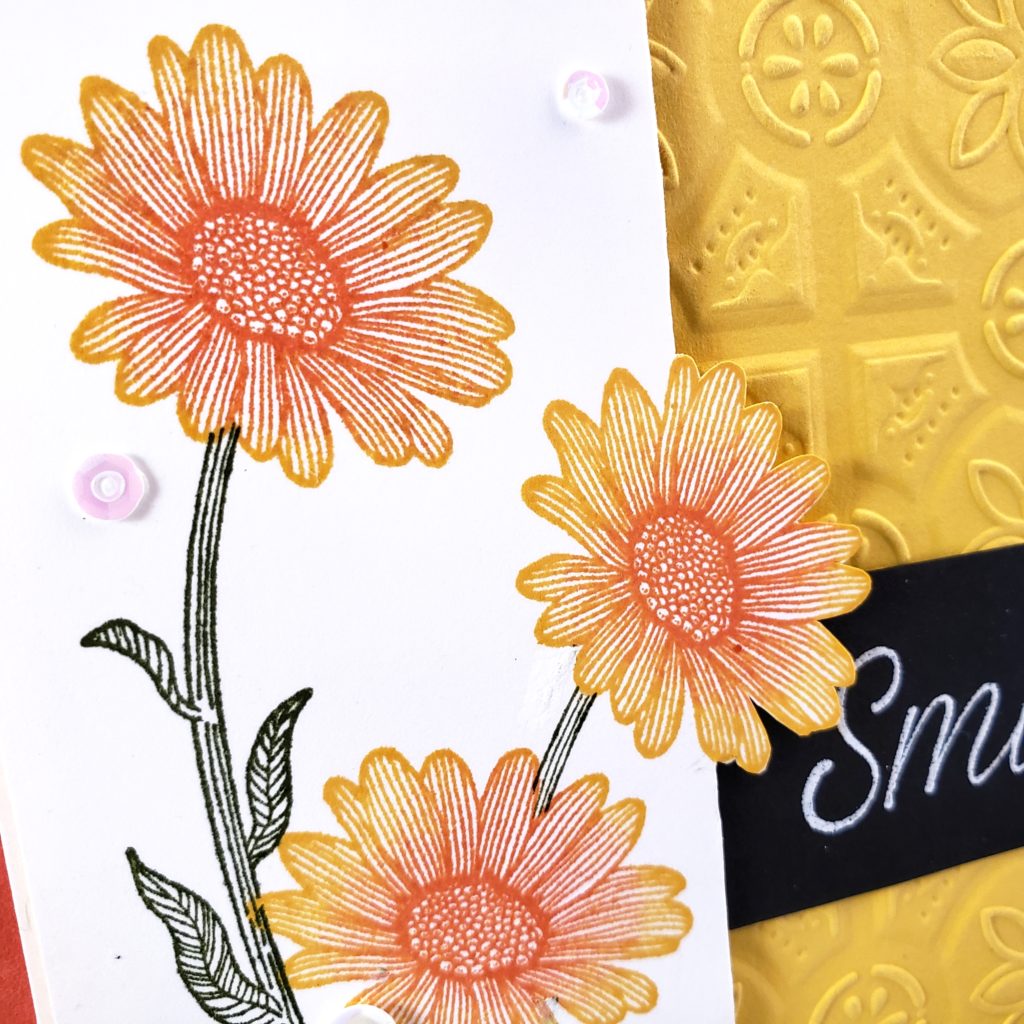
The flower blooms on my card were inked up with Daffodil Delight ink, then I used a Sponge Dauber to add some Calypso Coral ink to the center of the rubber stamp before stamping the image on my Whisper White cardstock. Once the blooms were in place, I created masks to place over them by stamping the flowers on a piece of sticky post-it notes and fussy cutting them. I also created two masks in this same way using the stems of the flowers. I placed the bloom masks on my stamped blooms, then stamped one of the flower stems. I used Mossy Meadow for the stems, but stamped off first to make the ink a bit less bold. Then I applied one of my stem masks over that stamped image and stamped my second stem on the Whisper White cardstock. I applied the second stem post-it mask over the image before stamping my third stem. Then I peeled away all of my masks, revealing the amazing image you see before you!! LOL! (but seriously, it looks pretty awesome!)

Then I drew a line with a pencil and a ruler on the Whisper White cardstock where I wanted to cut off the edge to create the cut out flower section of the card. I used my paper trimmer to follow the pencil line up to my flower image, above as well as below. Then I fussy cut around the flower, meeting up with the cuts I made with my paper trimmer.

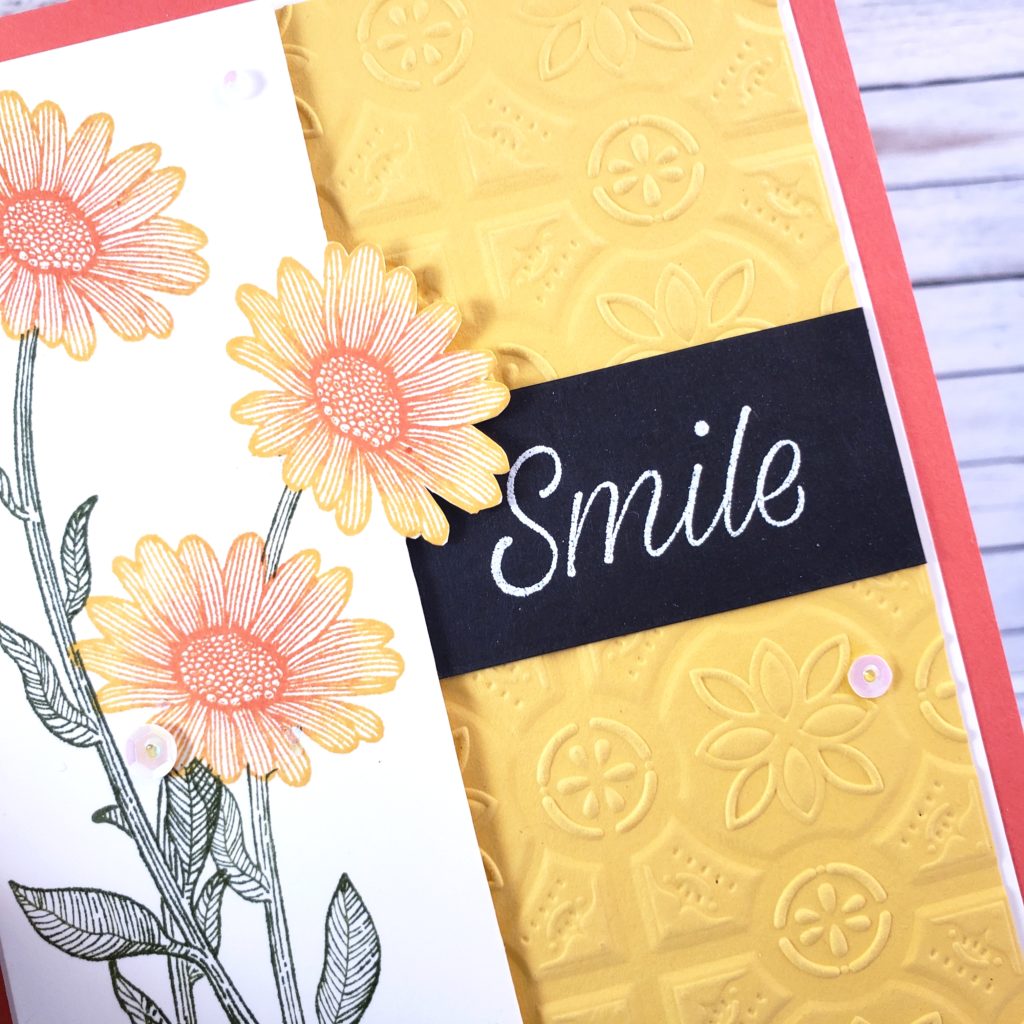
The sentiment is also from the Daisy Lane stamp set, which I stamped with Versamark ink on the Basic Black strip of cardstock (don’t forget to use the Embossing Buddy to get rid of excess static and oils on your paper). White Embossing powder was applied, excess tapped off, and the sentiment was heat embossed using my Heat Tool for a popping sentiment!

The layer of Daffodil Delight cardstock was dry embossed using the Tin Tile Dynamic Embossing Folder and my Big Shot. The rest of the card is all about the layering. Calypso Coral is my card base, then a matte of Whisper White behind the Daffodil Delight. The black strip with the sentiment was adhered over the Daffodil Delight, then the cardstock with the daisies was attached with Stampin’ Dimensionals.  Finally, I used my Take Your Pick tool and the Fine-Tip Glue Pen to add a few of the new Woven Threads Sequin to complete my design.

I am very happy with how this card turned out. I hope you like it. Be sure to leave me a comment and let me know what you think. Questions are welcome as well.

You can play along with the As You See It Challenge blog and try the colour combination for yourself. We love to see what you come up with, so please share!

Have you heard that I’m riding to fight kids’ cancer!?! You can donate by clicking the image below and support my challenge to ride 750km in June. I hope to raise $1500 to help kids and their families in their battle with cancer. So far, I have been on my bike for 197km and raised $520. I am feeling a bit tired and sore, but it’s more than worth it!! Thank you for your support!
Bird Ballad and Paper Pumpkin

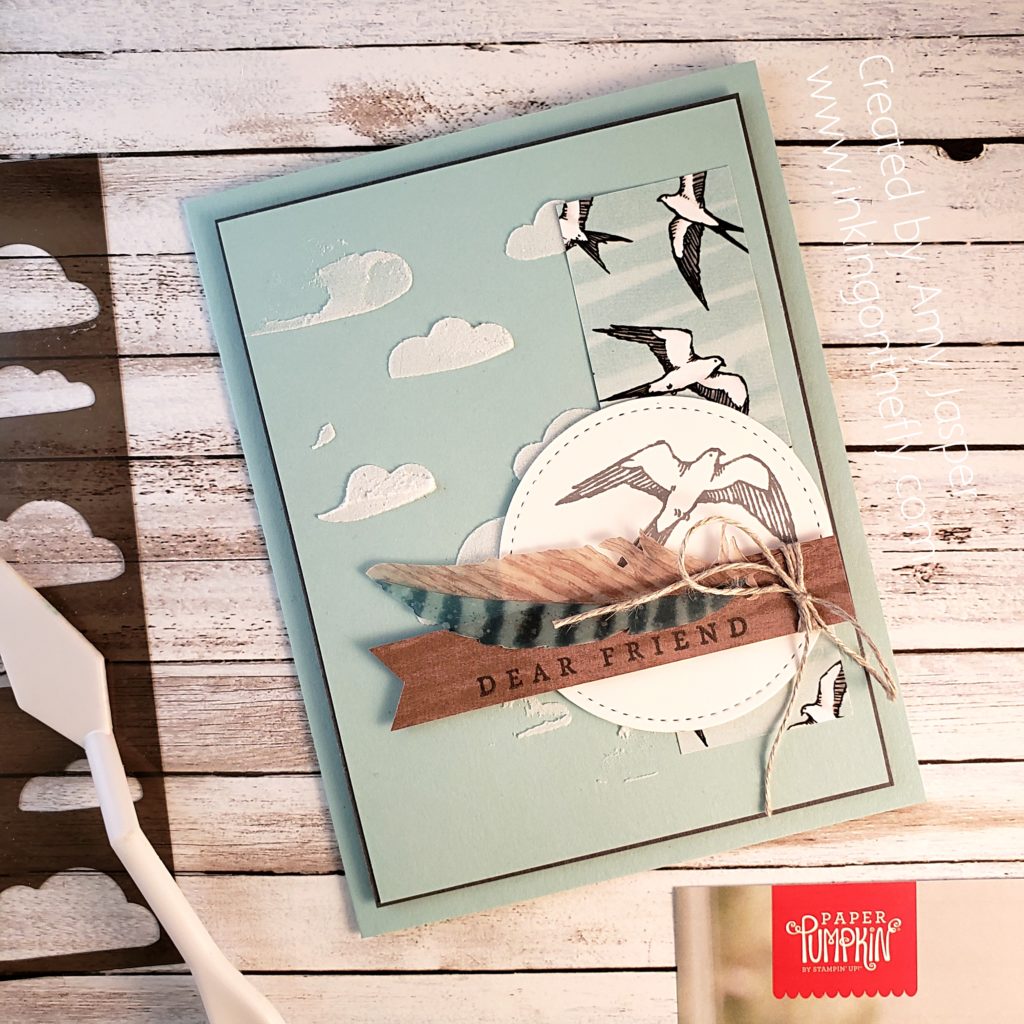
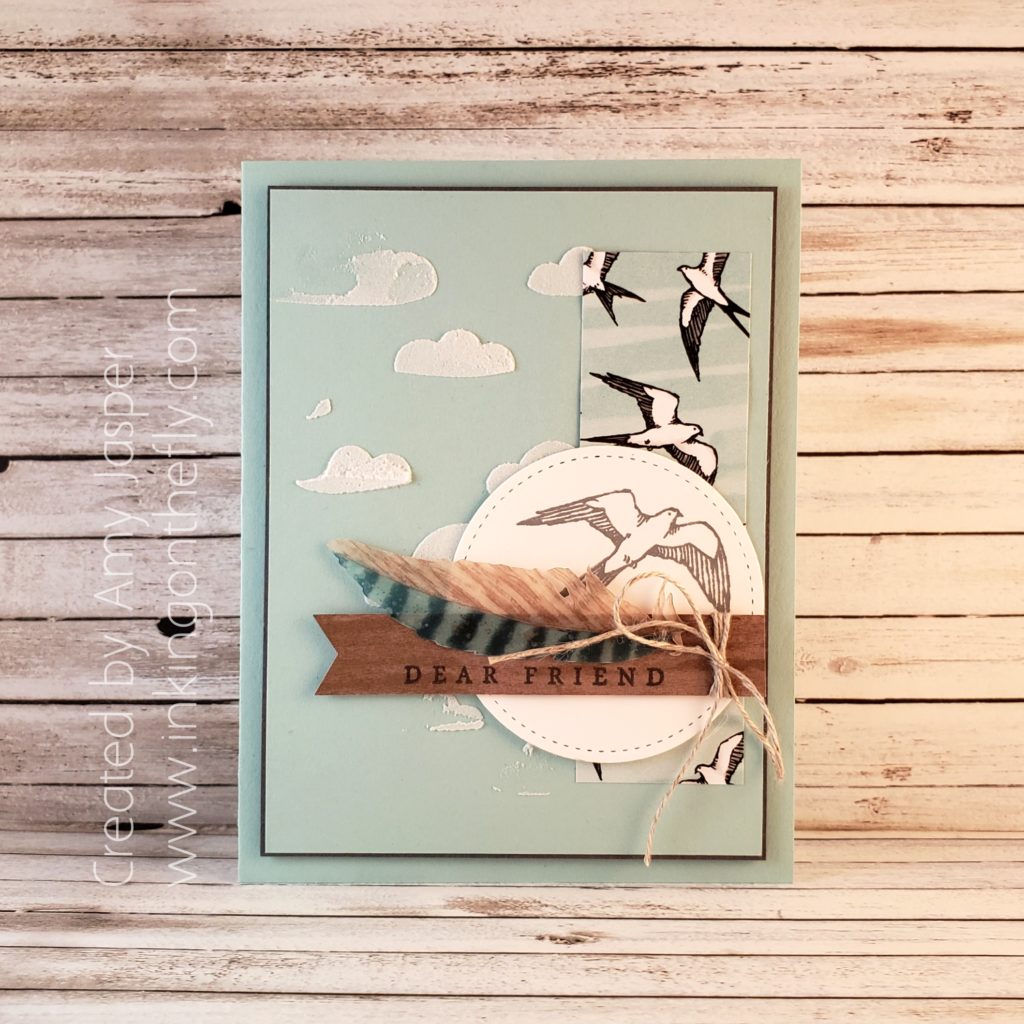
I was so pleased to see that the bird images in the May Paper Pumpkin kit by Stampin’ Up! were a perfect match to the birds on the Bird Ballad Designer Series paper! (Available for purchase June 4th when the annual 2019-2020 catalogue sales period begins!). I figured this was too perfect to pass up! You can find out more about Paper Pumpkin by clicking HERE.

My card design today uses some elements and stamps left over from the May 2019 Paper Pumpkin kit, Hugs from Shelli.

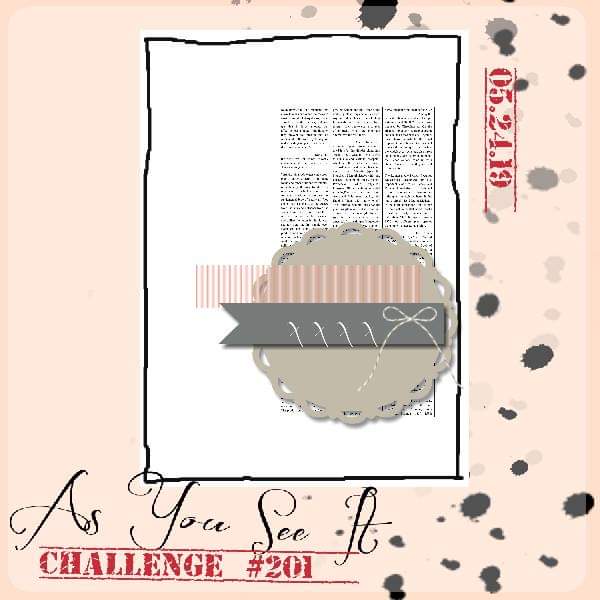
But first, here’s the As You See It Challenge sketch that was my jumping off point for this card.

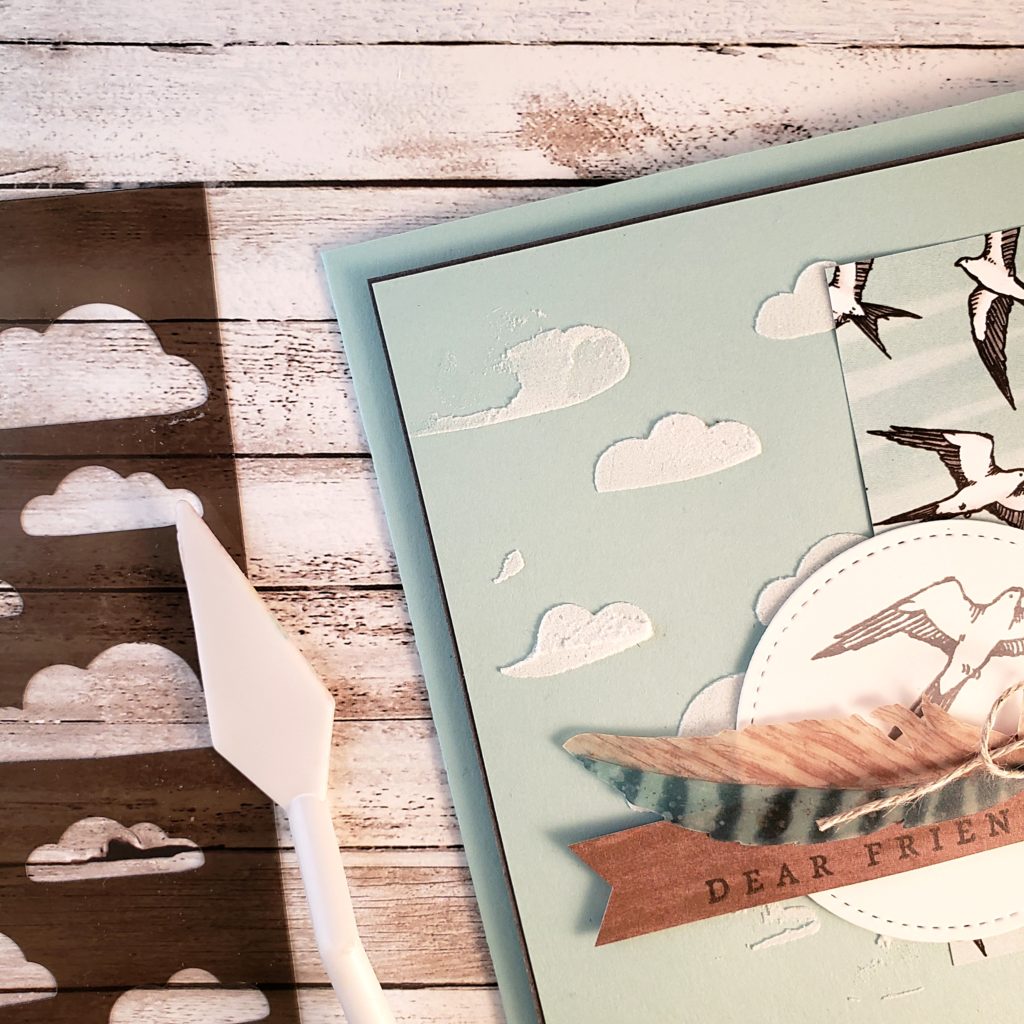
I started with a piece of Pool Party cardstock on which I already applied Embossing Paste with the cloud mask as part of one of my Facebook Live tutorial videos. If you’d like to see more about how you can use Embossing Paste, click HERE to see the Facebook video.

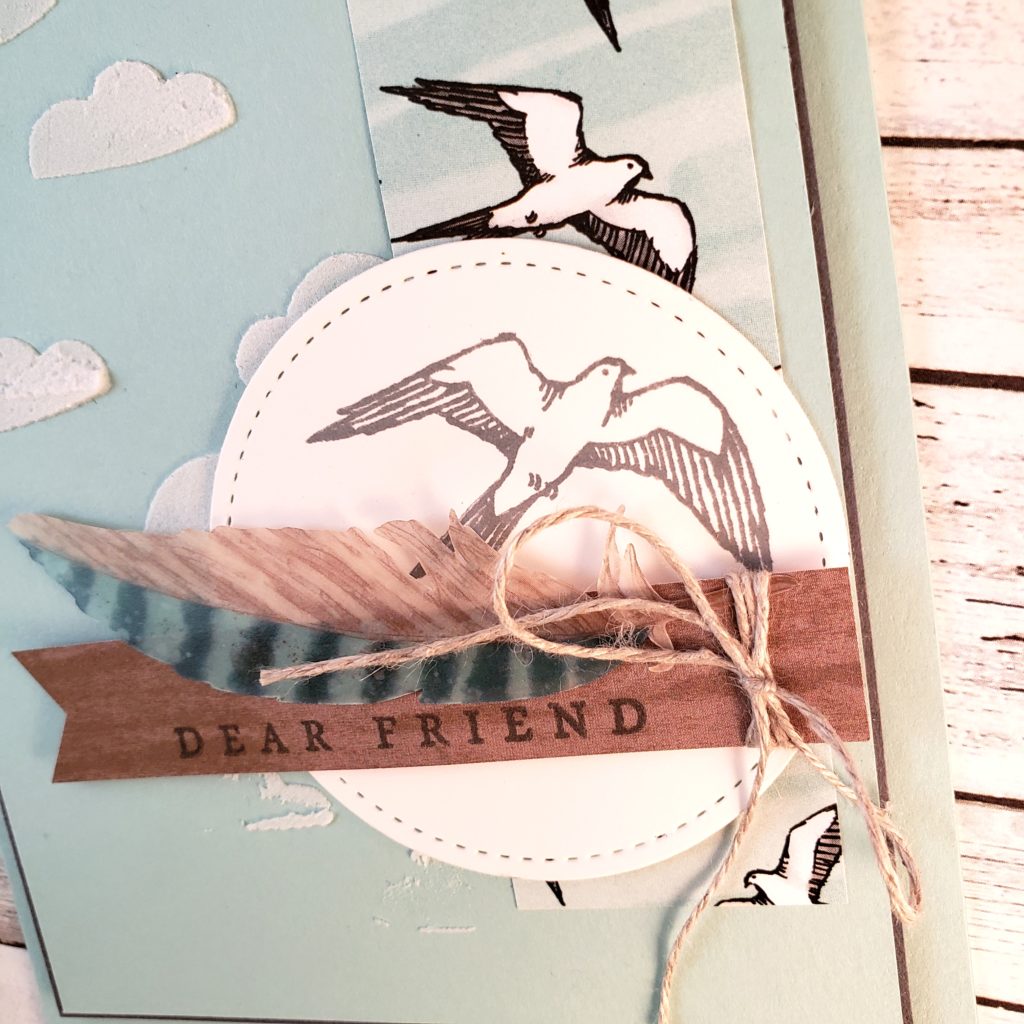
The strip of Bird Ballad Designer Series Paper was adhered to the card, then I die cut a piece of Whisper White cardstock using one of the circles from the Stitched Shapes Framelits Dies and ran it through the Big Shot die cutting machine. On the circle, I stamped one of the bird images from the Paper Pumpkin kit with Basic Gray Classic Ink.

See how it matches the patterned paper! So cool!

Adhered to the circle with Stampin’ Dimensionals, is one of the vellum feathers from the Hugs from Shelli May Paper Pumpkin Kit along with a strip of woodgrain patterned paper from Nature’s Poem Designer Series Paper. One of the sentiments from the Paper Pumpkin kit was stamped on the woodgrain paper strip. Linen thread tied in a bow around the strip of woodgrain patterned paper adds a bit of texture.

To complete the card, the cloud covered Pool Party Paper was adhered to a piece of Basic Gray cardstock. Finally, it was all attached to the Pool Party card base with Stampin’ Dimensionals.

The Hugs from Shelli May Paper Pumpkin Kit is beautiful. You can see it being unboxed and assembled in this VIDEO. Stampin’ Up! is putting out some gorgeous Paper Pumpkin kits lately. Subscribe to Paper Pumpkin so you can get these beautiful crafting kits delivered to your door each month. Click on this LINK to make it happen!!

Why not give this sketch a try for yourself. You can even share it with us by posting a photo of it online (your blog, Pinterest, public Facebook post, etc) then linking it to the As You See It Challenge Blog by following the prompts. I hope you do! We love seeing your beautiful creations!

(There’s a lot of links in this post, I hope you find your way.)

Take Your Cards to the Next Level with Embossing Paste

I had some fun playing with Stampin’ Up! Embossing Paste last week. Through playing, I accidentally created a new technique!

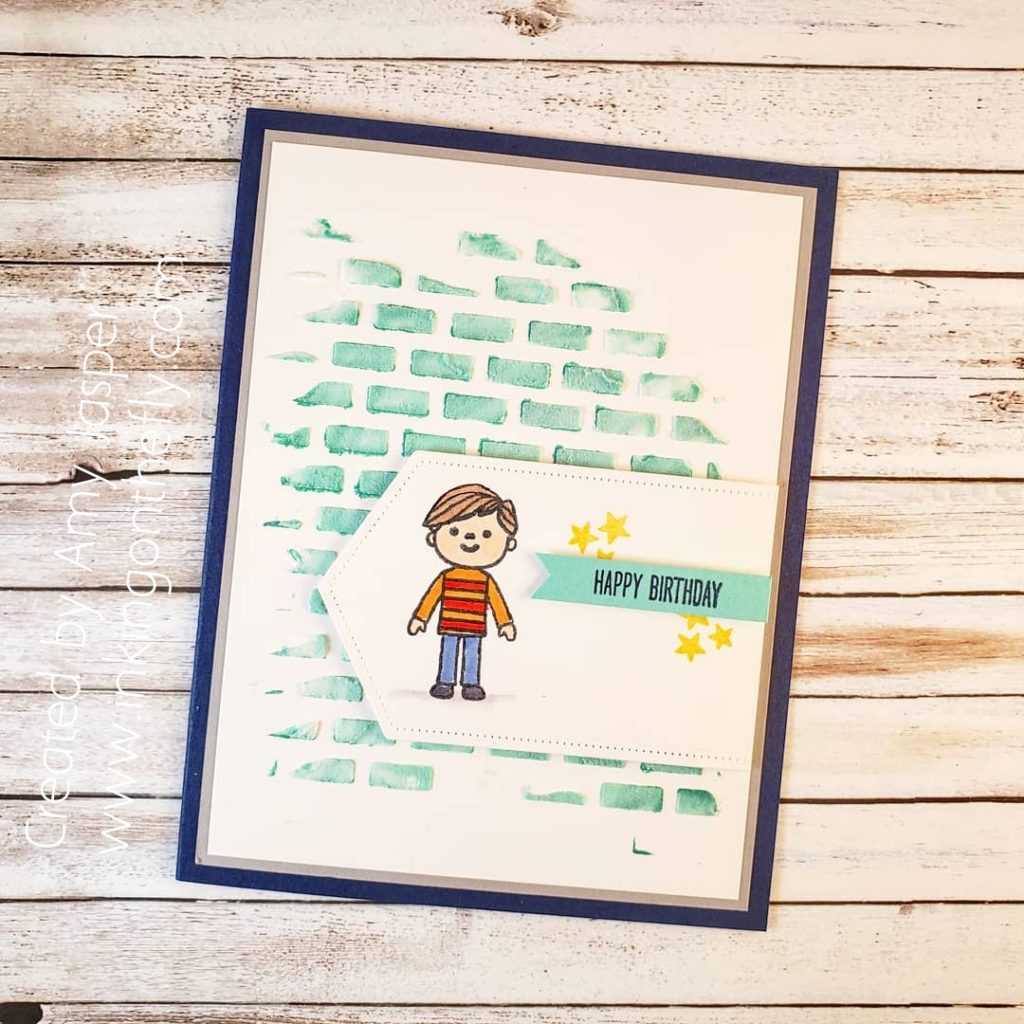
The card I shared last week showed off the results of that first accident, while today’s card shows another background made with the same technique using just Coastal Cabana ink.

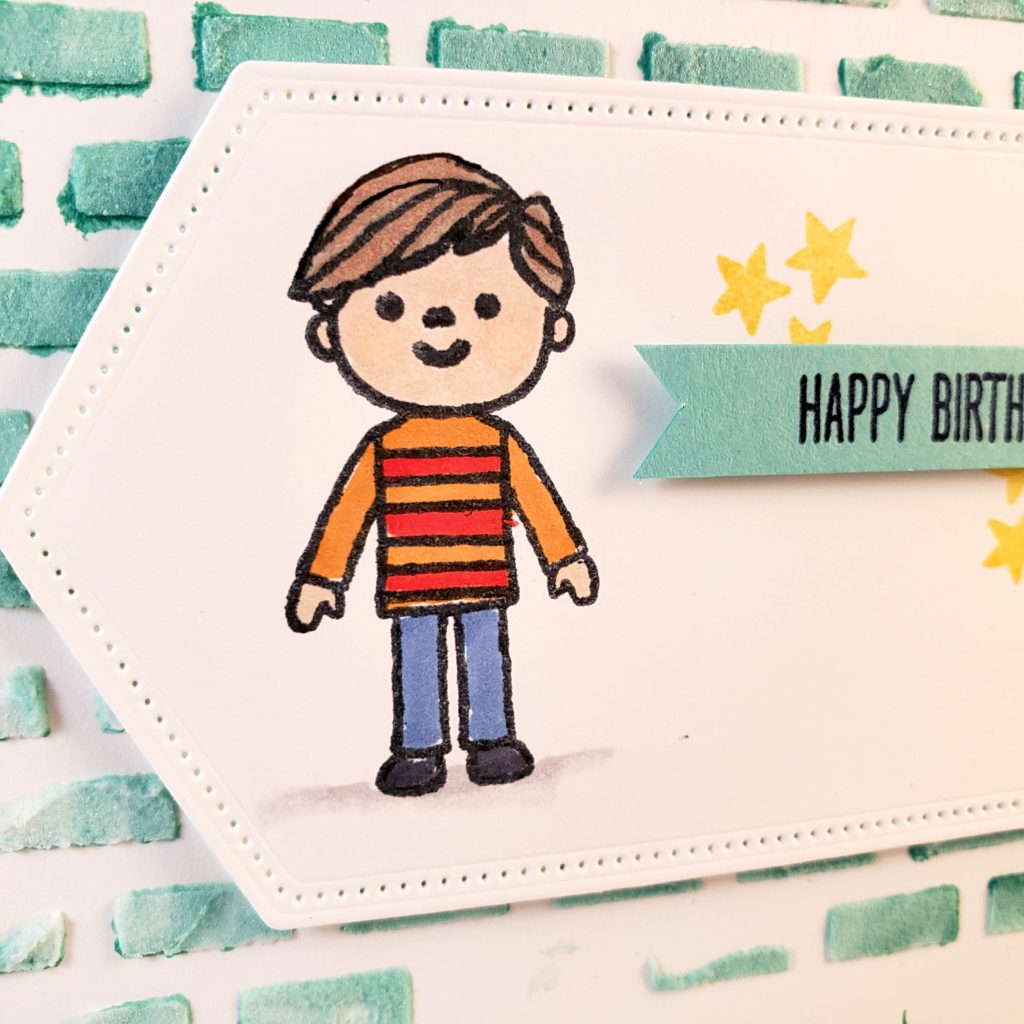
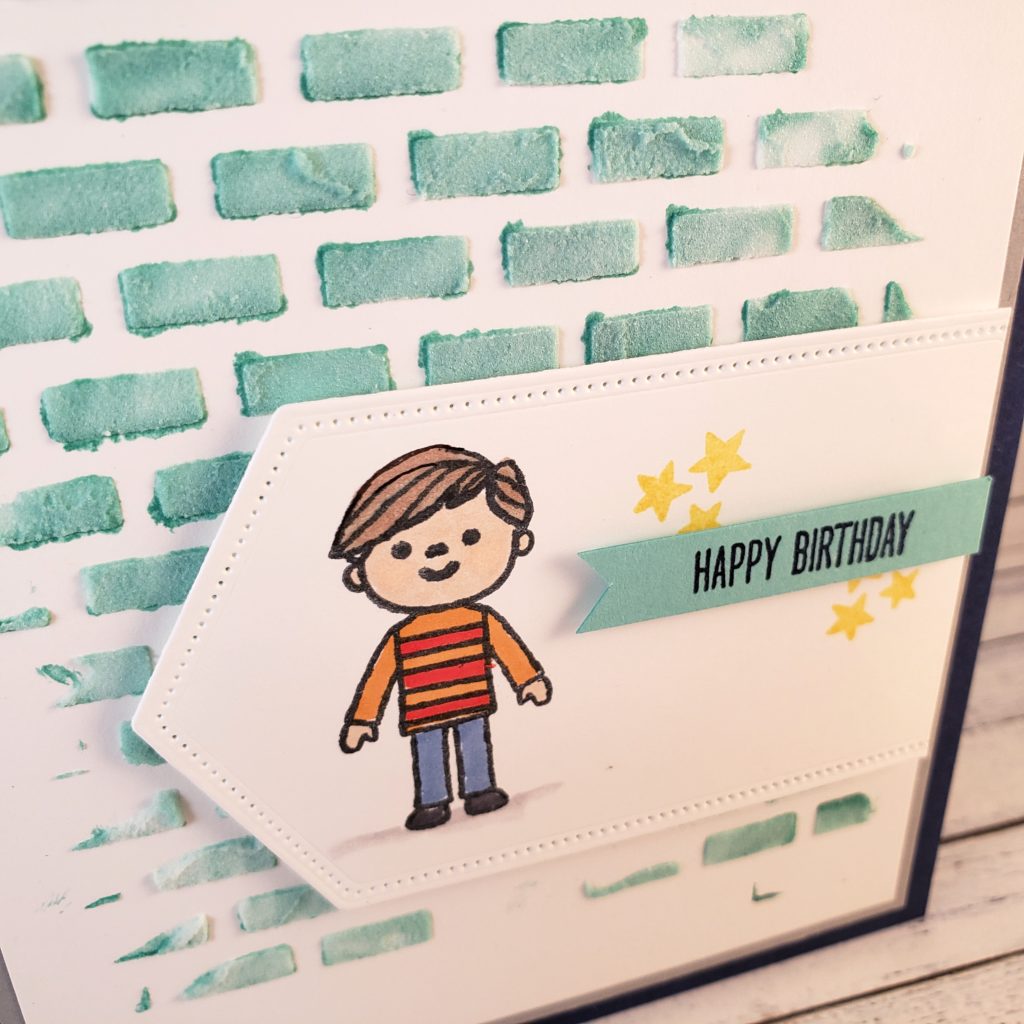
The Friends & Family Stamp Set from Stampin’ Up! is so cute and allows the ability to customize people for your paper crafts! You can use it to make an entire customized family! This set is retiring at the end of May, so order it before it’s gone!

I coloured my cute boy with Stampin’ Up! Blends Markers. To create the shadow at his feet, you can use the Light Smokey Slate Blends Marker, then use the Color Lifter over the bottom of the shadow and it will fade it out a bit, softening the edge.

I used Coastal Cabana ink to colour the Embossing Paste, by first applying a small amount of ink directly to the brick patterned mask, then applied the paste over the color, which allows the paste to become coloured and provides a nice variation to the final brick look. I love how easy it is and how cool it looks!

You can check out my Facebook Live video of this embossing paste technique by clicking HERE.