Watercolour Carousel

Watercolouring is such a beautiful look and can seem like a difficult venture. But it doesn’t have to be a challenge. This card is created using a simple watercolour technique combined with the emboss resist. Easy peasy!Watercolour Carousel card by Amy Jasper www.inkingonthefly.com
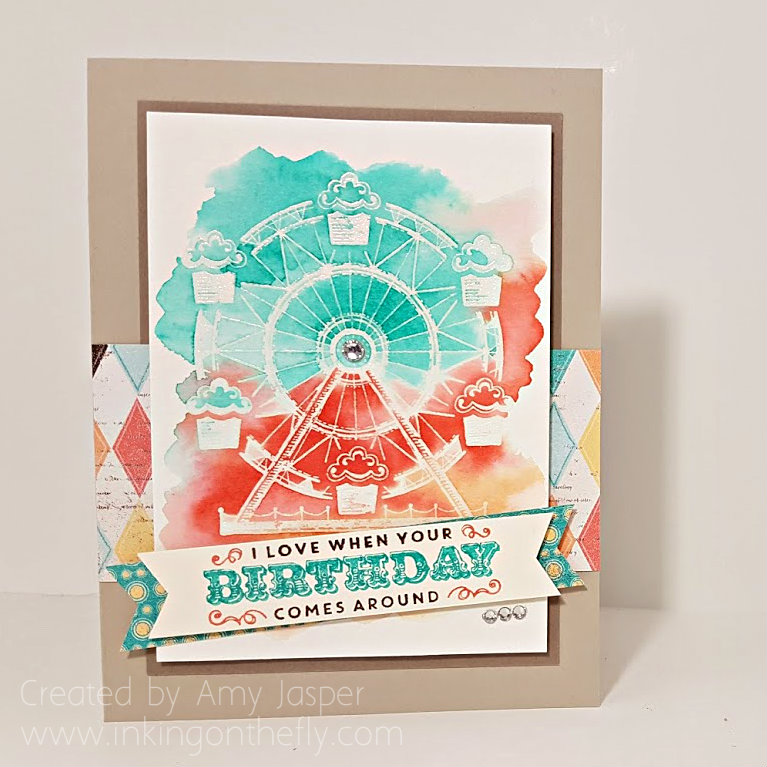
I started by stamping the carousel image from the Carousel Birthday stamp set with Versamark ink on Stampin Up’s Watercolor Cardstock. Then I added some clear embossing powder to the image, tapped off the excess and heat set it with my Heat Tool until the image was clear and shiny.

Next, I applied water over the image. Just clear water using my Aqua Painter for a mess-free experience. I put the water only where I wanted my colour and applied it quite liberally to get the watercolour cardstock good and wet!

The inks came next: First I picked up some Bermuda Bay with my Aqua Painter and applied it to the top most section of my wet cardstock. I didn’t have to move the ink around very much as the water I had applied first did most of the work for me. I cleaned off my brush and picked up some Calypso Coral ink and applied it to the middle section of the area being careful to avoid having it touch the Bermuda Bay too much (that would just get muddy looking and nobody likes a muddy fairground!). Lastly, I cleaned off my brush again and used it to apply some Peek-a-boo Peach ink to the lower portion of my watered cardstock. To get the best colour saturation, I made sure that I used a drop of Ink Refill in the lid of each of these colours. This allowed me to pick up a nicely concentrated amount of ink on my Aqua Painter brush.
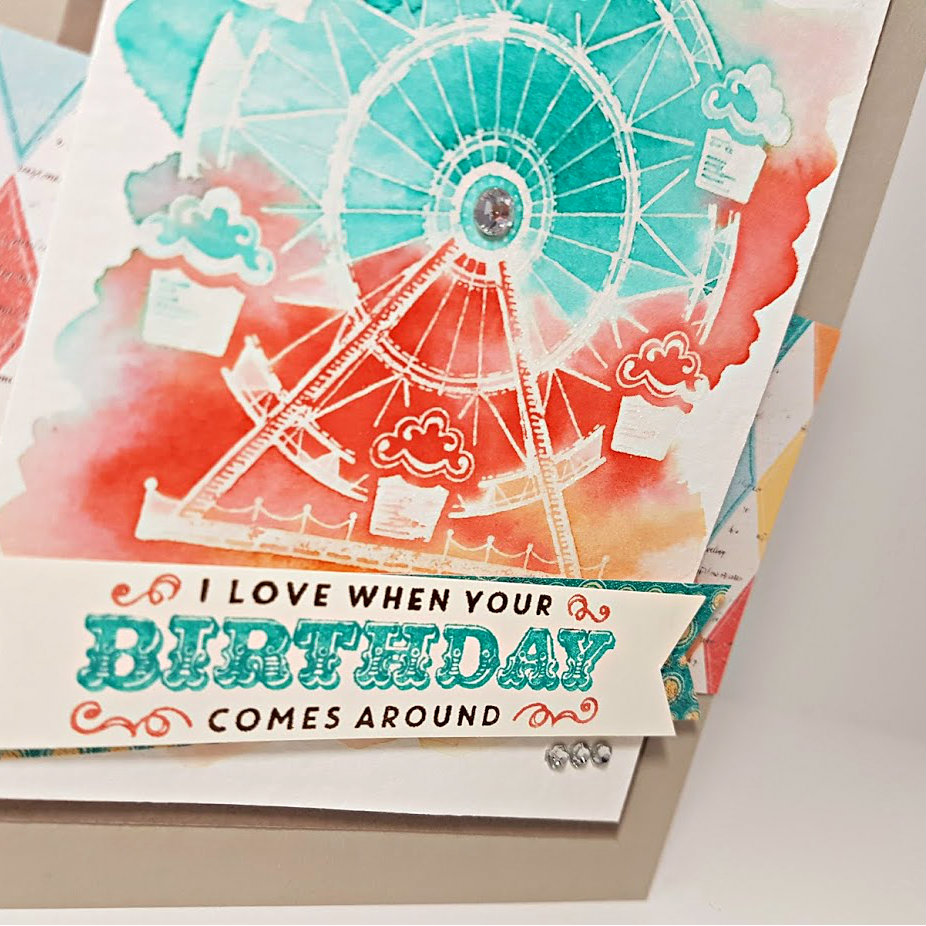
watercolour carousel card by Amy Jasper www.inkingonthefly.comWhen I was happy with my colours, I set that aside to dry and continued with the rest of the card. The image doesn’t end up coloured with the rest of the paper because the embossing repells the ink, not allowing it to saturate those areas of the watercolour cardstock.

Sahara Sand cardstock was used for the card base, then a layer of Tip Top Taupe. The patterned paper used is from the Cupcakes and Carousels Designer Series Paper Stack from Stampin’ Up. I used one larger strip across the front of the card and another smaller strip as an accent behind the Very Vanilla banner. The sentiment, also from the Carousel Birthday stamp set, was inked using my Stampin’ Up Markers (Bermuda Bay, Early Espresso, and Calypso Coral), on which I “huffed” with my breath to re-moisten the ink before stamping it on the Very Vanilla cardstock.

When my watercoloured image was dry, I could add it as my next layer using Stampin’ Up Dimensionals. The banner ends were hand cut with my Paper Snips; the patterned paper banner adhered directly, while the Very Vanilla banner with the sentiment was adhered using Stampin’ Up Dimensionals.

Almost done! It just needed some bling, so I added a strip of three Basic Rhinestones just below the right side of the banner and one single larger Basic Rhinestone to the center of the carousel image.

watercolour carousel card by Amy Jasper www.inkingonthefly.comI hope you like it. I sure do! It’s sooo pretty!

Be sure to leave me a hello and let me know if you’ve tried this watercolouring technique before and how it worked out for you.

Save

Save

Save

Sending Smiles Shadow Box Card

Yay! The As You See It Challenge Blog is up and running again! After tremendous technical issues, it has emerged anew, like the phoenix from the ashes! LOL! It sure feels like that after all that the folks working on it have been through. Thanks to all their hard work, we have had to start with a whole new web page using a whole new platform. Sadly, none of our previous material could be retrieved.

So the card today is one of many As You See It Challenge designs that I will be sharing here on my Inking on the Fly blog. You will see a new design every two weeks that will hopefully inspire you to play along with the As You See It Challenge Blog! It’s fun! It’s creative! And it will get your mojo flowing for a stepping-off point toward more of your own creative genius! I know it’s true because I have experienced it first hand, folks!!

Here’s the sketch challenge on which I have based my design:

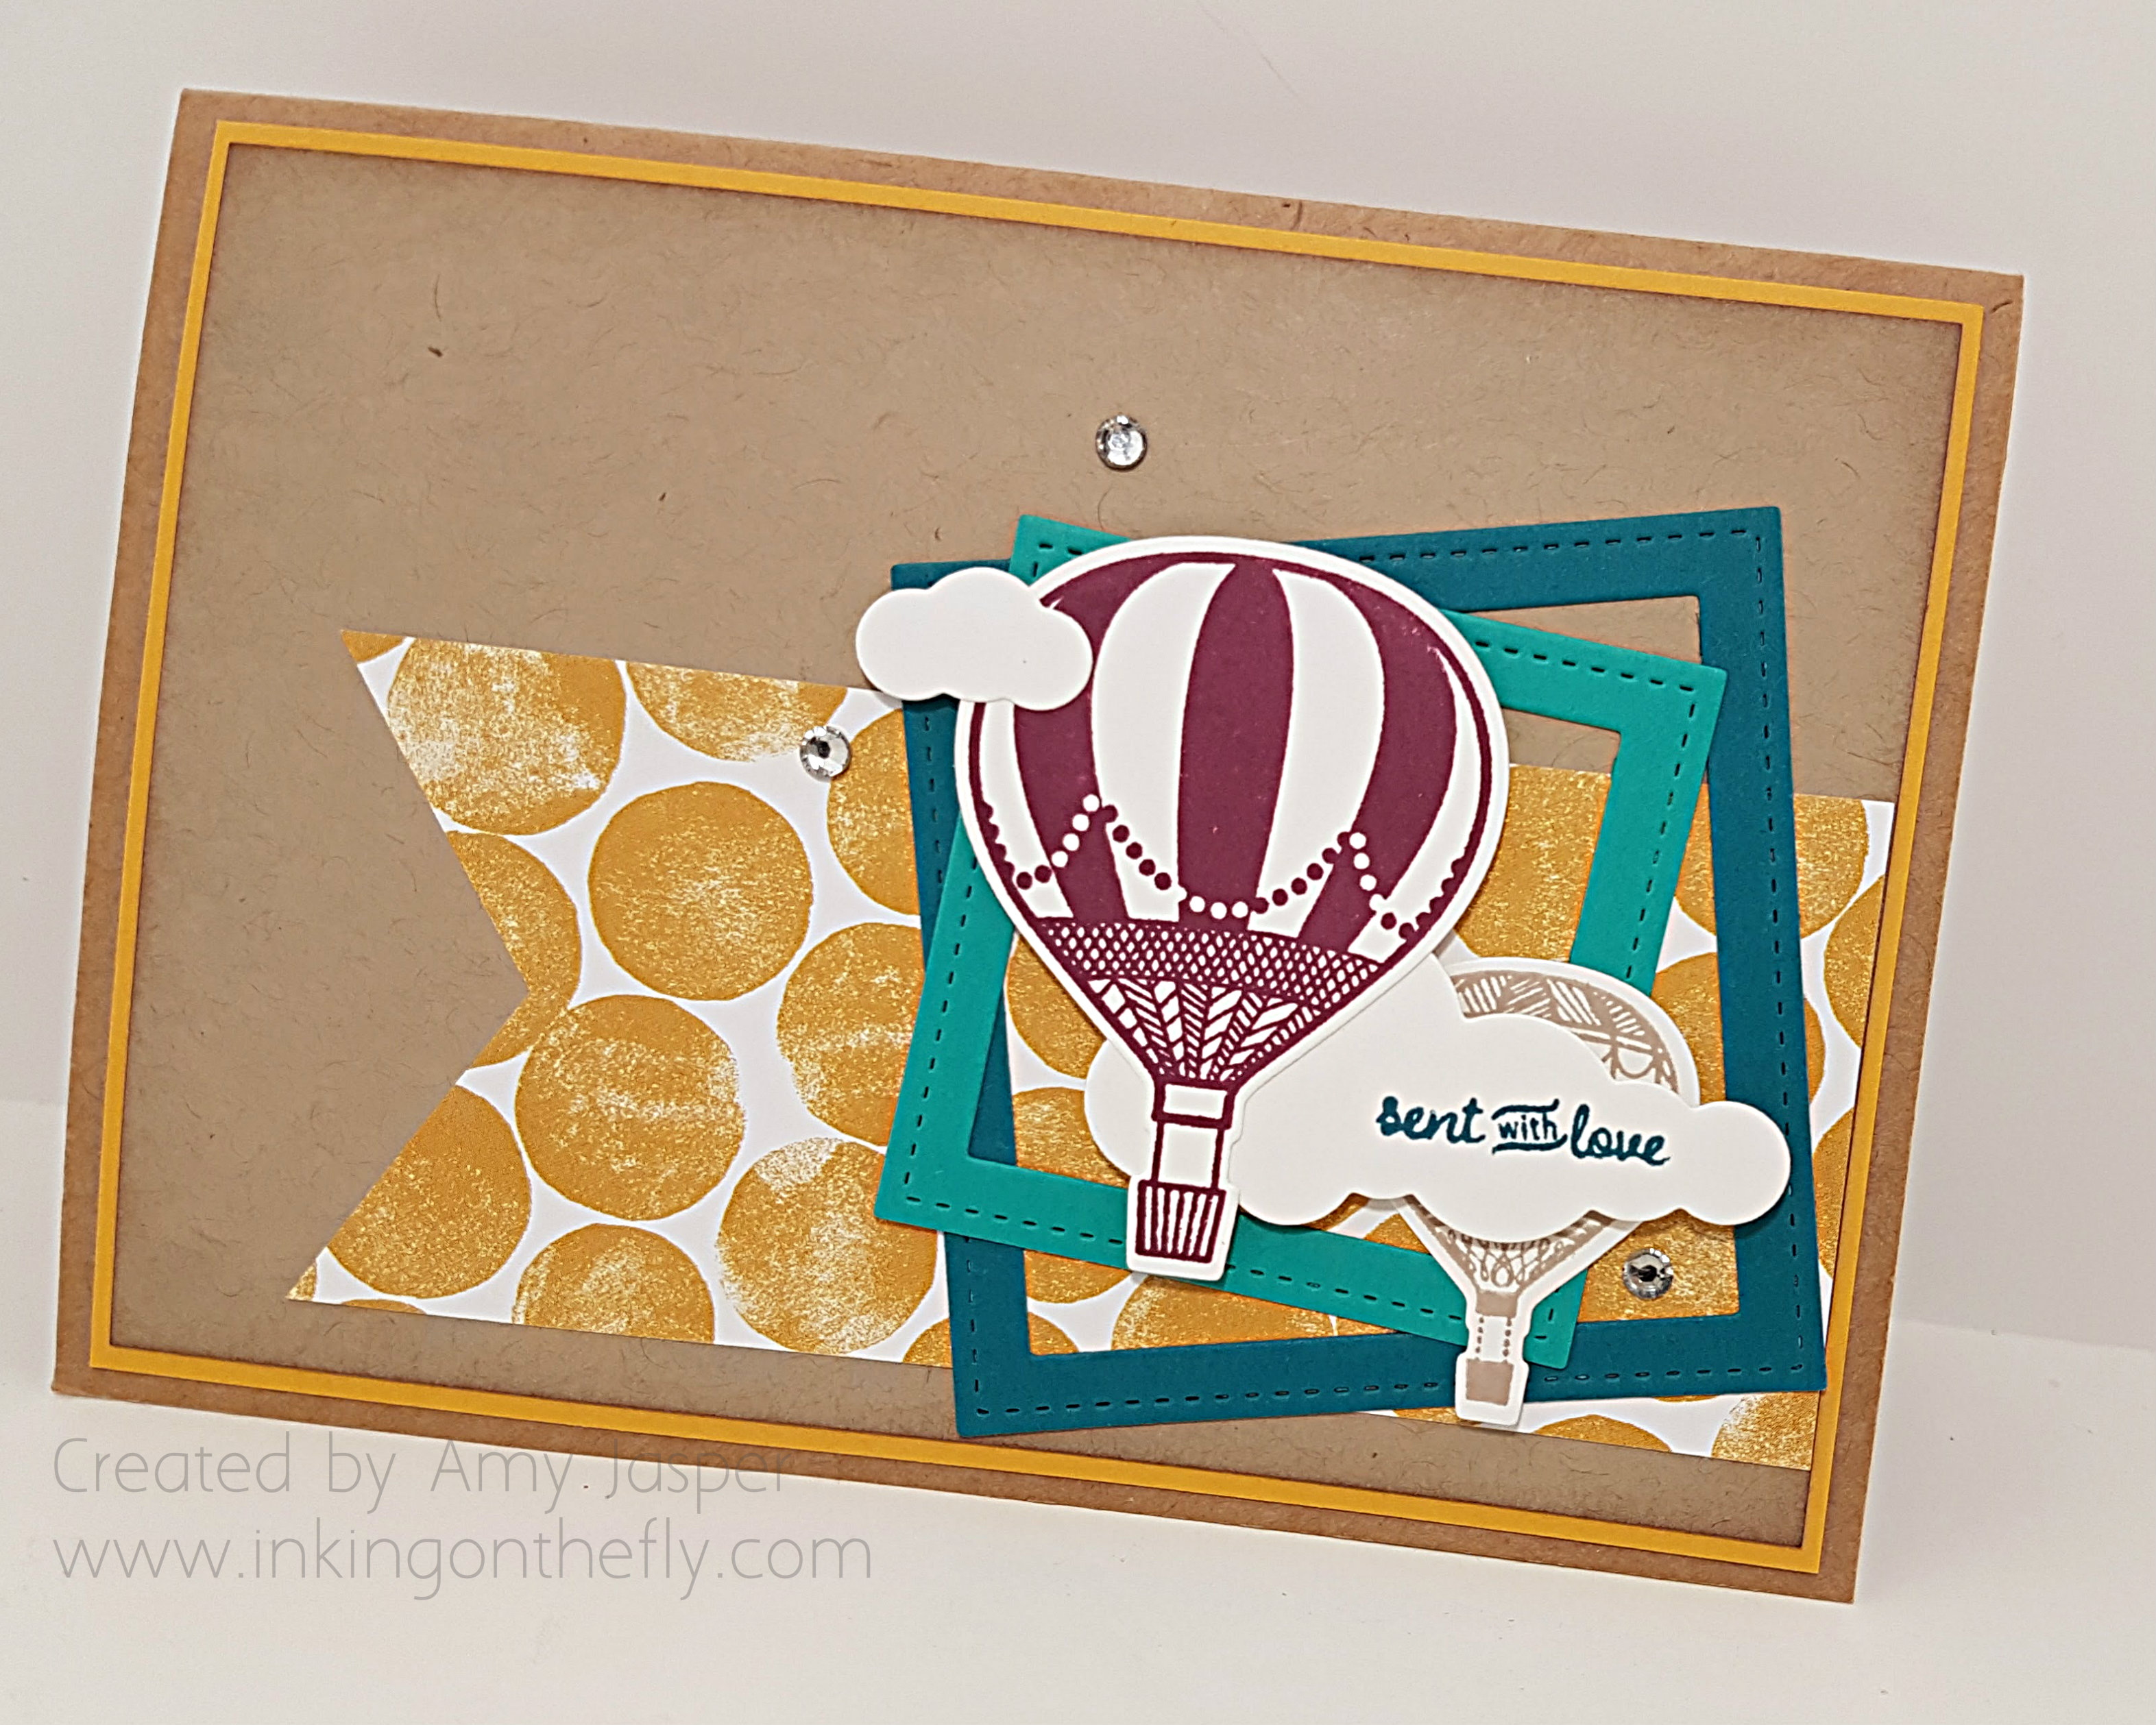
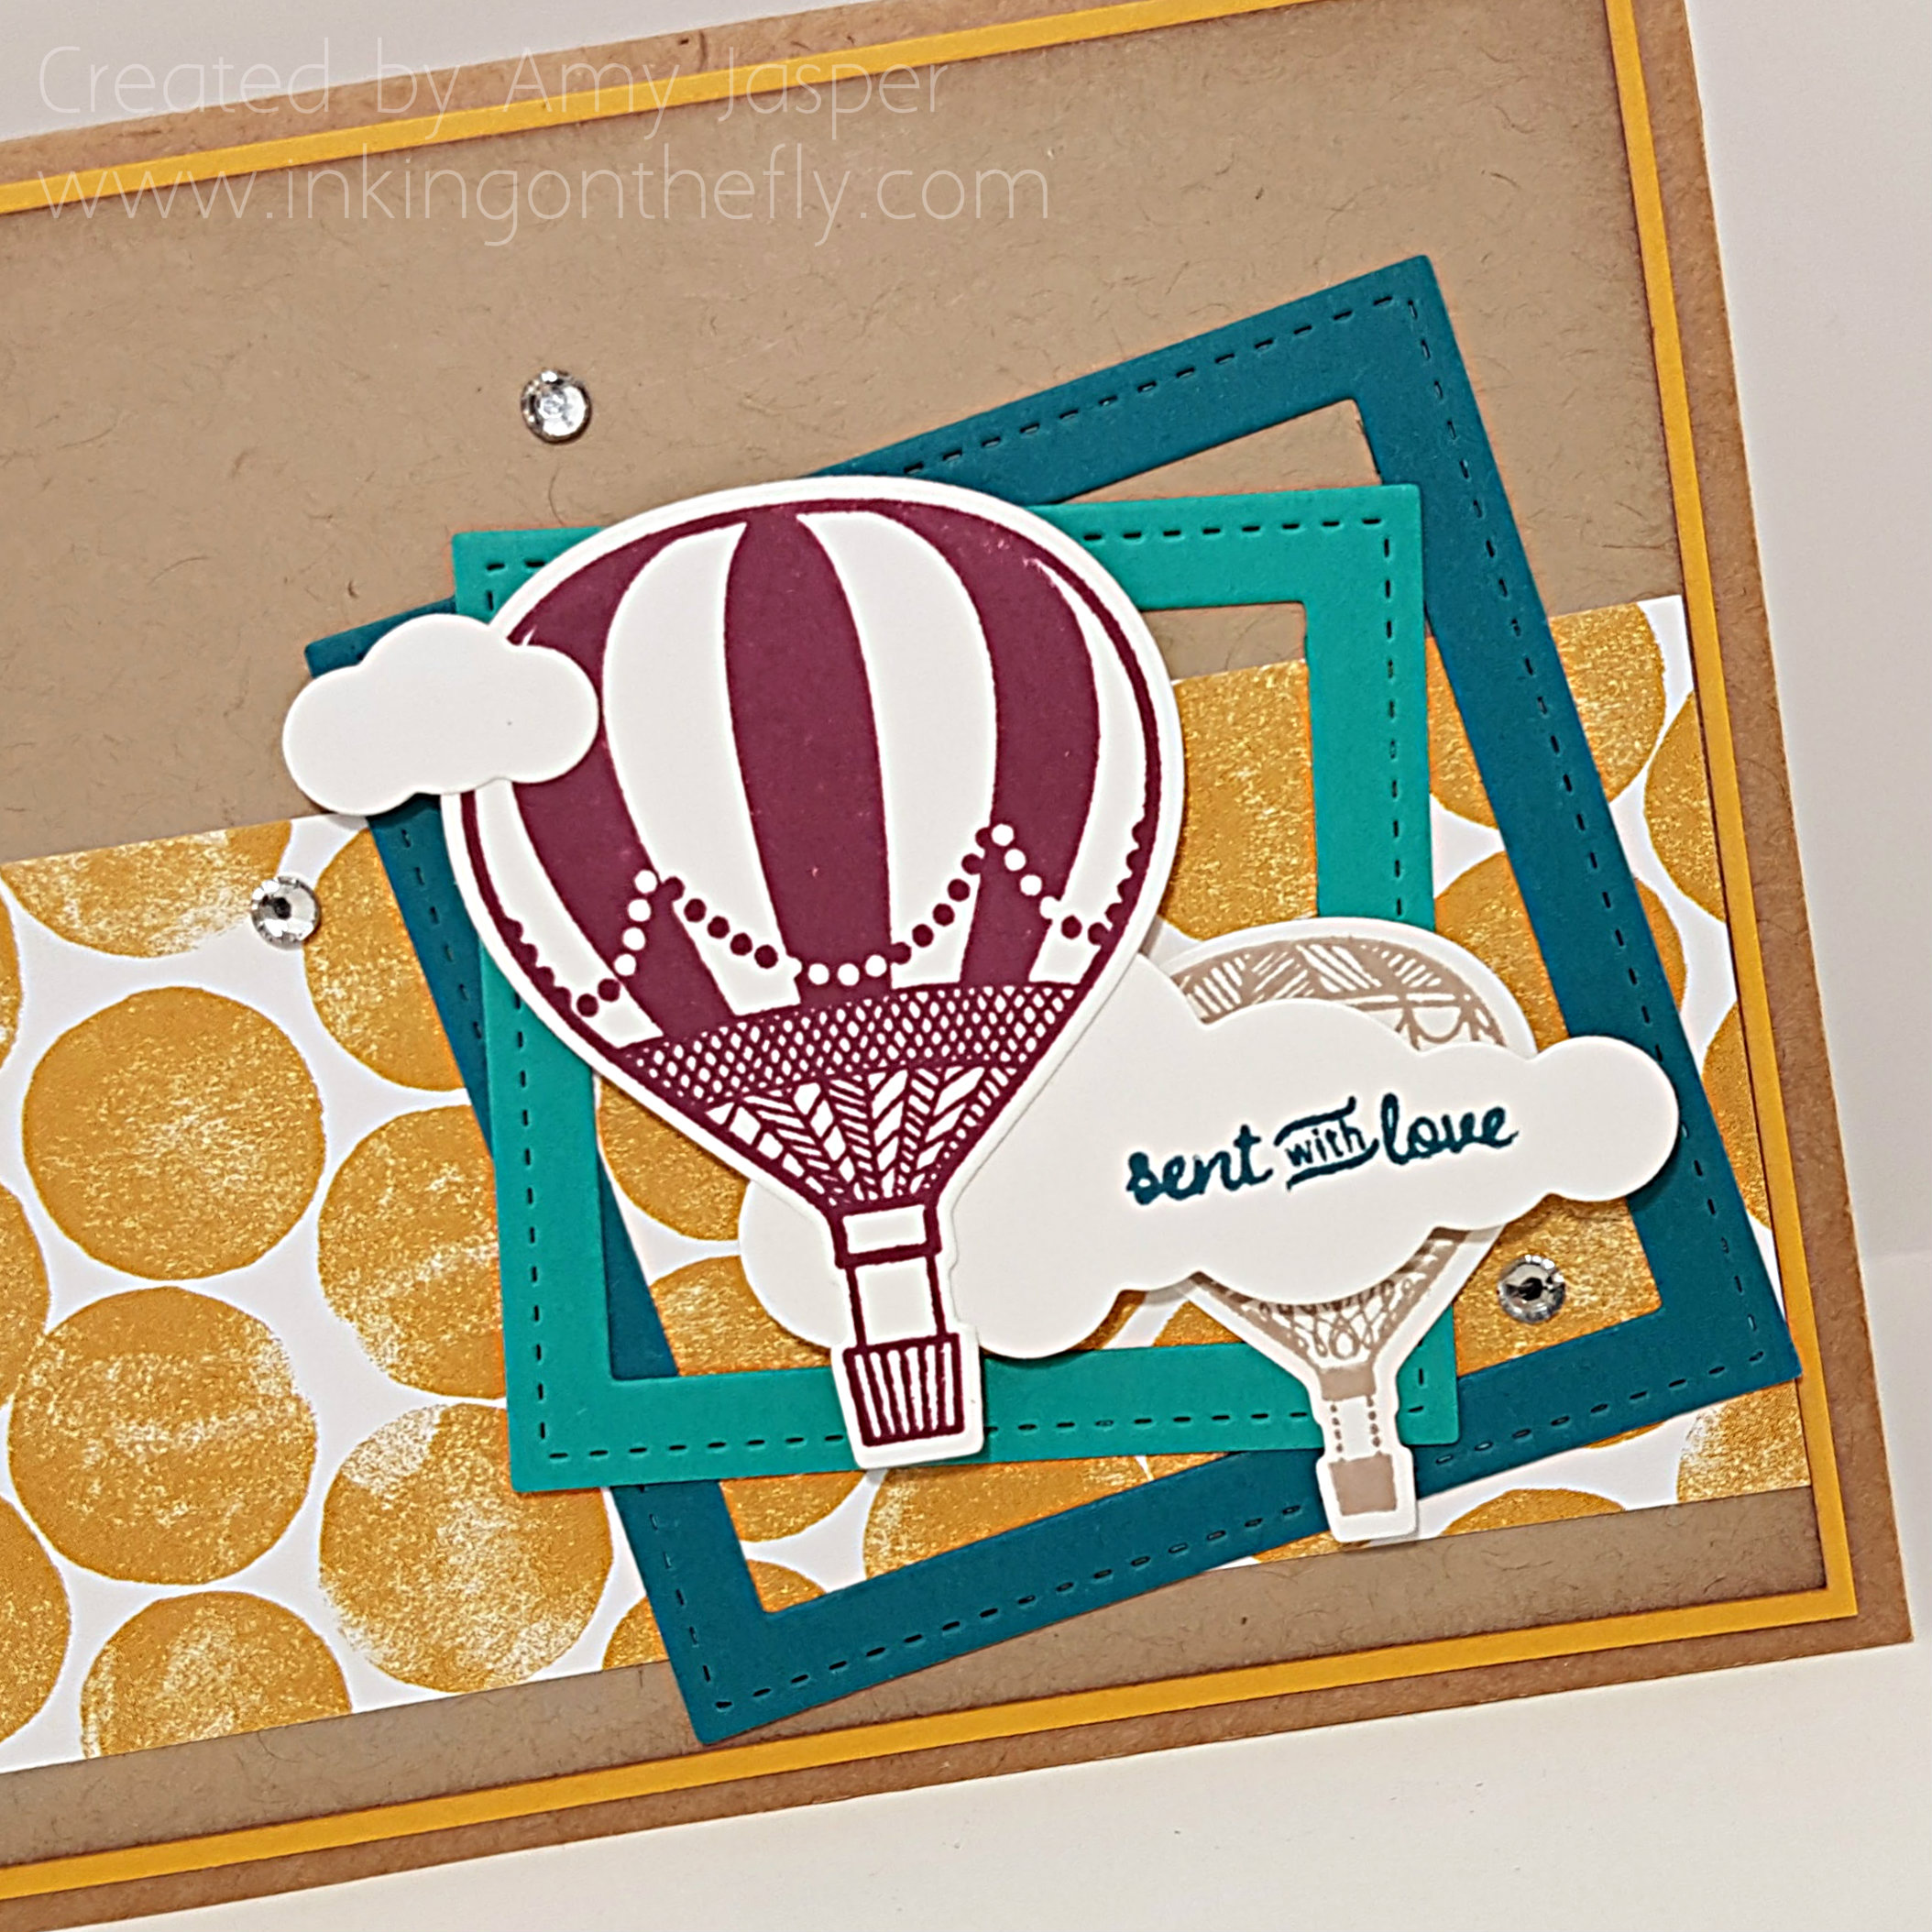
AYSI#141And here is my card featuring the Lift Me Up Stamp Set and the Up and Away Thinlit dies from Stampin’ Up! I also used the Outdoor Adventure Framelits dies as they work in quite nicely. Actually, there are a LOT of stinkin’ dies used for my card this week! Yikes!! You can see the Stitched Shapes Framelits are in the mix as well, which will be available for purchase on the 16th!

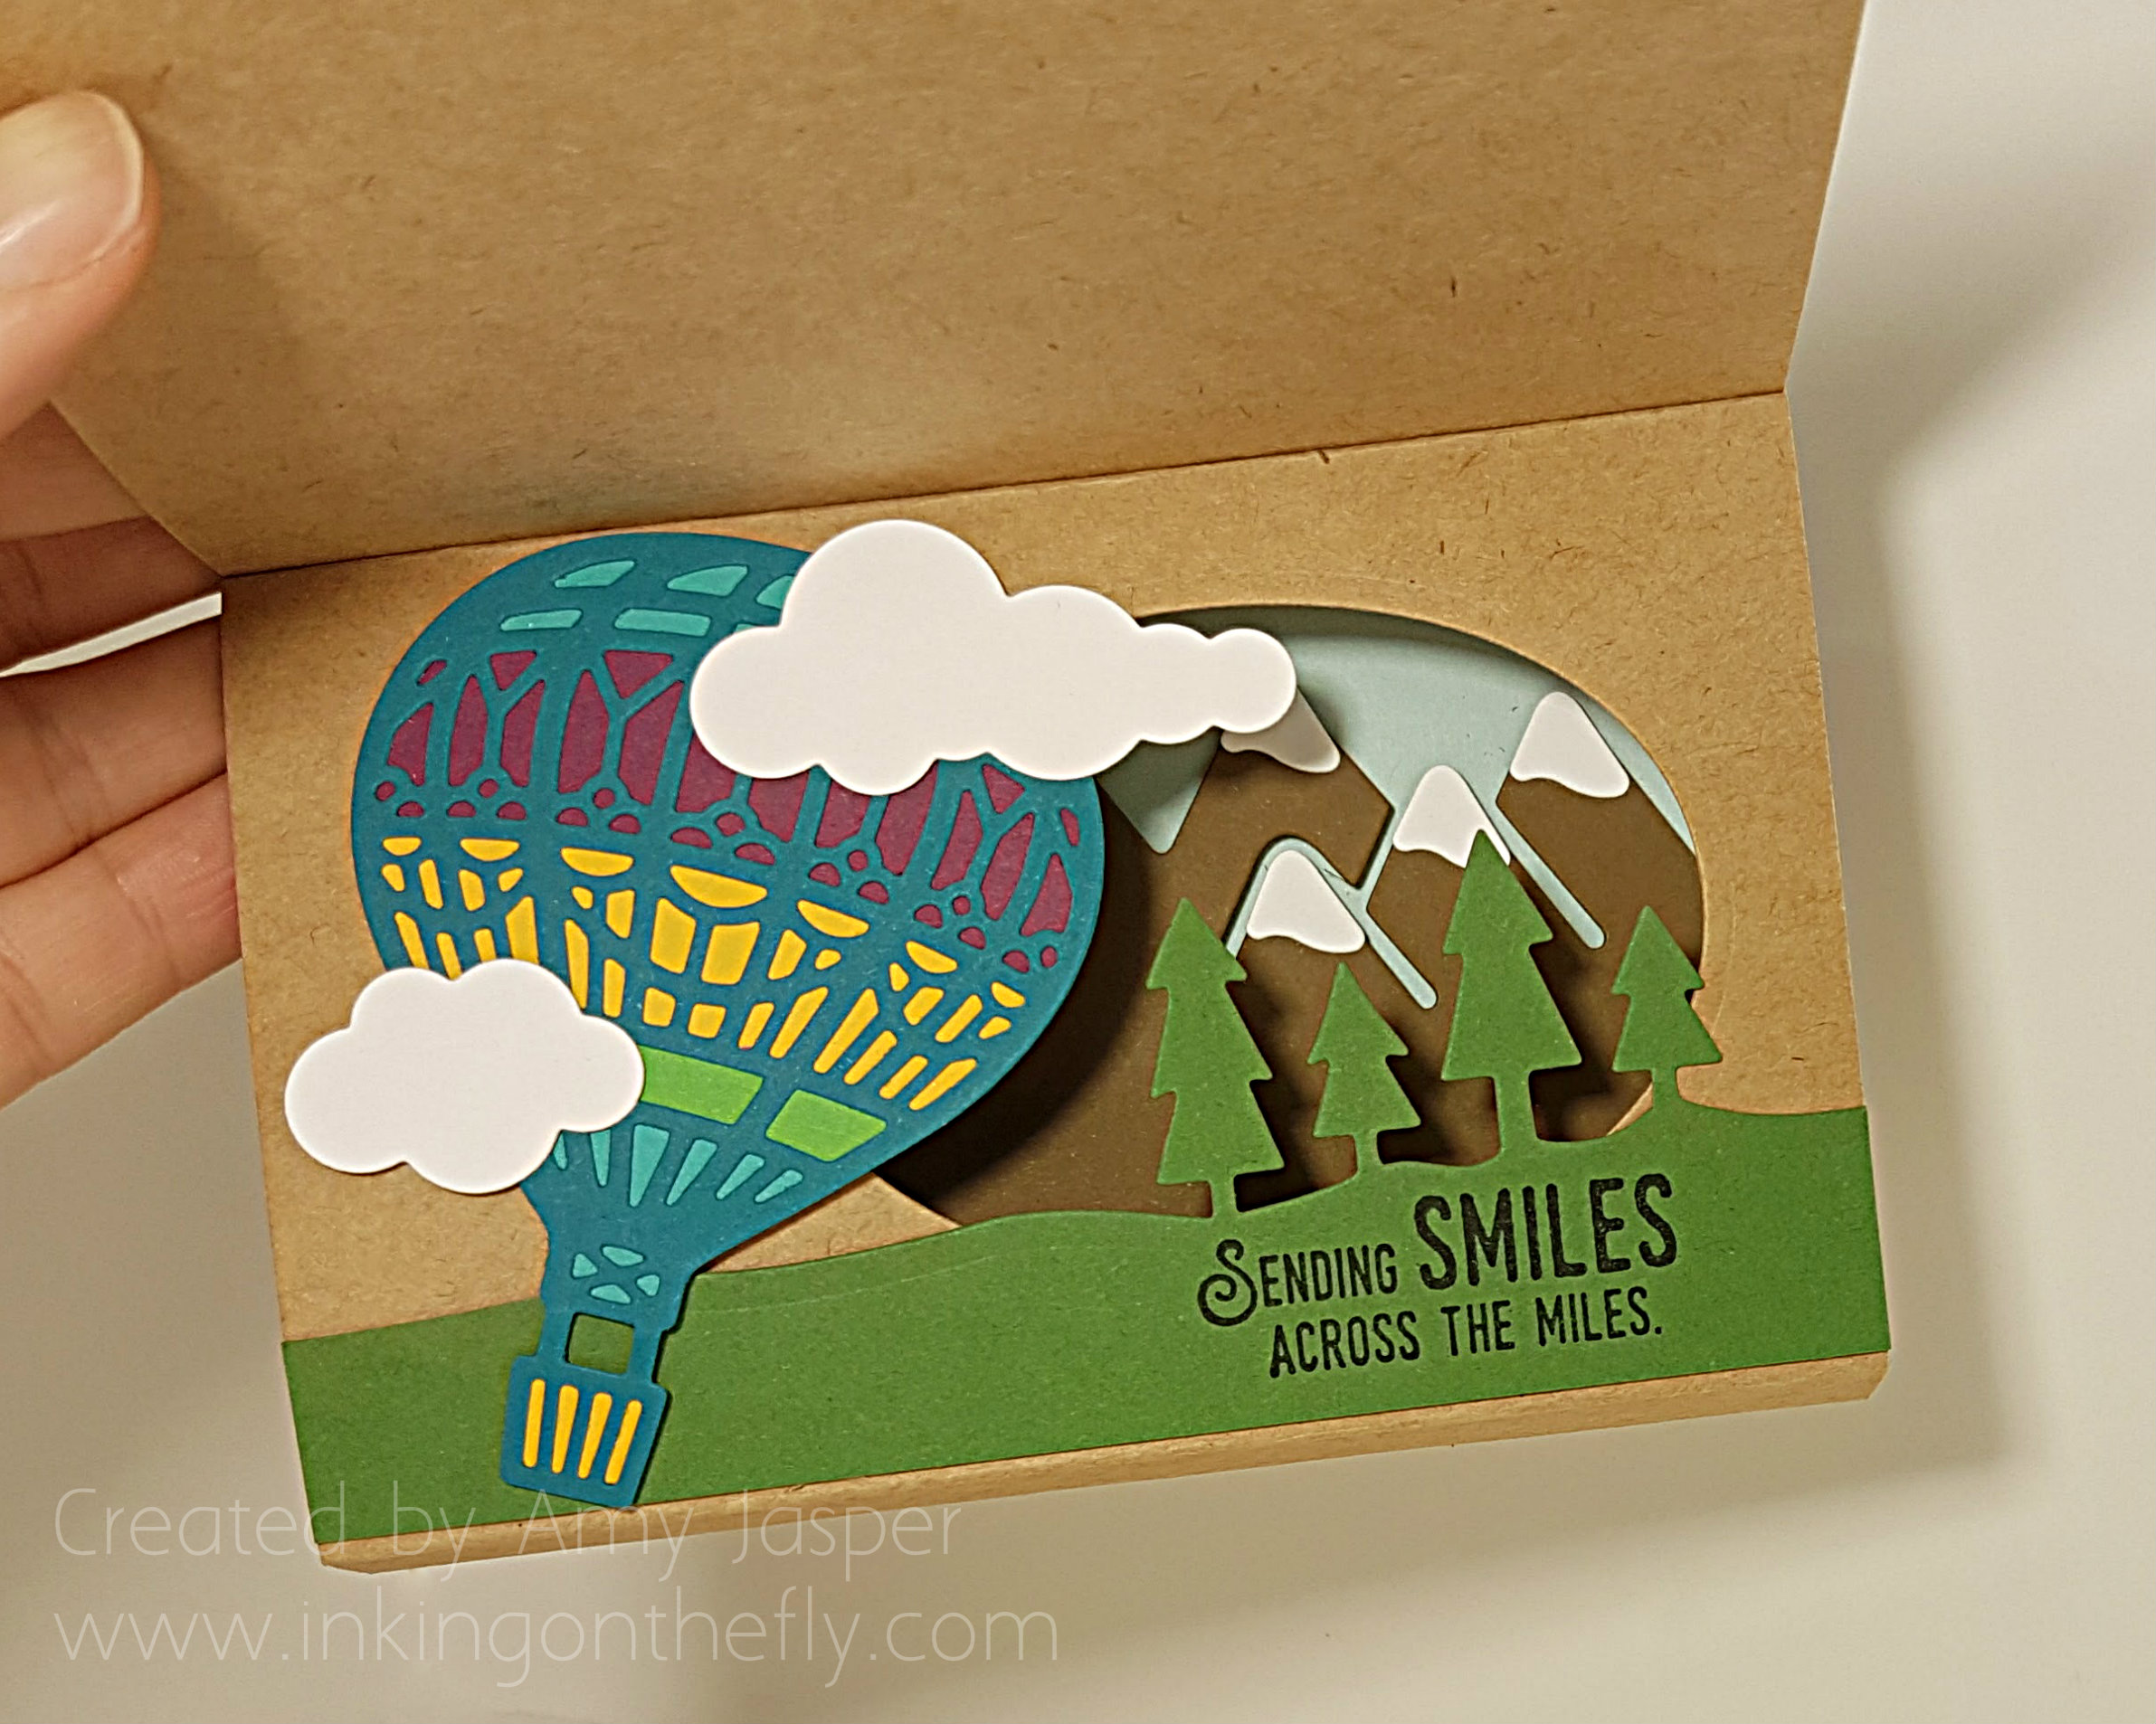
Sending Smiles Shadow Box Card by Amy Jasper www.inkingonthefly.comThe inside if the card it the fun part. More dies, of course.

Sending Smiles Shadow Box card inside - by Amy Jasper www.inkingonthefly.comThe base of this card is super easy to make and finishes to a 4″ x 5.5″ card. I started with a 12″ x 5.5″ piece of Kraft cardstock. Once you have your piece of cardstock cut for the base of the card, you can score it to prepare for your fancy folding. I love using my Simply Scored tool and scoring stylus for projects like this – it gives me quick measuring and deep impressions that are easy to see and fold so nicely. I scored the paper at 4″, 7.5″, 8″, and 11.5″. Once you’ve precut your “window” on the inside of the card (this is going to be the section between the 8″ and the 11.5″ score marks), you can fold along your score lines, using your Bone Folder to make the folds nice and crisp.

You can’t really see it well in the photos, but the folds all fold in the same direction until the 11.5″ score line meets the inside of the card front, where you adhere it in place. Oh dear, maybe I’ll have to add pictures later … Let me know how it goes.

The rest of the design is simply layering, stamping, and die cutting (LOTS of die cutting!).

Now that you’ve seen my design inspired by the As You See It Challenge sketch, why not try the sketch yourself. Head on over to the As You See It Challenge Blog and see what the other designers have come up with and get creating!! But before you do anything else, be sure to leave me a note to say that you stopped by!

Sending Smiles Shadow Box Card by Amy Jasper www.inkingonthefly.comSupplies used are all from Stampin’ Up.

  • Paper: Kraft Designer Paper, Crushed Curry Cardstock, Crumb Cake cardstock, Serene Scenery Designer Series Paper Stack, Island Indigo Cardstock, Whisper White Cardstock, Rich Razzleberry Cardstock, Cucumber Crush Cardstock, Garden Green Cardstock, Soft Suede Cardstock, Soft Sky Cardstock.
  • Stamps: Lift Me up stamp set, Sealed with Love Stamp set.
  • Inks: Crumb Cake, Island Indigo, Rich Razzleberry, Jet Black Stazon
  • Embellishments: Basic Rhinestones
  • Tools: Big Shot, Precision Plate, Up and Away Thinlits Dies, Stitched Framelit Dies, Outdoor Adventure Framelit Dies, Simply Scored, Bone Folder.
  • Adhesives: Stampin’ Dimensionals, Tombo Multipurpose Liquid Glue, Fine Tip Glue Pen


Save

Carousel Birthday

It’s a NEW YEAR!! Welcome to 2017!

I have a feeling that this year is going to be AMAZING!

Maybe, it’s only because there were so many tough things happening in 2016 in the world around us that made me glad to see it go. Maybe, because my husband is on the home stretch to his Master’s Degree and we’re thinking about what we can do to celebrate his graduation. Maybe, it’s because I want so much for it to be amazing. I want hope and new adventures and healthy changes and personal growth!

And you know what? I think I have a certain amount of control over my year. There are plans to be made, goals to pursue, and new things to learn.

And there’s a new Occasions Catalogue and a whole new set of Sale-a-bration items to enjoy from Stampin’ Up! That’s a pretty good start to a new year, don’t you think?!

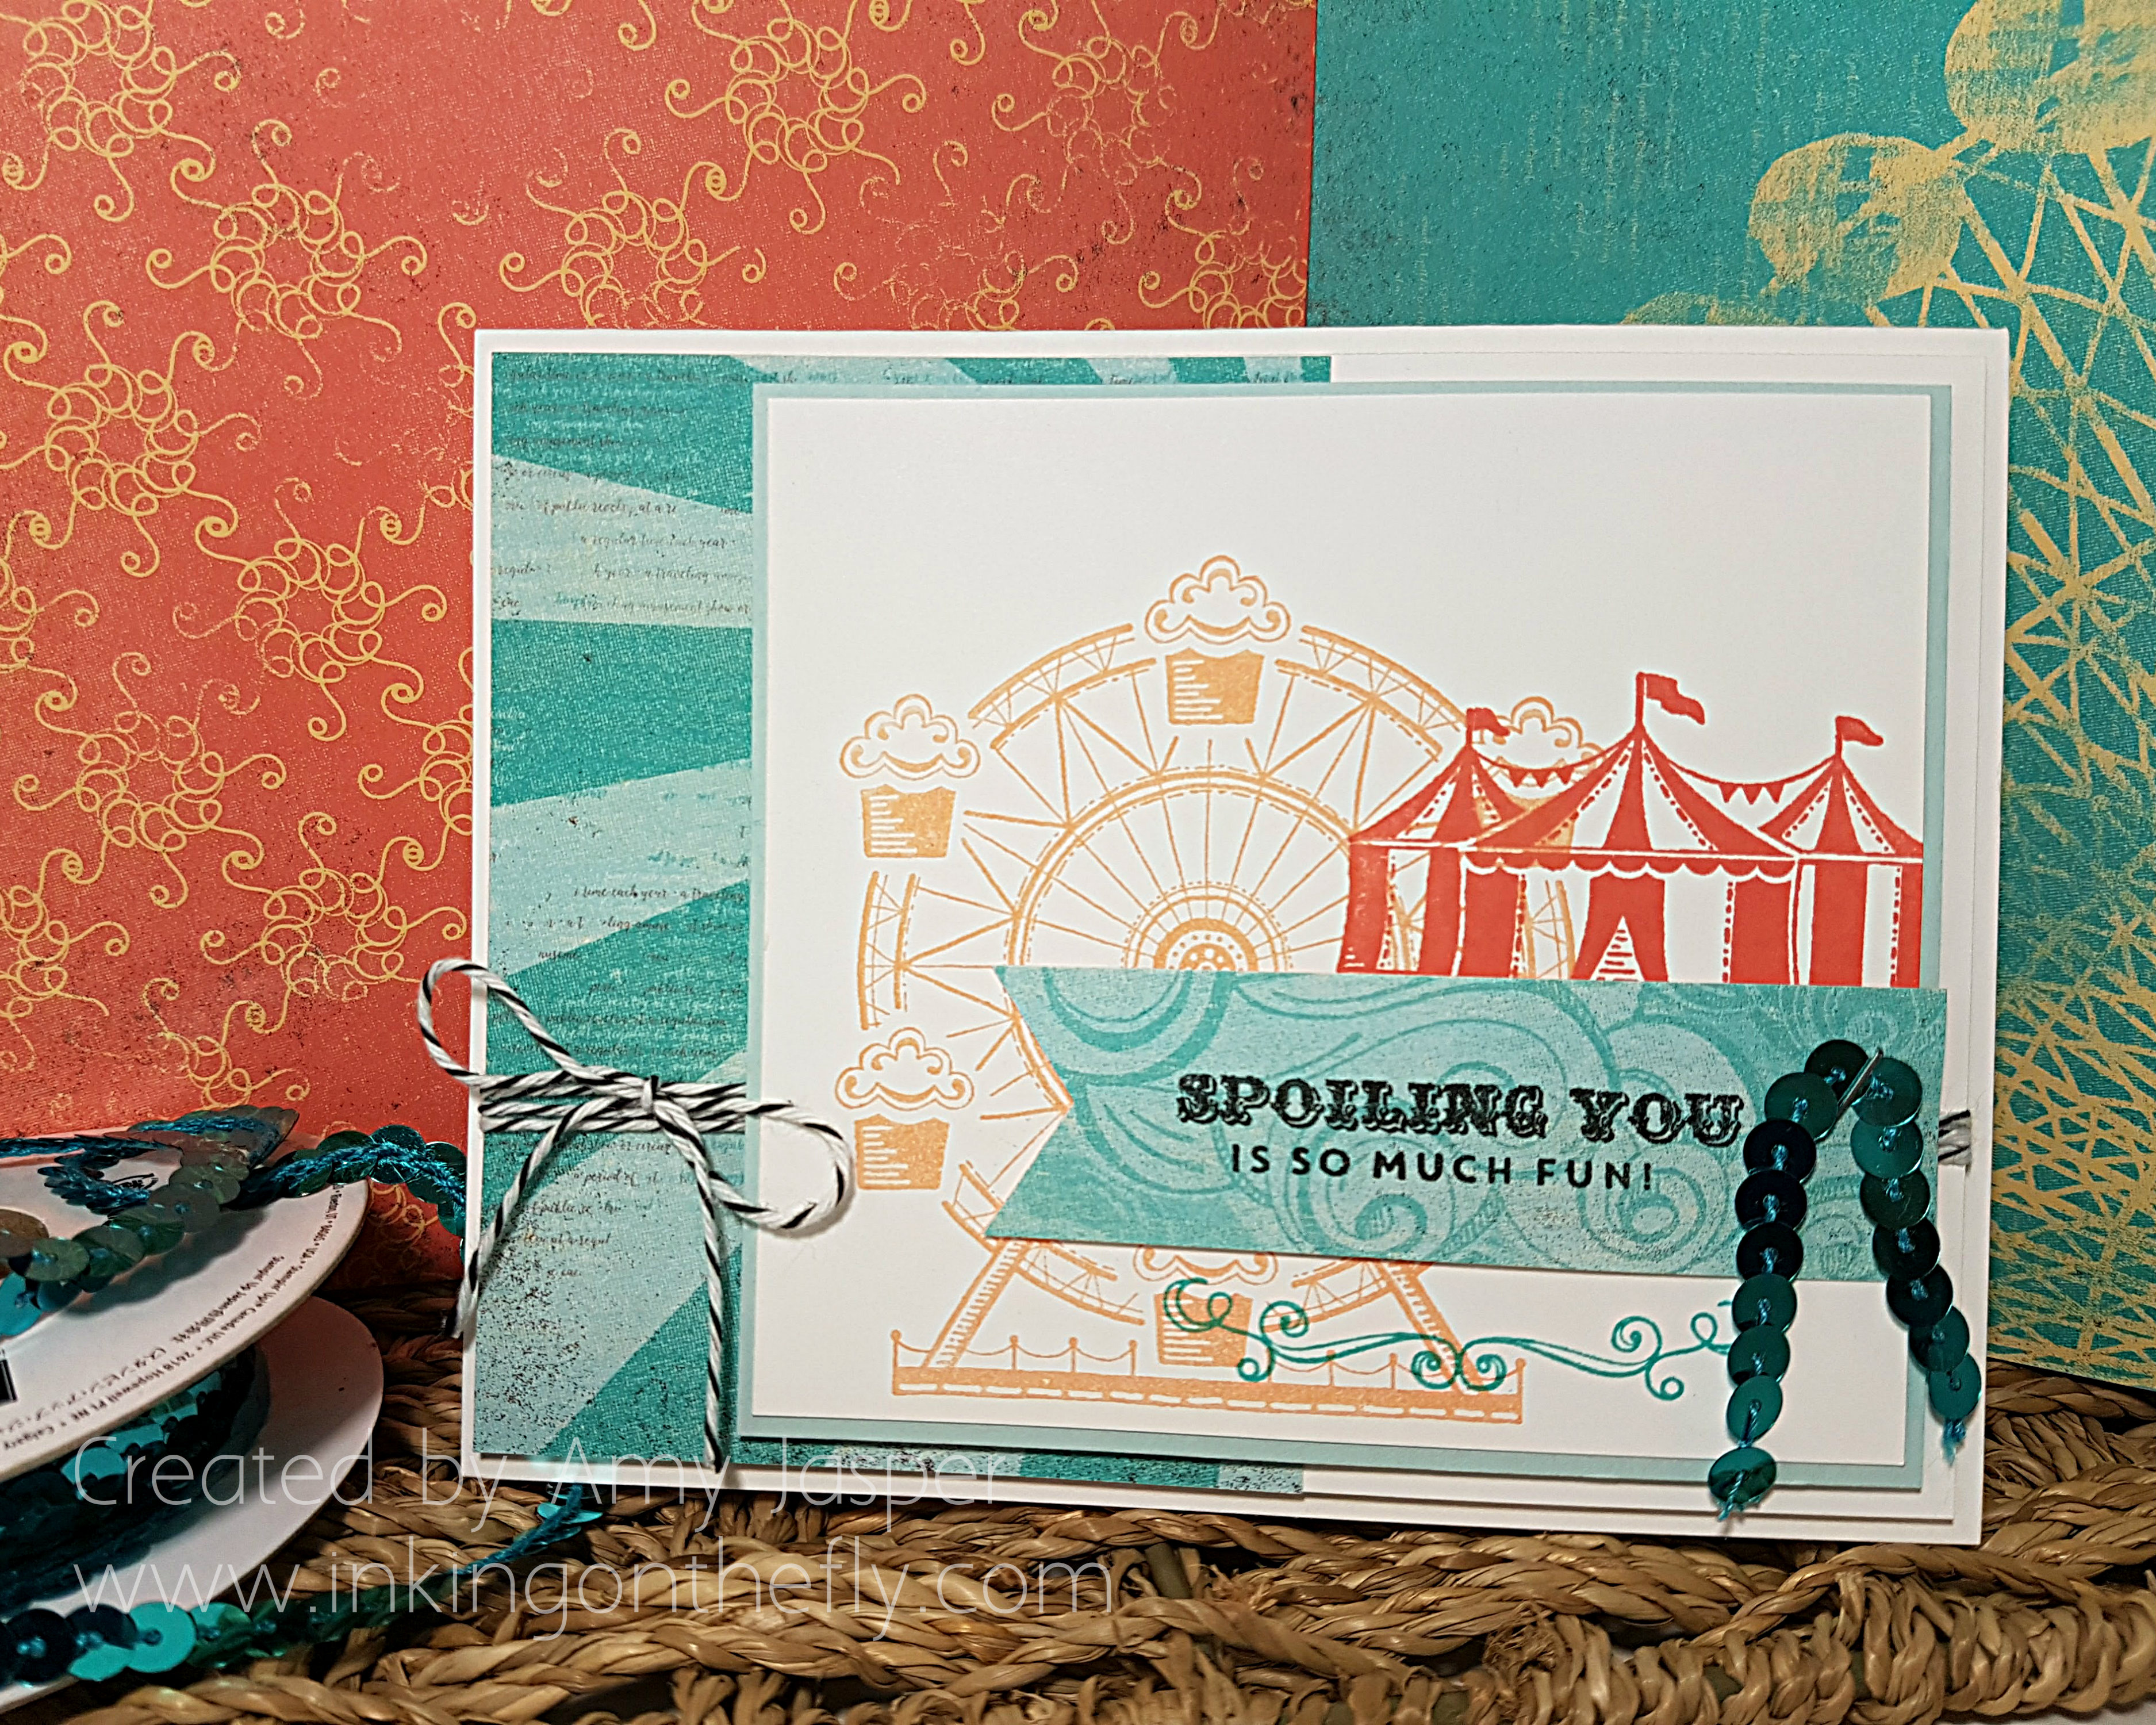
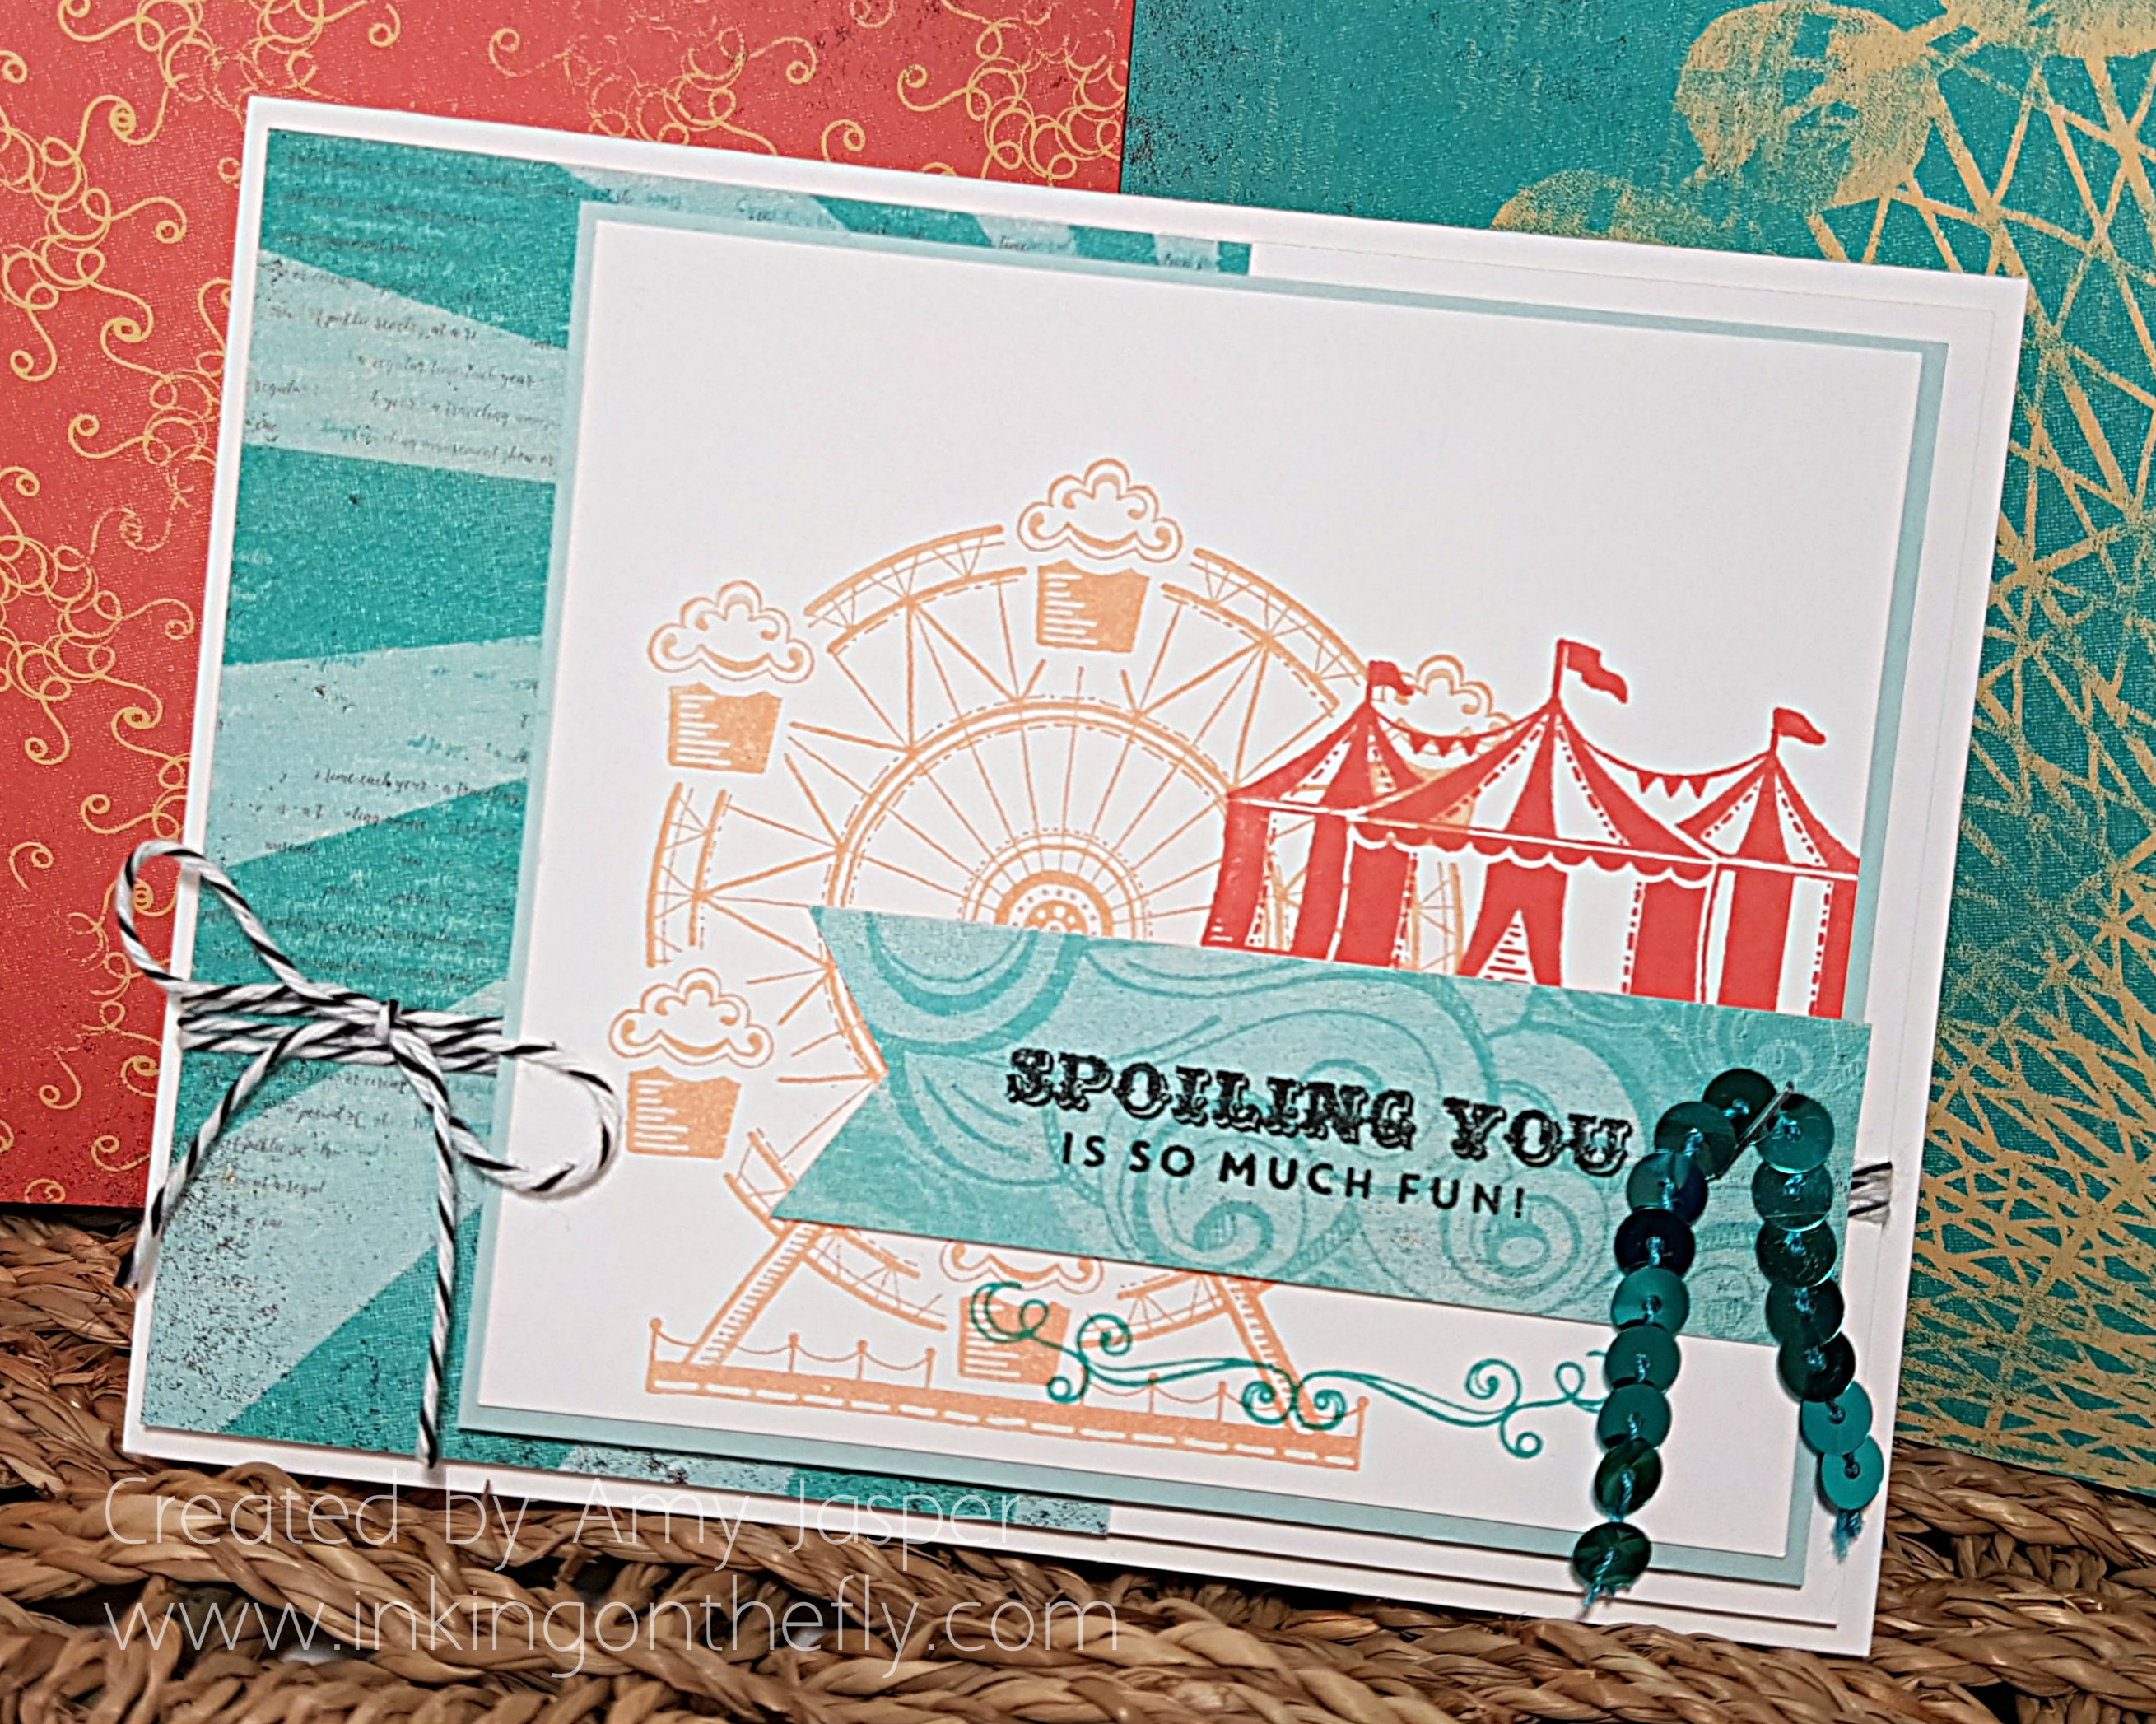
My card today is a total CASE! (Copy And Share Everything!) I saw a simple square note card designed by Kristine McNickle, a demonstrator in New Zealand (you can see it by clicking here). I instantly fell in love with the fact that it was layers of stamping with no Big Shot and no heat embossing. It was clean and simple. I loved it just the way it was! However, I needed a full card design, so I CASEd her square card with very minor changes and added it as a layer for my card front. You can call it a “stepped up” version of her beautiful note card.

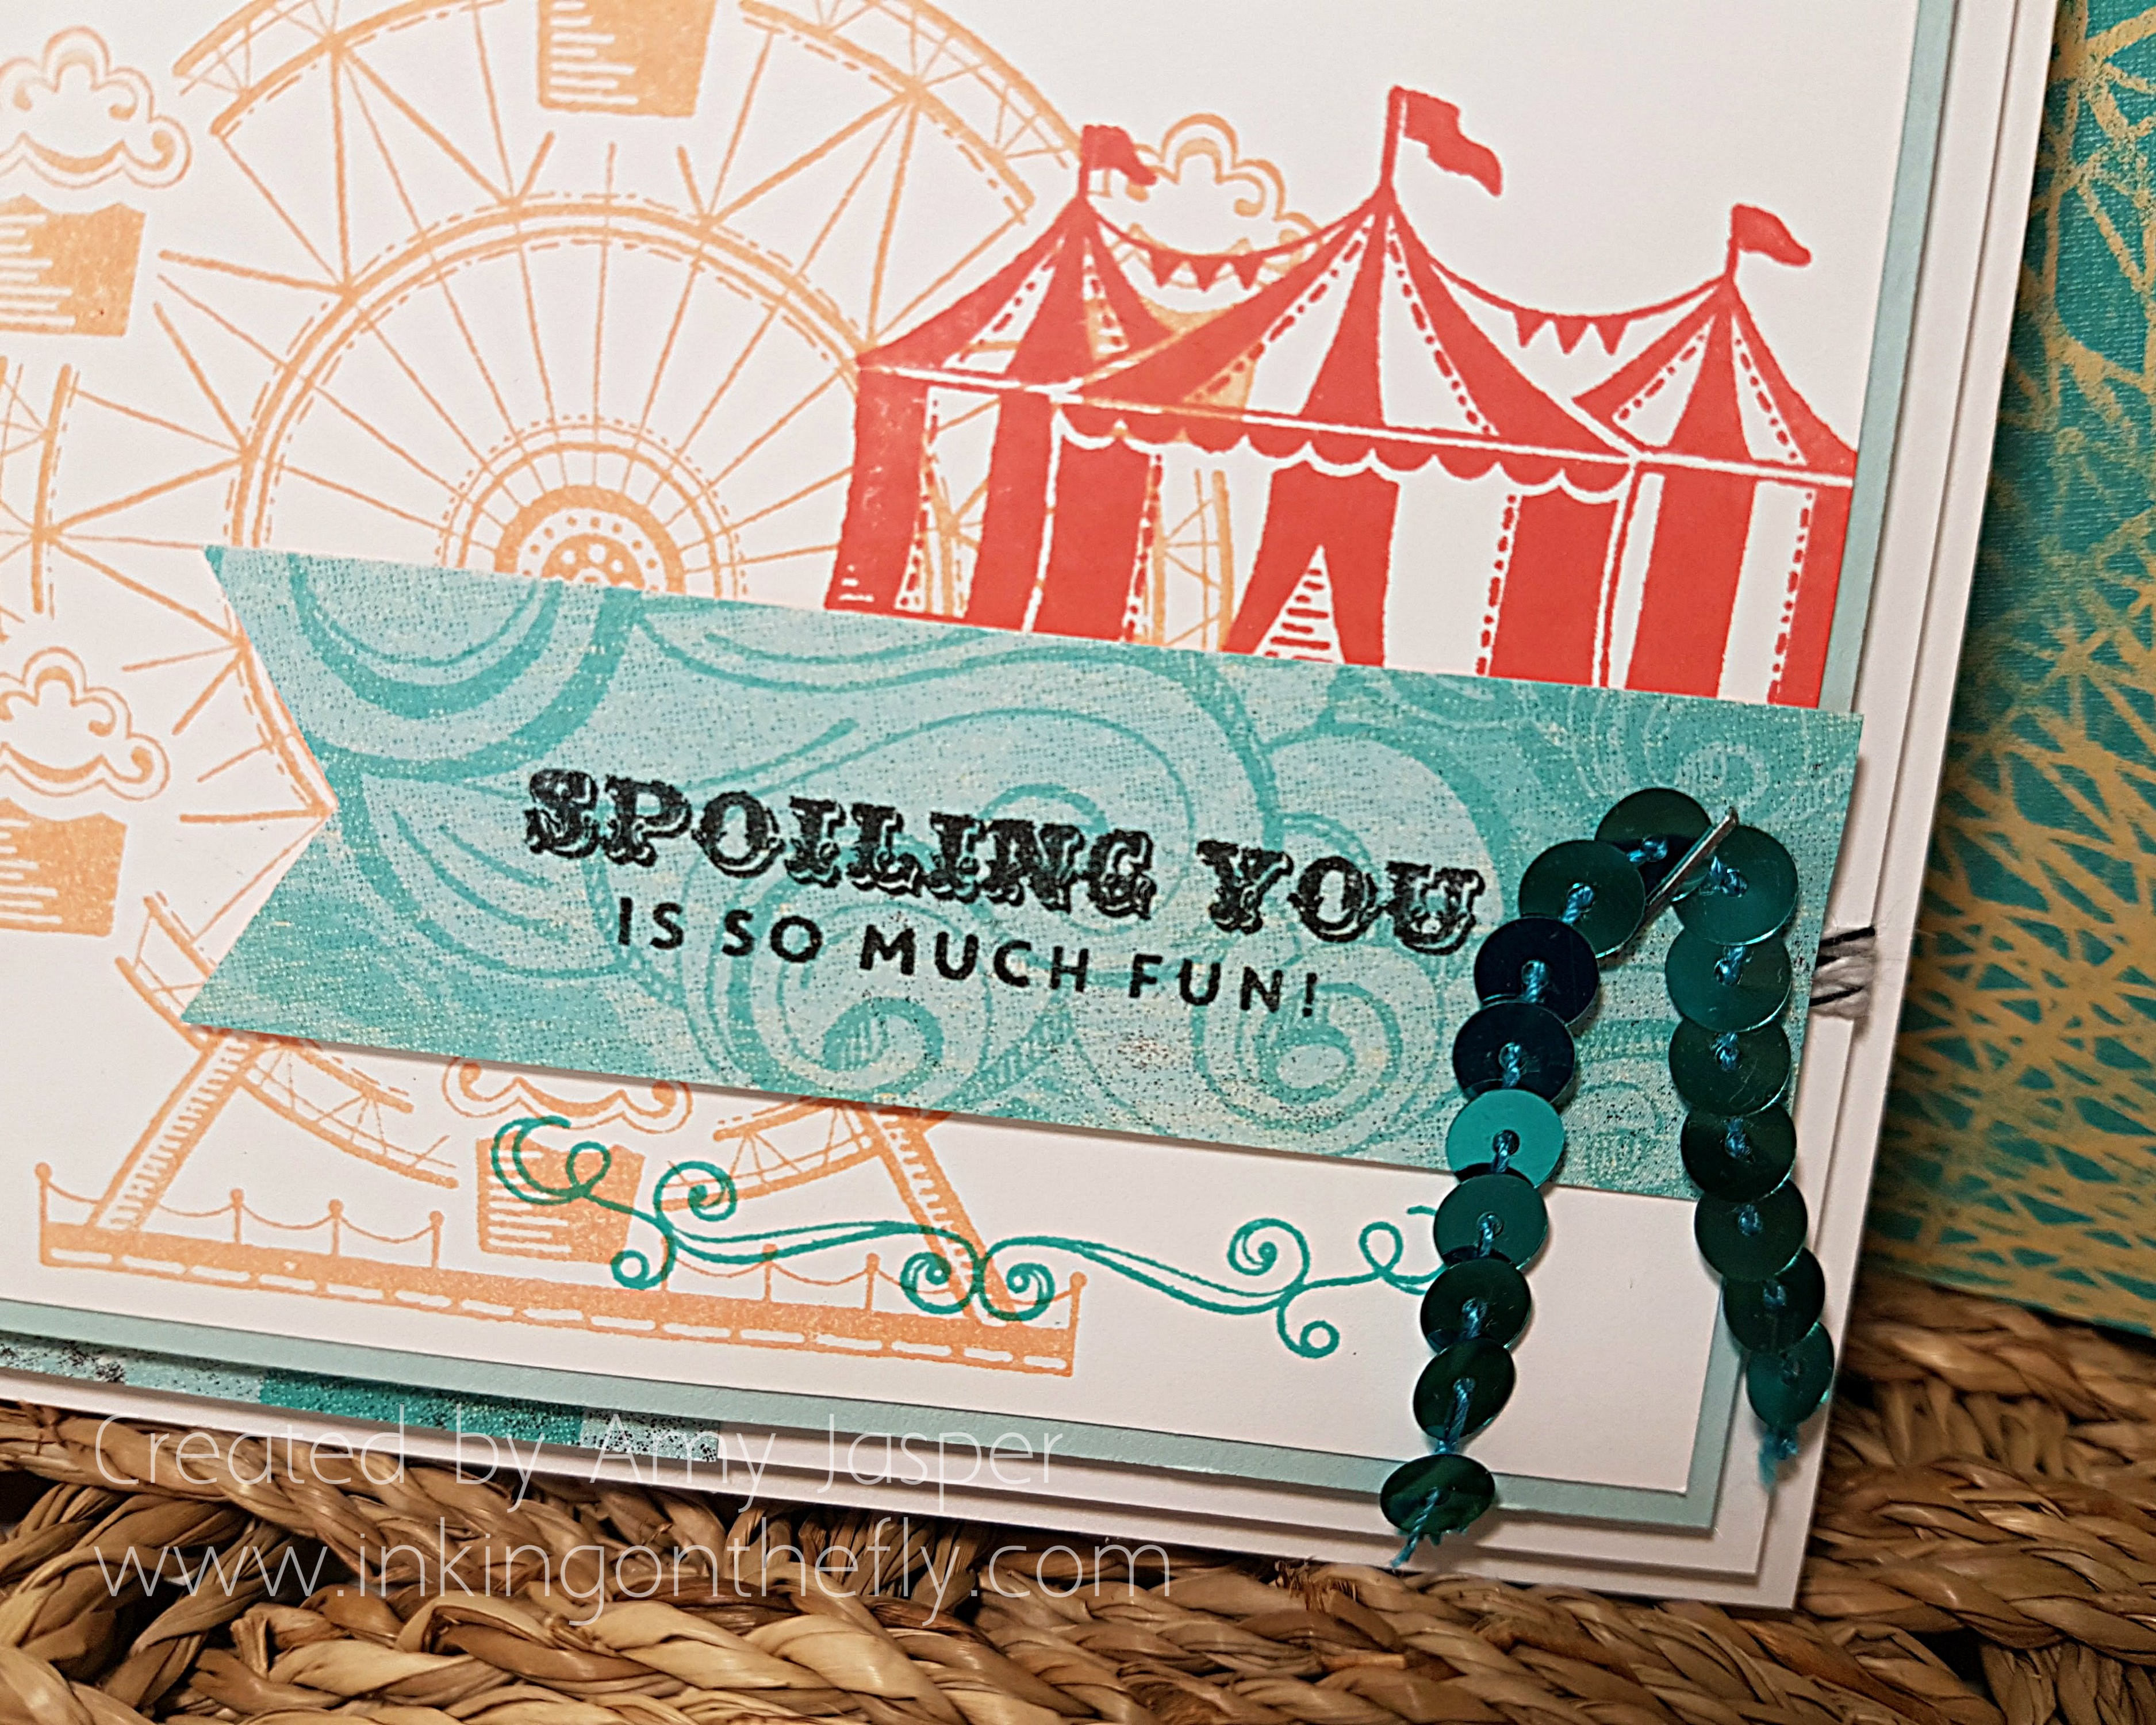
www.inkingonthefly.com Carousel Birthday by Amy Jasper - CASEd from Kristin McNickle's beautiful note card design.If you looked at Kristin’s original card, you can see that I flipped her design and switched out the colour of the carousel image to Peek-a-boo Peach. Other than that, the square layer is pretty much identical to hers!

From there, I used a mat of Soft Sky under the square front, which I popped up on Stampin’ Dimensionals over the next layer. Look closely, because there’s another mat of Whisper White with a piece of the Cupcakes and Carousels Designer Series Paper and the Basic Black Baker’s Twine wrapped around it and tied in a bow. That layer is (surpise!) on Stampin’ Up Dimensionals also (you know how much I love my Dimensionals!!). The card base is a simple Thick Whisper White piece of cardstock.

carousel-birthday-case-close-upAnd that’s it! No embossing, no die cutting, just old fashioned and clean stamping.

A couple tips for this card: The Peek-a-boo Peach carousel and the little Bermuda Bay flourish were both stamped off on a scrap piece of paper before being stamped on the card front. My ink pads were pretty juicy, so this helped make the images a bit softer. Also, the sentiment was created by colouring only a section of the sentiment stamp with a Basic Black Stampin’ Write Marker (Kristin used Early Espresso ink for her card, but I wanted to pull in the black from the baker’s twine).

www.inkingonthefly.com Carousel Birthday by Amy Jasper - CASEd from Kristin McNickle's beautiful note card design.

So, a special thank you to Kristin for the inspiration!

And here’s to a brand new YEAR!! WHOOHOO!!

With another sun rise
It’s a brand new day
So gonna make a little list
To keep the worries away

I gotta dance just a little bit
Move to be free
Keep my head up high
Don’t forget to be me

(lyrics from “It’s a Beautiful Life” by Tim McMorris)

Supplies: Carousel Birthday stamp set, Thick Whisper White cardstock, Whisper White cardstock, Cupcakes and Carousels Designer Series Paper, Soft Sky cardstock, Peek-a-boo Peach Ink, Calypso Coral Ink, Bermuda Bay Ink, Tuxedo Black Momento Ink, Triple Banner Punch, Bermuda Bay Sequin Trim, staple, Basic Black Baker’s Twine, Stampin’ Up Dimensionals.

Save

Save

Save

Save

Save

Save