Playing Along with a Colour Challenge
I’ve felt as though something has been missing in my world of Stampin’ Up!® and I finally realized what it is!
I miss playing!
I’ve been completely focused on designing cards for others to make at events and classes, that I forgot to do the one thing that drew me into this art form in the first place. I need to create for the sake of creating!
When I make cards for a class, I have to consider the skill level, how many steps are involved, how to work within the time available for the class, and adhere to the limits of the supplies available to the number of people involved. However, when I create for the sake of creating, I can be free of limits and can let myself become absorbed in the joy of the moment. It’s delightful. It’s when I’m at my happiest in my craft room.
For those reasons, I thought, “What if you did a colour challenge?”. Of course, my first thought was to go to my favourite challenge blog: As You See It Challenge! I used to be a designer for them a couple years back, but I really love their challenges. I also like that theirs are posted every two weeks, giving you plenty of time to create a card and share it.
Here’s the colour challenge that they posted last Friday:

My Card
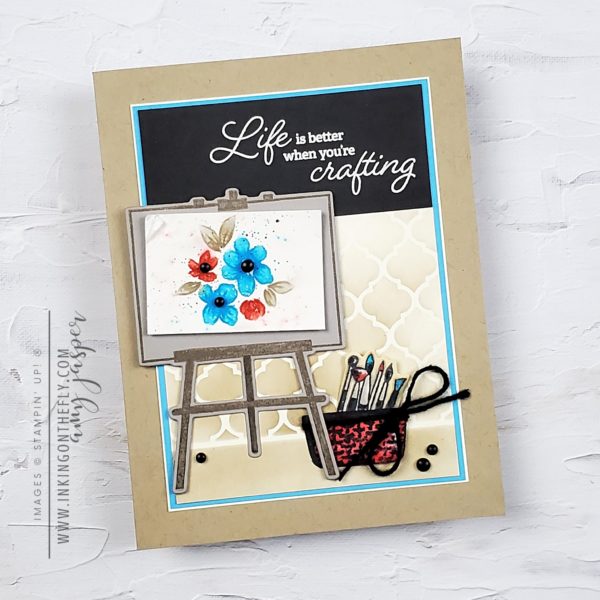
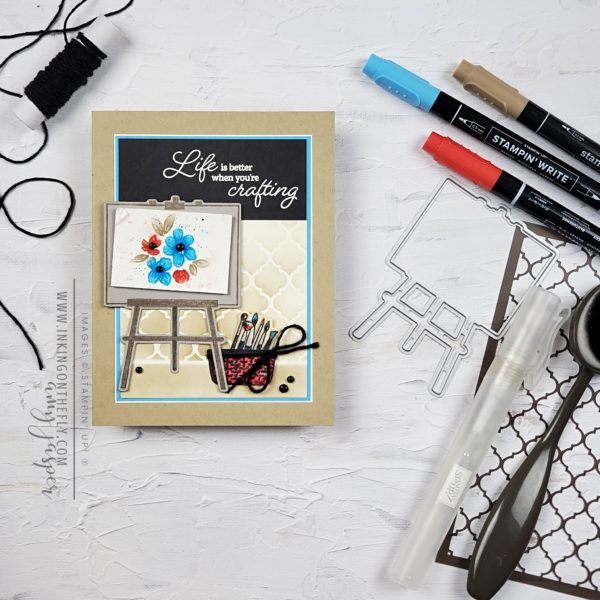
I chose to use the Crafting with You Bundle for my design. You can see that there’s a bit of everything on this one: A watercolour technique, some ink blending with a mask, die-cuts and heat embossing, OH MY!
Technique for the Floral Image
I think some of these methods are familiar to you. However, you may not be able to achieve the floral image without a bit of explanation. With the Poppy Parade, Tahitian Tide, and Crumb Cake Stampin’ Write Markers, I applied ink to the floral image stamp, than stamped it on the Fluid 100 Watercolor Paper. Little dots were applied around the image with the same coloured markers. I then very lightly misted the image with water from my Spritzer to soften the image and the dots.
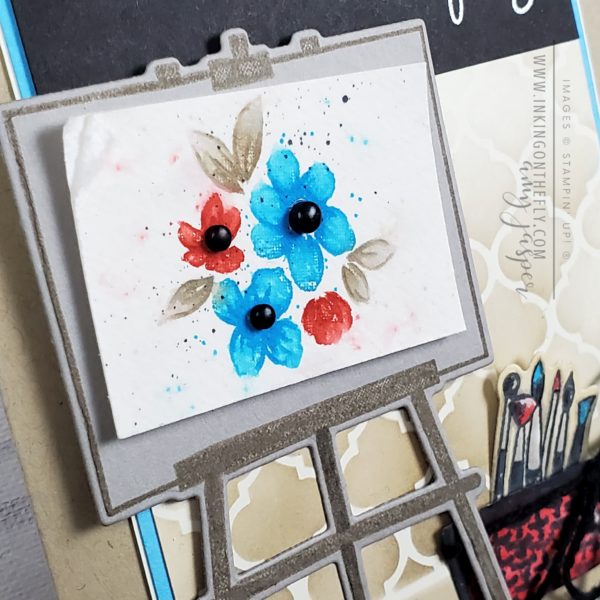
I let this dry while I worked on other aspects of the card. Once dry, the markers were used again to accentuate the outline of the flowers and leaves. This allowed the image to appear watercoloured, but still have some definition. The final touch was to add a bit on Basic Black splatter. To do this, I simply flicked the brush tip of my Basic Black Blends Marker across the lip of the marker lid (this frays the brush tip, so be warned!). A little curl of the watercolour paper in the upper left hand corner, some Classic Matt Dots, and it’s just as I hoped it would be!
Other Products Used for this Design
Artistic Mix Decorative Masks, Black Baker’s Twine, White Embossing Powder, Versamark Ink, Heat Tool, Mini Stampin’ Cut & Emboss Machine, Stampin’ Dimensionals, Blending Brush, Blends Markers (Poppy Parade, Crumb Cake, Gray Granite, Basic Black), Cardstock (Crumb Cake, Tahitian Tide, Basic Black, Very Vanilla, Gray Granite.
You can purchase all the elements that I used on this design by going to my Online Store or clicking on any of the specific links. And, hey, if you’re wondering who the heck I am, you can go to my About Page and find out. 🙂
Got questions? Ask me in the comments. I’m happy to help if I can.

April 26, 2026 @ 11:45 pm
Why wait? 500K is waiting on Mega Slots. Your chance starts here! Spin to Win Here => psee.io/8rjwv5
April 16, 2026 @ 2:48 am
Winners don’t wait. They play. Your chance is here! Play Now Here => is.gd/2OdZd0
August 18, 2025 @ 8:52 pm
Мы можем предложить документы любых учебных заведений, расположенных в любом регионе РФ. Купить диплом о высшем образовании:
аттестат за 11 класс купить калуга
July 23, 2023 @ 2:47 pm
This! This is so cool, Amy! I love the black sentiment panel! It gives your design such authority!! And the work of art on the easel is just that – a mini work of art! Then there’s the stenciled background and the choice of sentiment and it all adds up to a masterpiece! Does it sound like I’m gushing? Because I am!
August 3, 2023 @ 1:01 pm
Aw. Thank you so much Heather! 🙂
July 23, 2023 @ 7:34 am
Wow, Amy, you DO have a bit of everything here, and it SINGS! Love your work with the easel here, and all your colors are beautifully vibrant! What a glorious design! Challenges are my favorite, too, I could never give them up, lol! Thanks so much for playing at As You See It!
August 3, 2023 @ 1:00 pm
Thanks Heather!
July 22, 2023 @ 3:16 pm
You are so right on in your comments about the need to just create without thinking about all those other things you have to consider when planning for events. And that is so cleverly reflected in your creation. A perfect sentiment and a great use of the colours too. We miss having you with us! Thanks for joining in this time around – keep on creating!
August 3, 2023 @ 12:59 pm
Thanks, Jan. It was a fun card to make.