birthday

Birthday Squirrel

Though I’m excited to get back into routine after a wild summer, September is always a crazy time in my home. Every year, I seem to forget how stressful the start of school is for my kids (and therefore also for me!)

To add to the stress, my youngest daughter has her birthday right at the beginning of the month and we usually end up postponing her party so we can get invitations to her friends at school and give the parents time to settle into September a bit before having to jump in to the birthday scene! My card today is the design that she and I came up with for her party invitations.

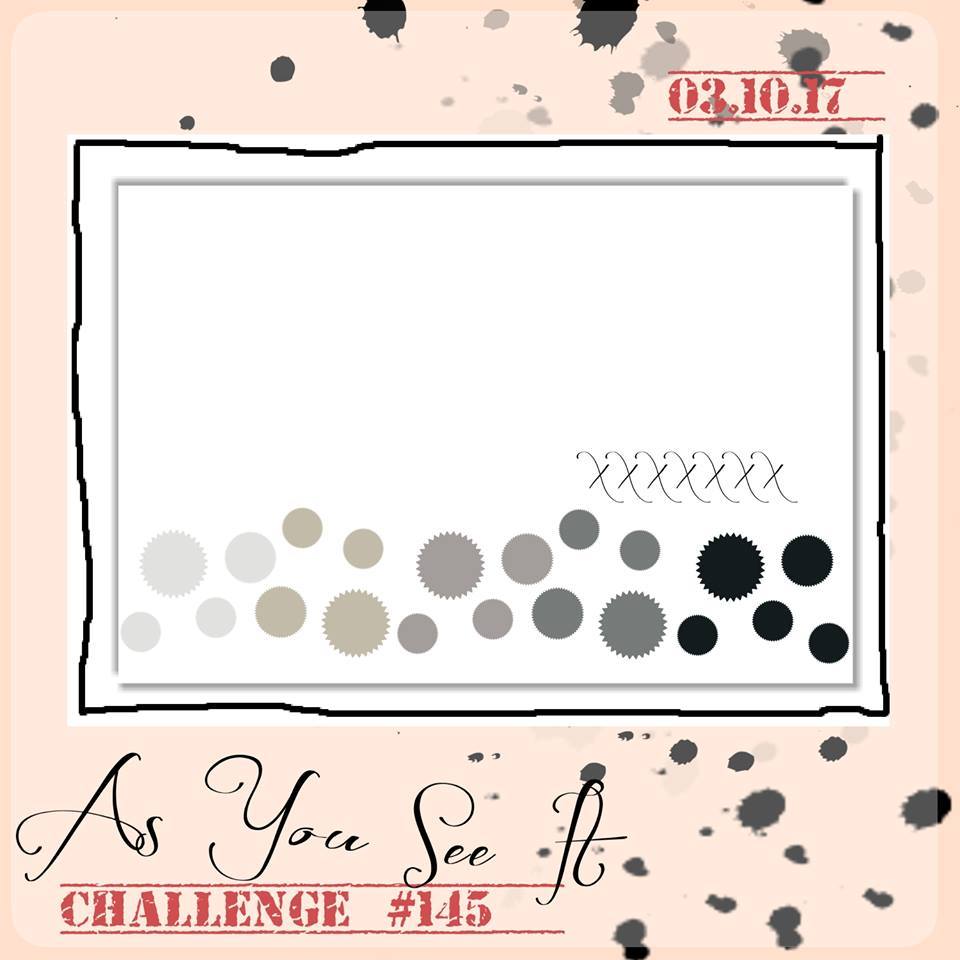
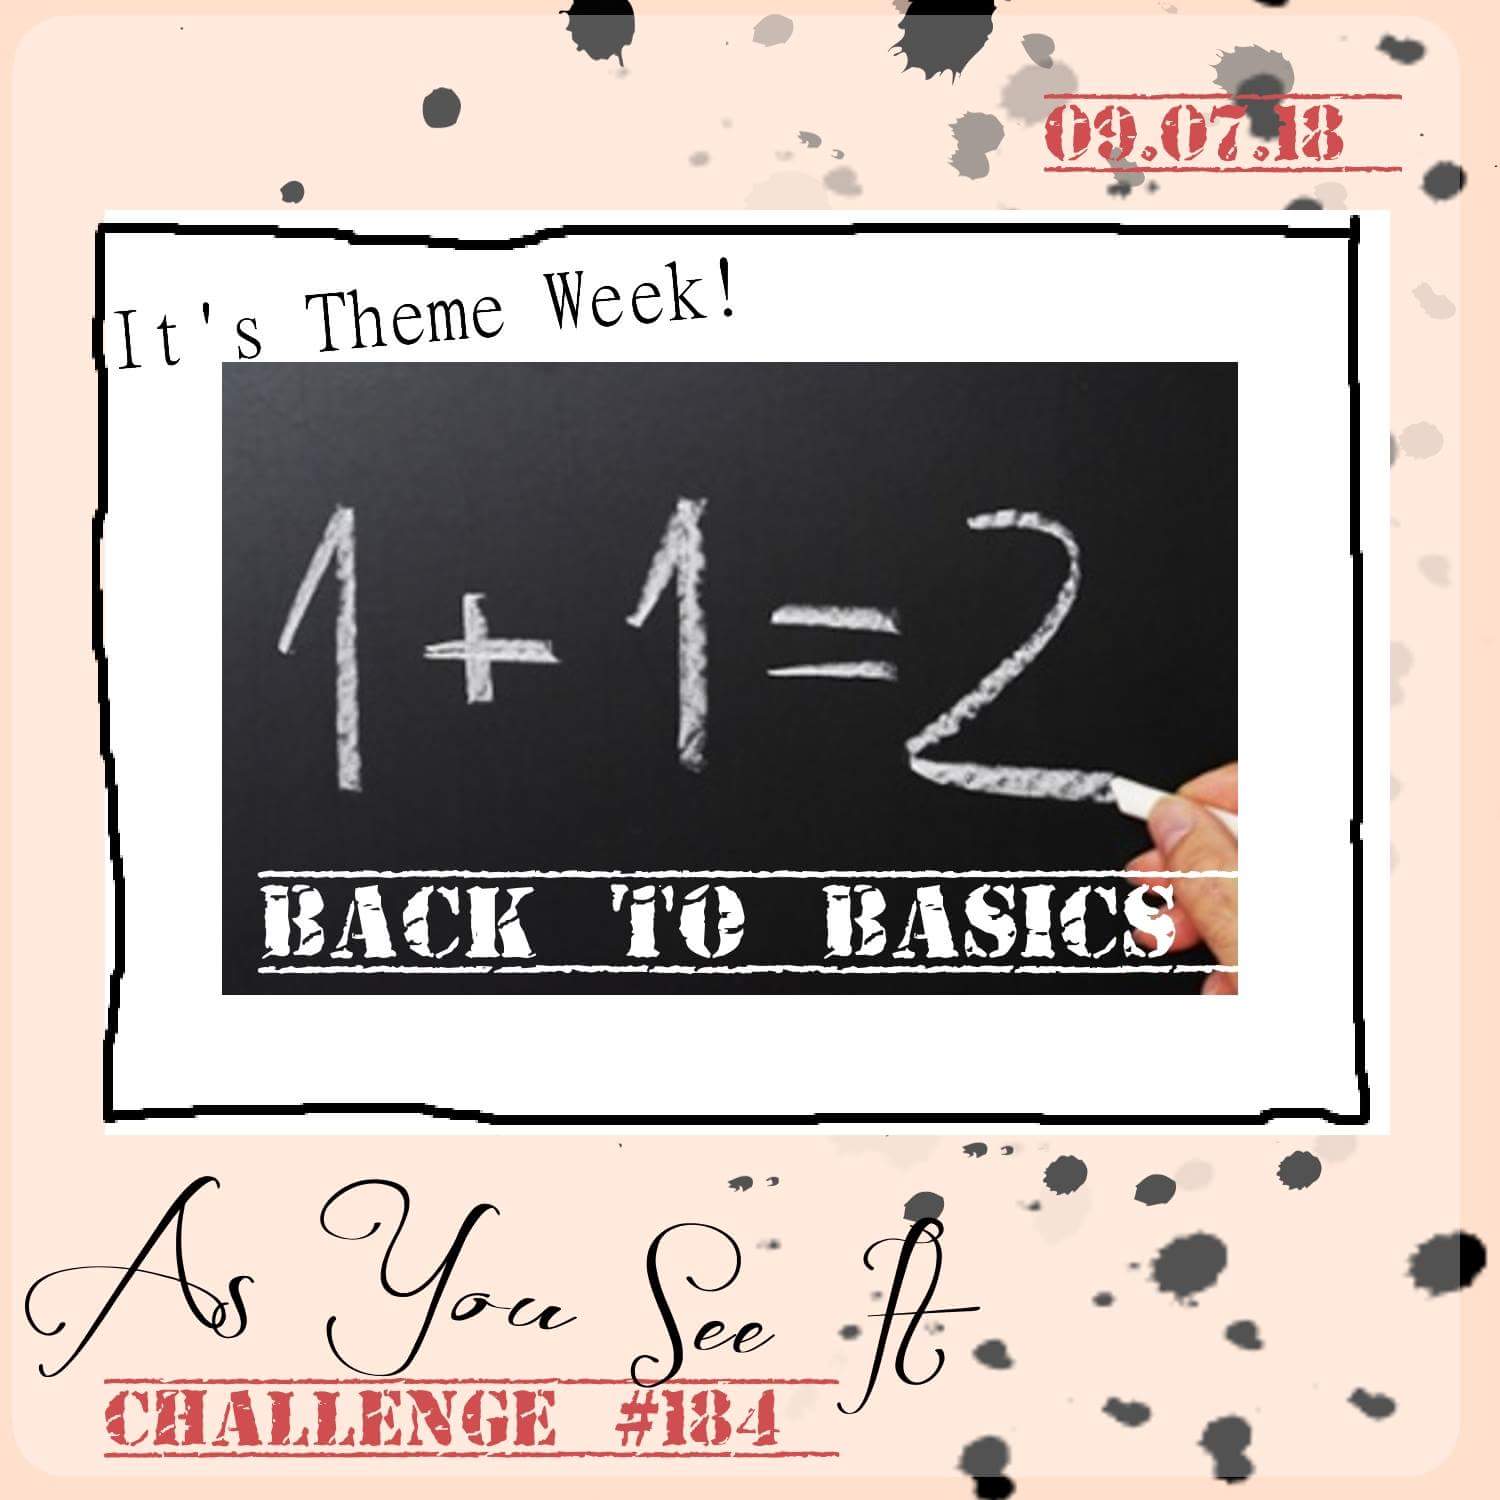
As always, we started with the As You See It Challenge. The theme this time is “back to basics”.

I think Back to Basics with stamping means no fancy tools, just stamps, paper and ink! I remember when I first started stamping and what supplies I had. I didn’t have a Big Shot or dies. I didn’t even have any punches, yet! I stamped at the dining room table into the wee hours of the night while my new baby rocked in her swing and my toddler was asleep in his crib.

Ah. Good memories!

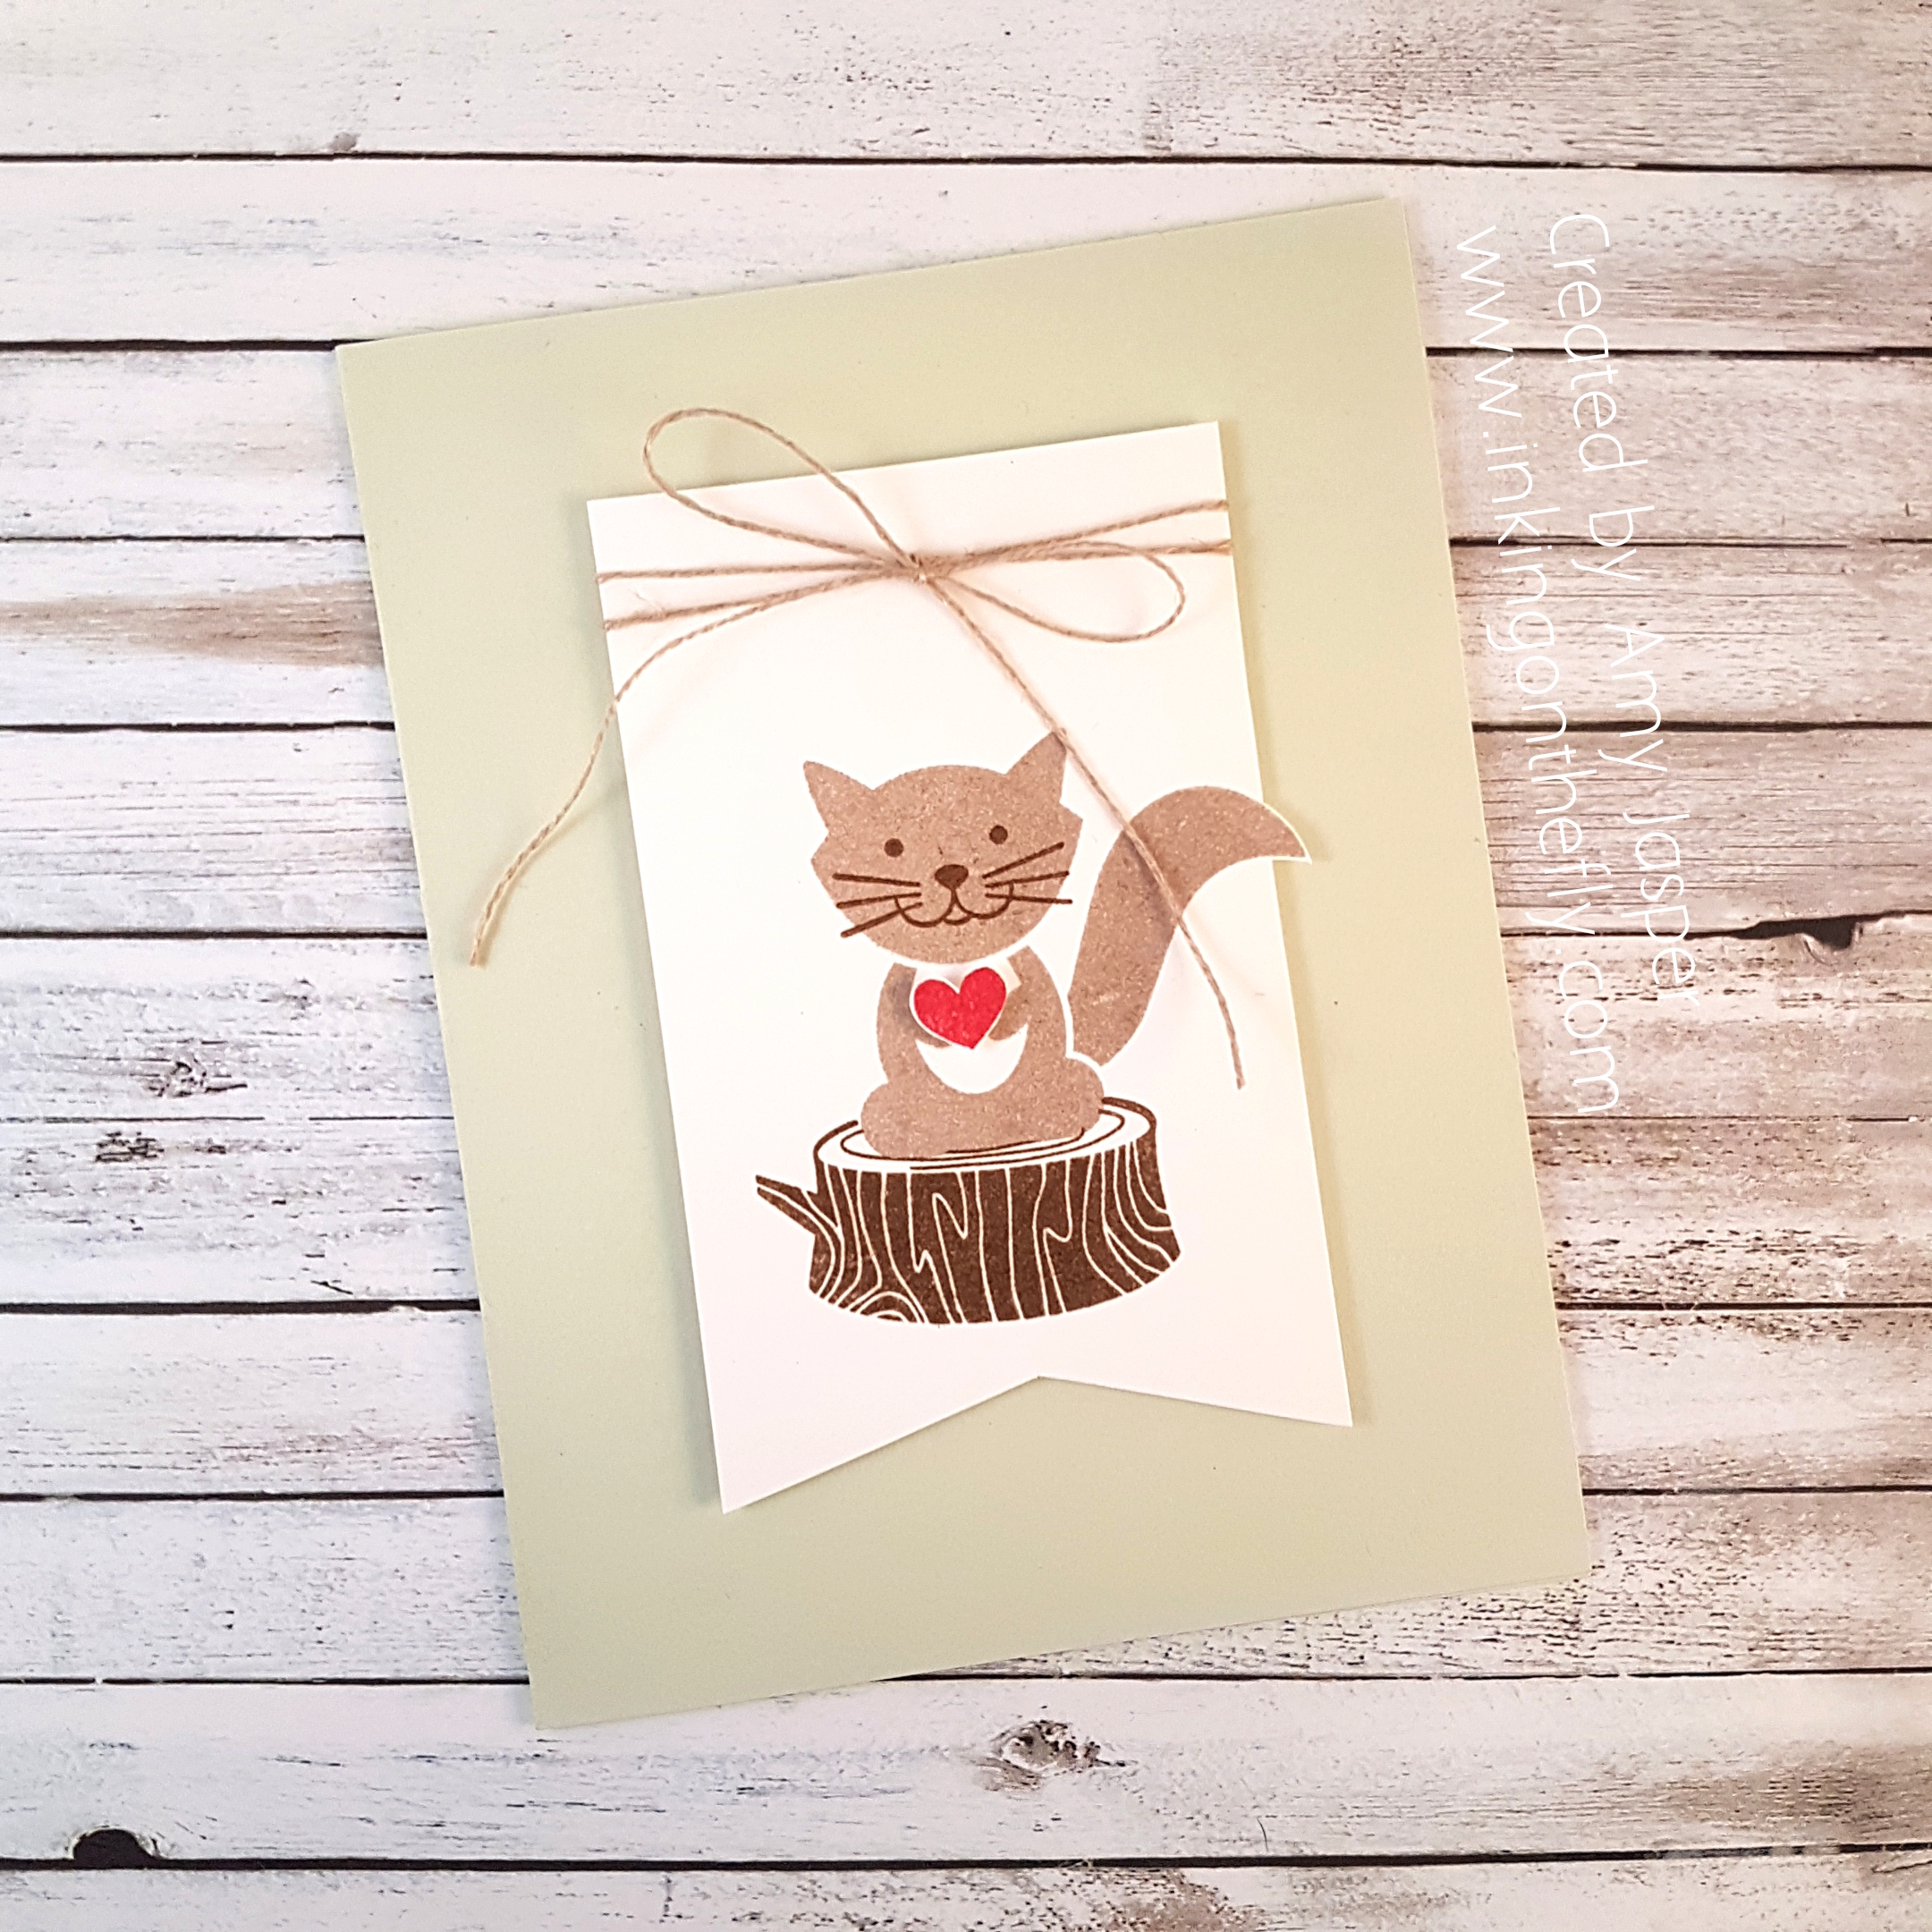
My 10 year old daughter loves the Foxy Friends stamp set. She requested the squirrel image and the wood stump for her invitations. I stamped the squirrel with Crumb Cake ink and his little face was stamped with Soft Suede ink. I then created a mask using a sticky note so that I could stamp the stump to make it appear as though the squirrel is on the stump. To do that, I stamped the squirrel image on the sticky note and trimmed around the image. Then I placed it precisely over my good squirrel image. With the sticky note in place, I used Soft Suede ink to stamp the stump image to overlap the bottom of the squirrel image. Then I removed the sticky note mask and VOILA!, I had  a squirrel sitting on a stump!

Just for fun, I decided to trim down the paper around the squirrel. I used my Stampin’ Up paper trimmer as far as it could go without cutting off the tip of my squirrel’s tail, then I fussy cut around it.

Linen thread is tied in a lovely bow around the top of the Whisper White banner. The banner bottom was hand trimmed with my Paper Snips. The little heart was stamped with Real Red ink and hand cut before placing it in the little squirrel’s hands (paws) with a piece of a Stampin’ Dimensional. The banner was then attached to the Soft Sea Foam card base with more Stampin’ Dimensionals.

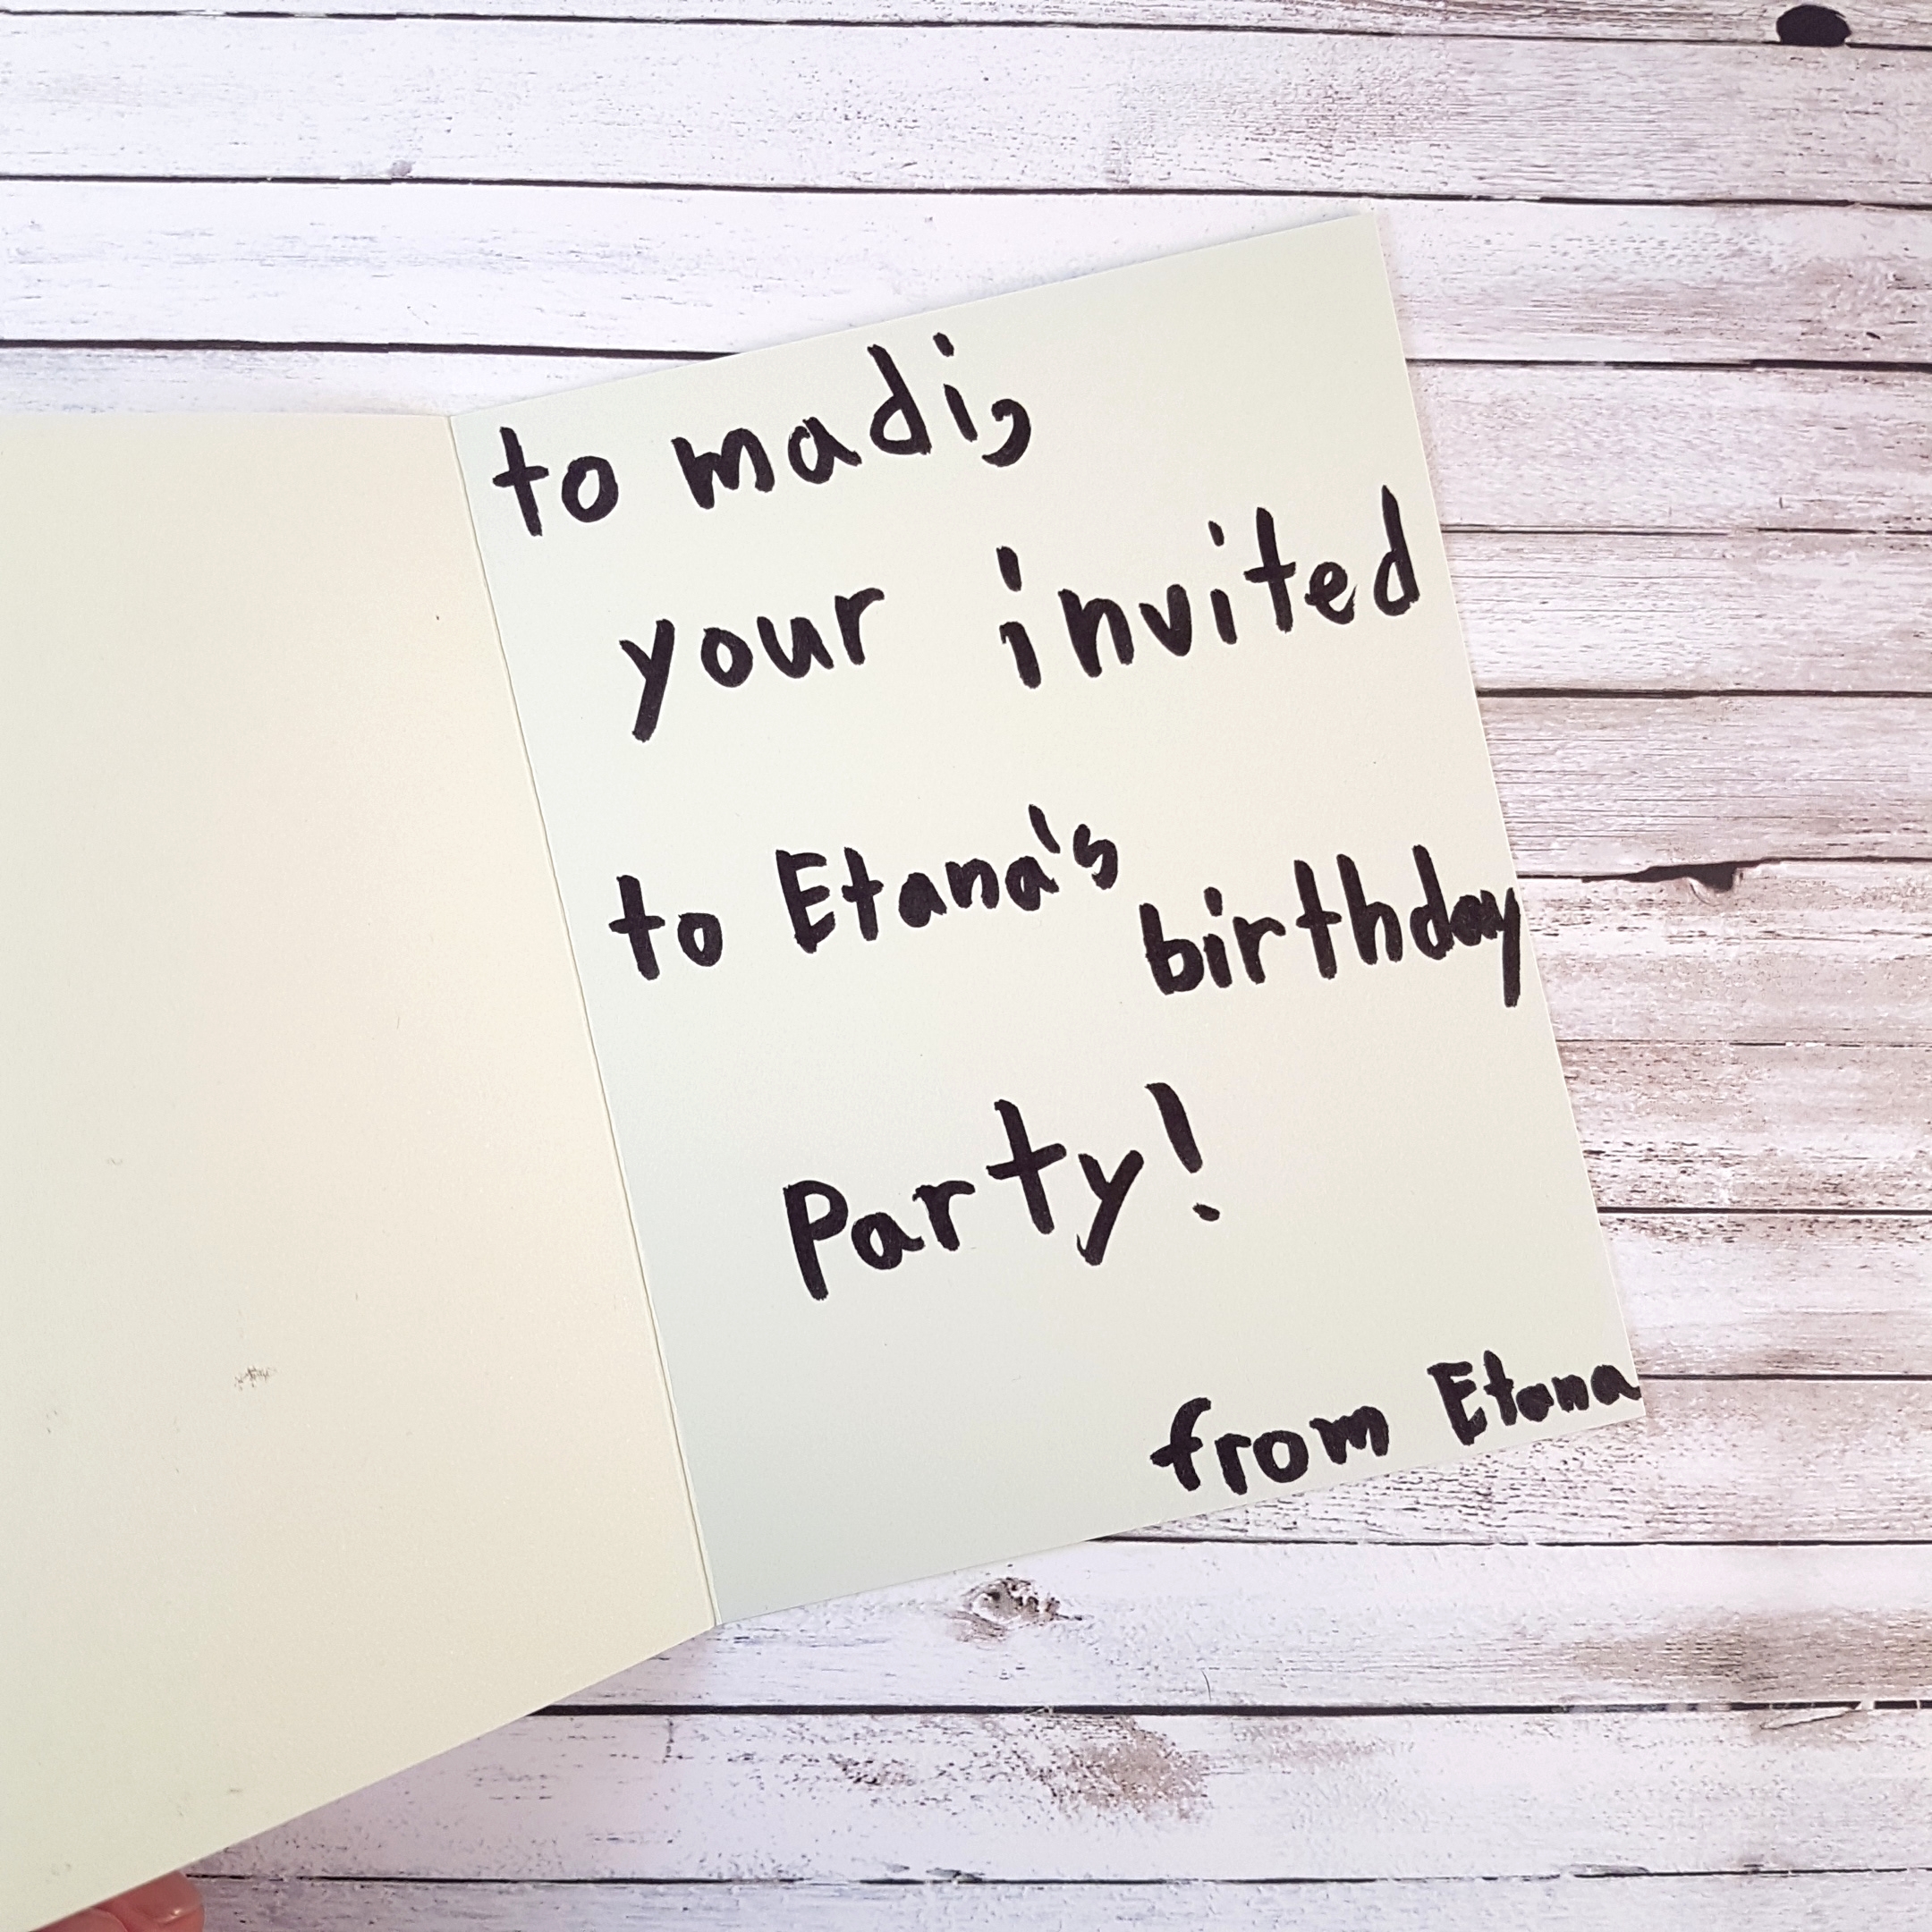
Here’s the inside of the invitations. Of course, I still need to add the when and where for the party, but at least we are a few steps closer to getting these invitations to her friends next week.

Coloured Embossing Paste

I’ve been spending some time online keeping a close eye on the forest fire that is burning just about a 15 minute drive from my home. I video-recorded the belongings in my home for insurance records. I also put aside important documents like birth certificates and passports. People (some of them are my friends) and their livestock have been evacuated.

The wind changed yesterday and our neighbourhood is filled with hazy smoke. In BC, we’ve had more than 1000 forest fires since April 2017 (that’s more than one million hectares of land!) and more than half of them are caused by human carelessness. Often it is cigarettes tossed out the window of a moving vehicle, sometimes is a spark of a hot vehicle on dry grass, sometimes it’s from a poorly attended campfire. If you travel to Canada in the summer (it’s beautiful here in the Okanagan when the air is clear of smoke), be aware of your smoking habits. It’s often the cigarettes out the window that threaten neighbourhoods. That is likely the cause of the fire that could threaten my own home today, if the wind blows unfavourably. So, please be in the habit of butting your cigarettes in your vehicle, don’t smoke in our forests or grasslands AT ALL, and don’t flick your butt, EVER! You may not have the same risks in the area where you live, but good habits could protect you and the  people you love, wherever you are.

I also ask that everyone be on watch for people who are not being responsible and say something to them. Report them, if need be. It’s not worth risking our lives, our homes, our pets, our beautiful forests or the creatures who live in them. It breaks my heart to think of all of those who have been affected by fires over the last few years.

My card design today is not intentionally related to this topic, although, I read the sentiment and realize that it is! LOL! I did not plan this at all!

Here is the As You See It Challenge sketch from which my design was inspired:

Here is my fire-safety card, lol! The sentiment is from the Birthday Banners stamp set.

I used a small amount of Embossing Paste from Stampin’ Up! in three separate little containers. Then I added a tiny drop of colour to each of them: Daffodil Delight, Melon Mambo, and Tempting Turquoise. I mixed each one until the colour was fully blended into the paste before spreading each colour over the diamond- shaped mask from the Patterned Party Decorative Masks. I love how each colour blends ever so slightly into the next.

The sentiment and banner were stamped in Stampin’ Up! Archival Black on Watercolor Paper. I was careful to make sure it was fully dry before adding a Bermuda Bay colour wash over the banner area. I also added some little white decorative dots to the words on the bottom banner using my White Chalk Marker (not sure if I like that as much).

The 3/8″ Mini Chevron Ribbon in Bermuda Bay was added behind the banner along with the Black Mini Sequin Trim and the Gold Metallic Thread. The banner and metallic thread was adhered with Stampin’ Up Dimensionals, while the ribbon and sequin was attached on a strip of Tear and Tape.

I added the Metallics Sequin using the Fine-tip Glue Pen, then assembled my layers:

Card base is Basic Black cardstock, then a delicate layer of Whisper White and a slightly wider layer of Melon Mambo cardstock. The completed top layer of Basic Black with the embossing paste and sentiment were attached to the Melon Mambo cardstock with Stampin’ Up Dimensionals.

I used the same layering to complete the inside of the card, finishing with a layer of Whisper White cardstock for writing a personal message to the recipient.

I’m writing this late this morning and a bit hurried as I have to take my kids to swimming lessons and I haven’t finished video-recording my craft room supplies or my ski equipment. I think I will take my dog to swimming lessons today, just in case (we will have to watch the kids through the windows from outside, of course).

Try this As You See It sketch for yourself and show us what you come up with by uploading it to you As You See It challenge website.

And be fire-safe!! Candles, too!!

Save

It’s Your Party!

It’s time for another challenge! For this happy card, I used the Large Letters Framelits and the Festive Birthday Designer Series Paper from Stampin’ Up!

Here’s the As You See It Challenge sketch that is responsible for my creative mojo:

As You See It Challenge #145So fun and simple, don’t you think!?  At first glance, I liked how the dots on the sketch went light to dark across the page and tried to think of how I could use that in my own design. But my final result rarely goes as planned and I found myself inspired by a deep desire for bright colours to pull me out of the winter blues.

Here’s what I came up with:

It's Your Party by Amy Jasper using the Large Letter Framelits from Stampin' Up! www.inkingonthefly.comI used the Large Letters Framelits from Stampin’ Up! to cut the letters ‘P’, ‘R’, and ‘Y’ from a piece of Whisper White cardstock and stamped the sentiment from the Endless Birthday Wishes stamp set above the ‘Y’ with Melon Mambo ink. I then adhered a piece of the Festive Birthday Designer Series Paper (DSP) to my Thick Whisper White cardstock base before adhering the stamped and die cut Whisper White layer over the DSP with Stampin’ Up Dimensionals.

It's Your Party card by Amy Jasper www.inkingonthefly.comI added the inside of the letter ‘P’ and ‘R’ using Dimensionals cut in half because those pieces are so narrow. The letter ‘A’ is die cut from Emerald Envy cardstock, while the letter ‘T’ is cut from Tempting Turquoise cardstock. These letters were added to the front of the card using Stampin’ Up! Dimensionals.

It's Your Party card by Amy Jasper using Stampin' Up! Large Letters Framelits www.inkingonthefly.comFor a festive confetti-like flare, I added some Brights Candy Dots. Sadly, these are no longer available, but the current Brights Enamel Dots would be perfect for this card. In fact, if I had them, I would have used the star shapes to make this card even more fun!

I like how this card is appropriate for anyone, male or female and of any age. This one will be for my son, who’s turning 13 this month!

I’m going to have a TEENAGER!!! ACK!!

Save

Save

Save

Save