challenge

Halloween Mini Album Page

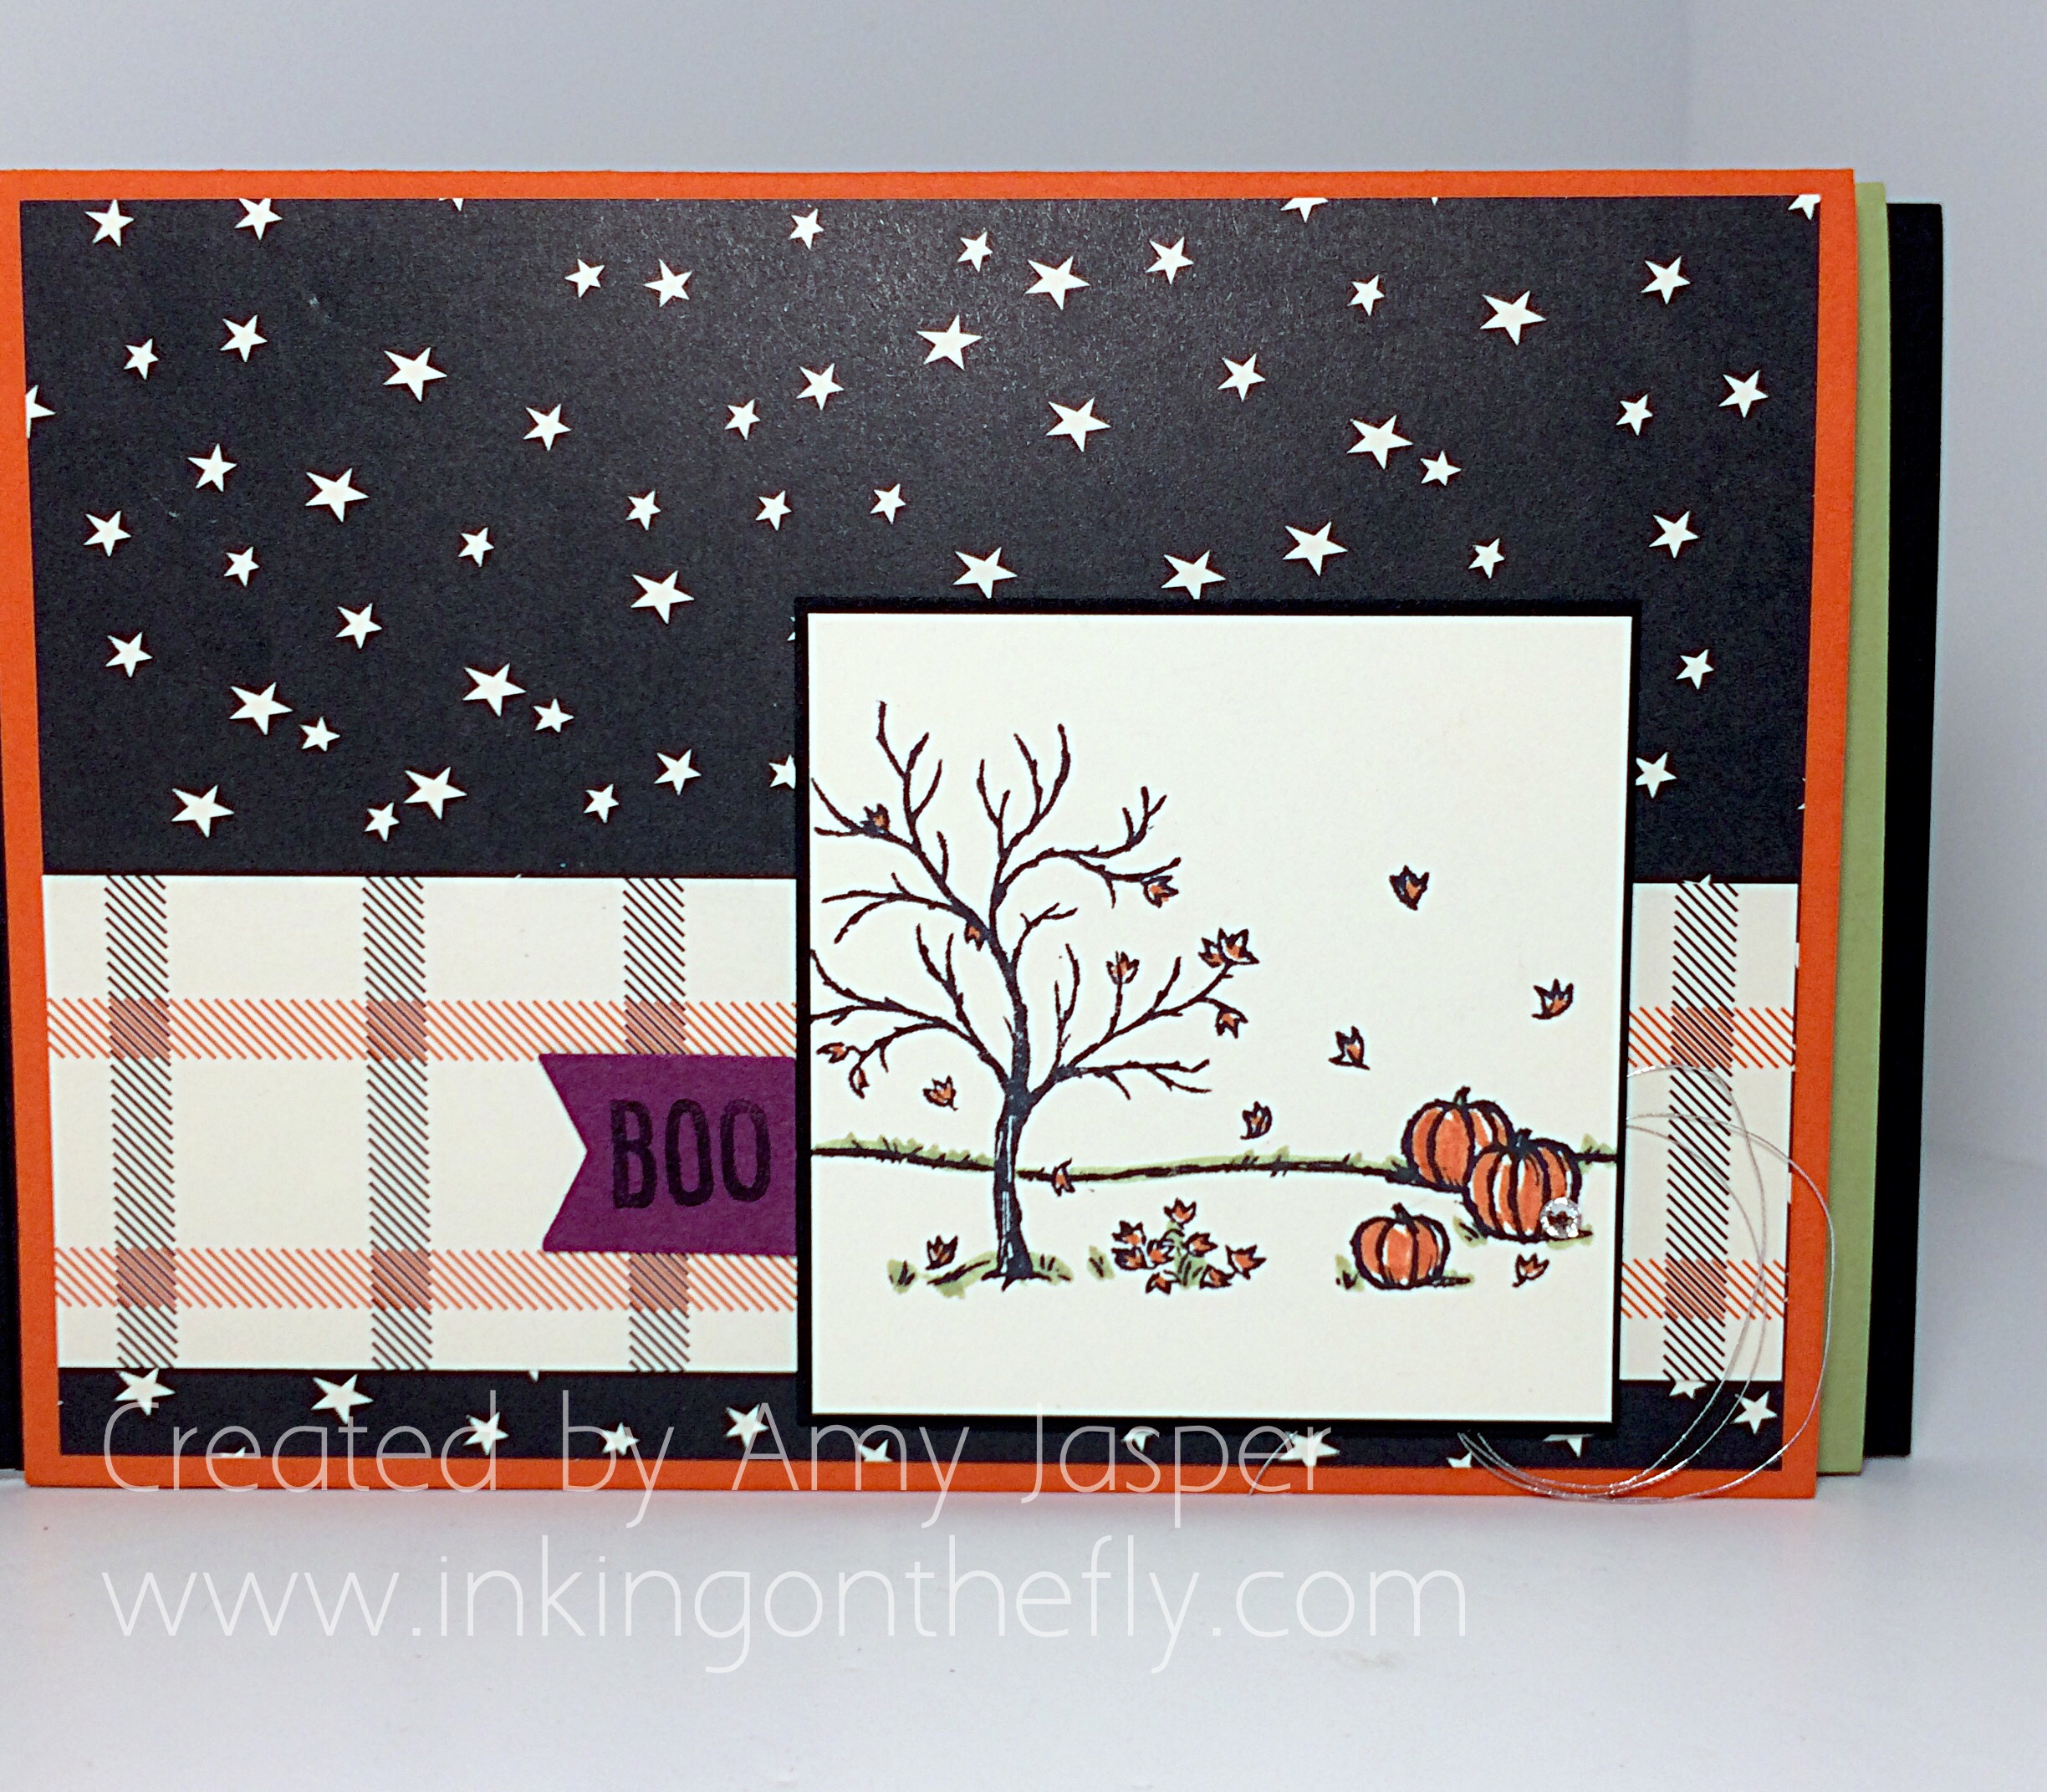
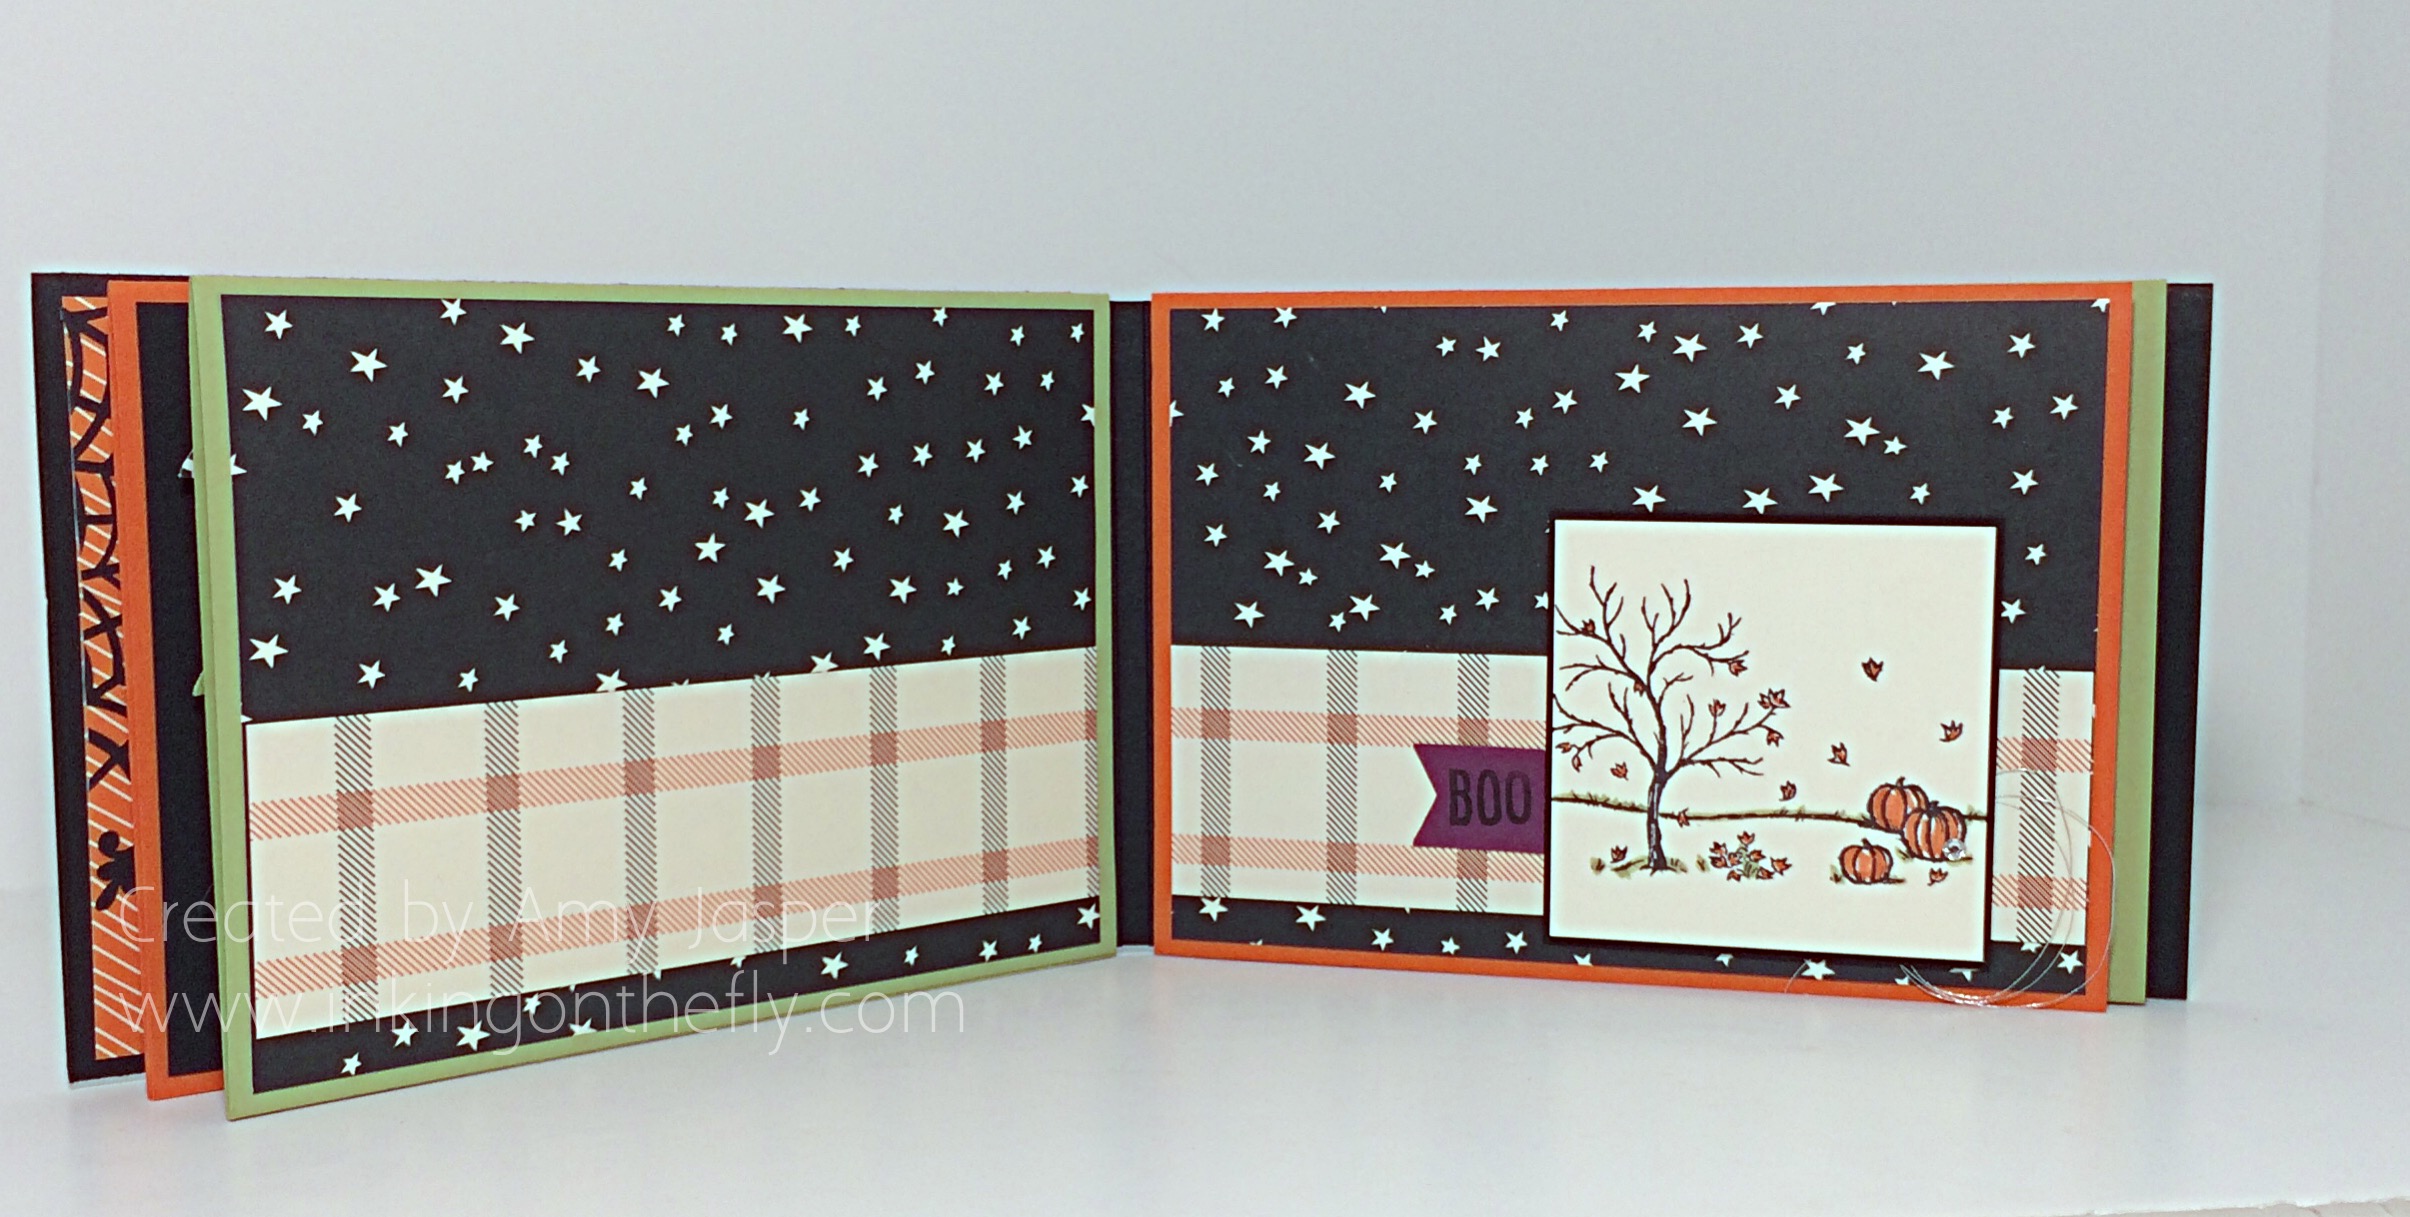
I have been working on a Halloween Mini Album with all of the amazing pre-order supplies that I ordered! I don’t usually do much in the way of Halloween cards, but I love Halloween/goth designs, so I thought I’d try my hand at a mini album using a simple and effective method of binding that is new to me. I’m not going to go into detail in this post, but will just share one of my pages with you that was designed with this week’s As You See It Challenge sketch in mind.

IMG_6661[1]The sketch is lovely and simple this week, offering so many possibilities. Because an album can be time consuming, I chose to use this sketch pretty close to the simplicity that it is. When you have many pages to design, simple allows it all to pull together nicely.
IMG_6680I used some products for this album that will be available to you by September 1st with the new Stampin’ Up Holiday mini catalogue. I’m so excited for the new products in this catalogue. This time of year is definitely my most inspired with all cozy holidays to look forward to.

IMG_6678

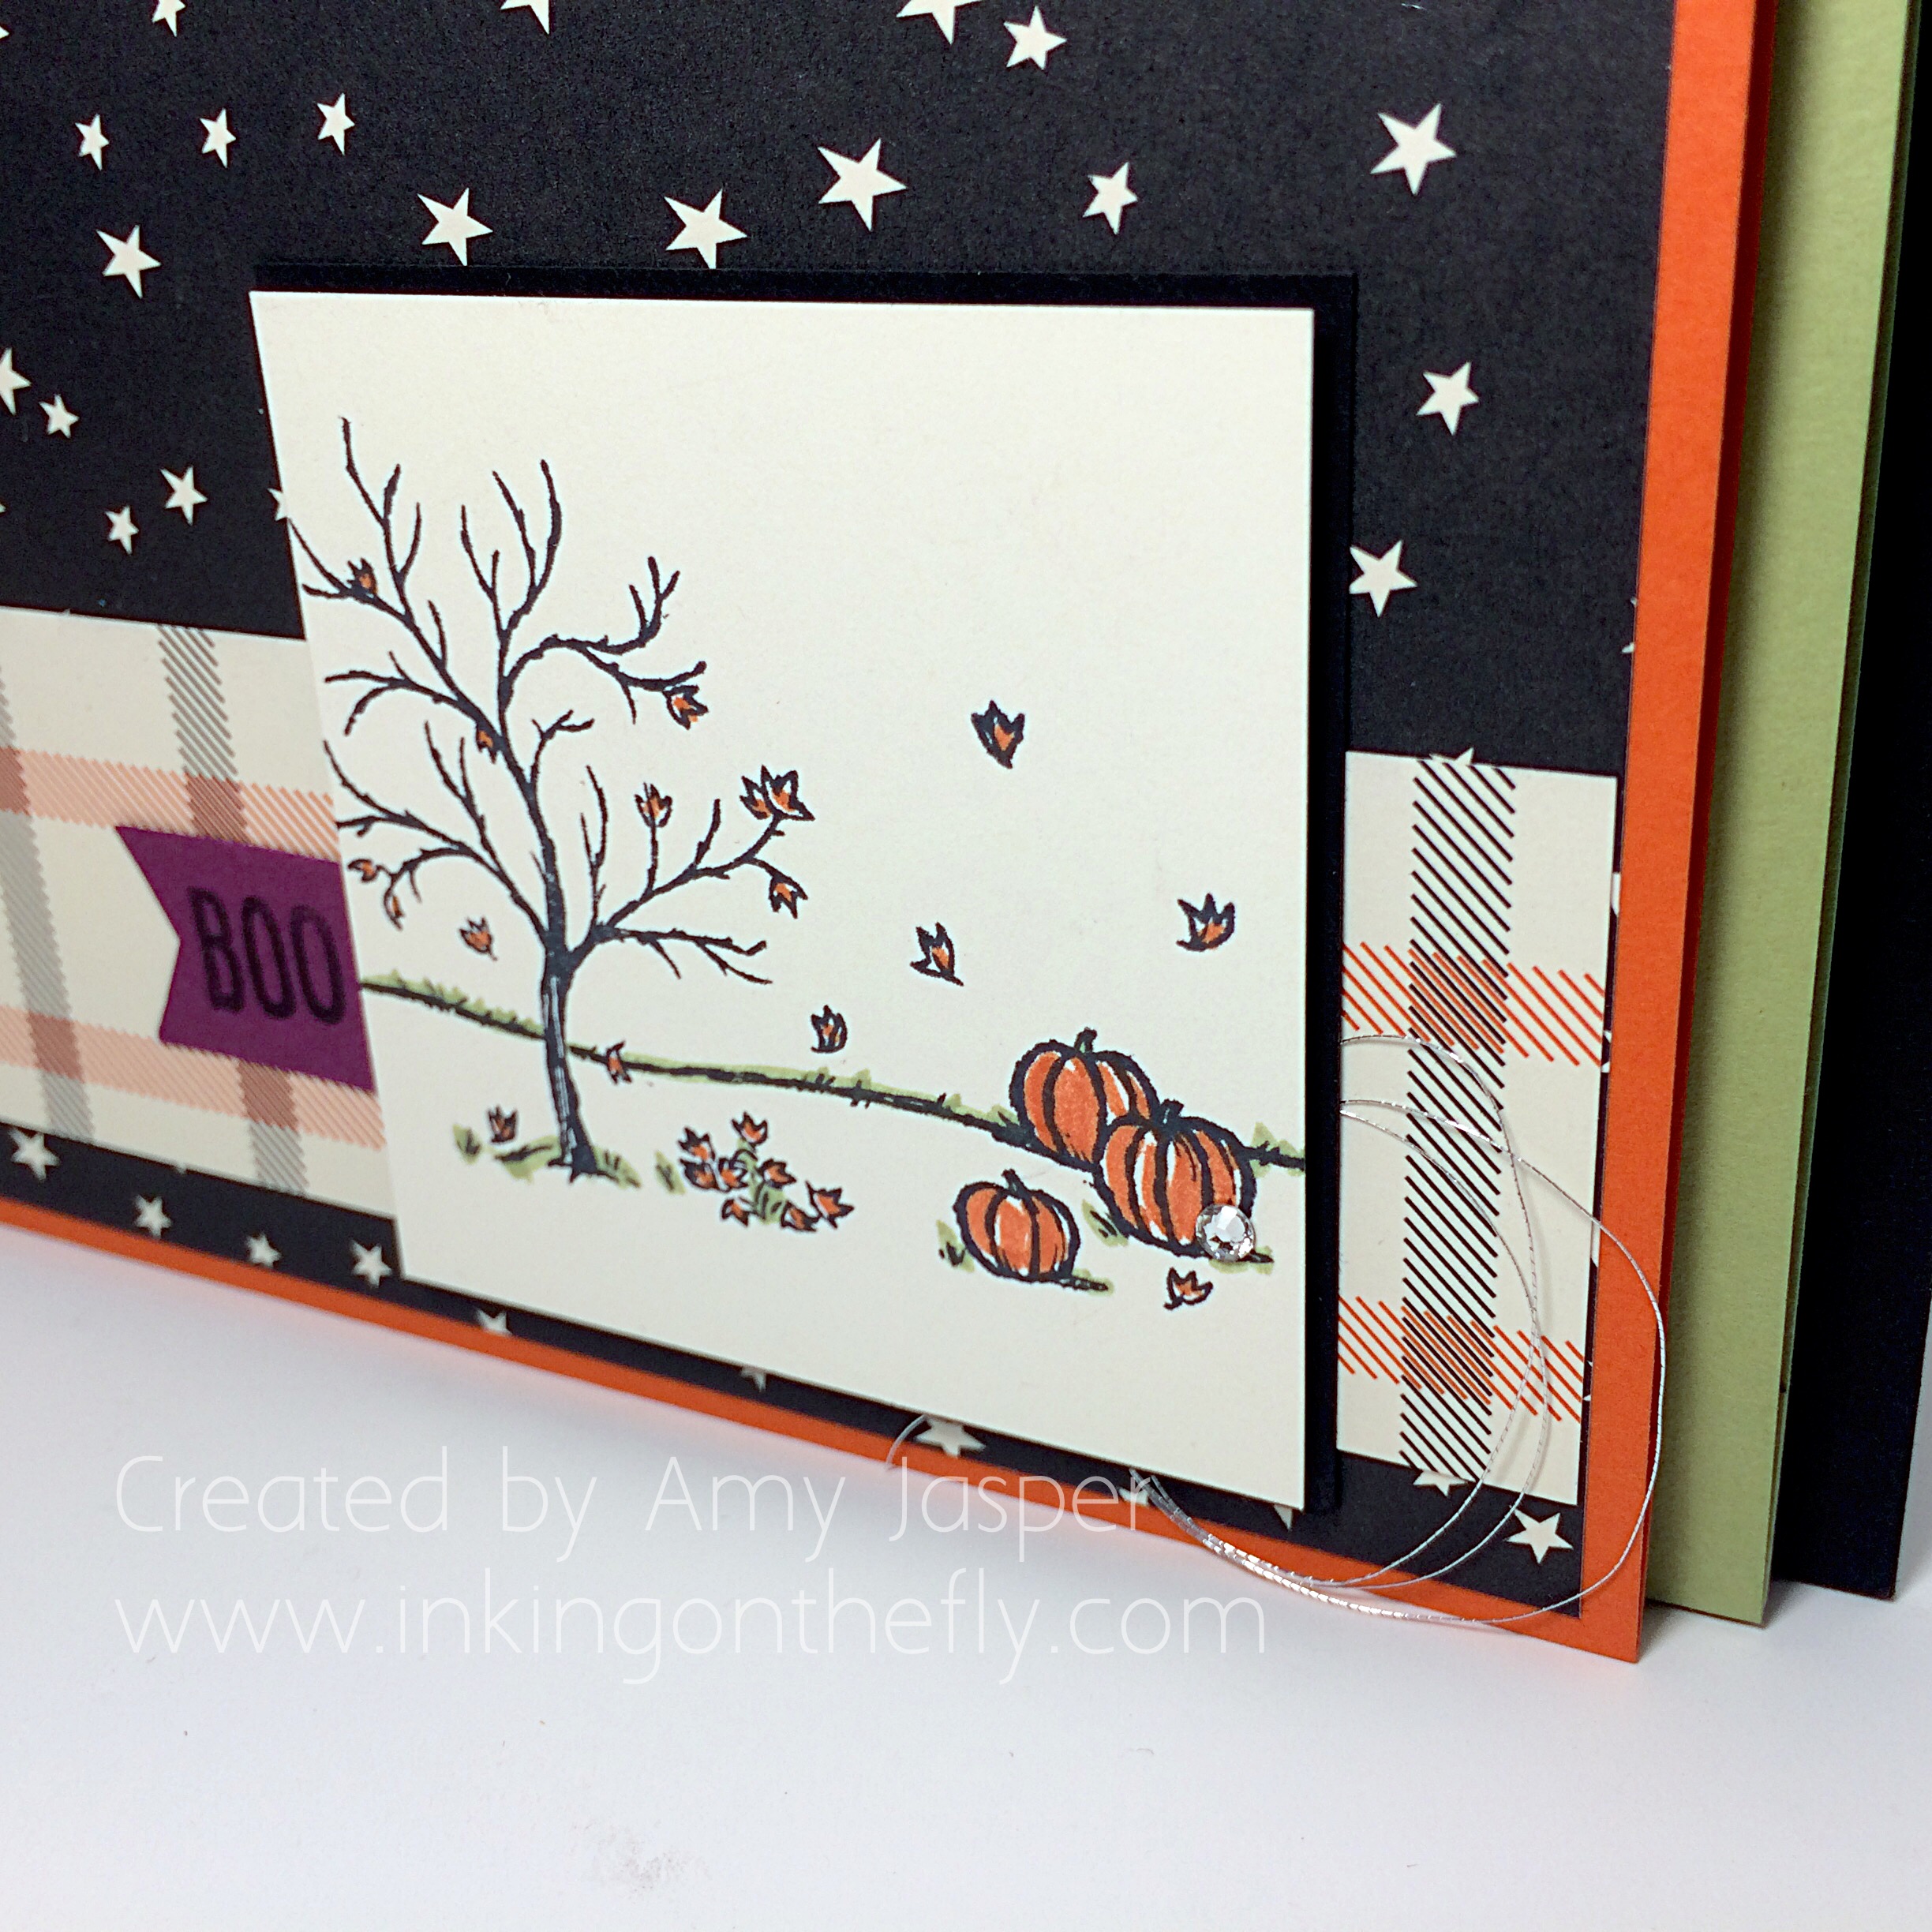
The Designer Series Patterned paper I used here is Halloween paper called Happy Haunting, but I love that there are so many sheets in this pack that can be used for other fall-themed projects. This page uses a stamped image from the Happy Scenes stamp set (LOVE IT!), but really the only thing on this page that makes it a Halloween page is the “BOO”. Otherwise it is a wonderful fall image that evokes thoughts of cozy nights with hot chocolate or pumpkin pie. Yum!

IMG_6679

It’s the little things on this page that make me smile. I stamped the image with Tuxedo Black Momento ink, then used my Stampin’ Up Write Markers to accent the image with Tangelo Twist and Pear Pizzazz ink colours. A little Basic Rhinestone and the swirl of Silver Metallic Thread give a little bit of subtle shimmer to catch your eye.

Imagine a photo of your cute costumed Trick-or-treater, grinning at you from the pages of this simple layout. This 4×5.5 album would make a great gift. I can’t wait to make more albums like this one using different themes. I can see a lovely black and white anniversary album, a personalized mini album for each of my kids, and a Christmas album, of course!!

I’ll post more photos when the album is complete with the cover and the pull out pieces. I’m so excited to see how it all comes together!!


Celebrate Good Times

Welcome to the place where I get to share my love of stamping and creating with the wonderful people of the internet. Yes, that’s you fine folks! lol!

My 11 year old son gave me the inspiration for the card today. I was short on time and told him the theme of the challenge for this week on the As You See It Challenge blog. He said, “stamp a bunch of the word, ‘celebrate’, lots of times in lots of colours on a square piece of paper (like you often do) and stick it on a card. Then add balloons and confetti.” BRILLIANT!

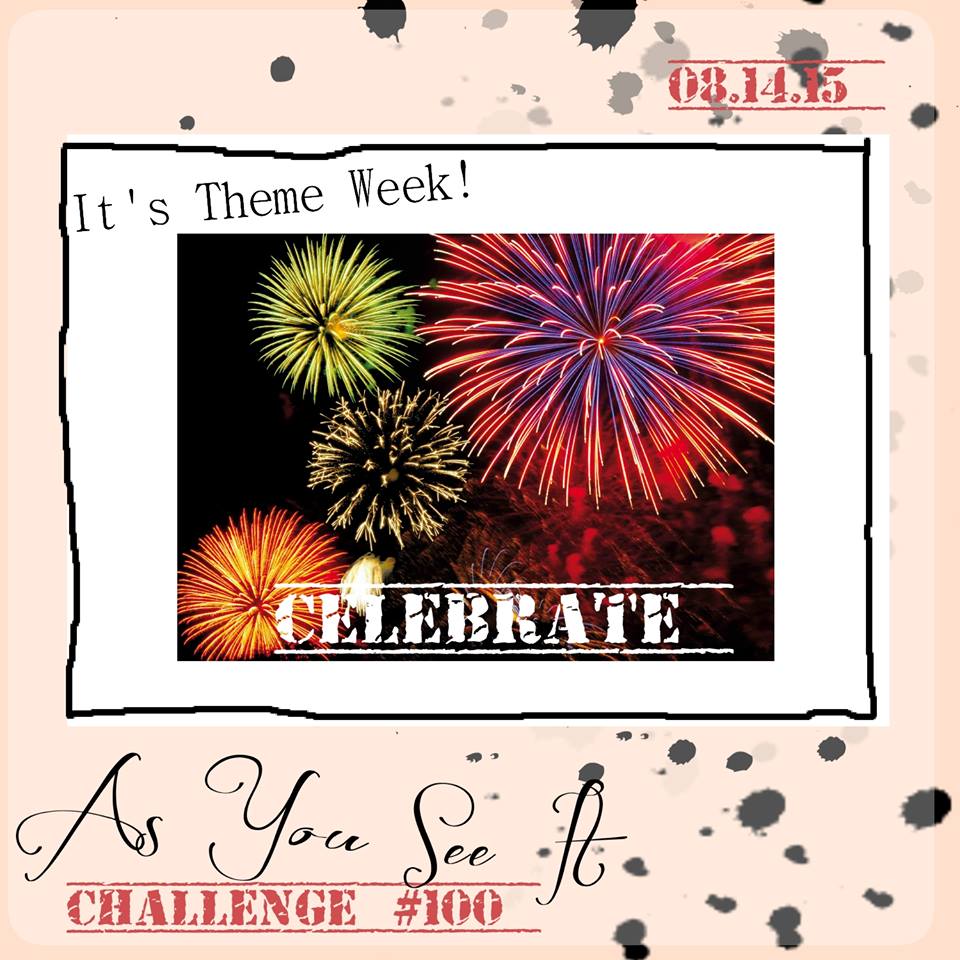
Here’s the challenge today:

11666021_10155855868785085_4590987697493321045_nSo, I didn’t do all of those things, but he definitely had a great idea and got my mojo going! I started with my Alphabet Rotary Stamp and stamped the word ‘celebrate’ all over a Tempting Turquoise piece of cardstock and the design for today’s challenge card just pulled together from there. Thanks, bud! Love that kid!

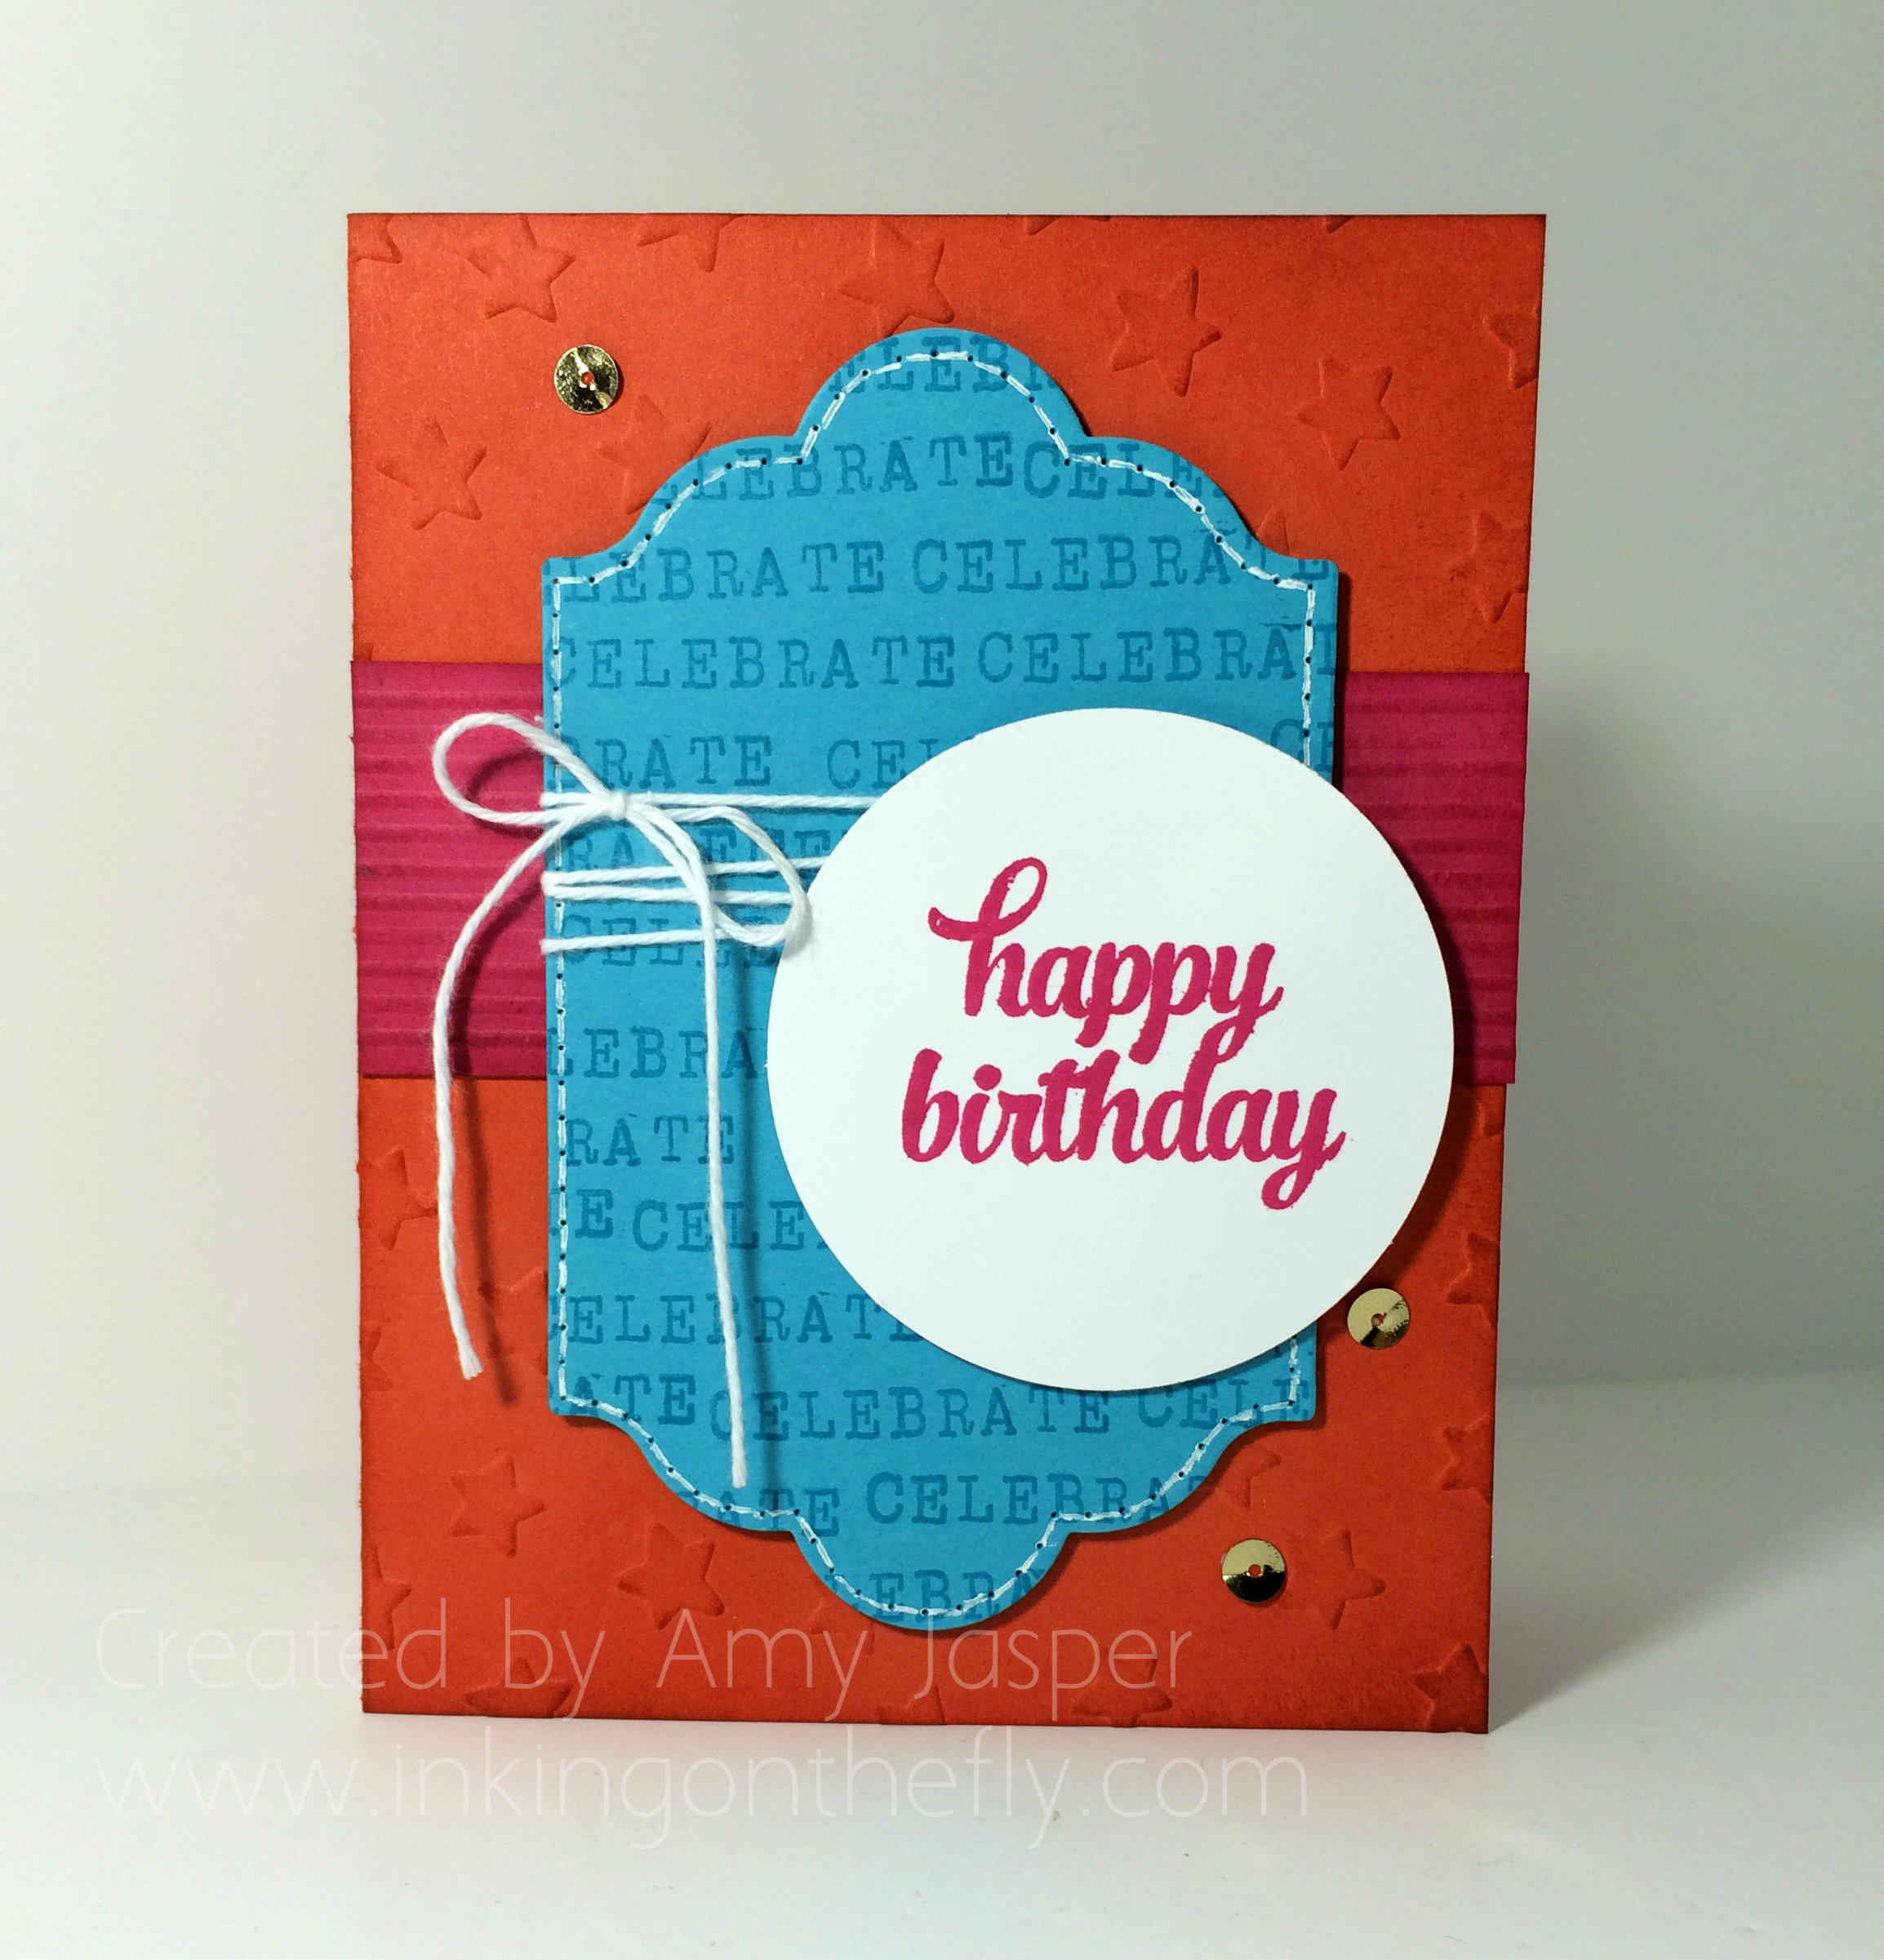
Here’s our finished card:

100AmyI decided to go with a set of bright colours and am trying to move away from my white card bases that I have been leaning toward so often lately. I just love that look! But I’m realizing I need to branch away from that and work with some different colours. Here, I chose to start with a Tangelo Twist card base, which I ran through the Big Shot with the Lucky Stars embossing folder. I sponged the edges with Tangelo Twist ink, just to add some richness to the card base.

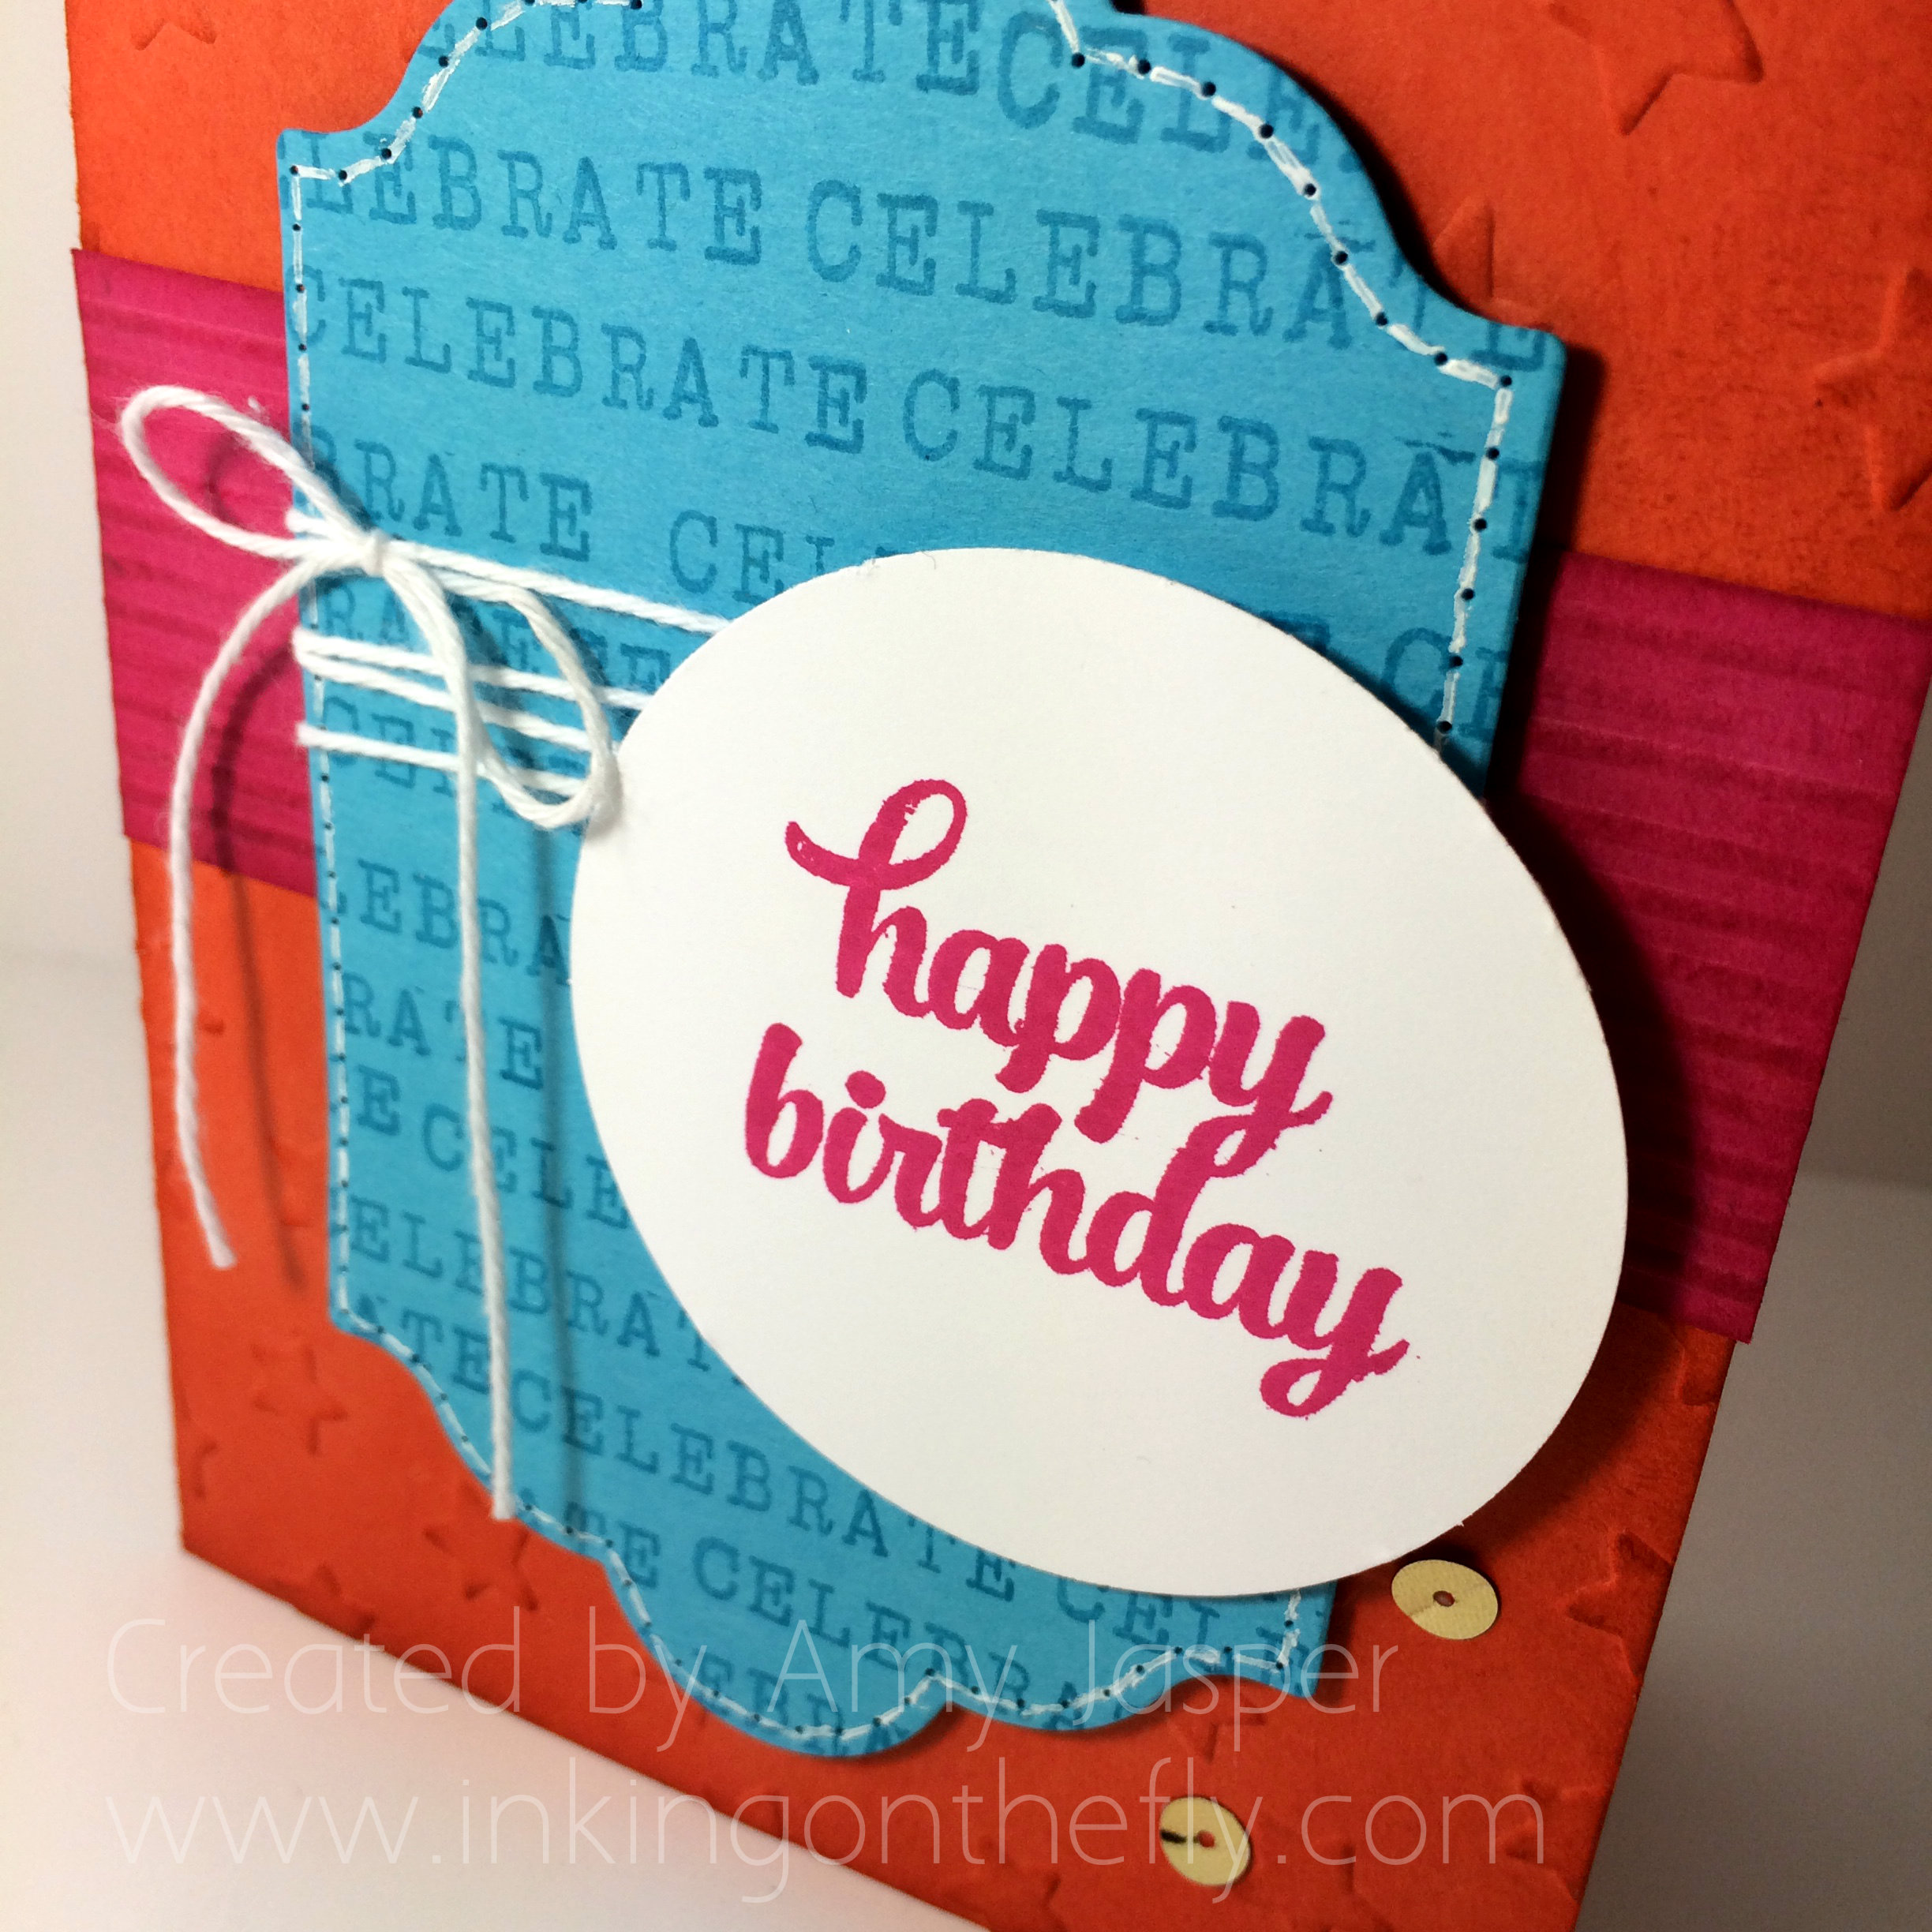
100angleThere is a strip of Melon Mambo that I scored parallel lines on with my Simply Scored tool, then sponged around the edges with Melon Mambo ink.

I chose to do some paper-piercing with my new Updated Essentials Paper Piercing Pack as it has the coordinating shapes to go with the Lots of Labels framelit that I used to cut the Tempting Turquoise cardstock. My White Signo Gel pen allowed me to create the faux stitching. Love it!

Of course, the Tin of Cards stamp set came in handy for the Happy Birthday sentiment, which is stamped in Melon Mambo ink (though I think I stamped it a little too quickly and made the image a bit smooshy – mental note: don’t stamp quite so vigorously next time).

And with my son’s confetti in mind, I added the sparklies: the gold sequin pieces for an added celebratory feel.

You might not have my fabulous son to give you inspiration, but you do have this great theme idea from the As You See It Challenge this week. Try this one and load it up on the challenge blog to share it with us!

Amy

Speedy Colour Blocking

095header

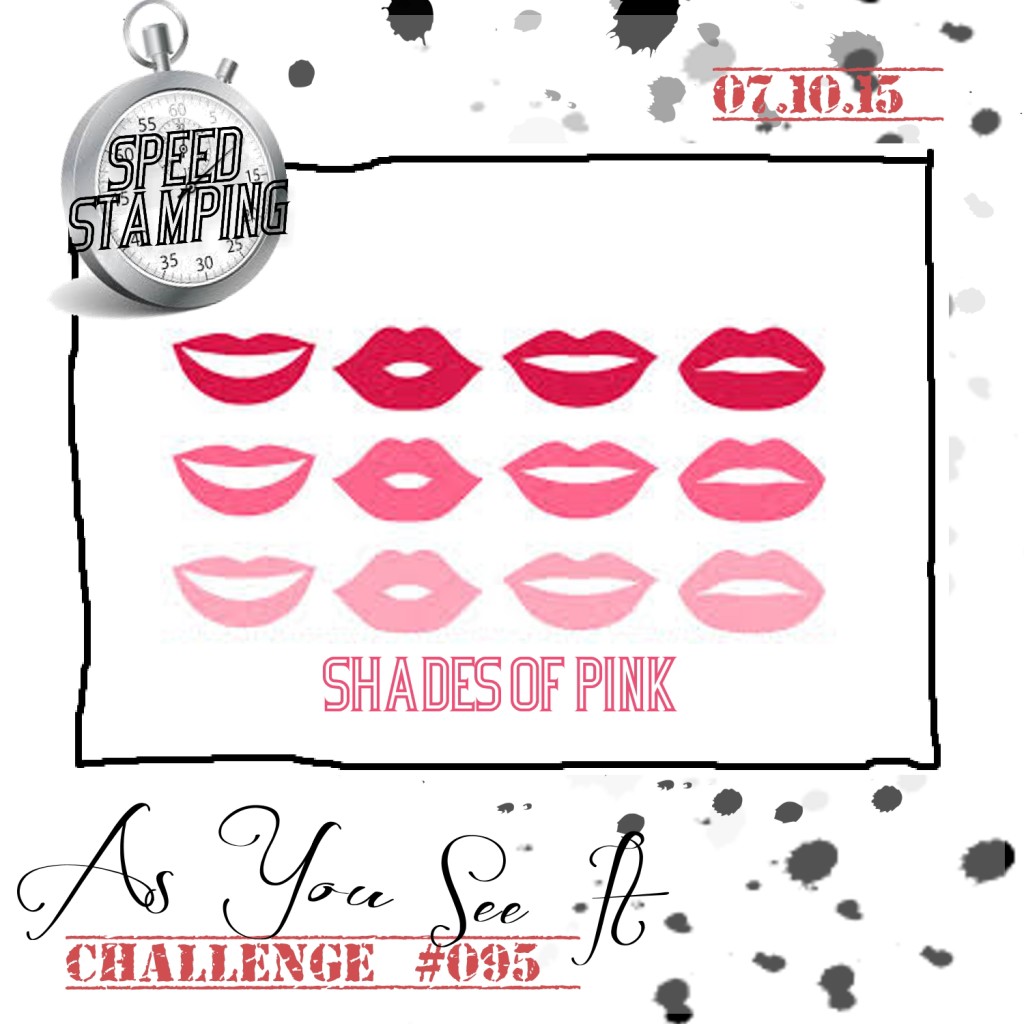
I love speed stamping! It gets the heart pumping and pushes my creativity! Today’s challenge is all about shades of pink! Can you make a card in under 10 minutes? It’s tough, but I’m proud to say that I did it just under the wire at 9 minutes and 59 seconds! Phew!

AYSIChallenge095-1024x1024

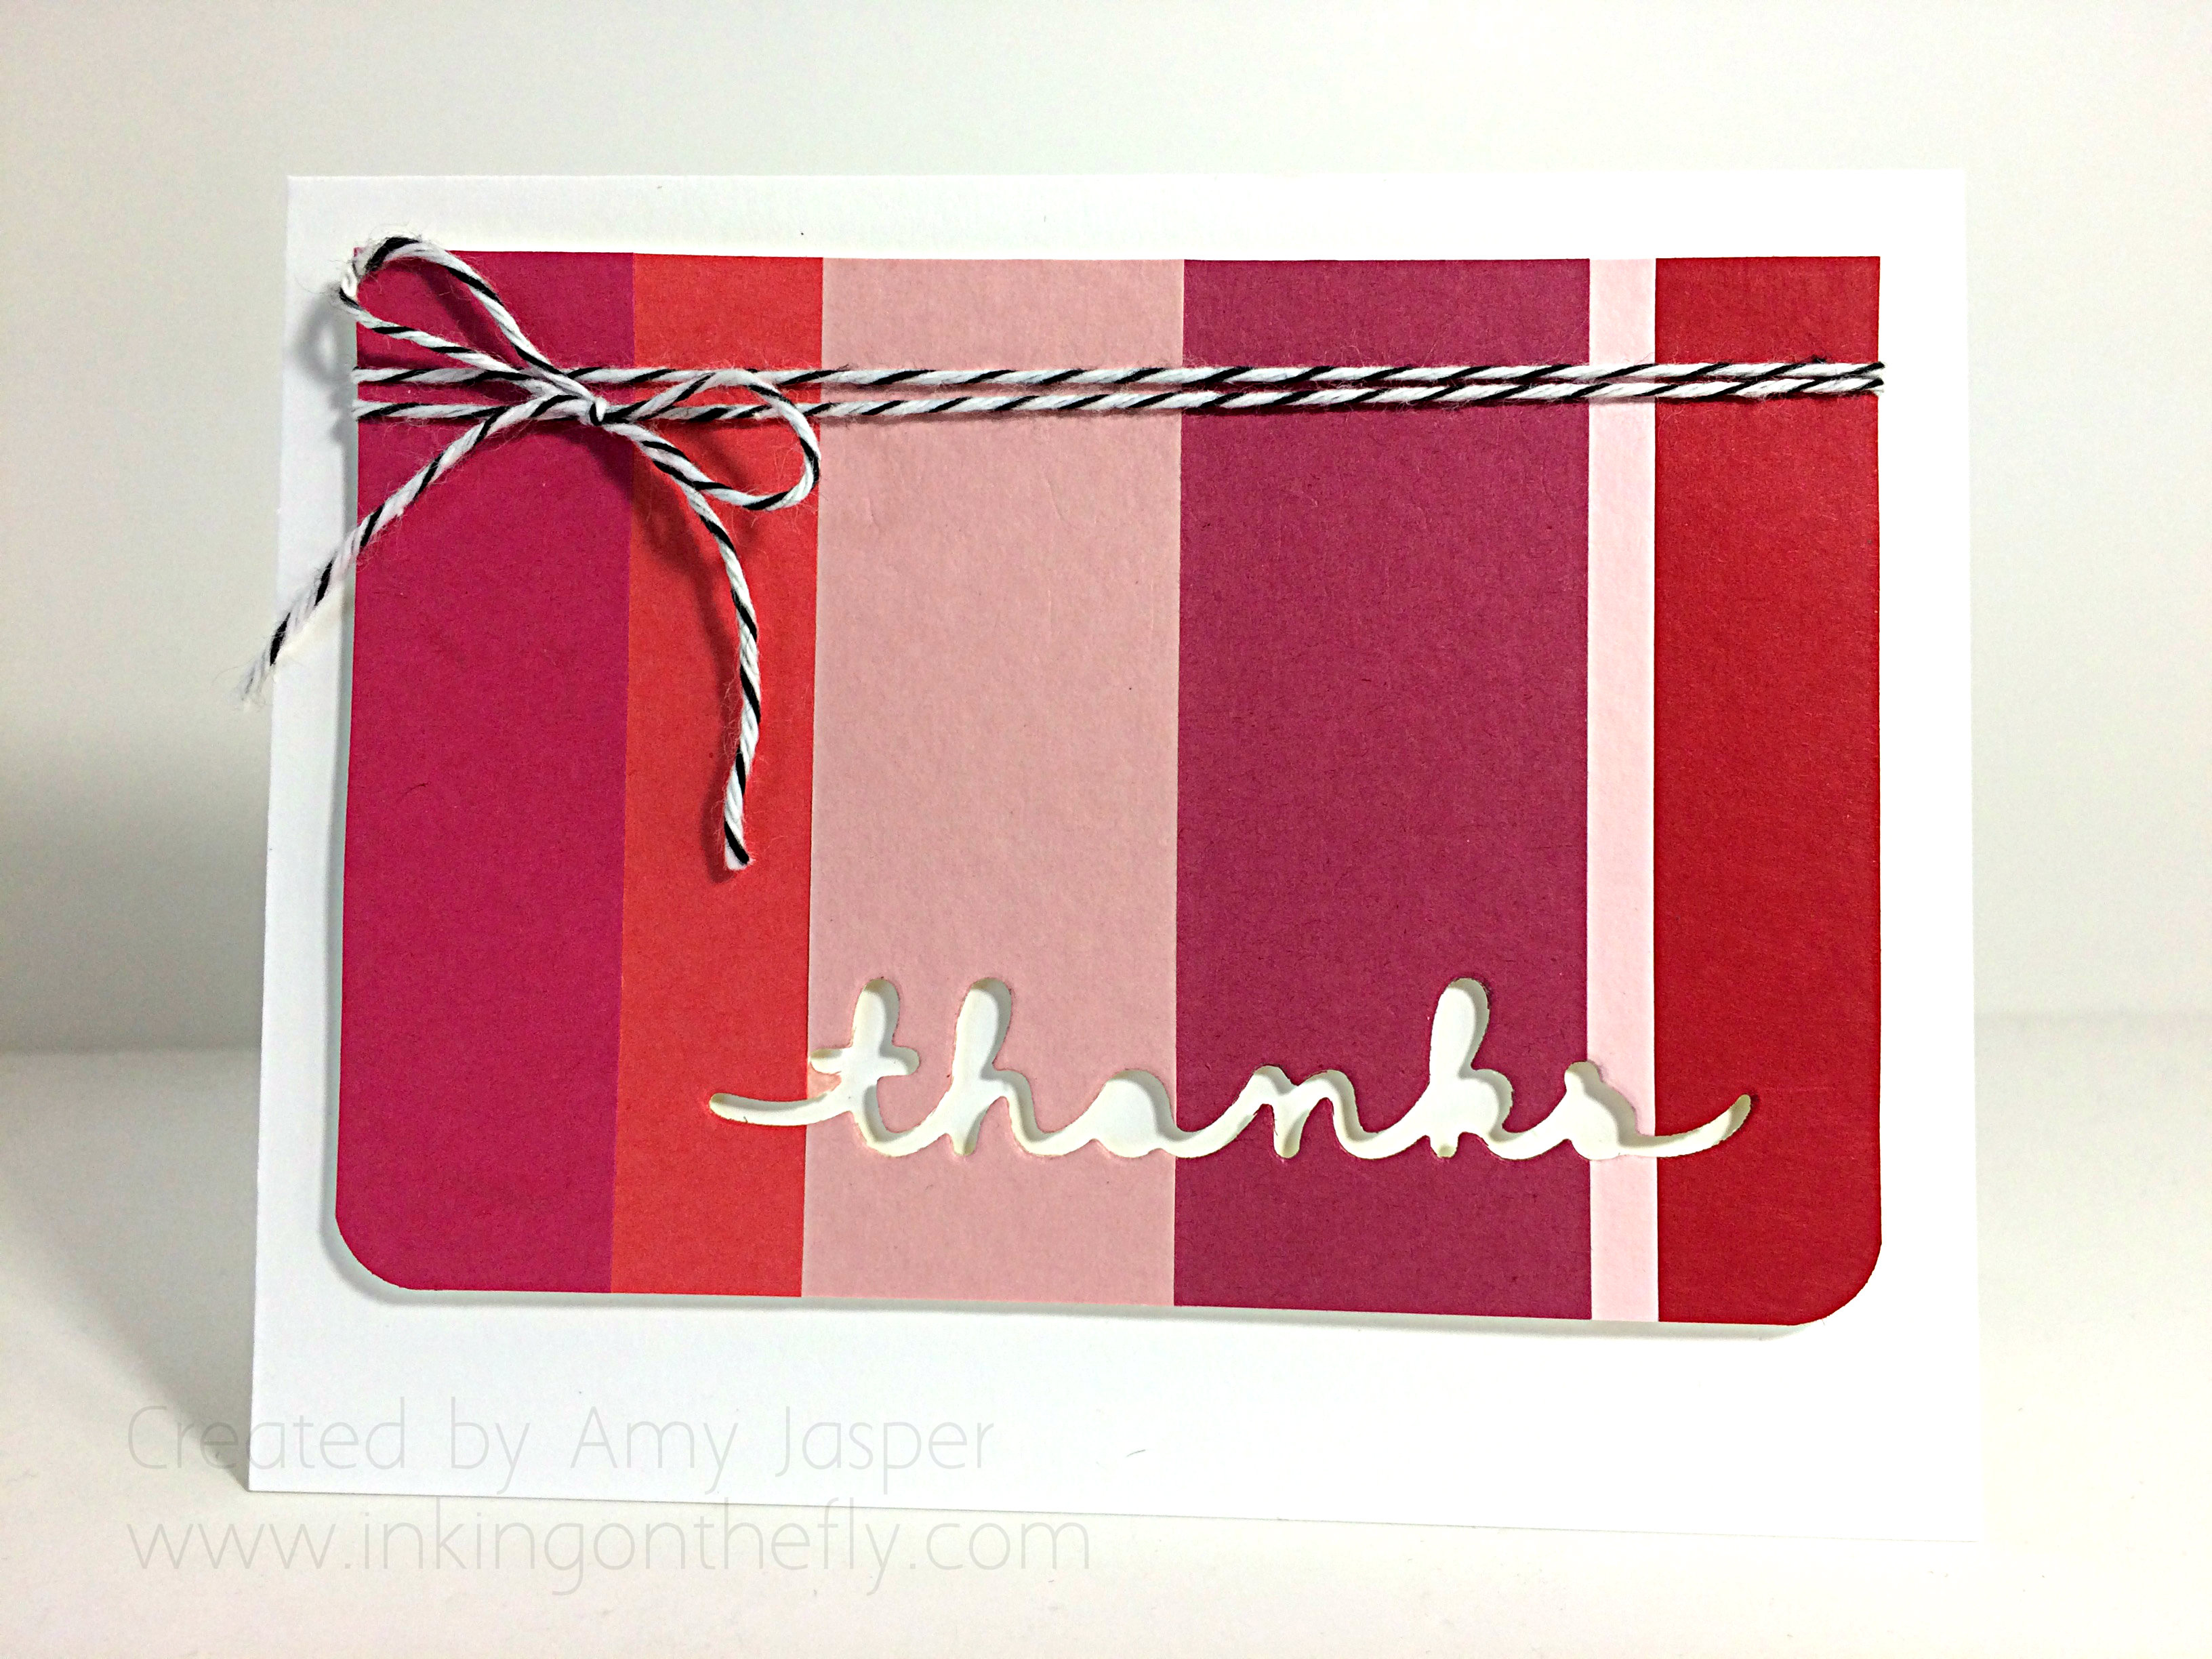
I decided to do colour blocking with my pink cardstock. Here’s what I came up with:

095Amyspeed

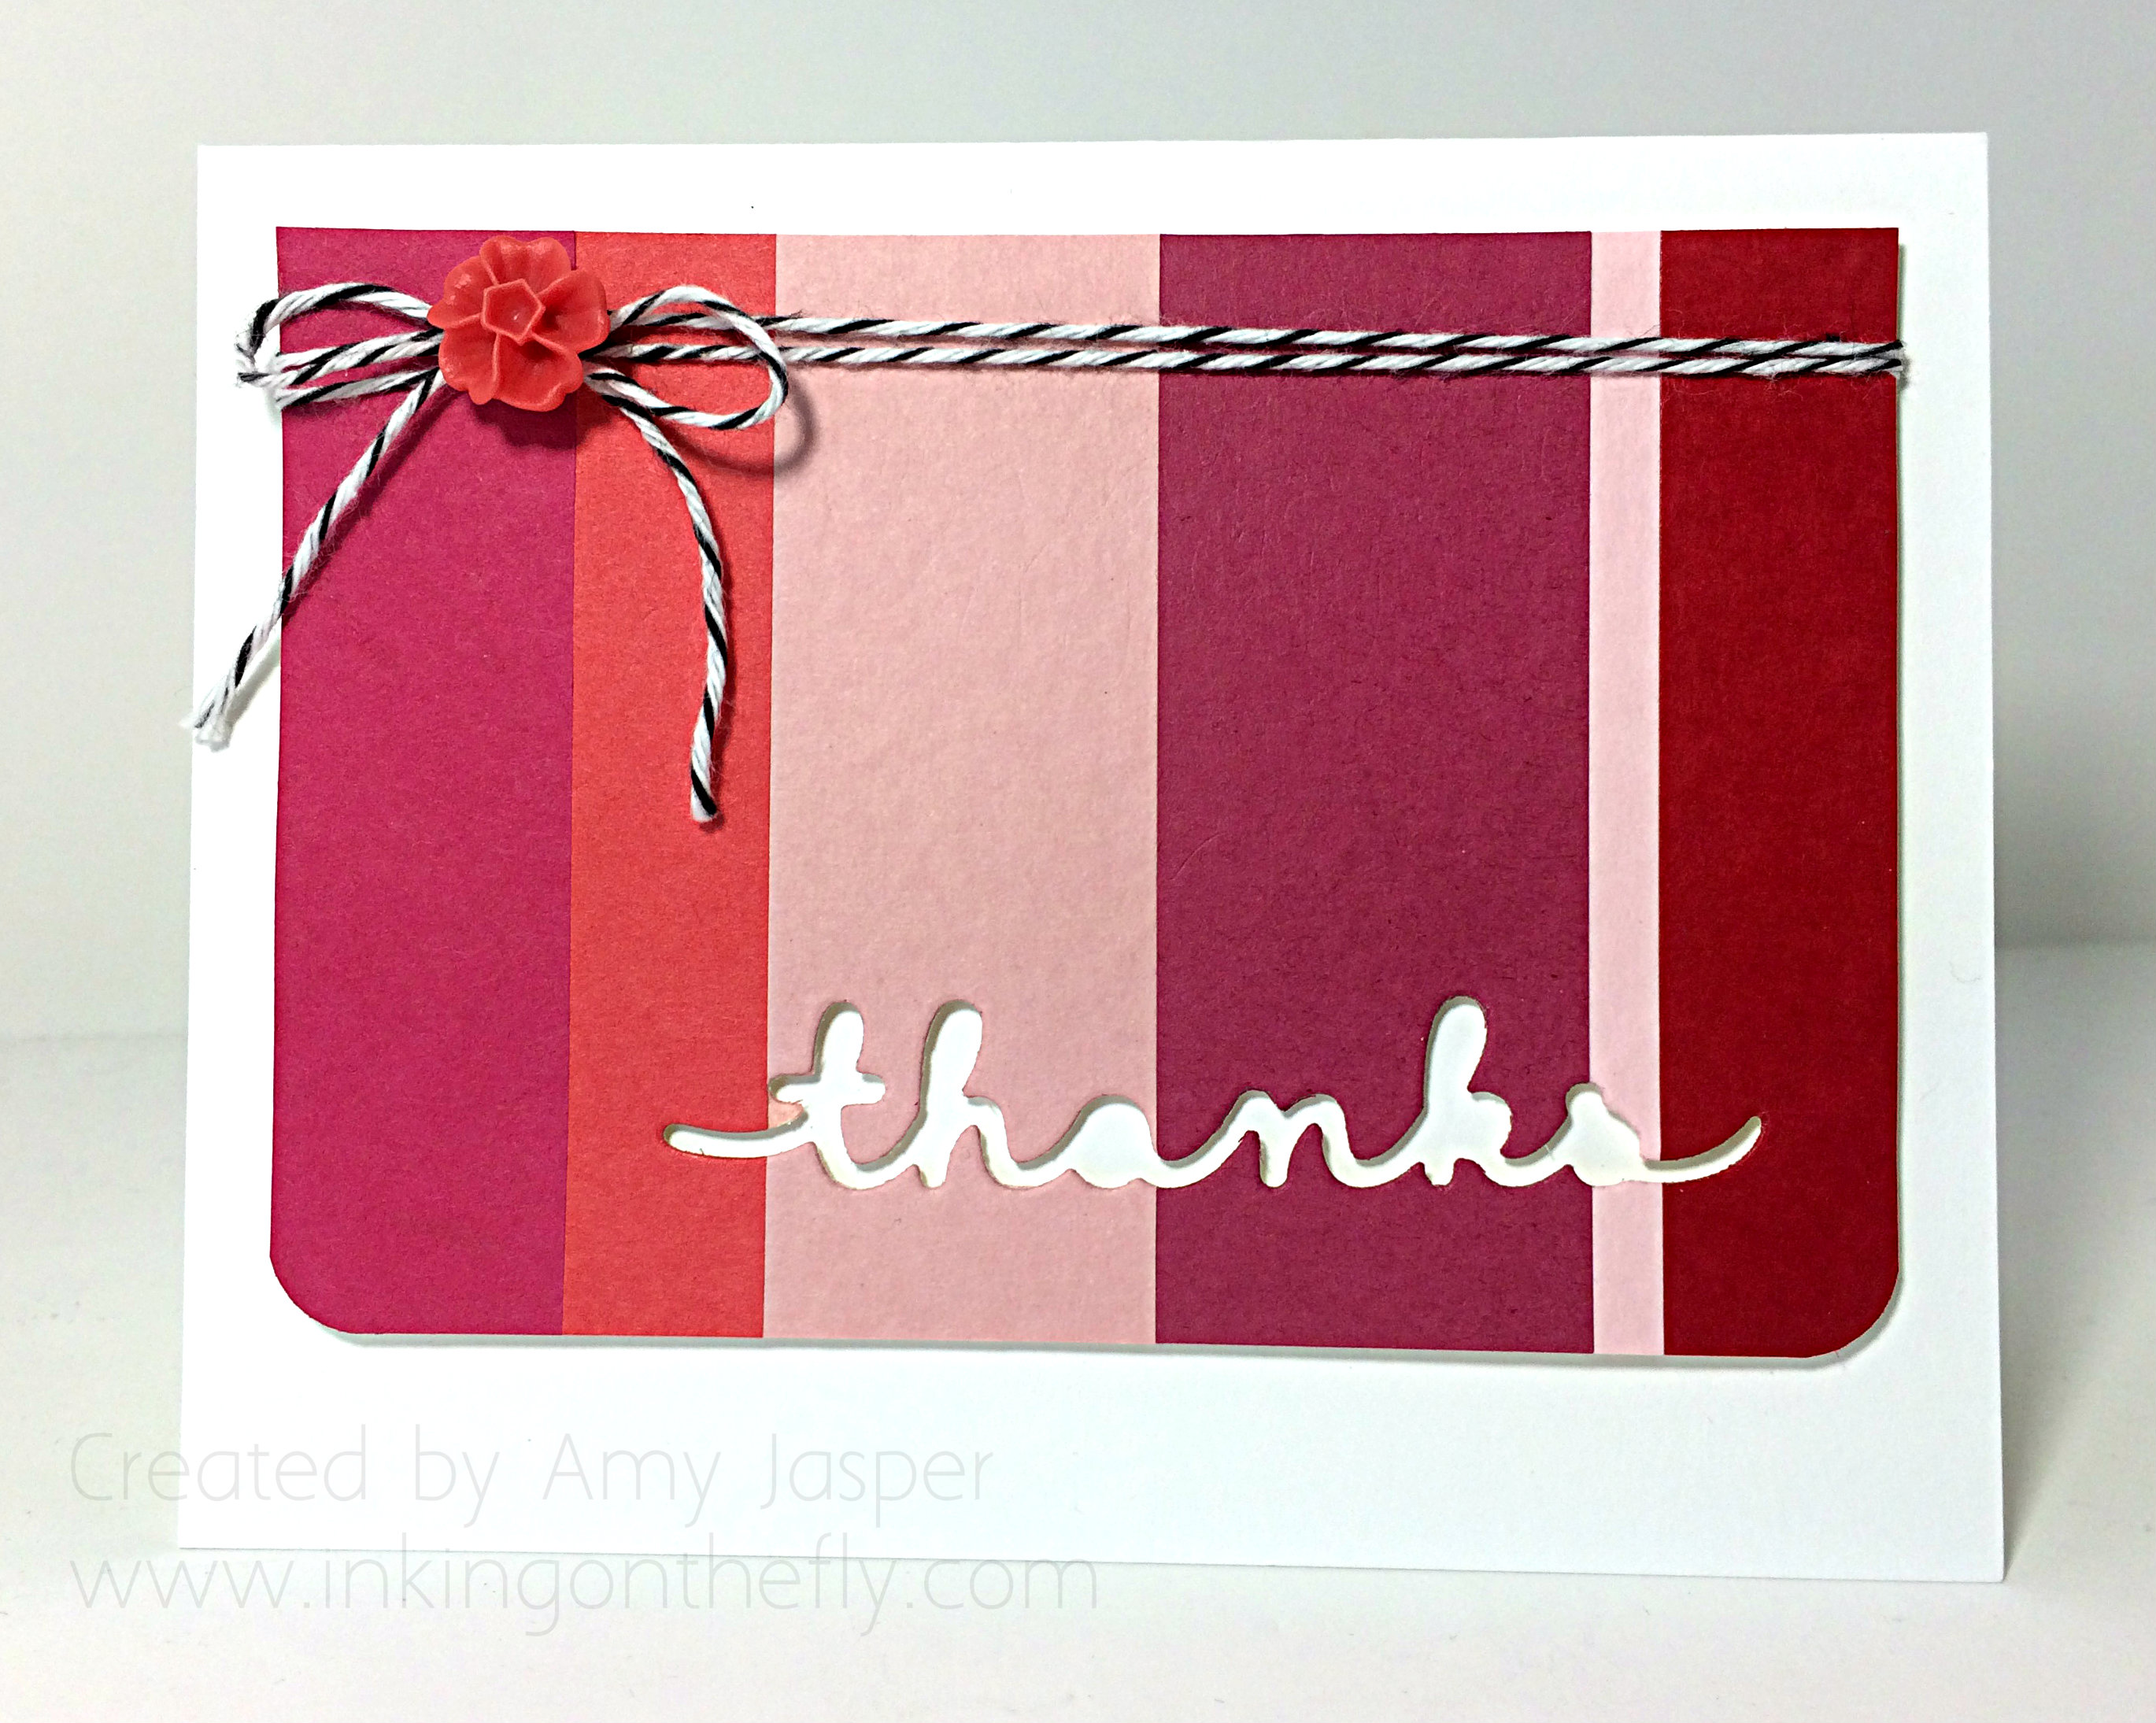
I probably would have done it in less time had I not had a minor issue with my big shot and then stuck my colourful layer down crooked! I’m pleased with the overall look of the card, but thought it needed one more thing. Can you see the difference?

095Amy

The Blossom Accent in Watermelon Wonder adds a lot to the design, I think.

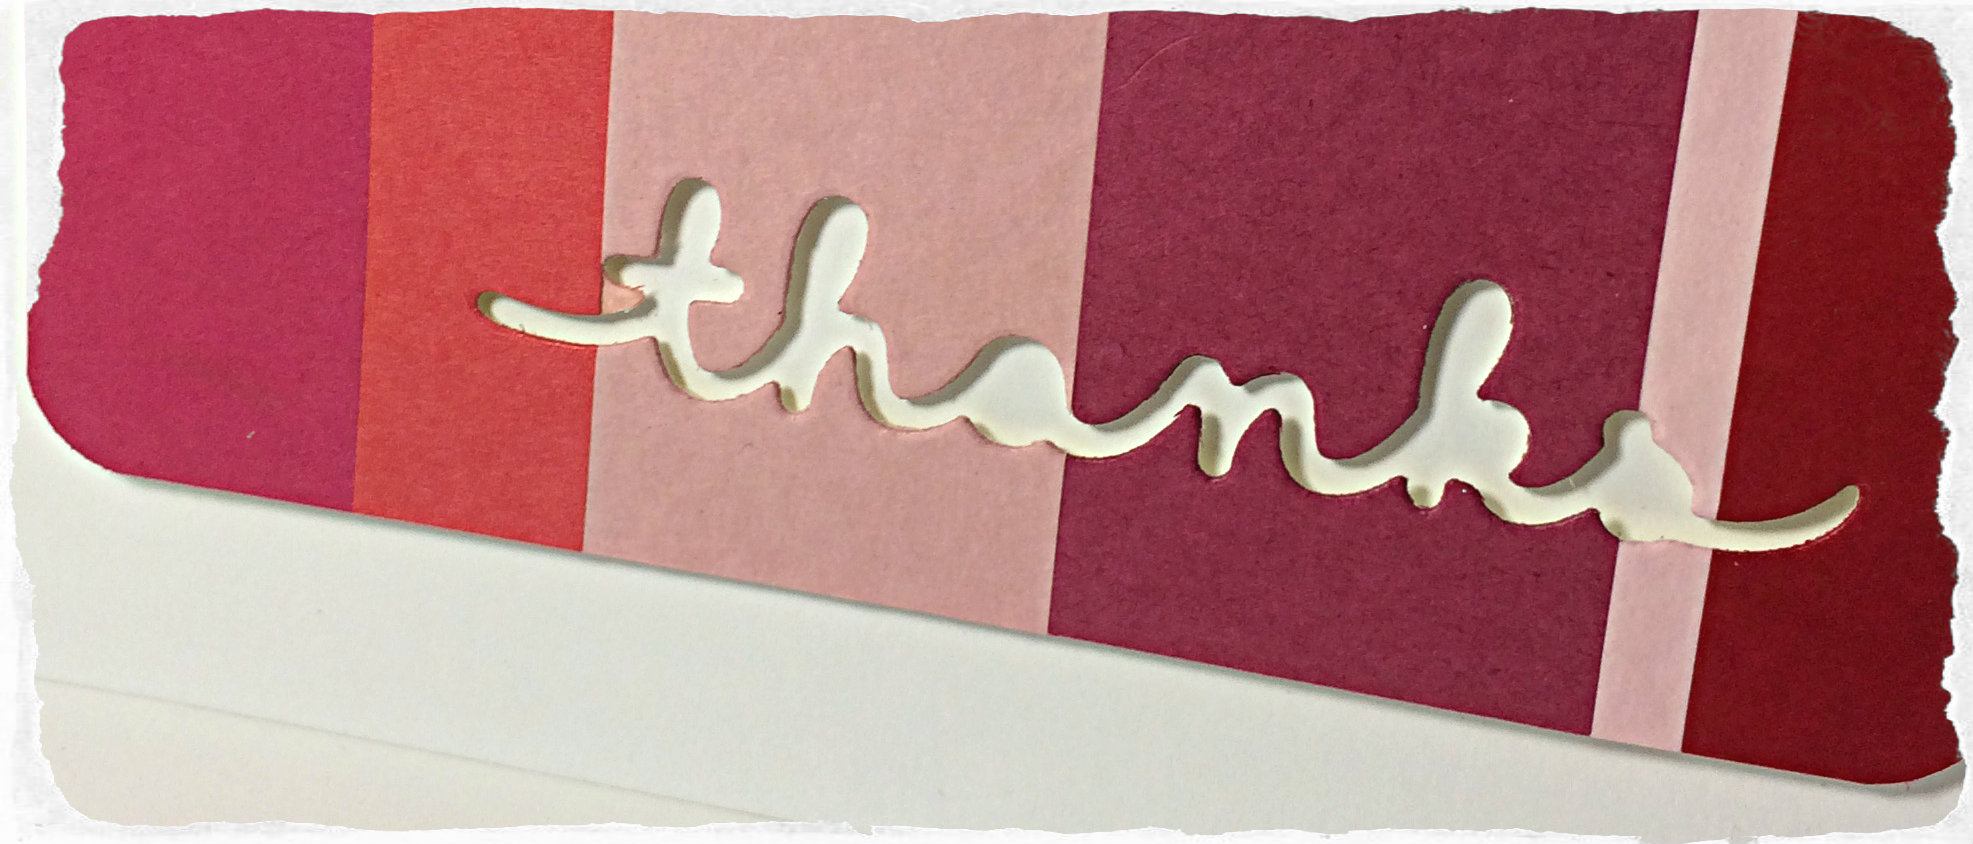
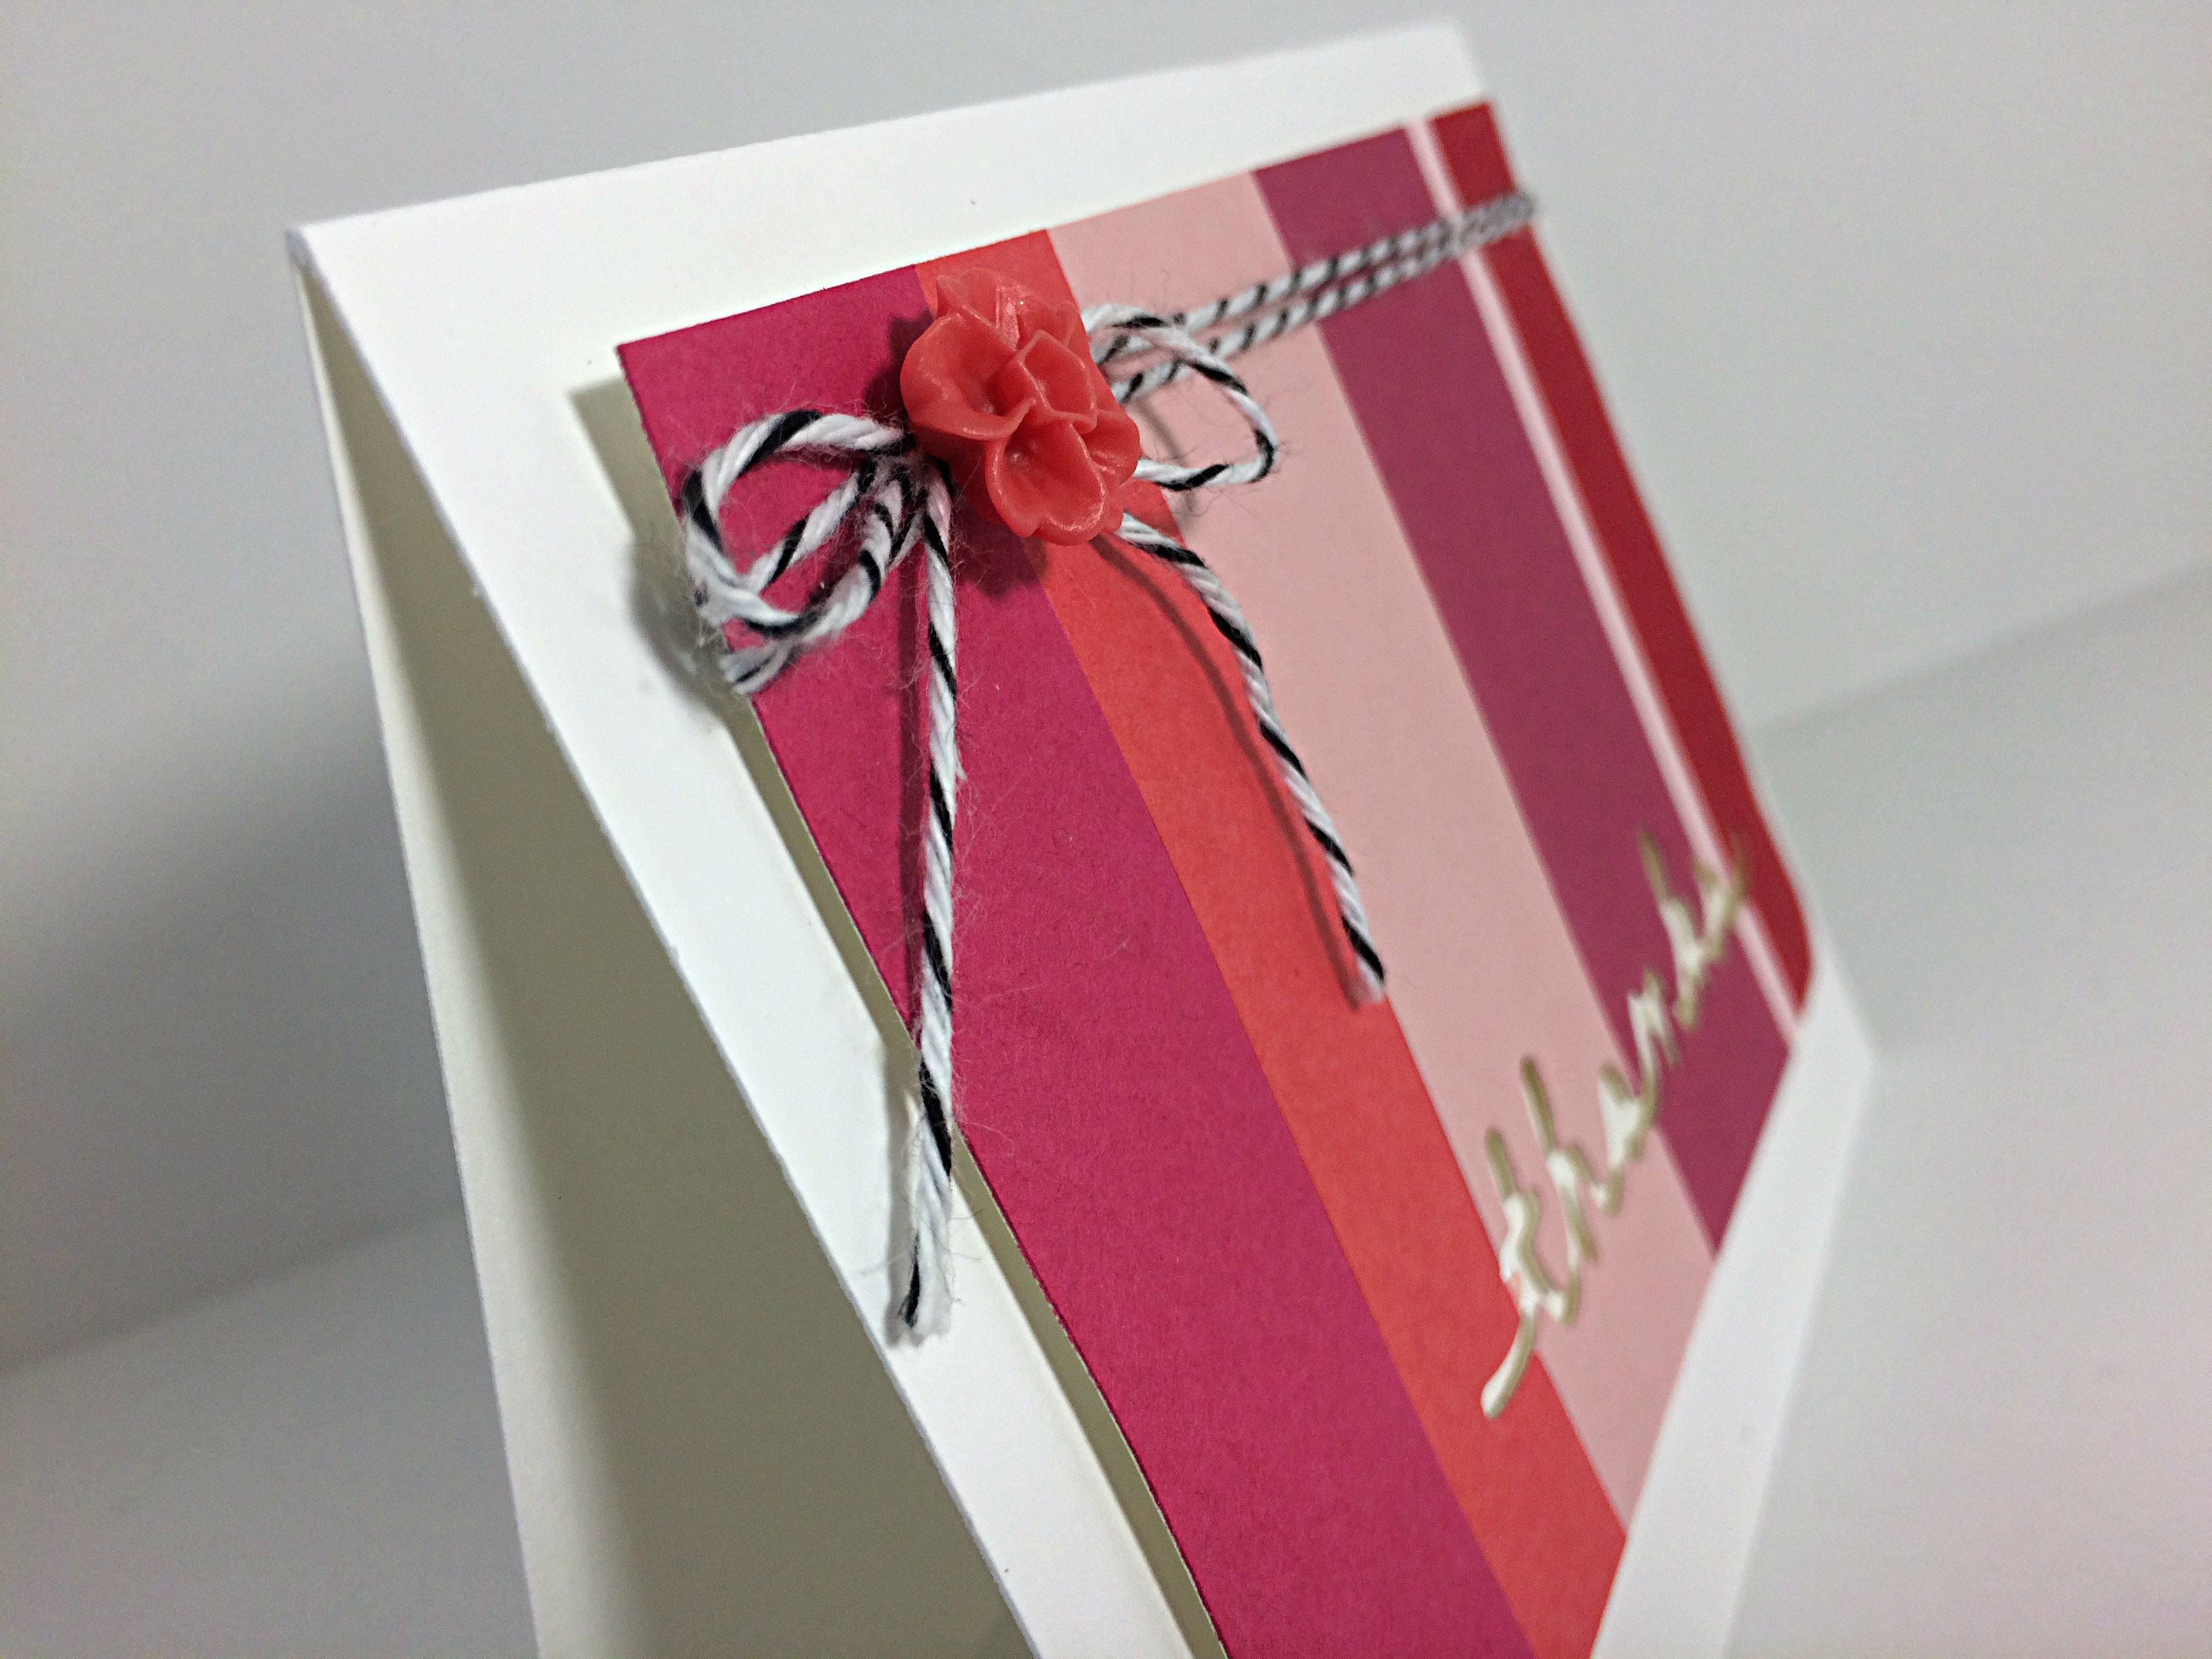
The card base is the Thick Whisper White cardstock (love this!). To a piece of Whisper White cardstock, I added strips of coloured cardstock (shades of pink) including Melon Mambo, Watermelon Wonder, Blushing Bride, Rose Red, Pink Pirouette, and Real Red (yes, red is a shade of pink … a very dark shade of pink). Then I trimmed it down to the size that I wanted it and ran it through the Big Shot with the ‘thanks’ from the Greetings Thinlits. The two bottom corners were rounded with the Project Life corner rounder punch and the Black Baker’s Twine was wrapped around this piece of cardstock for added interest and texture. That entire layer was then adhered to the card base with Stampin’ Up Dimensionals.

095sideAnd the beautiful Blossom Accent was added after my 10 minute mark was done.

That’s it. Easy Peasy.

You should try this challenge. Seriously! This is such a good exercise to help you get your creative mojo going. Even if you absolutely HATE your card when you’re done, it can spur on some new creative flow and teach you to be more efficient in the future.

Give it a try and show it off on the As You See It Challenge blog so we can see what you’ve created!

Amy