challenge

Happily Pretty Simple

079header

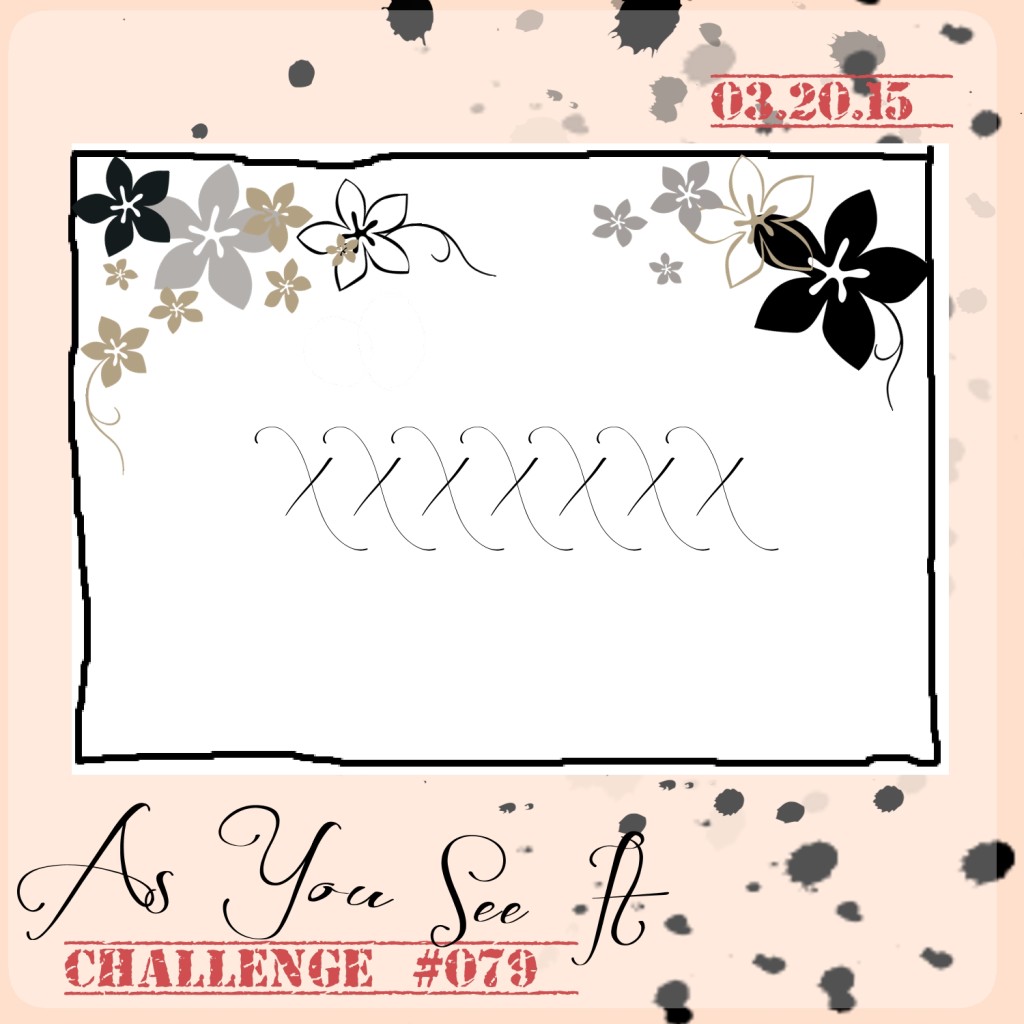
The As You See It Challenge Sketch #079 is bold and simple at the same time. This week I worked with heat embossing, Blender Pens, a note card project, and Envelope Liner Framelits.

Here’s the sketch challenge I started with for this project:

AYSIChallenge079-1024x1024

At first glance, I had NO idea what to do with this sketch. So, I started by looking at the largest sentiments that I had available, then carried on from there. I hadn’t even mounted my Big News stamp set yet and it was perfect for this layout!

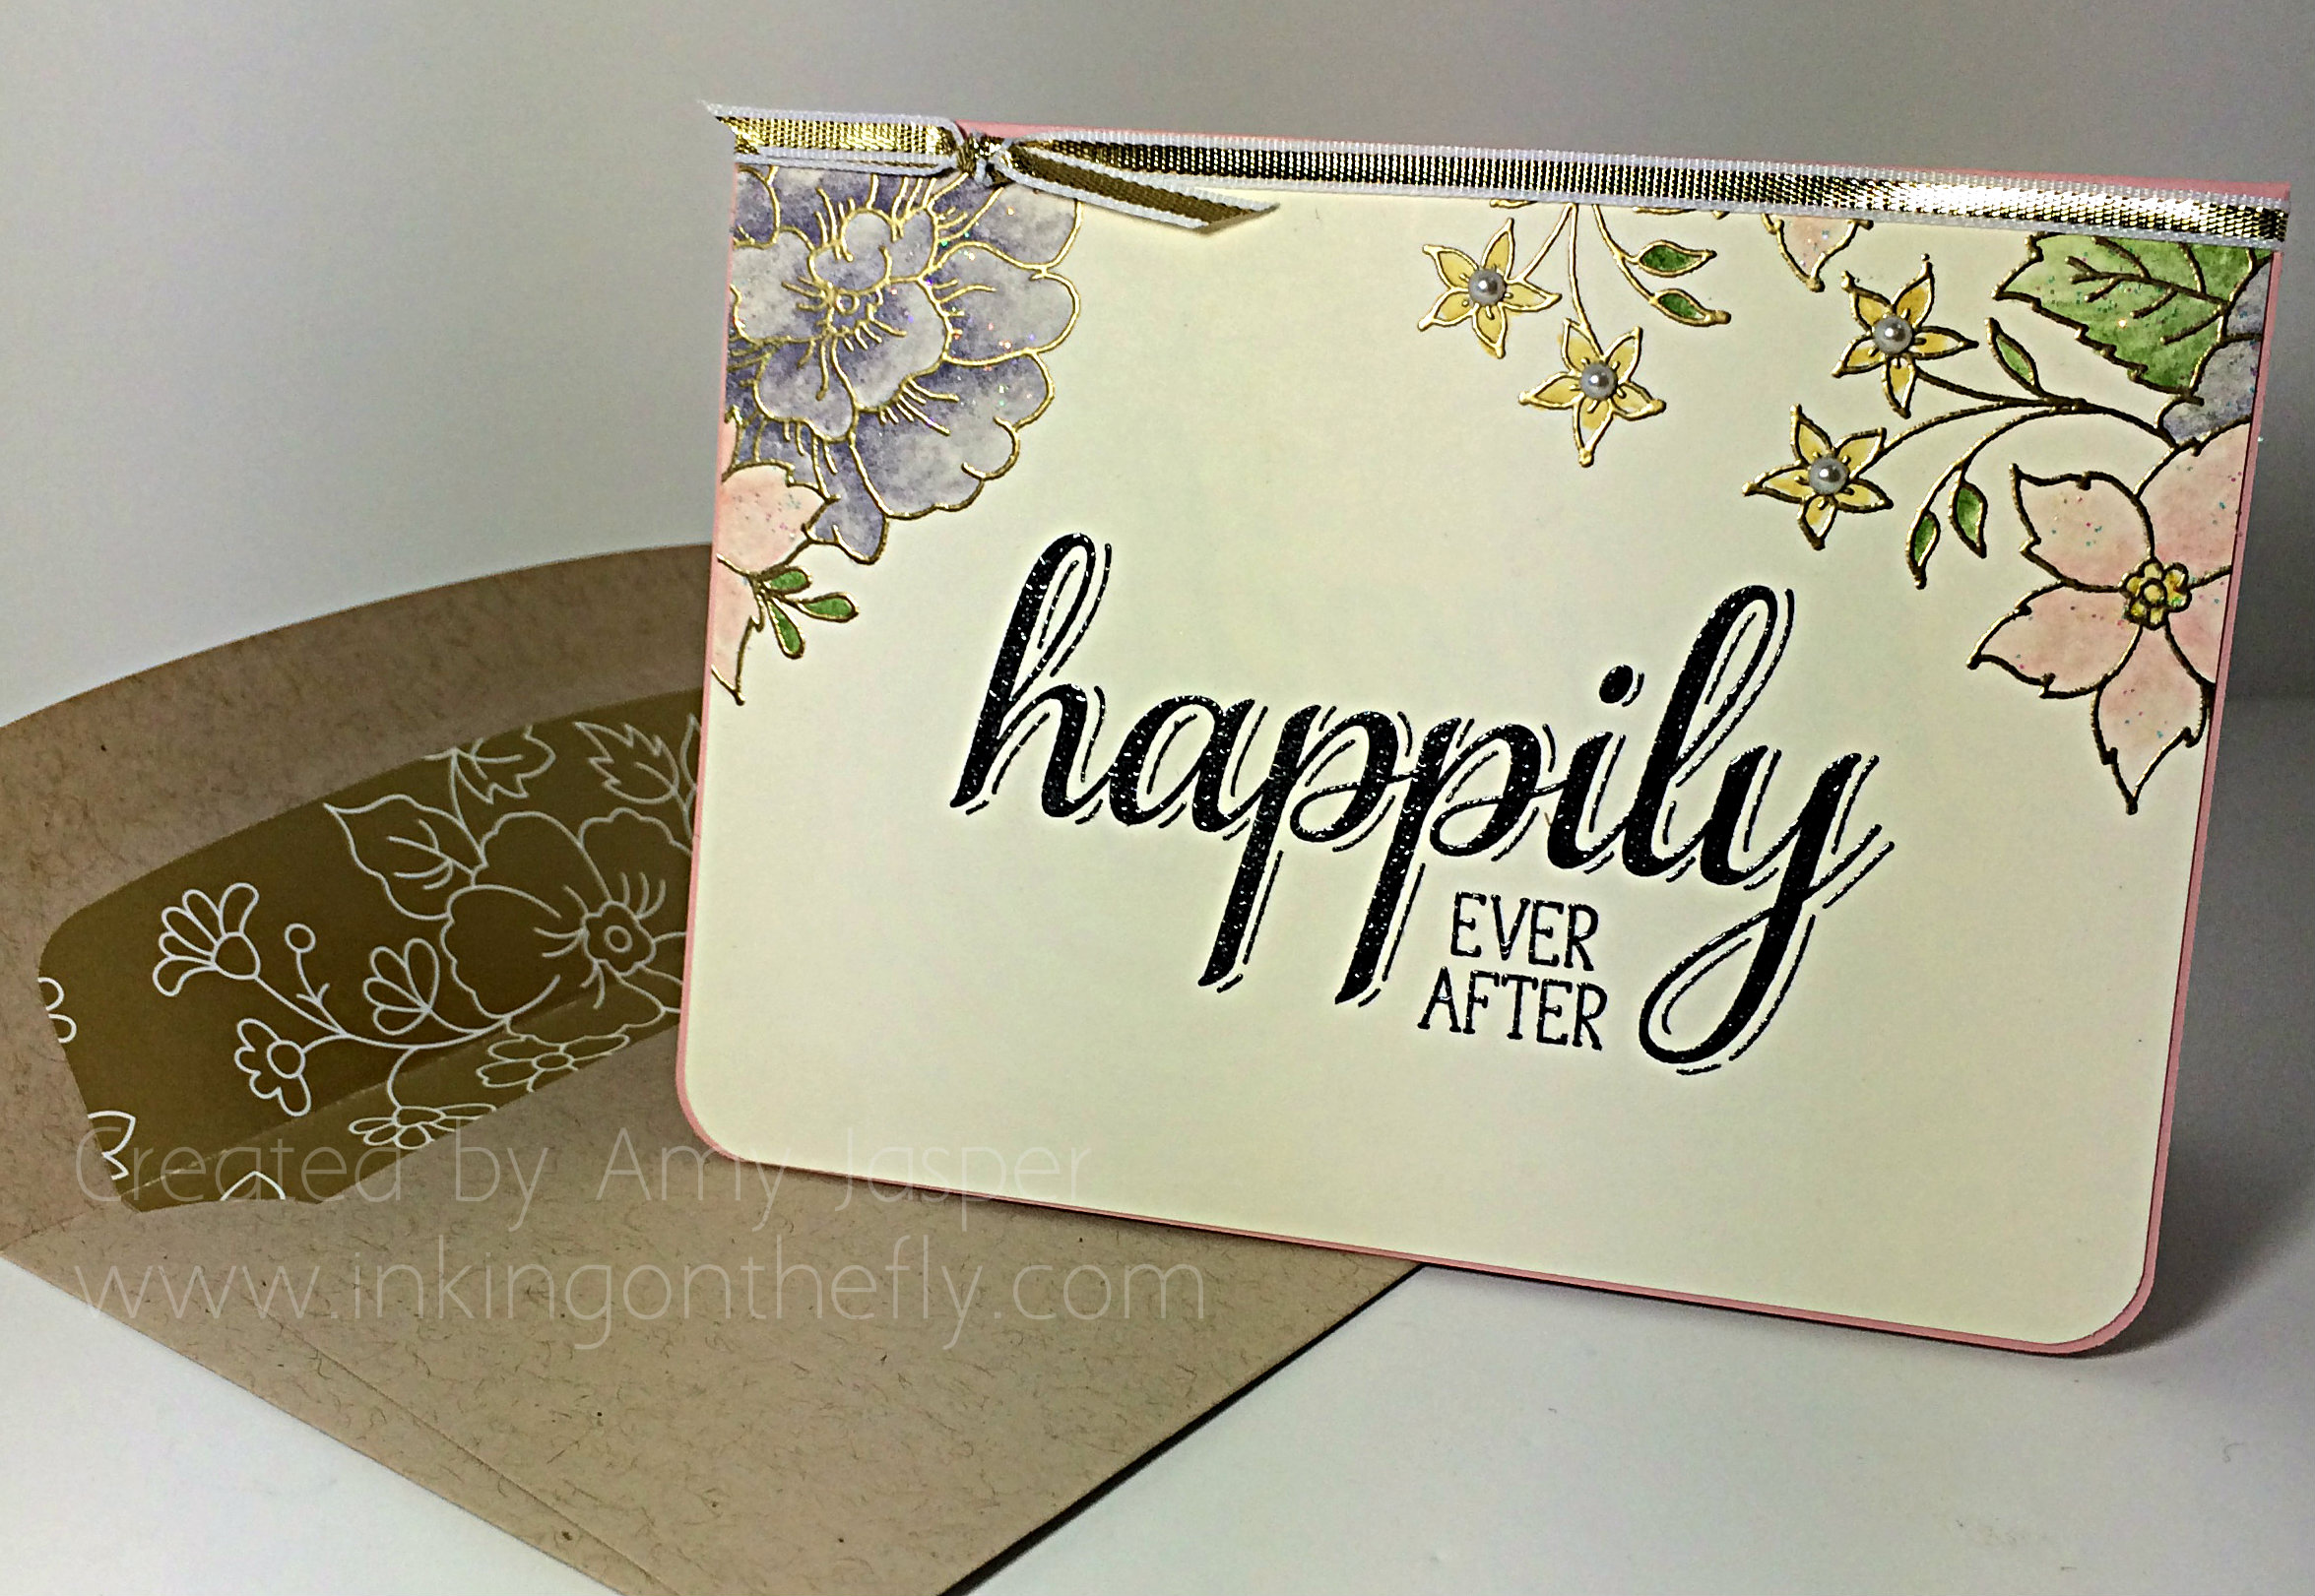
079Amy

In the end, my card became a note card size (3.5″ x 4.75″), but only because I changed my mind a few times as to what I wanted it to look like and eventually it had to be cut down to the size you see here.

I used Very Vanilla cardstock and stamped the sentiment in Jet Black Stazon ink. It looked too flat, so I applied Clear Embossing powder over the ink and heat set it to give a glossy finish (did you know you could do that with Stazon?!). I then stamped the flowers from the I Like You hostess stamp set with Versamark ink and heat set the Gold Embossing powder over that. Next, the flowers were coloured with Classic ink using a Blender Pen (pulling those out again now that the Blendabilities are discontinued…sniff…) I used Blushing Bride, Wild Wasabi, Hello Honey, and Wisteria Wonder ink for the flowers, then finished them off with a few blobs of Dazzling Details glitter glue which I spread all over the flowers and leaves with the tip of my finger. The wee flowers were topped off with small Basic Pearls.

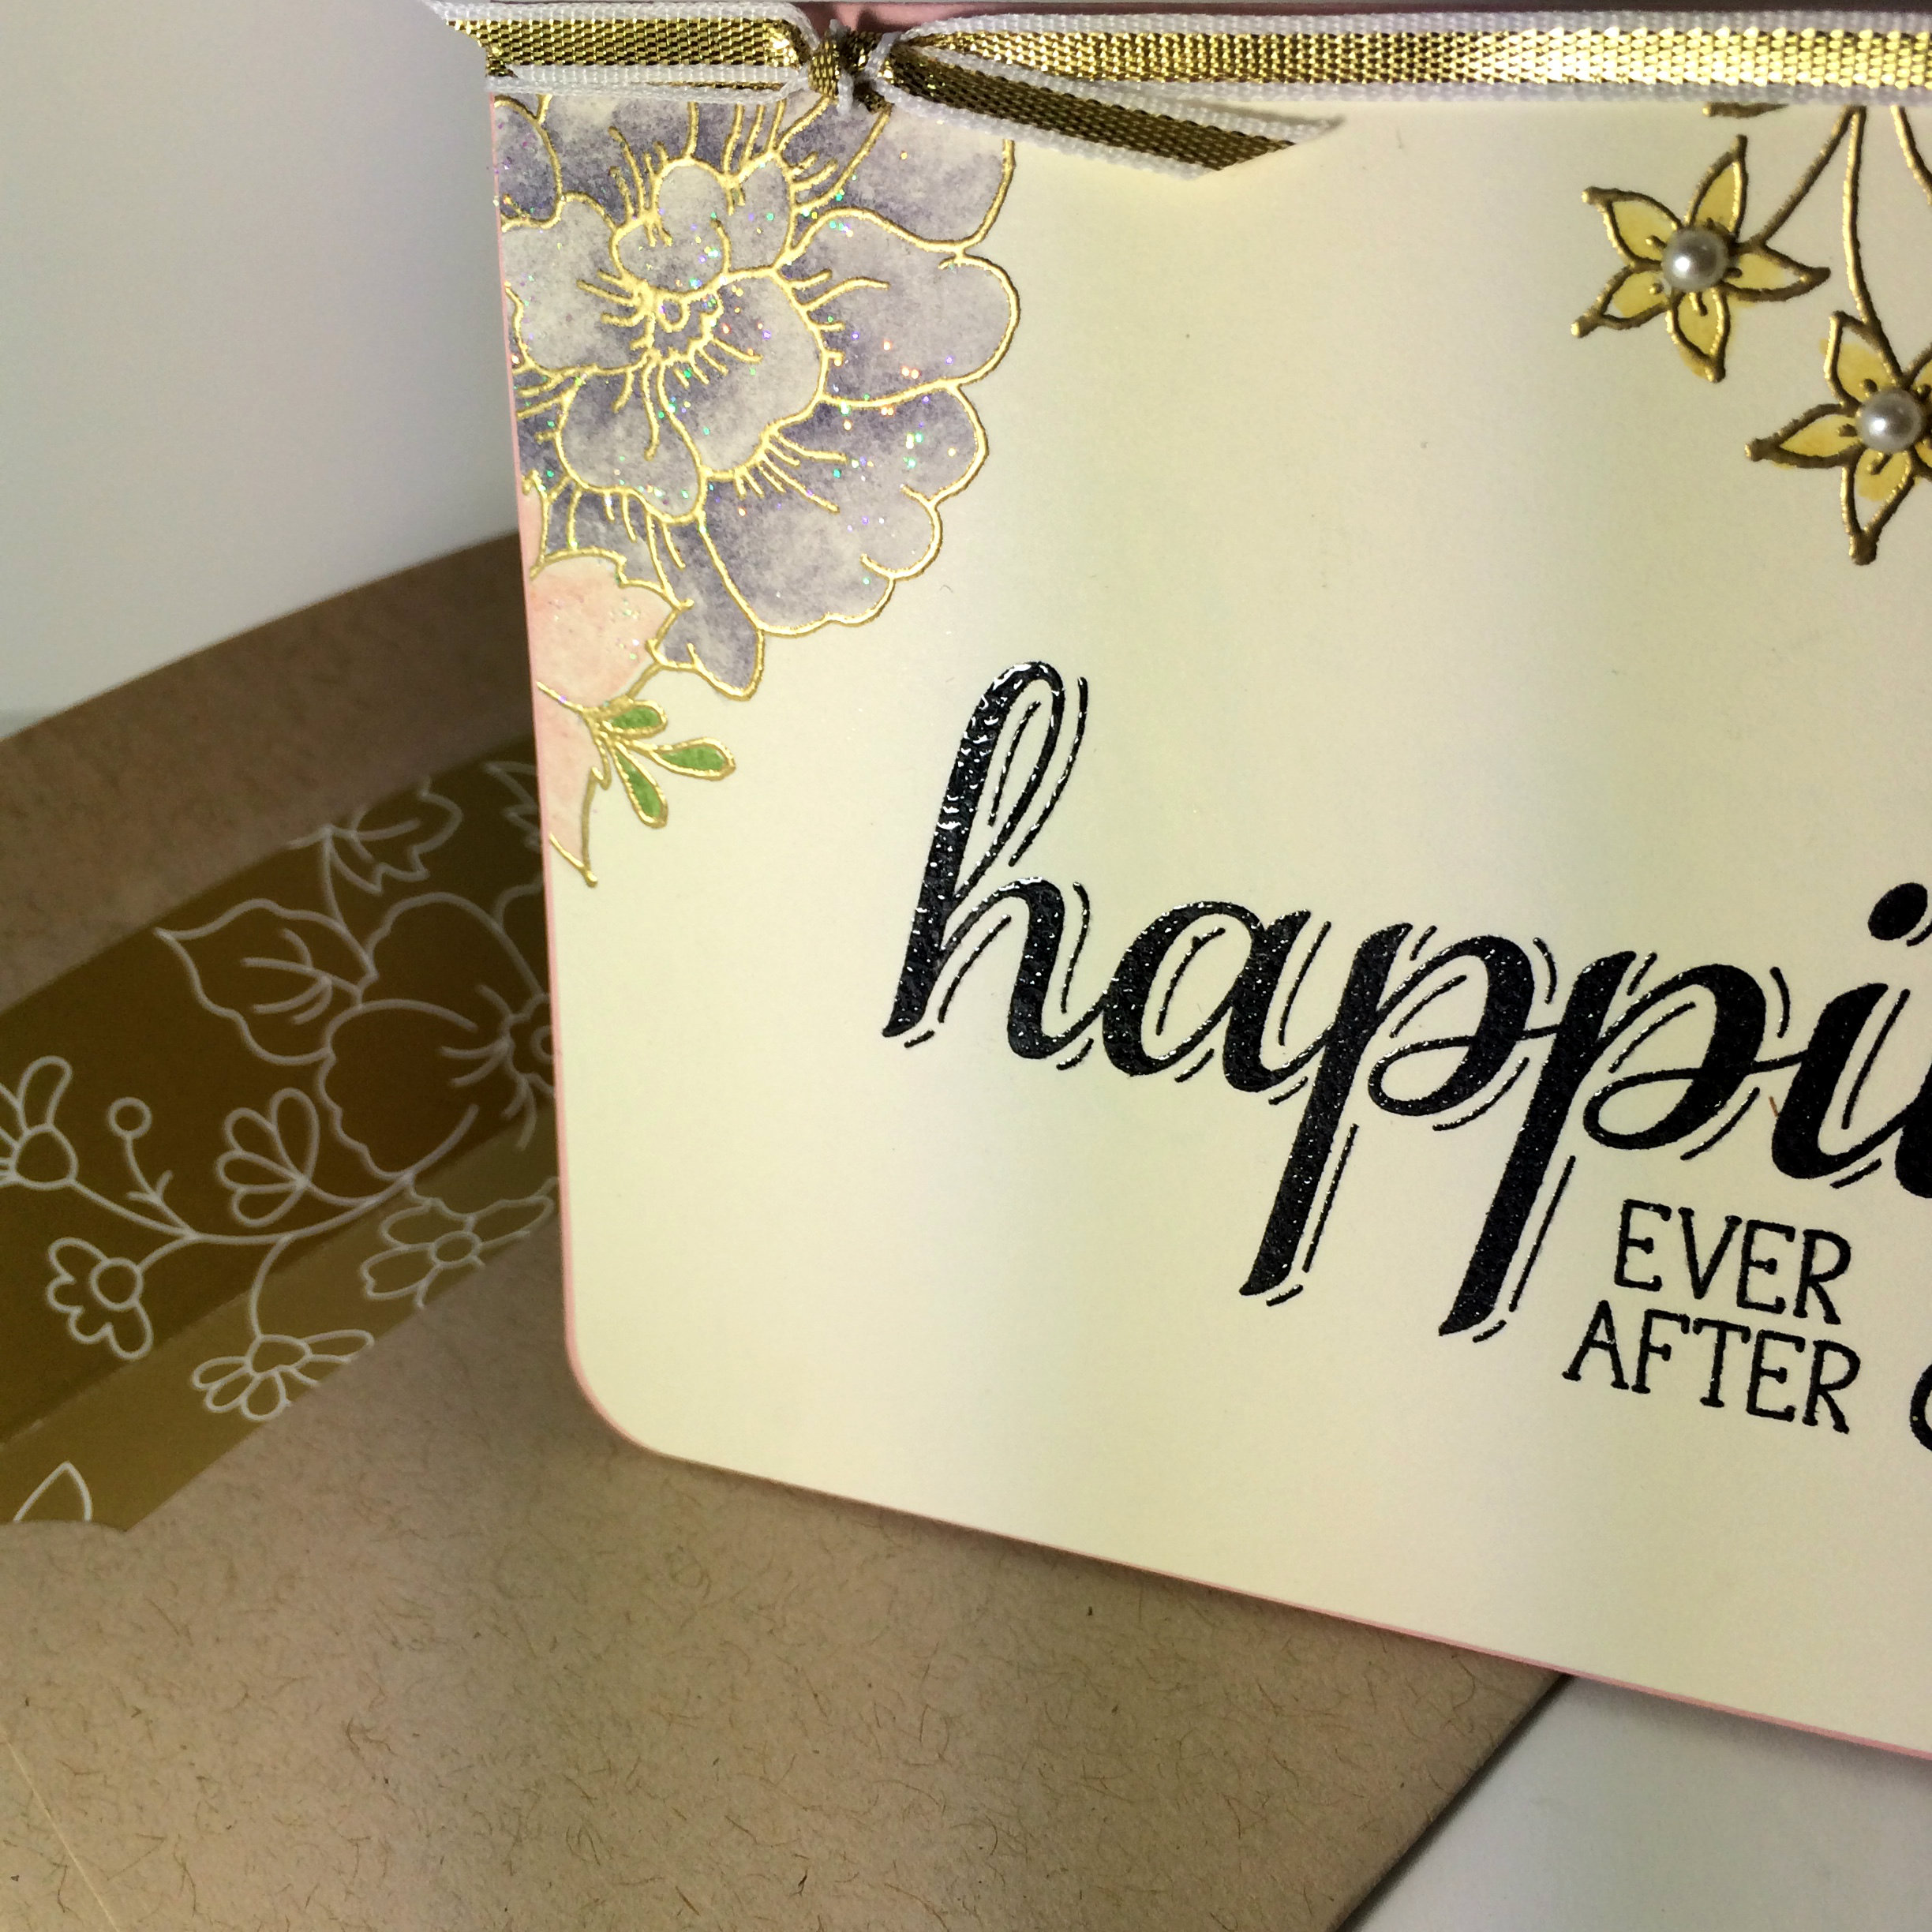
079sparkle

You can see the glitter from the Dazzling Details glue a bit better in the above photo. Did you notice the envelope liner in this photo? I used the Gold Soiree Specialty Designer Series paper and my Envelope Liner framelits to create the elegant look to this Crumb Cake Note Card Envelope. It’s very handy to have paper that coordinates with the I Like You stamp set!

I used Blushing Bride cardstock for the base with a very thin border around the Very Vanilla layer. The bottom corners were all rounded with my Project Life corner rounder punch. I topped the front of the card with a piece of Gold 1/8″ ribbon.

Simple.

Pretty.

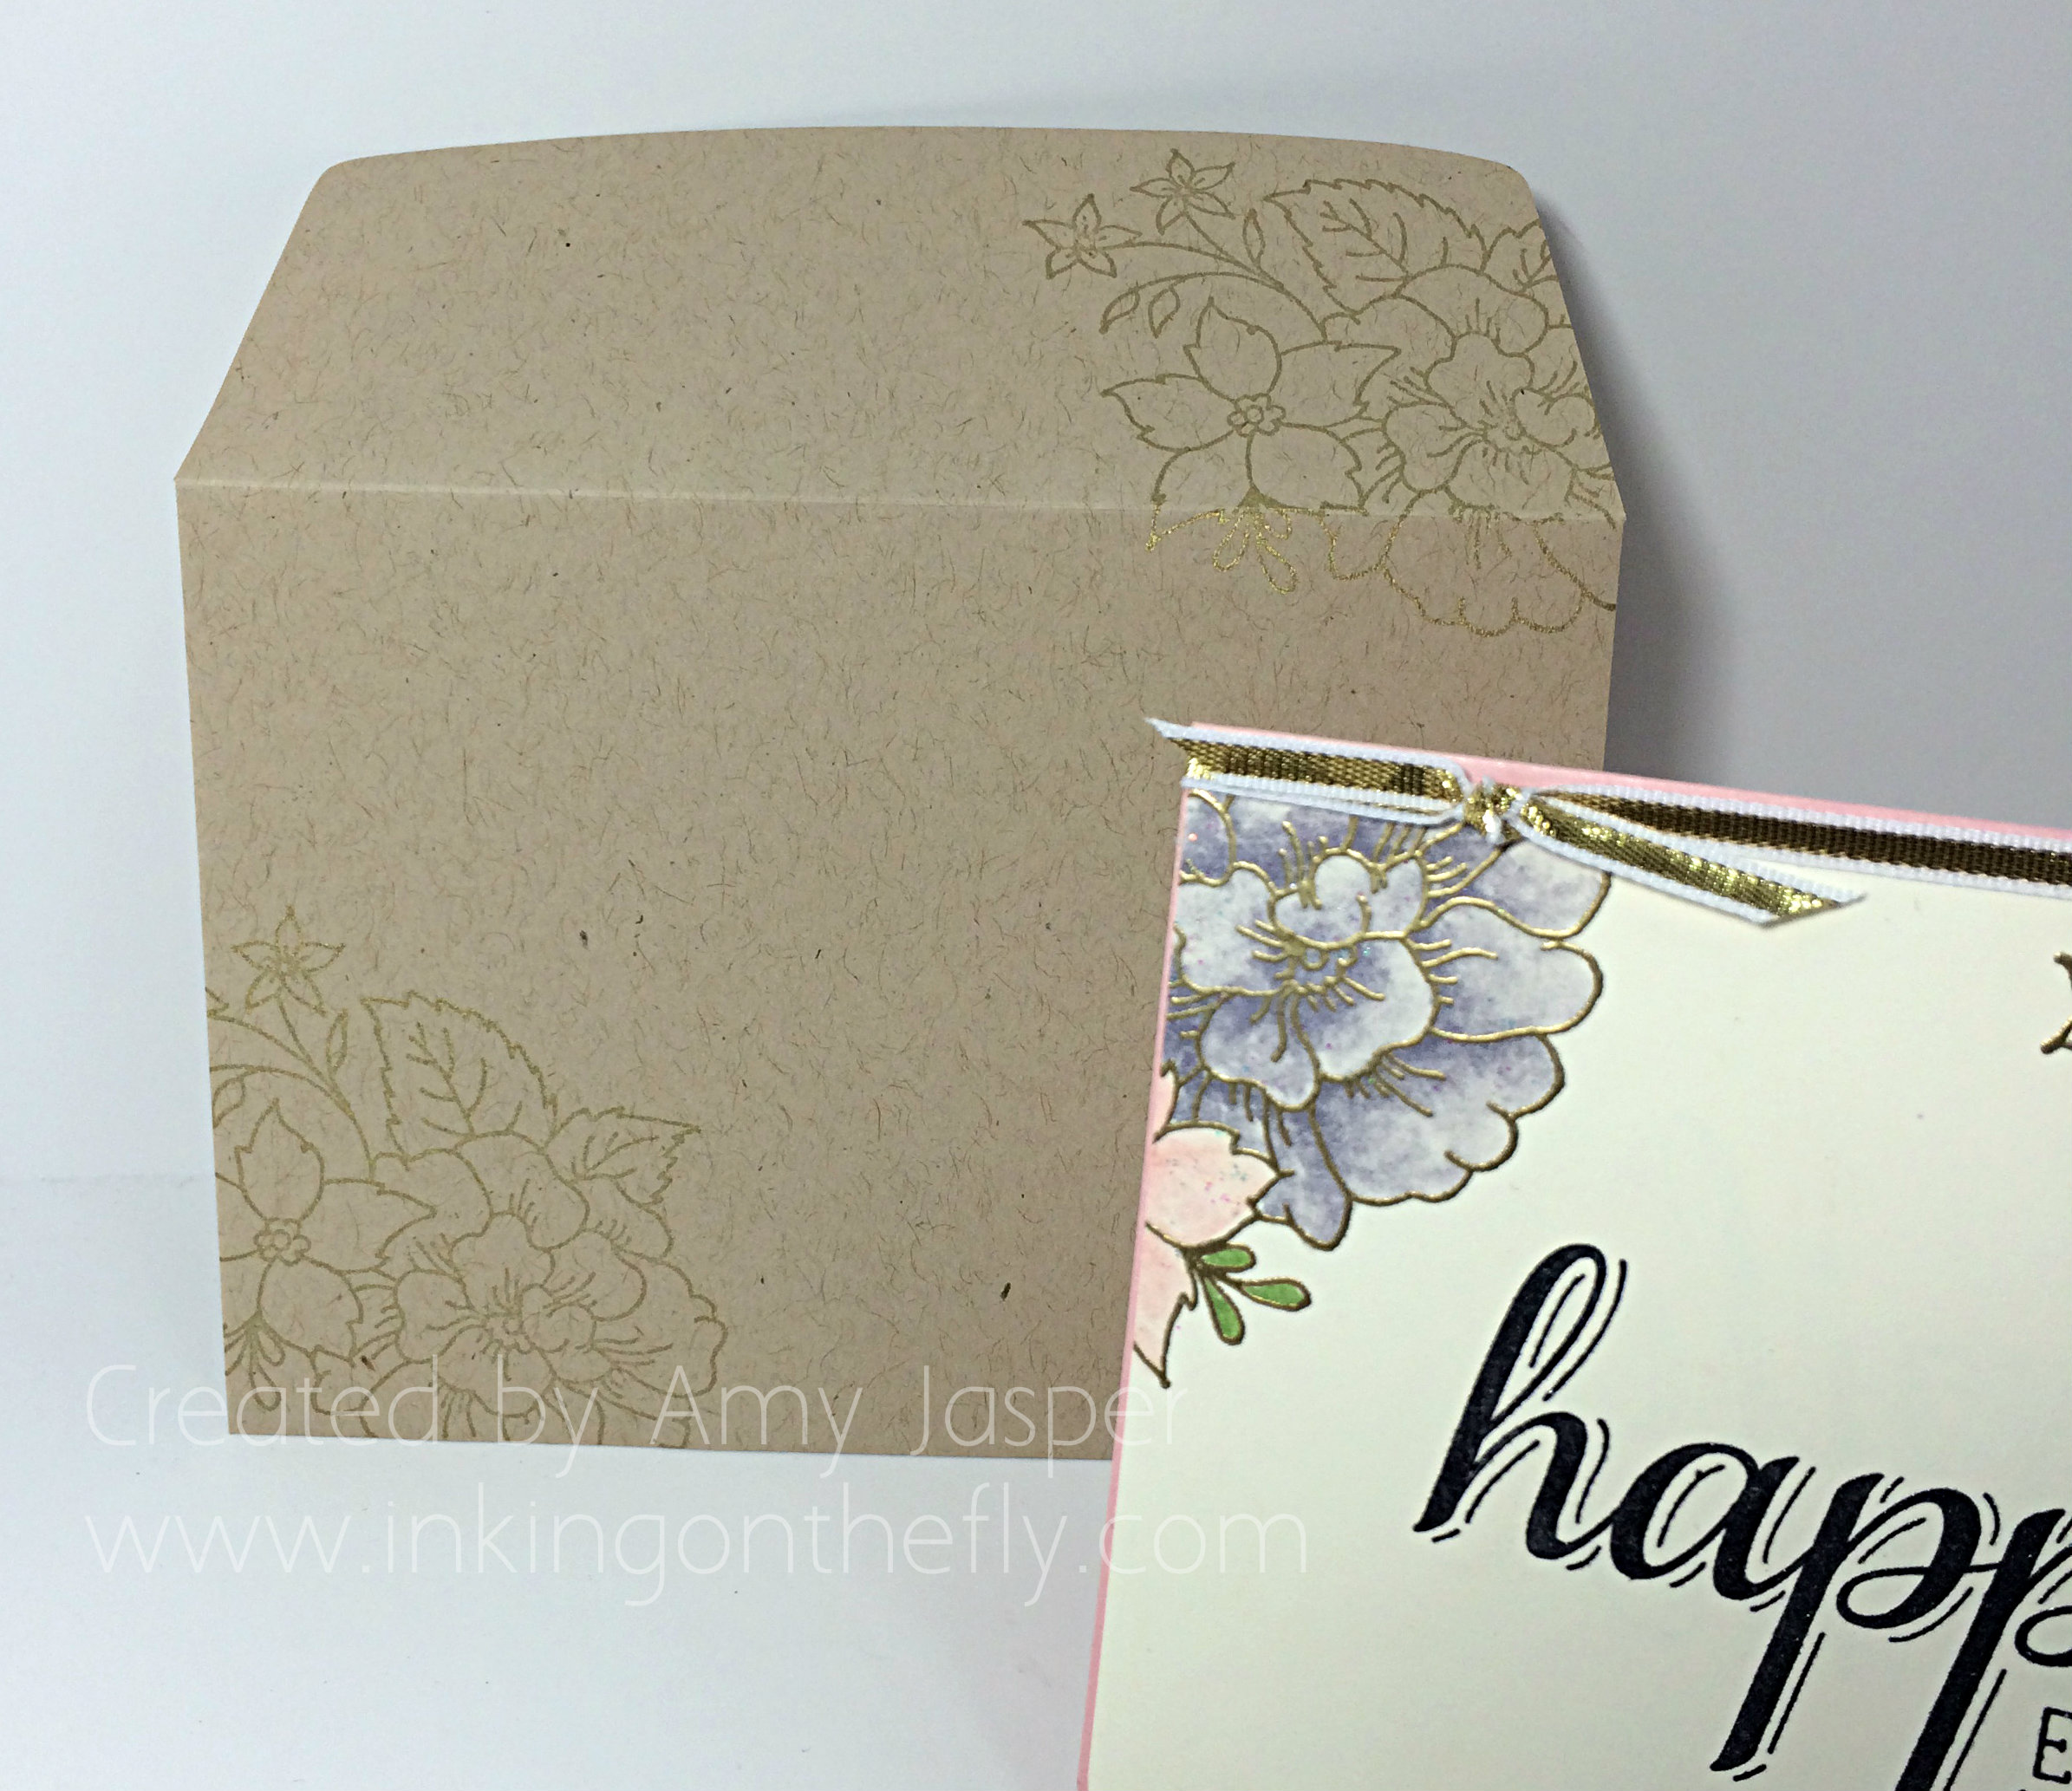
079envelope

The outside of the envelope was stamped using the I Like You flower image as well, but with Gold ink.

And it all comes together! Whah whah!!

Now I’m ready for the next wedding (come on my single friends!! Bring it on!) when I will use this gift card to top off the amazingly expensive and perfect and fabulous wedding present that will go along with it.

Why don’t you give this sketch a go? Don’t forget to show it off at the As You See It Challenge blog. I know you will inspire me with whatever your take on the sketch may be. I can’t wait to see what you come up with!!

Amy

Designer-Badge


What Wood I Do?

078header

I just love the Adventure Bound paper stack. The photographic images mixed in with the simple patterns make it very versatile. Check out how I used it along with the Alphabet Rotary stamp to make a punny thank you card!

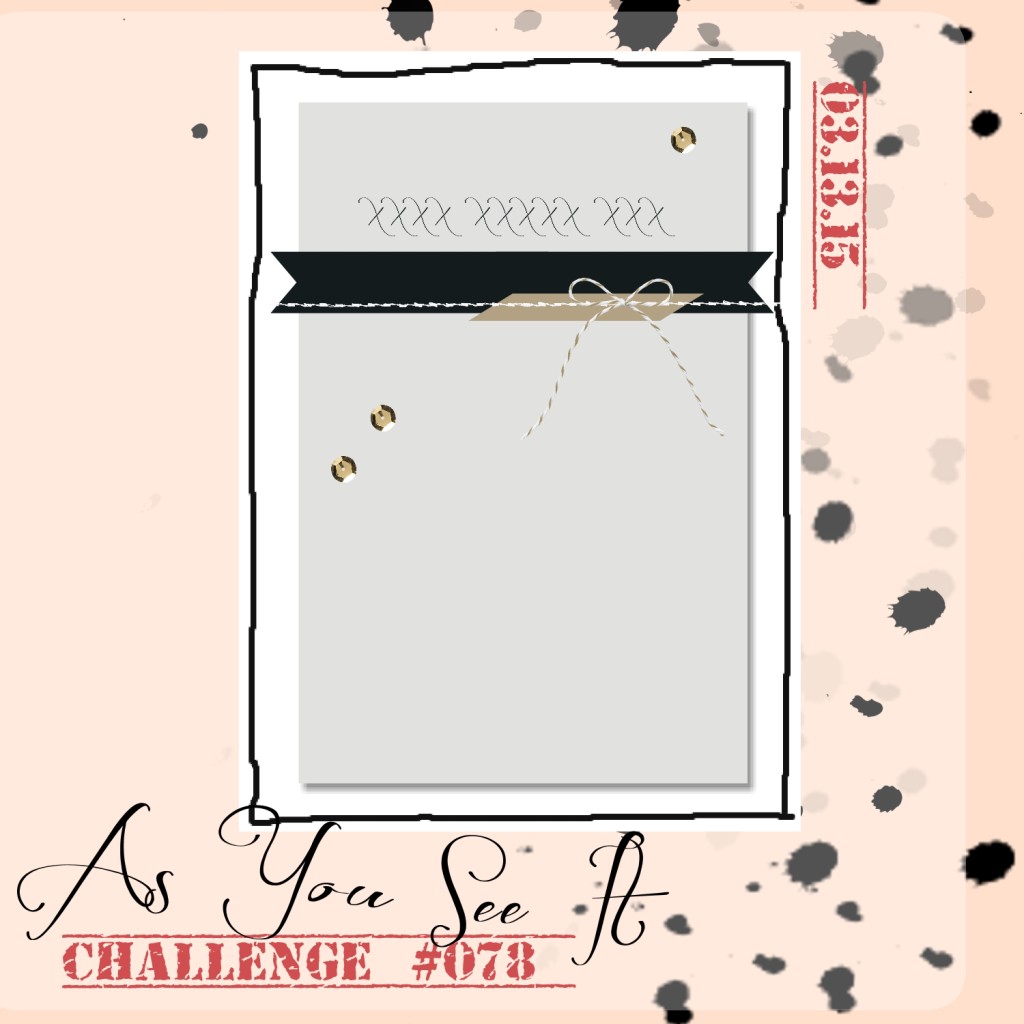
I started with this sketch from the As You See It Challenge this week:

AYSIChallenge078-1024x1024

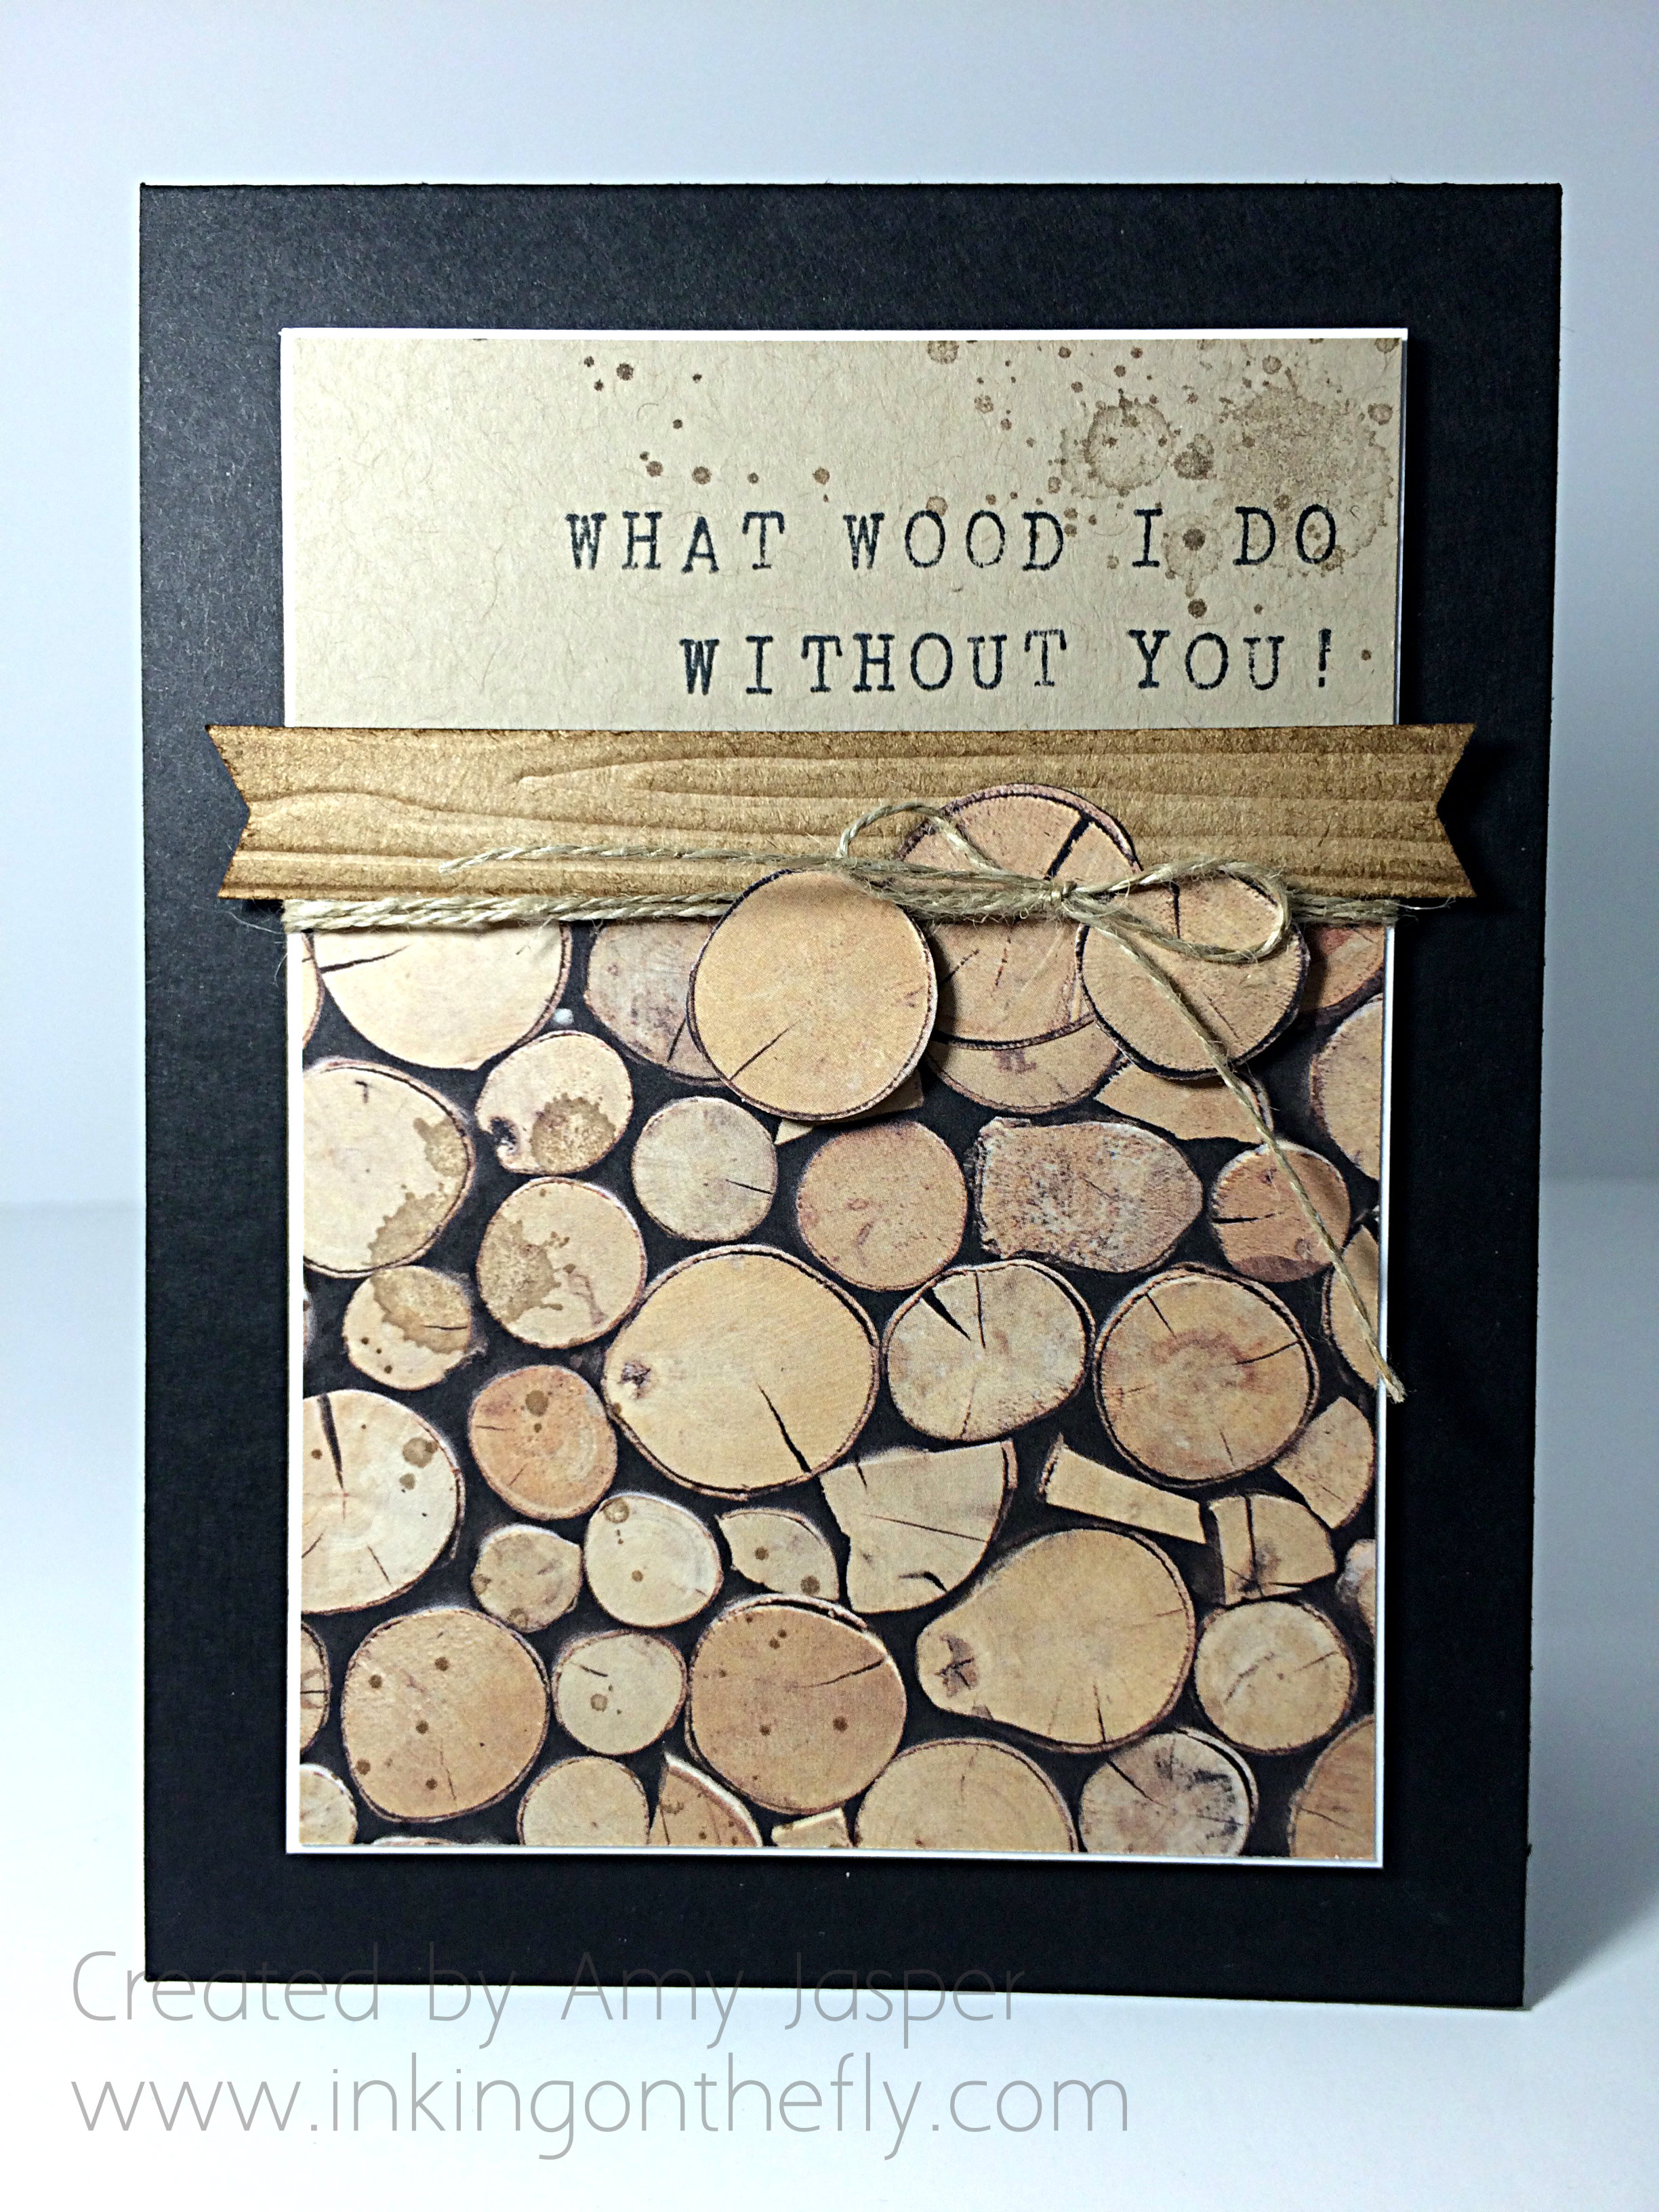
I chose a masculine theme to create this card for the wonderful men in my life who I would be absolutely lost without – men in my family and my church who always amaze me with their willingness to help in whatever way that they can. They are moving furniture, digging holes, repairing computers, picking up groceries, putting up the trampoline, building basements, lending tools, or offering a word of encouragement.  I am frequently surprised by their willingness and even eagerness to do something out of the kindness of their heart. It overwhelms me with gratitude.

This card was created with some of these men in mind.

078Amy

I haven’t completed the inside, but it would likely carry on the pun by saying “I don’t know, but the odds are probably stacked against me!” (ok, its a groaner, but I feel very clever right now, lol!)

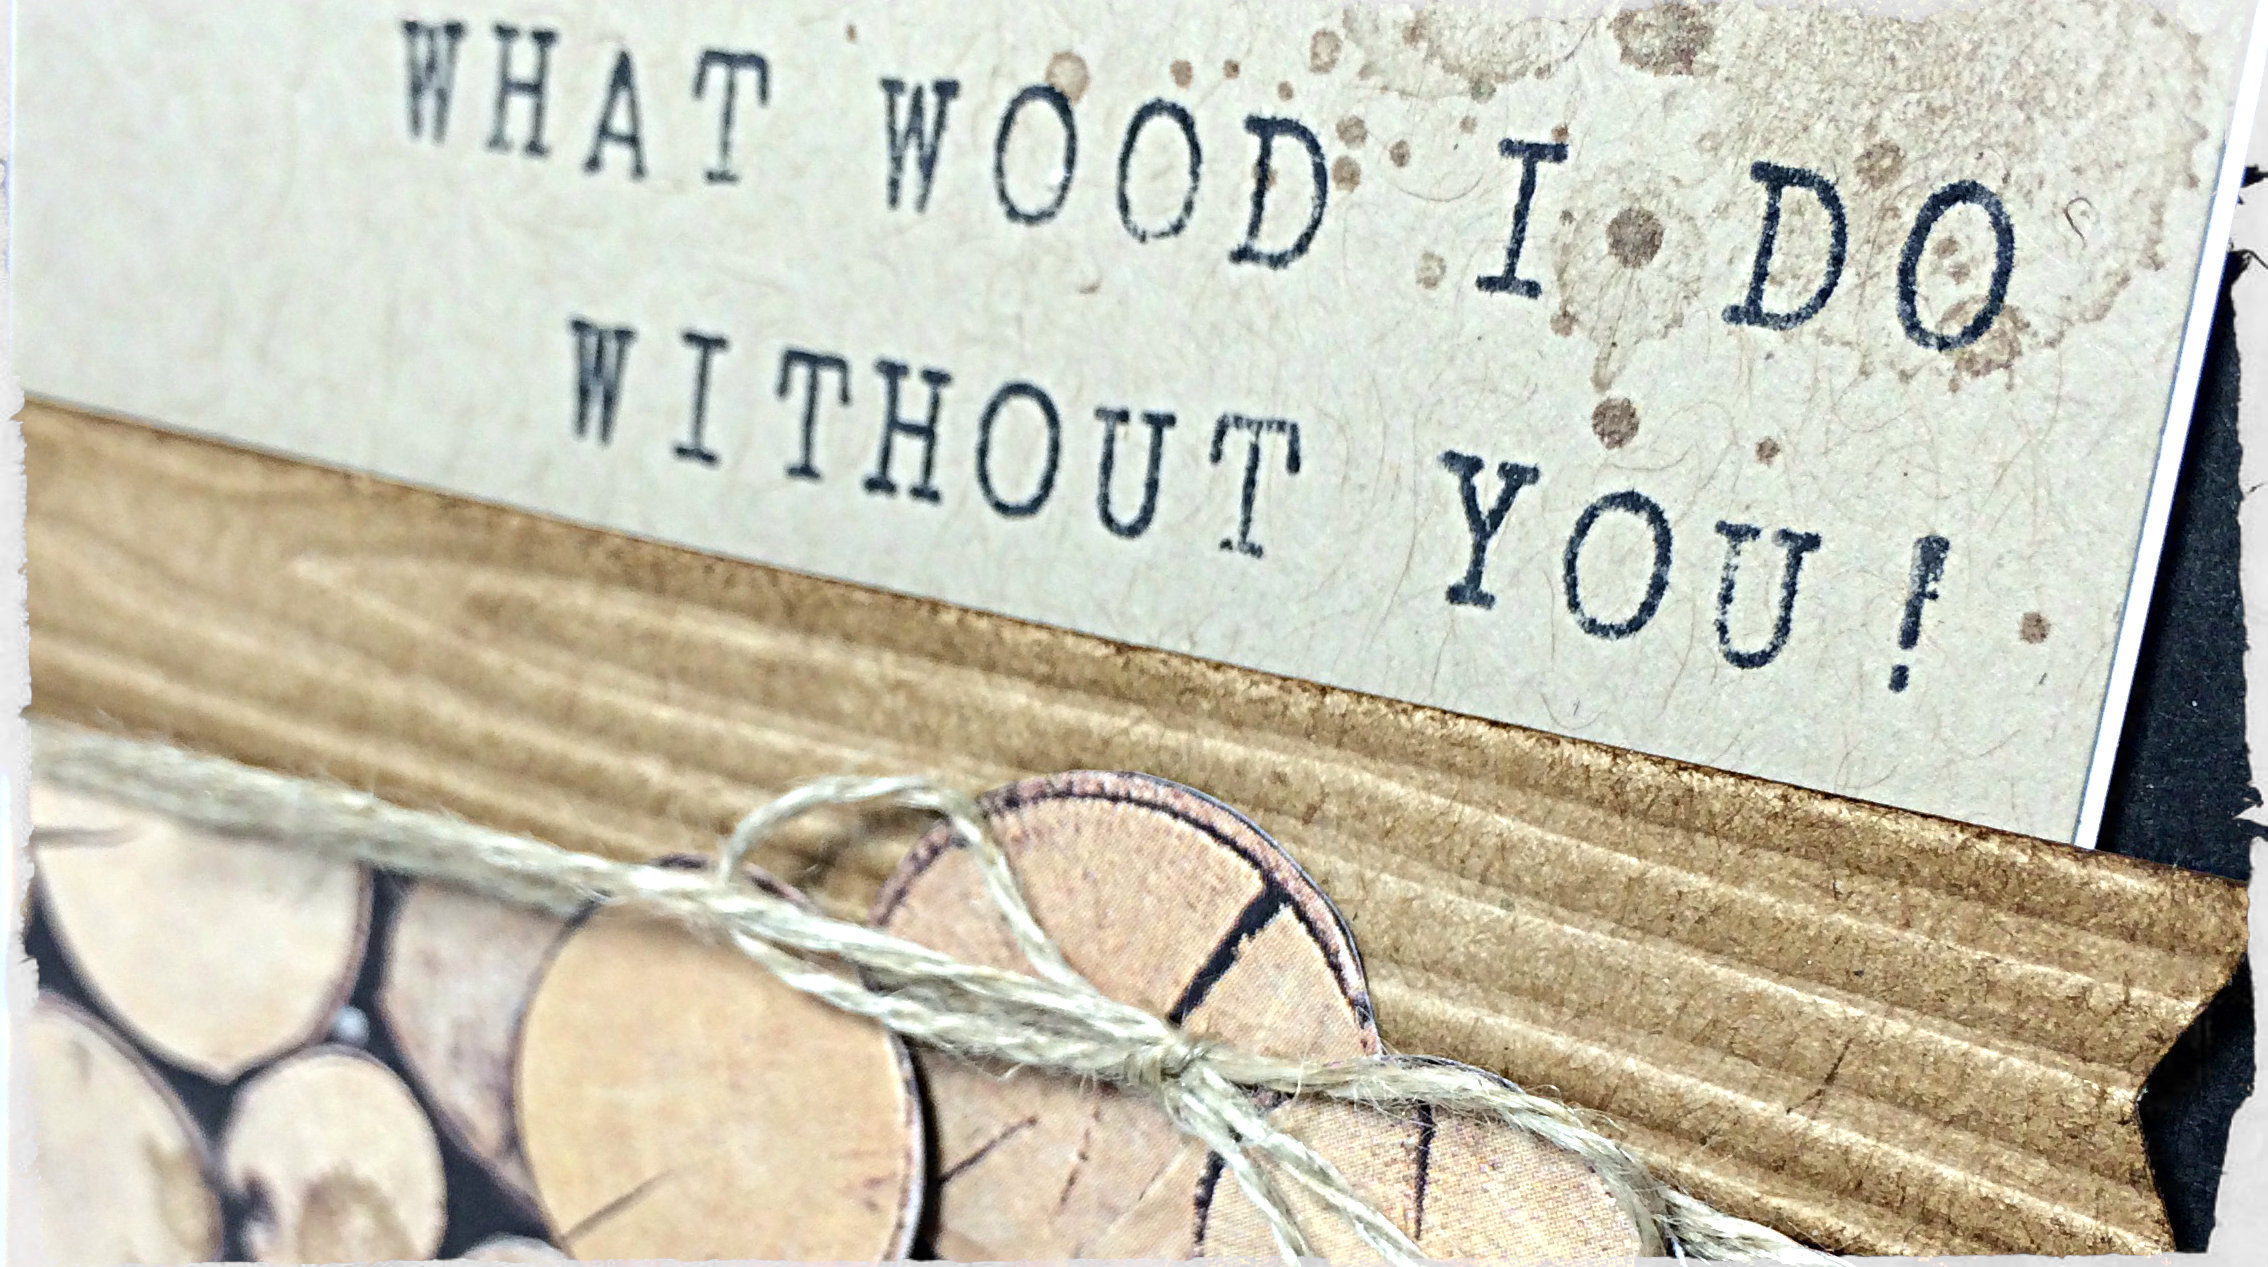
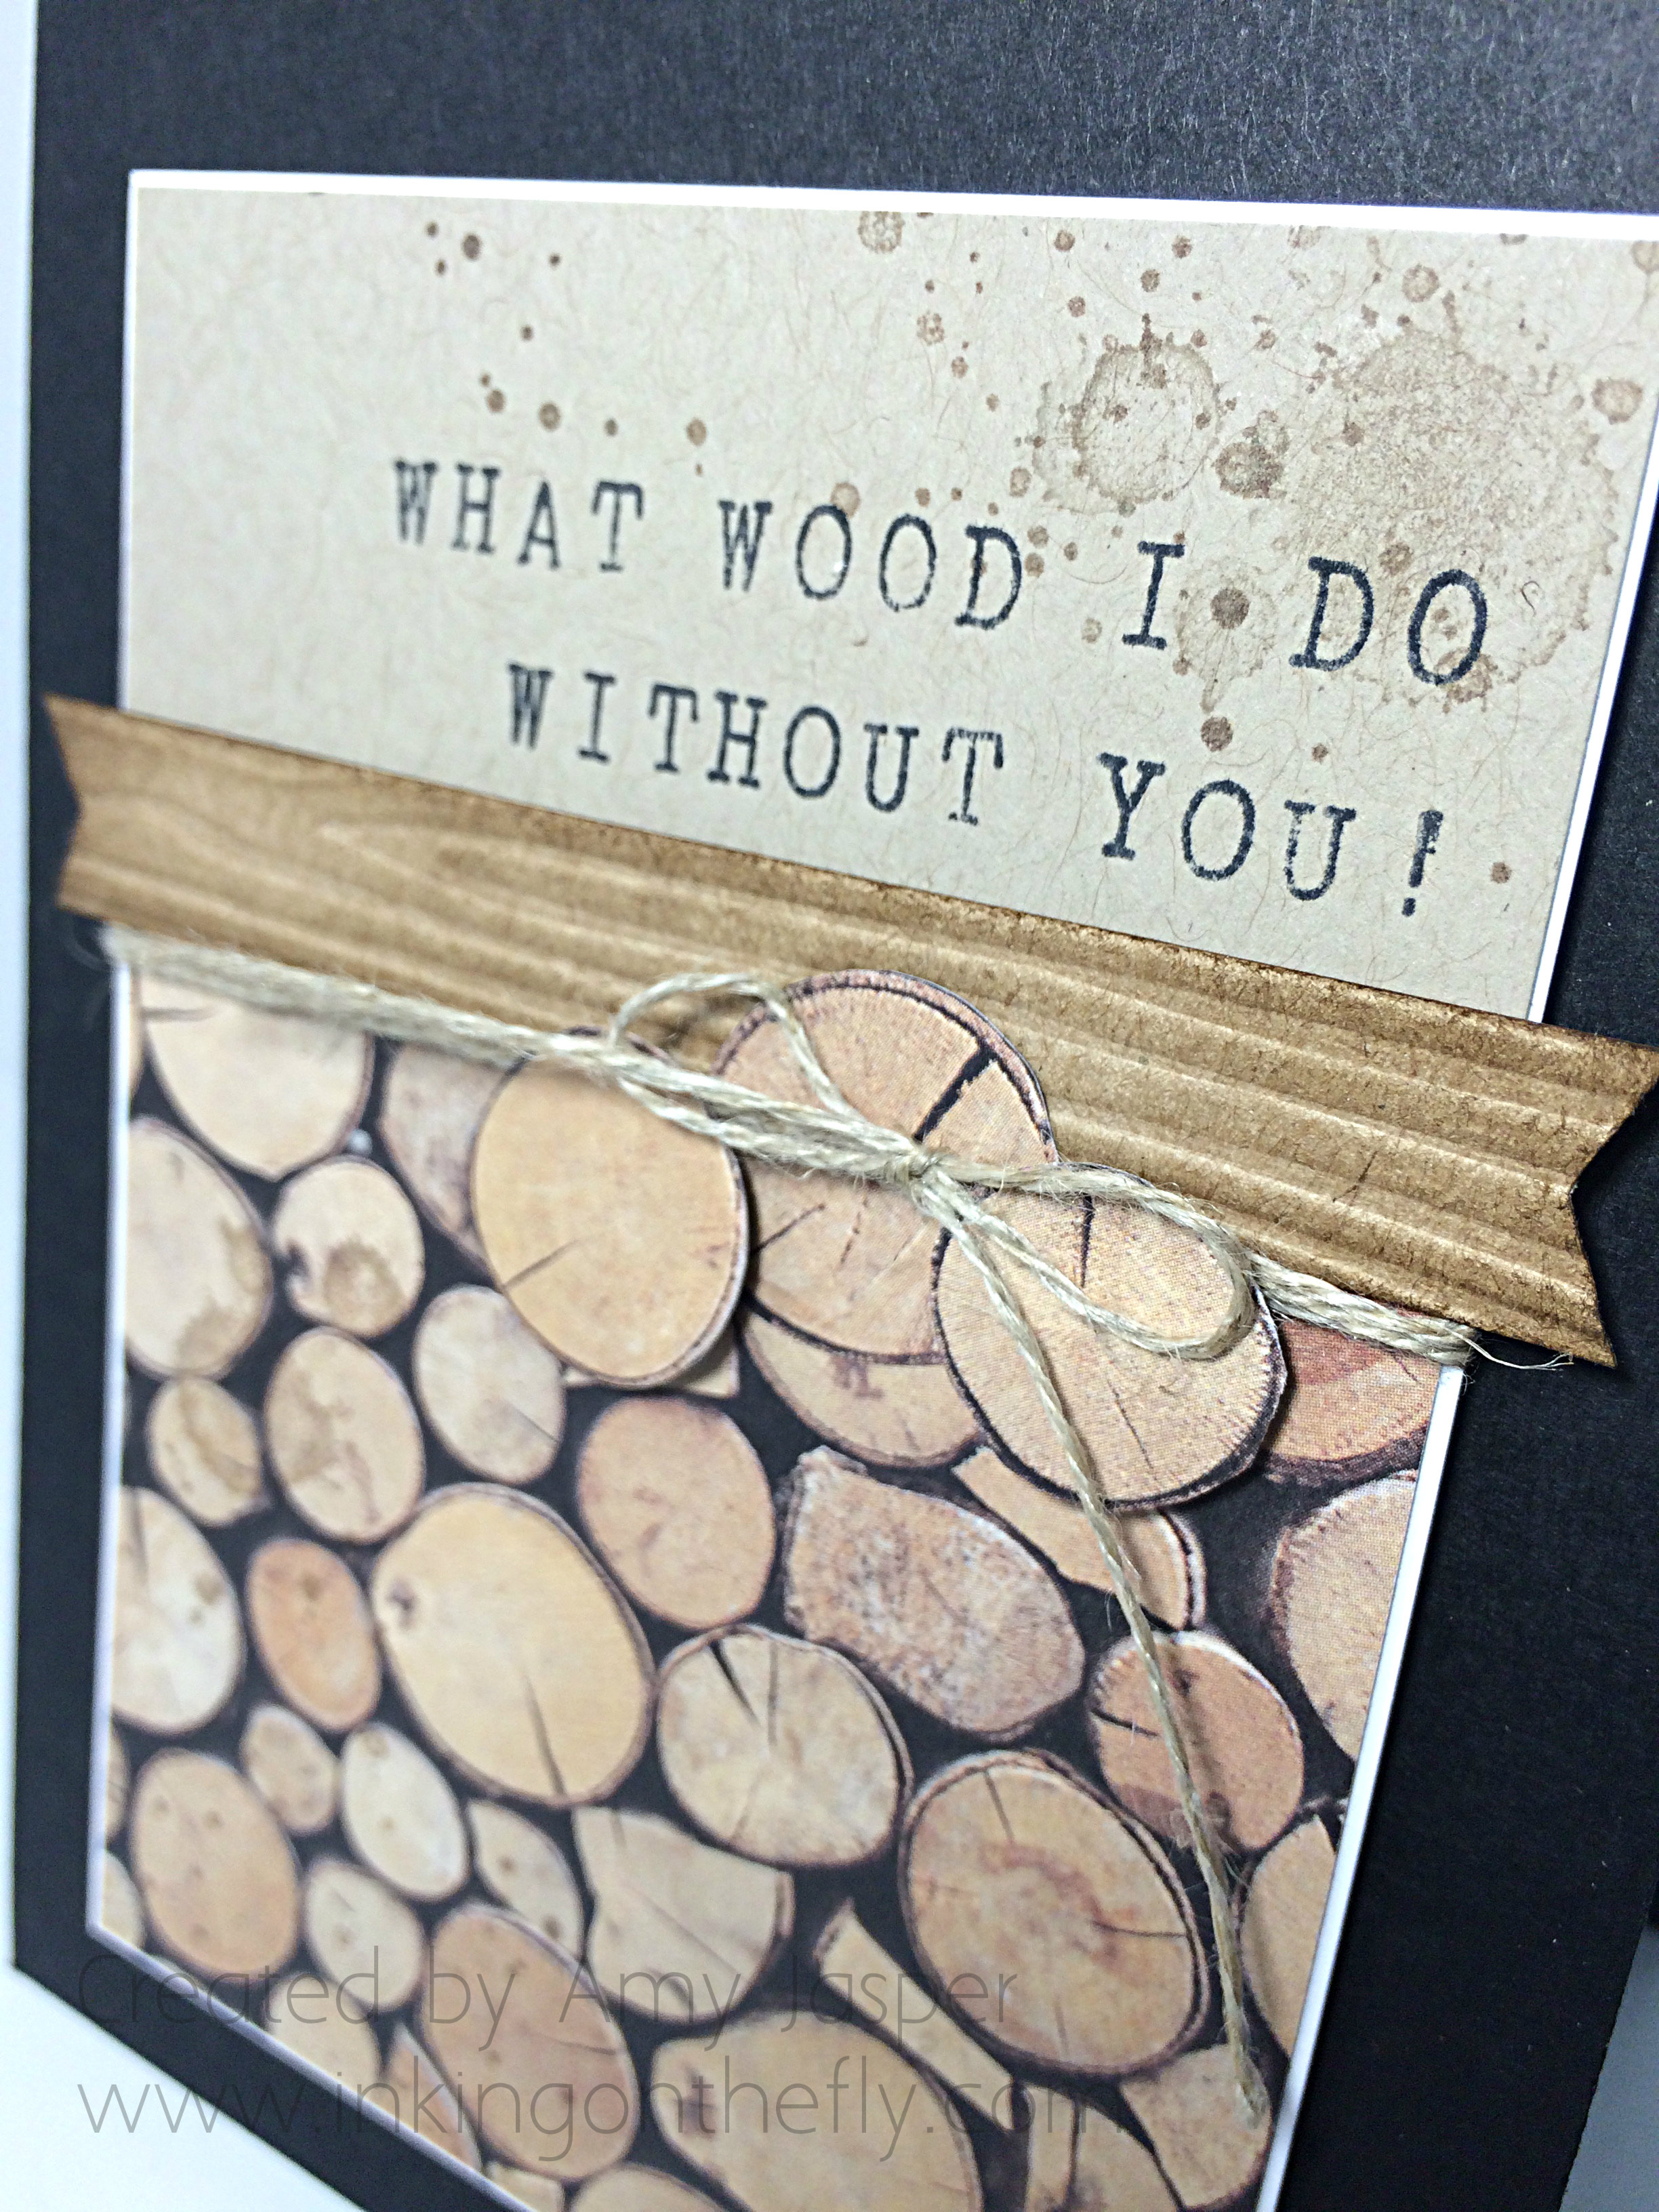
Whisper White cardstock was used to thinly matt the Adventure Bound Designer Series paper (wood pile image) and the Crumb Cake cardstock. The Alphabet Rotary Stamp was used to create the sentiment. I chose a piece of Kraft cardstock for the banner that I dry embossed with the Woodgrain Embossing folder and sponged lightly with Soft Suede ink to bring out the ‘grain’. I then hand cut some wood pieces out of another scrap of the wood pile paper from the Adventure Bound stack and added those along with the Linen Thread for embellishment. I wasn’t sure what to use to represent the 3 sequins in the sketch, but decided to simply add some splotches with the Gorgeous Grunge stamp set in Crumb Cake ink. I used Stampin’ Dimensionals under a couple of the wood cut out pieces as well as under the entire Whisper White cardstock layer to adhere it to the Basic Black card base.

078angle

I hope you’ll try this sketch from As You See It and share your project on the blog for us. We’d love to see what you come up with!

Amy

Designer-Badge

Butterfly Bliss

077header

Oh, speed challenges, how I love thee. Let me count the ways: I love you because you are quick; I love you that you push me; I love you that you’re quick; I love that I have time for you; I love that you are simple; I love that you are quick!!

My card today was designed for the As You See It Challenge Blog. The challenge is to create a card from start to finish in 10 minutes or less!! Can you do it? I’m usually just under the wire and find it very challenging. My design style is very … involved. Making a quick card is NOT my usual style at all! But I love that these challenges stretch me and force me to do something simpler. Sometimes I’m very unhappy with my final results, but today, I quite like how it turned out.

Here’s the speed challenge theme:

AYSIChallenge077-1024x1024

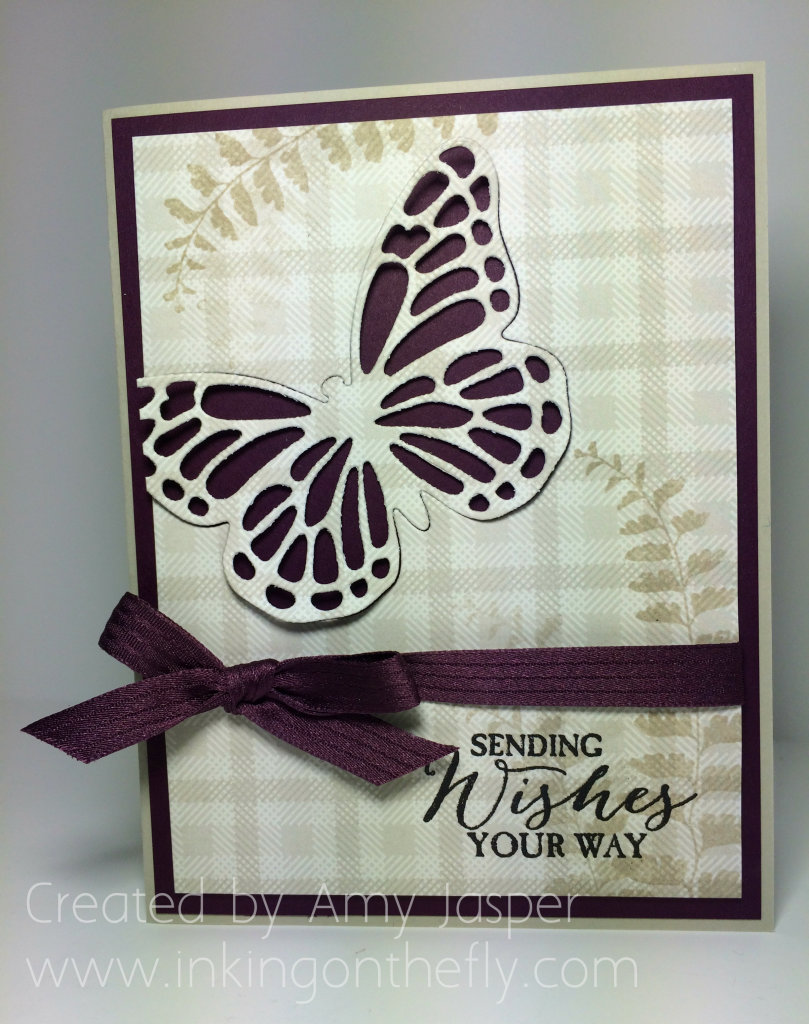
I decided to try working with a cute technique I saw using the Butterflies Thinlits. The card I saw was simple white cardstock, that had the butterfly cut out of it, then put back in place so that a colourful patterned paper showed through the detailing of the wings. I thought I would turn it inside out just a little bit and have the patterned paper on the topmost layer, with the solid colour showing through. Of course, if I HAVE to use purple (not my favourite for cards), I choose to use the gorgeous, rich, Blackberry Bliss!

#inkingonthefly

9:47

Blackberry Bliss is very striking along side the soft neutral tone of Sahara Sand, so I chose one of the patterned papers from the Adventure Bound Designer Series Paper Stack that has a nice tone-on-tone plaid pattern. This I stamped with the leaf image in Sahara Sand, then thoroughly rubbed my Embossing Buddy over the paper before stamping the sentiment in Versamark ink and heating the applied Black Embossing Powder with my Heat Tool.

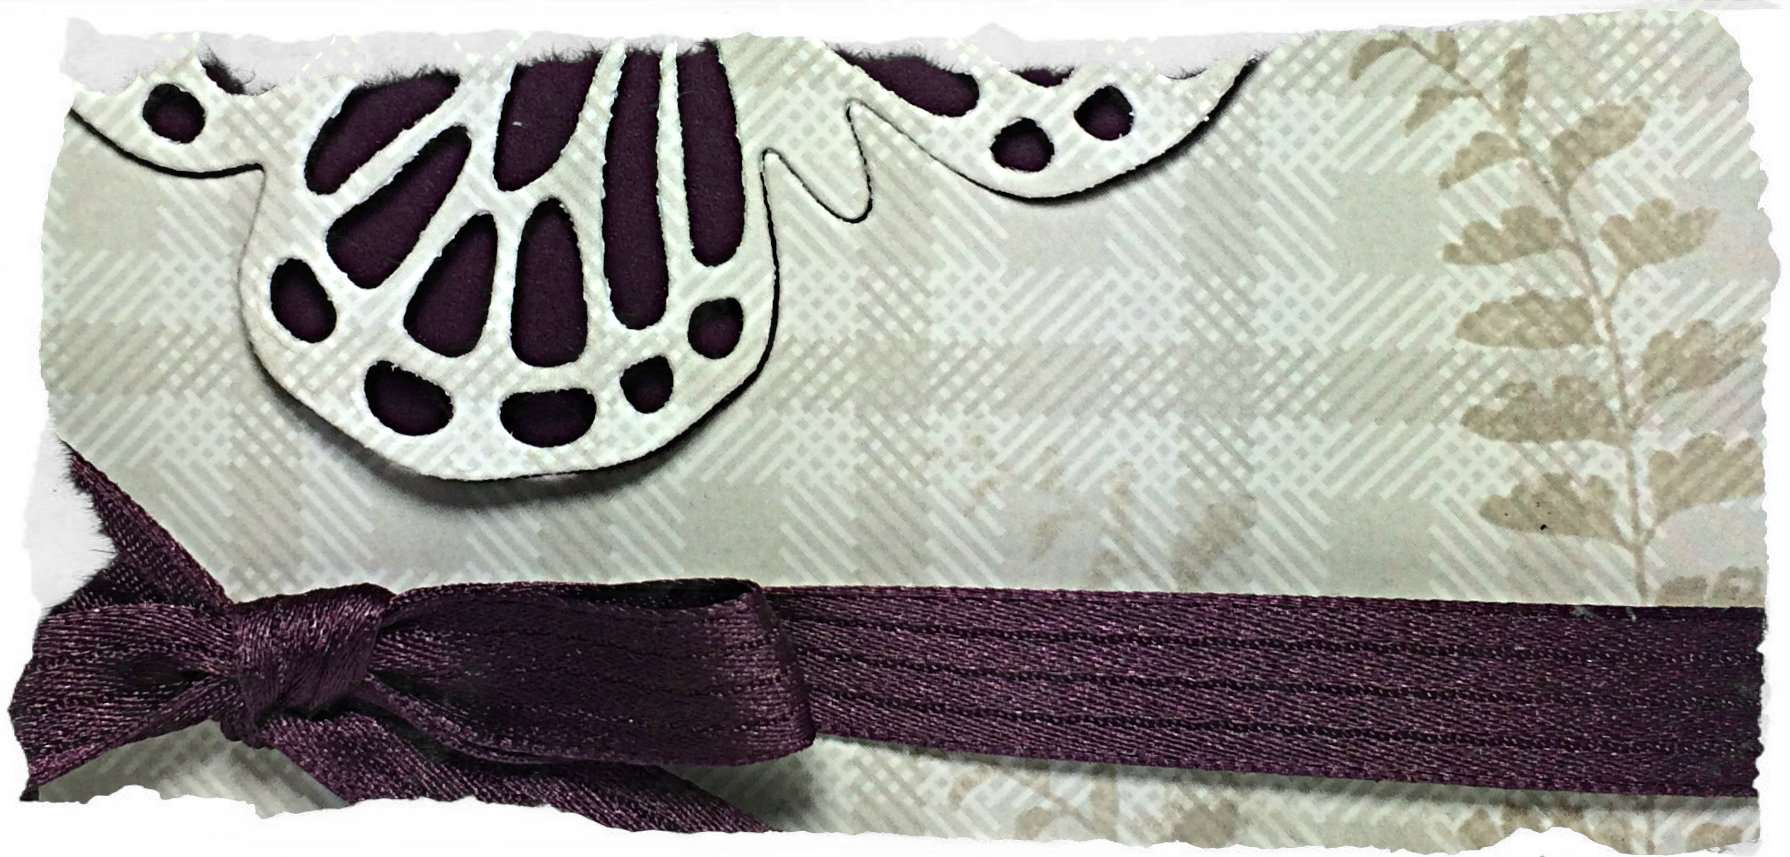
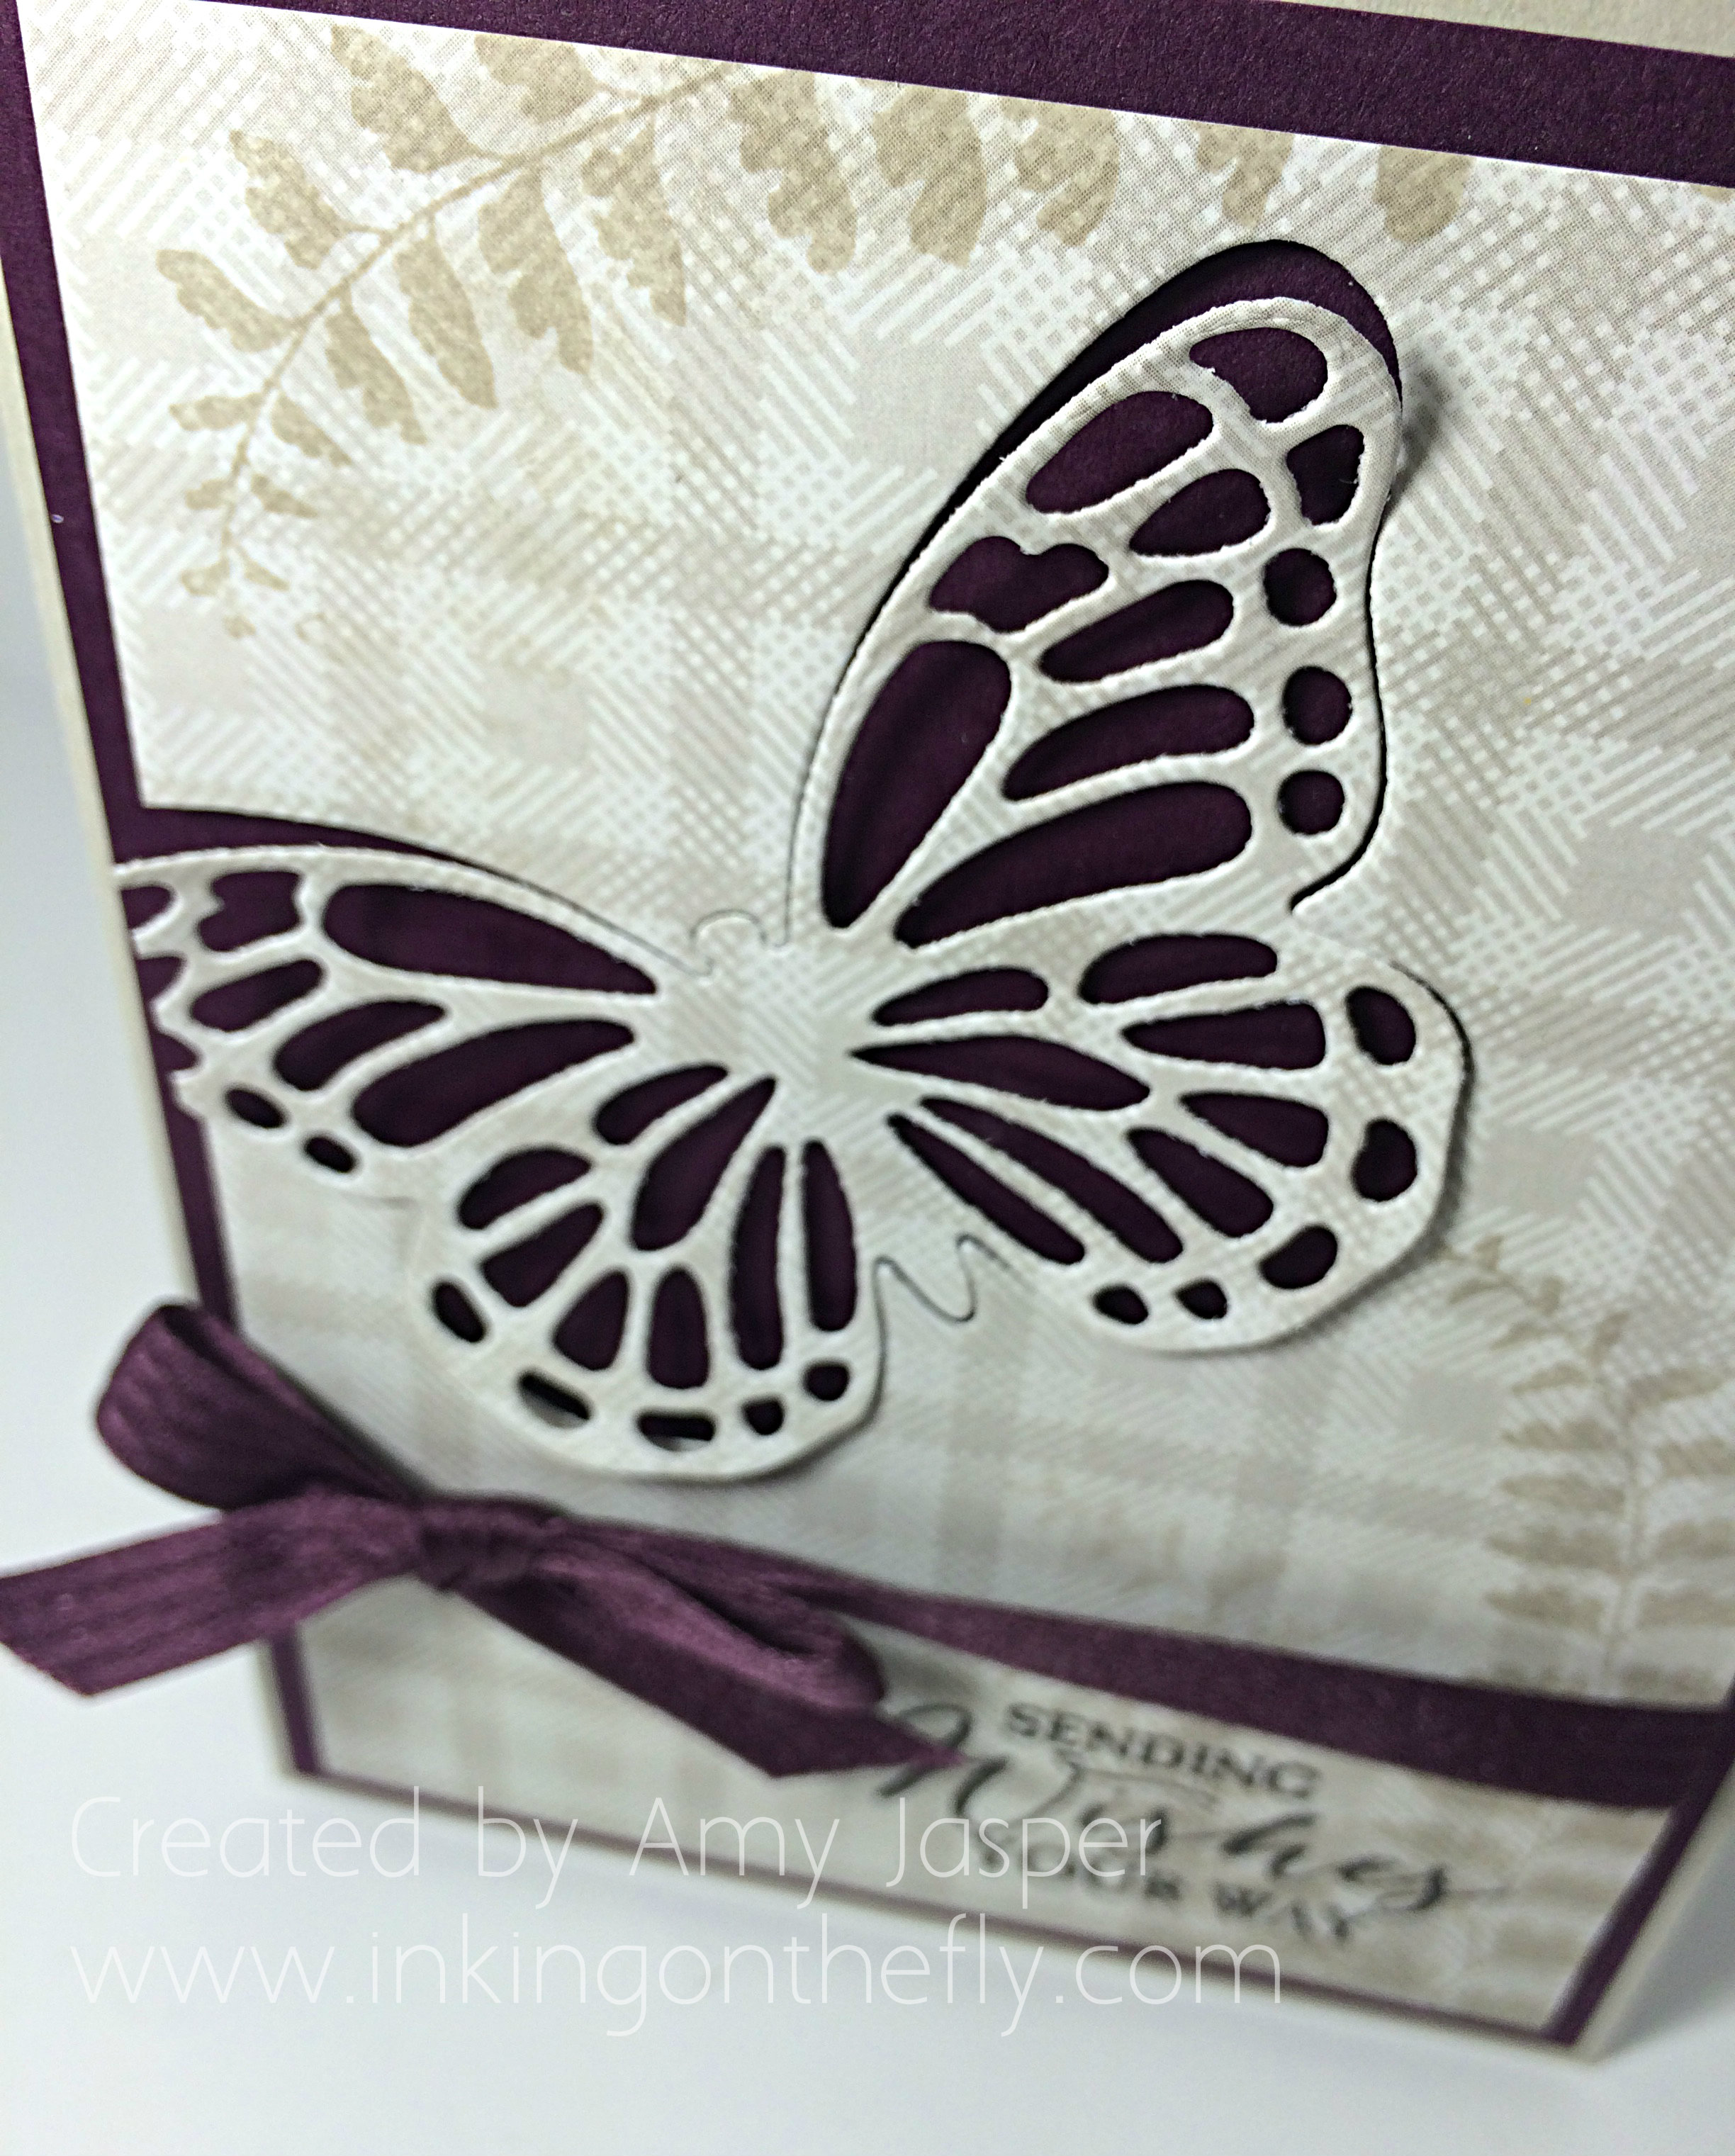
Once all the stamping was taken care of, I grabbed my butterfly die and headed on over to my Big Shot to cut it out from the stamped patterned paper. The Blackberry Bliss Satin Ribbon is wrapped around this paper and tied in a bow, then applied to the Blackberry Bliss cardstock layer with many Stampin’ Dimensionals (thin paper that has been heated for embossing, tends to get a bit curvy and needs support). Next, half of a Stampin’ Dimensional was used to attach the cut out butterfly back into its place in the patterned paper. And, finally, all that is attached to the Sahara Sand card base.

077butterfly

Love it, love it, love it. Simple, pretty, elegant, and QUICK!! I could easily whip up a bunch of these in different colour combinations and package them up to give away as a gift. Hmm. Maybe I’ll do just that!

I hope you’ll give the speed challenge a try and share your finished result on the As You See It Challenge Blog. I’d love to see what you do with purple!

Amy

Designer-Badge