Watercolour Birch Trees
Welcome all who are faithful followers and all who wandered over here by chance. I hope you enjoy your stay!
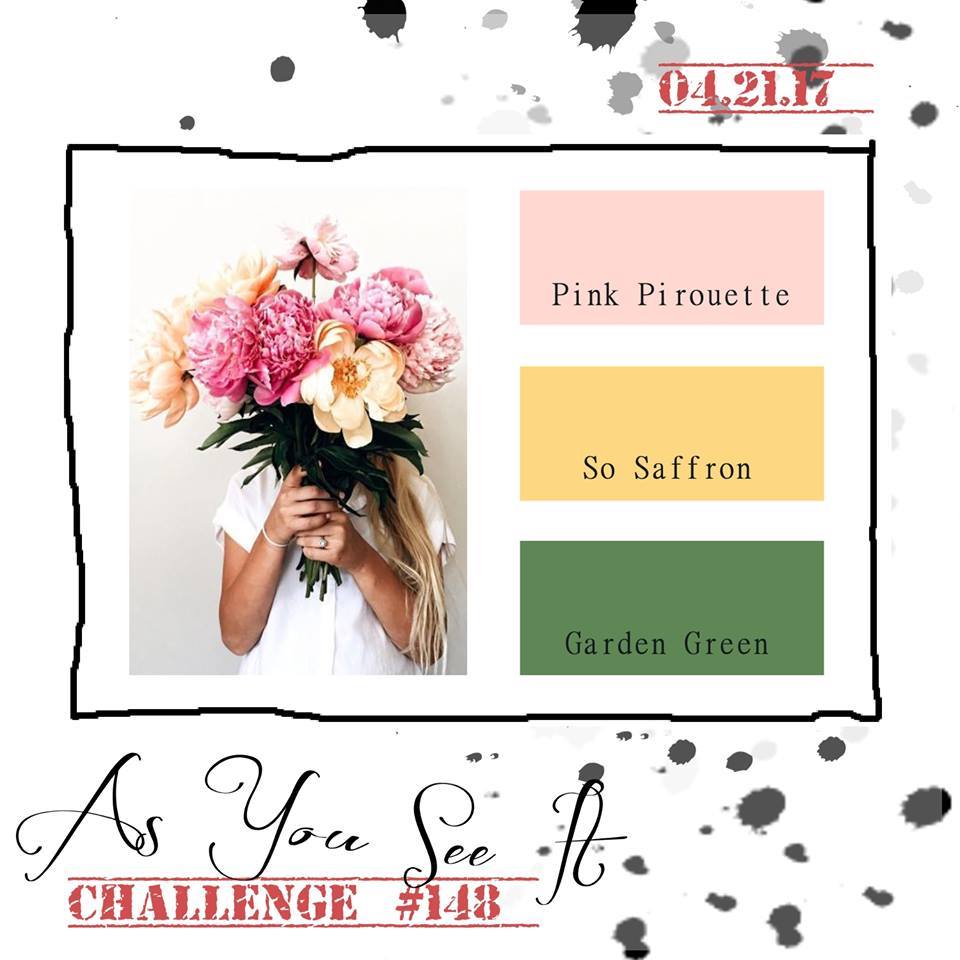
I admit to scrambling for this As You See It Challenge. I missed telling you all about the challenge two weeks ago – card made, but blog neglected. That’s how it goes sometimes when your Stampin’ Up life takes a back seat to your family life. As it should. Family first.
I did not want to disappoint you this time (or let myself down again). My card was created very last minute and I am writing this post at 5:30 am, scrambling to complete it for the 6am deadline. (I’m already 15 minutes late!). I was actually a little bit grateful to my husband last night who started watching Monty Python’s “And Now for Something Completely Different” with my 13 year old son when I had already said I would spend time with my son watching Merlin on Netflix. They got caught up in the hilarity of their show (I even had to pause to watch a bit), so I took advantage of my sudden free time and used scraps from a class to create my card for this colour challenge from the As You See It Challenge Blog.
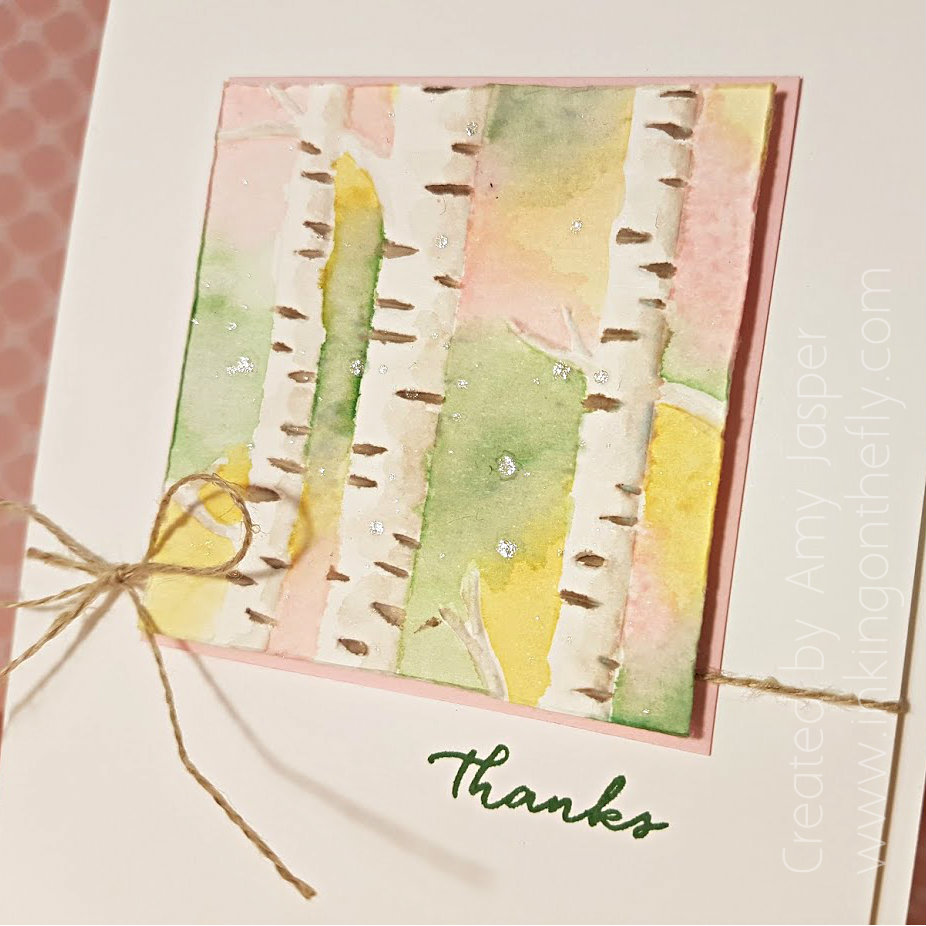
I love the Woodland Embossing Folder from Stampin’ Up! It is one that I use over and over again. I just recently discovered how easy it is to watercolour around the embossed edges of the paper. This is what my scraps from my last class look like combined with this colour challenge: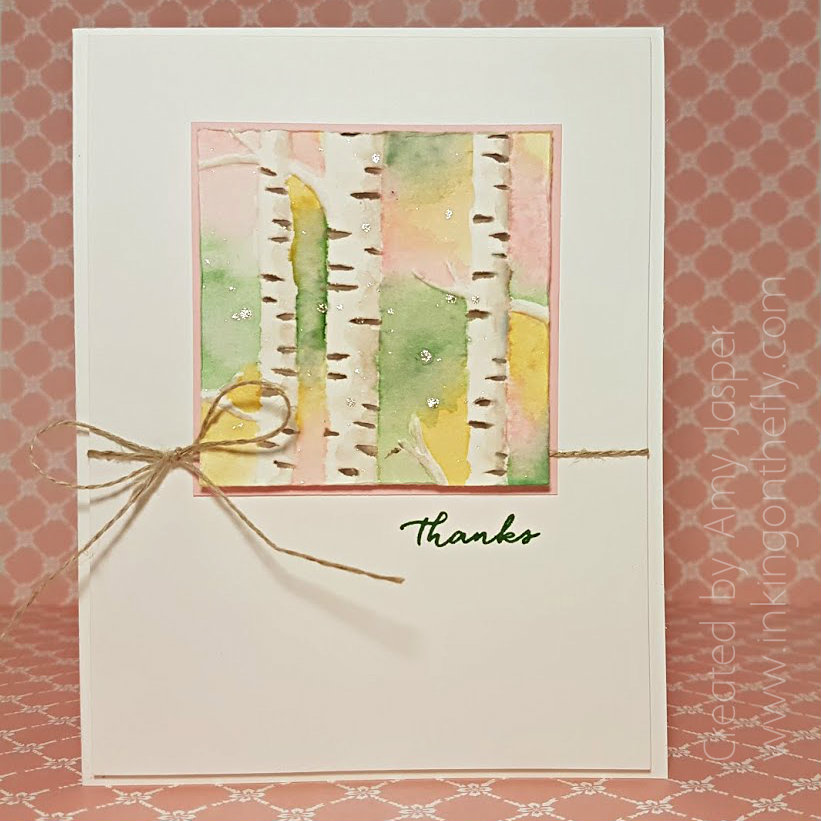
Pretty pretty pretty!! I think I’m in love!
With my Woodland Embossing folder and the Big Shot, I embossed the trees on a 2-1/2″ square piece of Watercolor Paper from Stampin’ Up! Then I used my Aqua Painter and picked up ink from my ink pads (Pink Pirouette, So Saffron, and Garden Green) and coloured between the trees, careful to stay within the guidelines that the embossed edges provided. Once I was happy with my blended background, the trees looked too plain, so I dipped my Stampin’ Up Aqua Painter into some Tip Top Taupe ink and accented the birch bark. With some watered-down Tip Top Taupe ink, I then washed some shading on the right side of the tree trunks to give them some dimension.
Once I was happy with my final result, I allowed the watercolouring to dry. Then I used the Clear Wink of Stella to create some shimmery splatter among the trees by tapping the brush over my finger above the paper. Glorious!!
The rest was just like we did in my class the night before: I used the blade of my Paper Snips from Stampin’ Up to texture the edges of the Watercolor Paper. This is an old technique that I haven’t used in quite a while. I think it creates a nice contrast to the smooth white background on this card.
Assembly was easy after that. Adhere the 2-5/8″ square piece of Pink Pirouette cardstock to the top middle of the 4″ x 5-1/4″ piece of Whisper White cardstock. Stamp the sentiment from the Weather Together stamp set below and to the right of the pink square using Garden Green ink. Wrap Linen Thread around the cardstock and tie a bow to the left of the pink square. Adhere the watercoloured piece to the Pink Pirouette square using Stampin’ Up Dimensionals. Finally, use Stampin’ Up Dimensionals again to adhere the entire assembly of layers to the Thick Whisper White card base.
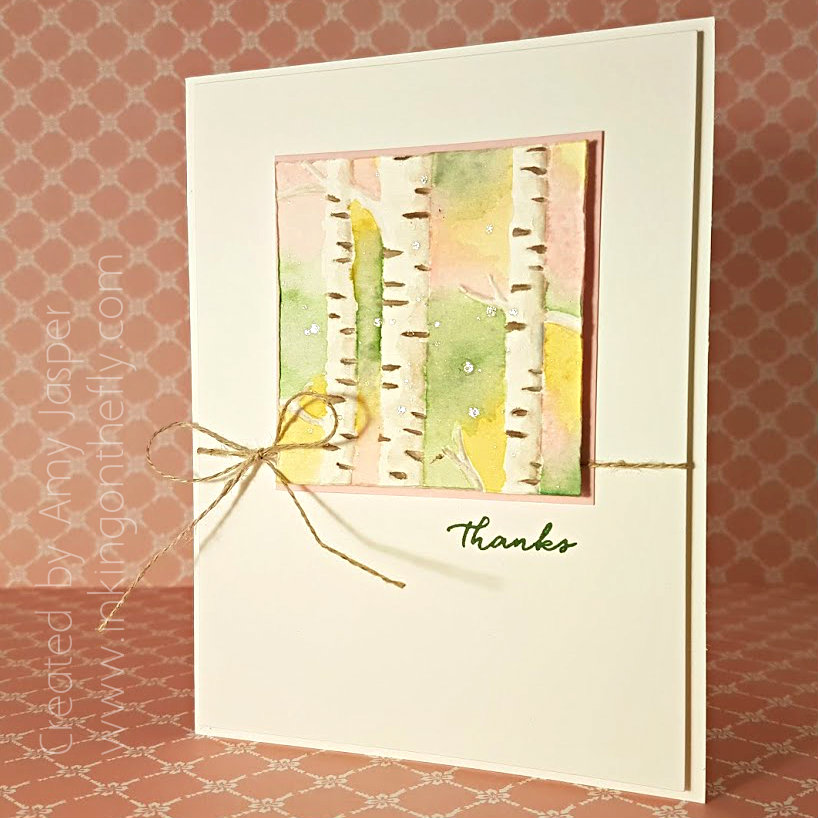 VOILA! A lovely card that I will be proud to give to someone to thank them for putting up with my inconsistencies and blunders!
Seriously, thank you for continuing to come back even after I forget to post each week 🙂
