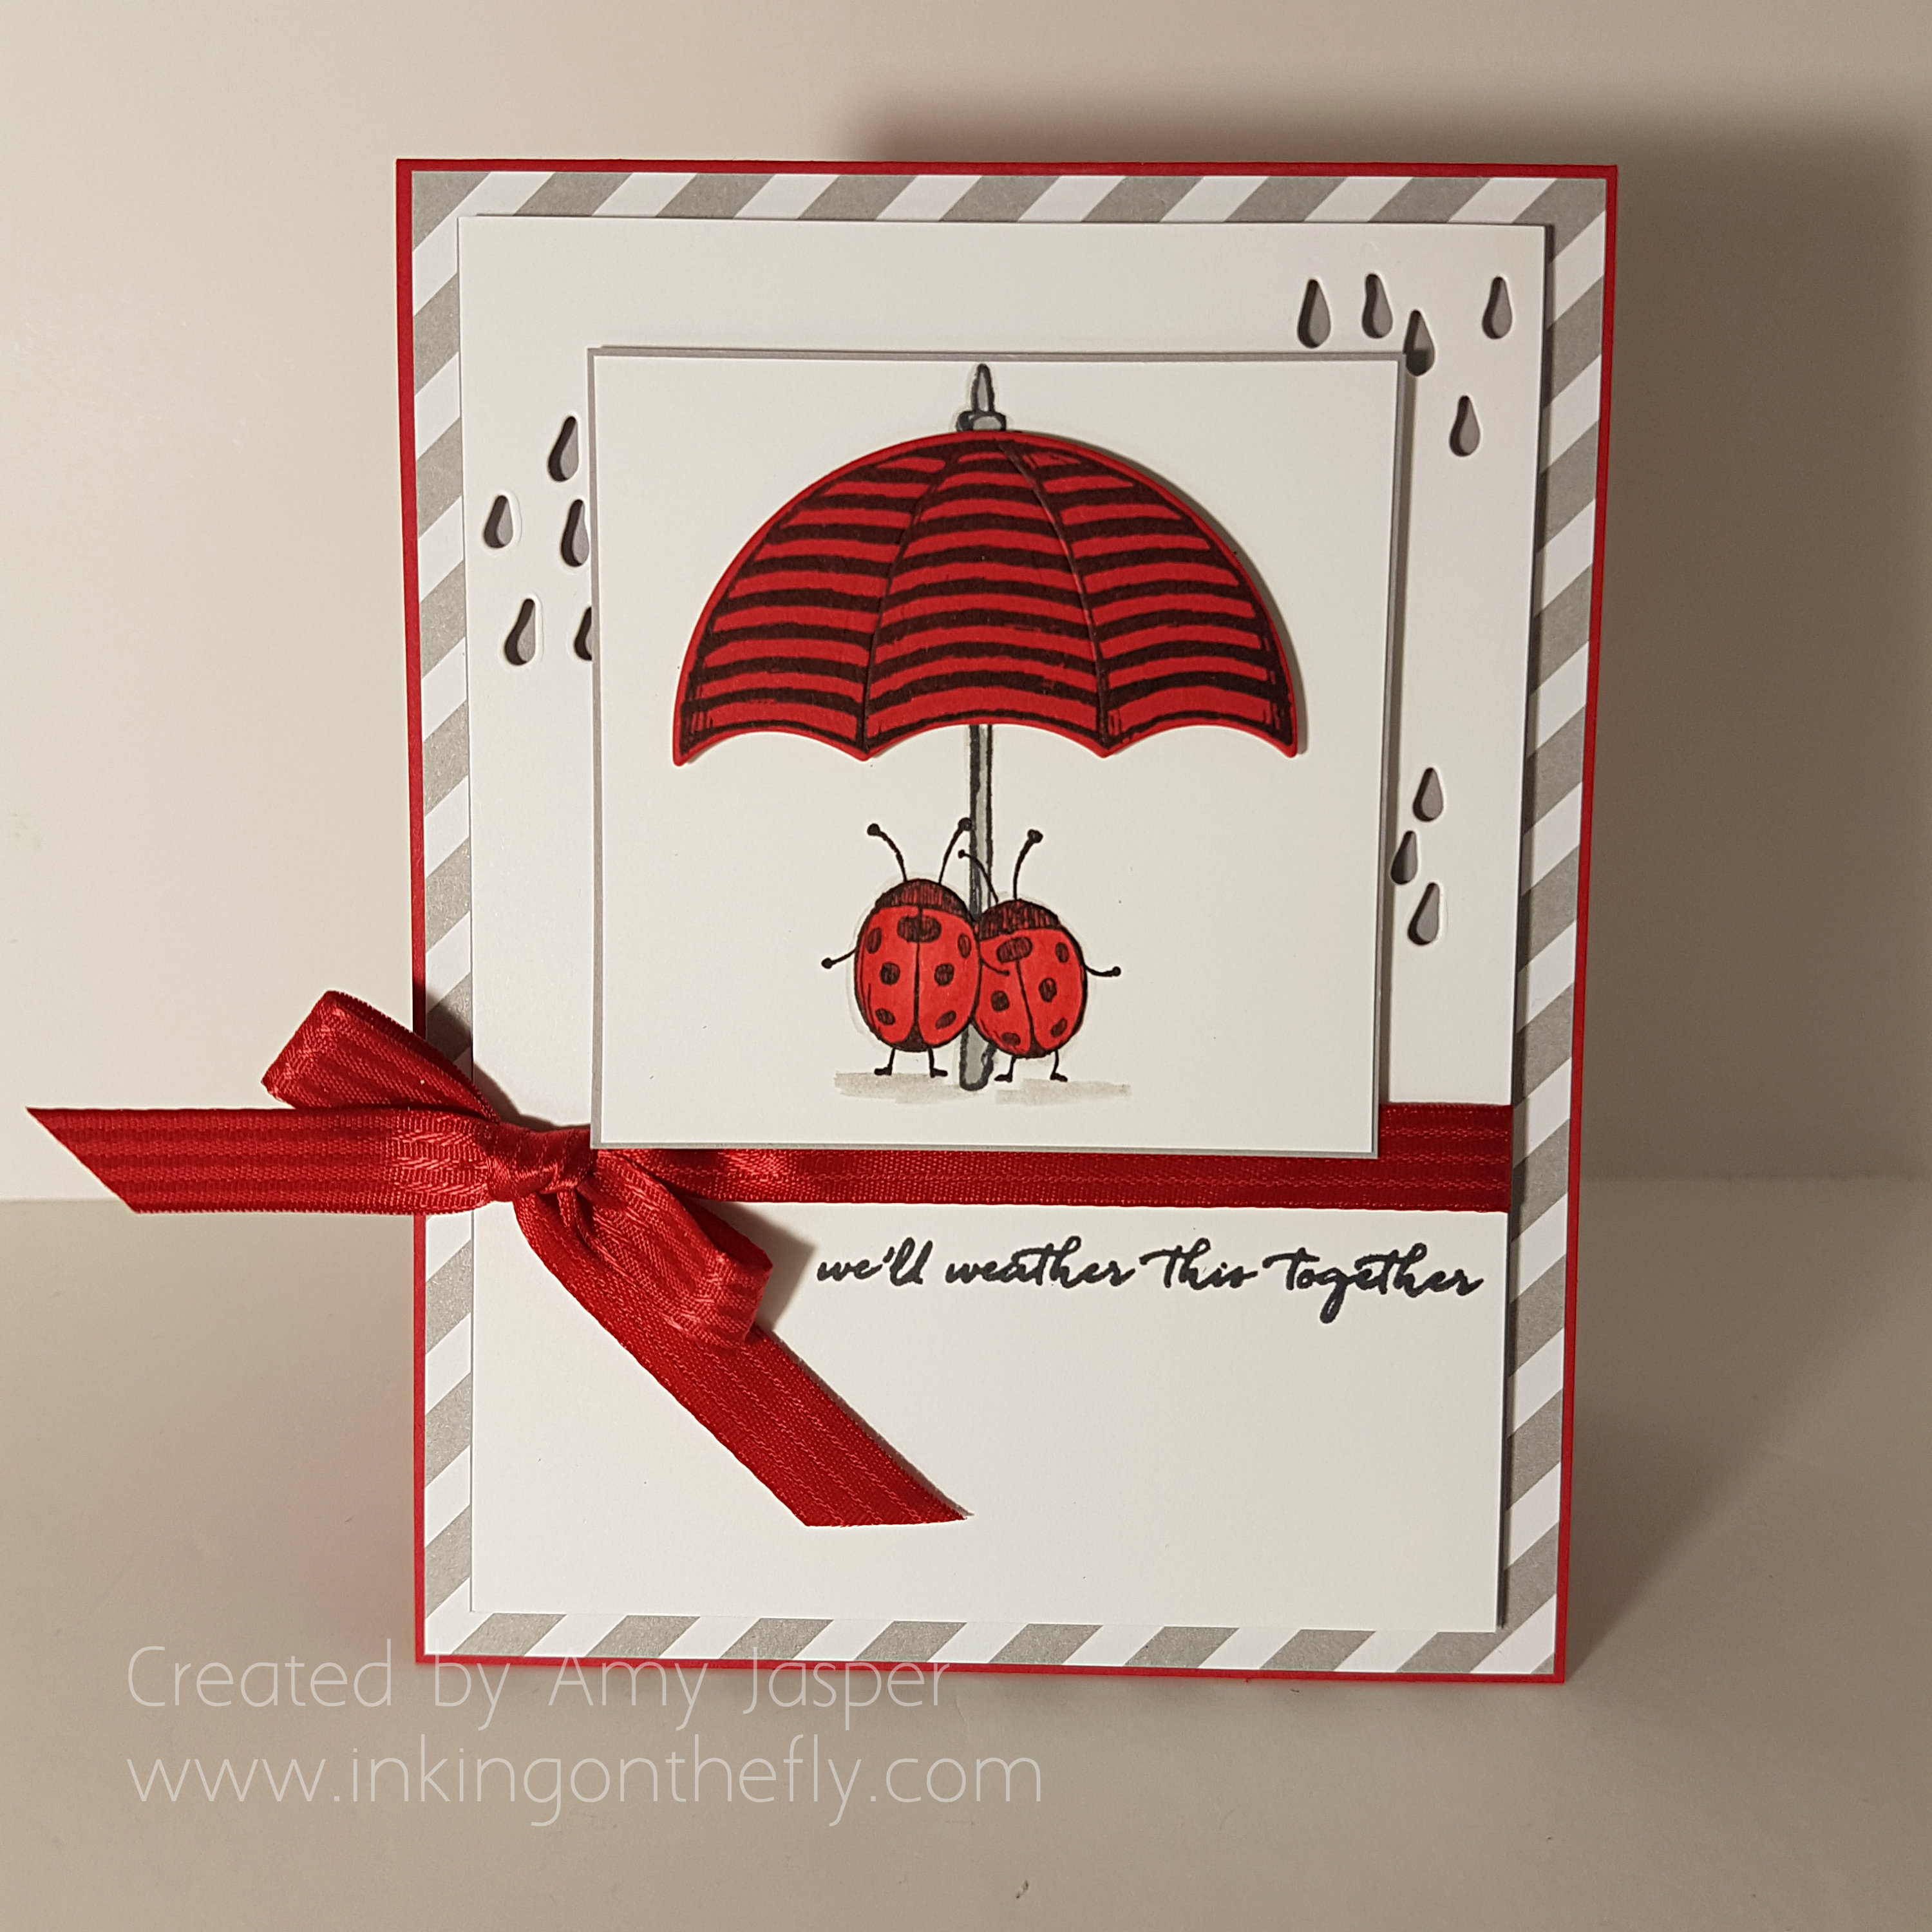
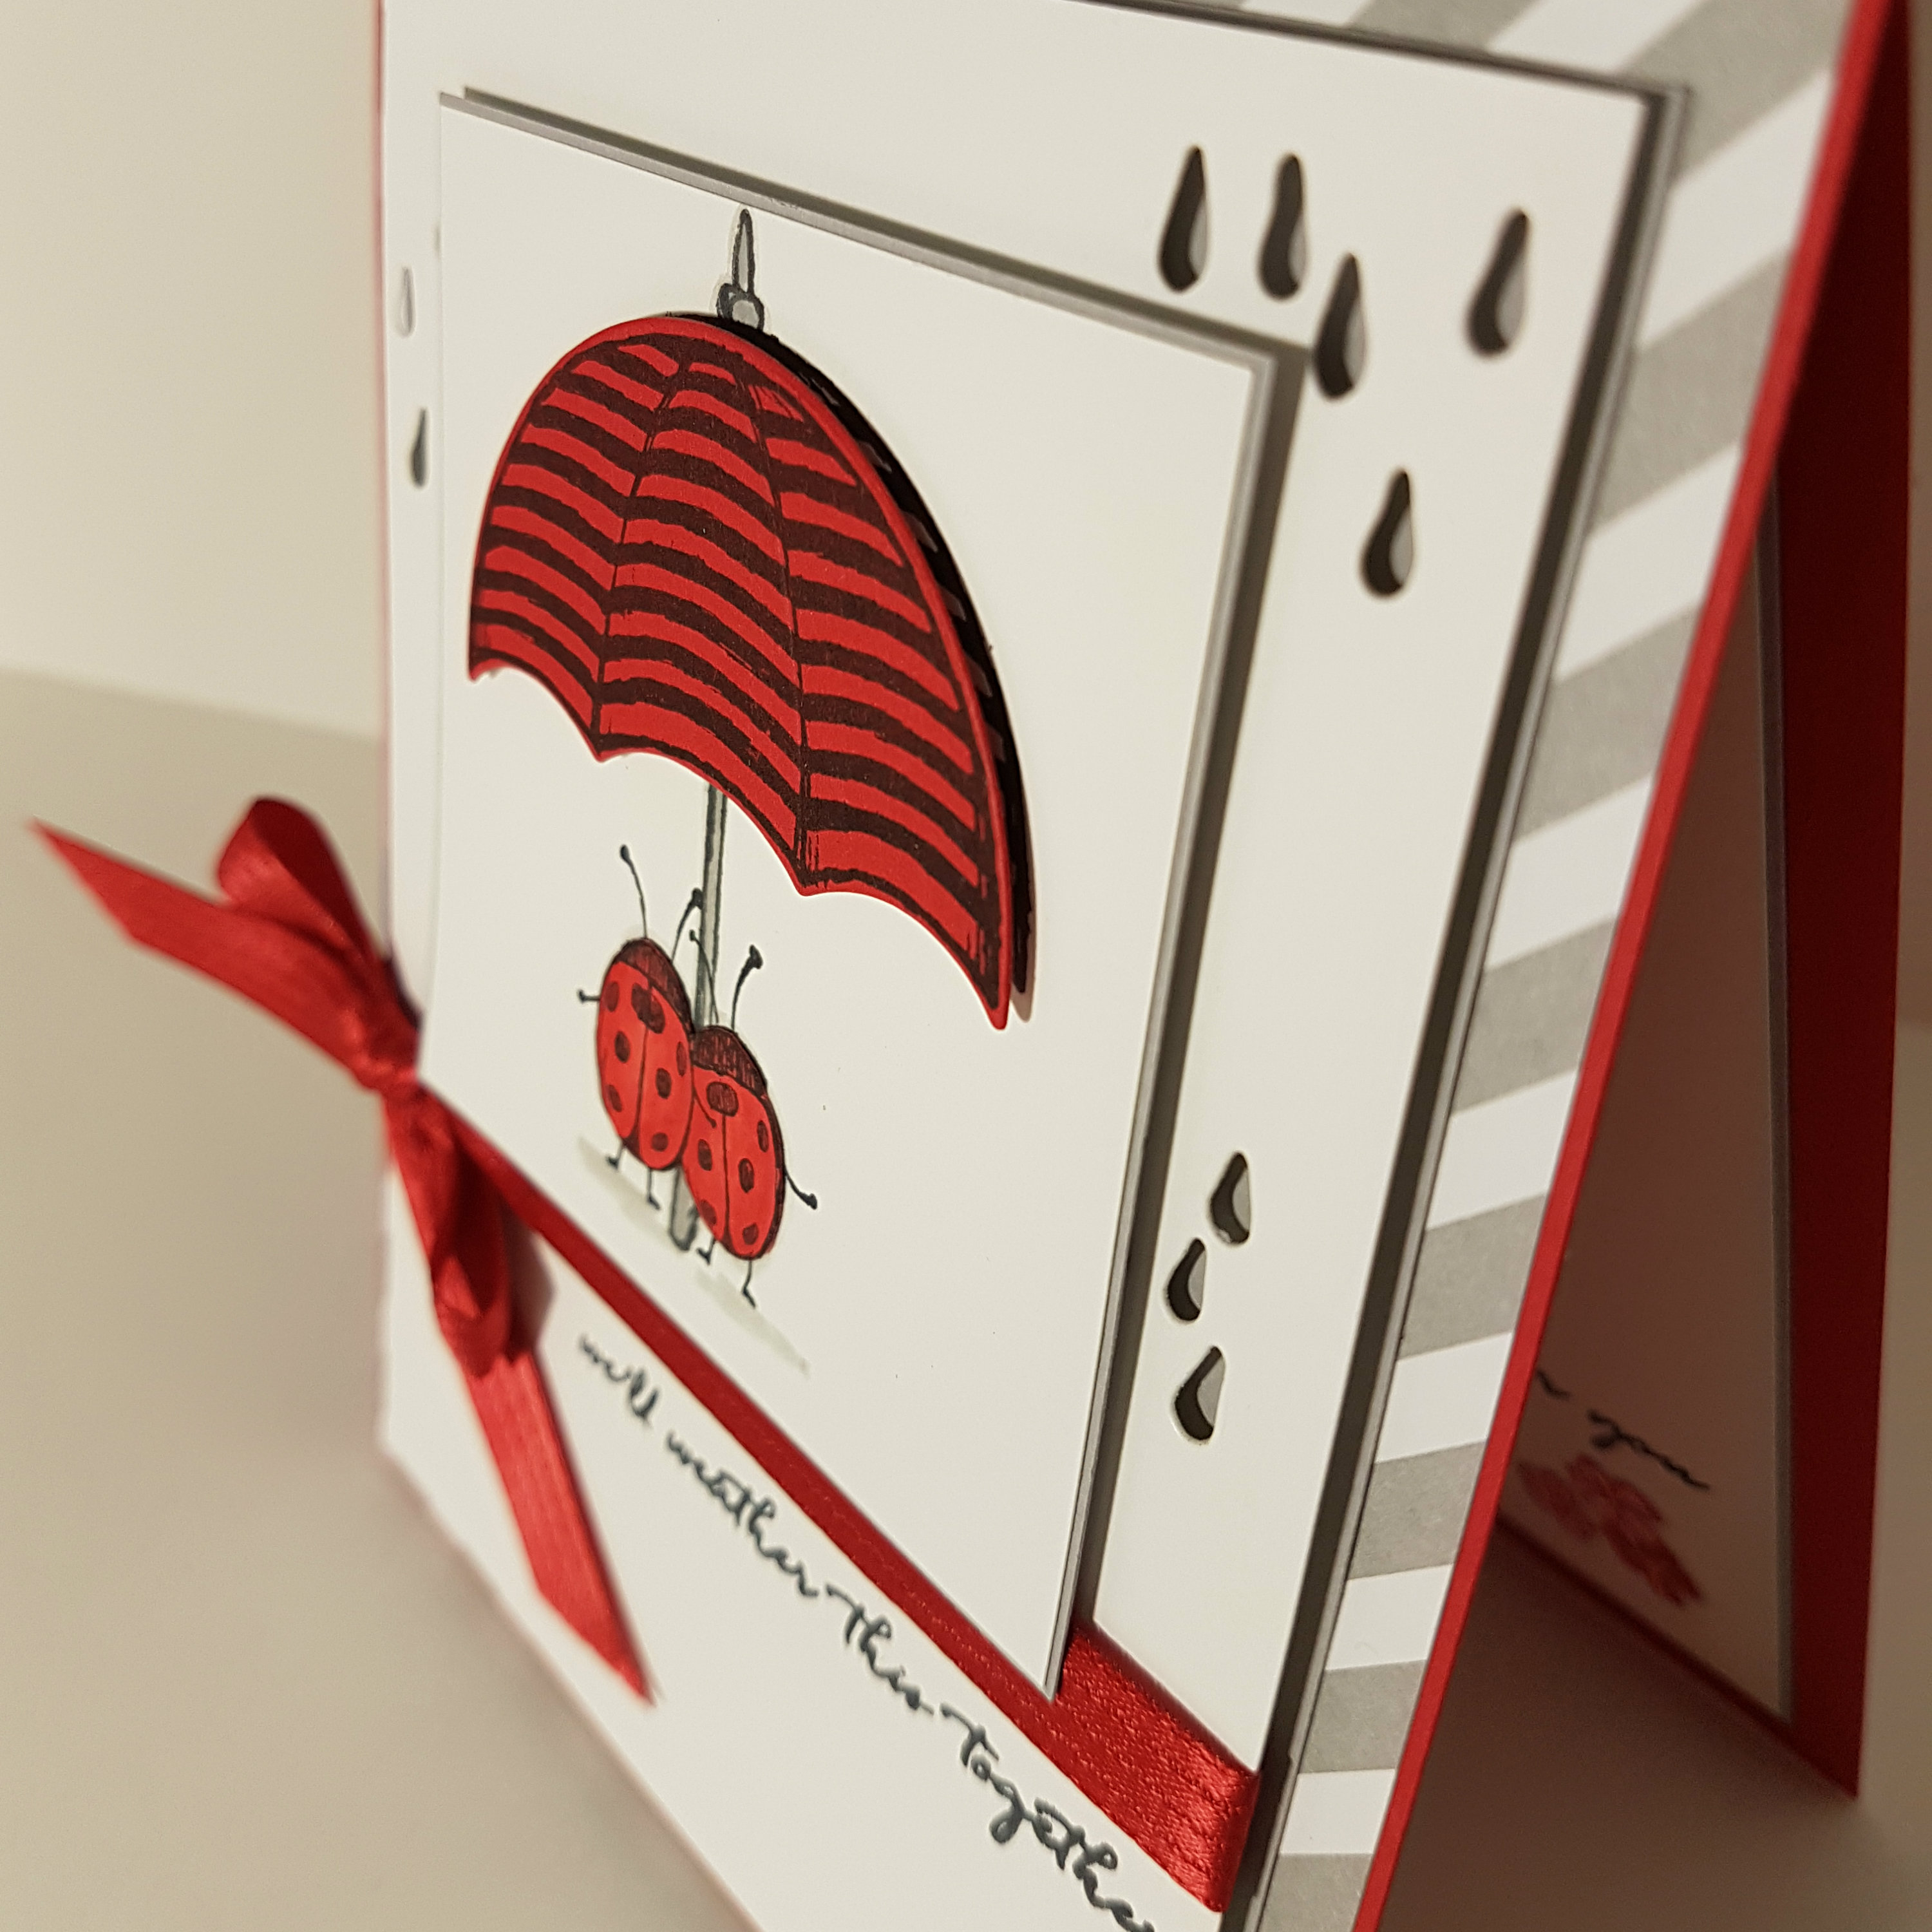
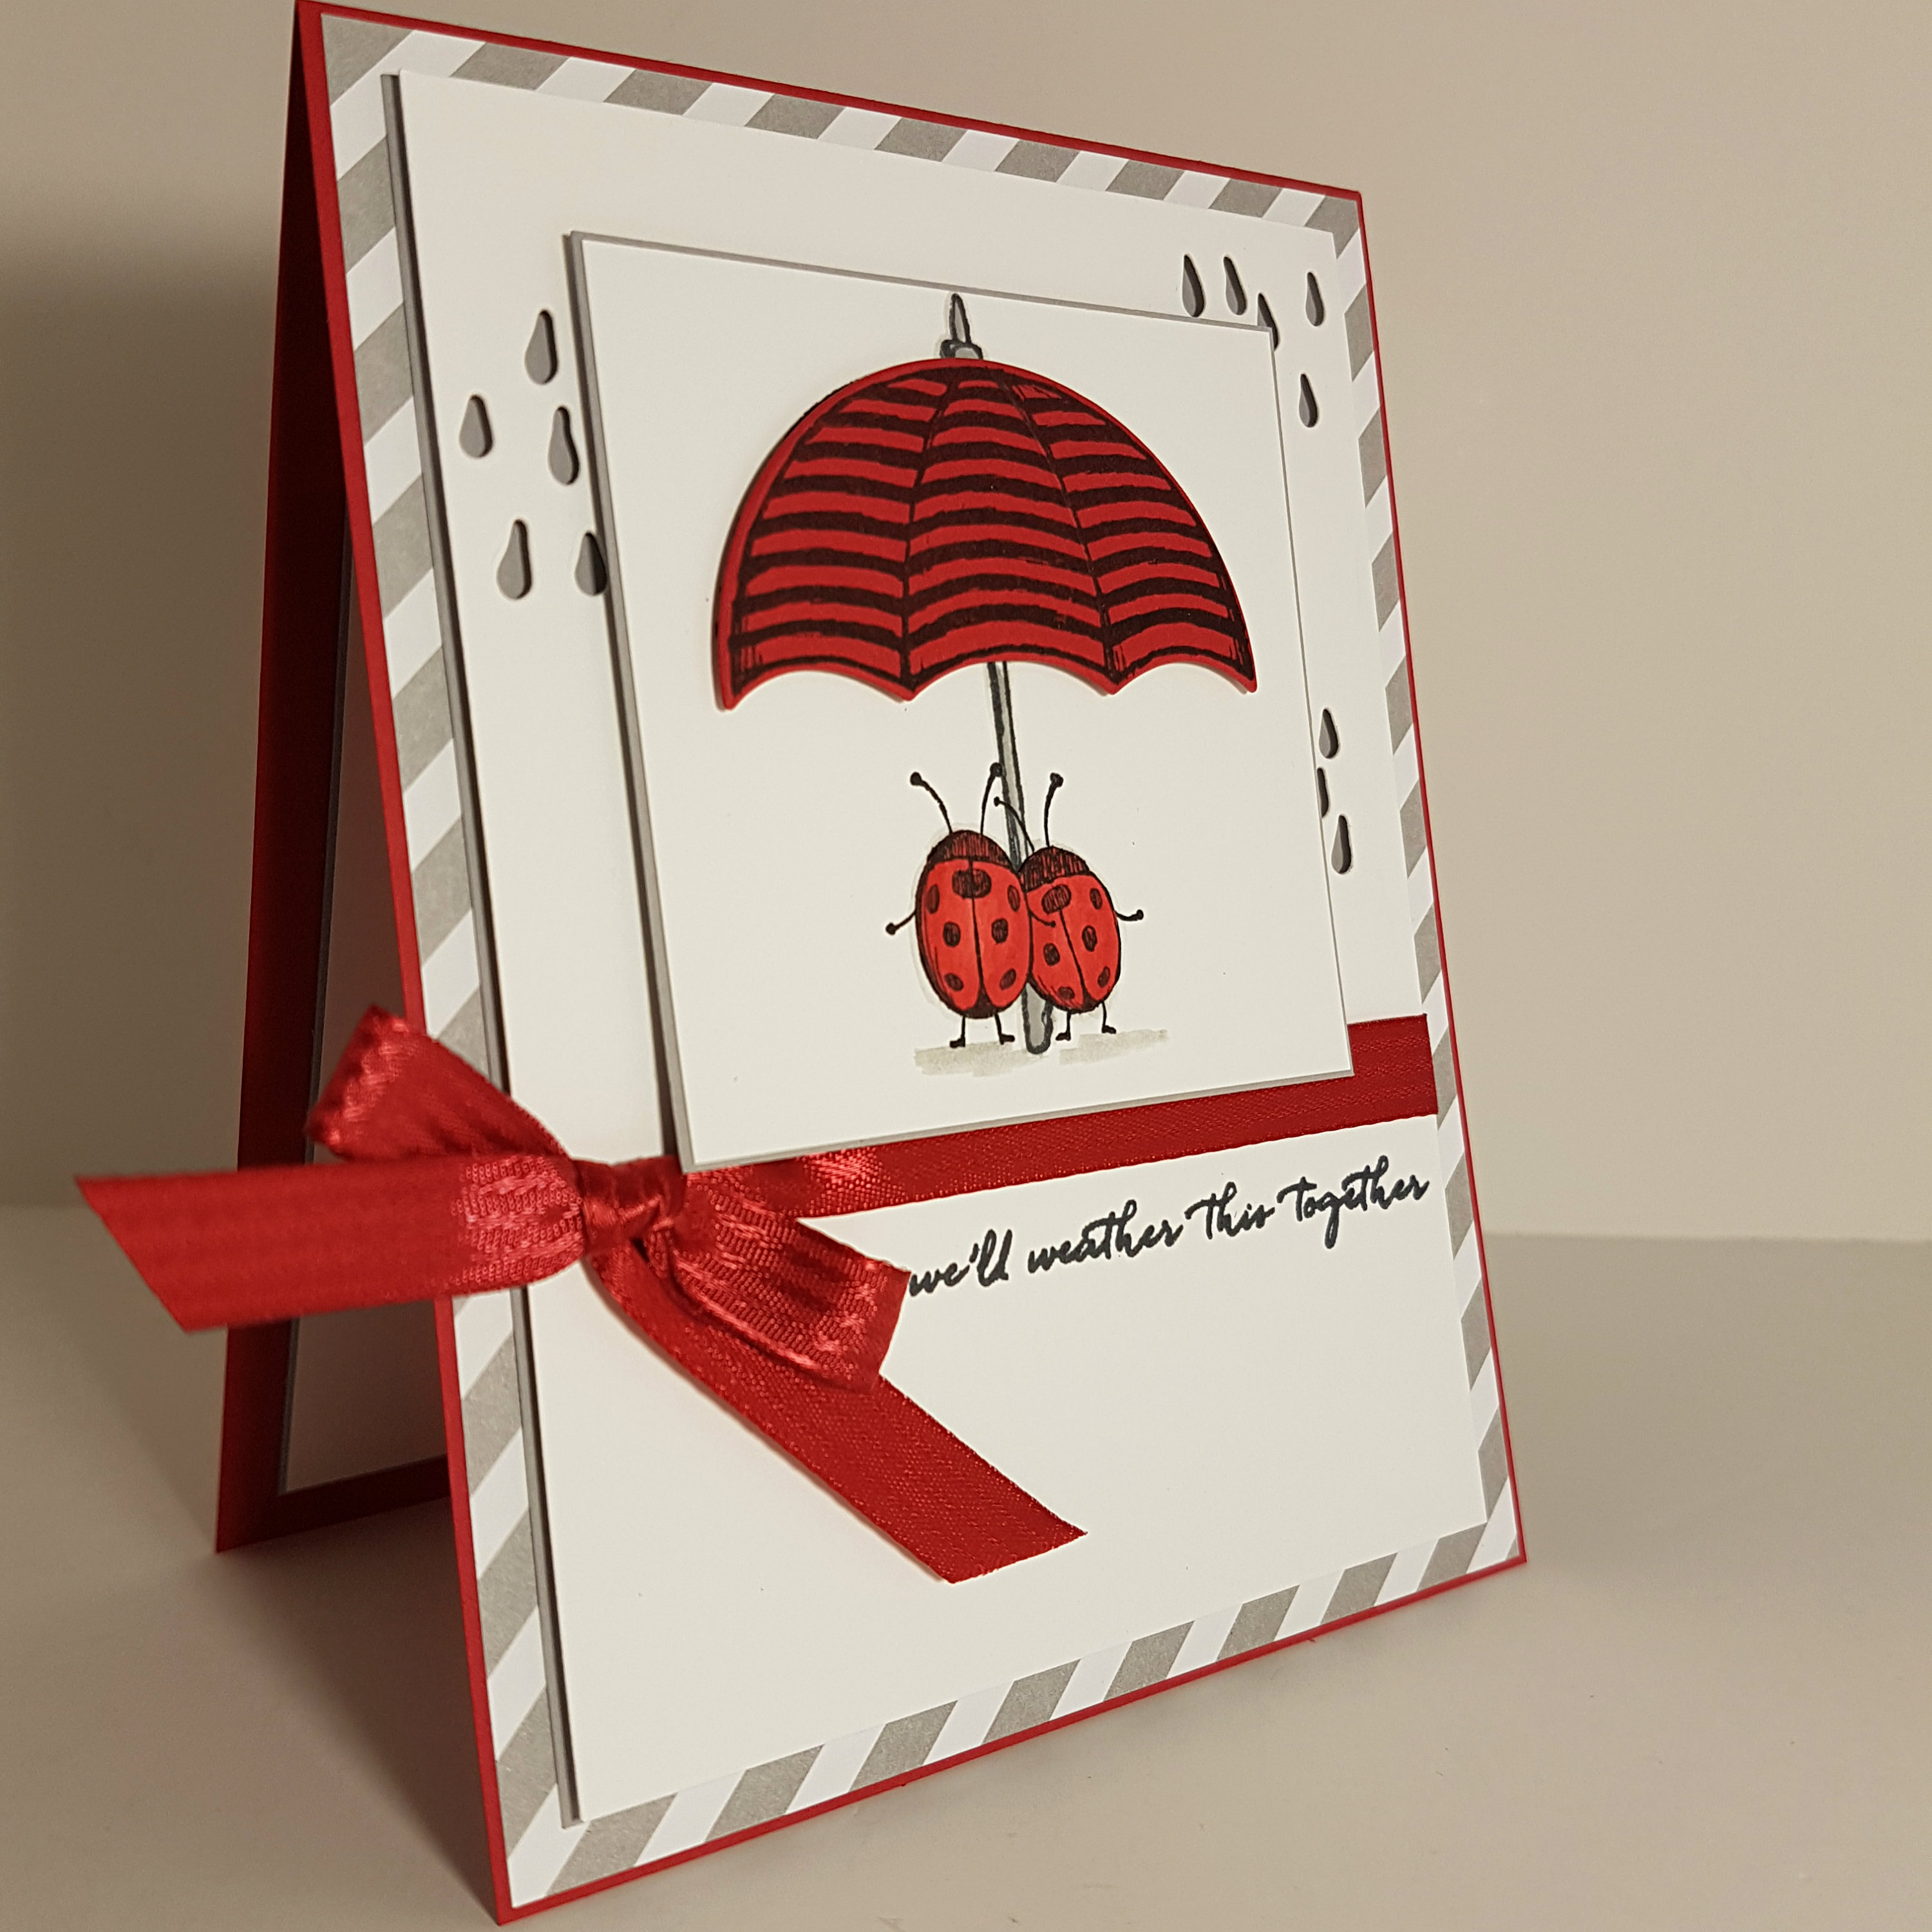
April Showers
What do you get when you combine the Woodland Embossing folder, Watercolor Paper and the Watercolor Pencils from Stampin’ Up? Well, scroll on, crafty friends, and find out!!
The As You See It Challenge Blog has a new challenge every two weeks. Sometimes it’s a sketch or a colour combination. Sometimes it’s an assortment challenge or a theme challenge. This one is a fill in the blank challenge! Whoohoo!!
 Though autumn is my favourite season, there is something about every season that I love and there is no season that I dislike. Although, of all the months of the year, I dislike February the most. By the time February comes around, I’m very “done” with winter. February is so dreary and dirty as the snow starts to disappear and the dirt and brown grass becomes exposed. Yuck!
But usually, part way through March and moving into April, we start to see more sunshine and the green leaves of spring bulbs show signs of life and renewal. Soon the colours of spring begin to appear. But it’s the spring rain, that I love the most. It’s the rain that helps wash the old winter dirt away and makes the plants grow and become green again. It’s the rain that makes the earth smell so vibrant, so fresh!
So, for this challenge, I focused on the rain and the colours of spring.
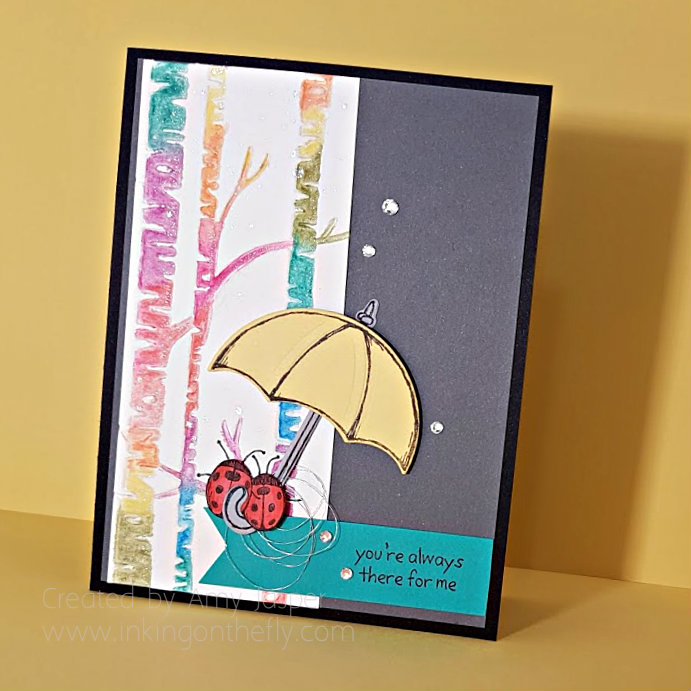
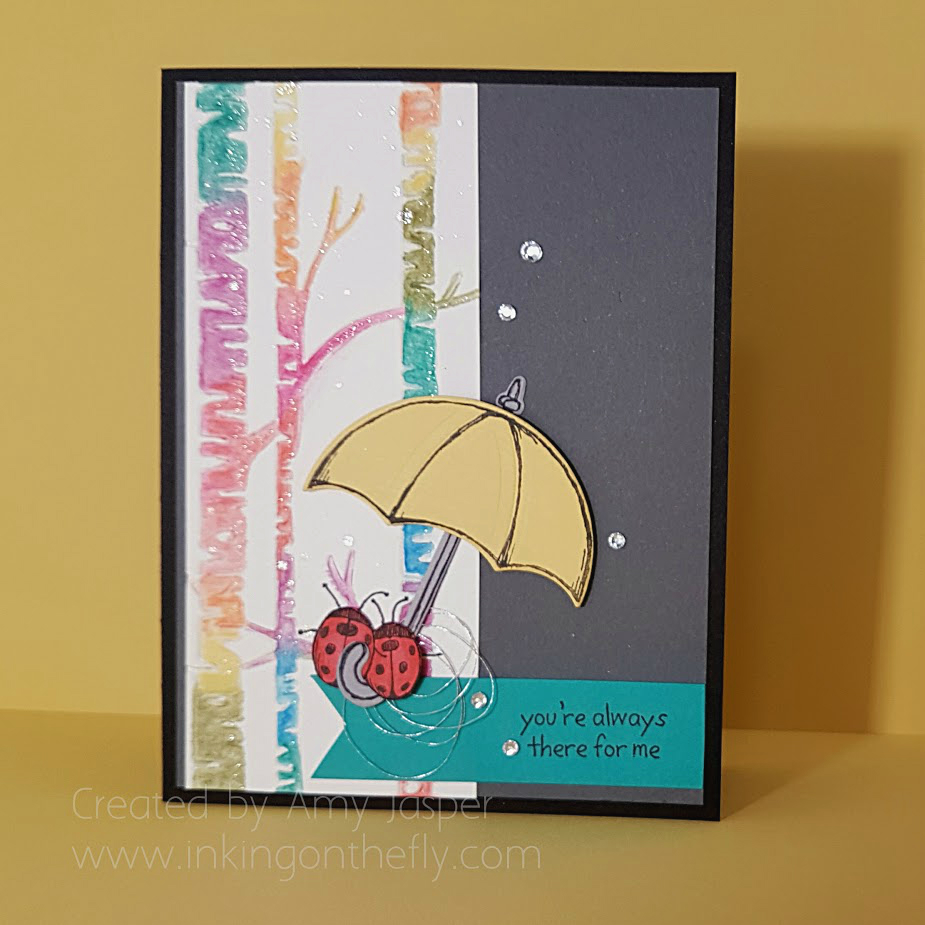 The beautiful background with the Woodland Embossing folder was inspired by my lovely friend and adopted team leader. She showed me how she used the de-bossed side of the paper (where the trees were indented rather than raised) and coloured the indented tree images with her Watercolor Pencils from Stampin’ Up. Once coloured, she used a Stampin’ Up Aqua Painter to blend the colour with water. It was so pretty, I had to try it! I love the look, don’t you!!?
I added a touch of the Clear Wink of Stella on the right side of each tree trunk to indicate the glimmer of rain in the spring sunshine. The Clear Wink of Stella spatter over the Watercolor Paper also makes me think of raindrops sparkling in the sun.
The rest of the card is all about layers and paper cutting, really.
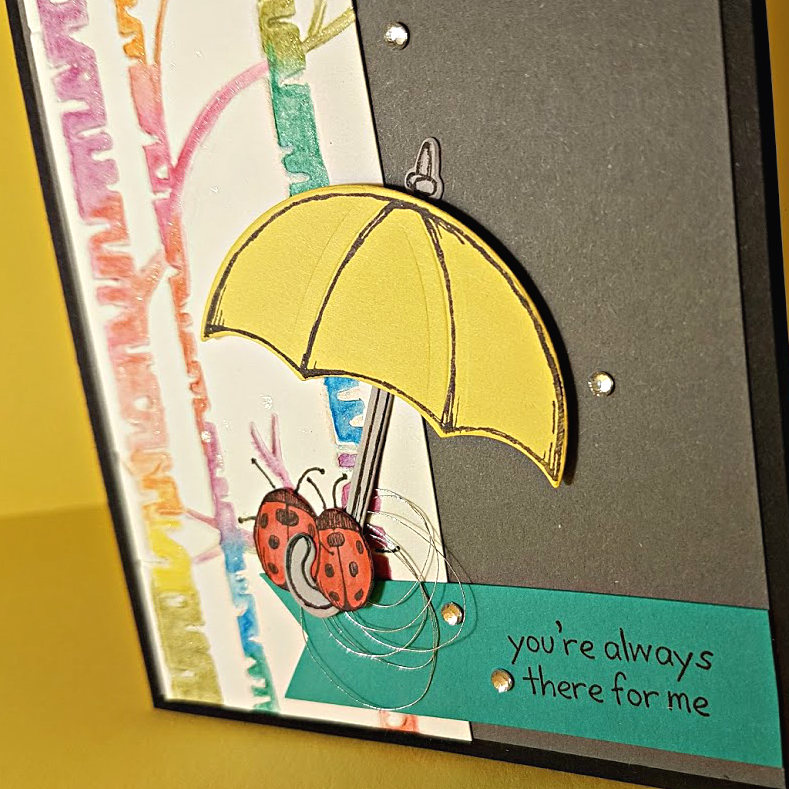 The ladybug duo is from the Lots of Love Hostess set. I stamped them on Watermelon Wonder cardstock with Jet Black Stazon ink and used the Real Red Watercolor Pencil and a Blender Pen to the outer edges of each ladybug. Then I fussy-cut around their bodies (cutting off their arms, legs, and antlers … I mean antennae). I drew in their arms and legs with my Project Life Pen afterward.
The umbrella canopy image was stamped with Momento Tuxedo Black ink on Daffodil Delight cardstock and the handle image on Smoky Slate cardstock. Both were die cut with the coordinating Umbrella Weather Framelits.
The sentiment is from the Love You Lots Hostess stamp set and is stamped with Momento Tuxedo Black ink on the Bermuda Bay cardstock.
As for the rest: Basic Black cardstock for the card base. A layer of Basic Gray cardstock. A few Basic Rhinestones. And a flourish of looped Silver Metallic Thread.
Be sure to try the Watercolor Pencils with this Woodland Embossing folder. So pretty!!
