SAB

Watercolour Hummingbird

When I saw this colour challenge, I have to admit that I wasn’t excited. The colours together seemed drab and dreary, though I normally like earth tones. However, once I started working with these colours, I realized their potential. I focused on the greens and kept the Soft Suede as an accent.

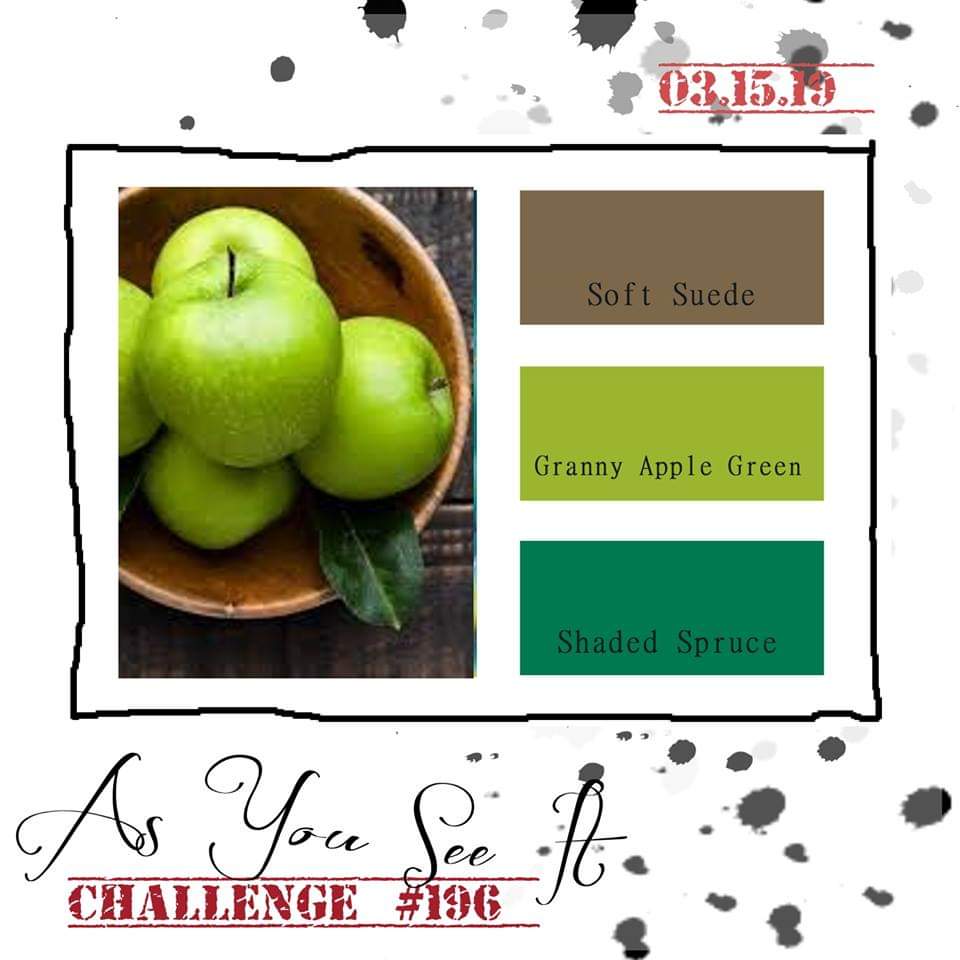
Here’s the colour challenge from the As You See It Challenge blog:

I was inspired to use the hummingbird from the Humming Along stamp set that I received as a gift at the Stampin’ Up! event last November. If you do a google search of images of hummingbirds, you will see that they come in all sorts of beautiful colours, so I knew that the greens would work great!

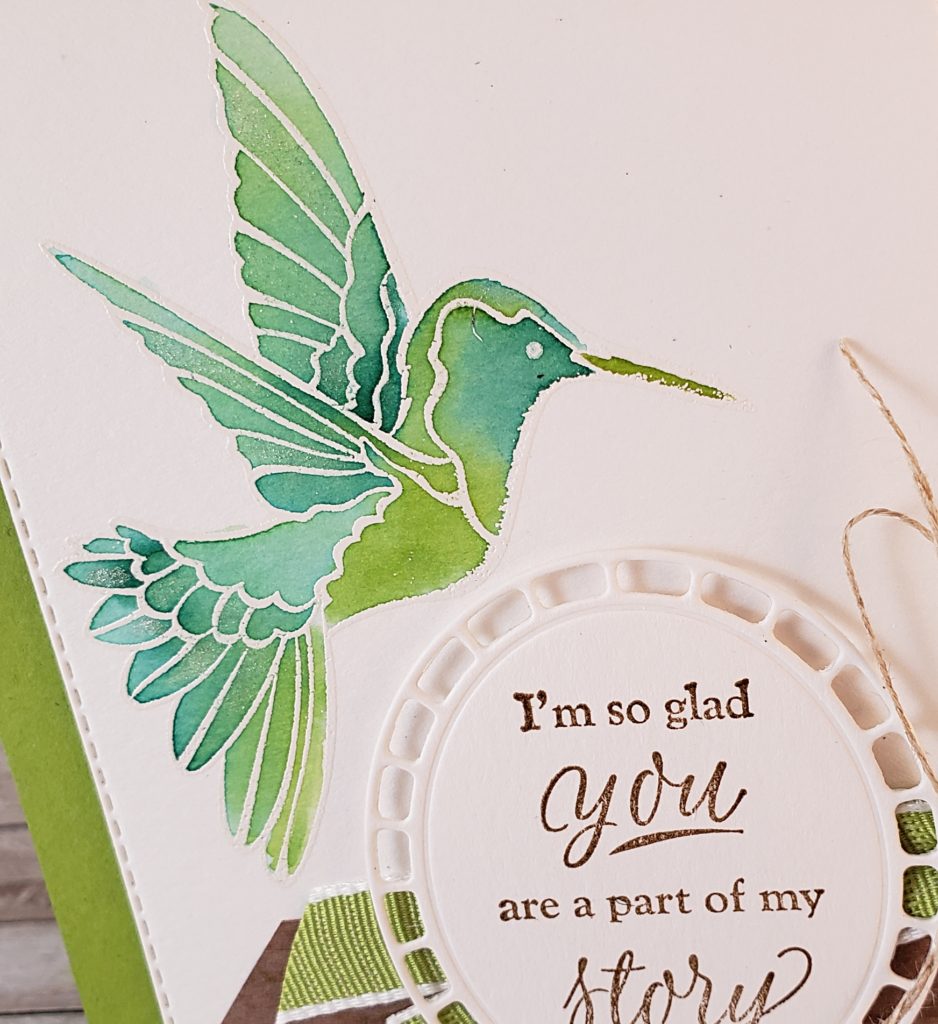
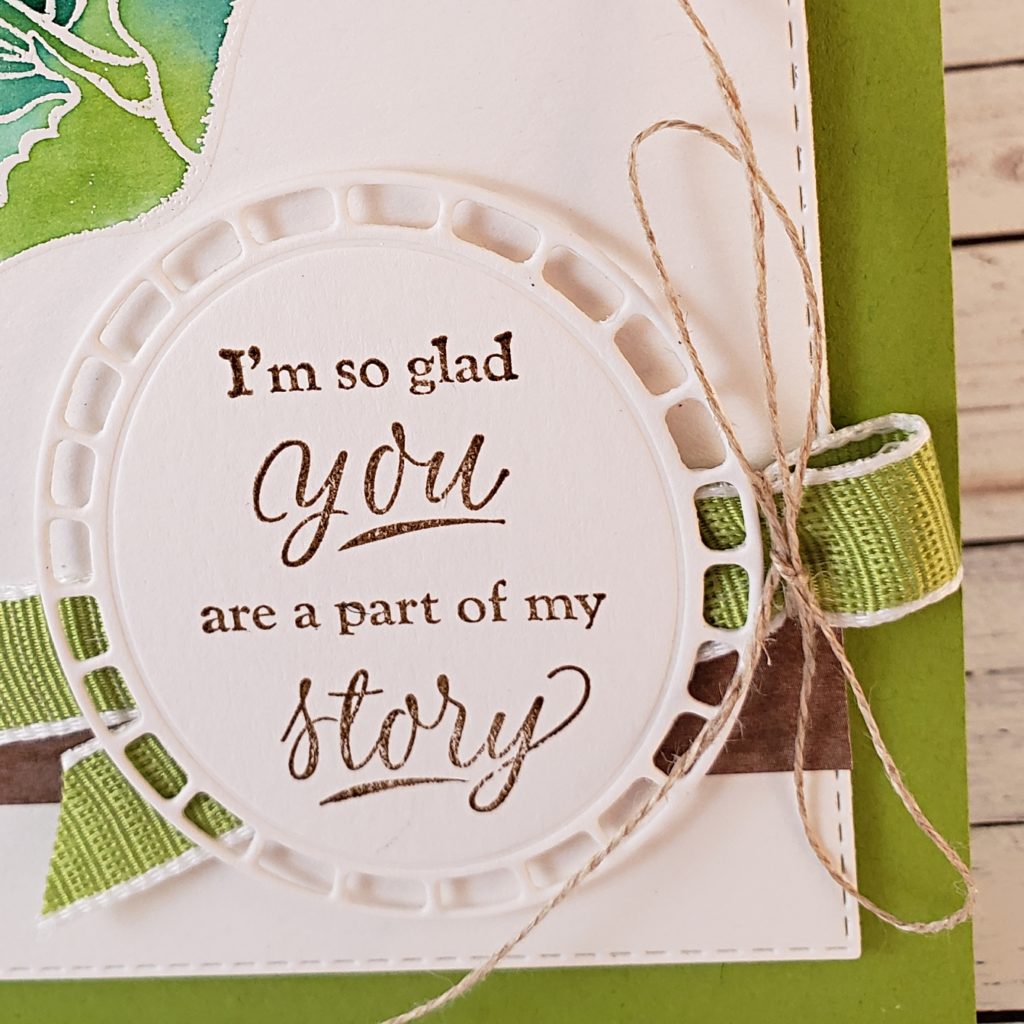
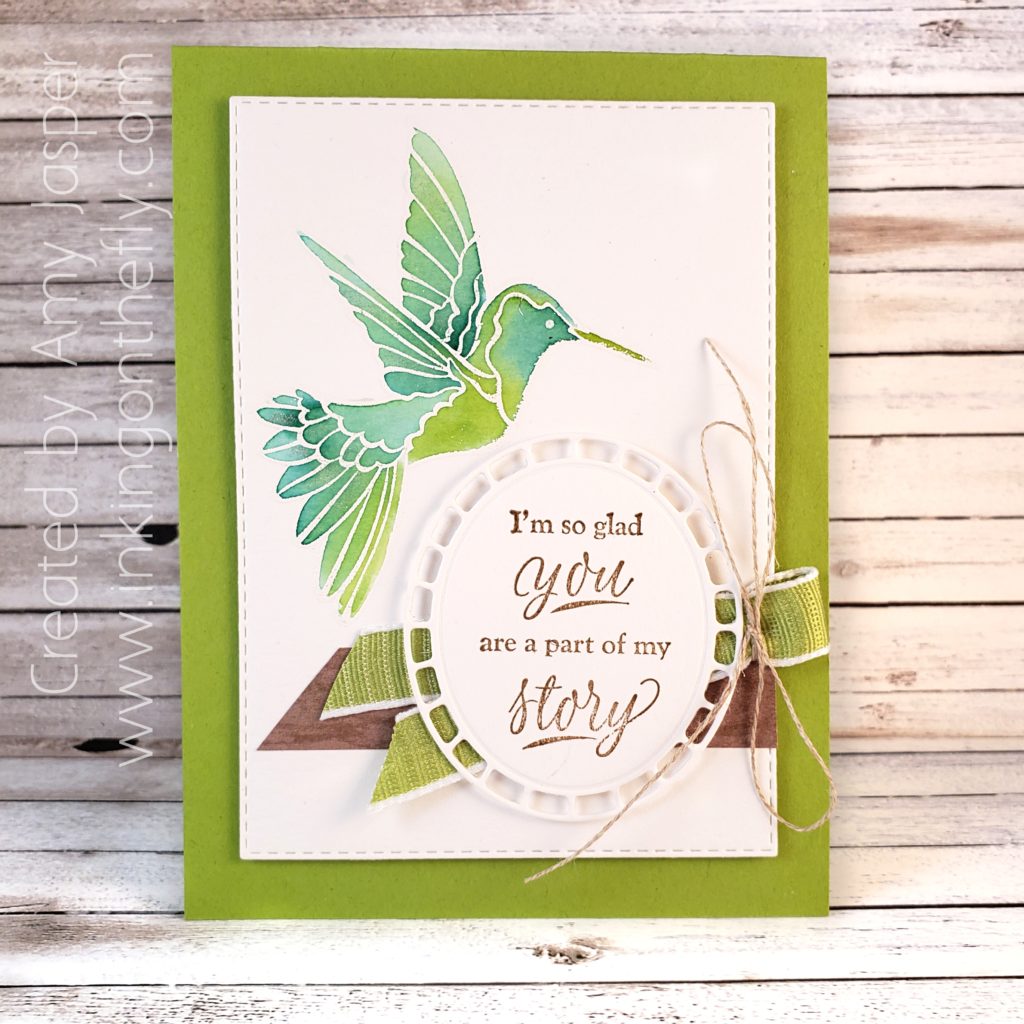
Here’s my card using Soft Suede, Granny Apple Green, and Shaded Spruce:

The Rectangle Stitched Framelit Dies make a beautiful layer, don’t you think? I used Watercolor Paper and stamped the hummingbird image from the Humming Along Stamp Set with Versamark ink. Then I applied White Embossing Powder, tapped off the excess and heat set the image. Once that was cooled, I watercoloured the image with my two green inks, Granny Apple Green and Shaded Spruce, using an Aqua Painter. You might not be able to see it in the photos, but once the watercolouring dried, I added some highlights in the feathers with my clear Wink of Stella brush pen.

With the hummingbird as my focus, I embellished the card with a strip of Soft Suede woodgrain patterned paper and some Granny Apple Green 1/2″ Textured Weave Ribbon. To the ribbon, I tied some Linen Thread in a bow. Over top of those embellishments, I added the Watercolor Paper die cut and sentiment. The die is from the Wonderful Floral Framelit Dies and was stamped in Soft Suede ink with a sentiment from the Sale-a-bration Part of My Story stamp set.

On the inside of the card (not shown), I used another Rectangle Stitched Framelit die and Whisper White cardstock to create a nice defined space where I can write a message.

Be sure to watch for a video of the creation of this card on my YouTube channel to be posted in the next couple days. I will be showing you the technique that I used to paint my hummingbird.

All of these products and more can be purchased in my ONLINE STORE. You can earn products for FREE with every $60 or $120 purchase until the end of this month. Don’t wait, though, as some items have already sold out!
Twist and Pop Chickens Pop Up Card

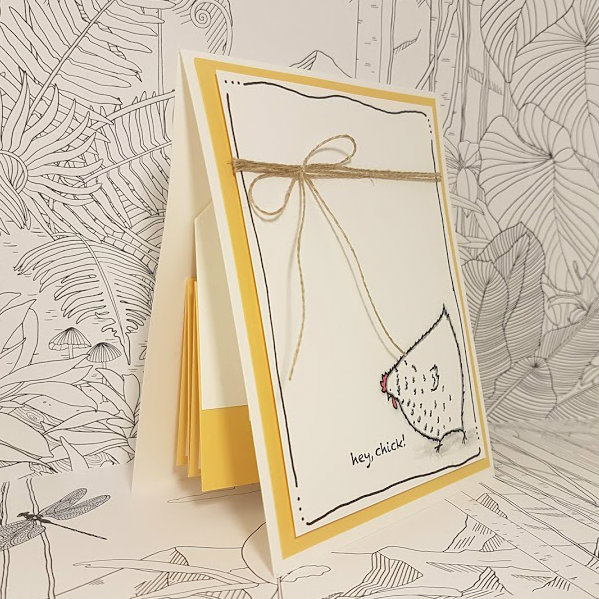
I found my new favourite pop-up card! Once you know how to build this one, it’s super easy and doesn’t take very much time at all! I had a look at a few tutorials for this particular card and found this to be the easiest way with the least amount of measuring and fuss.

When I first had a look at the Stampin’ Up Sale-a-bration brouchure for 2017, I squealed with delight when I saw the funny little chickens in the Hey Chick stamp set! I think they are so fun and silly and I fell in love with them immediately. Believe it or not, this card is the first time for me to use this stamp set.

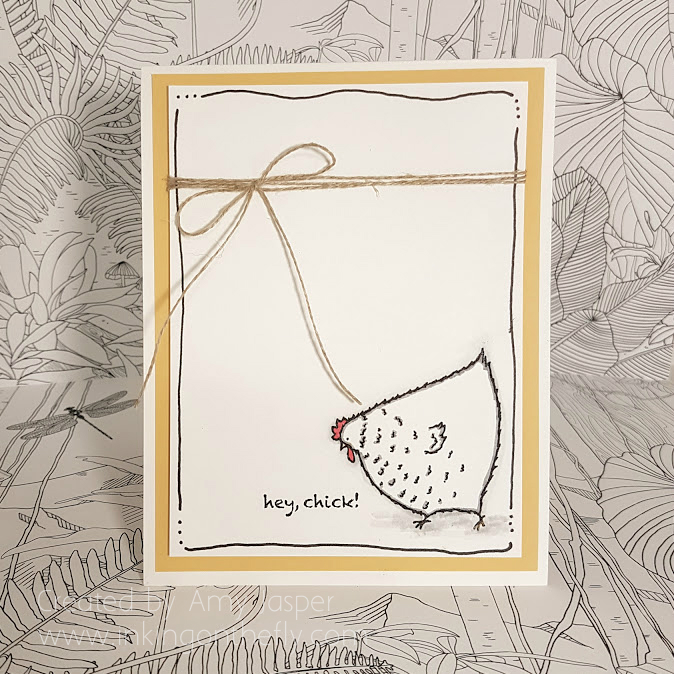
Here’s the simple card front:

twist and pop chicken card by Amy Jasper www.inkingonthefly.comI love the simplicity of this card. The hand-drawn lines around the Whisper White layer add a simple light frame. The chicken image is stamped with Jet Black Stazon ink and coloured with Blender Pens using Smoky Slate ink, Crushed Curry ink and Watermelon Wonder.

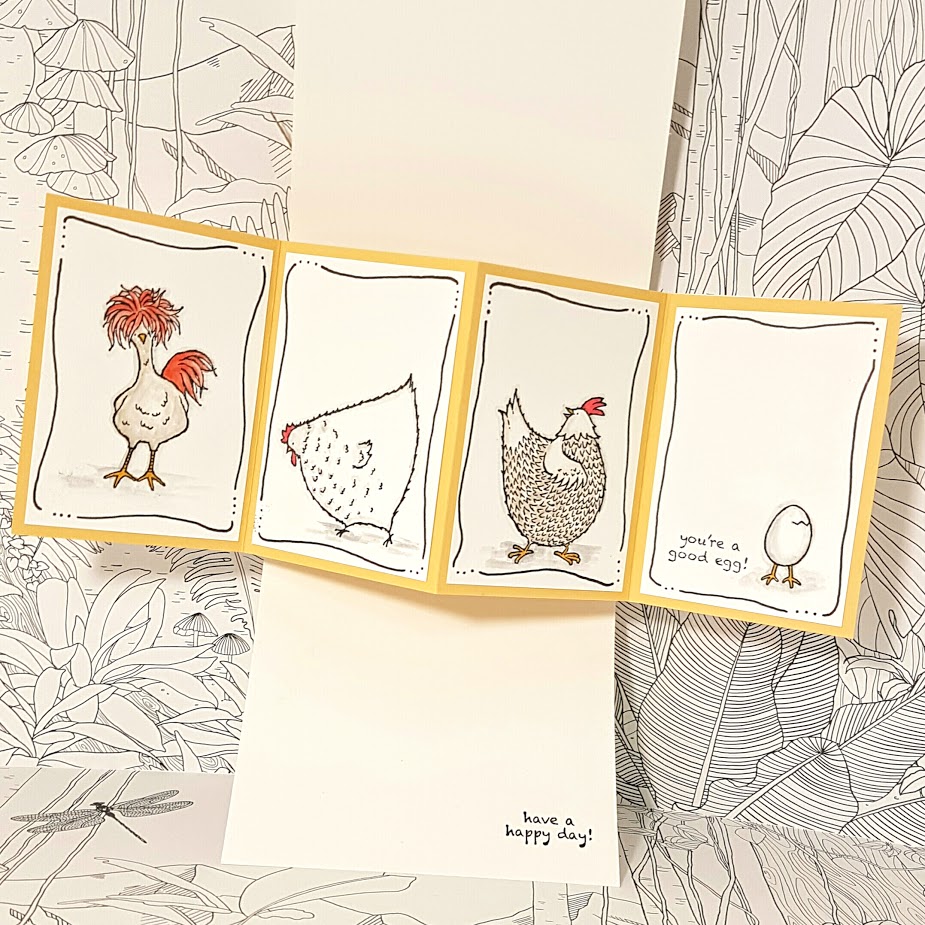
Here’s what happens when you open it:

Save

You can see that I did more of those hand-drawn lines with my Project Life pen on each of the inside panels of this card. I used some Tangerine Tango ink with my Blender Pen for the crazy chicken’s “hair” and tail feathers, some Crumb Cake ink for the body of the crazy chicken and the body of the looking back chicken. Smoky Slate ink accents the pecking chicken and the cracking egg images.

Twist and Pop inside by Amy Jasper www.inkingonthefly.comThe best part about this pop-up card is that it is super easy to make. I started with preparing the piece for my inner mechanics, Thick Whisper White cardstock measuring 3-1/2″ x 8″. This piece was scored lengthwise at 1-3/4″, then I used my Simply Scored tool to make a notch marking at 2-1/4″ on the long edge of the cardstock. I did four of these marks, then used them as guidelines to score the X needed for these magical inner workings of this pop-up card. The So Saffron panel piece measures 3-1/2″ x 10″ and is scored at 2-1/2″, 5″, and 7-1/2″, then folded in an accordian fold style.

It’s not easy to explain this fun card in writing. Are you confused, yet? LOL! I thought you might be, so I made a video! Check it out on my youtube channel by clicking here.

twist and pop chicken card by Amy Jasper www.inkingonthefly.comI hope you give this super fun card a try. It’s guaranteed to delight anyone who opens it to find that it’s much bigger on the inside!

Save

Save

Save