Stampin’ Up

Heirlooms and Blooms

During this Covid-19 crisis and the challenge of social distancing (aka physical distancing), we need our creativity more than ever! I am a better person because of it. I am a calmer person doing it. I can bring smiles to others through it.

Schedule some creative time for yourself, put on some music if you want, and use the time to get busy with your hands and de-stress. Creating is therapeutic for the mind and the soul.

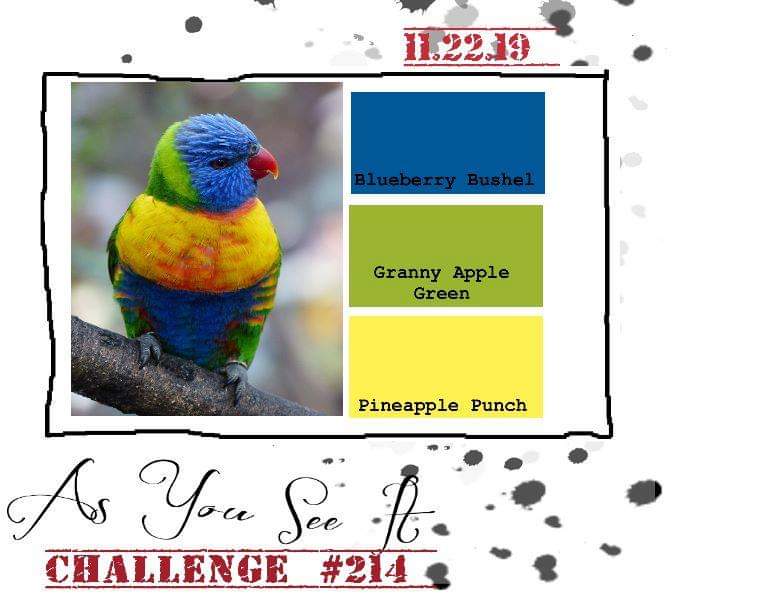
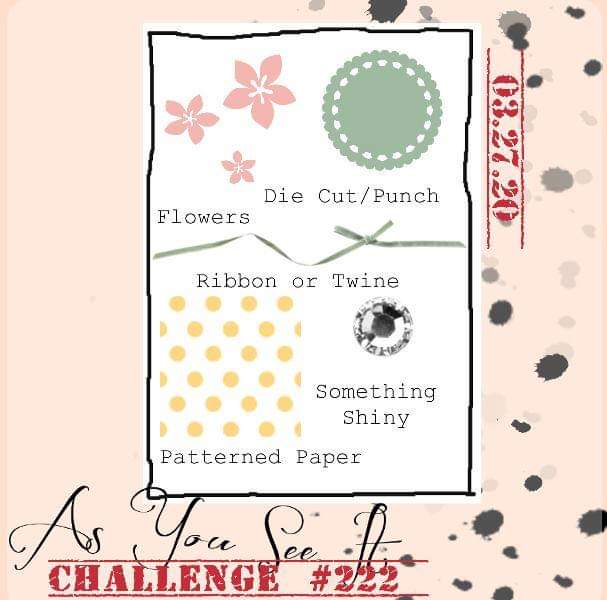
If you need something to get you started, try today’s As You See It Challenge. You can create a card, a scrapbook page, a 3D item, a decor item or anything else you can imagine. The challenge is to use all of the elements listed.


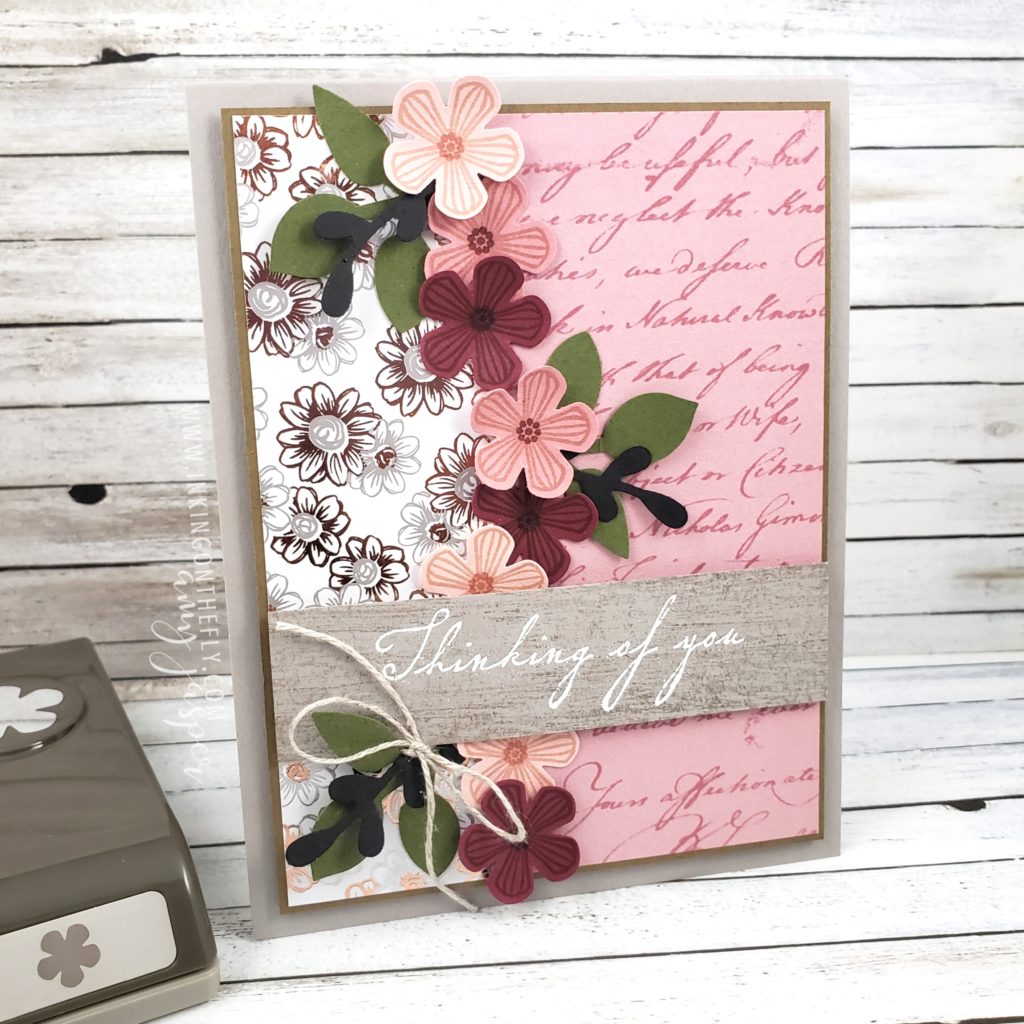
I was inspired to use the Flowering Foils Designer Series Paper that’s available for FREE from Stampin’ Up! with any $60 order. Actually, my card design also uses two other Sale-a-bration items: the Small Bloom Punch (free with a $120 order) and the coordinating Thoughtful Blooms photopolymer stamp set (also available in french).

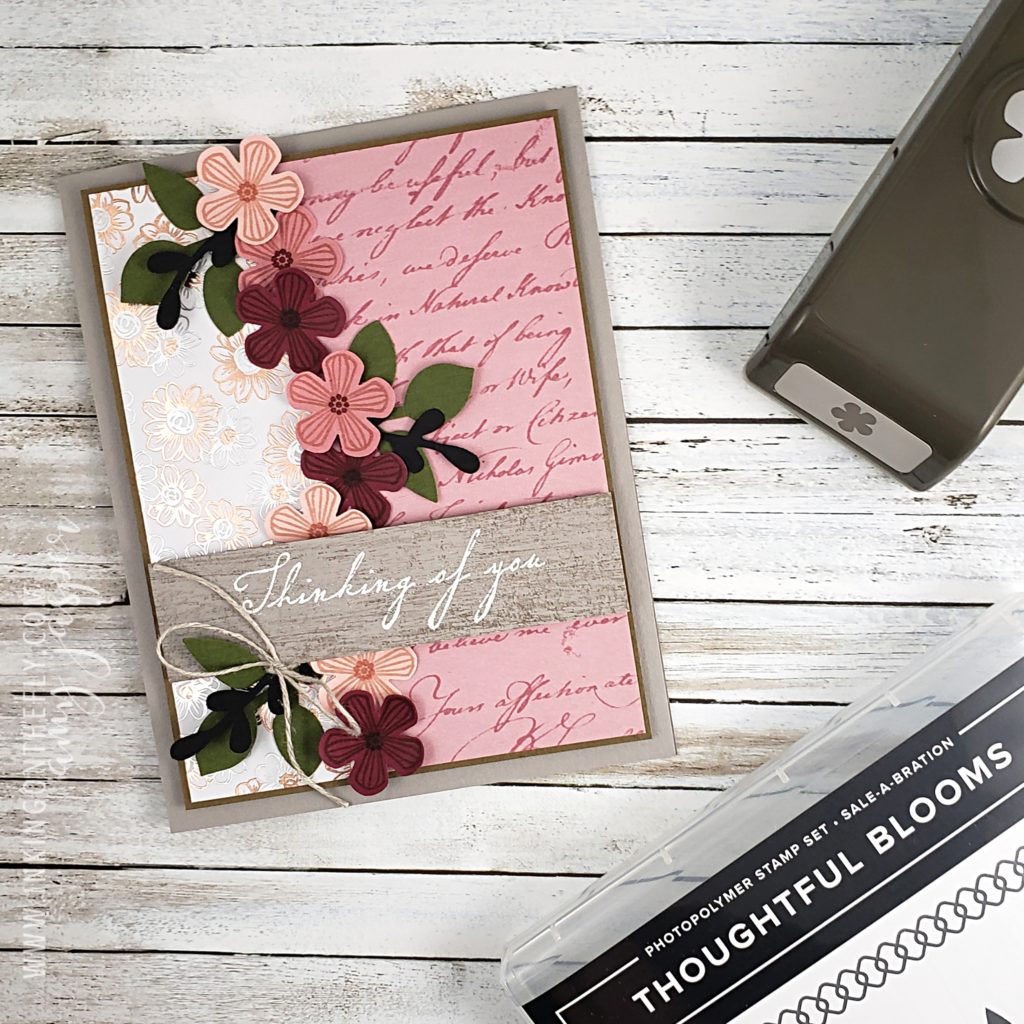
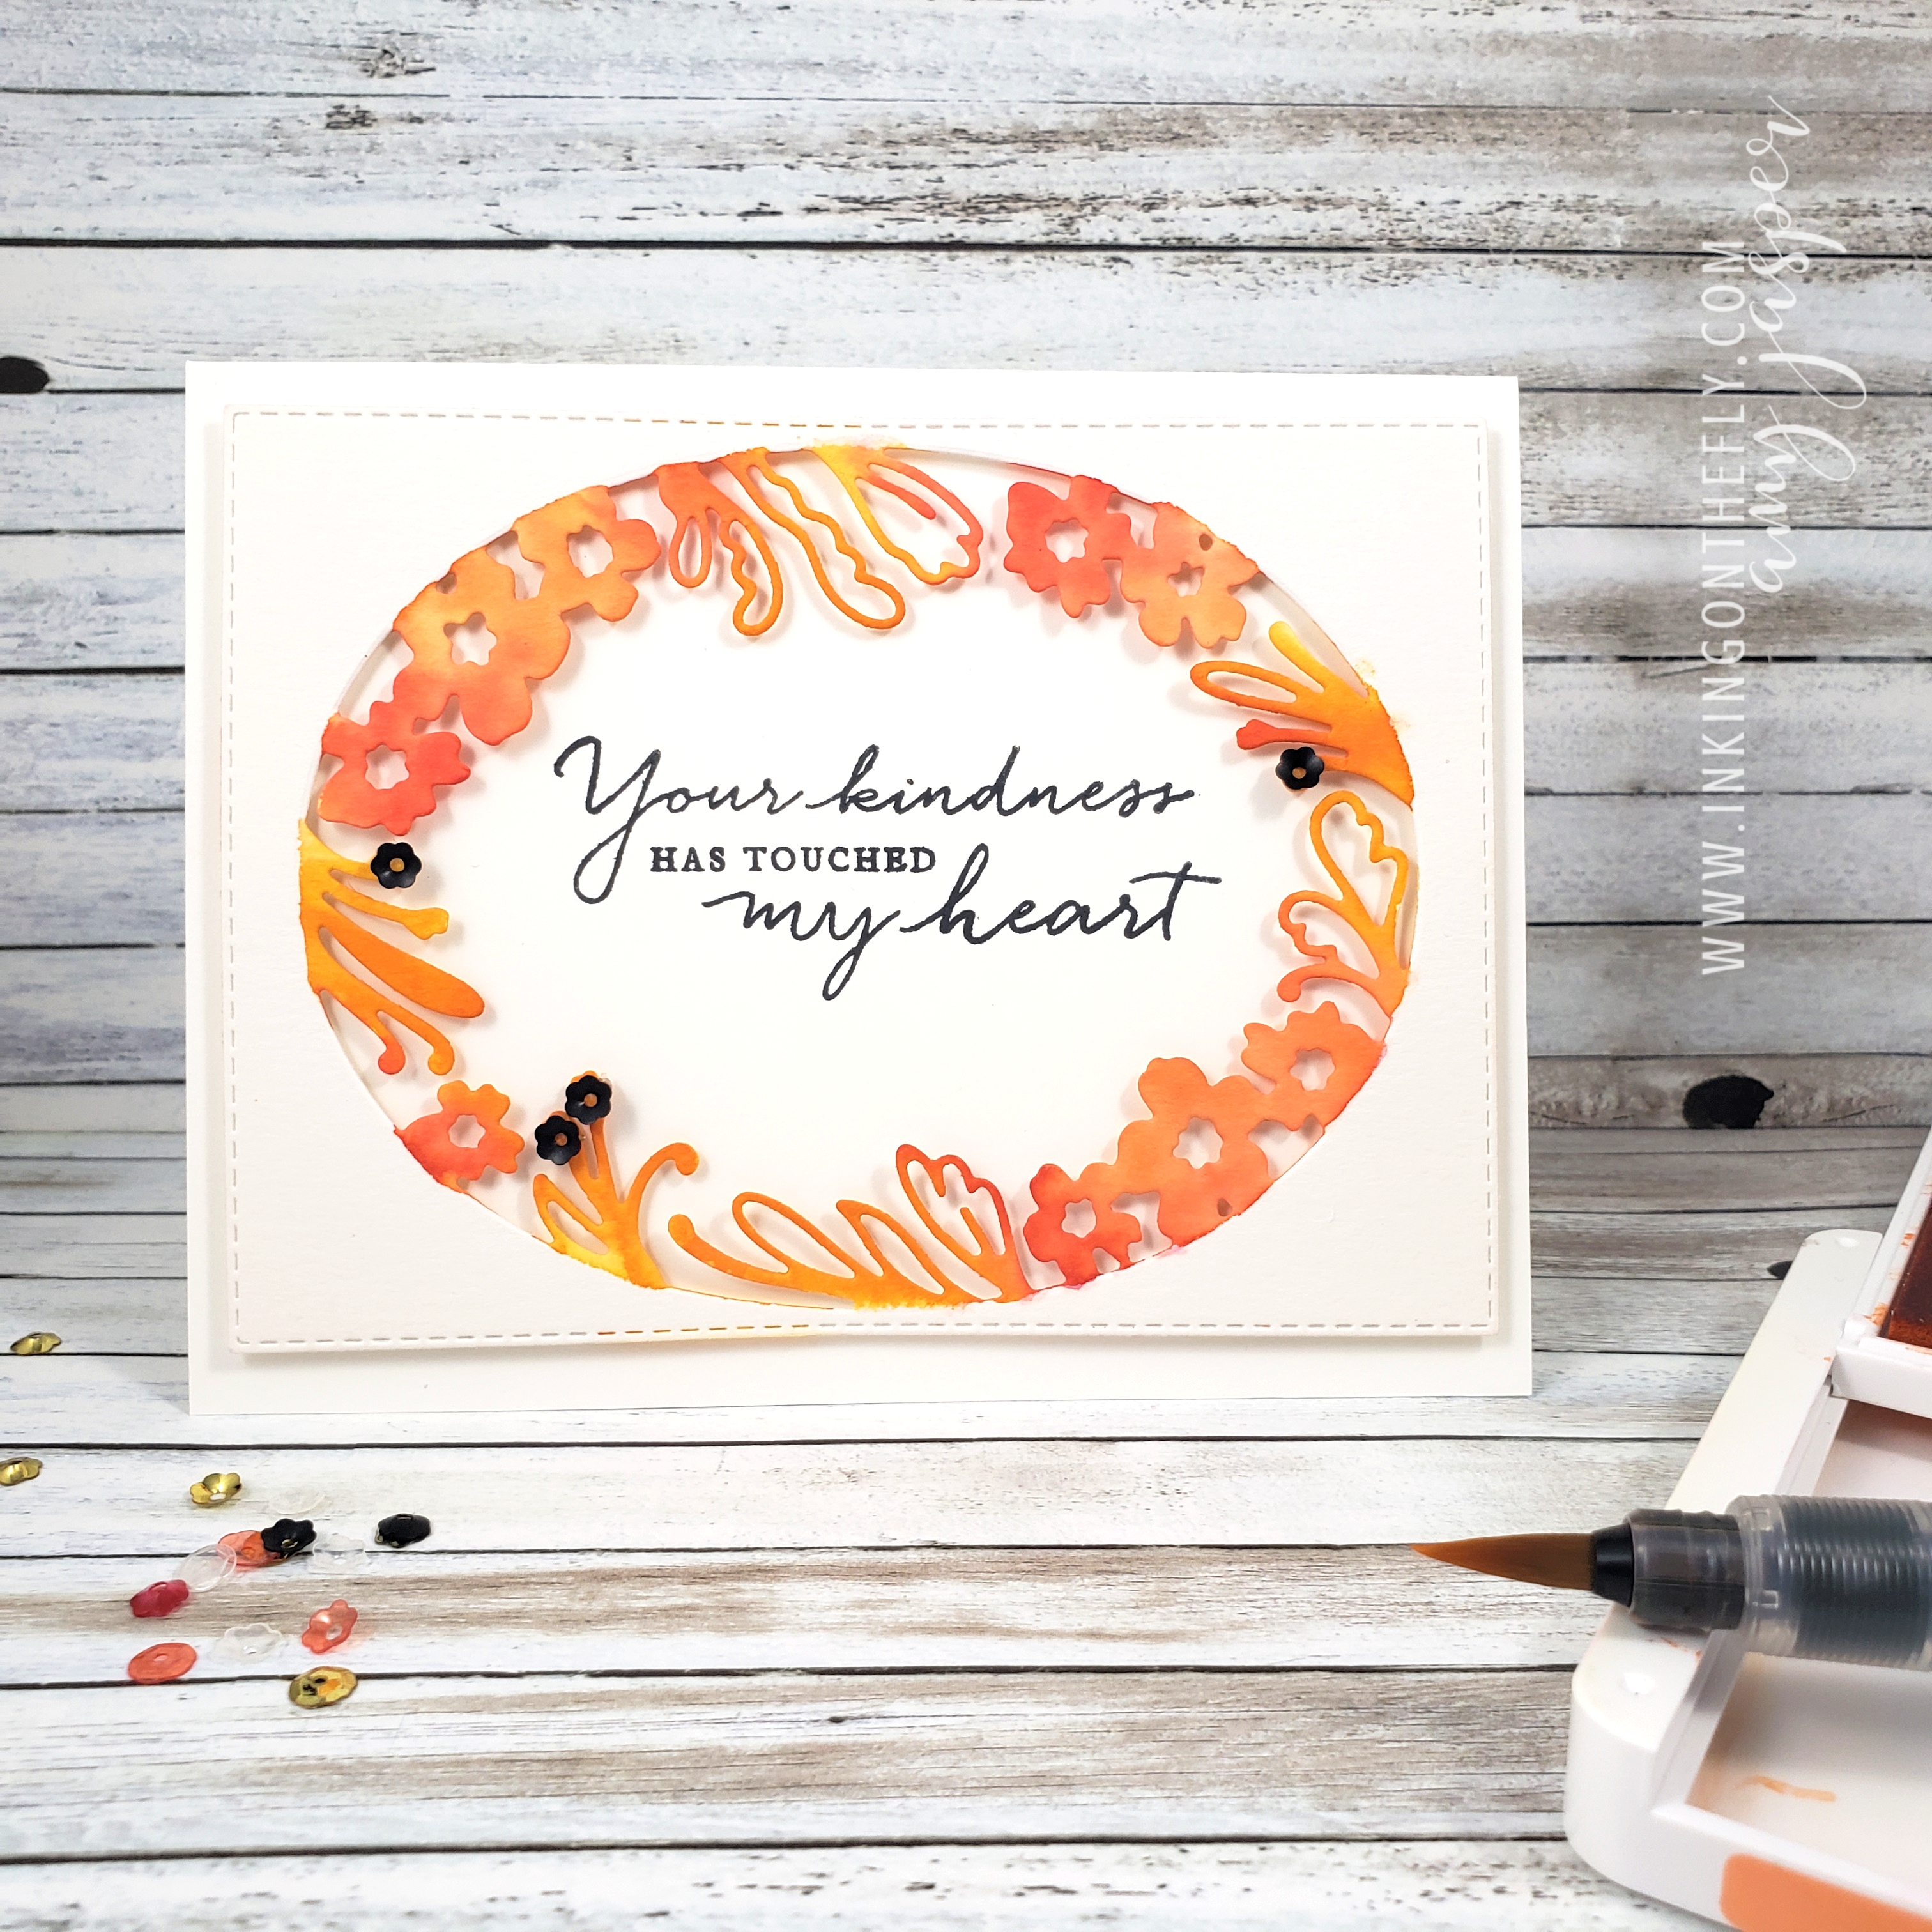
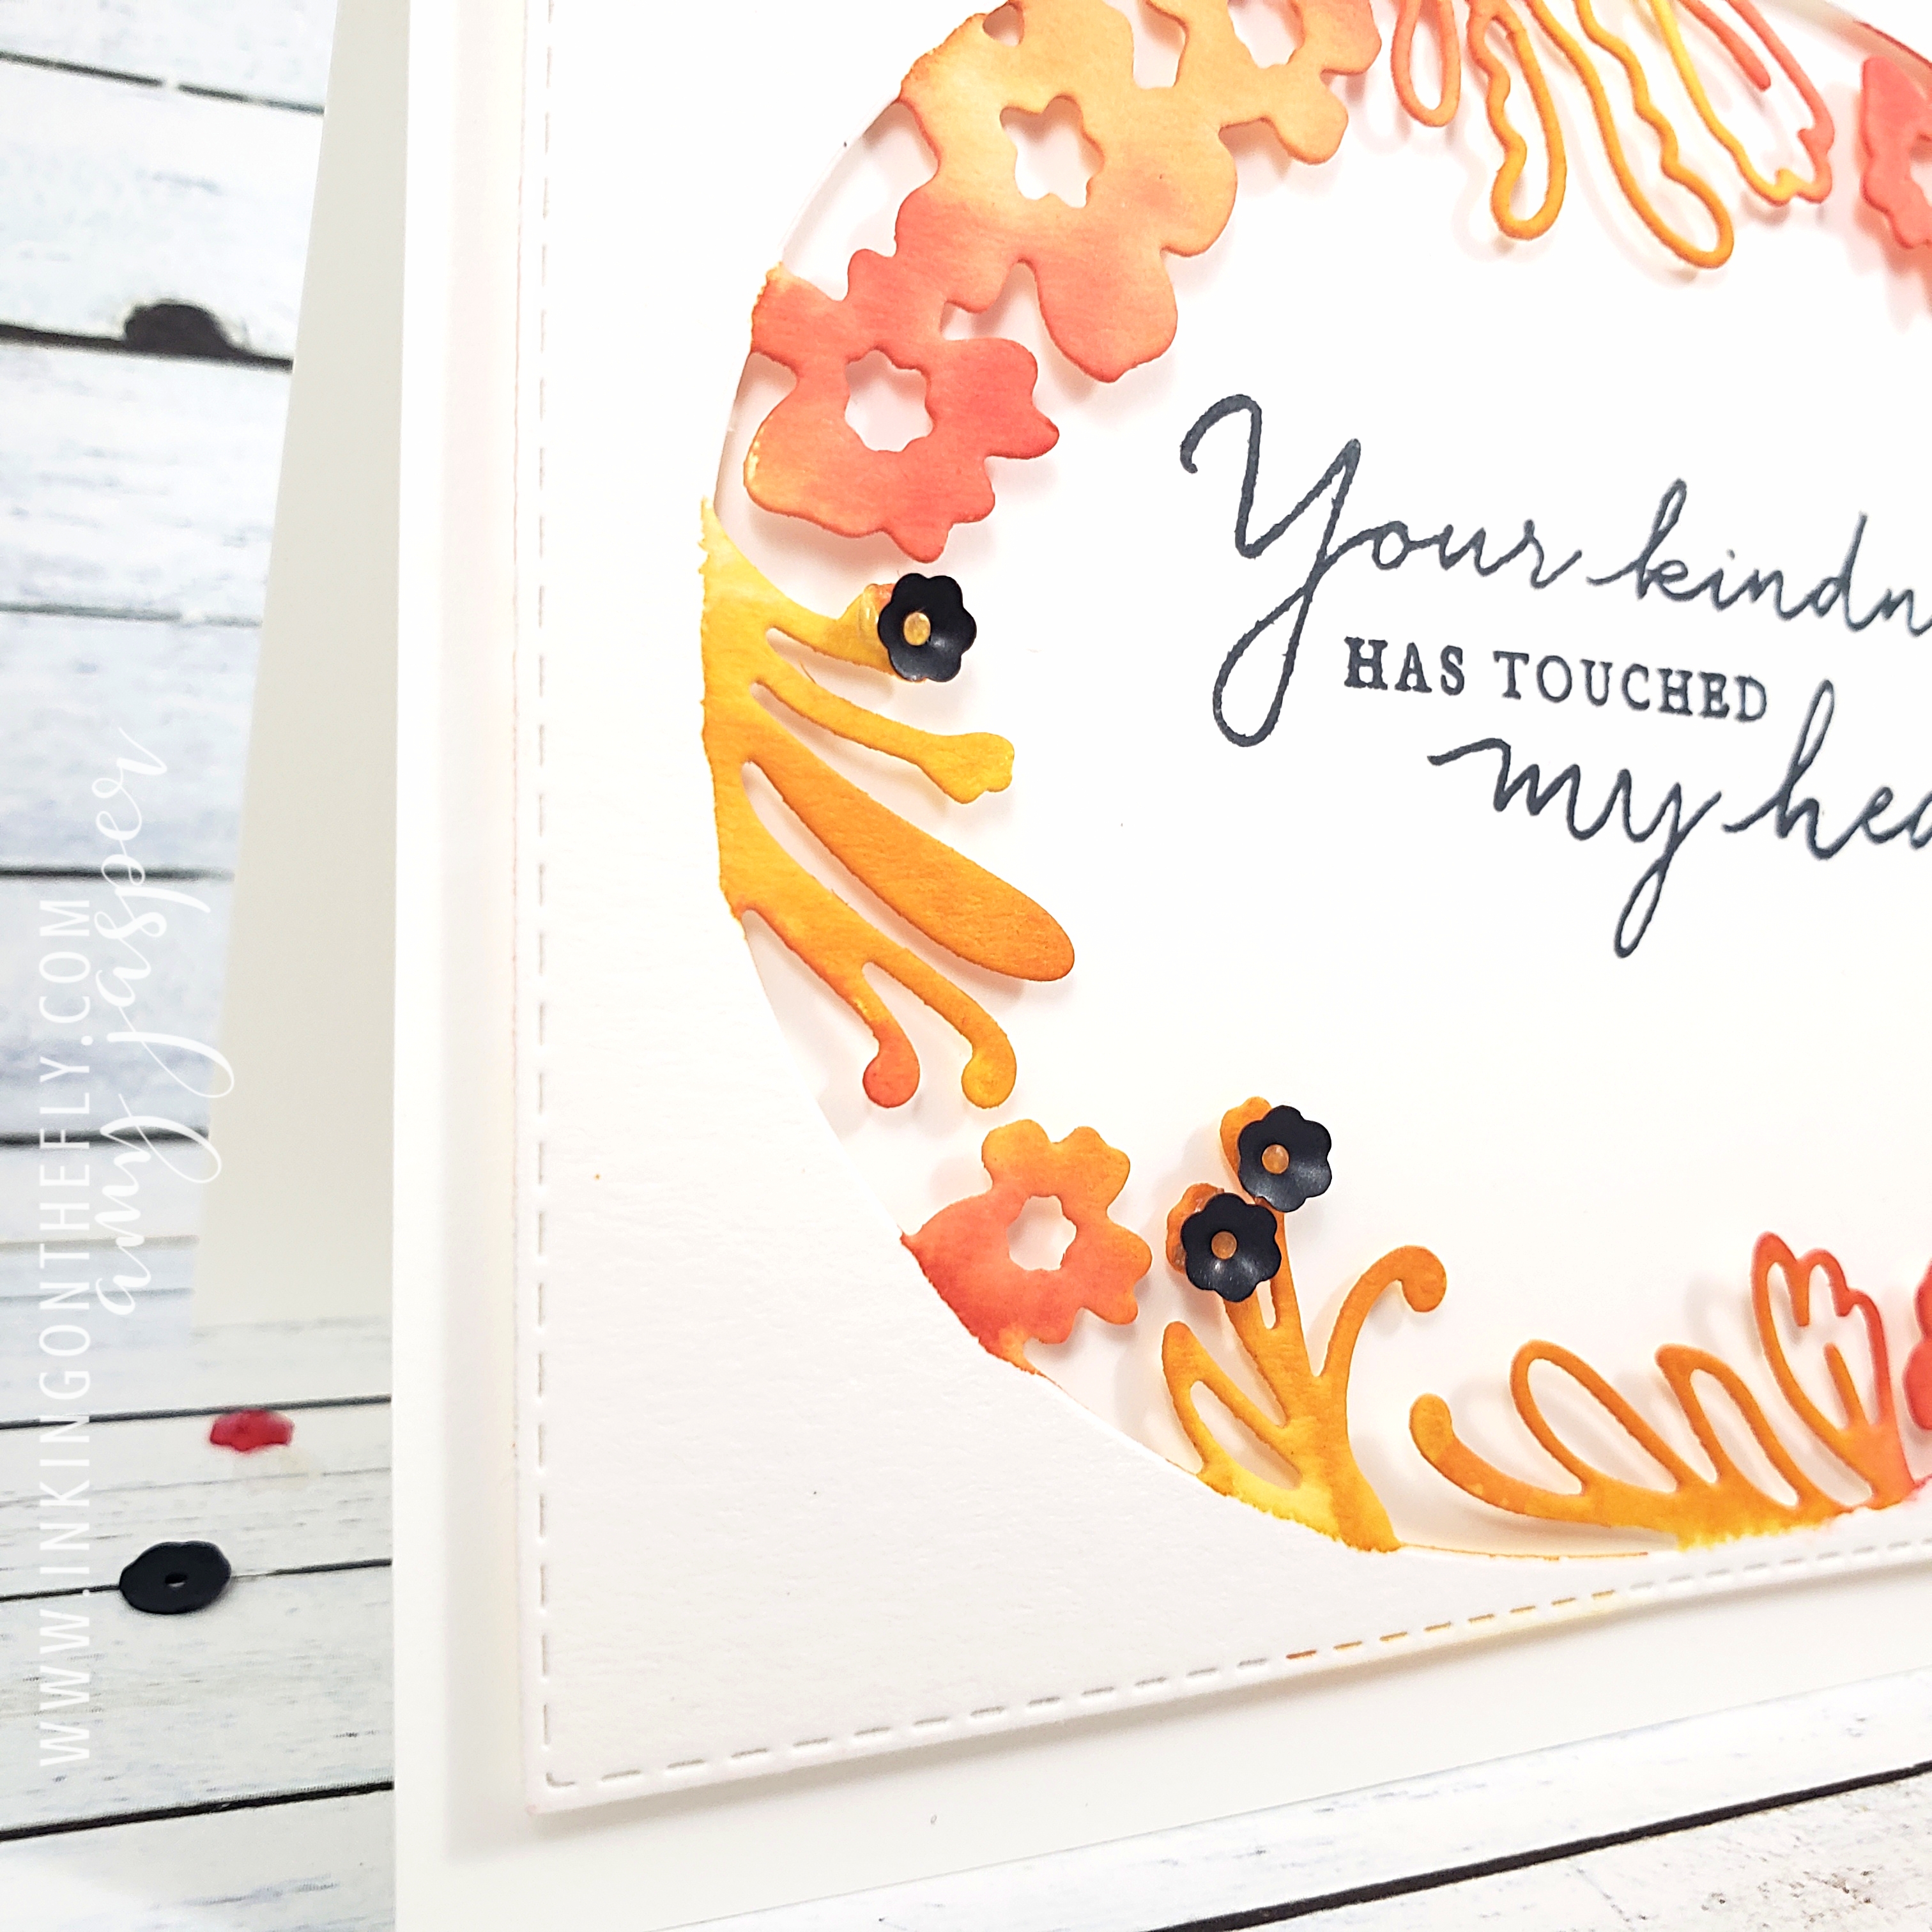
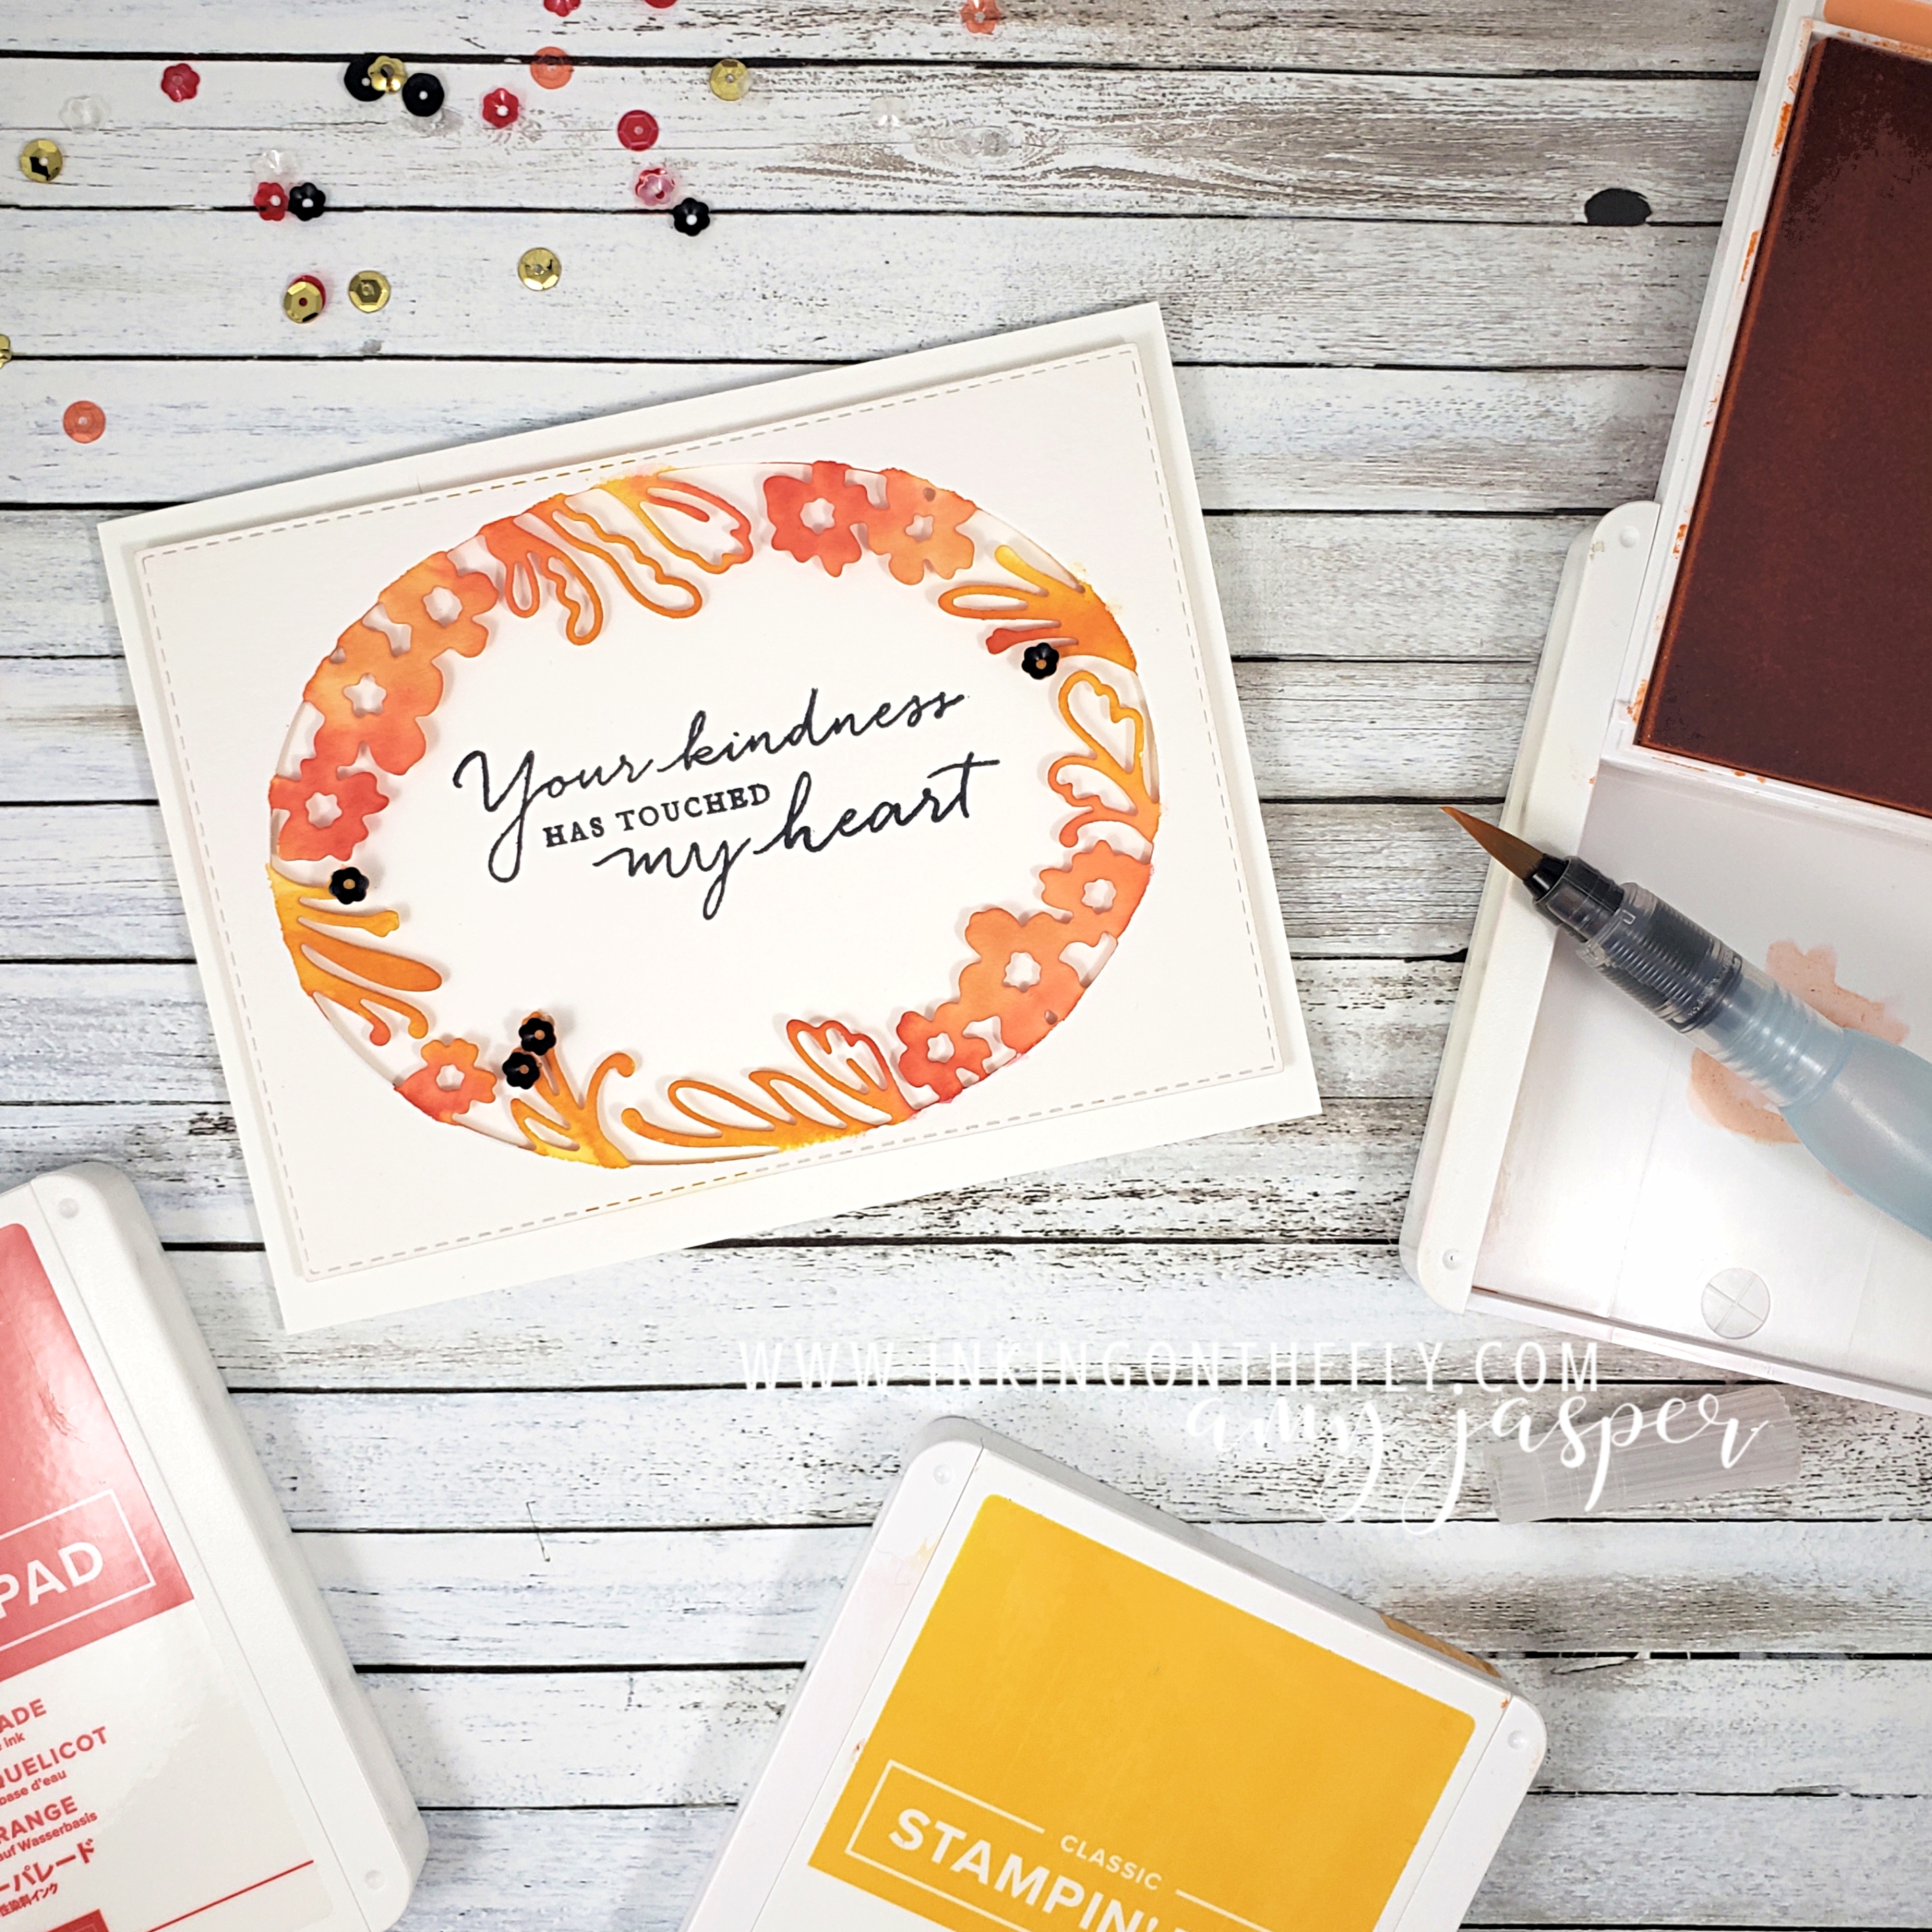
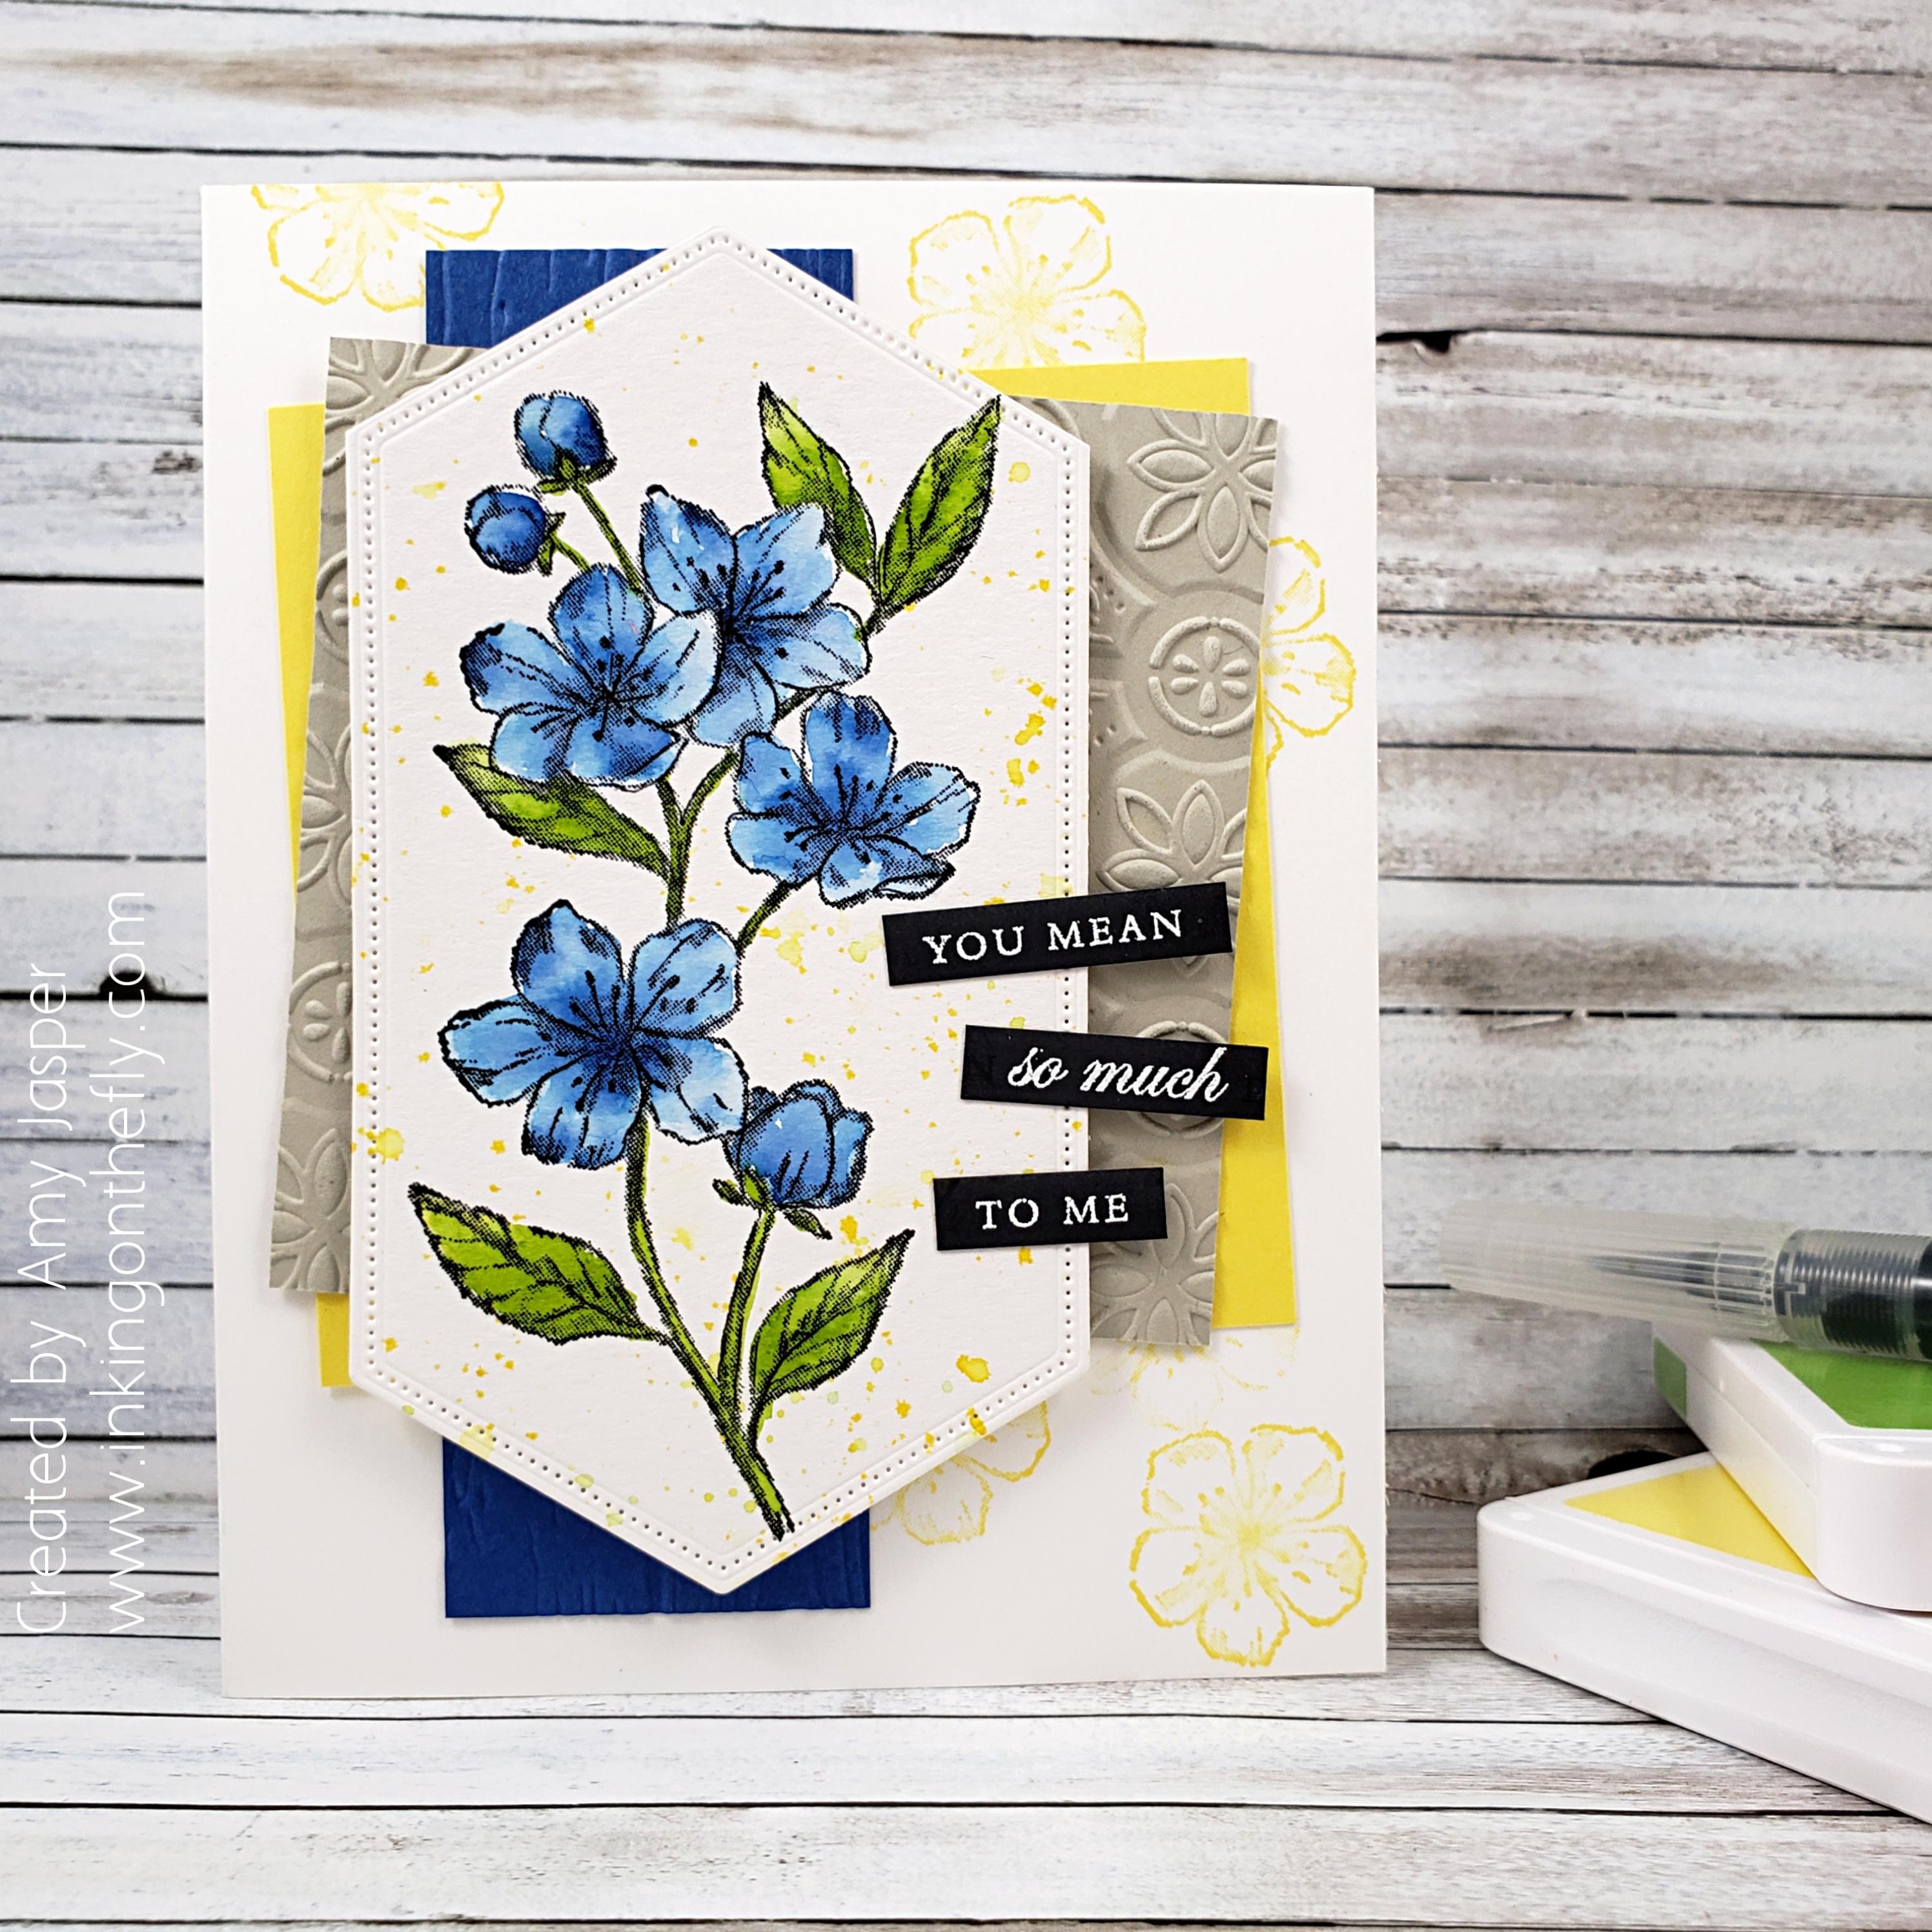
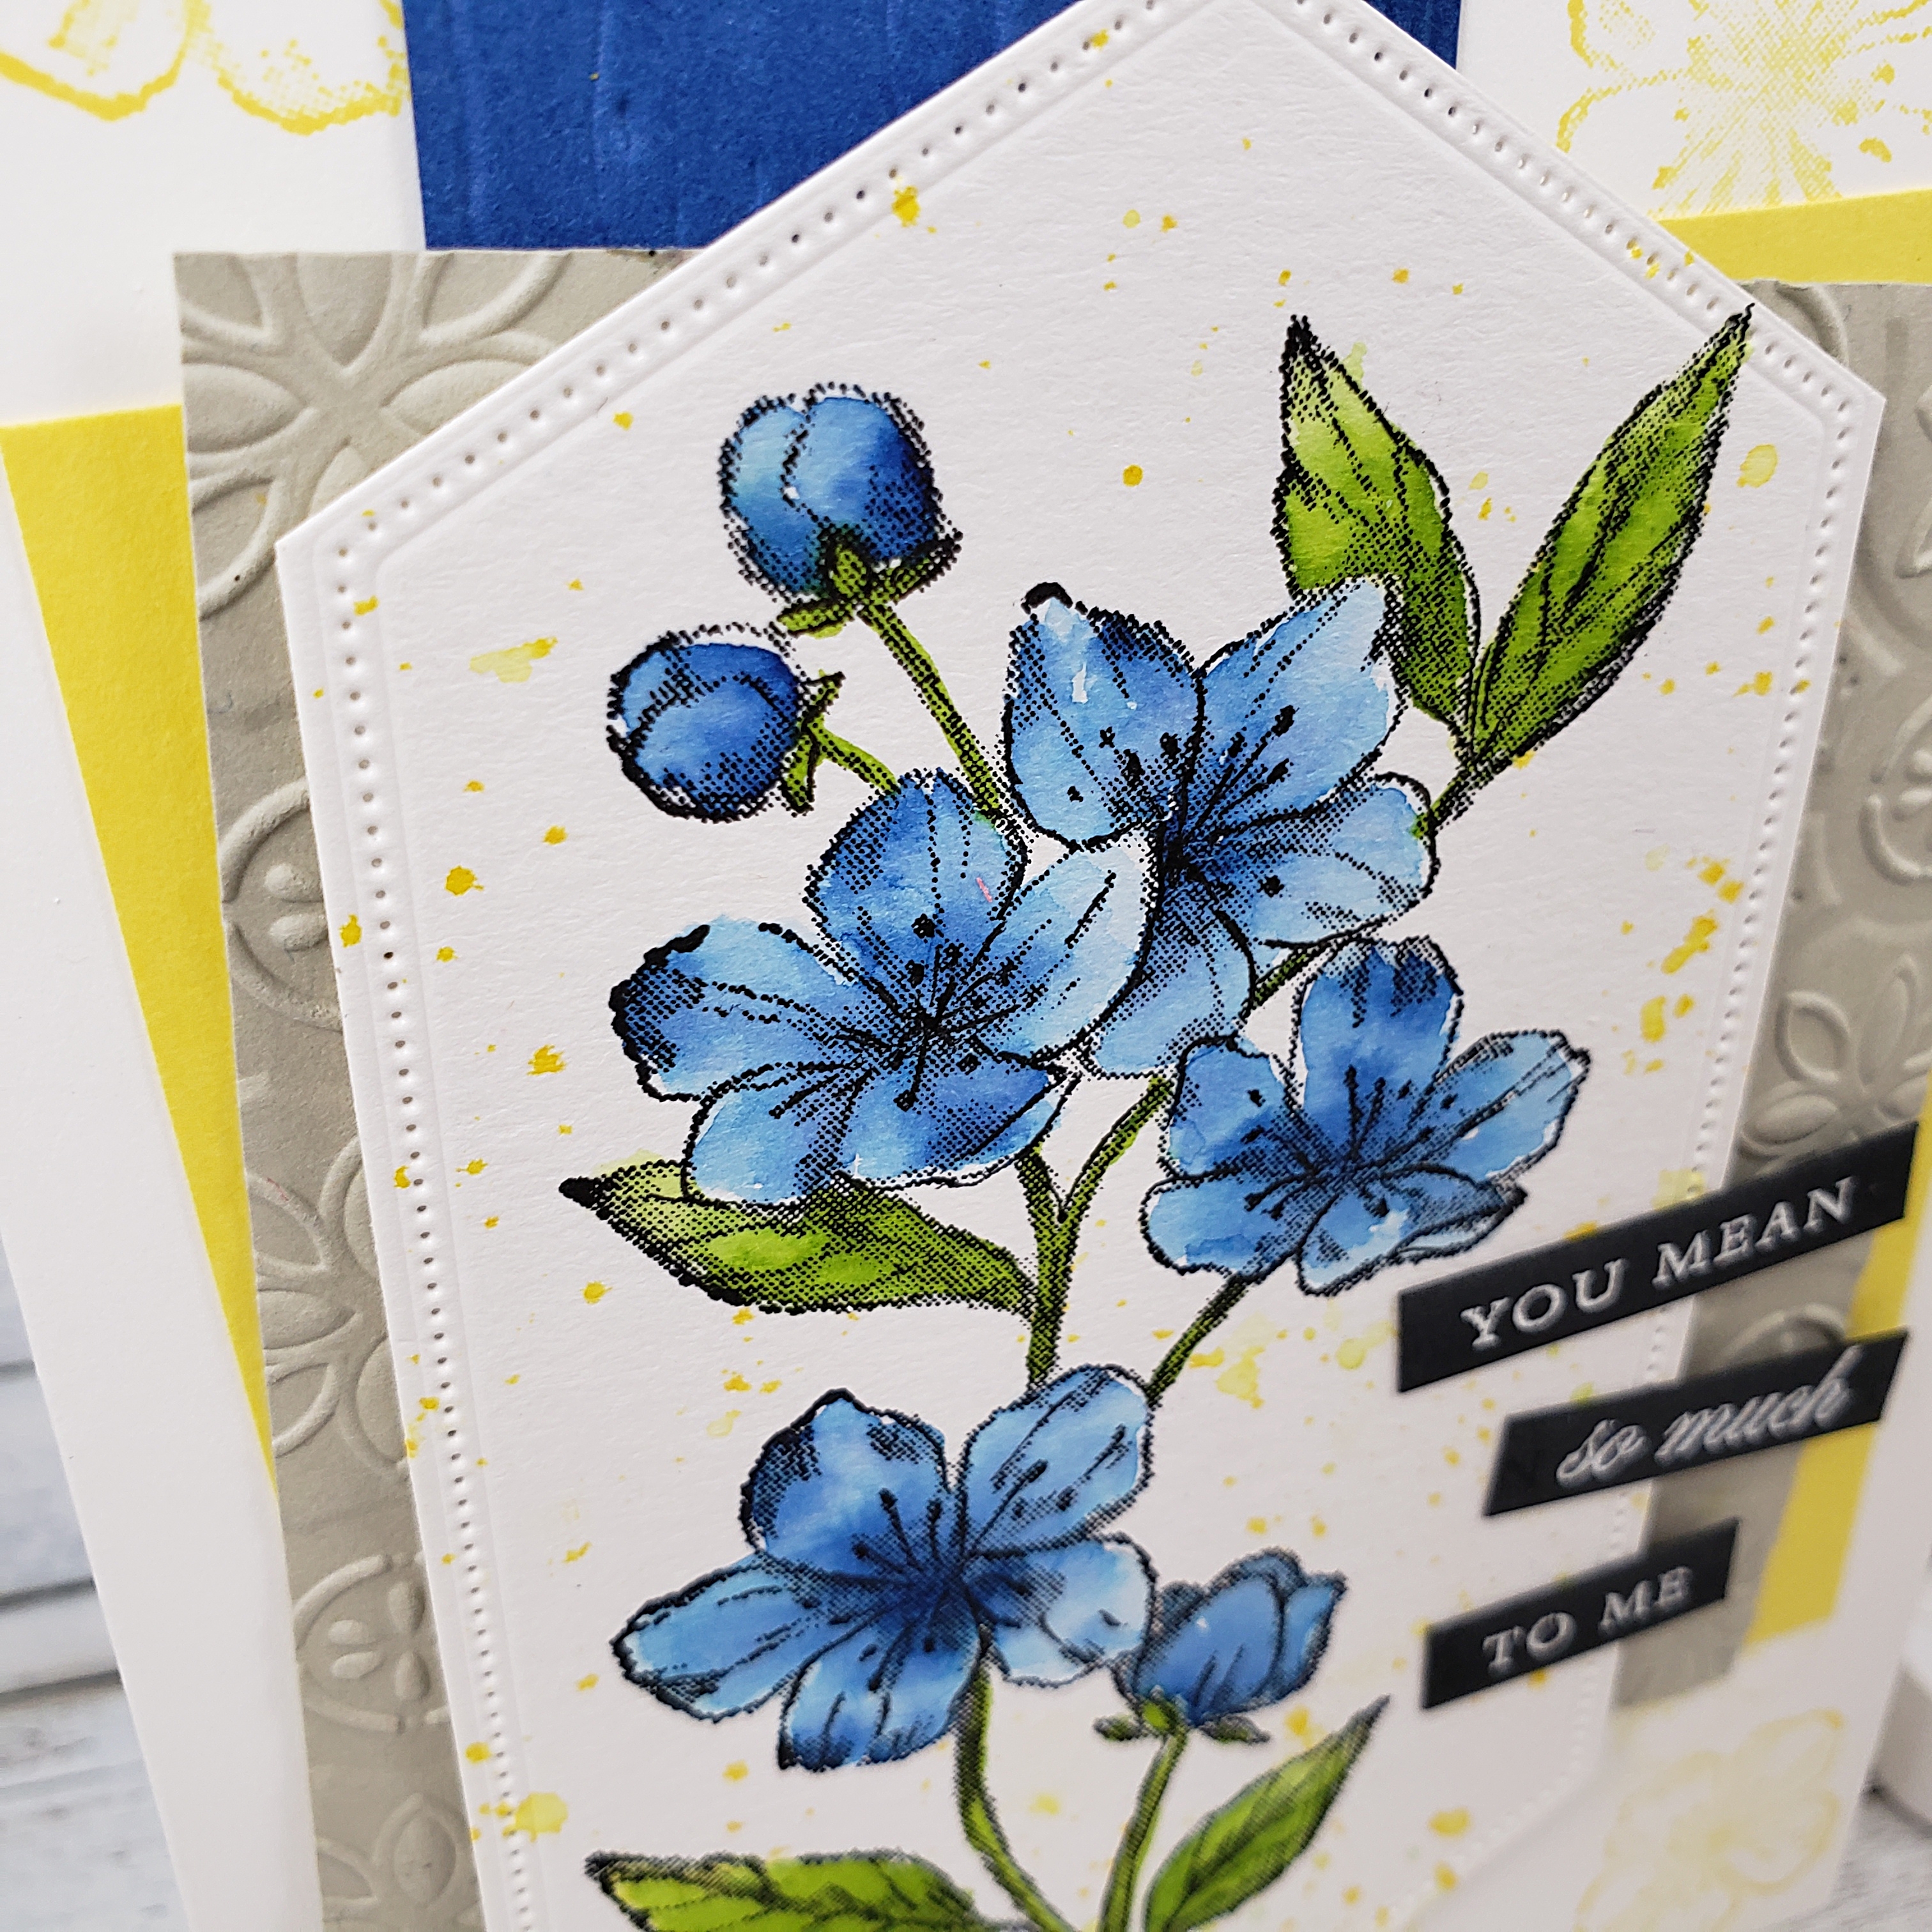
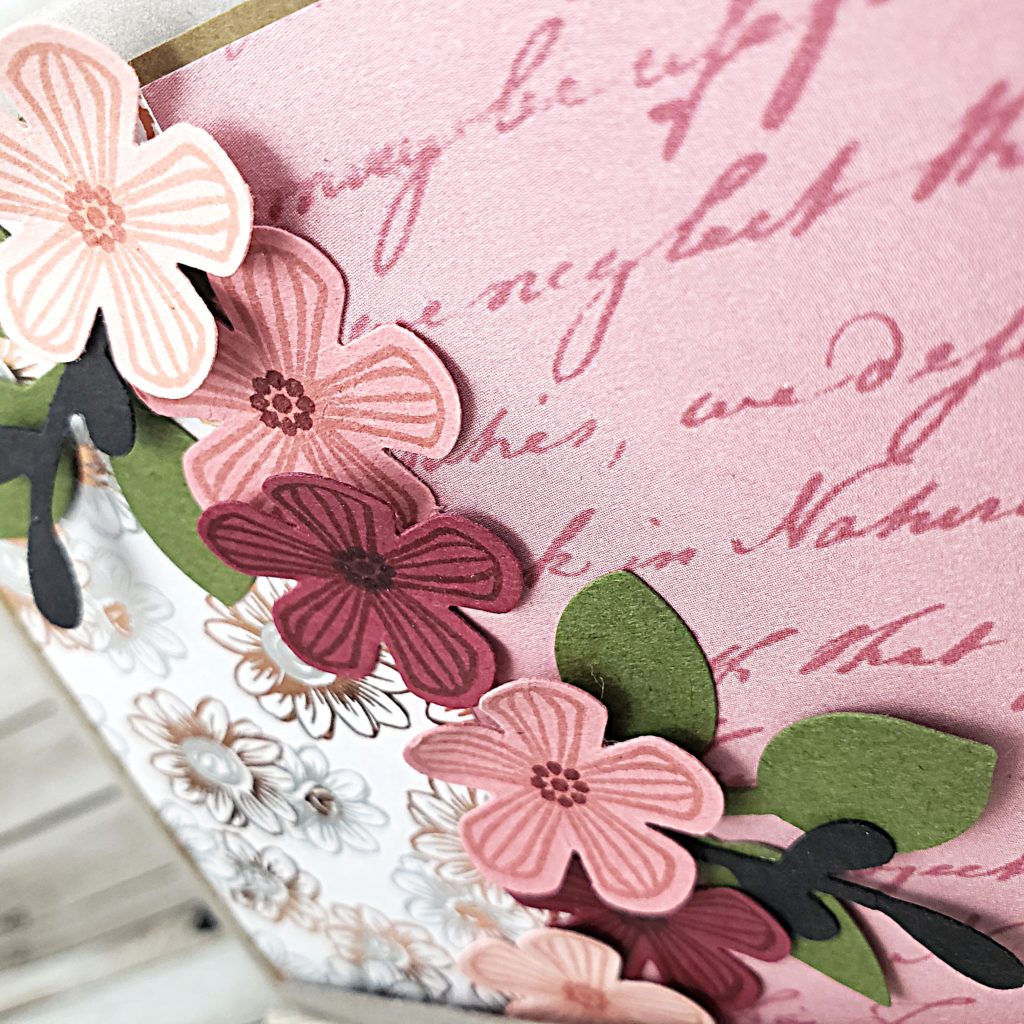
I stamped three flower images each on Blushing Bride, Rococo Rose, and Merry Merlot cardstock in their coordinating colours of ink. The center of each flower was stamped with one shade darker of those same colours (center of the Merry Merlot flower was stamped in Tuxedo Black Momento Ink). I used the Small Bloom Punch to punch out each flower and adhere them over the Flowering Foils Designer Series Paper and Pressed Petals Specialty Designer Series paper. A couple of the flowers are raised up on Stampin’ Dimensionals.

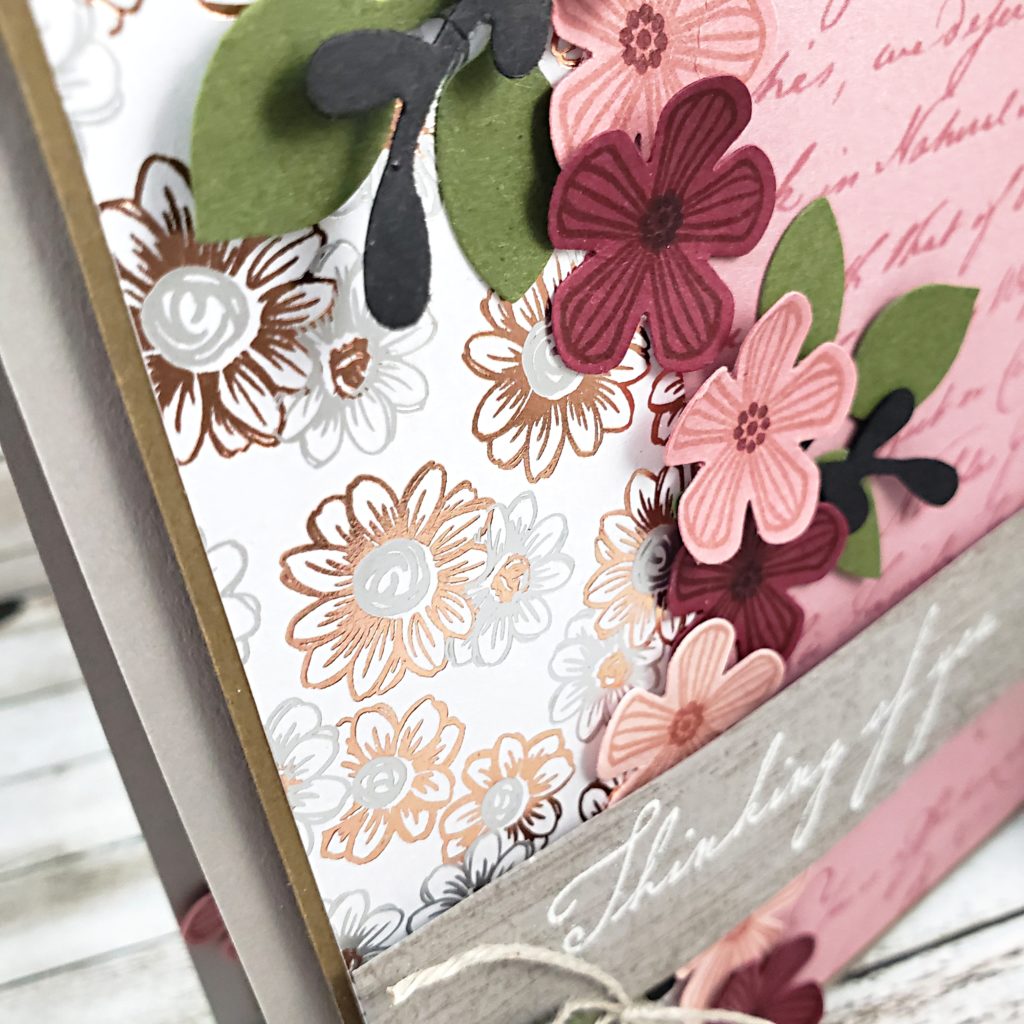
You can see the shiny copper foiling on the patterned paper in the above photo. It’s so pretty!

The Leaf Punch and the Sprig Punch from Stampin’ Up! create the Mossy Meadow and Basic Black leaf elements on the card. I didn’t use the entire Sprig Punch shape, but actually separated the two parts of the sprig to attach them to the card.

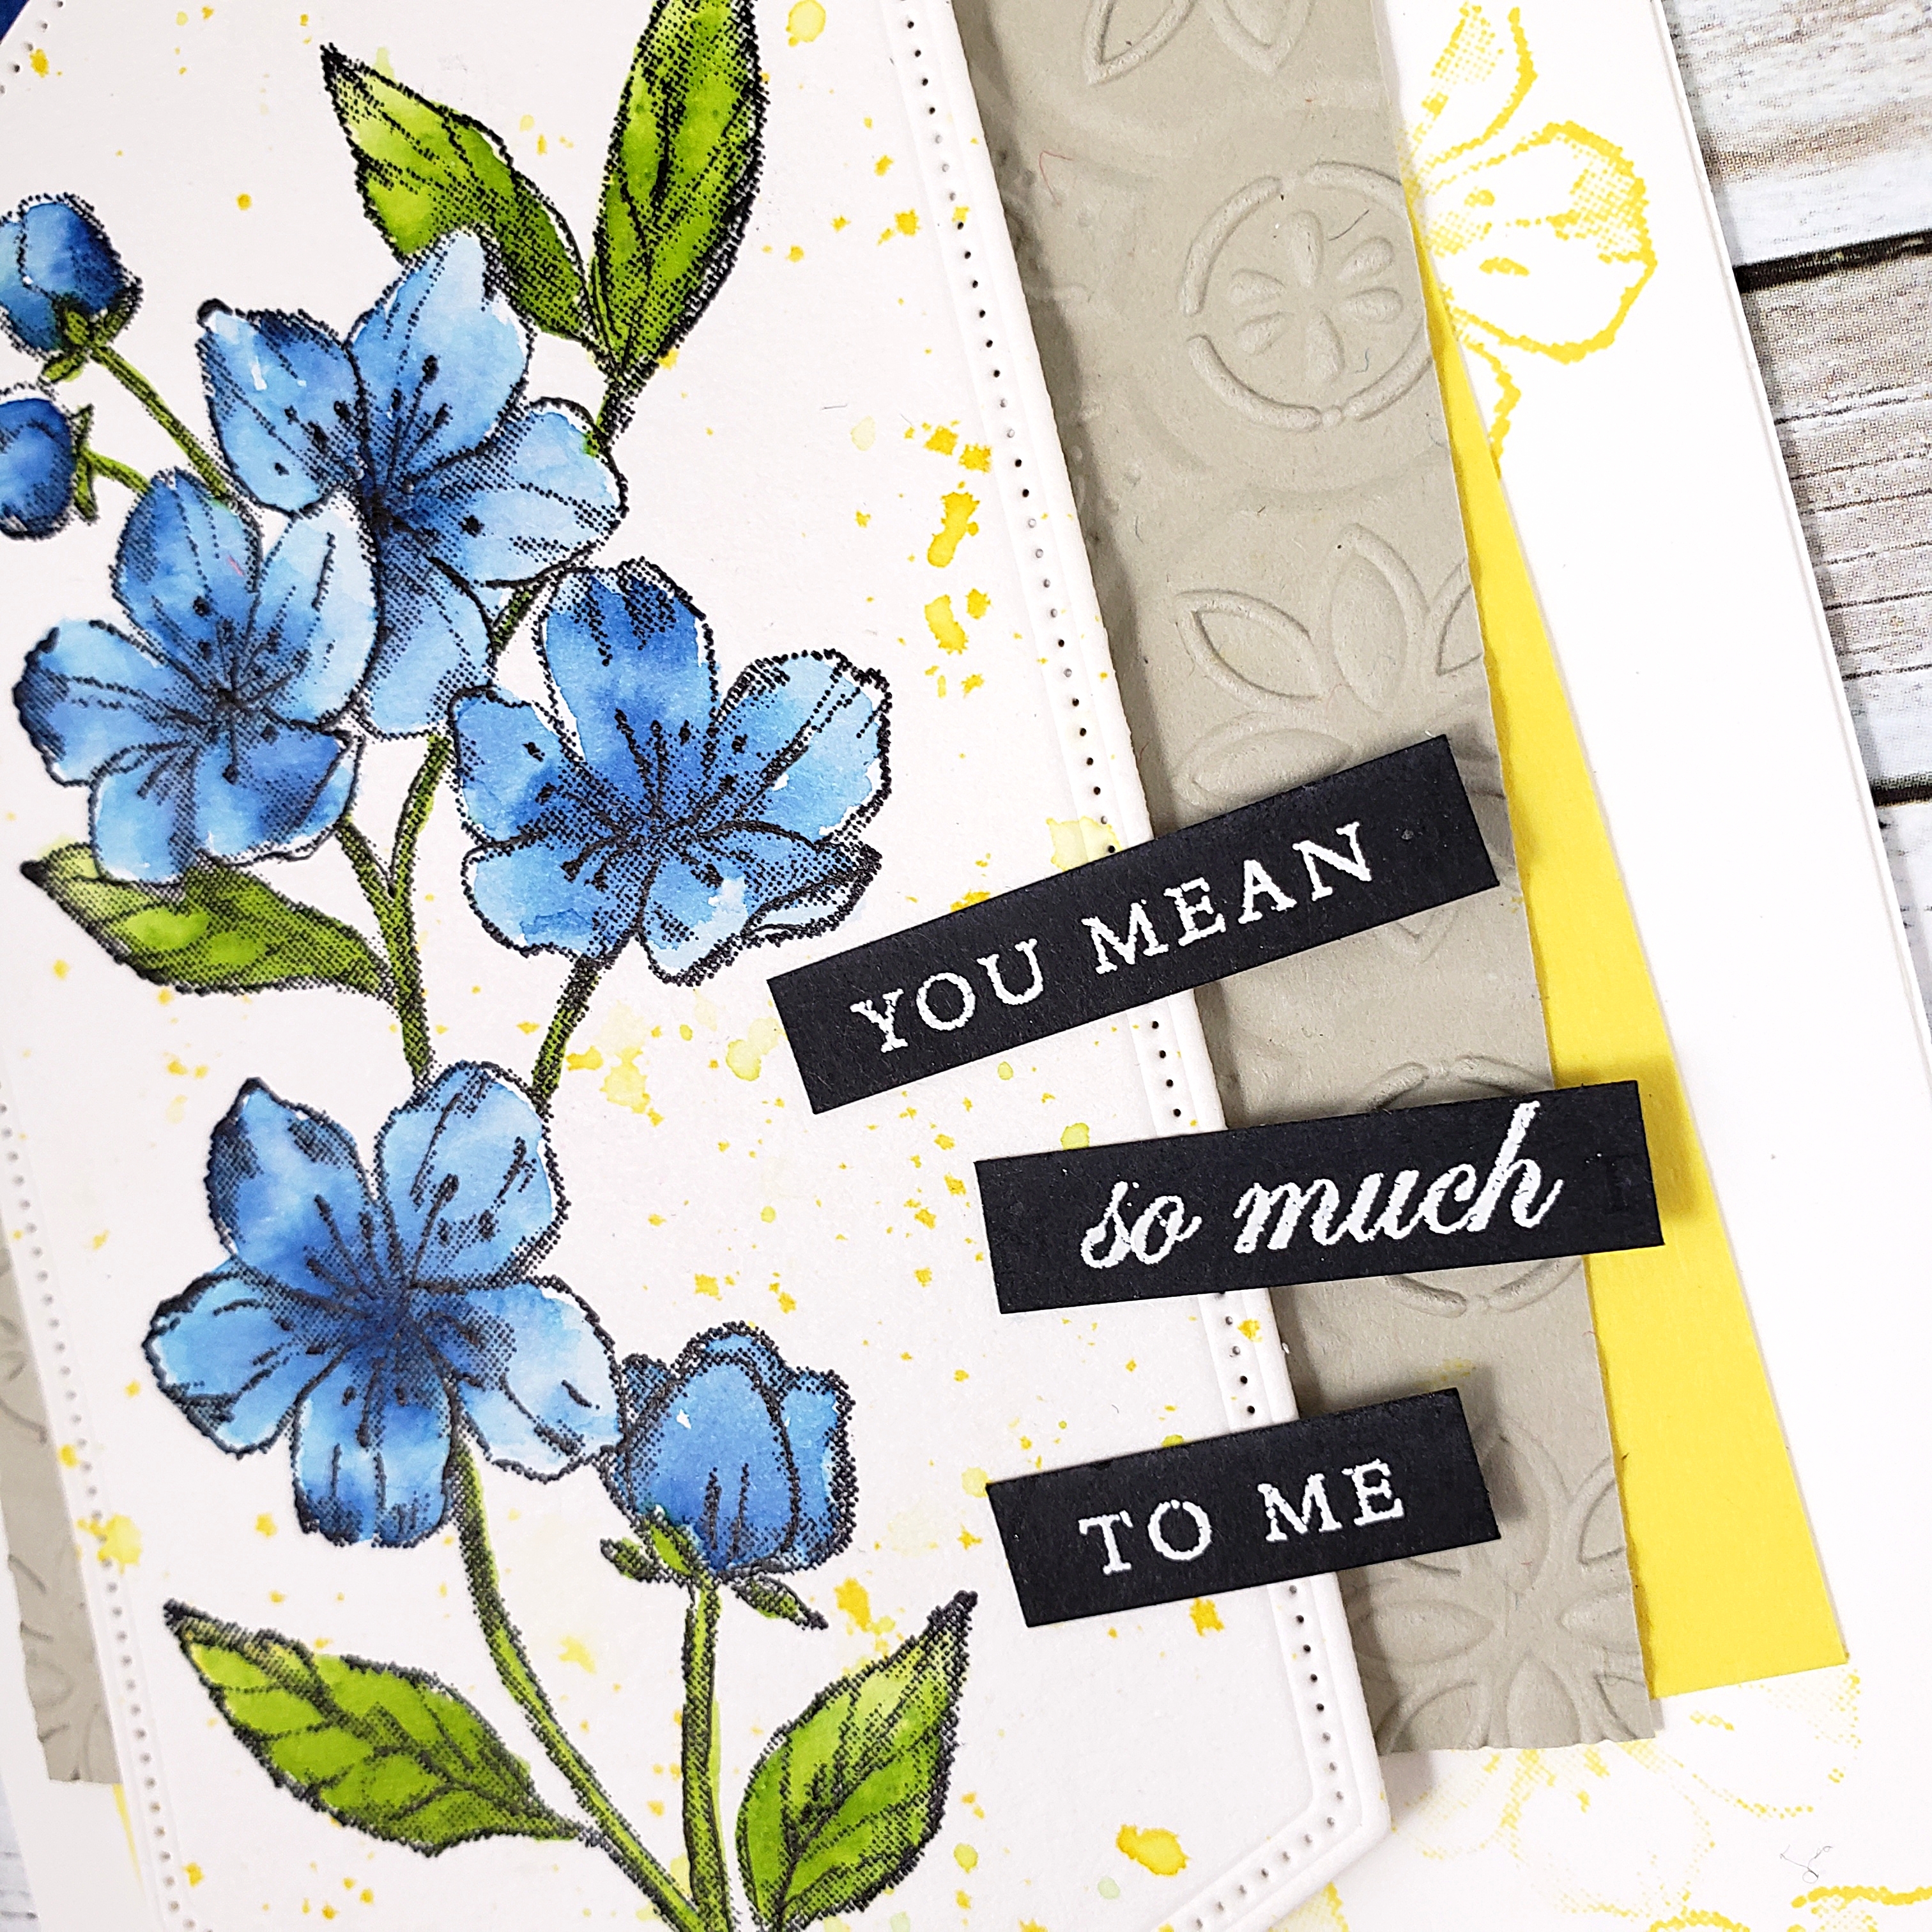
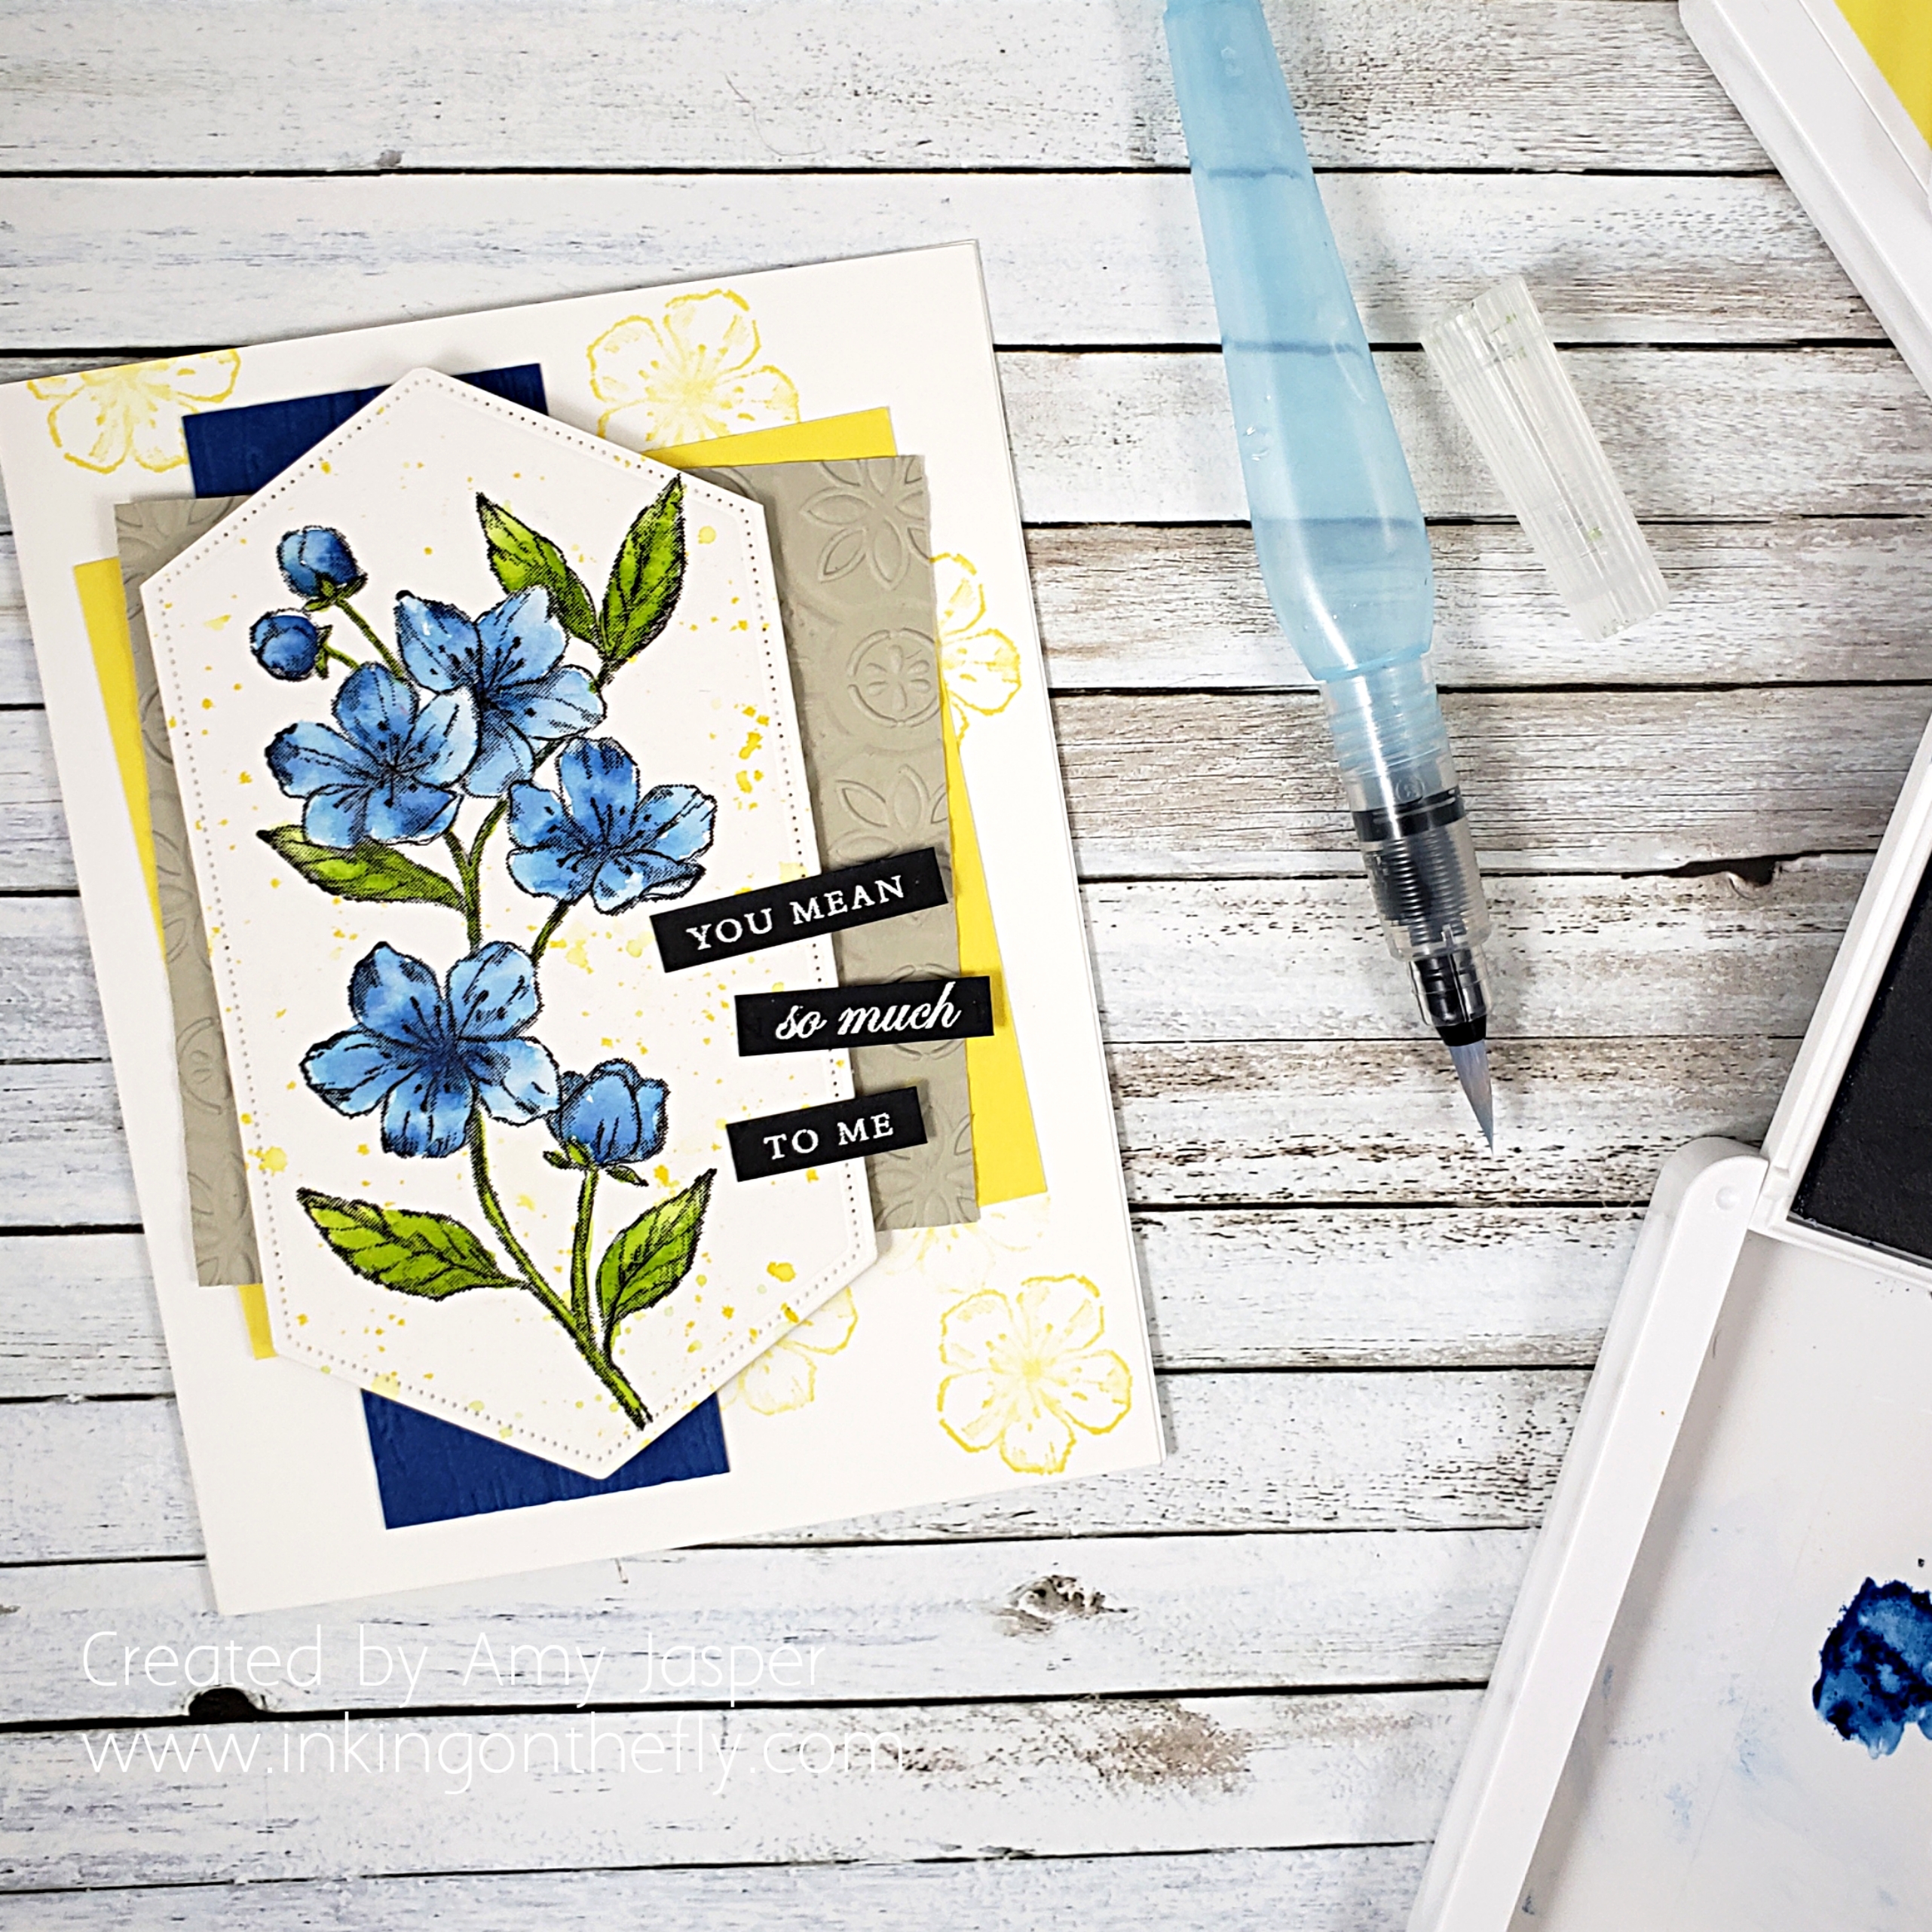
The strip of Gray Granite cardstock was stamped with the large textured image from the Woven Heirlooms Stamp set. I used Gray Granite ink, but stamped off first for a softer colour. I think it ended up looking a bit like woodgrain, which suits me quite nicely! I rubbed my Embossing Buddy over this stamped strip of cardstock to make sure my next steps would give me a nice clean look.

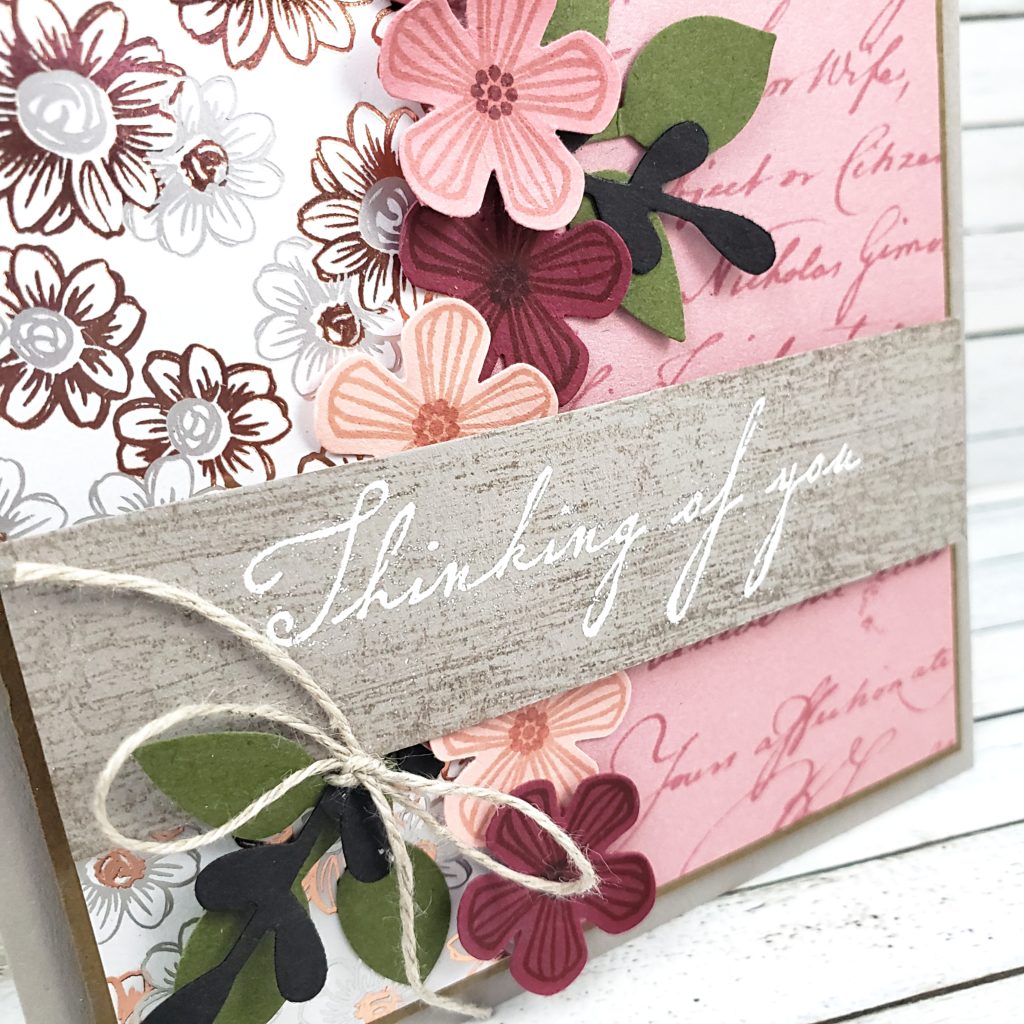
I stamped the sentiment from the Woven Heirlooms Stamp Set (also available in french) with Versamark Ink, covered it with White Embossing Powder, and tapped off the excess. This is when I realised that I overestimated the power of the Embossing Buddy and underestimated the drying time of my ink, because my embossing powder decided to stick where it didn’t belong. I was in a “that’s good enough” mood, though, so I simply brushed off some to the excess with a dry paint brush and heated the rest with my Heat Tool. I attached the completed strip of Gray Granite to my card with Stampin’ Dimensionals and tied a Linen Thread bow around the leaf stems.

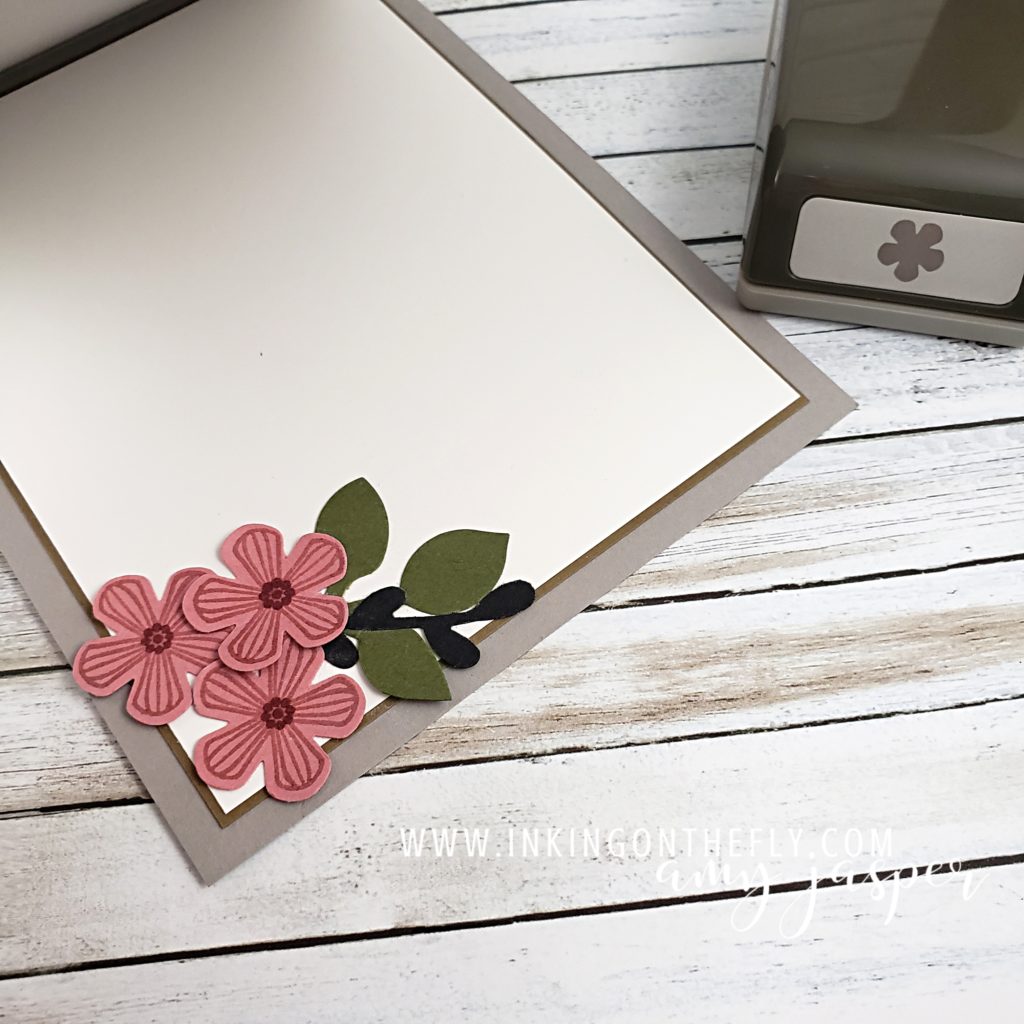
I used to be satisfied with just a Whisper White or Very Vanilla insert as a writing surface in my cards, but lately I’ve been more into some simple additions to the inside of my cards. I chose to use some more Rococo Rose flowers and some leaves for the inside of the card. I also added a matte of Soft Suede cardstock behind the Whisper White writing surface. That same matte of Soft Suede cardstock is also on the front of the card, framing the patterned paper, and adhered to the Grey Granite card base.

As always, if you like any of the Stampin’ Up! products used on my blog, you can purchase them from me on my ONLINE STORE. During Sale-a-bration is a great time to stock up on supplies because you can choose a free item with every $60 or $120 of purchased product. Sale-a-bration ends March 31st, so act fast to avoid disappointment. Some of the items have already sold out!

Stampin’ Up! just added a third release of Sale-a-bration products for you to choose from. You can see all the Sale-a-bration items by clicking HERE.

Thanks for taking some time out of your busy day.

Wash your hands and stay healthy!

Painted Petal Label

The As You See It Challenge has a very pretty and fresh colour challenge for us today! I thought I would try using the beautiful Petal Label Dies from Stampin’ Up! along with some watercolouring to create my design..

Here’s the colour combo that inspired the card in today’s blog post.

Isn’t it a precious image! The little swan makes me think of the Christmas ornaments my mom made out of felt one year. She never made a swan, but she did make a little dove. I get a lot of my creativity from her, of course. Thanks mom!

I used the Petal Labels Dies and the Stitched Retangle Dies to cut the Watercolor Paper for my card front. I don’t think the 2019-2020 Annual Stampin’ Up! Catalogue gives the Path of Petals Bundle enough air time. It really is a gorgeous bundle and is only part of the Pressed Petals Suite by Stampin’ Up!. The entire suite is so stunningly beautiful, but I feel like it has been lost in the shadows of the many show-stopping suites in the catalogue. I want to give this one a little more attention! The Petal Labels Dies are delicate and beautiful. The Path of Petals Photopolymer stamp set has the most beautiful fonts for the most eloquent sentiments.

I chose to use a Thick Whisper White card base for this card. Let’s be honest here, I use Thick Whisper White A LOT for my card bases. It is so easy to just add a layer to a white base. I don’t need to do anything fancy to the inside and it makes such a clean and crisp card every time! I struggle to use coloured cardstock for my card bases. I think I need to try to branch away from that a bit. Maybe, I’ll try Very Vanilla. LOL!

With an Aqua Painter and my three ink colours, Mango Melody, Grapefruit Grove, and Poppy Parade, I added colour to the floral edge of the oval die cut watercolour paper. I started with the lightest colour first, then worked up to the darkest colour. I was careful to colour only the floral shapes, trying to keep a clean edge so the oval area would remain defined.

To some of the fronds, I added black sequins from the Peaceful Poppies Sequins pack using Glue Dots to hold them in place.

On a separate piece of Whisper White cardstock, I stamped the beautiful sentiment from the Path of Petals Photopolymer stamp set using Tuxedo Black Momento Ink. I did stamp it a little bit crooked, but that’s why I did it on a separate piece rather than stamping it directly on the card base!! (I’m smart like that, LOL!). I adhered it (with the sentiment straight) to the water coloured, die cut layer using Stampin’ Dimensionals. I needed to do some trimming with my Paper Snips (since the Whisper White layer was now sticking out, crooked, under the die cut layer), then I was ready to attach those two layers to my card base using my trusty Multipurpose Liquid Glue.

Now it’s your turn. Get into your craft supplies and make a card using these colours (or colours as close to these as you can get). This is an opportunity for you to get creative and use this colour challenge as a jumping off point. Sometimes, you just don’t know where you might land!! Don’t forget to share your finished card on a public internet site (Pinterest, public Facebook Page, public Instagram page, Flicker, Splitcoast Stampers, your blog, etc), then share it with us on the As You See It Challenge Blog! We love to see what you’re creative brain does with the challenges.

As always, if you like any of these products, head on over to my Online Store and get them into your shopping cart! Stampin’ Up! makes it easy to create beautiful things!

If you’re outside of Canada, you can’t legally shop from me, but I hope you will continue to visit. Don’t forget to comment and let me know that you did!!

Blueberry Watercolour Blossoms

My husband has been trying to convince me to go to Las Vegas for a few years now, but it was never a city that interested me. I’m not one who enjoys crowds of people, flashy lights, or casinos. So, when I found out that Stampin’ Up! was hosting one of their OnStage Local conventions in Las Vegas, I thought that was a great opportunity to get there with my husband for a weekend adventure. Alas, my husband teaches at the university and wasn’t able to take the time off work. So … I went without him!

Las Vegas was pretty much exactly as I expected. Lots and lots and lots AND LOTS of people, lots of flashy lights, lots of smoky casinos. As an introvert, I found it overwhelming, over-stimulating, and just exhausting.

But you know what I DID like? I loved being with other Stampin’ Up! demonstrators. They are my friends and travel companions. I loved watching them get excited about the fountain at the Bellagio, the Bellagio buffet, and the boats in the indoor canal at the Venetian. I loved watching them, with their different way of handling our surroundings, as they chatted up the bartender when we stopped to rest our feet and have a slushy cocktail at the Hard Rock Cafe. I loved how they went out of their way to find a coffee shop that could make me a great latte. I loved how they sat with me while I ate gelato, even though they decided they didn’t want any after all. I loved seeing them turn in their seat in the airplane to wave and make funny faces at me when I was sitting with strangers a few rows back because I refused to pay extra to be able to choose my seat. I loved exchanging roomie gifts, business tips, and sharing ideas. I love how different we are and yet, we still can get excited about the beauty that we each bring to the world. I also love the Cirque de Soleil show, “O”. It was absolutely spectacular!

I’ve been home for 5 days now and I still don’t feel like I’ve recovered and recharged! I felt like I could have slept for three days straight when I got home!

Working on my design for the As You See It Challenge card was actually really helpful for me. It gave me the focus that I needed to take my head out of the fog caused by over-stimulation. This bright and cheerful colour combination was just what I needed to grease my creative gears.

Of course, the fun part about going to a Stampin’ Up! OnStage event, other than the fabulous community of demonstrators, is the free product!! My card today is made using the Forever Blossoms stamp set I received for FREE! This set will be available to purchase in January when the new Occasions Catalogue comes out.

I decided to do some watercolouring with the flower image. I used Blueberry Bushel for the blossoms and Granny Apple Green for the leaves. The yellow spatter is created from loading the brush tip of an Aqua Painter with Pineapple Punch ink, then briskly tapping the Aqua Painter against my finger over the watercolor paper. To protect the blue blossoms from turning green from the wet yellow ink, I first stamped the blossoms on a piece of Post It Note and loosely cut them out so I could use the Post It as a mask over my blue blossoms. See! No green on my flowers!

I used the Stitched Nested Labels Dies to cut the stitched shape with my die cutting machine and adhered it to the card with Stampin’ Dimensionals (the black ones, actually! they are great!!). Behind that is the Sahara Sand cardstock that was embossed using the die cutting machine and the Tin Tile 3D embossing folder. I layered a piece of Pineapple Punch cardstock behind that and a strip of Blueberry Bushel cardstock behind that, which was embossed as well, using the die cutting machine and the Pinewood Planks 3D Embossing Folder.

I stamped the sentiment with Versamark ink on Basic Black cardstock (using my Embossing Buddy first, of course), then applied the White Embossing Powder to the stamped words and heat set it with my Heat Tool. I then cut the sentiment into three sections and attached them to the card front using the combination of Stampin’ Dimensionals where it needed to be raised and Tombo Liquid Glue where it attached to the watercolor paper. I stamped the single blossoms from the stamp set on the Thick Whisper White card base with Pineapple Punch ink (before adhering all the things to the card base, of course, LOL!)

AVID STAMPER TIP: the words in the sentiment are actually quite close together, making it awkwardly tight when cutting them into sections. To add a bit of space, I actually stamped the sentiment twice and applied the powder. Before heat setting it, I brushed the powder off of the “so much” part of one of the stamped sentiments and off of the “you mean” and “to me” parts of the second stamped sentiment. After doing that, I heat set the powder with my Heat Tool. That way, when I cut the sentiment into the three sections, I was able to have a bit more space before and after the words on each section that I cut.

After all my talk about how Las Vegas wasn’t my thing, you might assume that I would never go there EVER again! That’s what my husband thought. But, you know what? I would totally go again! I would just do it a little differently. I would go with my husband and enjoy a few shows, maybe a couple of museums, and definitely would go off of the strip for some nature hikes to escape the crowds, the flashy lights, and the cigarette smoke. I would go see performers doing Sinatra, Elvis, Billie Holiday or Big Band music.

Yes, I would go again. I just need to look a little harder to see past the flashy, “adult Disneyland”, to seek out the natural and the historic Vegas. But, I might need to get in a few camping trips here in British Columbia first. I need a bit more nature to make up for all that …. cement.

Have you been to Vegas? Would you go? Let me know what you think by leaving a comment.