Sweetheart

Think Happy Thoughts

070headerOh Happy Day!

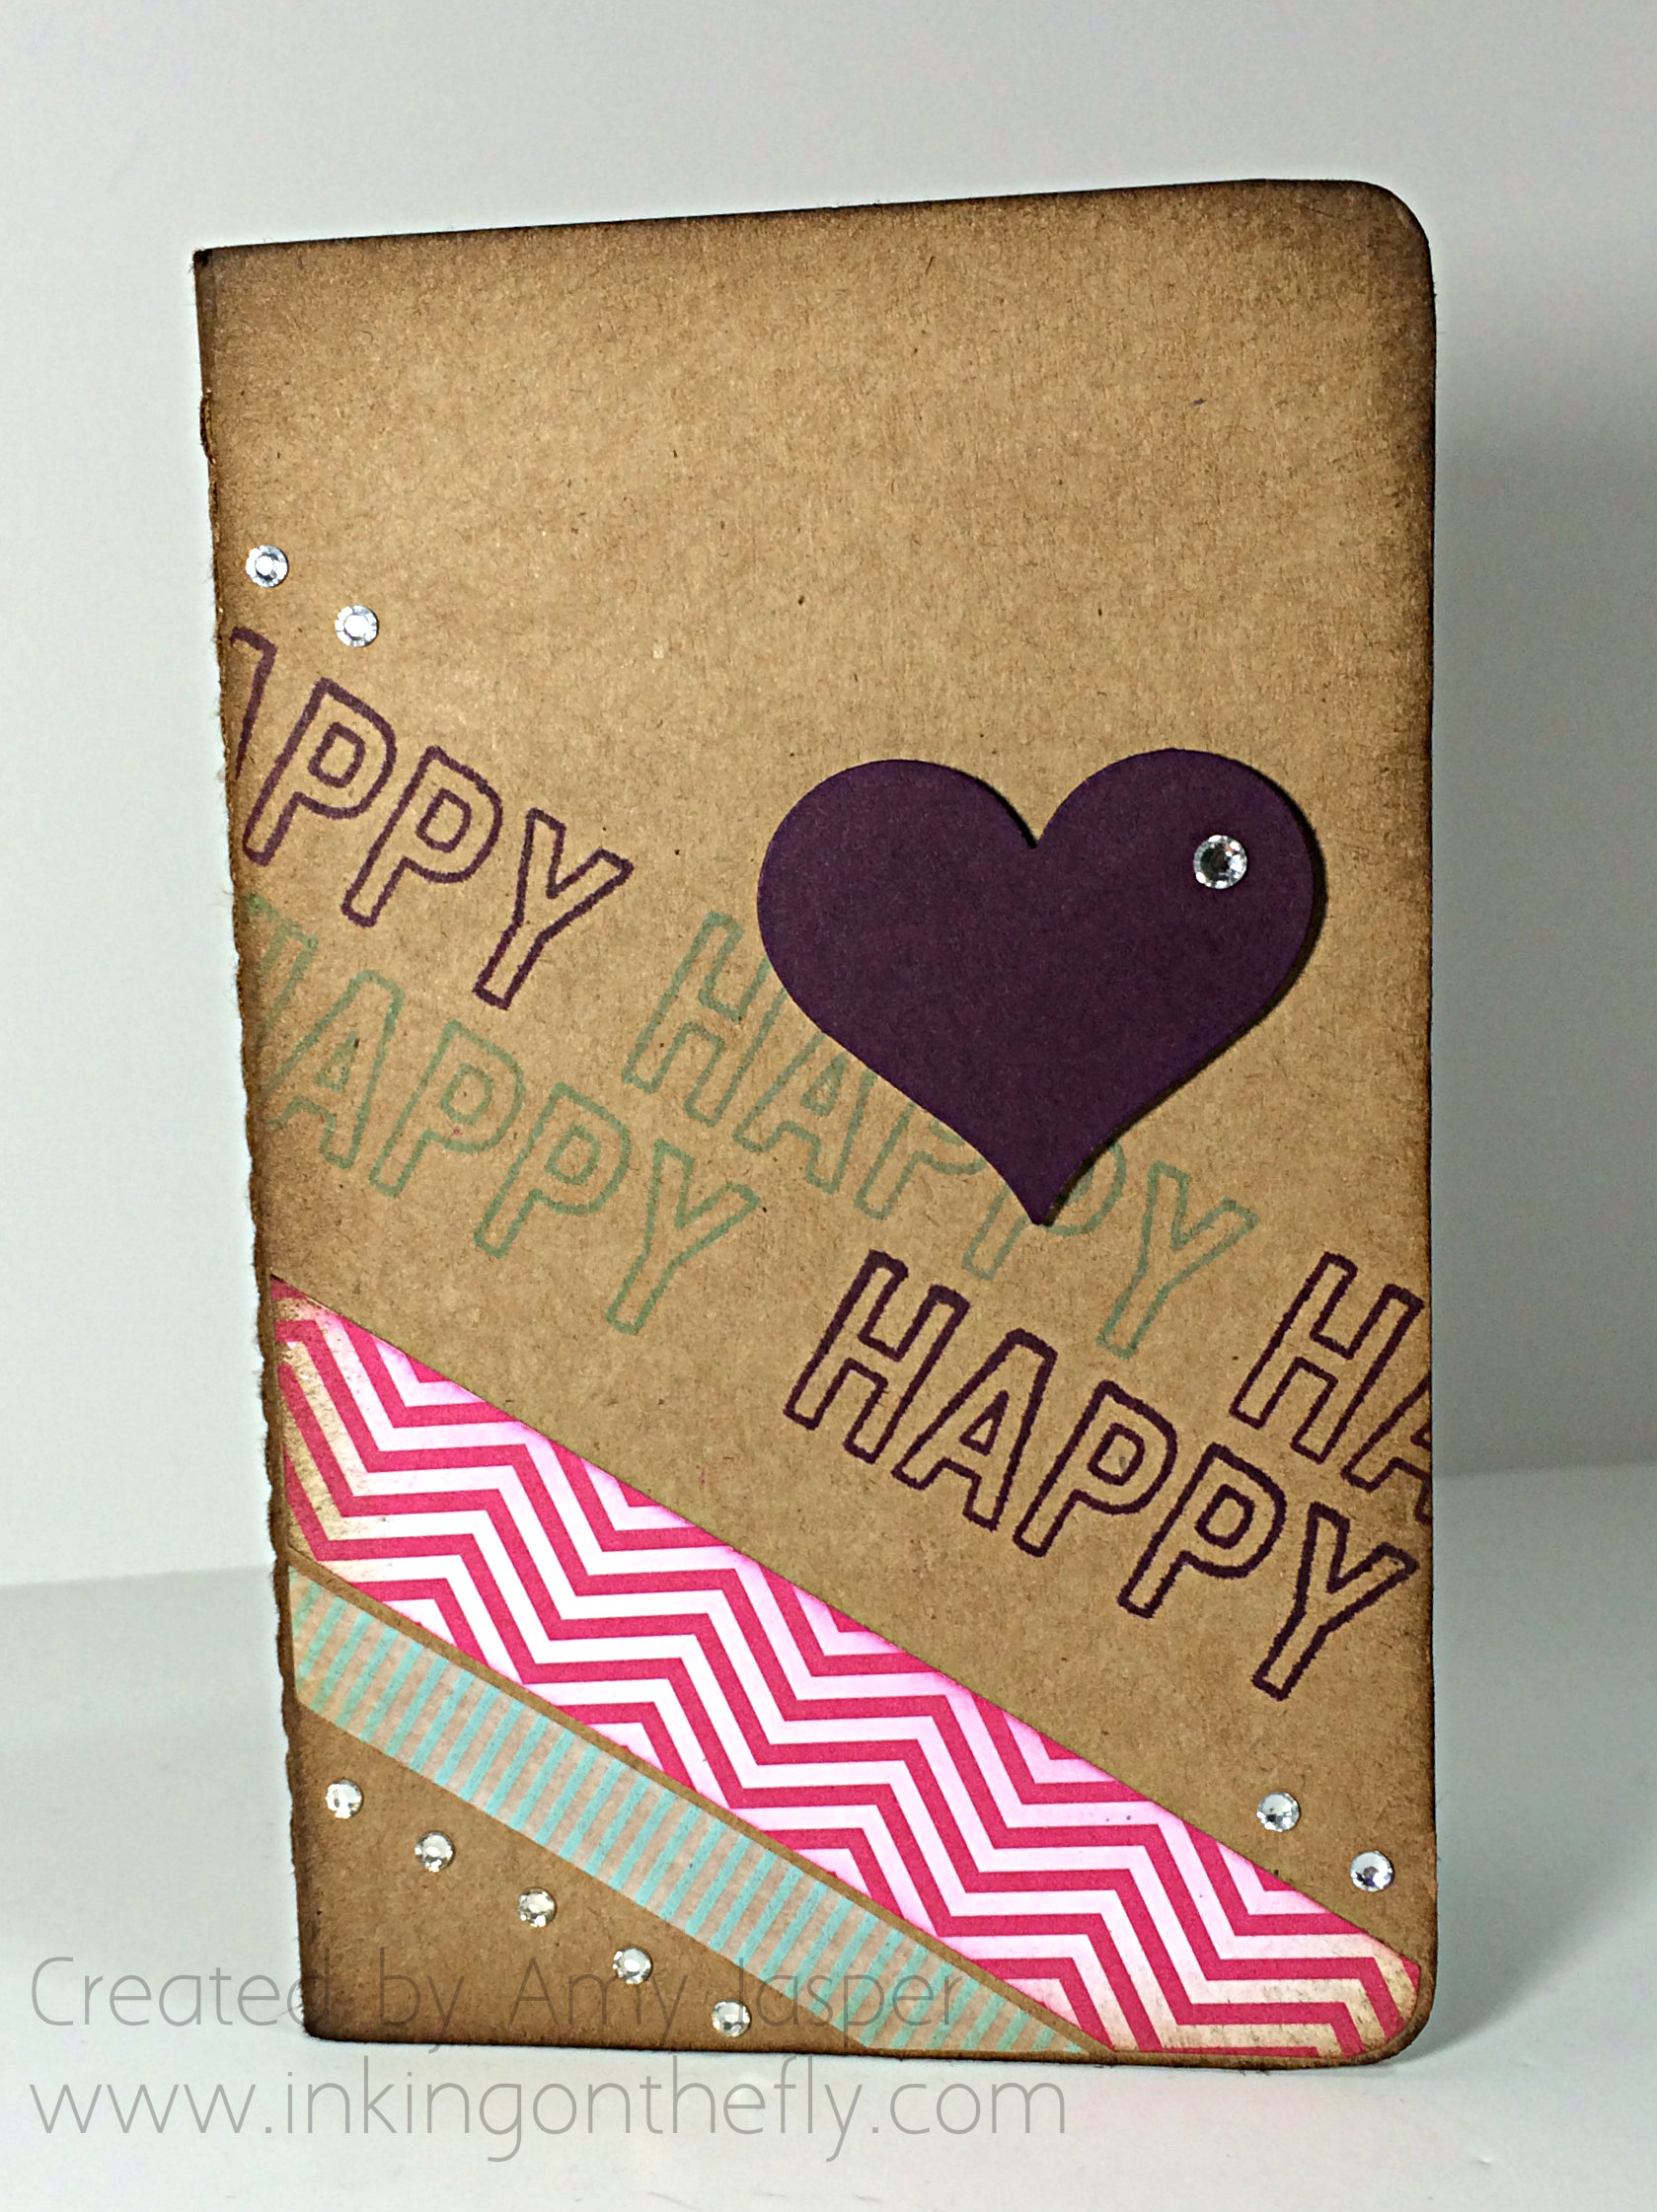
The New Year brings us opportunity to develop new healthy habits and start fresh. My project today is part of that desire to be better. I started with a 3.5″x5.5″ grid journal and the So You stamp set from Stampin’ Up! and, of course, the next As You See It challenge – #070!

070

Sometimes these assortment challenges can be, well, a challenge! I needed to make something relatively quickly for this week’s project as I left it to the last minute again!

(speaking of habits to change, this is one for me to work on!)

I decided to do something other than a card, so I scrambled through my disaster of a craft room until I found the Grid Journal that I bought a while back.

070Amy

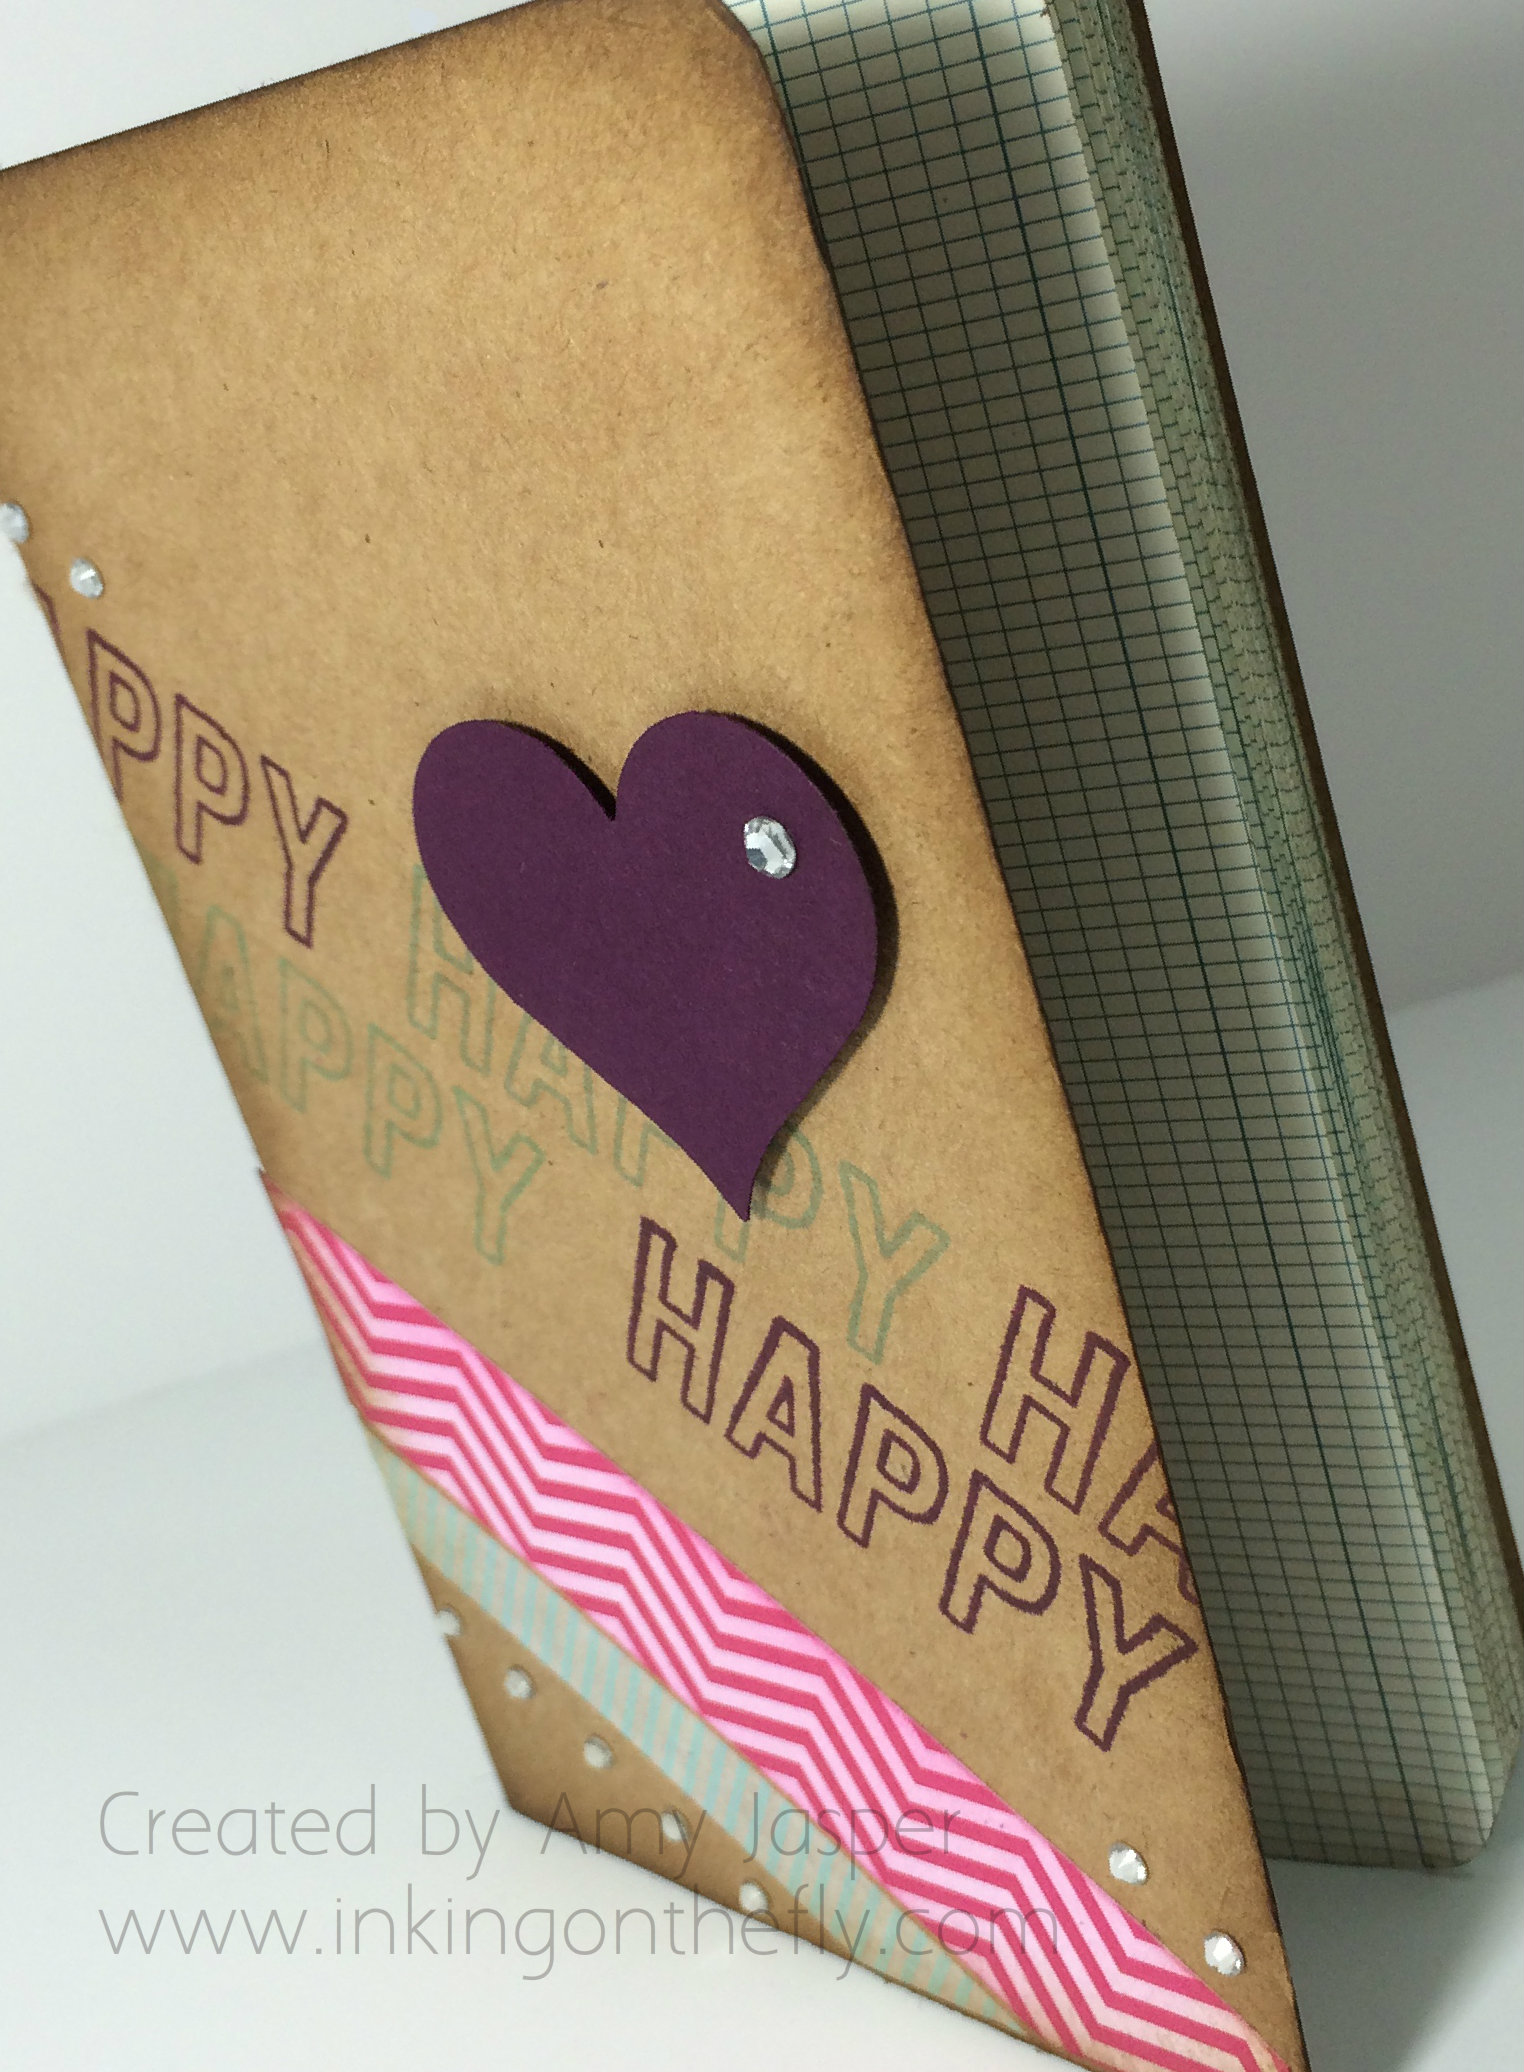
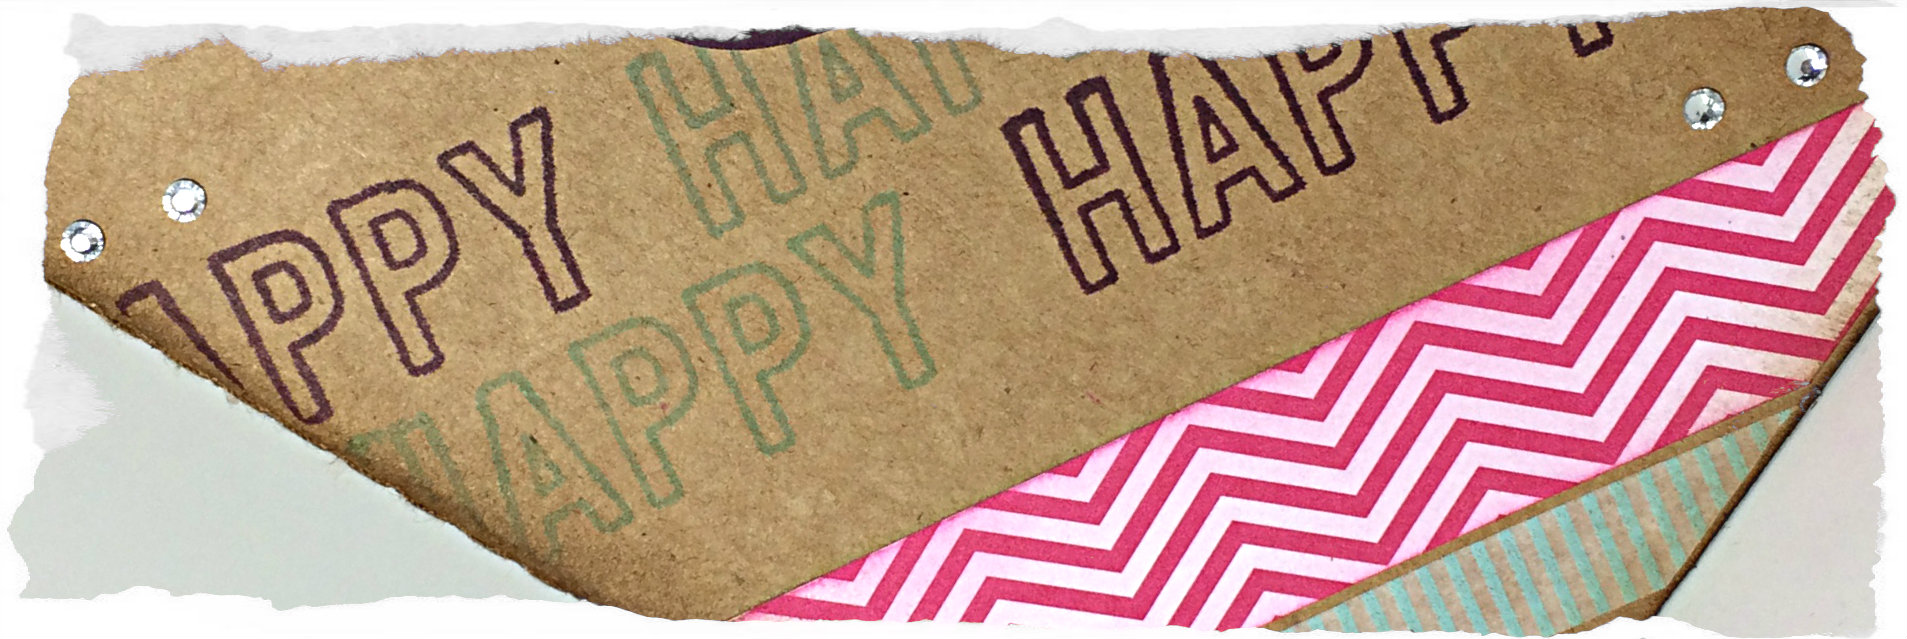
This journal is 3.5″x5.5″ and is a neutral craft colour. The three colours that decorate it are Melon Mambo, Blackberry Bliss, and Coastal Cabana. I used the happy sentiment from the So You photopolymer stamp set and stamped it in Blackberry Bliss and Coastal Cabana. The Melon Mambo chevron patterned paper is from the Brights Backgrounds Designer Series Paper Stack. I sponged it lightly with Melon Mambo ink to cut down on the harshness of the white in the pattern. The strip of blue stripes below that is Washi Tape from the Beach House Washi Tape pack.

The Blackberry Bliss heart was punched out with the Sweetheart Punch and applied to the cover with Stampin’ Up Dimensionals for the ‘popped up’ requirement in this assortment challenge. And the Basic Rhinestones add a little flair to this cute journal.

Lastly, I sponged all around the edges of the journal, front and back, with Soft Suede ink to create that smoky edge.

070side

This journal will fit neatly in my purse and is just right for all my happy thoughts:

  • hearing joyful fits of giggles as my son tickles his little sister
  • finishing a card for a good friend
  • seeing a moose 20 feet away while skiing in the dark with my 6 year old
  • listening to my husband working on a New Orleans accent for a role in a play
  • taking a dance break while shoveling the driveway with my husband
  • smiling faces at work

… this is fun!

I could go on, but I’ll save it for my journal.

What will you do for your Assortment sketch? Hope you share it on the As You See It challenge blog!

Amy.
Designer-Badge


Groovy White

067header

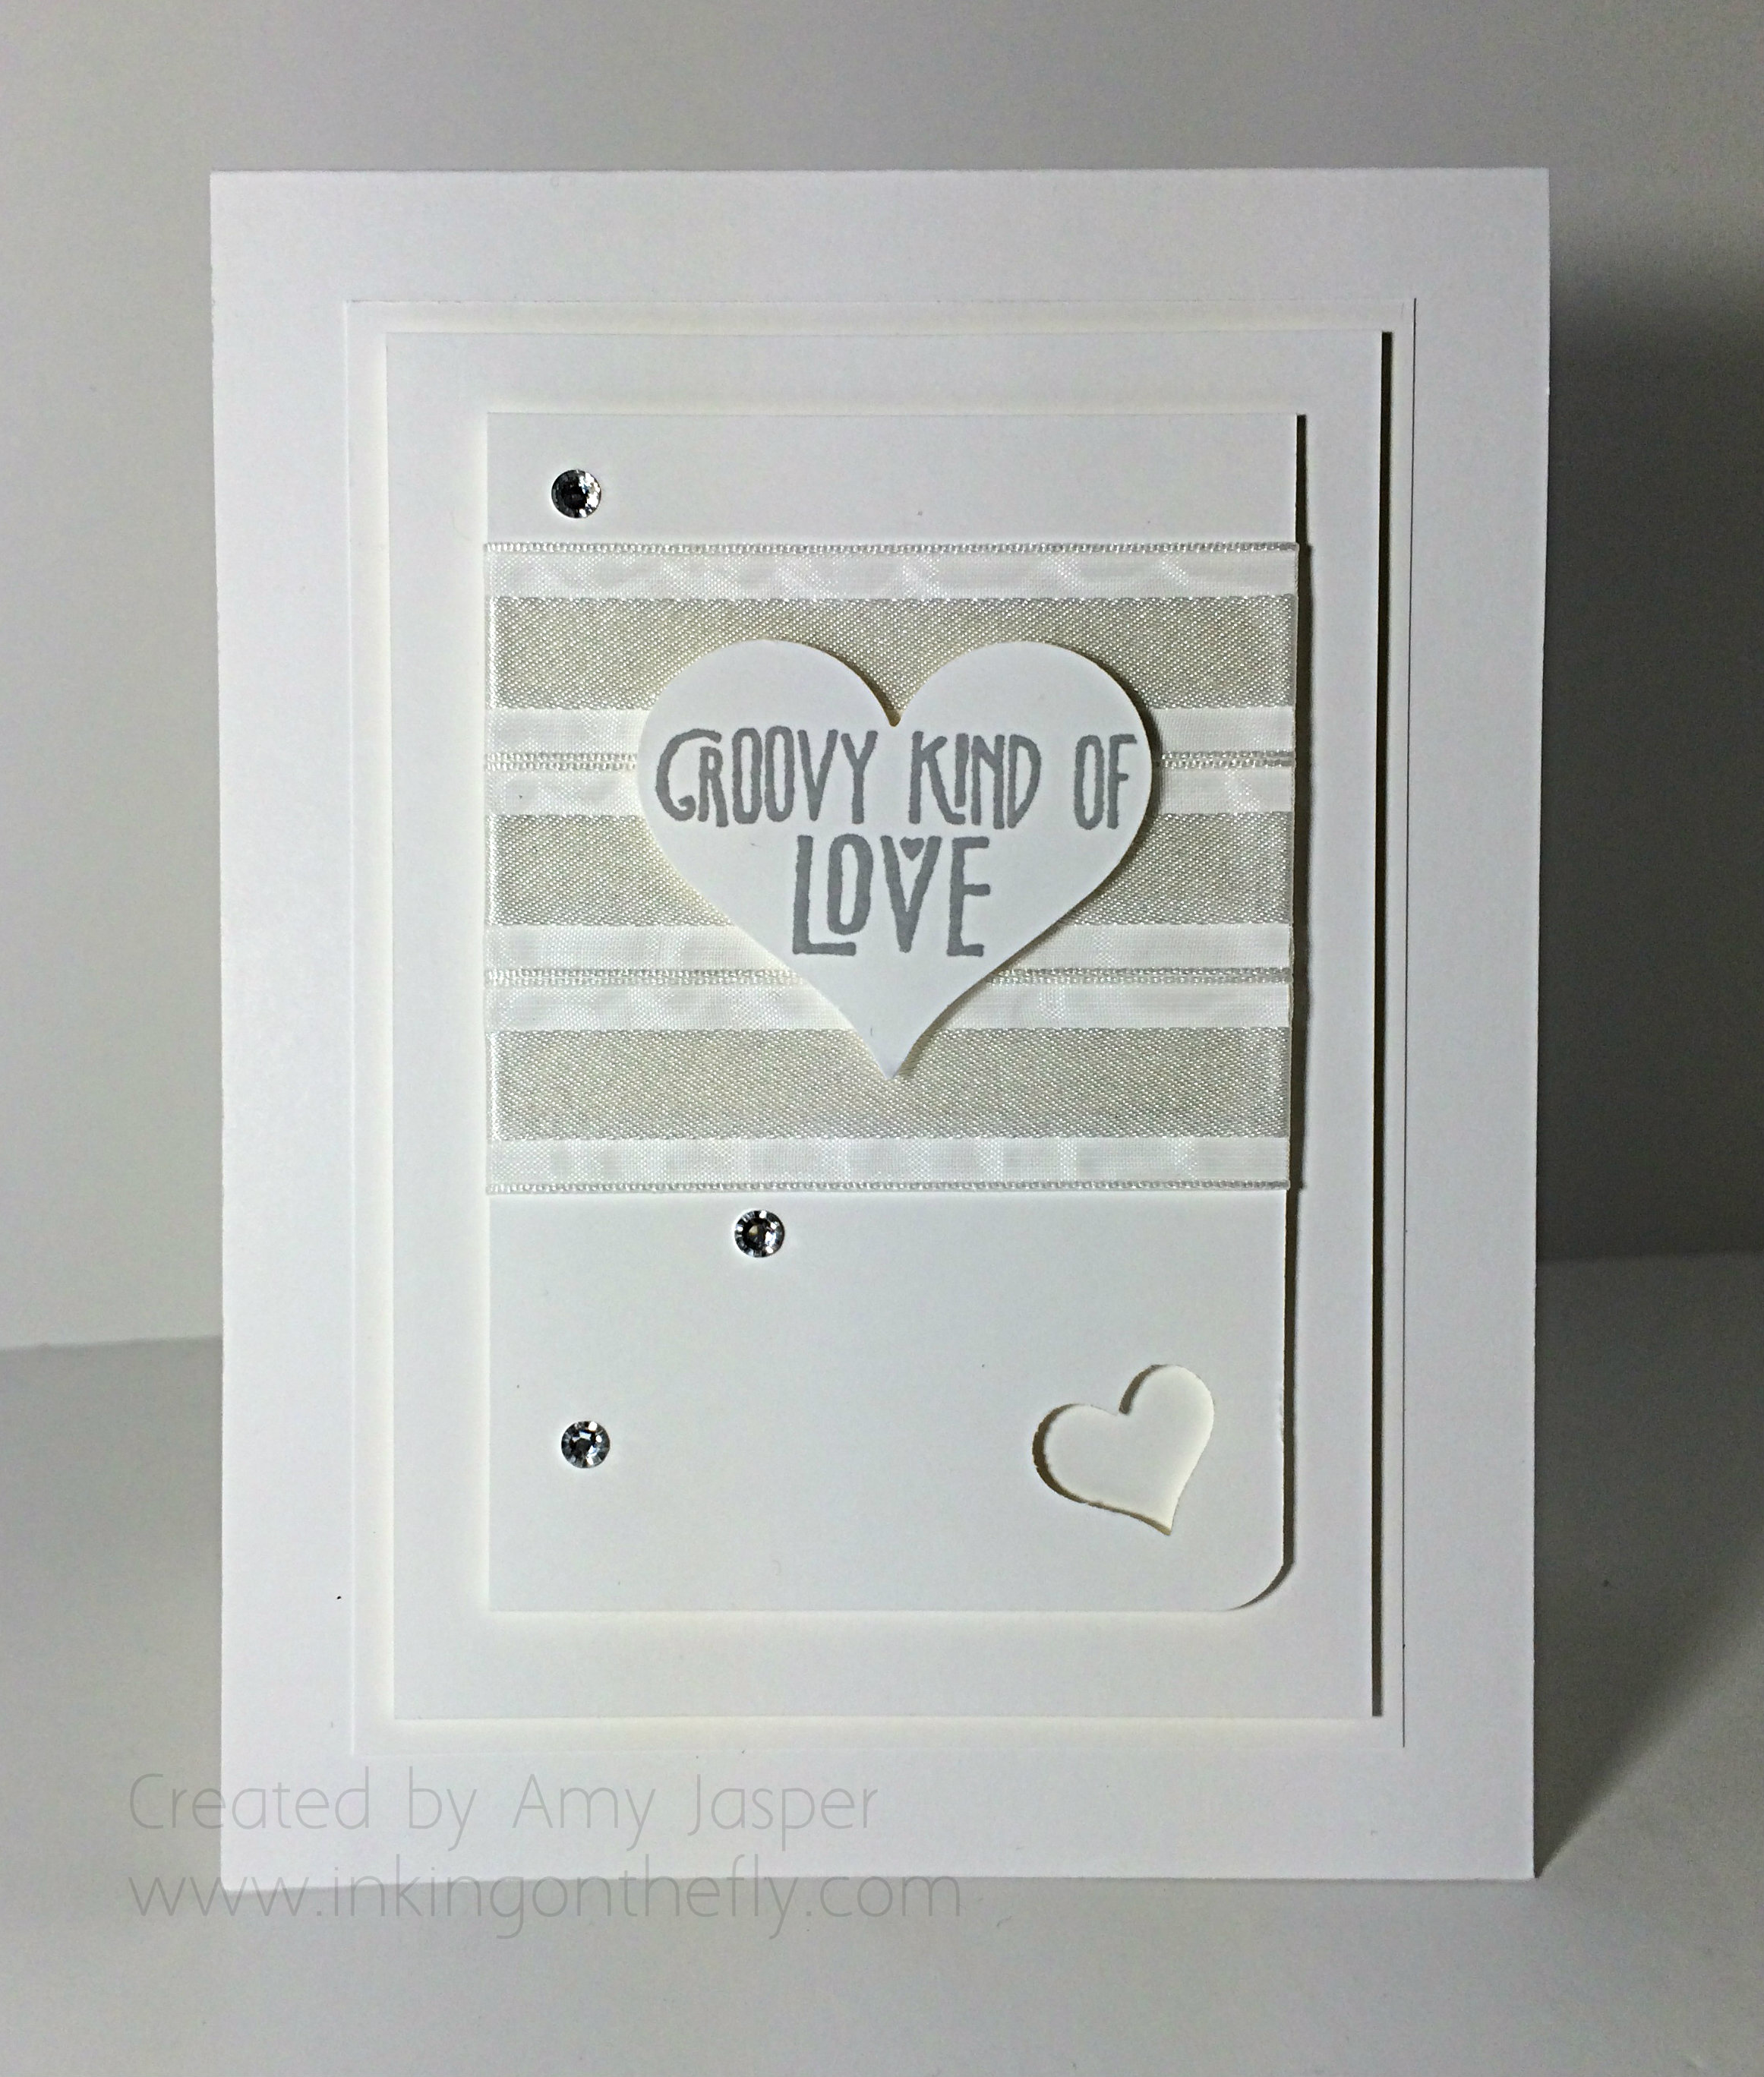
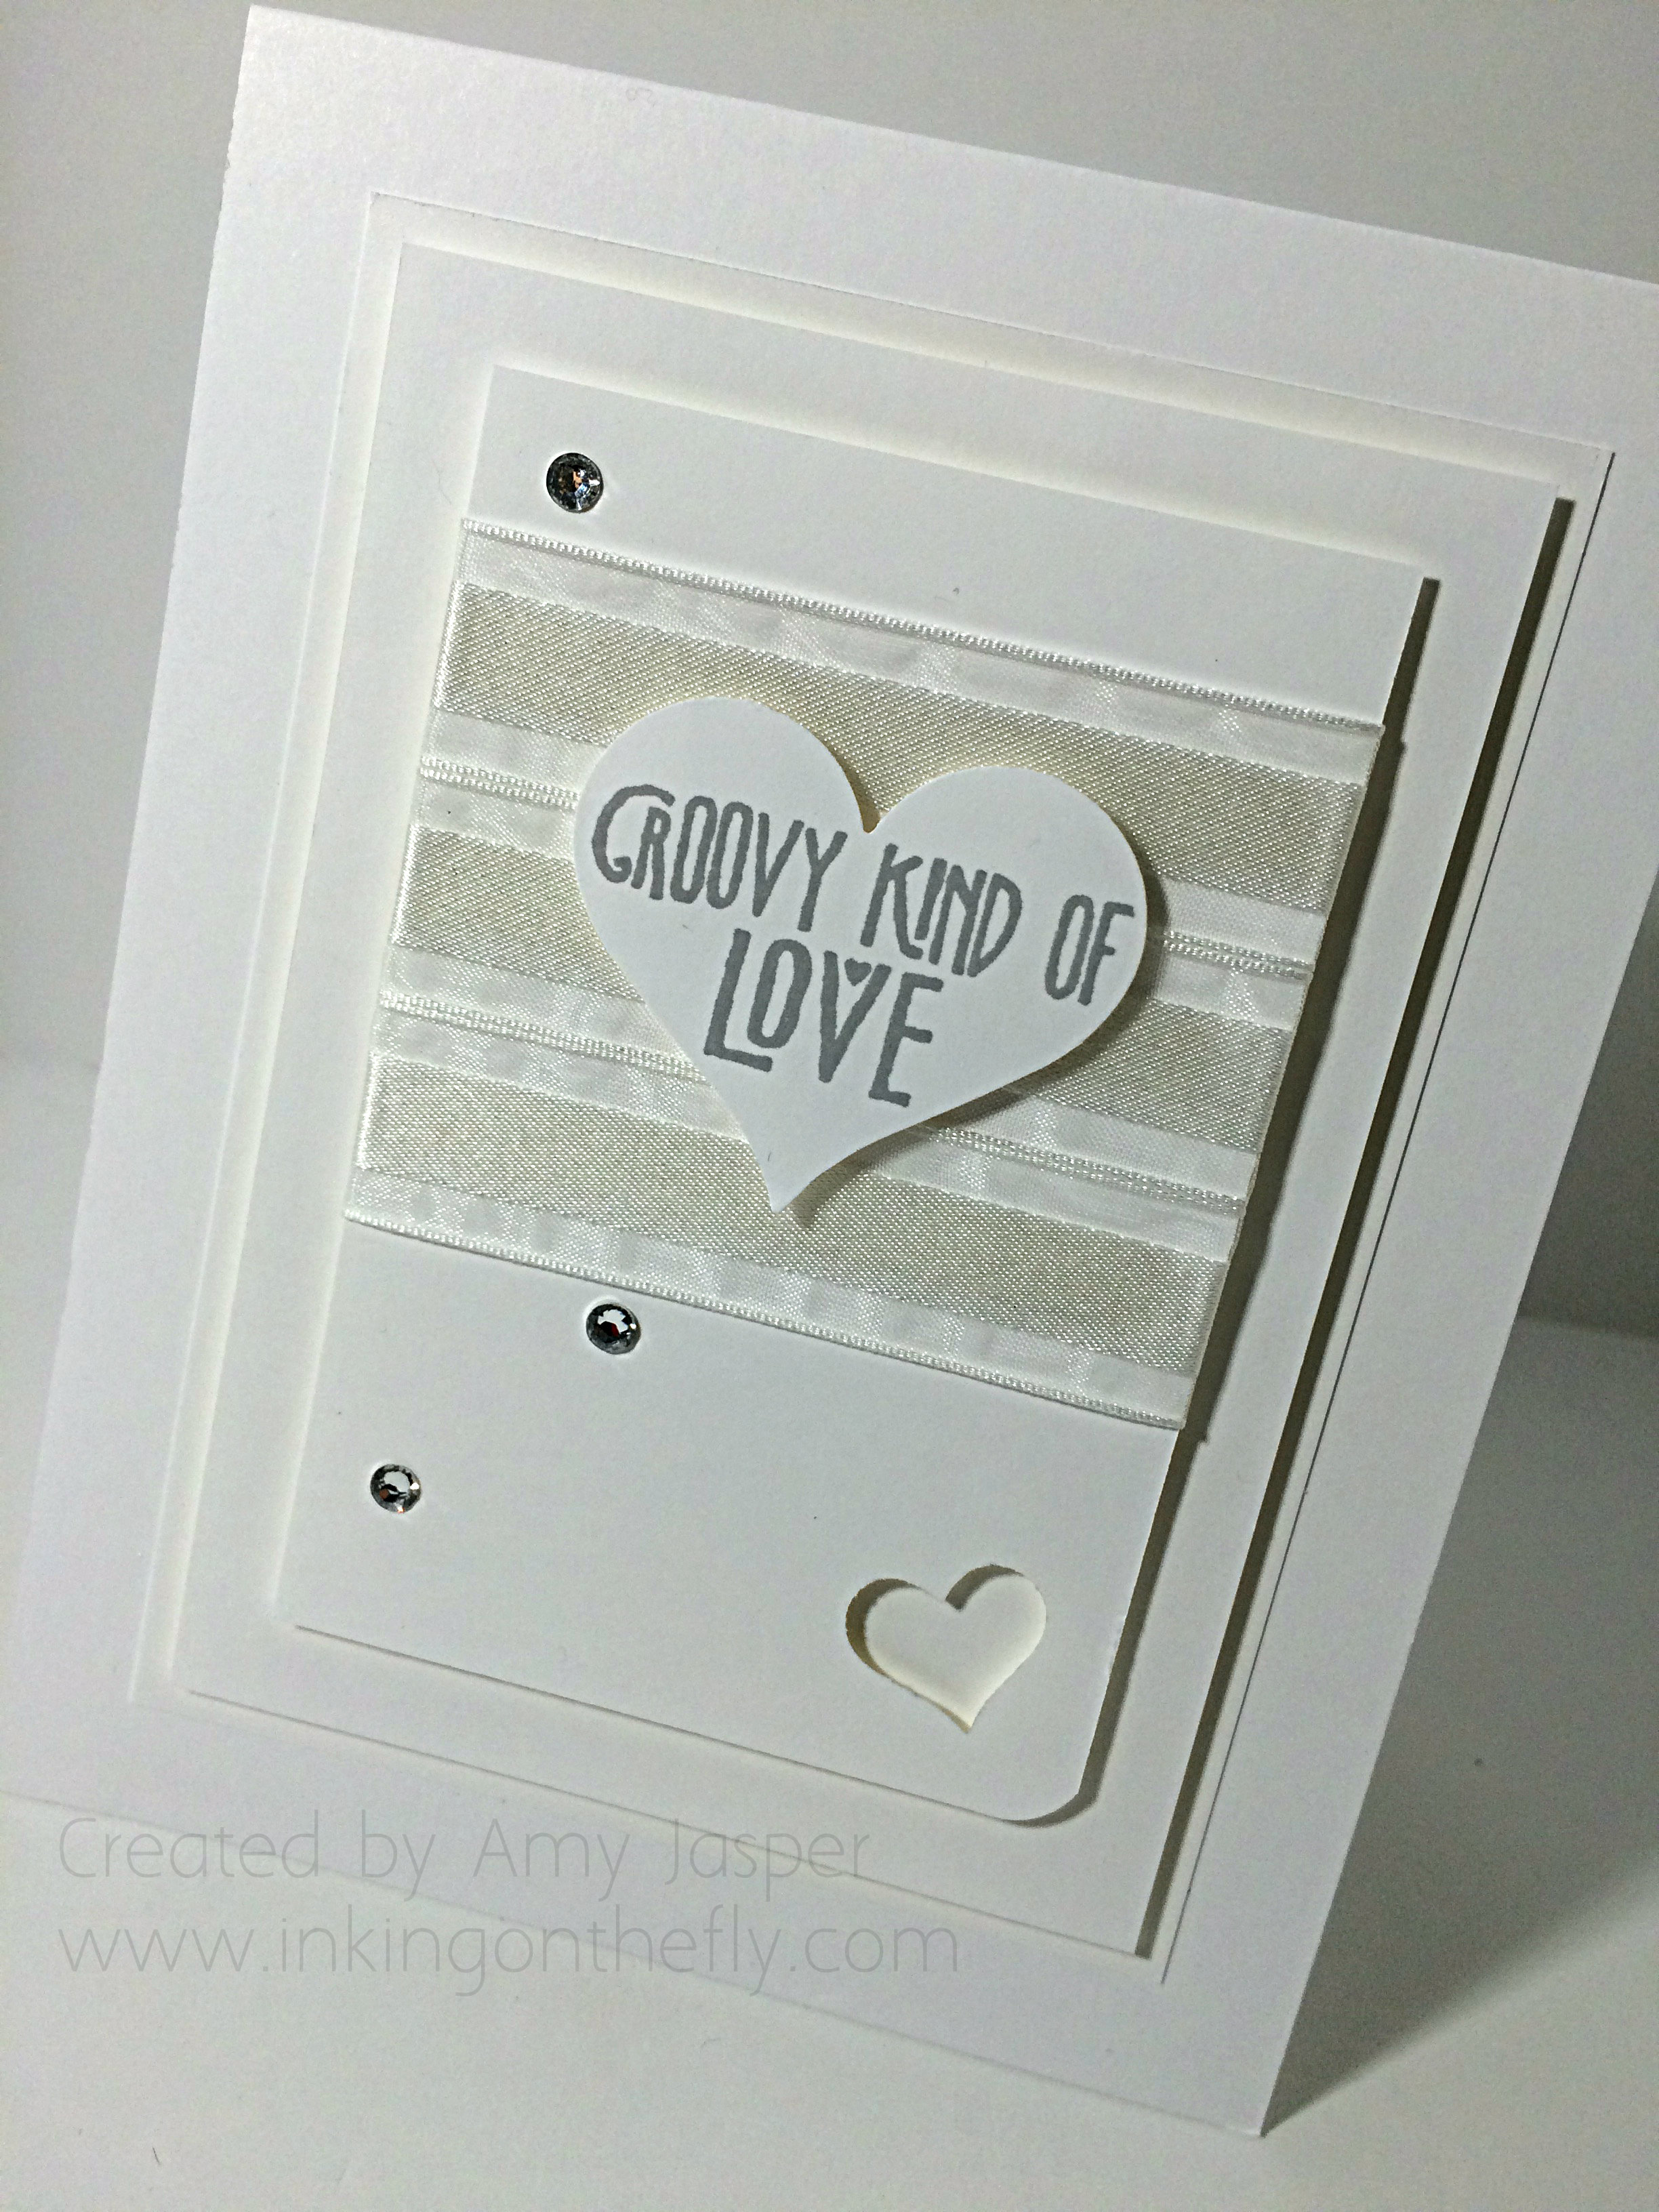
An all white card designed for the As You See It Challenge blog. I used the Groovy Love stamp set with the coordinating Sweetheart Punch from Stampin’ Up!

#67

Gotta love the strain of a speed challenge. It’s a good exercise to stretch your creativity and push yourself. These 10 minute challenges are probably the toughest for me. Having to use all white definitely added another creative stretch. Technically, you could add vanilla or grey for this challenge, since they would be considered “shades” of white, but I opted for primarily white.

067Amy

I managed to finish this card in 9 minutes and 53 seconds.  Not too bad, considering the state of my craft room and that I made the mistake of cutting my nails nice and short. (Peeling off the backing of sticky strip with no fingernails and with a time limit can be very frustrating)

The card is nice, but needed a bit of a refining, so I did a second one. See if you can spot the subtle differences and tell me which one you like better.

067Amy2

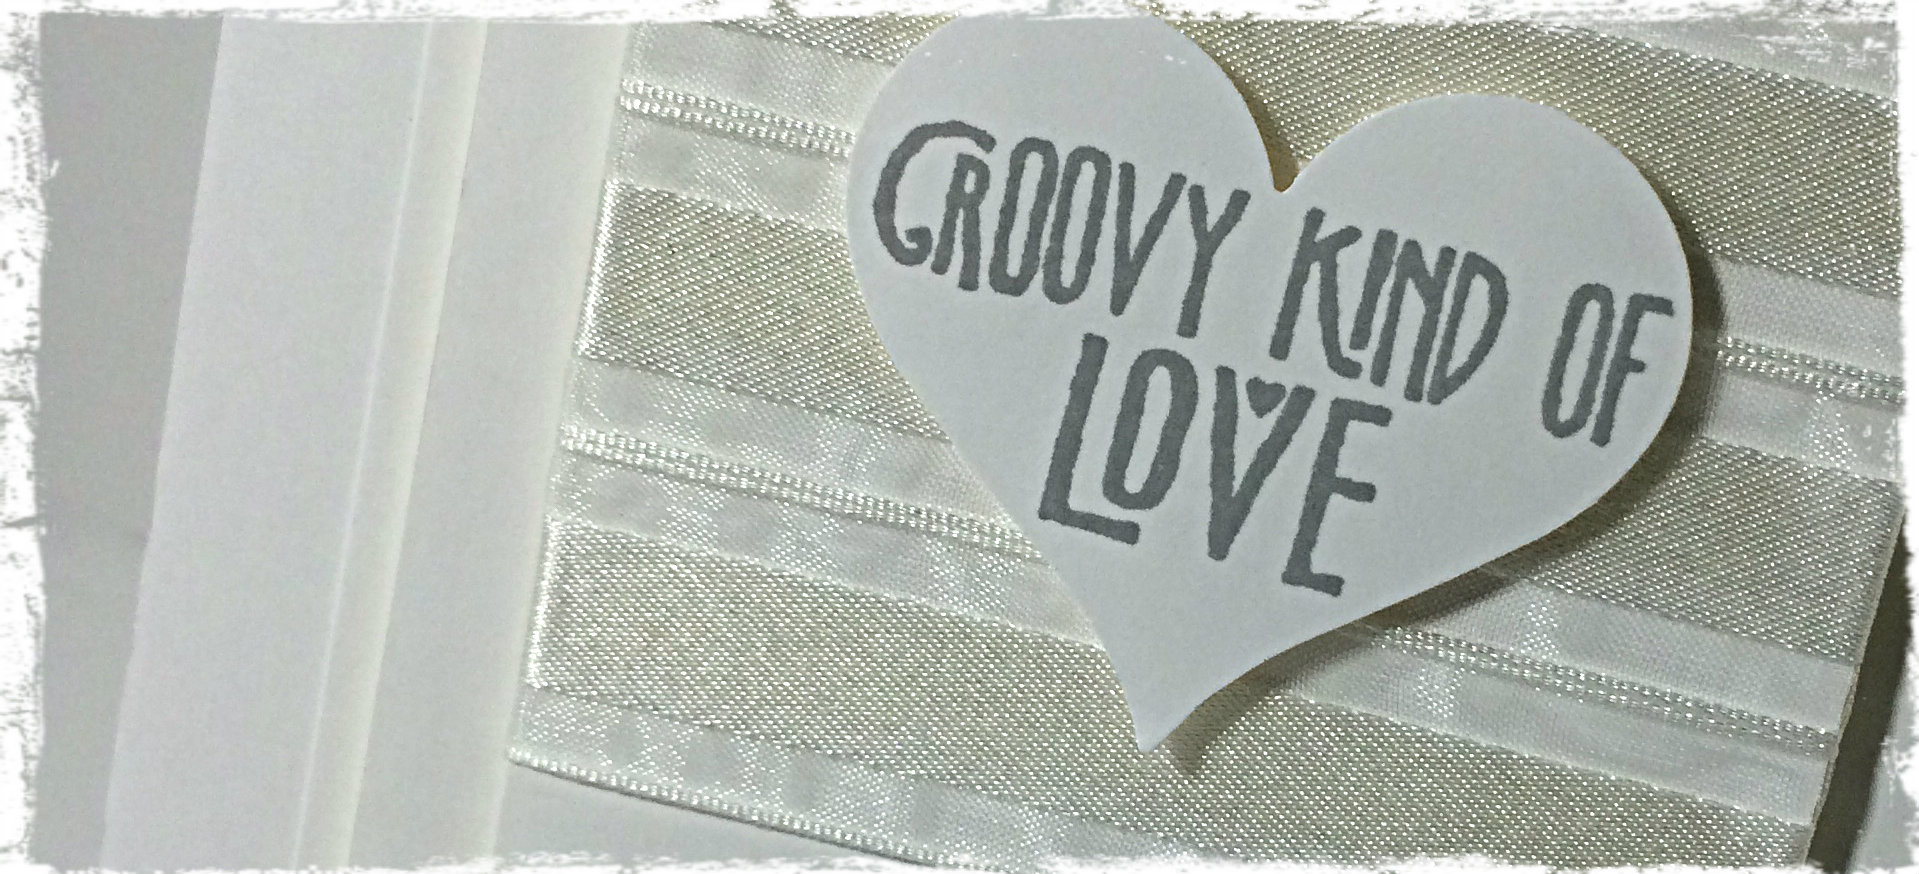
You can see that I have fewer of the Basic Rhinestones on the second card. I also only rounded one corner with my Corner Rounder punch and lowered the placement of my ribbon. I added the small heart punch from the Itty Bitty Accents Punch Pack. The biggest improvement for me was how I attached the strips of White Organza Ribbon. On the first card, I only put Sticky Strip on the back of the Whisper White Cardstock. This caused the ribbon to float a bit on the front of the card. I tried to anchor it after the fact by slipping a couple pieces of Sticky Strip underneath, but it just got more untidy. The second card used full strips of Sticky Strip across the front of the cardstock to anchor the entire length of the Organza ribbon, then a couple pieces on the back of the cardstock to secure the ends of the ribbon on the back. A much smoother and tidier finish on the second card.

Both cards have the sentiment from the Groovy Love stamp set stamped in Smoky Slate ink. Both cards have Stampin’ Up! Dimensionals under the heart, the first rectangle layer and the second rectangle layer. After all, an all-white card demands layers and texture!!

067again

By the way, did you miss me last week? With the Christmas season upon us, I just couldn’t find the time to share a project with you. Each of my 3 kids had Christmas concerts that week (separate nights), and I was shopping all week to find something to wear to my husband’s staff Christmas party.

(Me + shopping for clothes = forever!!)

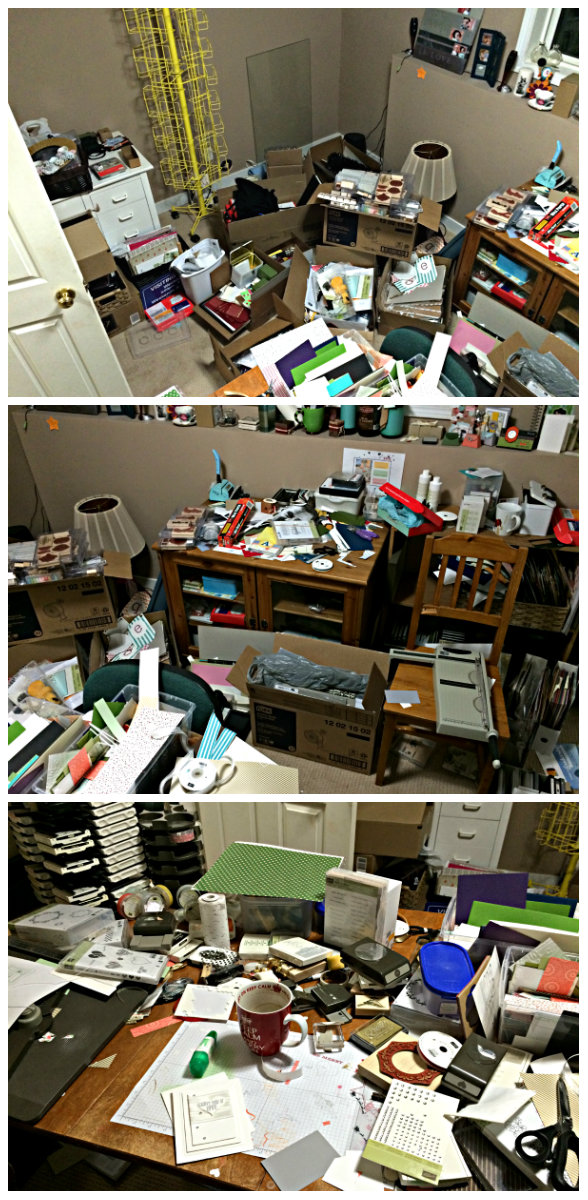
Life has been very busy. Take a look at the current state of my craft room. Consider it a representation of my head these days.

craft room chaos

I suppose you can guess what I’ll be working on the next week or two. Gotta get this room functional again before the new year!

I know how busy the season can be, but why not take a 10 minute time out from it all and make a card? Load it up to the As You See It Challenge #67 and tell us how long it took. Even if your a little bit over, that’s okay. Stretch your creative brain!

Designer-Badge


Groovy Love

041header

Welcome to my blog where I share the creations that I have designed using the tools and supplies from Stampin’ Up!

I don’t know if I ever explained why I call my blog “Inking on the Fly”. It all started with ladybugs.

I love ladybugs.

They represent the complex beauty of the great outdoors (which I also love). I have a tattoo on my right hip of a ladybug that was etched in all it’s permanency about 18 years ago and I still love it and it still suits me. My first blog was called “Ladybug Landing”, but I decided that it did not have a descriptive element to it that had anything at all to do with paper crafting and rubber stamping! So, I thought of “inking on the fly” and then dropped the “ladybug landing” part altogether when I started this new blog.

As a busy mom of 3 kids (10, 8, and 5) who also works part time and tries to maintain my stamping business, my yard, my house, and my family’s well-being, I don’t have a lot of time for creating with my craft supplies anymore. When I do have time to design, I find that it is brief and rushed more often than not. So, when I “ink”, I am often doing it “on the fly” … how does this apply to ladybugs, you ask? …. Well, they fly, too, silly!!

Here’s the challenge this week. As you See it Challenge #42

#42

I was definitely inking on the fly when I created my card for this one. We have a camping trip planned for which I have done NOTHING to prepare. I have washed a few clothes and made a grocery list and menu. I have not packed ANYTHING! I guess inking isn’t the only thing I do on the fly, lol!

042Amy

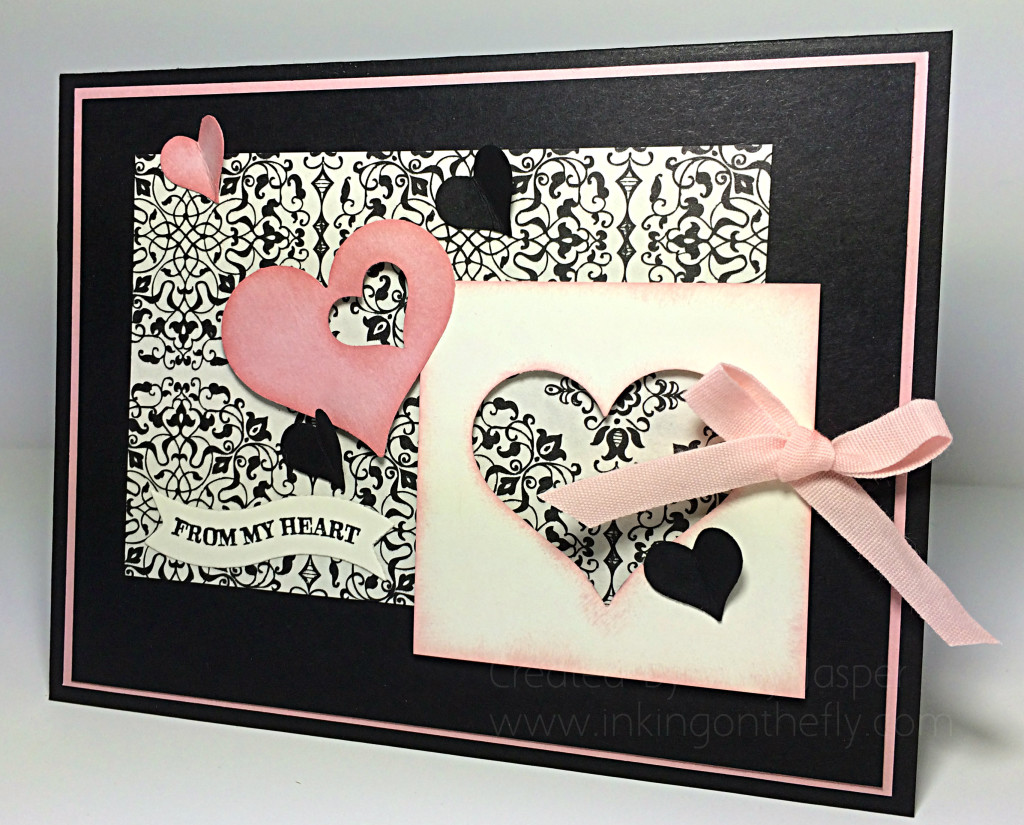
Ain’t it purdy!!

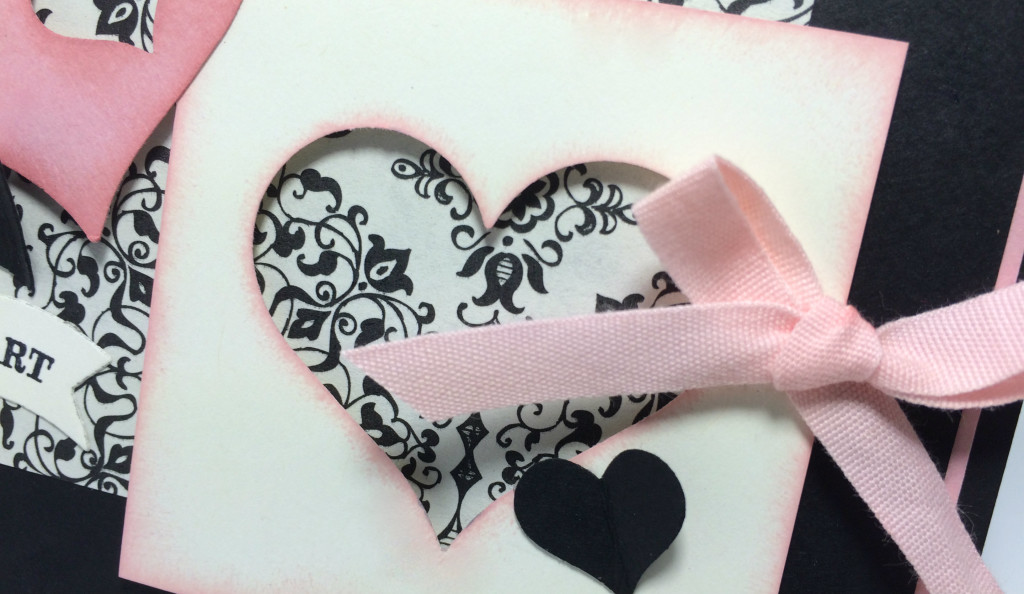
Notice the new 1/4″ Blushing Bride Cotton Ribbon and the new Sweetheart Punches? The little punch is from the Itty Bitty Accents Punch Pack. The big heart is all on its own. Both have that sweet little curved tip on their tails – I guess that’s the “sweet” part of the sweethearts.

I used Basic Black cardstock for my card base, then a layer of Blushing Bride cardstock to thinly frame another layer of Basic Black. Over this, I placed a rectangular piece of the fabulous Typeset Specialty Designer Paper. Then I played with the hearts!

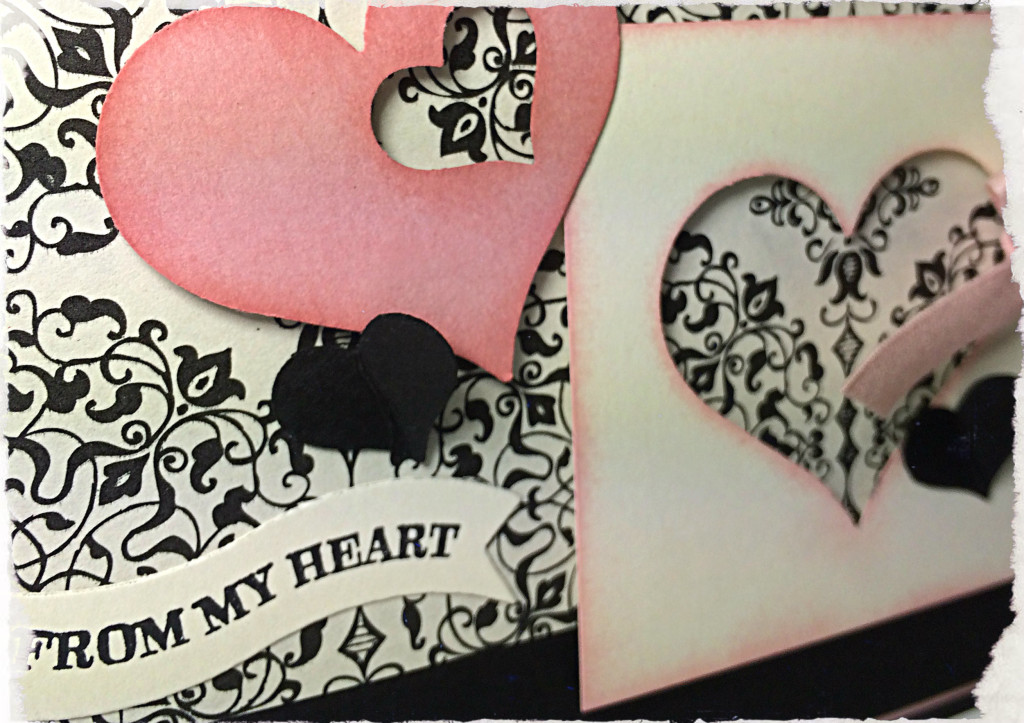
I punched a Sweetheart from the square piece of Very Vanilla cardstock and sponged lightly with my sponge dauber and Blushing Bride ink around all the edges. I tied the ribbon through the punched out heart and attached the Vanilla cardstock piece with Stampin’ Up Dimensionals to the card front.

042 heartclose

The small heart punch from the Itty Bitty Accents punch pack was used for all of the small hearts. I sponged Blushing Bride ink over the edges of those that were punched from the Blushing Bride cardstock. The large Blushing Bride heart is attached with Dimensionals while the small hearts were each creased in the middle and only attached to the card by the left lobe of the heart.

Finally, I added the sentiment from the Groovy Love stamp set. I stamped it on Very Vanilla cardstock with Stazon Black ink and die cut it in my Big Shot with the Bitty Banners framelits that matched the shape.

I hope you like it.

I’m sorry that I haven’t posted what the winner receives for her prize from my draw. I will have to post that after the weekend. I’m doing too many things on the fly these days, lol!

Go on over to www.asyouseeitchallenge.com and have a look. There is a new challenge every Friday for you to stretch your creative muscles on. See what you can come up with for the sketch this week and follow the directions to link it before Wednesday night. We want to be inspired by the way you see it!

(do you sometimes ink on the fly, too?)


Amy


Designer-Badge