thinlits

Speedy Colour Blocking

095header

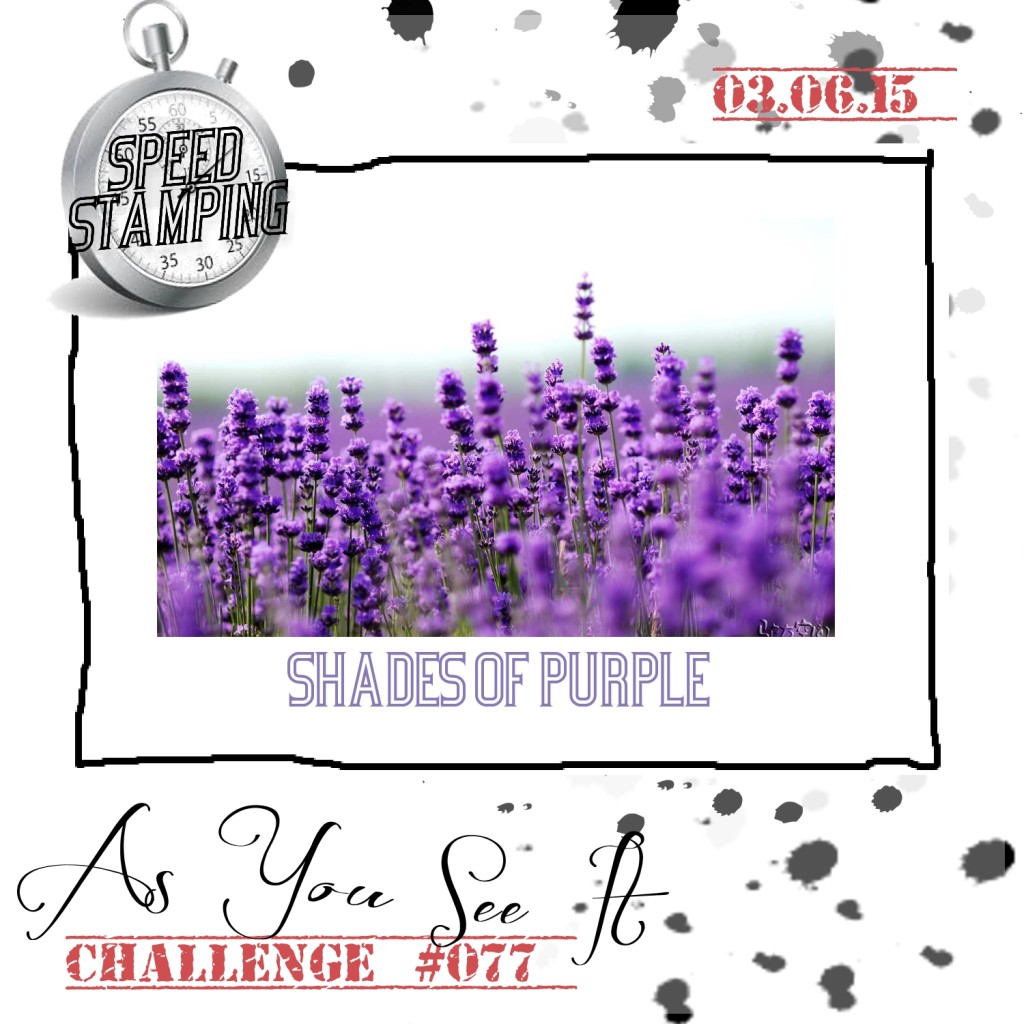
I love speed stamping! It gets the heart pumping and pushes my creativity! Today’s challenge is all about shades of pink! Can you make a card in under 10 minutes? It’s tough, but I’m proud to say that I did it just under the wire at 9 minutes and 59 seconds! Phew!

AYSIChallenge095-1024x1024

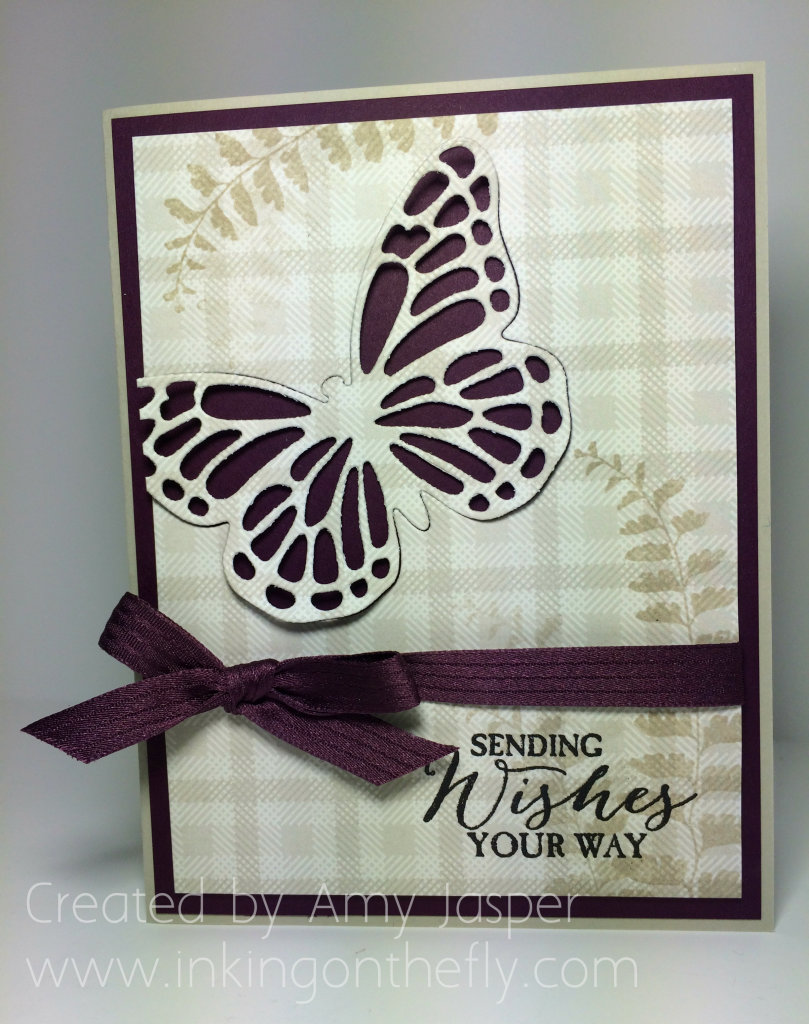
I decided to do colour blocking with my pink cardstock. Here’s what I came up with:

095Amyspeed

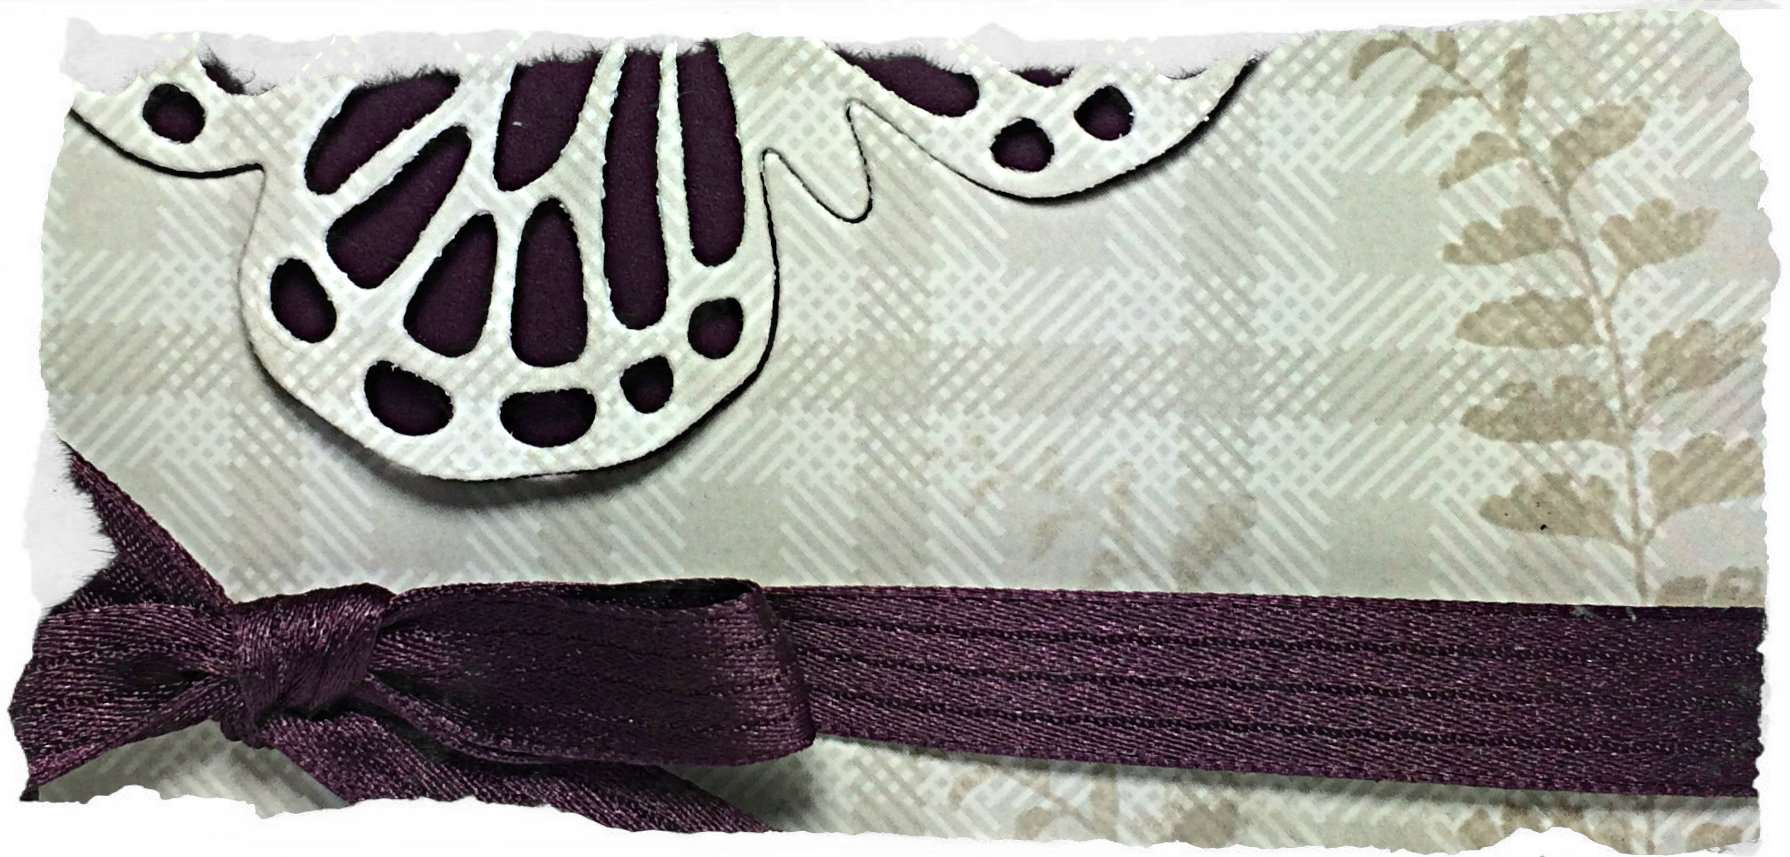
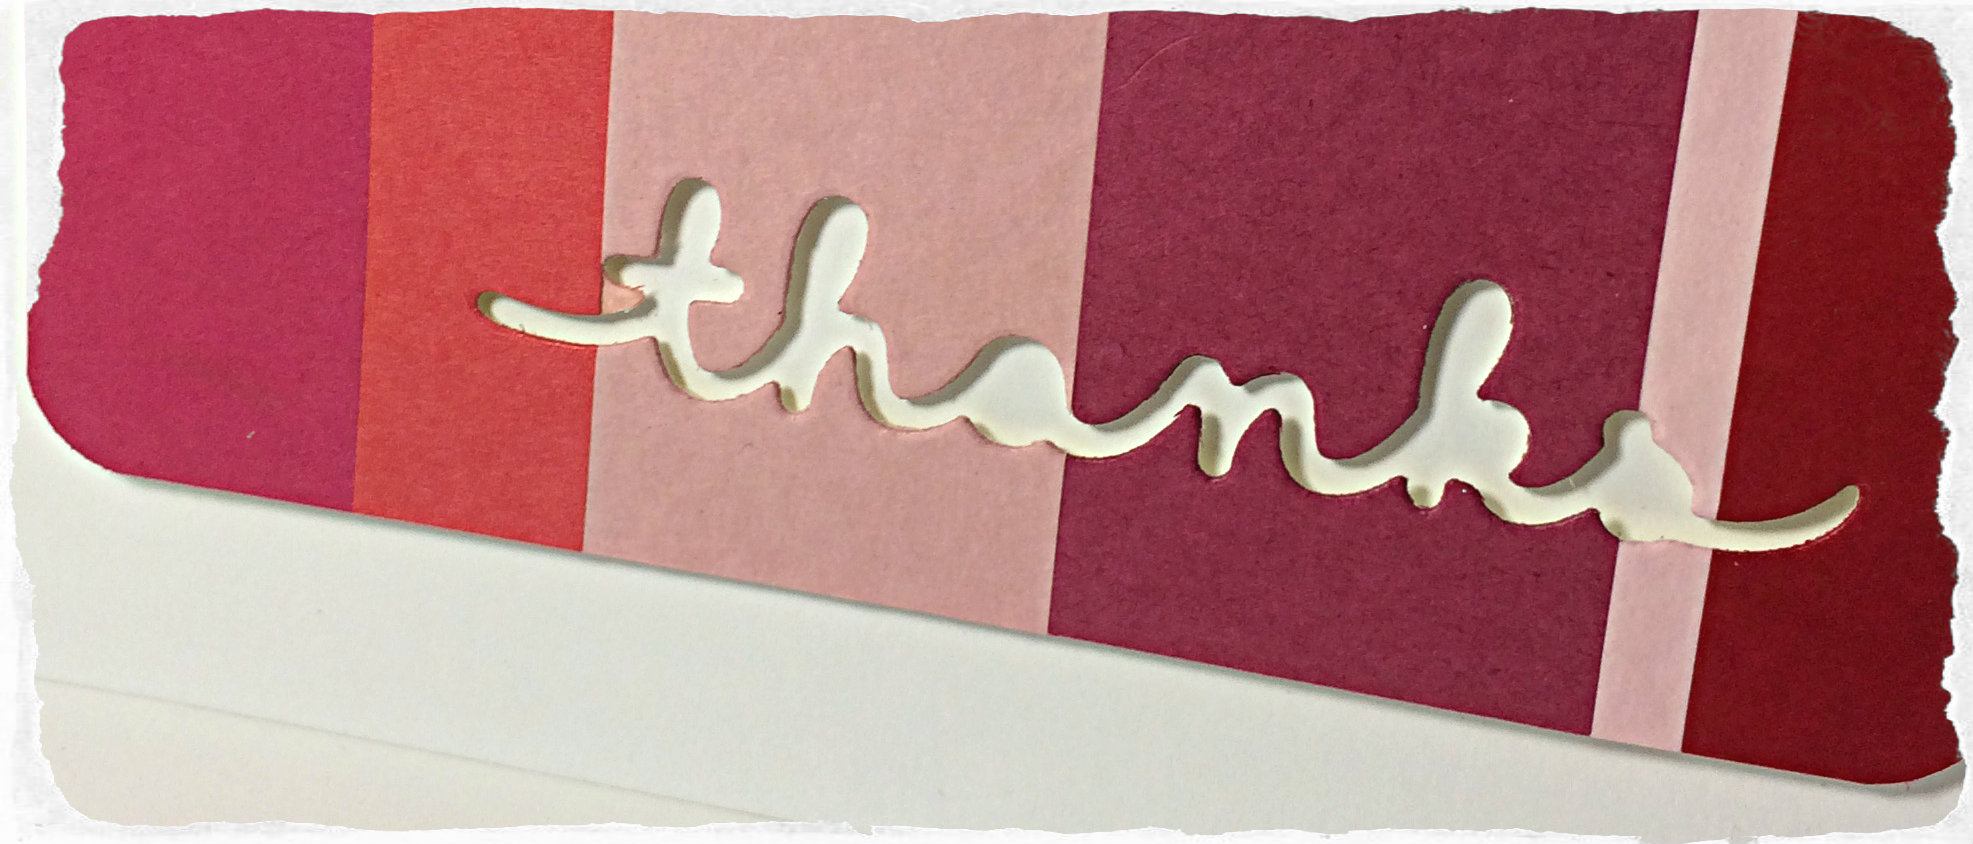
I probably would have done it in less time had I not had a minor issue with my big shot and then stuck my colourful layer down crooked! I’m pleased with the overall look of the card, but thought it needed one more thing. Can you see the difference?

095Amy

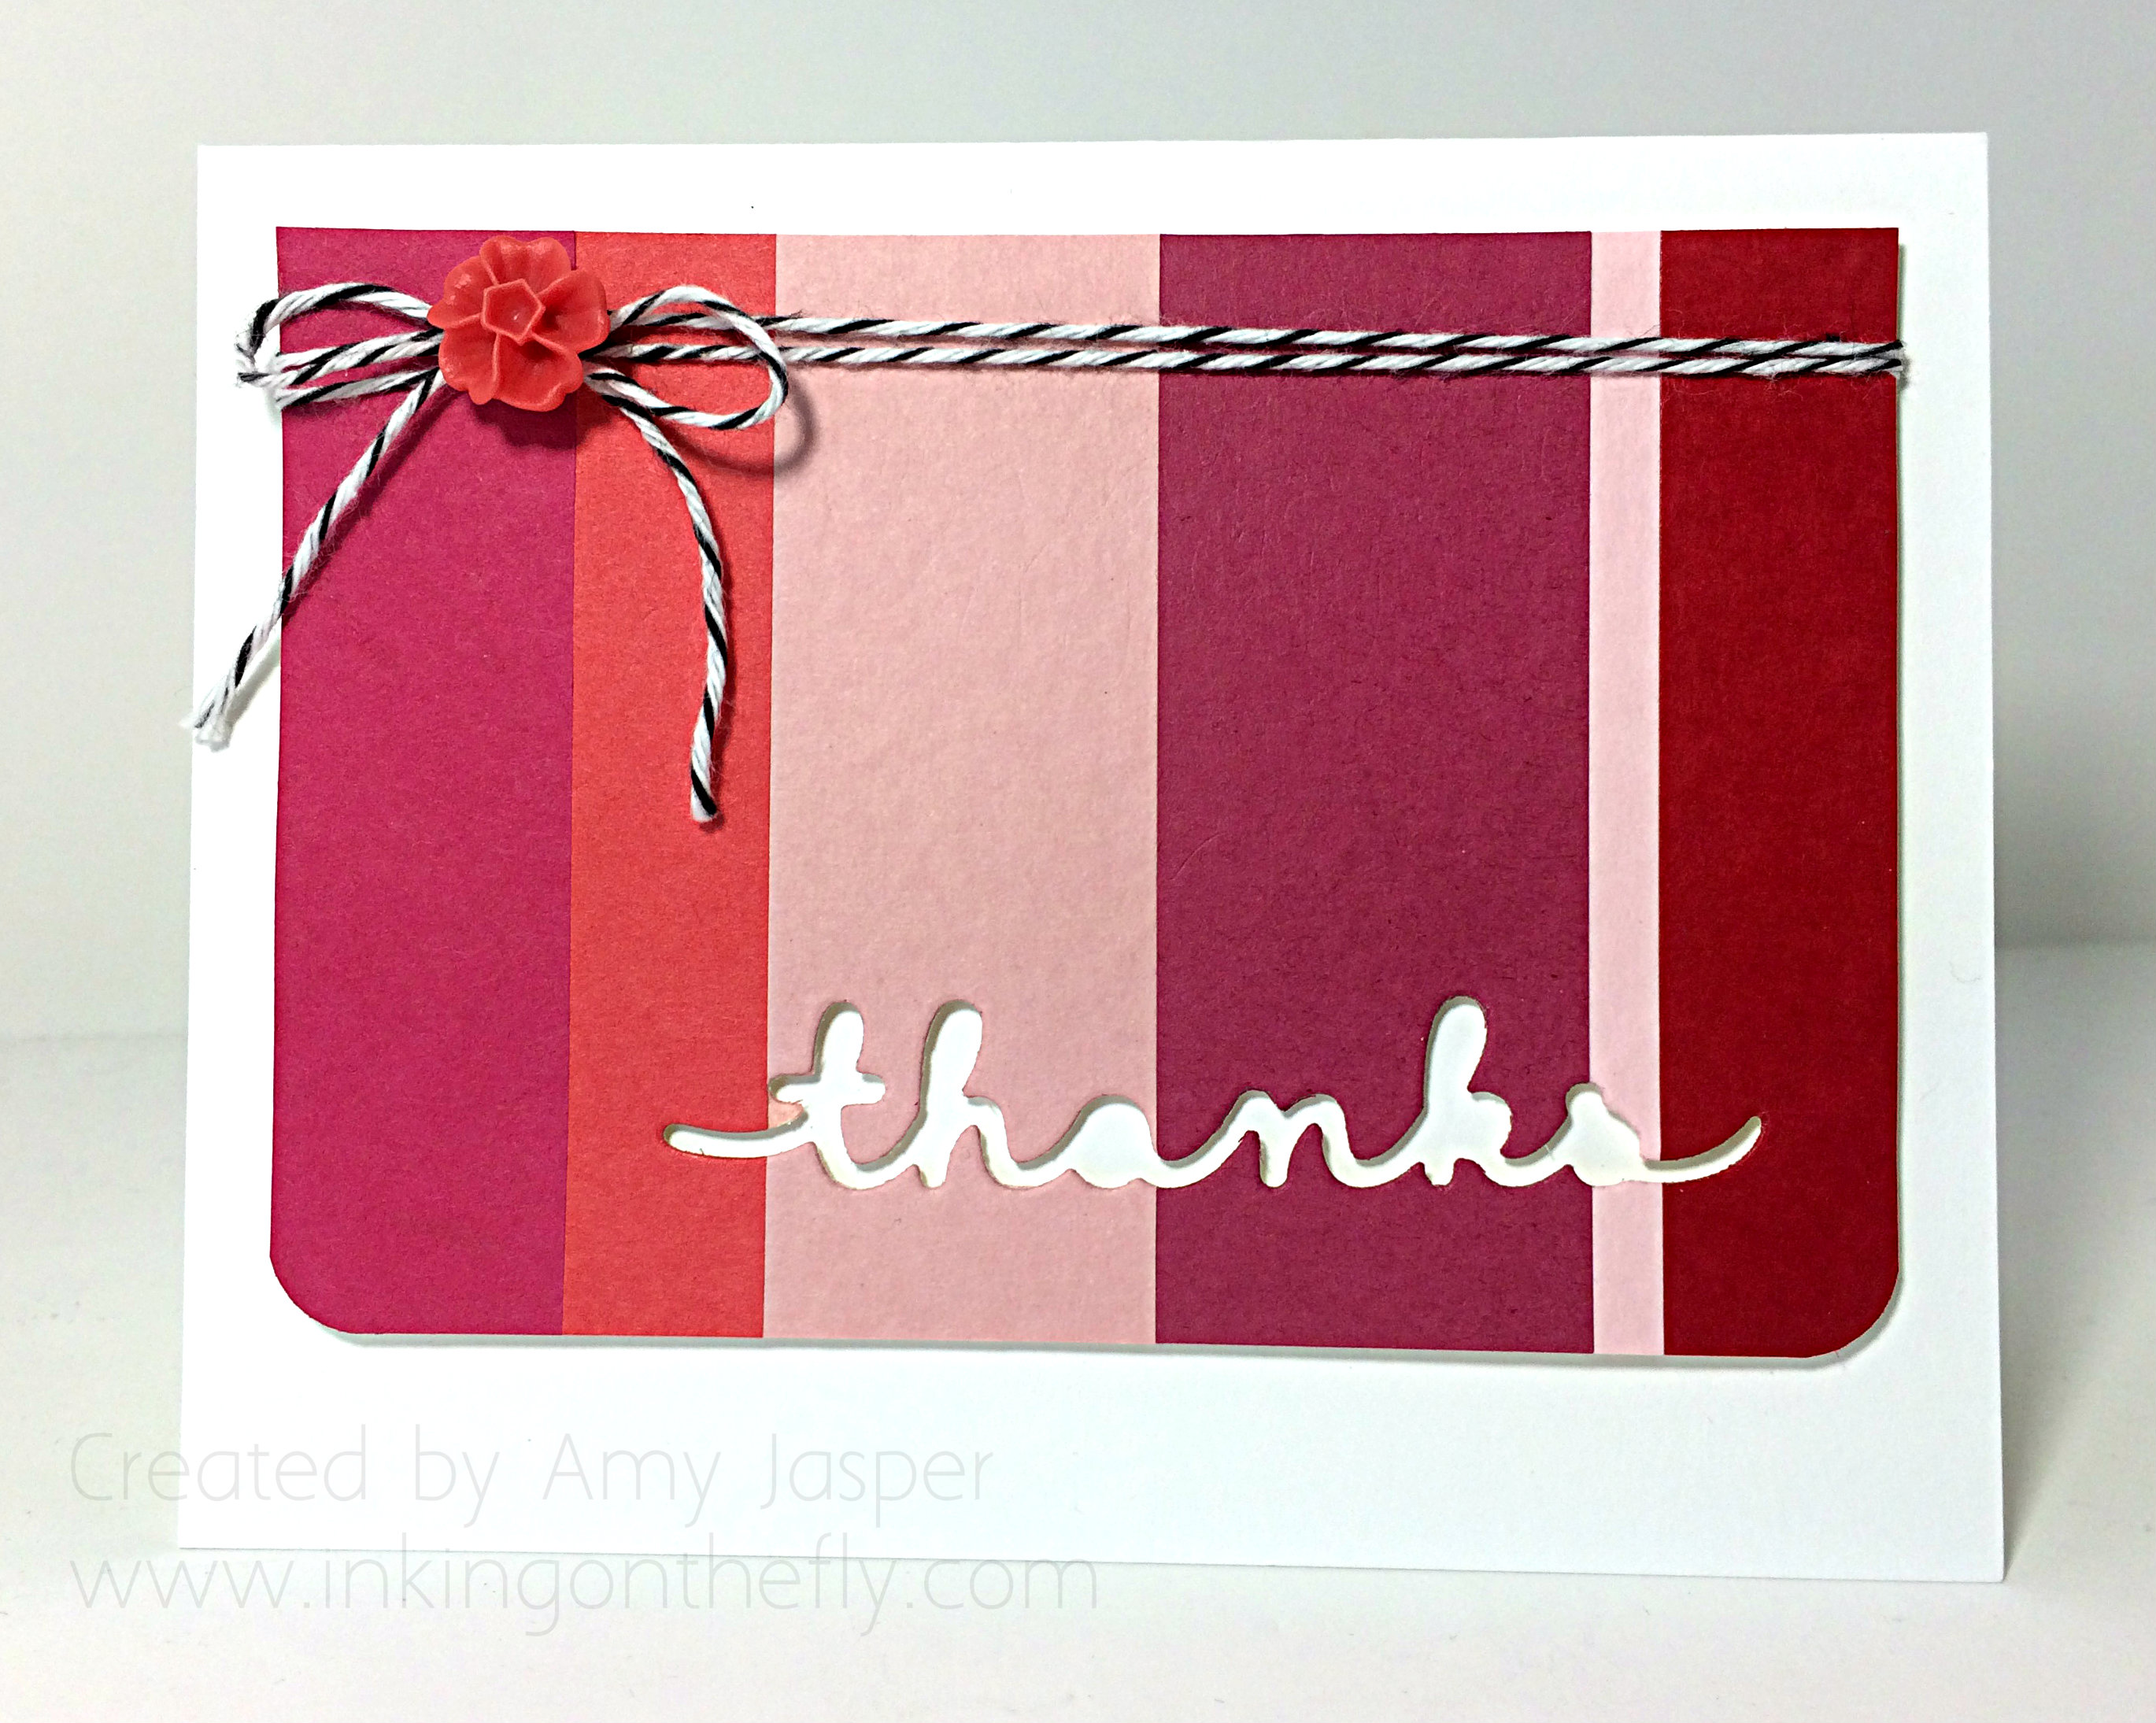
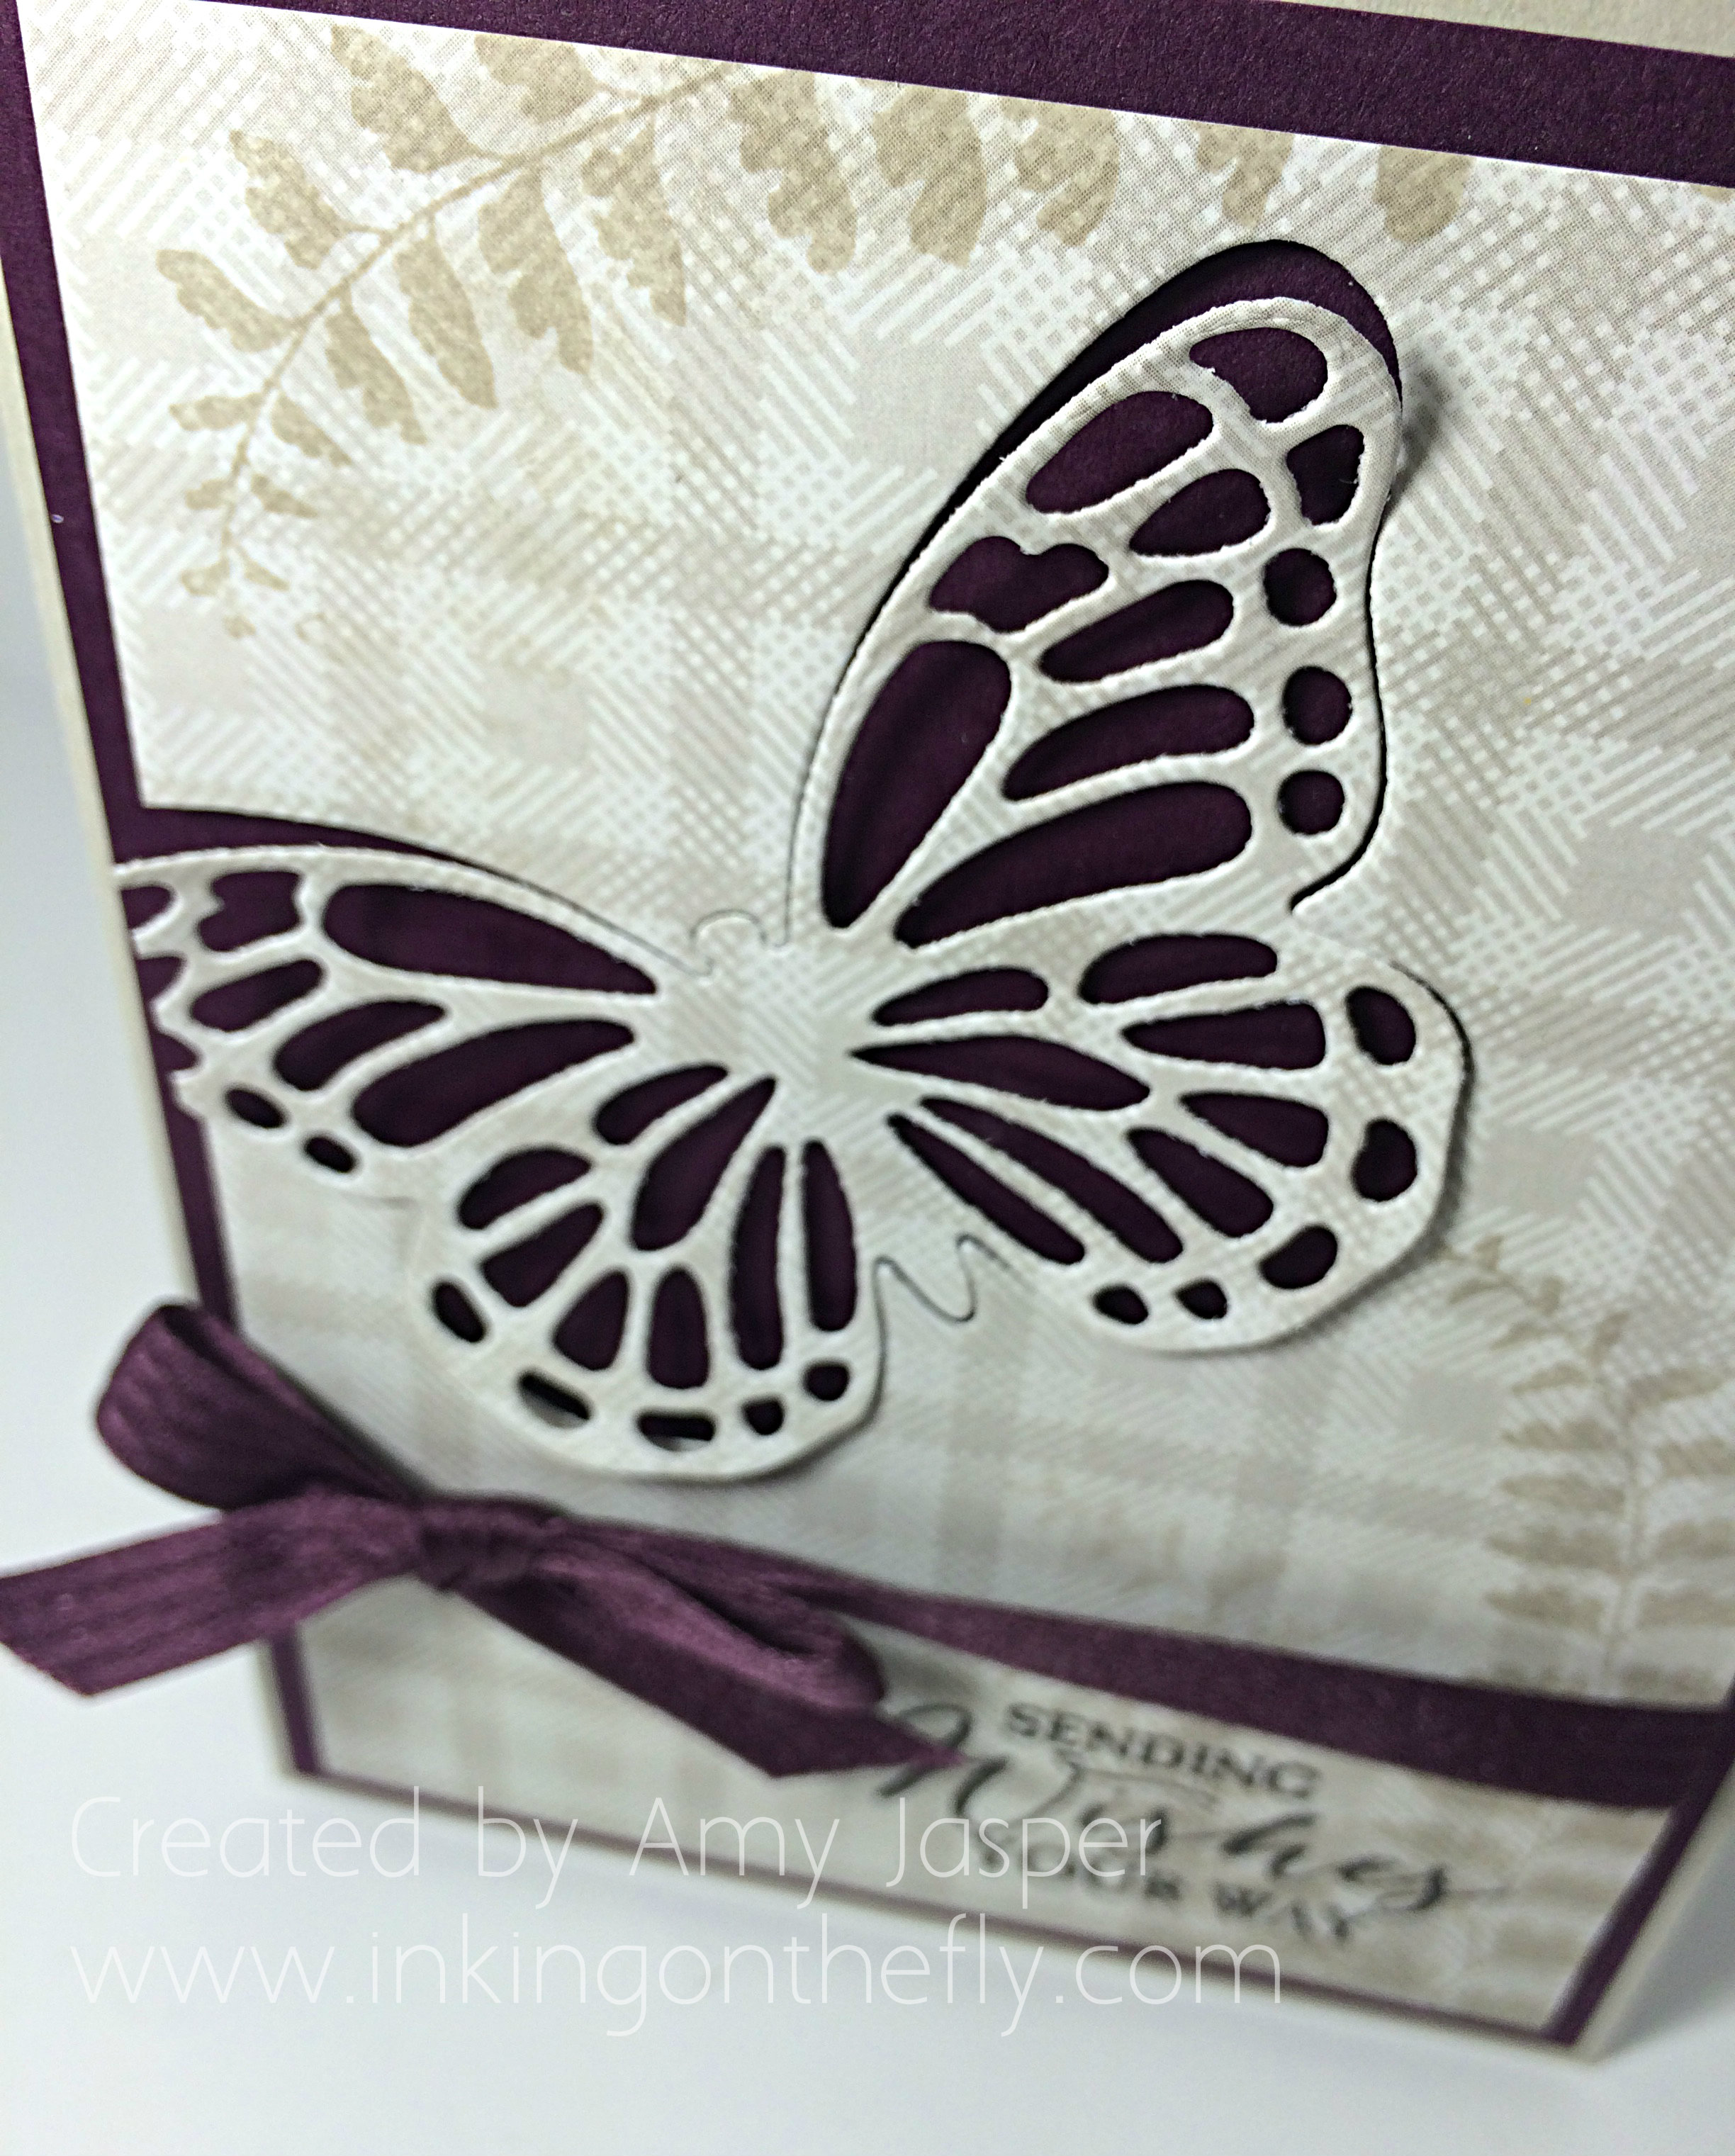
The Blossom Accent in Watermelon Wonder adds a lot to the design, I think.

The card base is the Thick Whisper White cardstock (love this!). To a piece of Whisper White cardstock, I added strips of coloured cardstock (shades of pink) including Melon Mambo, Watermelon Wonder, Blushing Bride, Rose Red, Pink Pirouette, and Real Red (yes, red is a shade of pink … a very dark shade of pink). Then I trimmed it down to the size that I wanted it and ran it through the Big Shot with the ‘thanks’ from the Greetings Thinlits. The two bottom corners were rounded with the Project Life corner rounder punch and the Black Baker’s Twine was wrapped around this piece of cardstock for added interest and texture. That entire layer was then adhered to the card base with Stampin’ Up Dimensionals.

095side
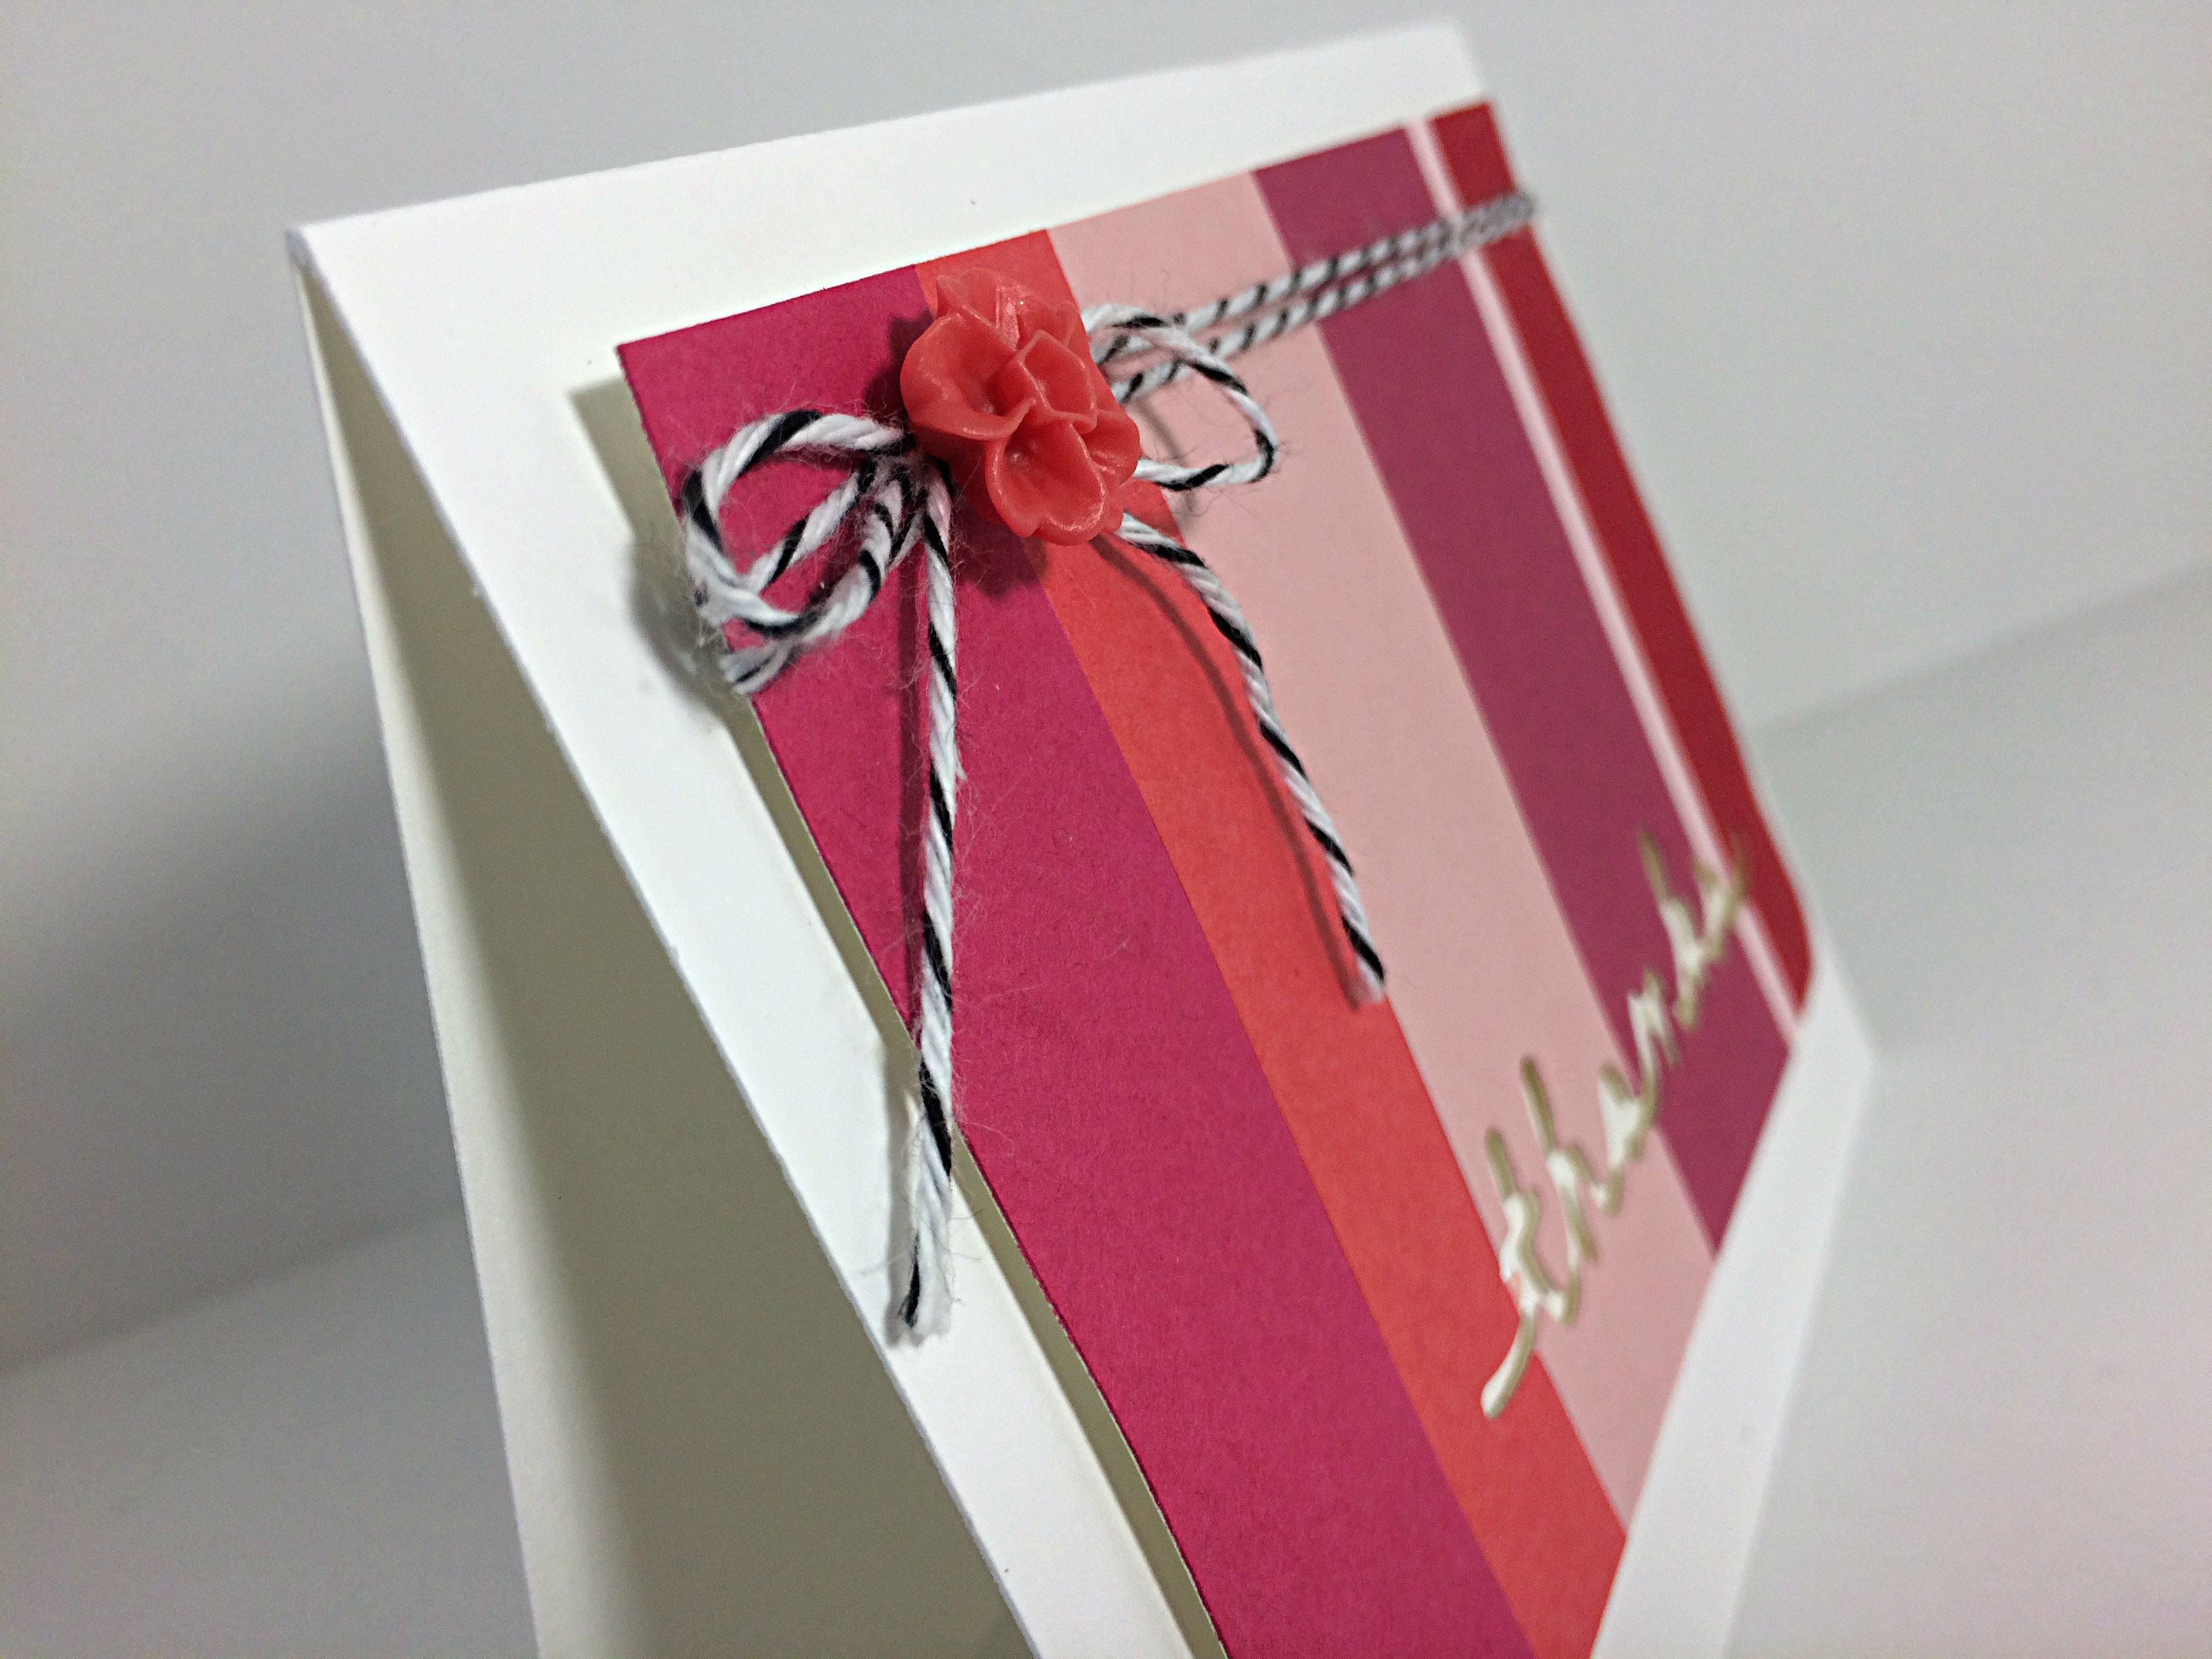
And the beautiful Blossom Accent was added after my 10 minute mark was done.

That’s it. Easy Peasy.

You should try this challenge. Seriously! This is such a good exercise to help you get your creative mojo going. Even if you absolutely HATE your card when you’re done, it can spur on some new creative flow and teach you to be more efficient in the future.

Give it a try and show it off on the As You See It Challenge blog so we can see what you’ve created!

Amy

Butterfly Bliss

077header

Oh, speed challenges, how I love thee. Let me count the ways: I love you because you are quick; I love you that you push me; I love you that you’re quick; I love that I have time for you; I love that you are simple; I love that you are quick!!

My card today was designed for the As You See It Challenge Blog. The challenge is to create a card from start to finish in 10 minutes or less!! Can you do it? I’m usually just under the wire and find it very challenging. My design style is very … involved. Making a quick card is NOT my usual style at all! But I love that these challenges stretch me and force me to do something simpler. Sometimes I’m very unhappy with my final results, but today, I quite like how it turned out.

Here’s the speed challenge theme:

AYSIChallenge077-1024x1024

I decided to try working with a cute technique I saw using the Butterflies Thinlits. The card I saw was simple white cardstock, that had the butterfly cut out of it, then put back in place so that a colourful patterned paper showed through the detailing of the wings. I thought I would turn it inside out just a little bit and have the patterned paper on the topmost layer, with the solid colour showing through. Of course, if I HAVE to use purple (not my favourite for cards), I choose to use the gorgeous, rich, Blackberry Bliss!

#inkingonthefly

9:47

Blackberry Bliss is very striking along side the soft neutral tone of Sahara Sand, so I chose one of the patterned papers from the Adventure Bound Designer Series Paper Stack that has a nice tone-on-tone plaid pattern. This I stamped with the leaf image in Sahara Sand, then thoroughly rubbed my Embossing Buddy over the paper before stamping the sentiment in Versamark ink and heating the applied Black Embossing Powder with my Heat Tool.

Once all the stamping was taken care of, I grabbed my butterfly die and headed on over to my Big Shot to cut it out from the stamped patterned paper. The Blackberry Bliss Satin Ribbon is wrapped around this paper and tied in a bow, then applied to the Blackberry Bliss cardstock layer with many Stampin’ Dimensionals (thin paper that has been heated for embossing, tends to get a bit curvy and needs support). Next, half of a Stampin’ Dimensional was used to attach the cut out butterfly back into its place in the patterned paper. And, finally, all that is attached to the Sahara Sand card base.

077butterfly

Love it, love it, love it. Simple, pretty, elegant, and QUICK!! I could easily whip up a bunch of these in different colour combinations and package them up to give away as a gift. Hmm. Maybe I’ll do just that!

I hope you’ll give the speed challenge a try and share your finished result on the As You See It Challenge Blog. I’d love to see what you do with purple!

Amy

Designer-Badge

Sweet Birthday

074header

What!!? It’s Friday again?!!

The weeks just fly by with my goals for things-to-complete left far far behind! I bought a magnet for my fridge that says this:

mayans


So, maybe I didn’t get my craft room cleaned up. Maybe I didn’t get around to getting ahead on any craft projects. Maybe next week will be better … or maybe it won’t. But, you know what? The world keeps turning, which means I get another chance to get those things done.

1. Set a goal

2. Don’t reach goal

3. Revise goal

4. Repeat as needed

Here’s a simple and appropriate theme challenge in the week with Valentine’s Day:

#74

My card is simple, but uses a technique that I saw shared by Jennifer Timko. I have her adorable project pinned on my Papercrafting Ideas Pinterest board HERE. She has a tutorial video to help you create the look with the letters as I have done in my card for the challenge.

074Amy

I have to admit, that the big chocolate on the front of this card made it off-balance and impossible to stand on its own. In hindsight, I would have used my 1-3/4″ circle punch on the front of the card to allow the chocolate to be adhered inside the card in such a way that it would peek-a-boo through the circle. Then the weight would be more centered in the card base.

Here’s the card without the chocolate heart. Still cute.

074Amycandyfree

I used Pistachio Pudding cardstock for the card base, then there is a thin matt layer of Strawberry Slush cardstock. The patterned paper is a sheet from the Gold Soiree Specialty Designer Series paper. This paper has a unique, almost plastic or magazine glossy finish to it, giving it a wonderful, professional finish for your projects. The Little Letter thinlits were partially cut from the Strawberry Slush cardstock top layer that was stamped with the “birthday girl” image from the Hooray It’s Your Day photopolymer stamp set.

The Gold Bakers Twine is wrapped and tied around the three top layers before they were adhered to the card base with Stampin’ Up Dimensionals. The candy heart was attached with many Glue Dots to make sure it was secured well to the card.

I hope you try this theme challenge over at As You See It this week. So many ways to interpret themes! You could do a card, a 3D project, home decor, or anything to do with “sweet”. Babies are sweet. Success is sweet. Cupcakes are sweet. So many paper-crafting possibilities!!

Happy crafting!

Amy

Designer-Badge