Posts by Amy Jasper:

Moose Birthday

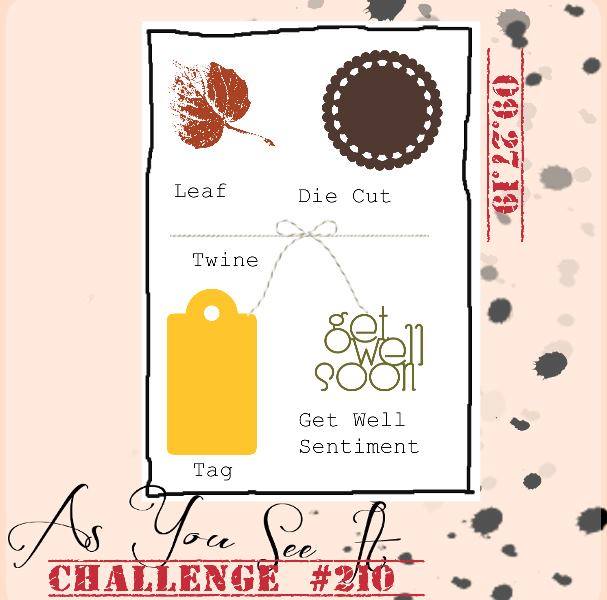
Another challenge card for you today, inspired by the As You See It Challenge Blog.

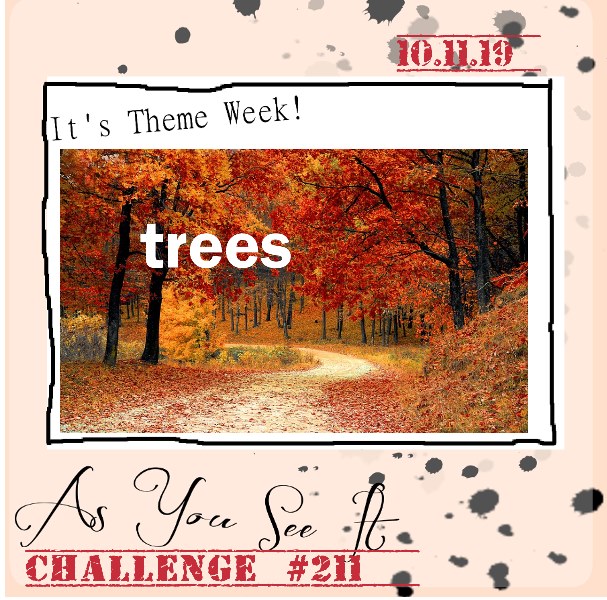
Here’s the theme challenge:

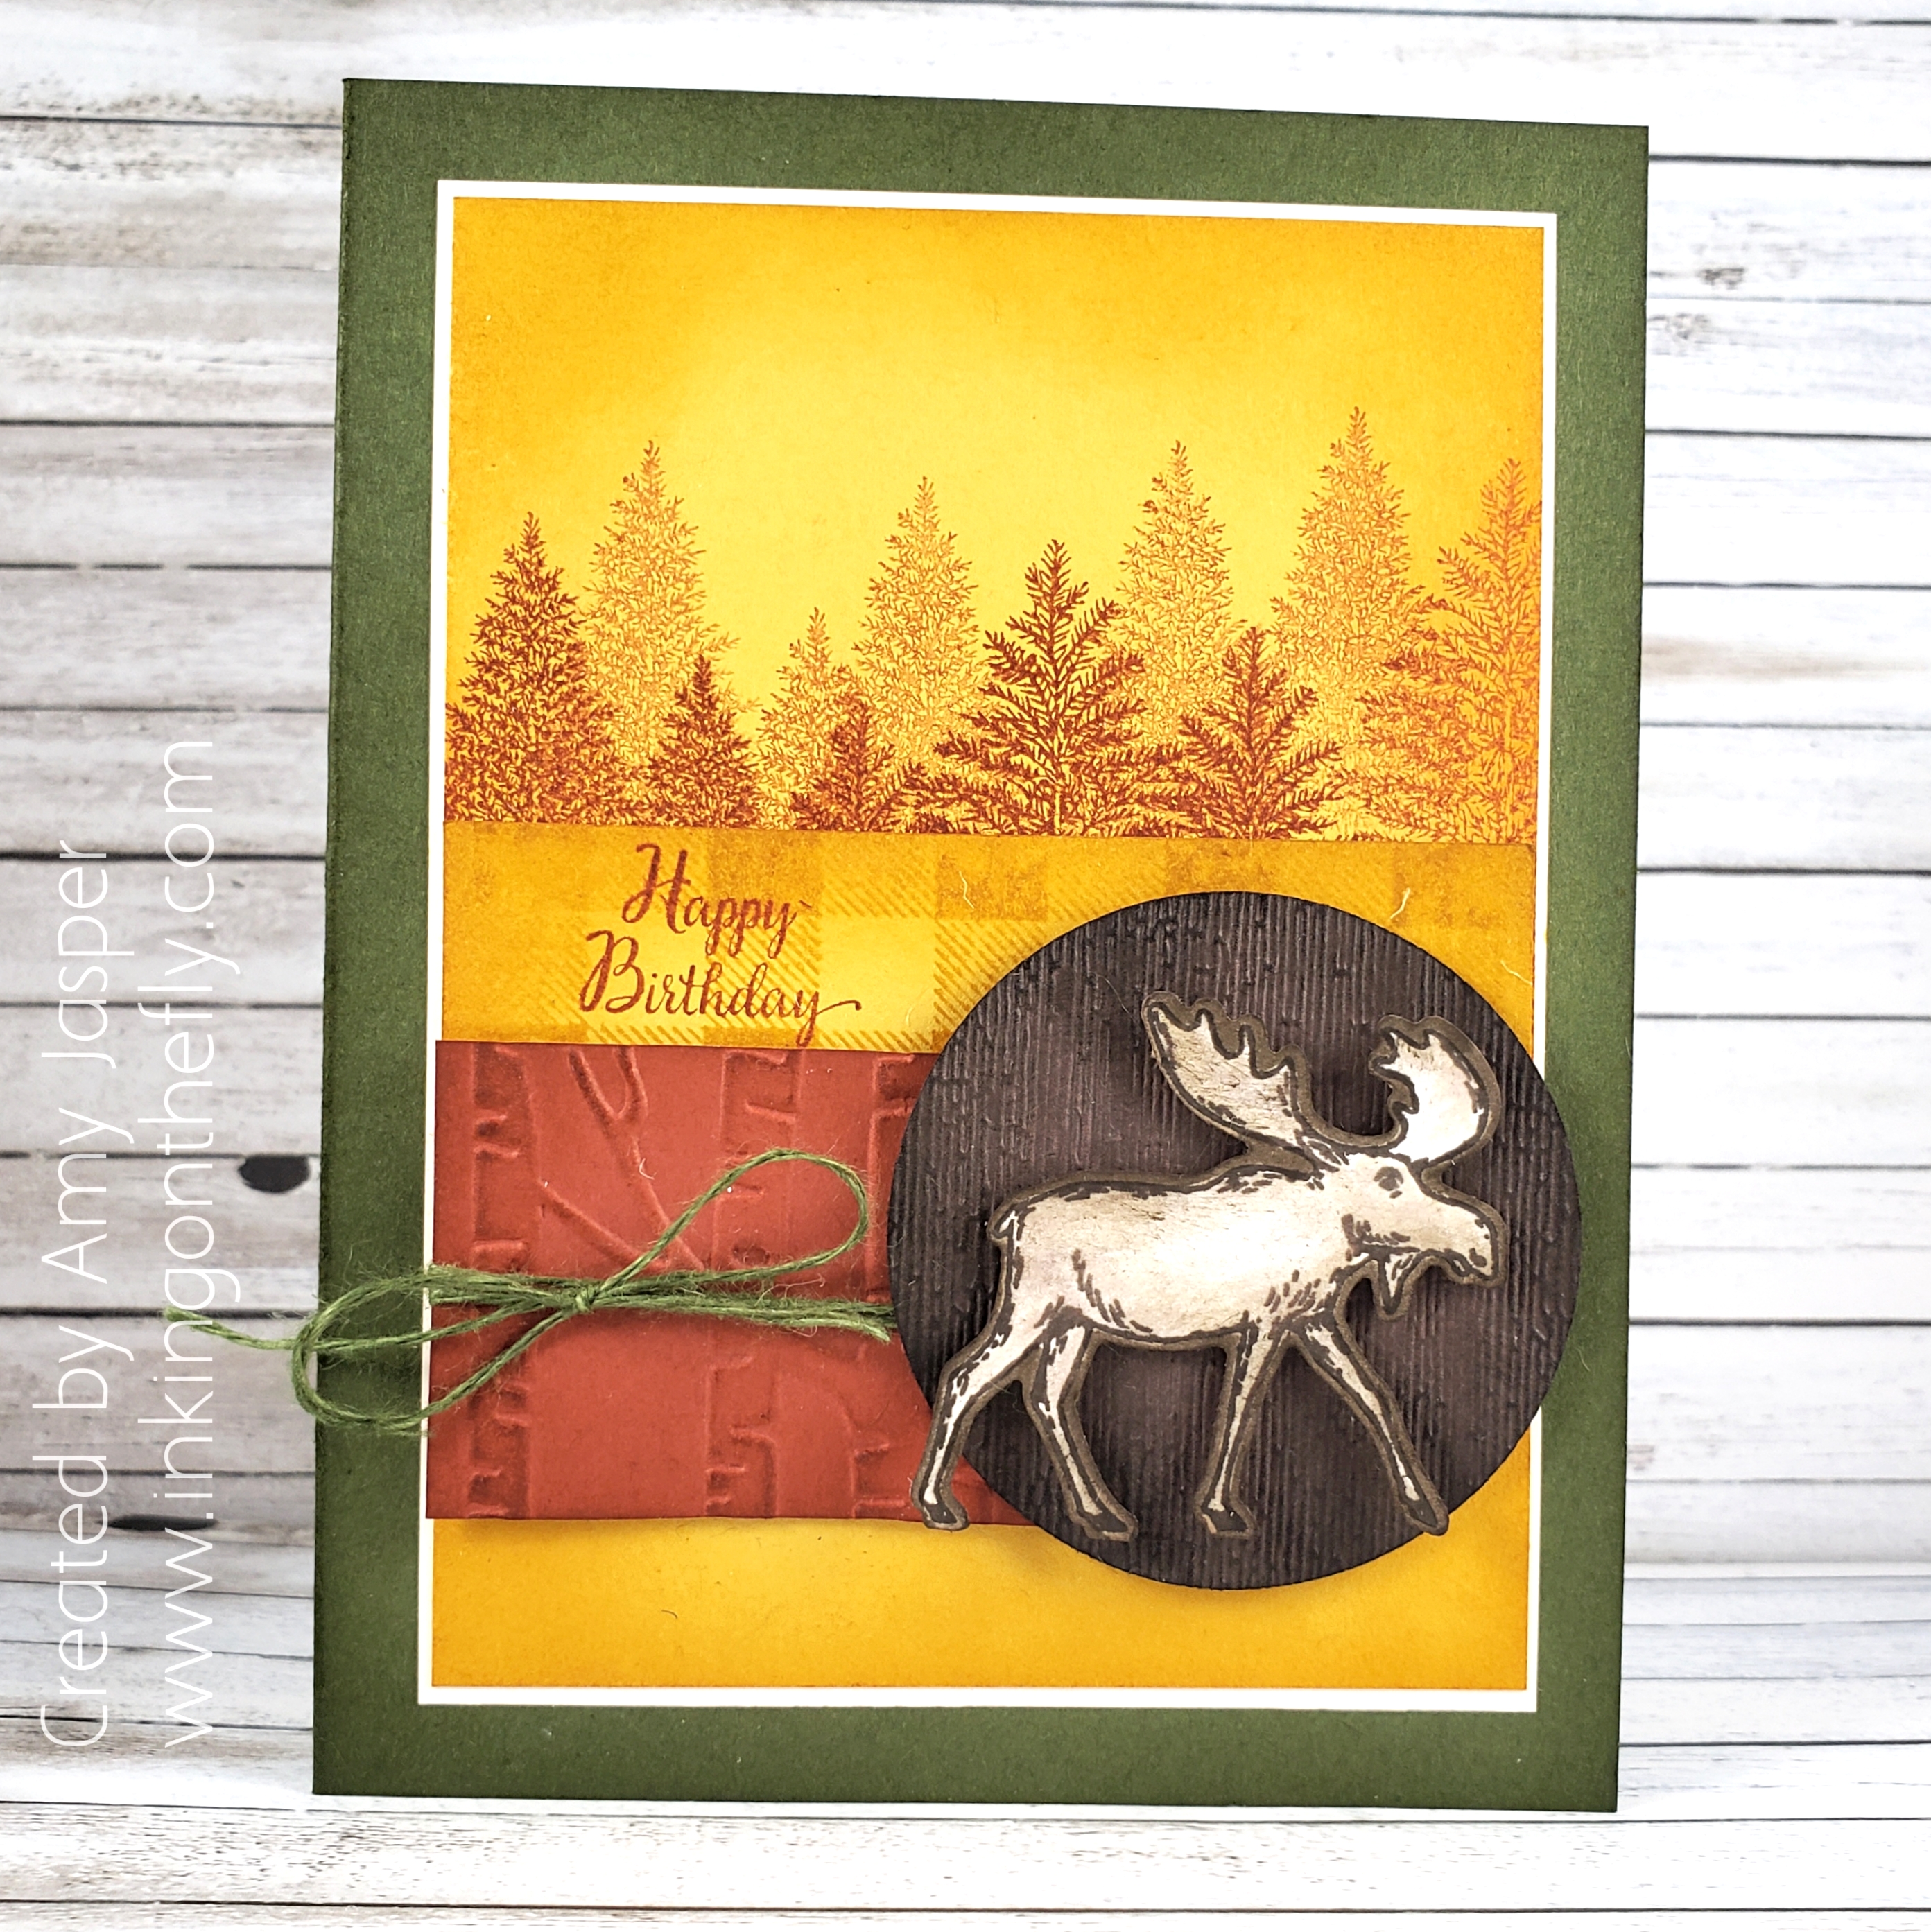
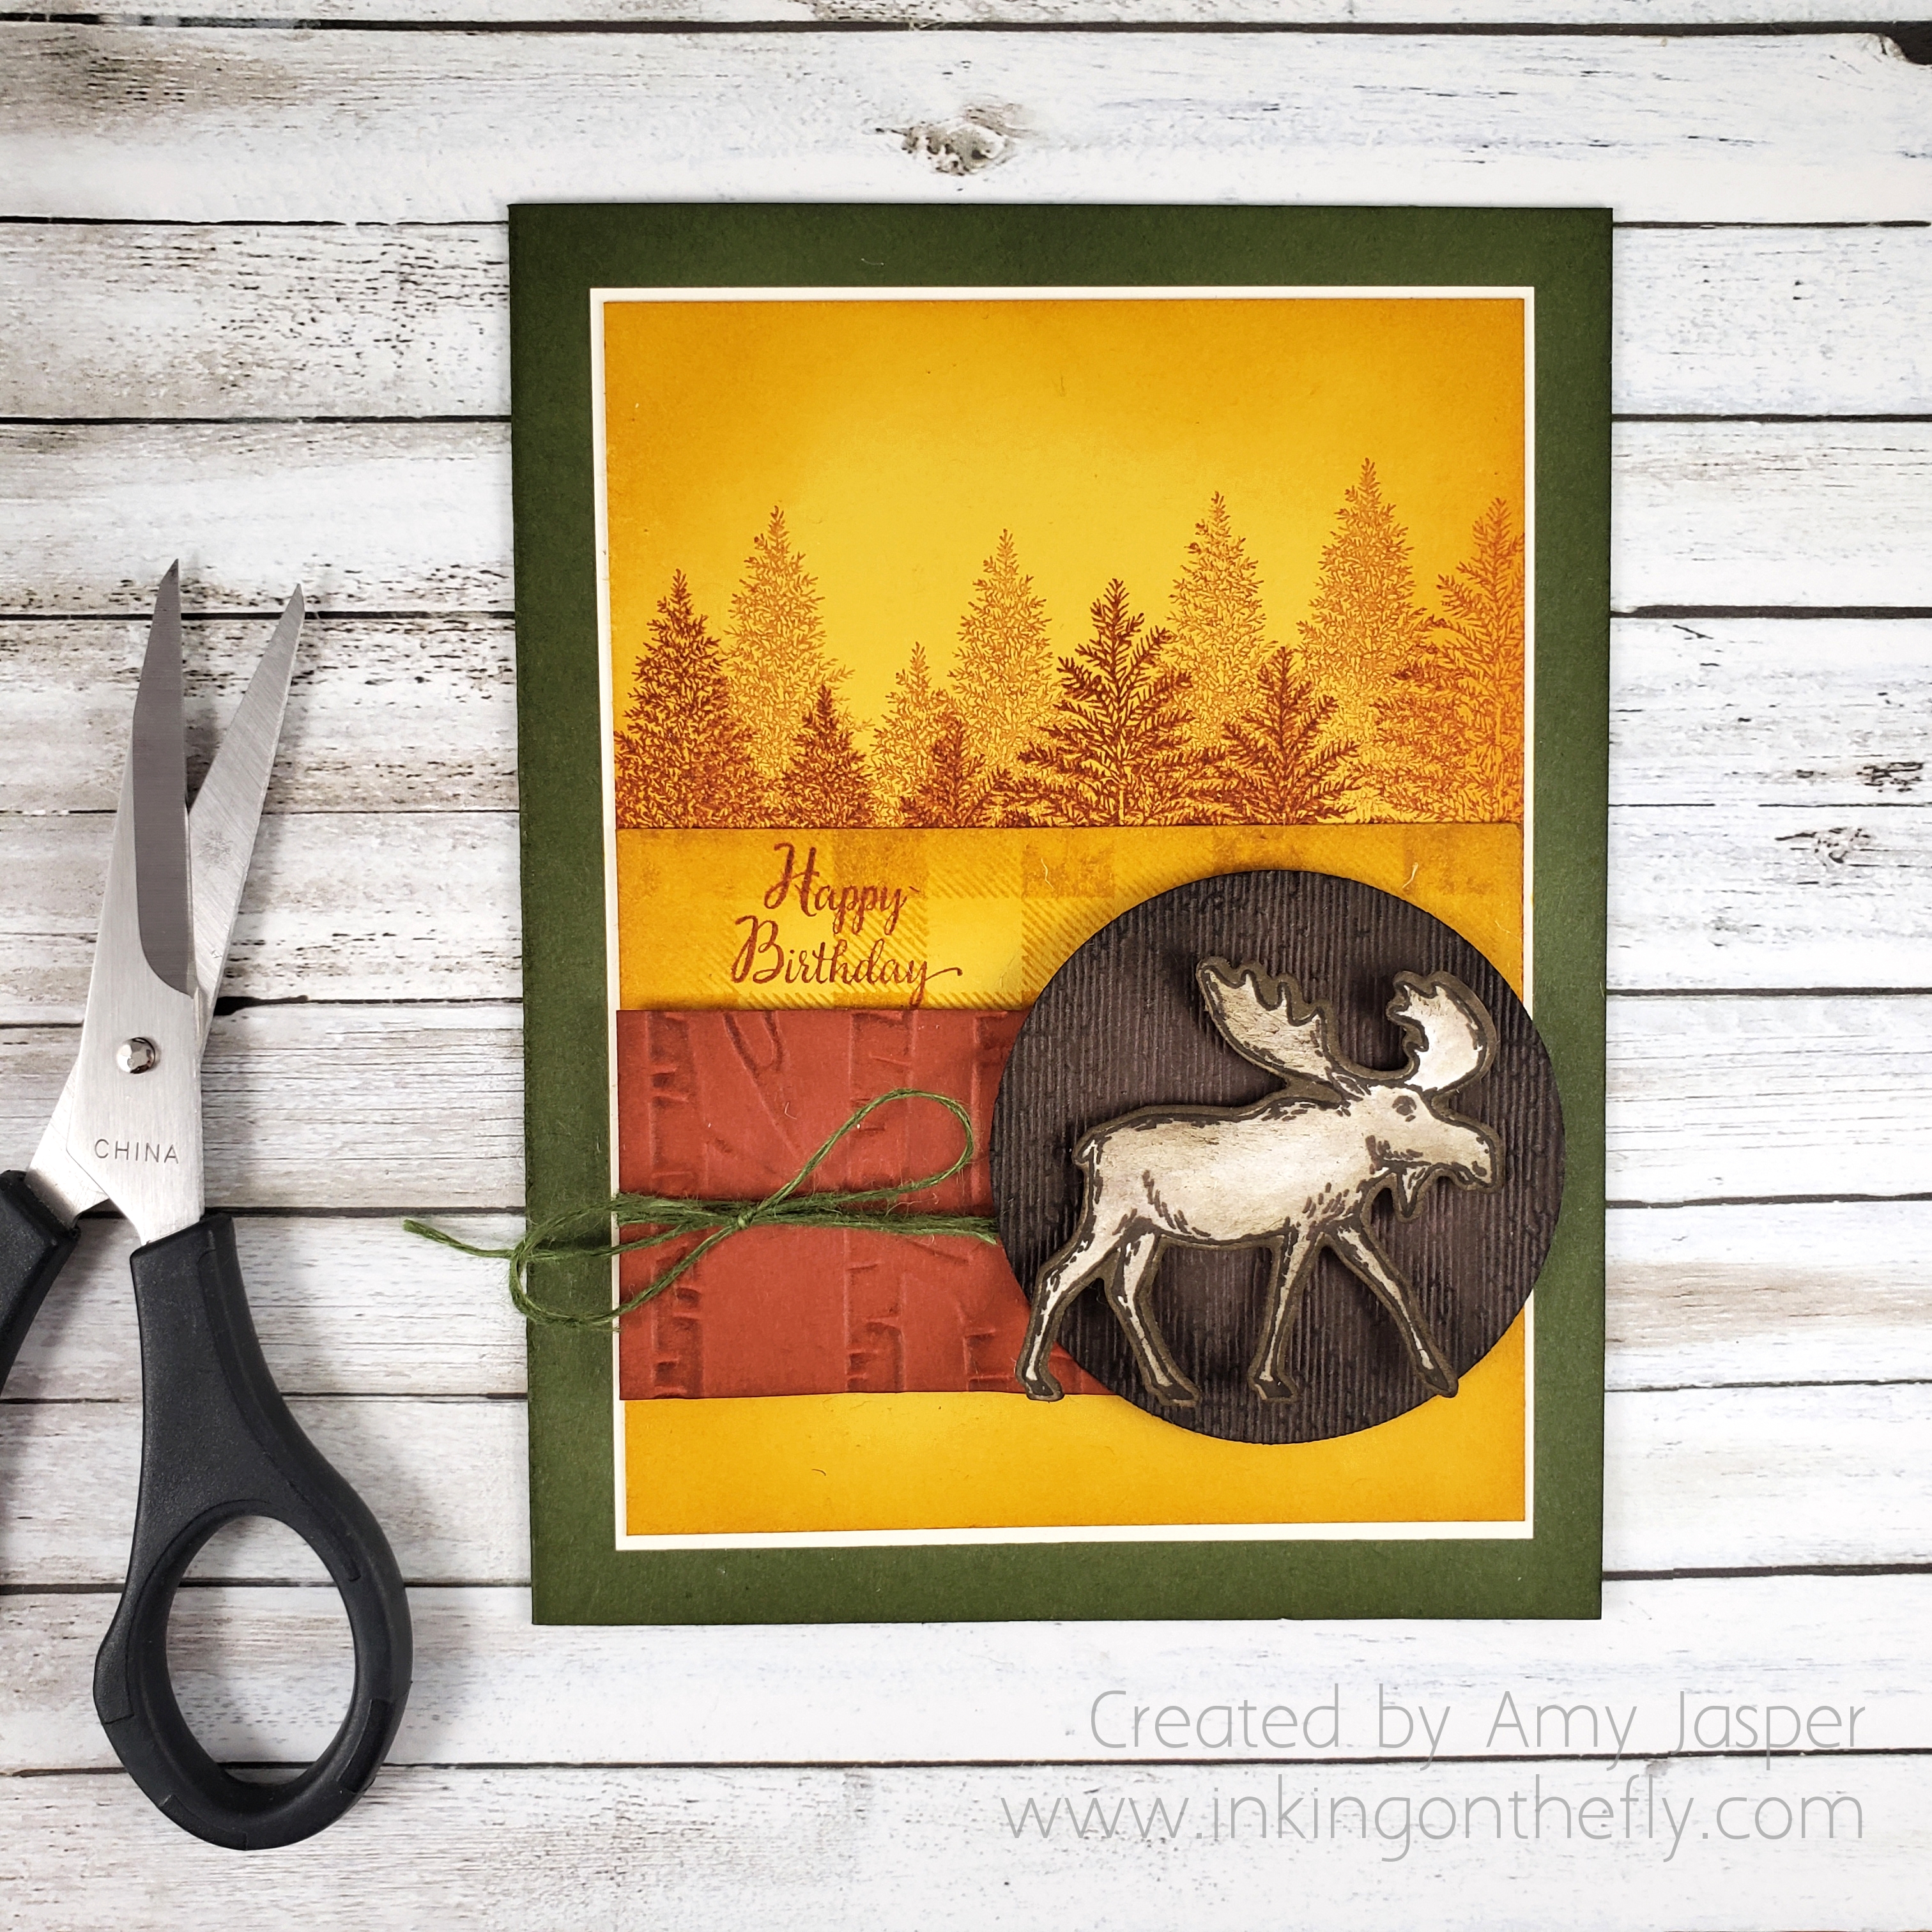
I decided to take the tree theme and go with the autumn colours, using my beloved Merry Moose stamp set from Stampin’ Up!

I love moose! How many other creatures do you know of that are so majestic and awkward-looking at the same time!

The card base is Mossy Meadow. I deepened the colour by sponging Mossy Meadow ink around the edges of the card base. In fact, I was a happy little sponger and did that with all of the paper pieces on this card (excluding the Very Vanilla matte, which I left clean. Each piece has the edges sponged with the coordinating ink.

The Crushed Curry background layer has multiple trees from the Merry Moose stamp set, stamped with Cajun Craze ink. Some are stamped full strength and some are stamped off to create some depth to the scene. I also added a strip of Crushed Curry cardstock, which was stamped with the Buffalo Check background stamp from Stampin’ Up!. For that I used Crushed Curry ink for a tone on tone effect. The Happy Birthday sentiment is from the Stampin’ Up! host stamp set, New Wonders, and is stamped with Cajun Craze ink.

You can also see that I used the Woodland Embossing Folder on the Cajun Craze strip of cardstock and the Subtles Embossing Folder on the circle, which was punched from Early Espresso paper with the 2-1/4″ circle punch.
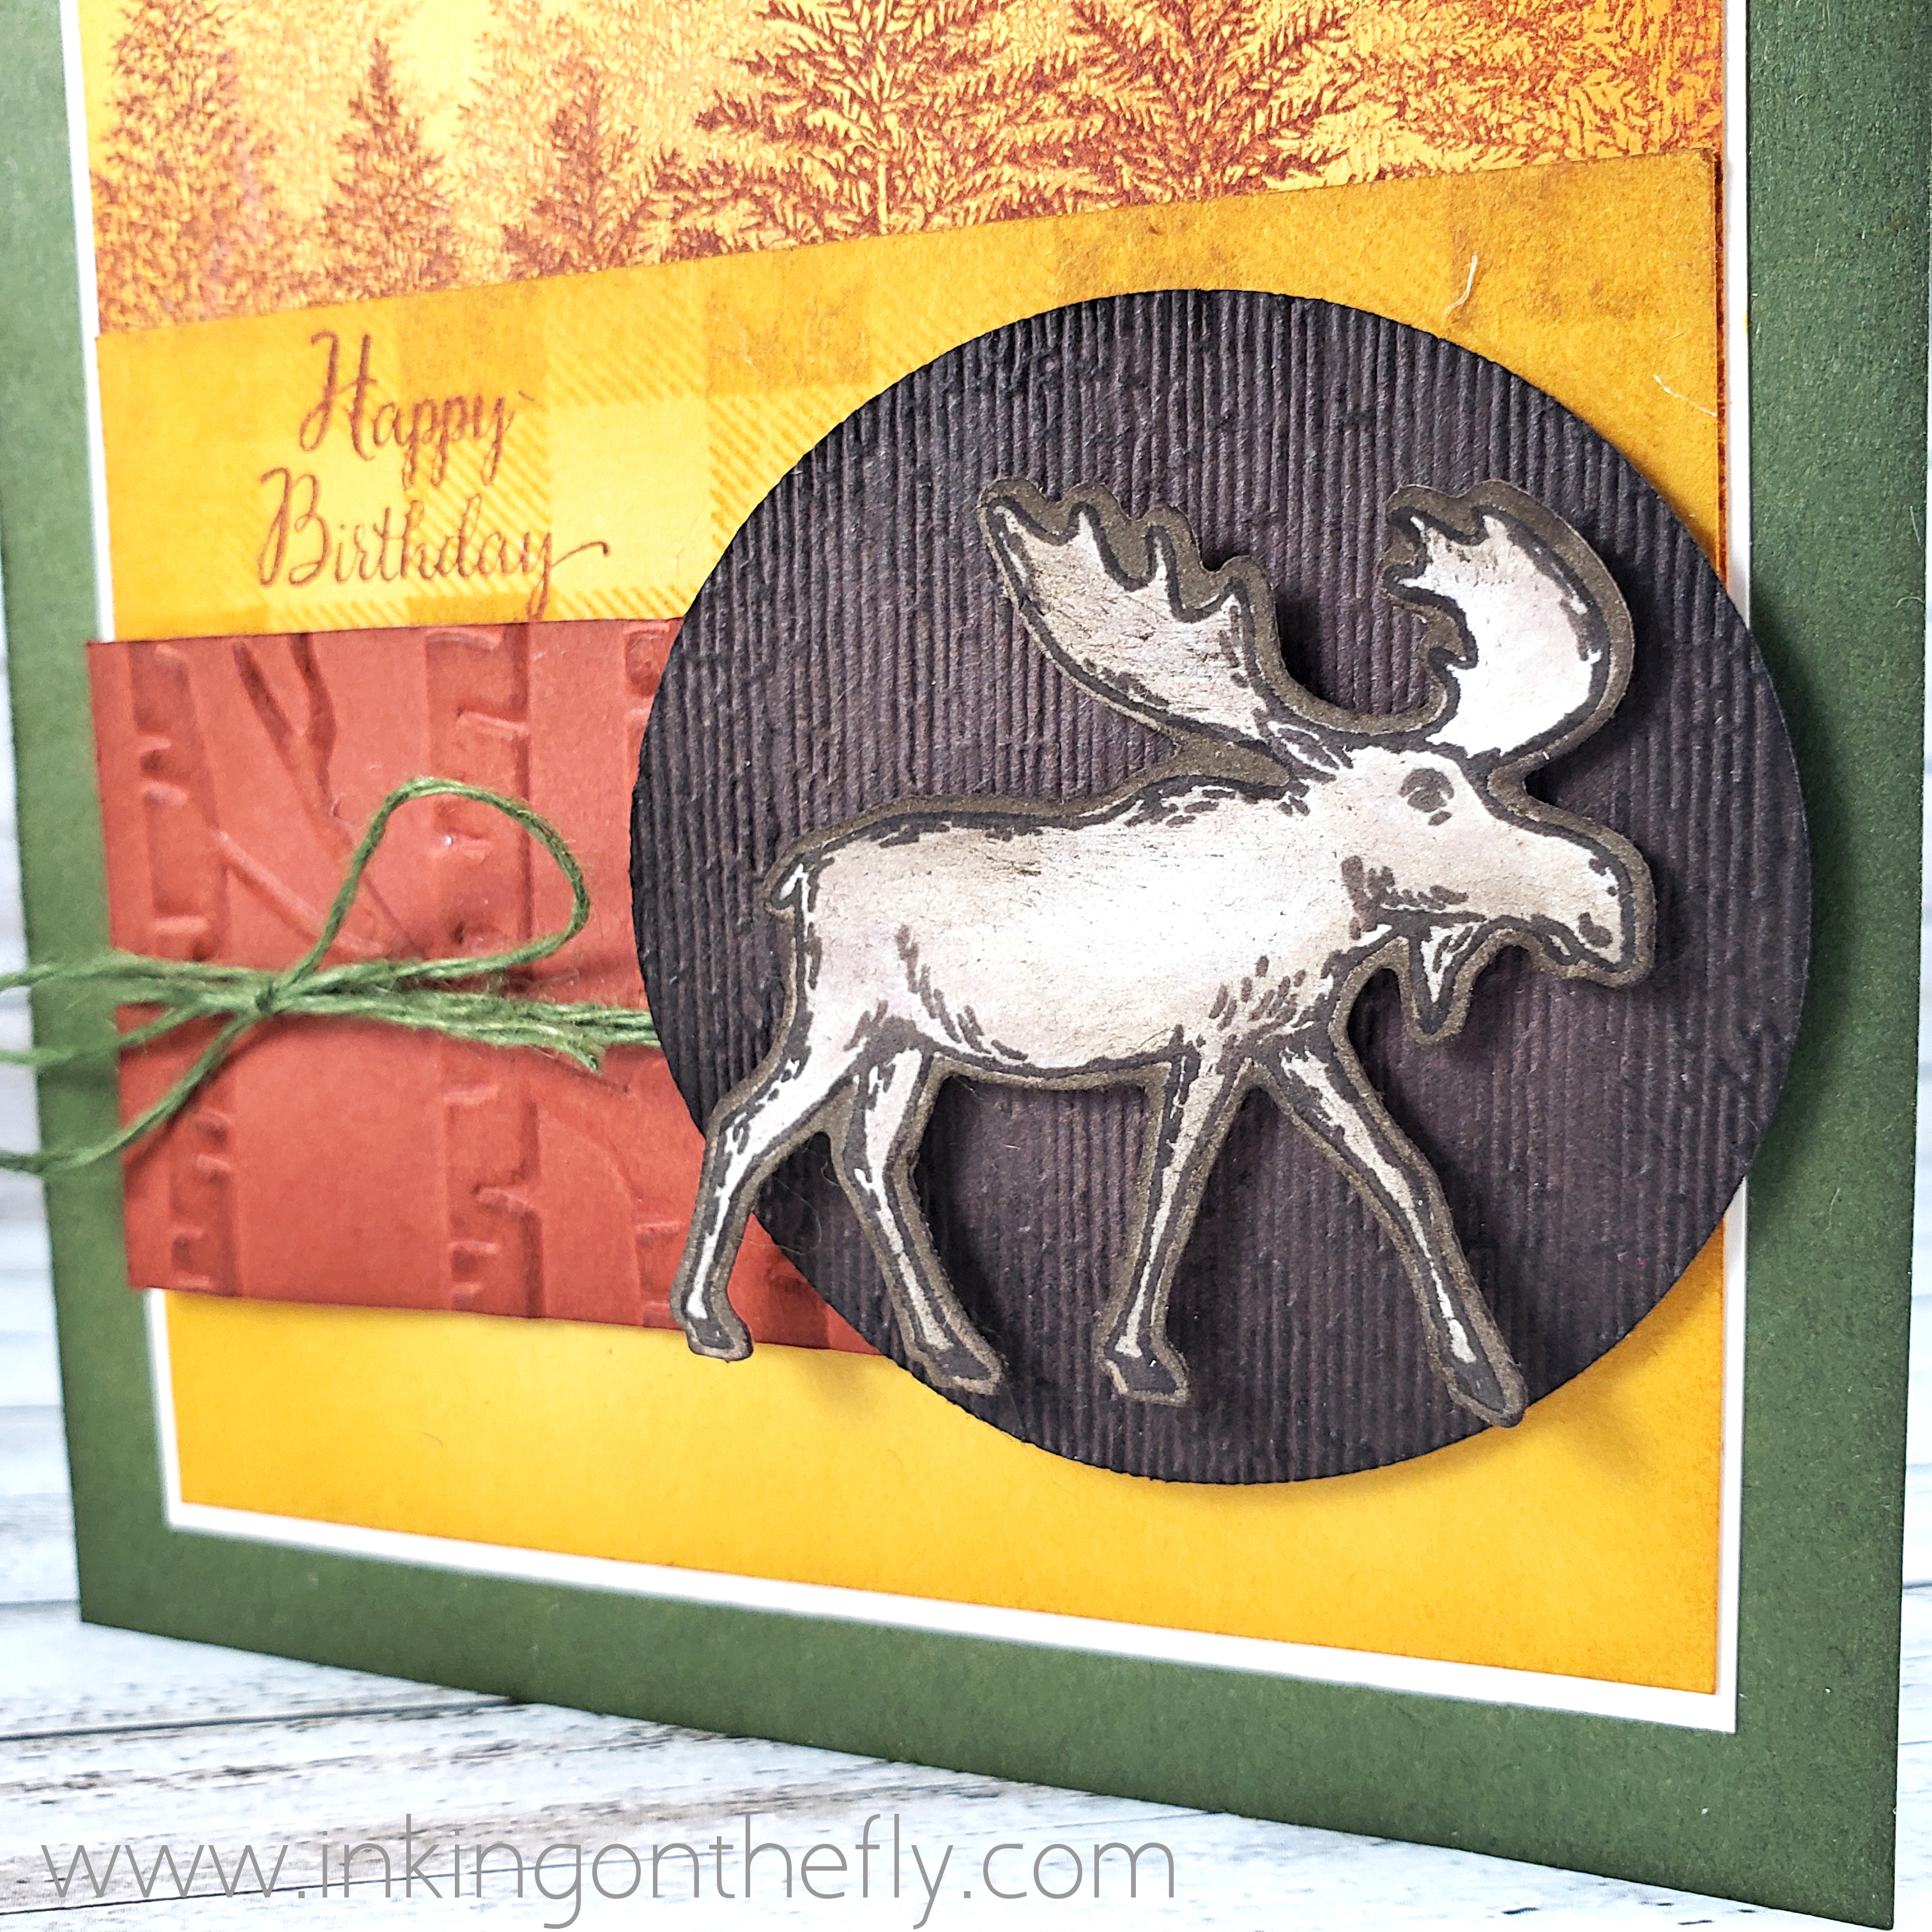
My moose was stamped with Early Espresso ink on Whisper White cardstock. I used my Blender Pen to drag some of the ink from the lines of the image and shade my moose. I also coloured around the outside of my moose after I punched him out (ooh, that sounds so violent!) with the coordinating Moose Punch. I don’t like leaving a white edge around a cut image very often and choose to coordinate it with whatever the colour is behind it. A bit of sponging was added to the edges of my moose in Soft Suede ink to add a little bit more shading.

The Mossy Meadow linen thread was tied around the Cajun Craze piece of cardstock before adhering it and the Early Espresso circle to my card front with Stampin’ Dimensionals. The moose is also on dimensionals.

As always, you can purchase any of the stamping supplies that I use on my blog. Just click on the SHOP button in the sidebar or in the menu at the top of the page. Not in Canada? No problem. There are Stampin’ Up! Demonstrators all over the world.

Why not give the theme challenge a try? If you do, be sure to upload it to the As You See It Challenge blog and show us your take on the theme!
Woven Threads and Botanical Tags

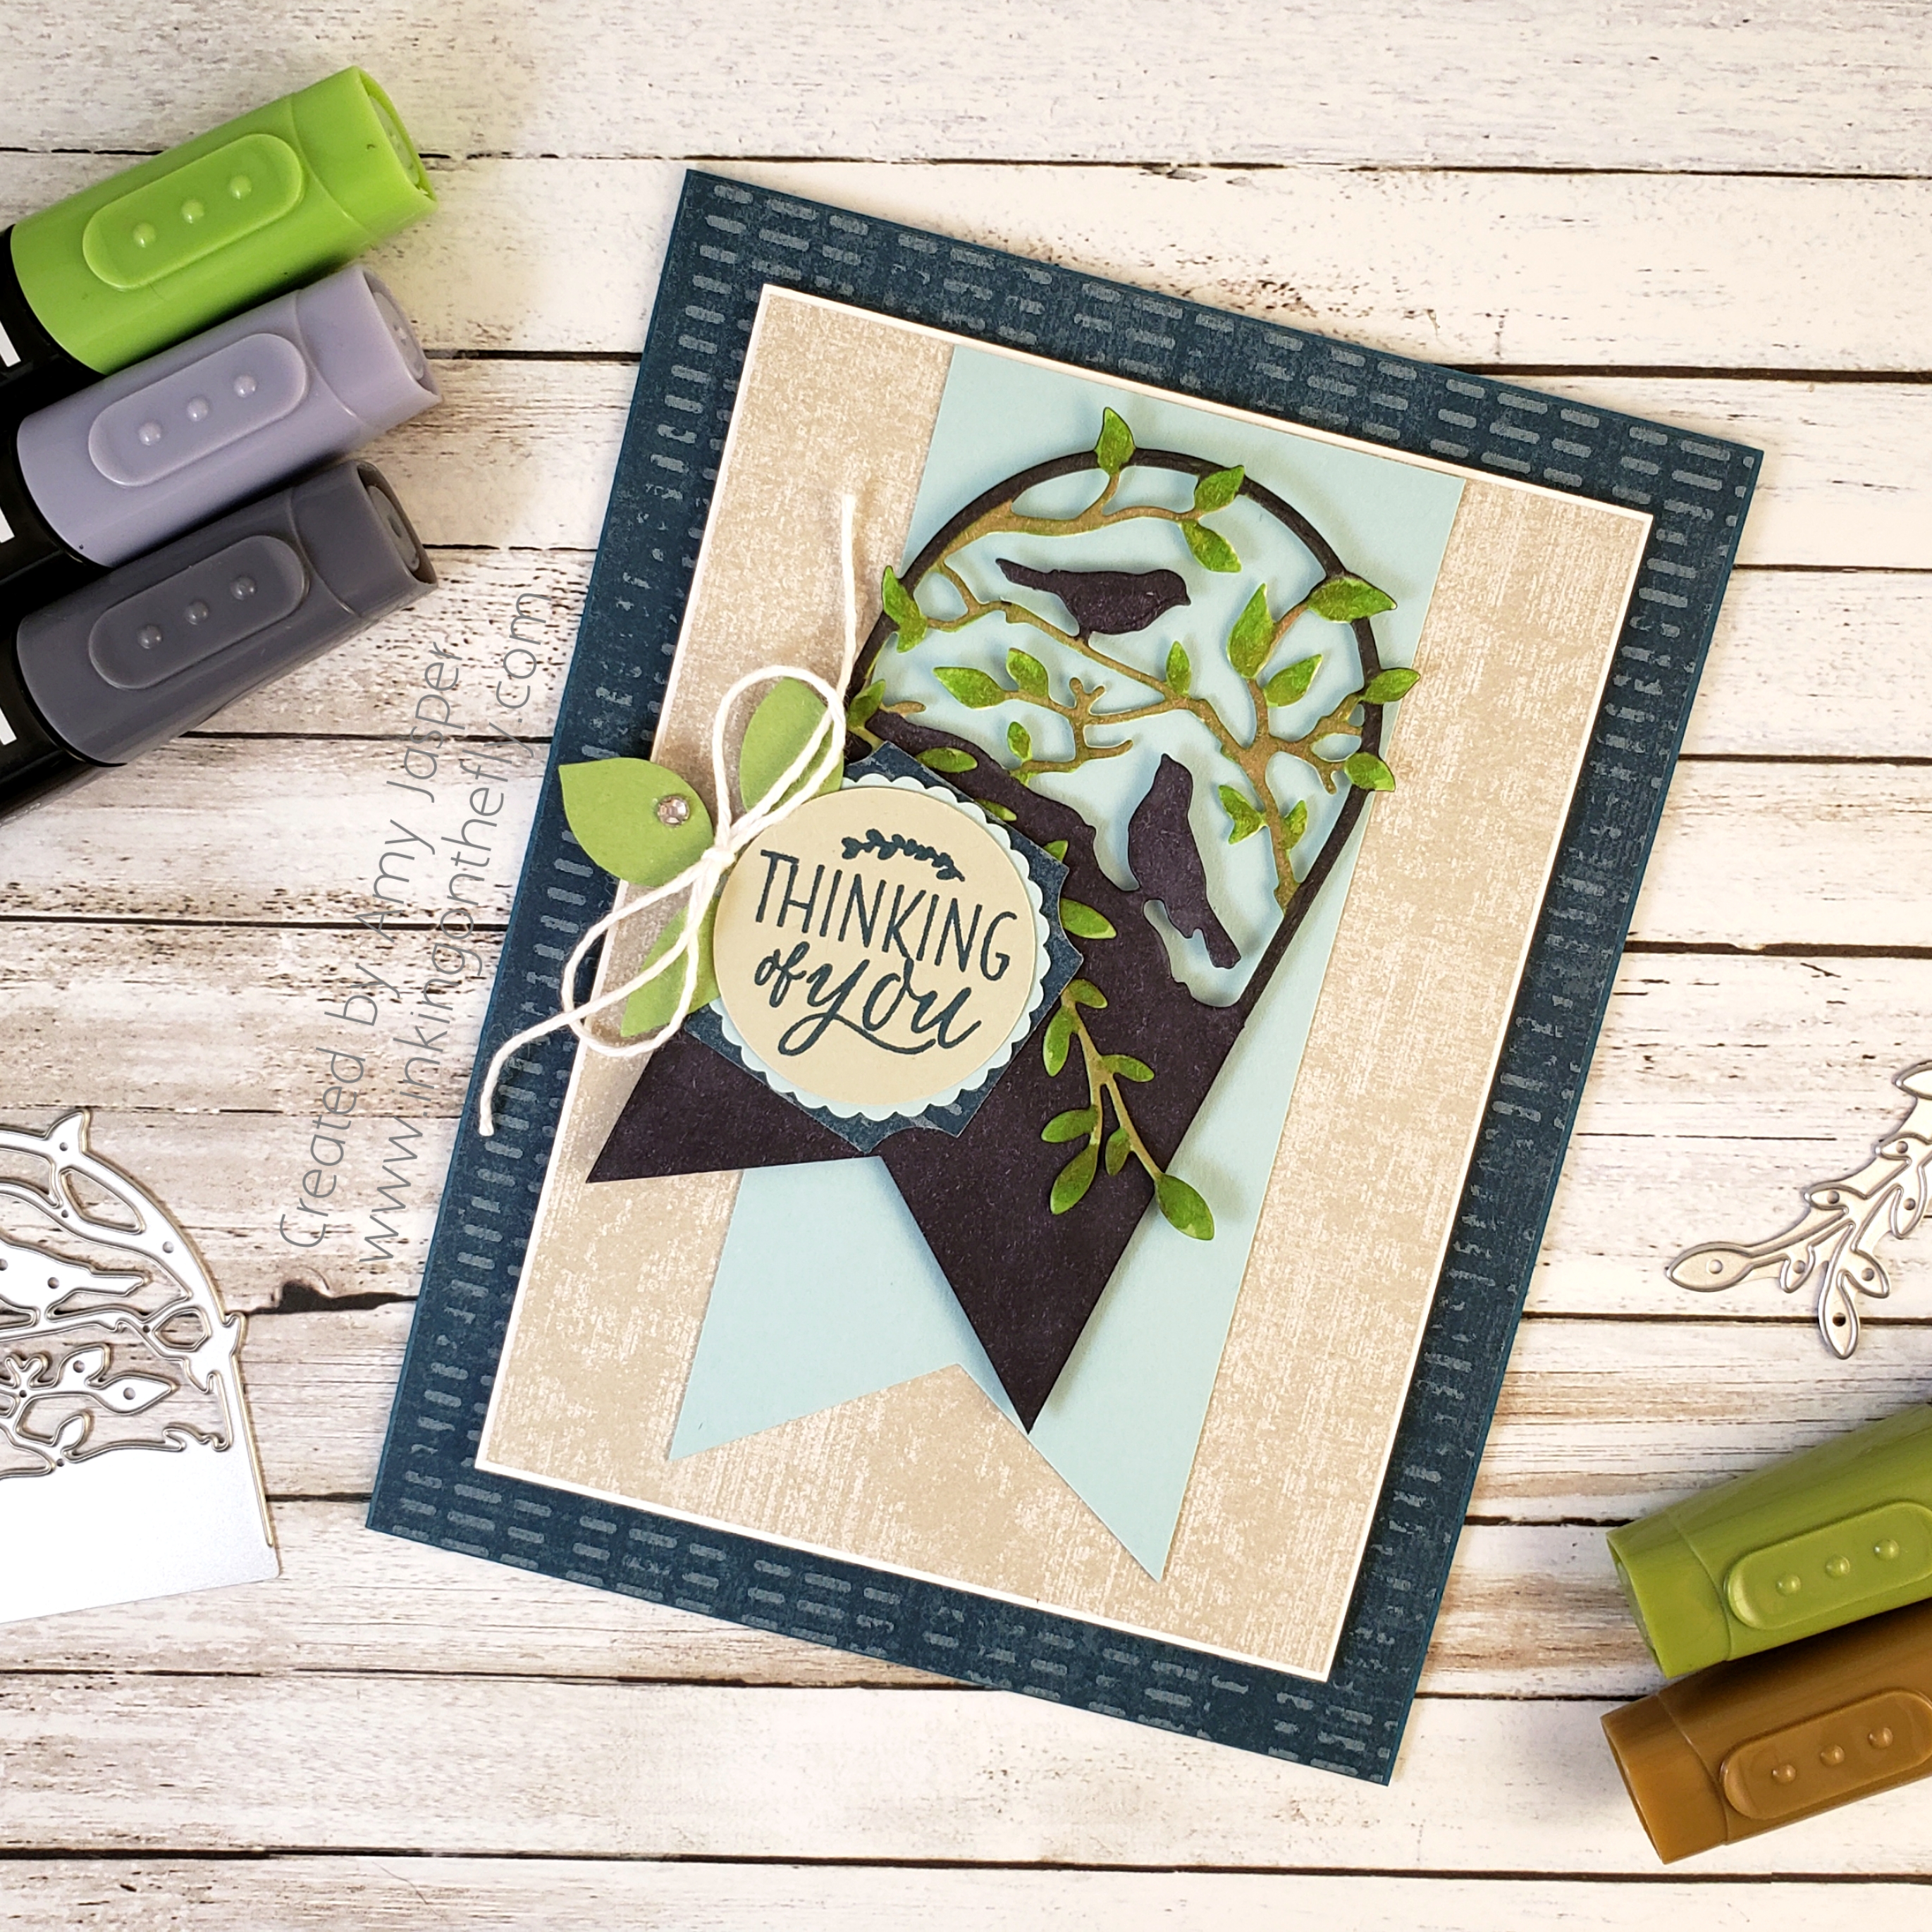
I have not used my Botanical Tags dies nearly enough. They are so beautiful!

The card I have to share with you today is inspired by the latest As You See It Challenge:

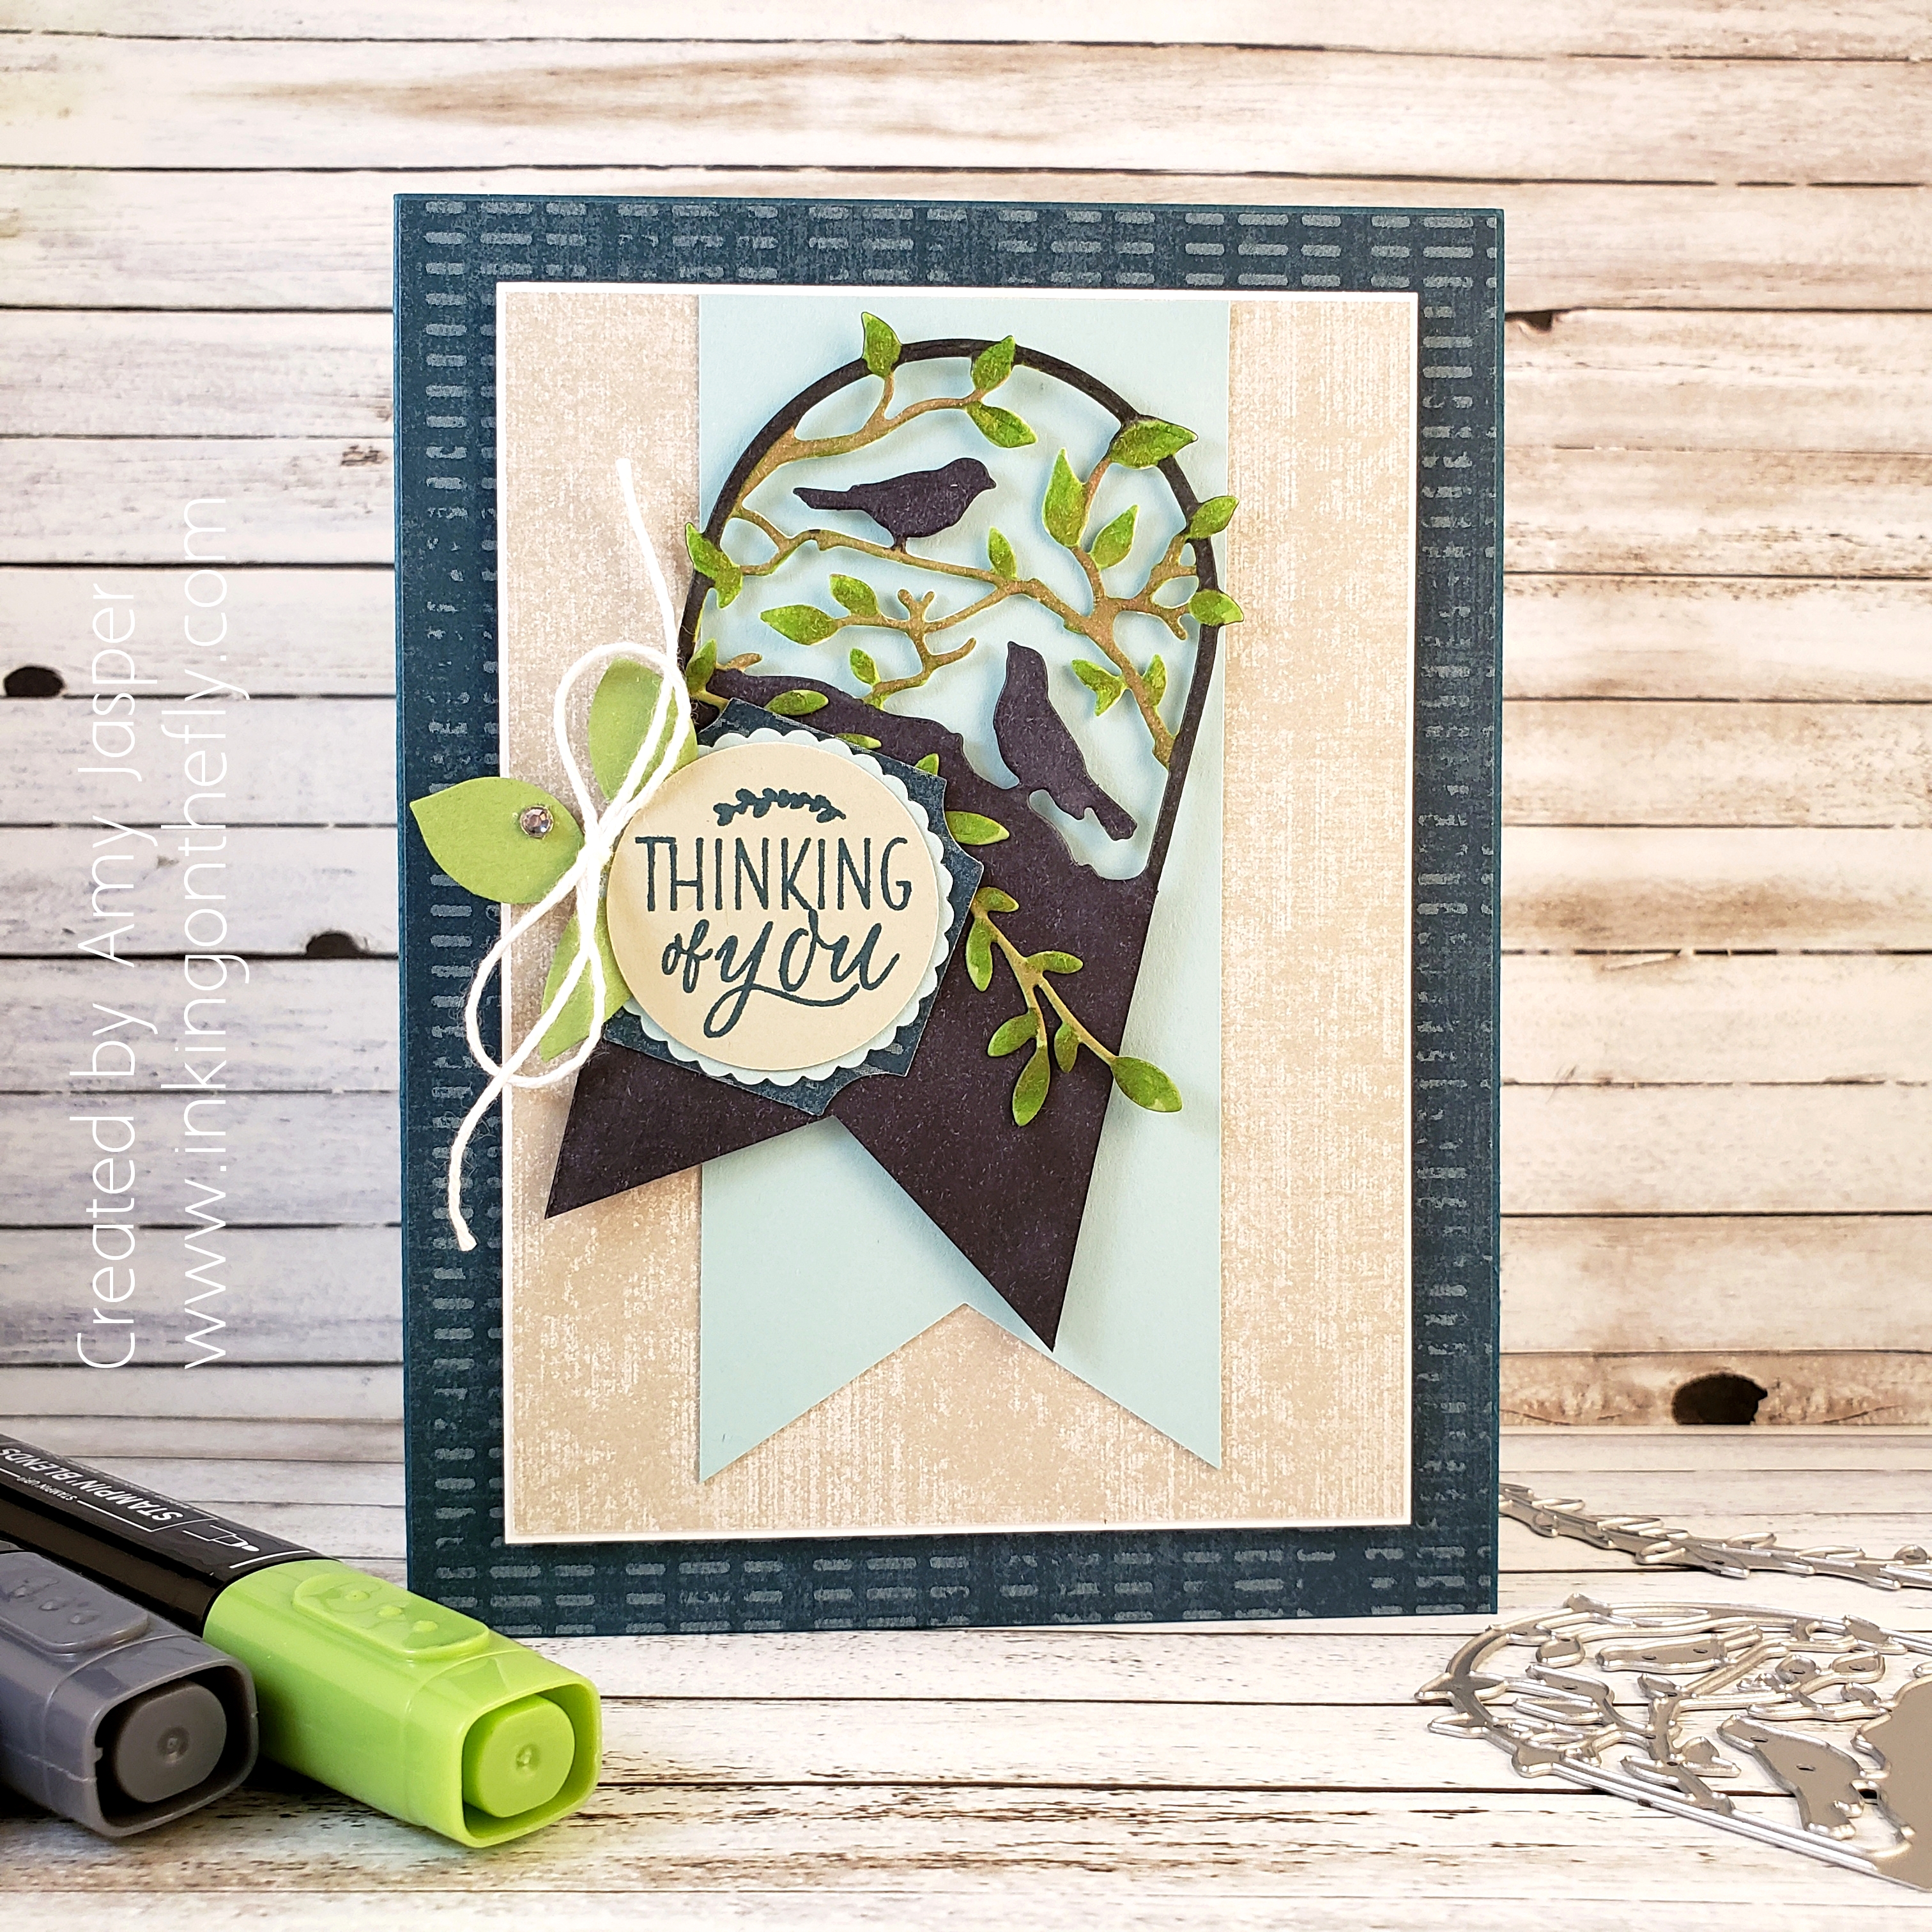
I love how this type of challenge is so open to your imagination. As long as your design includes all of the elements listed on the challenge, you are good to go! I knew that the Botanical Tags Dies would be part of this one because the die I used covers 3 of the elements required right away! It’s a tag. It’s a die cut. It has leaves! Whaaa!

I cut the tag out of Whisper White Cardstock and coloured it using the Stampin’ Blends. I ended up colouring the entire lower portion with my Black Stampin’ Blends! A bit colour happy, perhaps? LOL!

The Triple Banner Punch was used to cut the bottom of both the botanical tag die and the Pool Party banner. The branch/vine was cut using another of the dies from the Botanical Tags Dies and was also coloured with my Blends Markers.

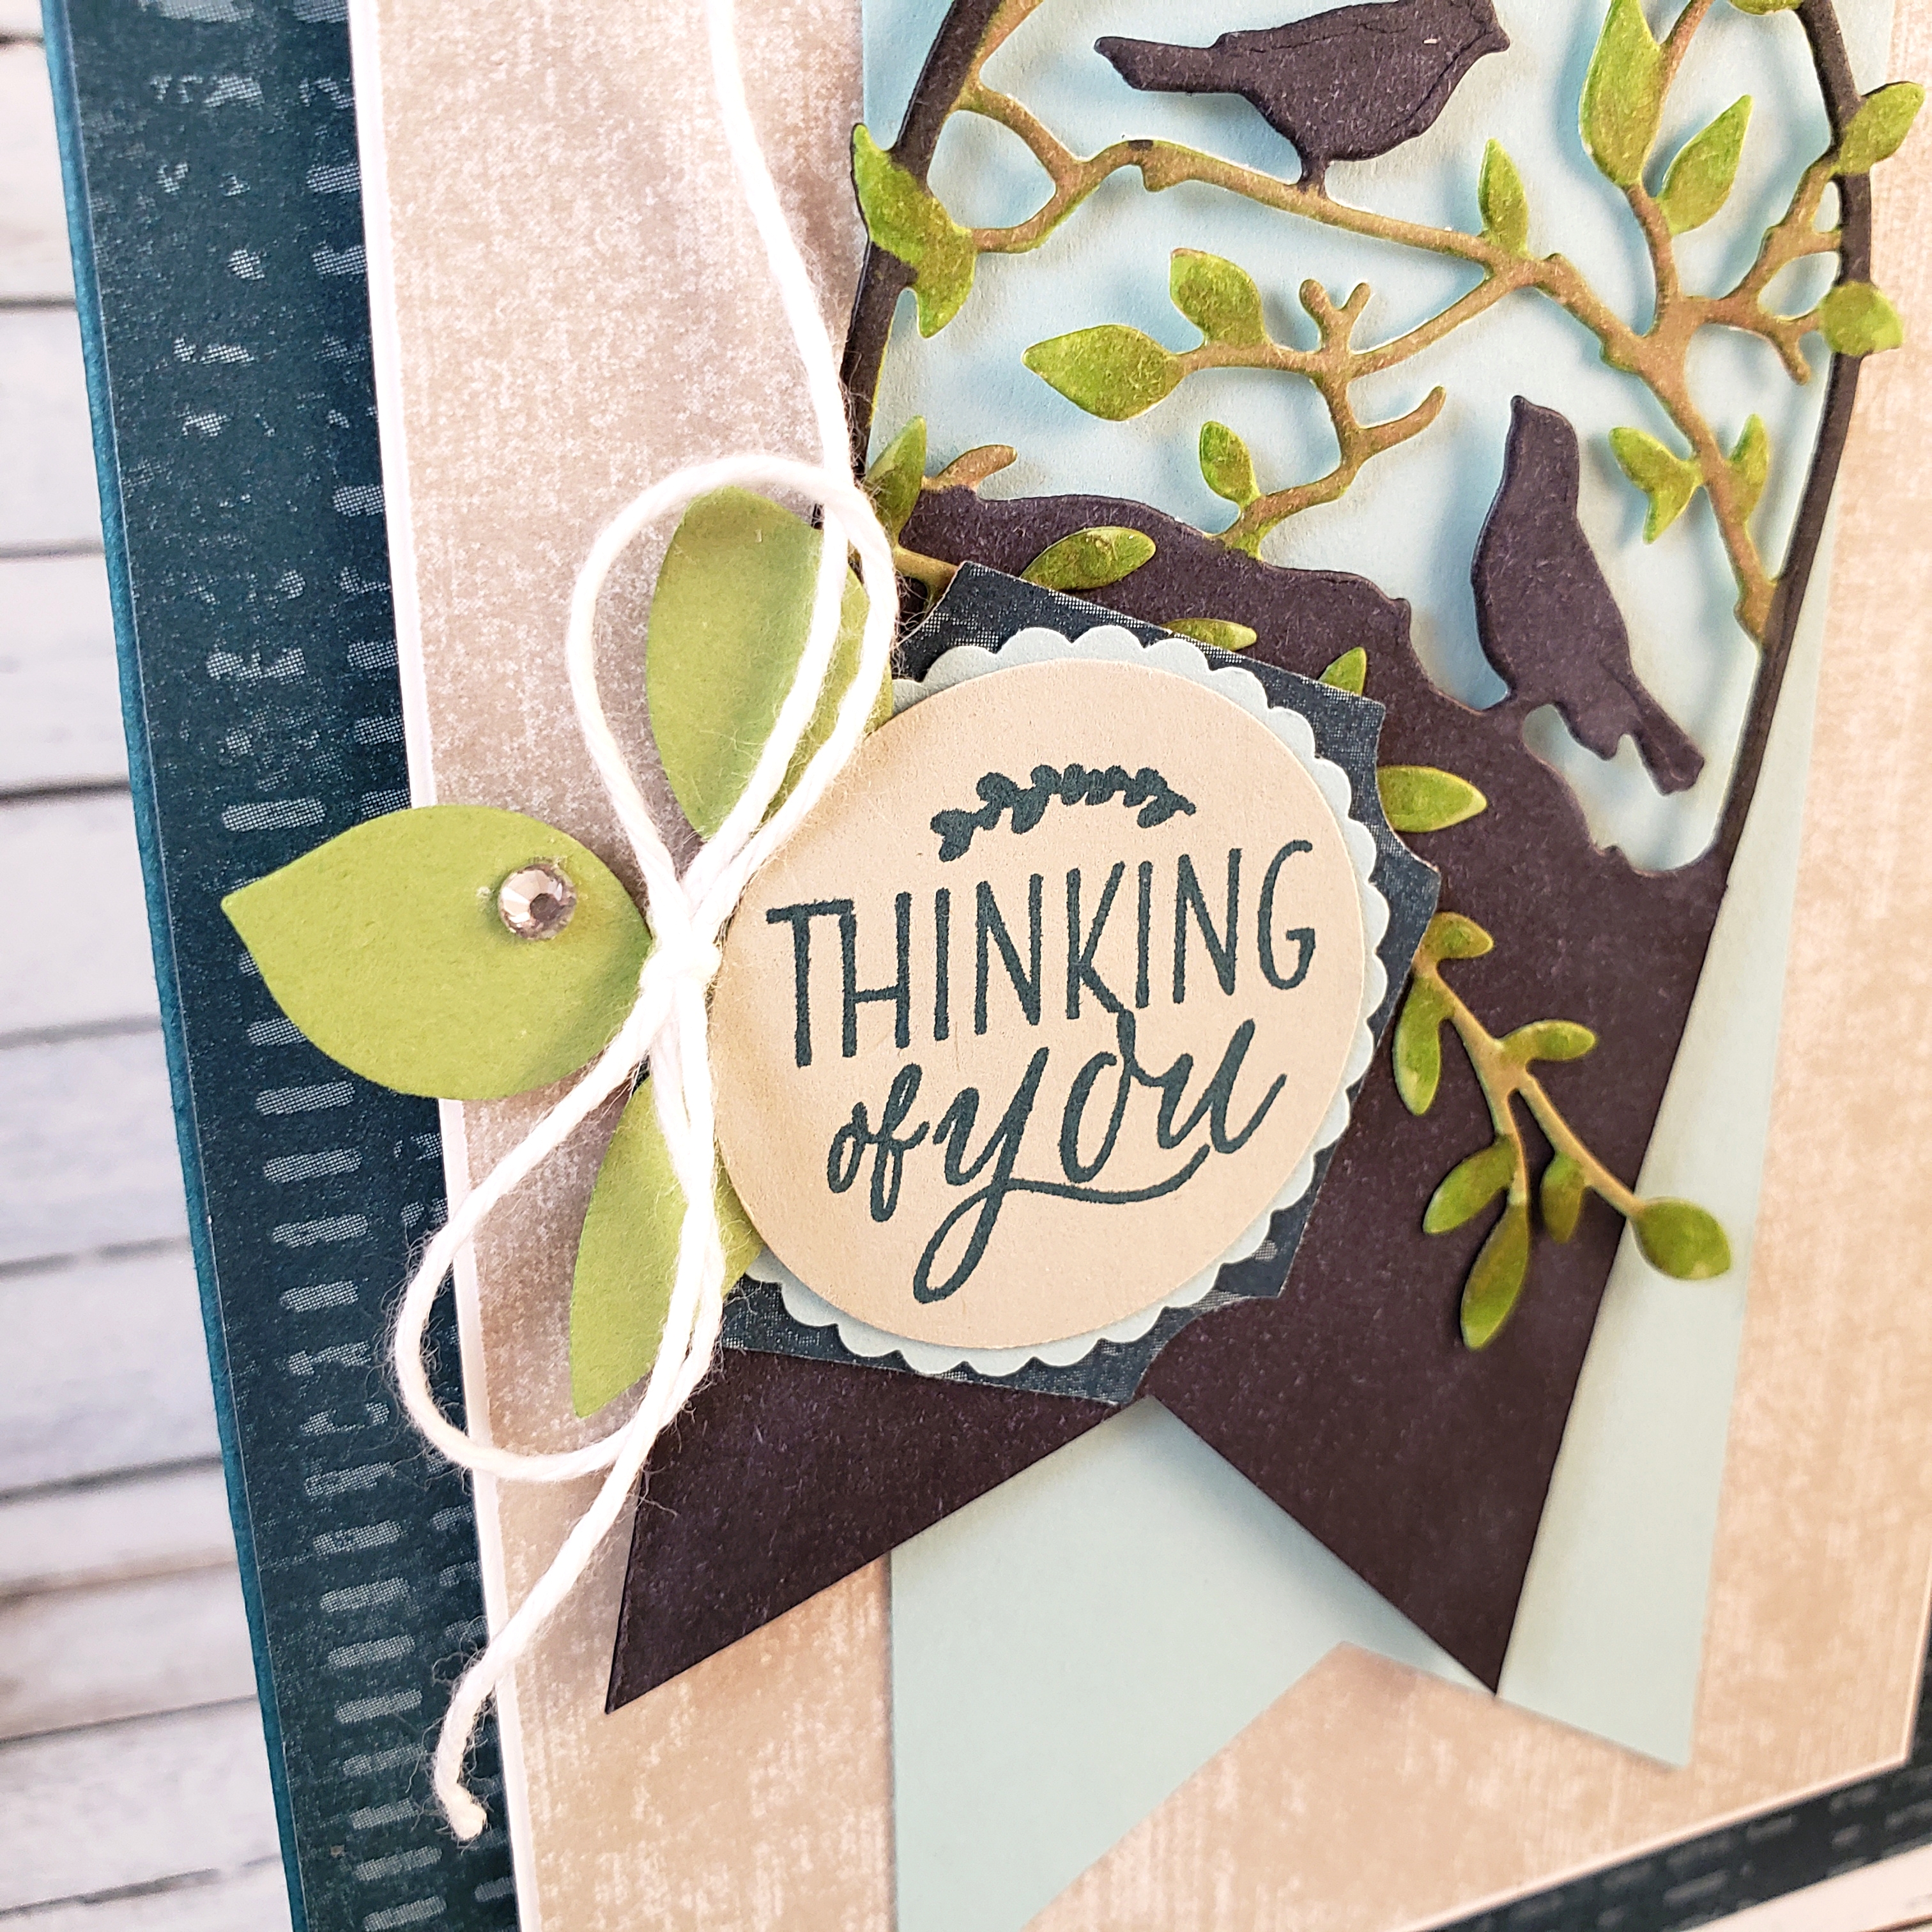
The sentiment is from the stamp set in the Darling Label Punch Box by Stampin’ Up!. The Darling Label Punch was also used on this card as part of the layers on the tag. The sentiment was stamped on Sahara Sand cardstock using Pretty Peacock ink, then punched out with a circle punch to layer over the punched out Pool Party Scallop circle. I used yet another punch, the Leaf Punch, to cut the leaves that are tucked under the left side of the tag. The little Rhinestone Basic Jewel and the Whisper White Solid Baker’s Twine were just the right embellishments to complete the look I wanted for my tags.

All this is layered over the Woven Threads Designer Series Paper, matted with Whisper White cardstock. Stampin’ Dimensionals hold that onto the Pretty Peacock coloured Woven Threads Designer Series Paper layer on the Pretty Peacock cardstock base of the card.

Did you know that the Woven Threads Designer Series Paper is part of the BUY 3 GET 1 FREE DESIGNER SERIES PAPER SALE!?! Click on the link to go to my online store to see all the papers that are included in this deal!

Now it’s your turn. Give the challenge a try and share it with us at the As You See It Challenge Blog!

Toile Tidings

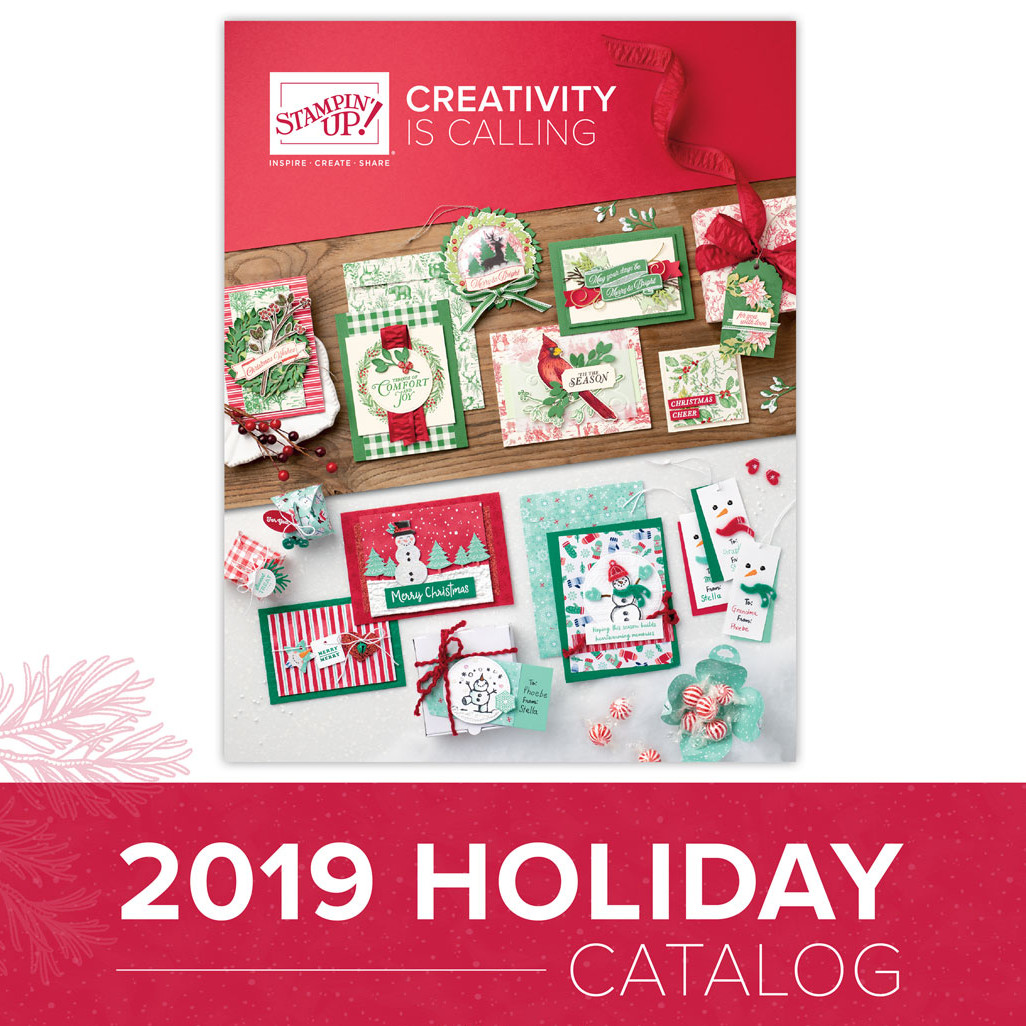
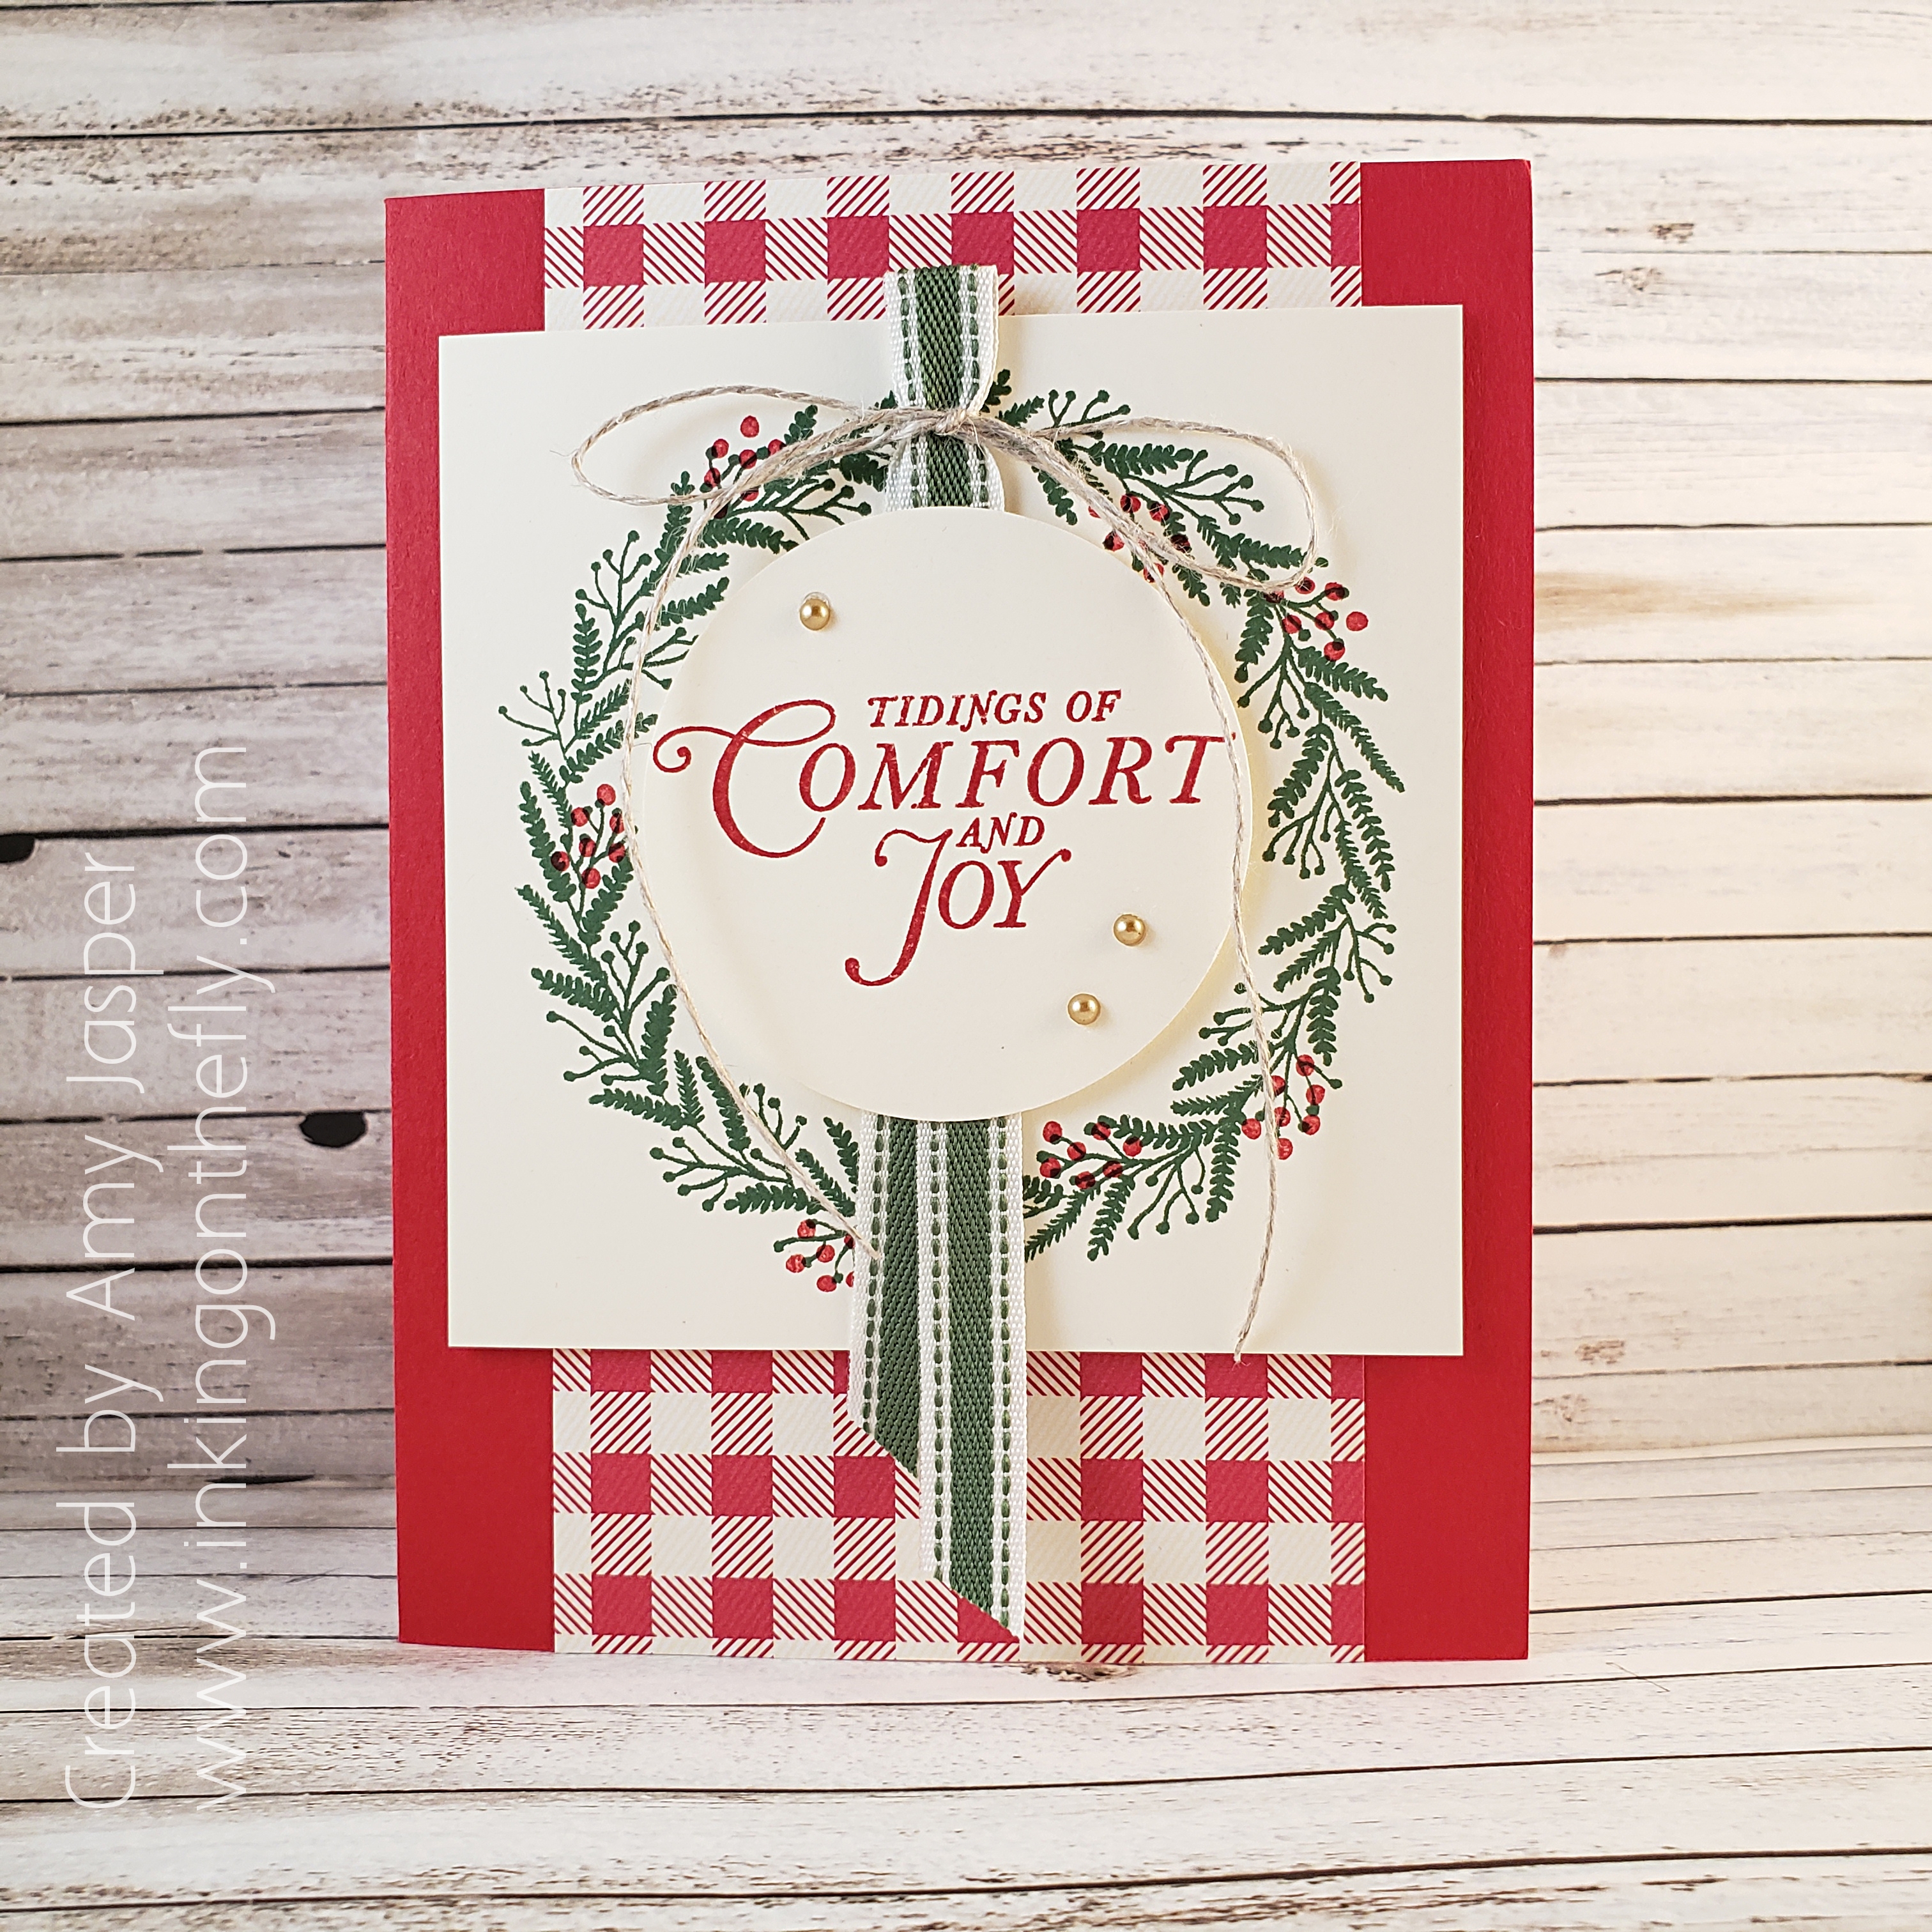
The Stampin’ Up! catalogues are not just catalogues of stamping and art supplies that you can purchase, but they are a great resource for ideas and inspiration! My card design today is one that I copied from the cover of the Stampin’ Up! Holiday Catalogue. I changed out the colours a bit and made some other minor changes, but it’s a copy. And I LOVE it!!

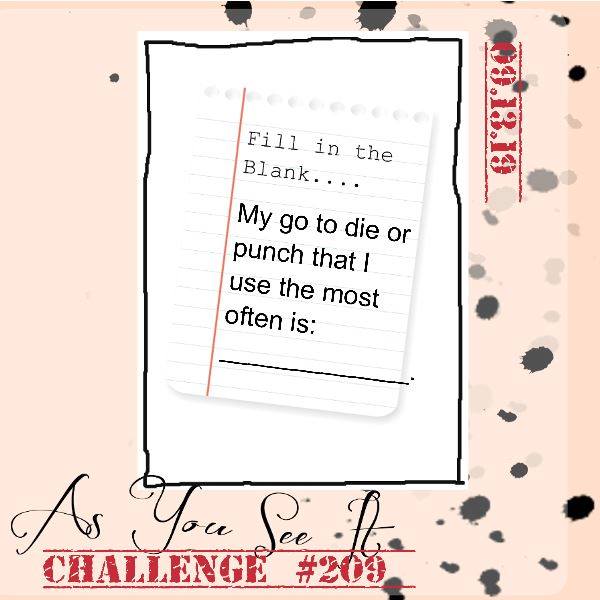
Today’s blog post is also inspired by the As You See It Challenge Blog which challenges participants to create a card using their most used punch or die.

What’s your go-to die or punch?

My favorite is the large 2-1/4″ circle punch from Stampin’ Up! I love how quick and easy it is to use punches instead of a die cutting machine. There are fewer steps to using a punch, which makes it easier and faster to create a card (and especially multiple cards) with a punch, rather than a die.

When I saw the card on the cover of the Stampin’ Up! holiday catalogue, I was immediately drawn to the plaid designer series paper and the square/circle combination with the layers on the card.

Can you spot the card on the cover that inspired me!?

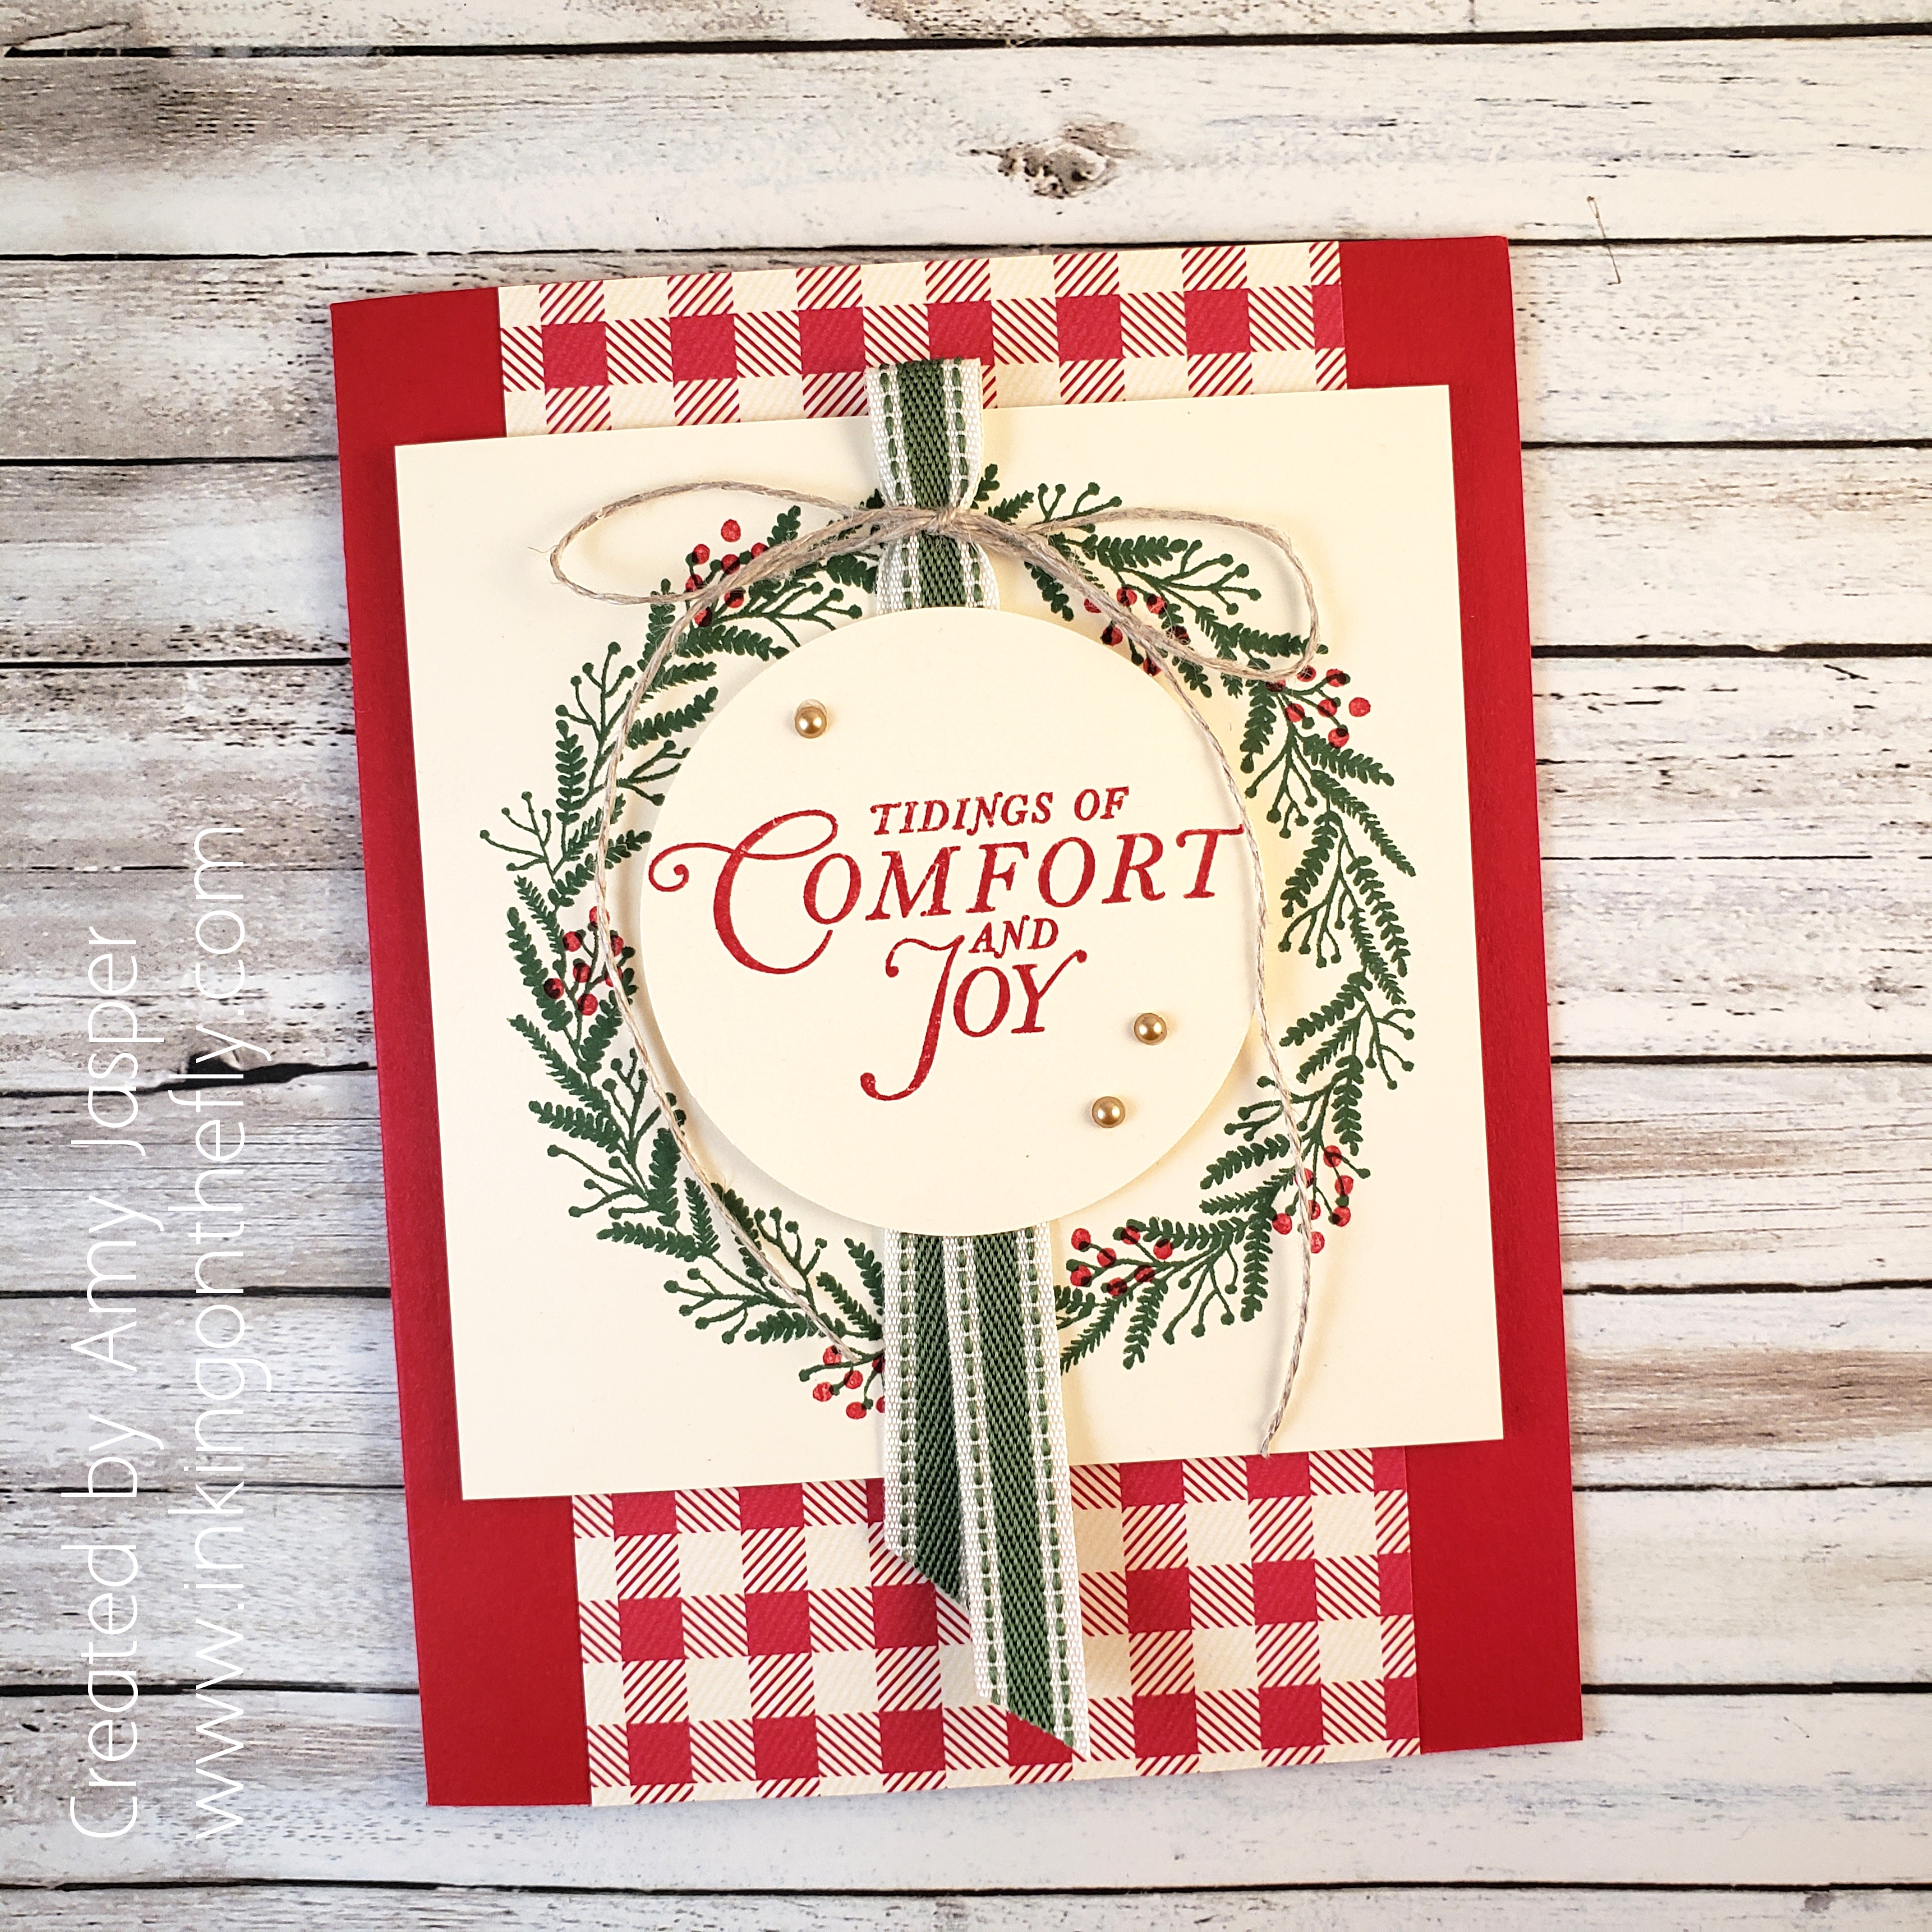
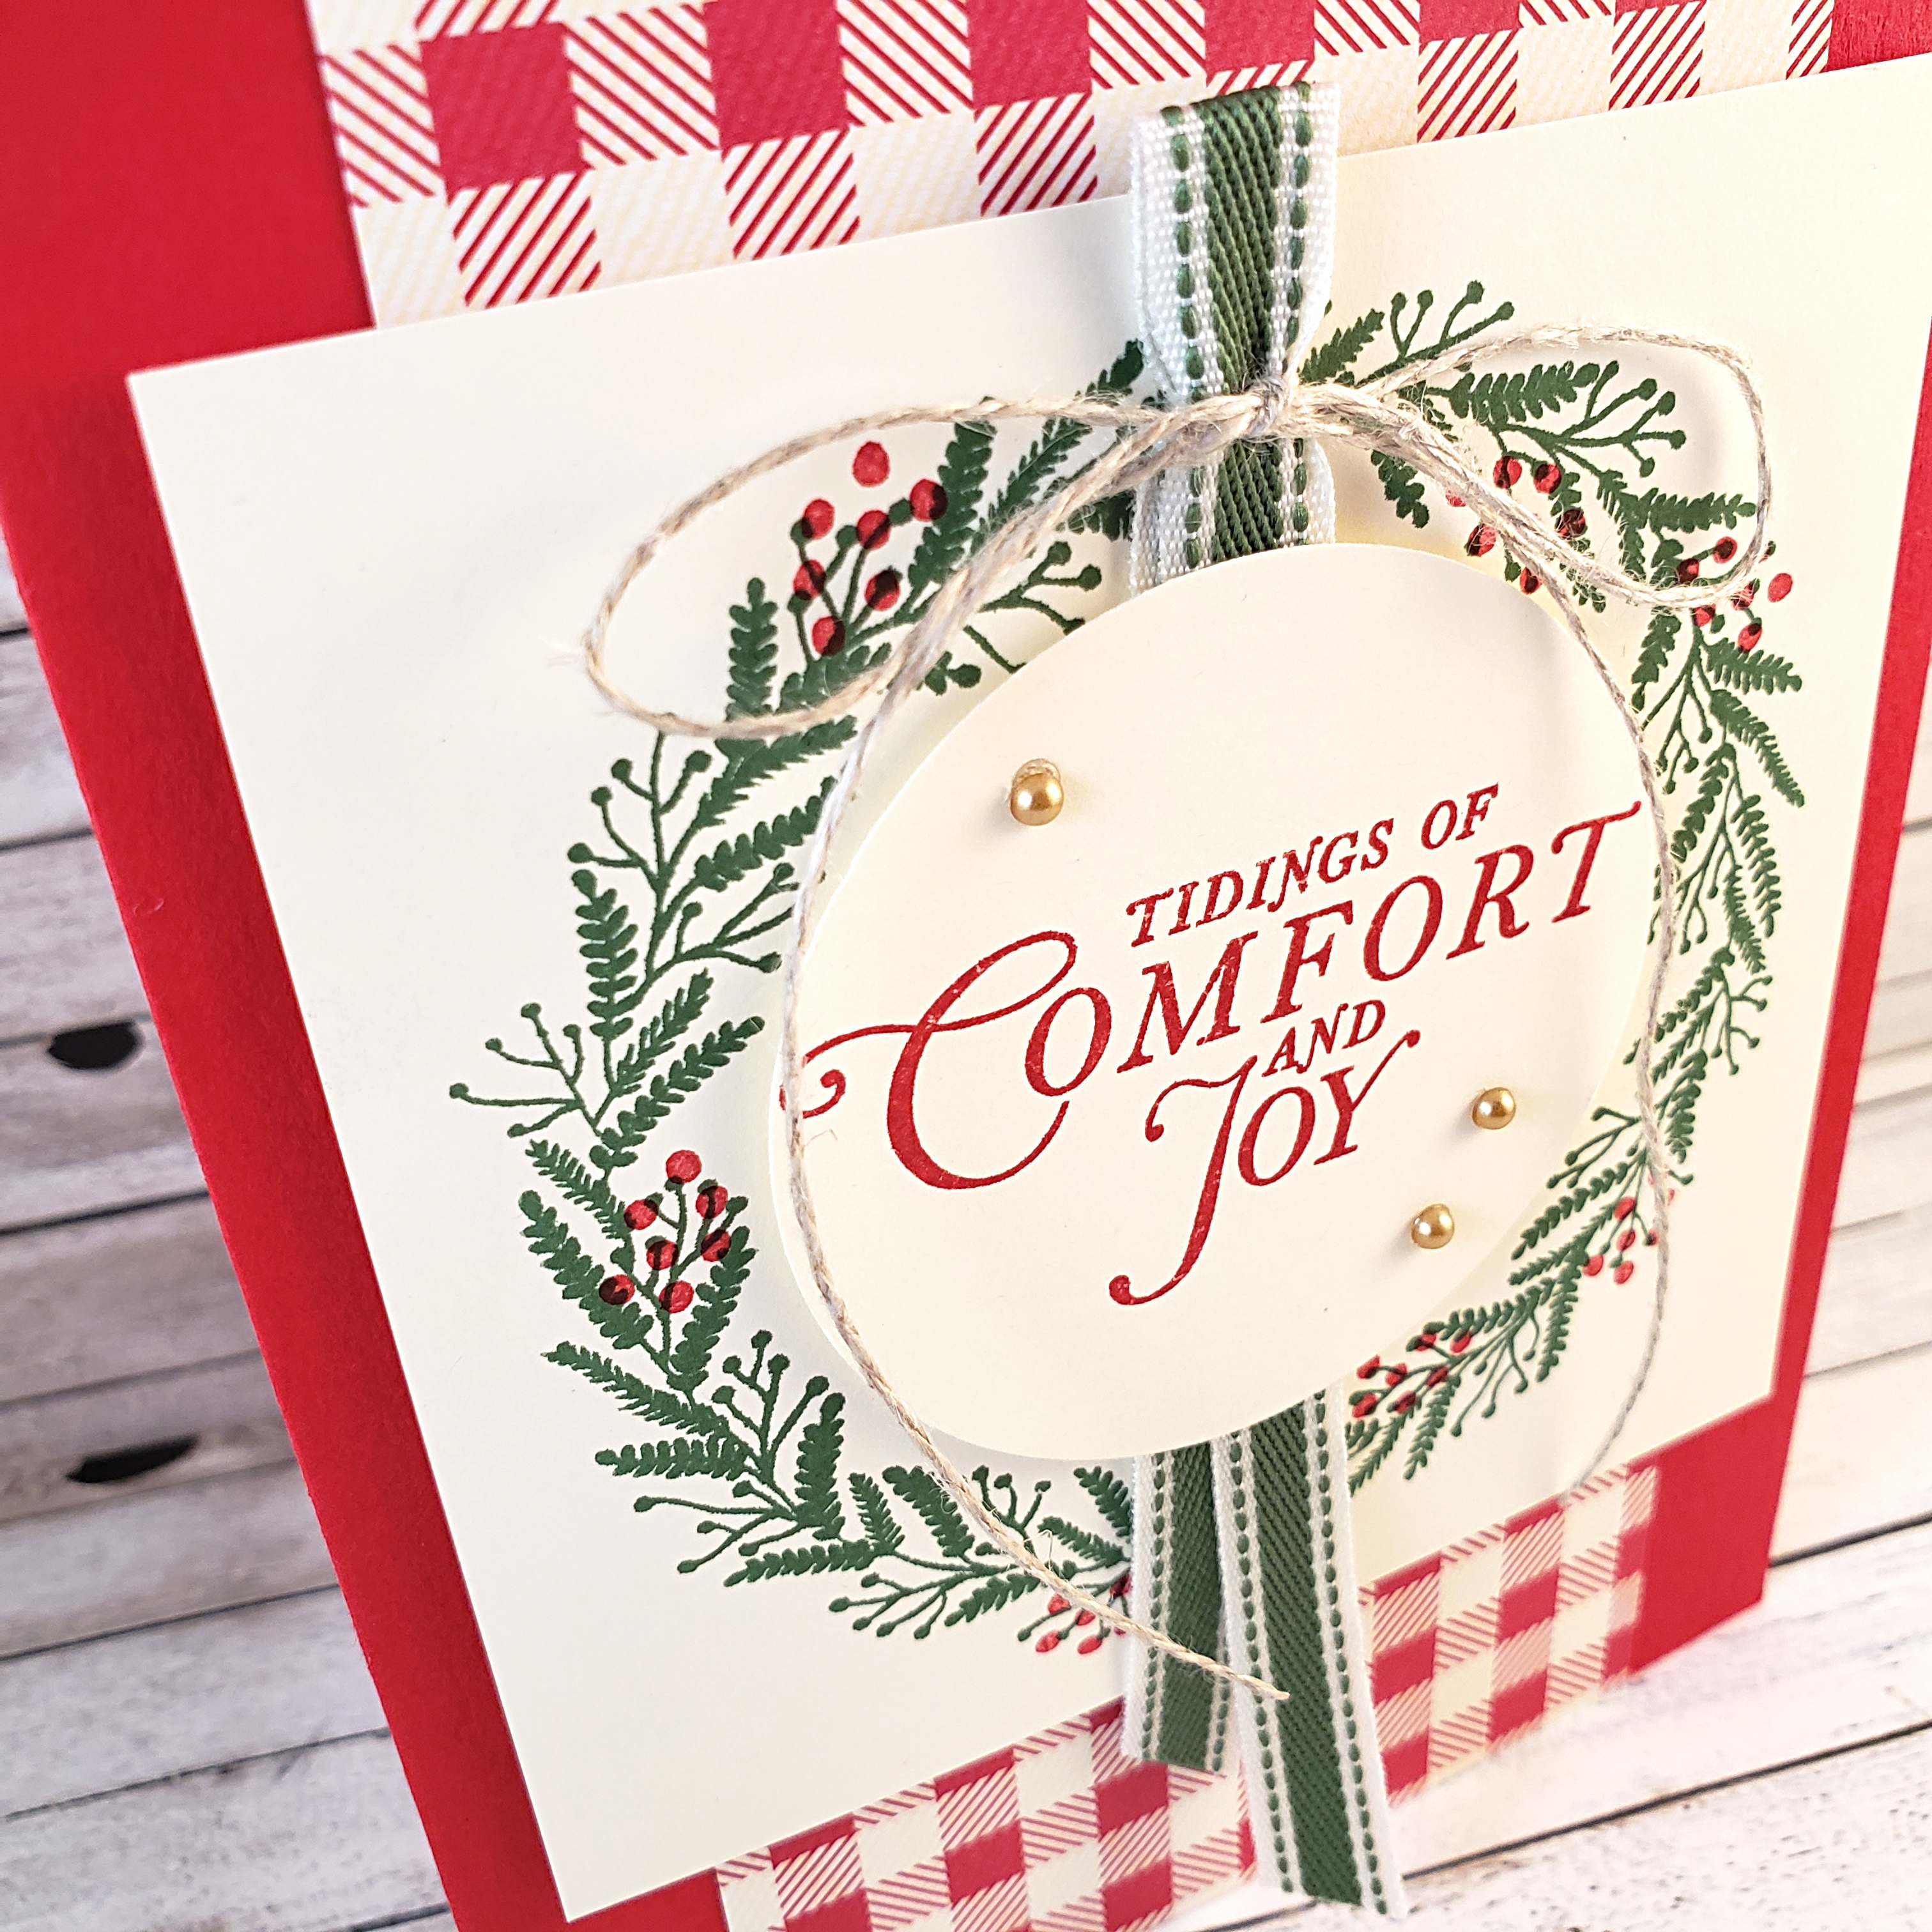
Now, I do have nearly all of the products shown on that sample, but I wanted to put my own spin on the design. I started with Real Red cardstock for the card base, then added the 3″ x 5.5″ piece of the red plaid (or is it gingham?) patterned paper from the Toile Tidings Designer Series Paper pack.

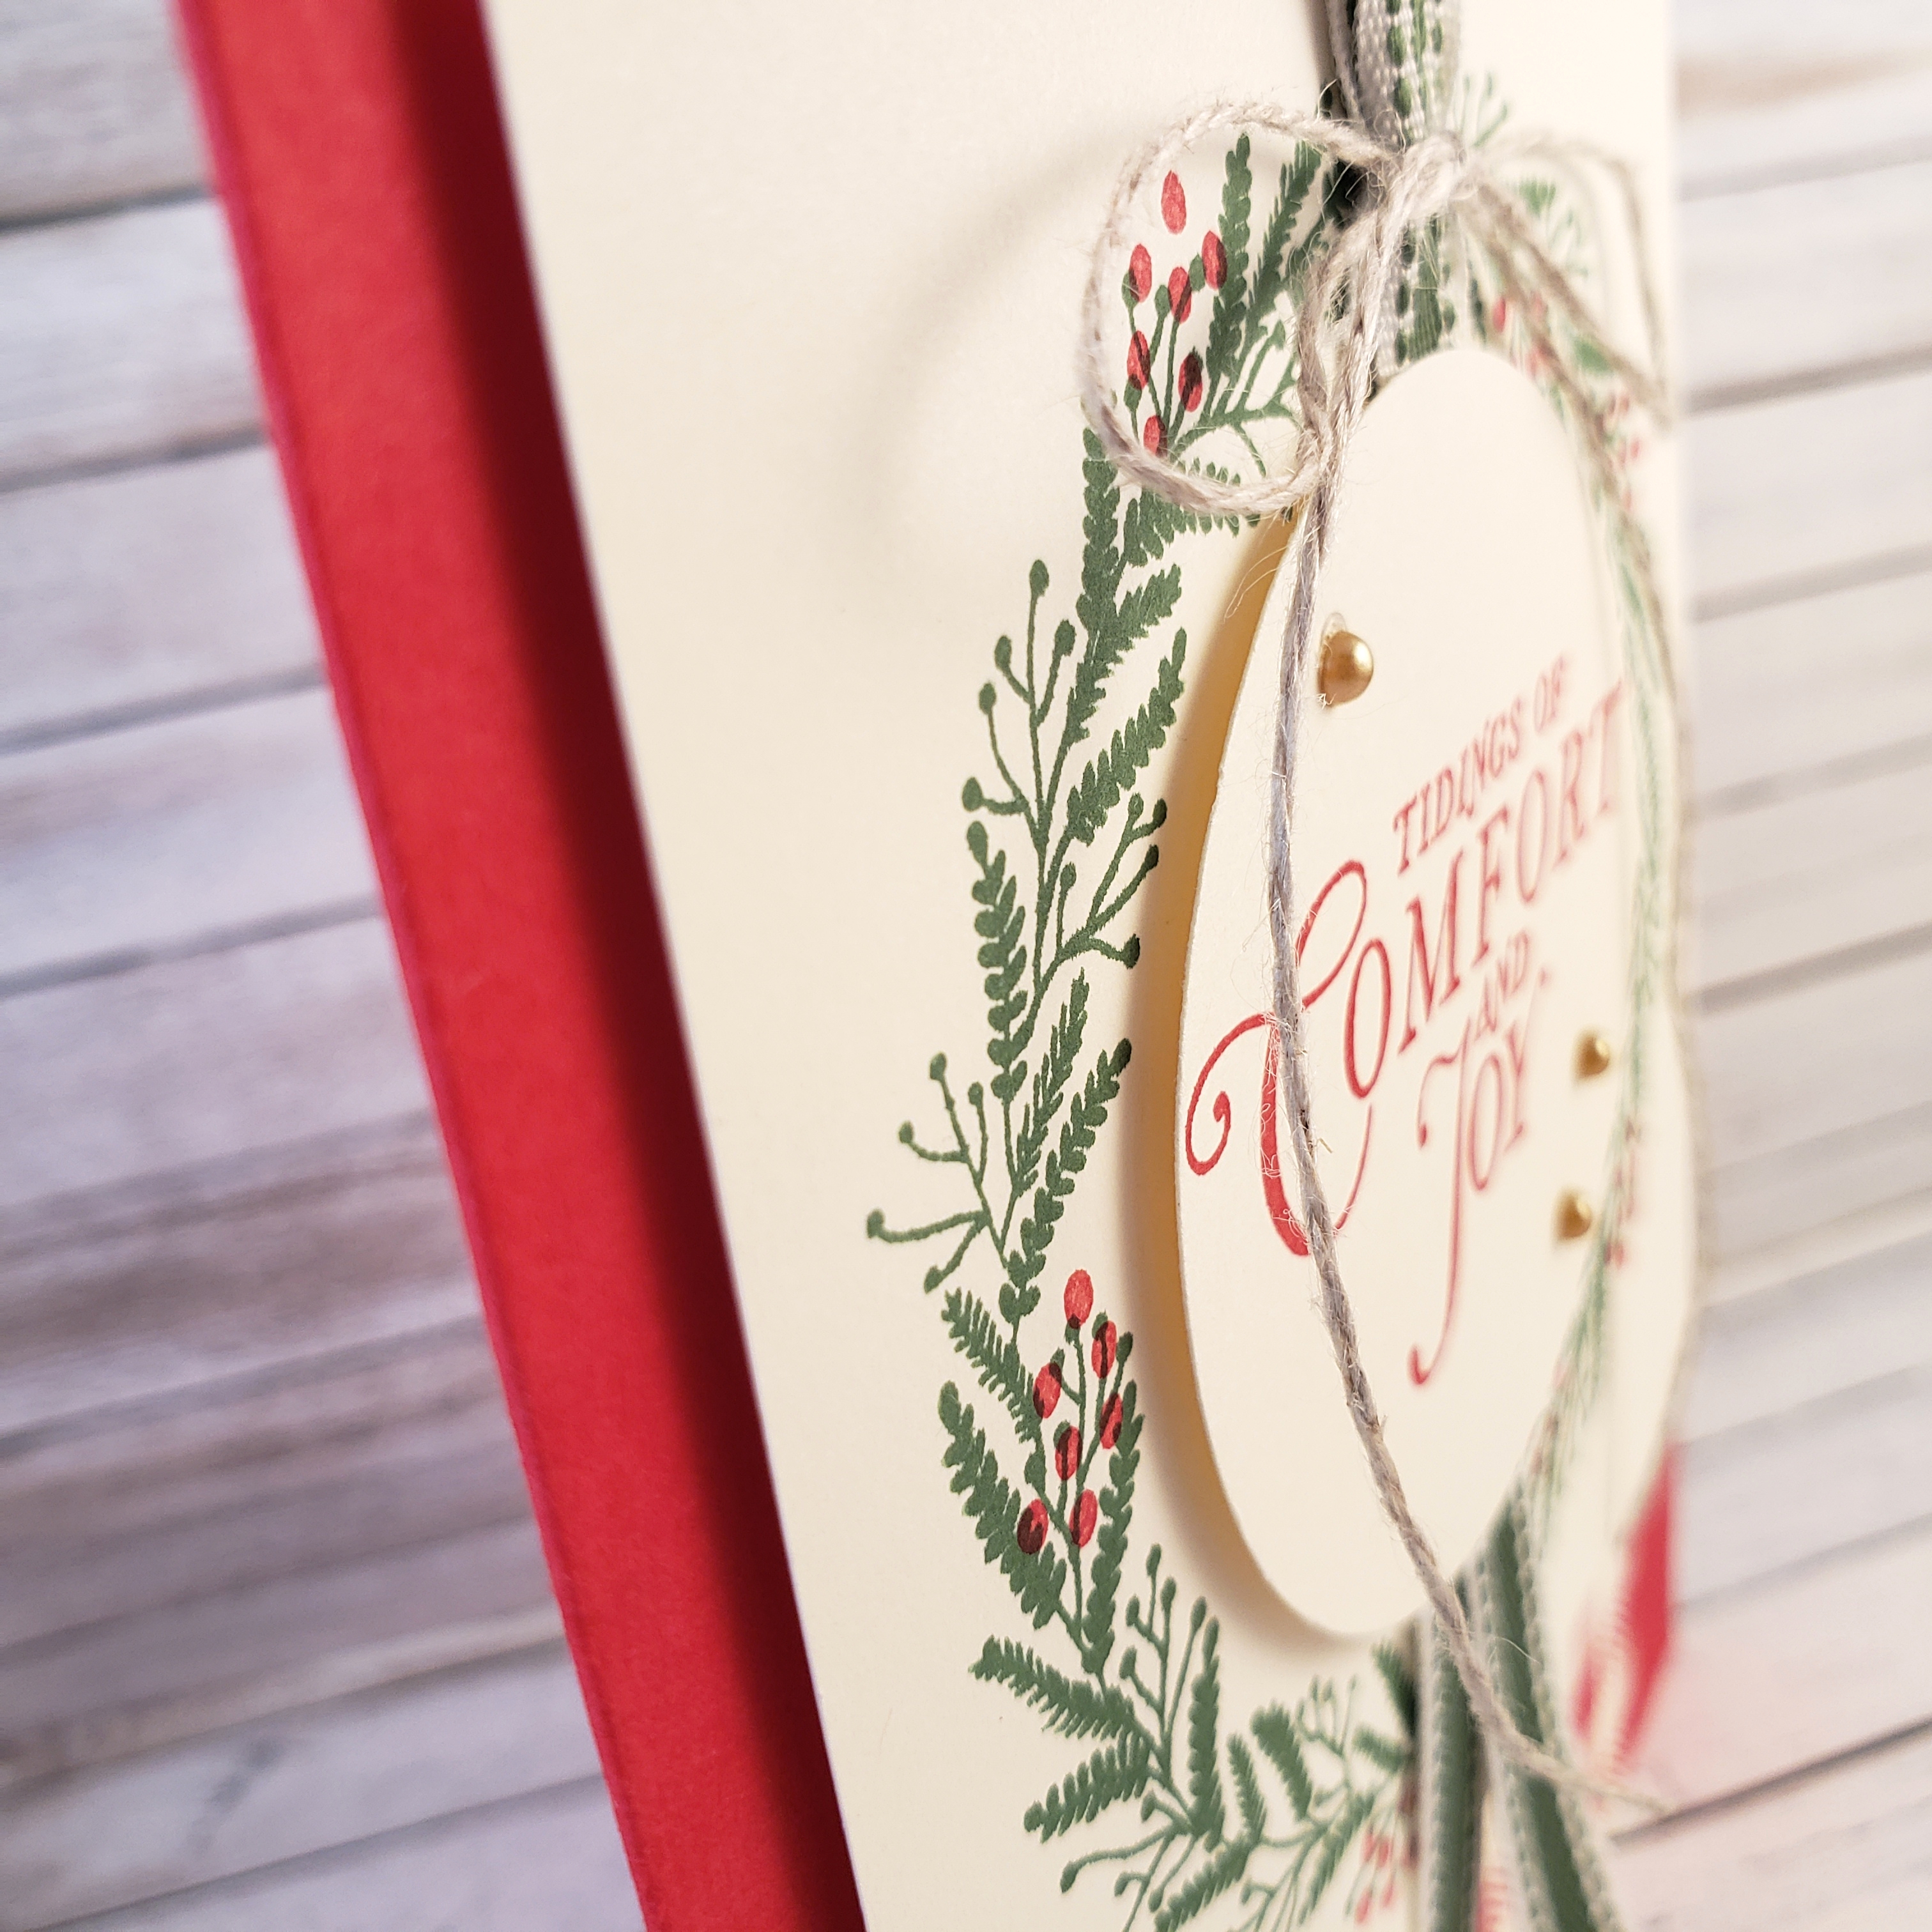
Next was to cut a 3-3/4″ square of Very Vanilla cardstock and stamp the wreath image from the Tidings All Around stamp set in Garden Green ink. To this, I stamped multiple berries from the same stamp set using Real Red ink. The square is adhered to the card front using Stampin’ Dimensionals. Then I added a piece of the Garden Green 3/8″ Double-Stitched Ribbon, approximately 8.5″ long, folded in half over the wreath image. Mini Glue Dots made attaching the ribbon super easy!

I love how the bow of Linen Thread tied onto the top of the folded ribbon adds an extra touch of a country cottage style. Of course, the circle of Very Vanilla cardstock is created using my favourite 2-1/4″ Circle Punch from Stampin’ Up! First, I stamped the sentiment with Real Red ink onto a piece of Very Vanilla cardstock, then used the punch so that the sentiment would be centered in the circle. This was then attached over the ribbon to the middle of the stamped wreath image with Stampin’ Dimensionals.

The final touch was to add the three gold Metallic Pearls around the sentiment.

Do you have a punch or die that you find yourself using quite a lot more than the others?  Let me know in the comments on this post. Or, why not just make a card with it and share it on the As You See It Challenge Blog! We all want to see how you use your go-to cut-out!

As always, you can order these products by going to my Online Store. Just click on the SHOP option on the top menu of the page or click on the SHOP circle on the side bar on your computer or scroll down to find it at the bottom of this post if you’re on your mobile device.