botanical tags

Woven Threads and Botanical Tags

I have not used my Botanical Tags dies nearly enough. They are so beautiful!

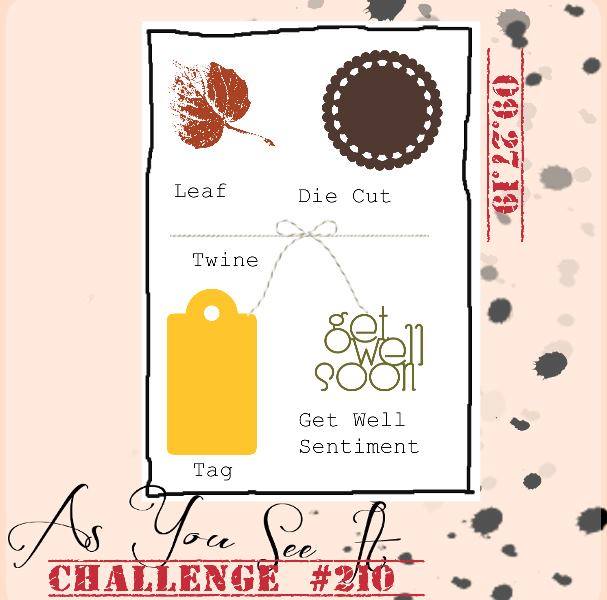
The card I have to share with you today is inspired by the latest As You See It Challenge:

I love how this type of challenge is so open to your imagination. As long as your design includes all of the elements listed on the challenge, you are good to go! I knew that the Botanical Tags Dies would be part of this one because the die I used covers 3 of the elements required right away! It’s a tag. It’s a die cut. It has leaves! Whaaa!

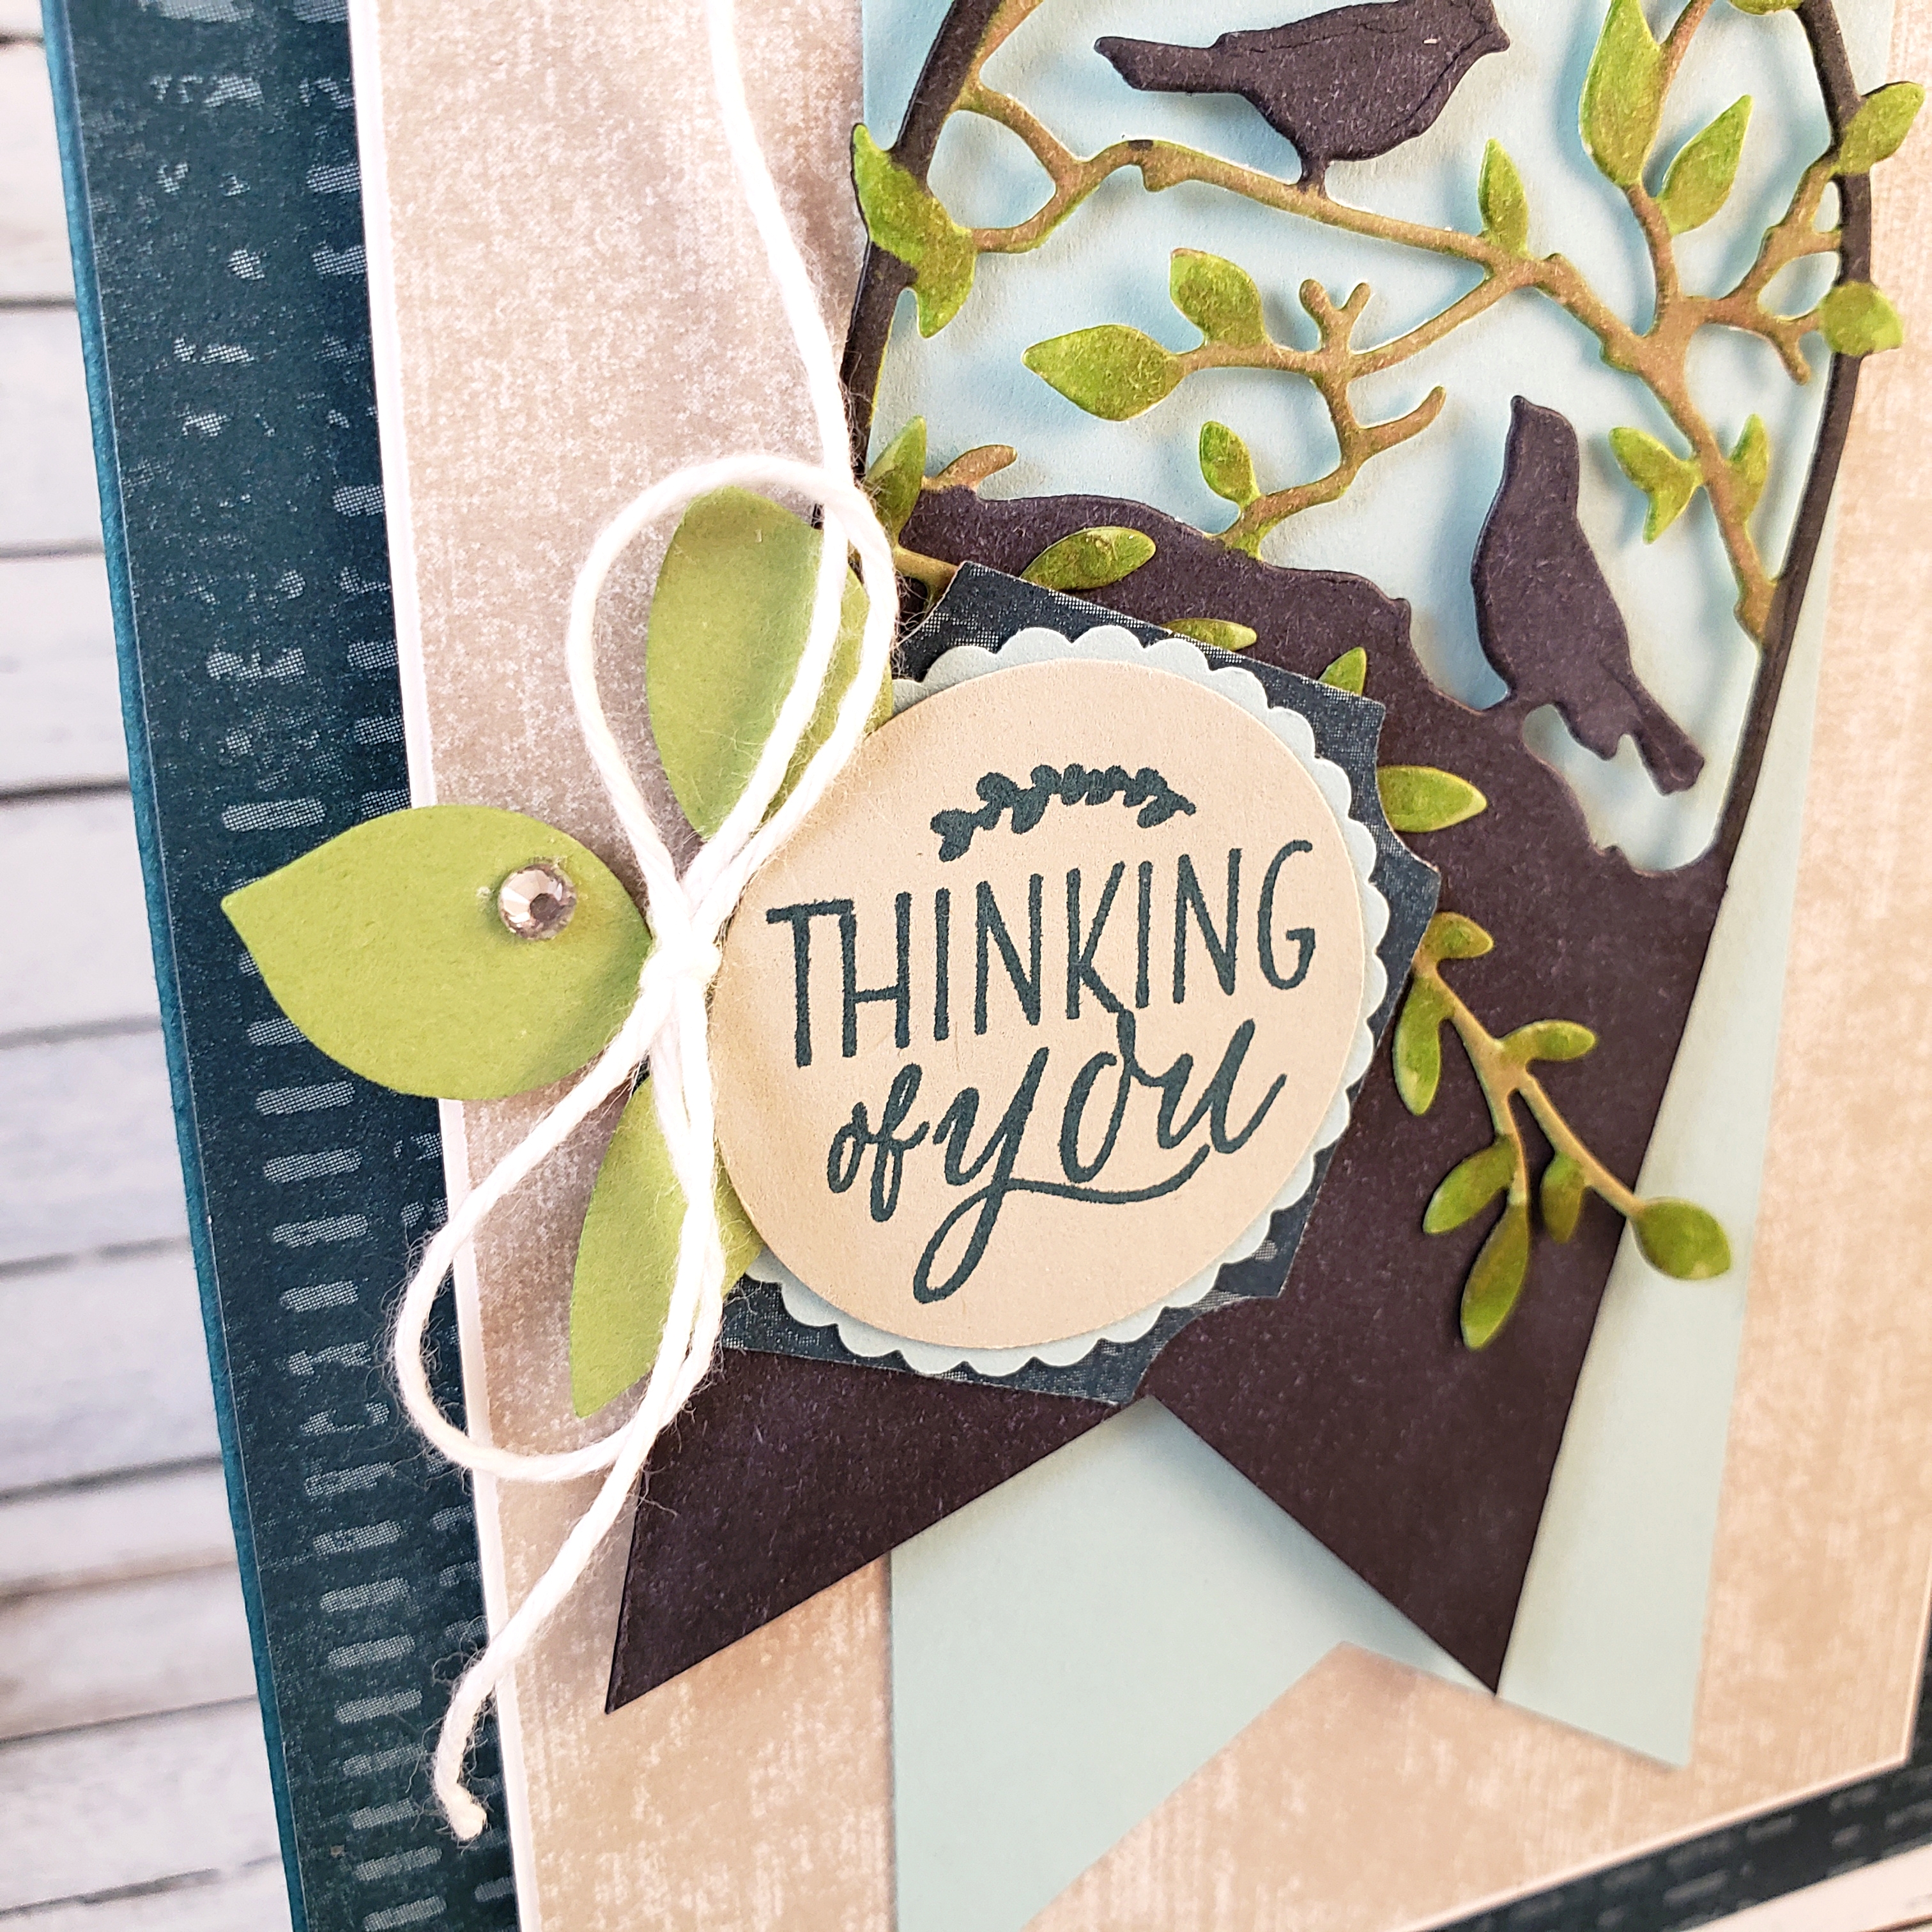
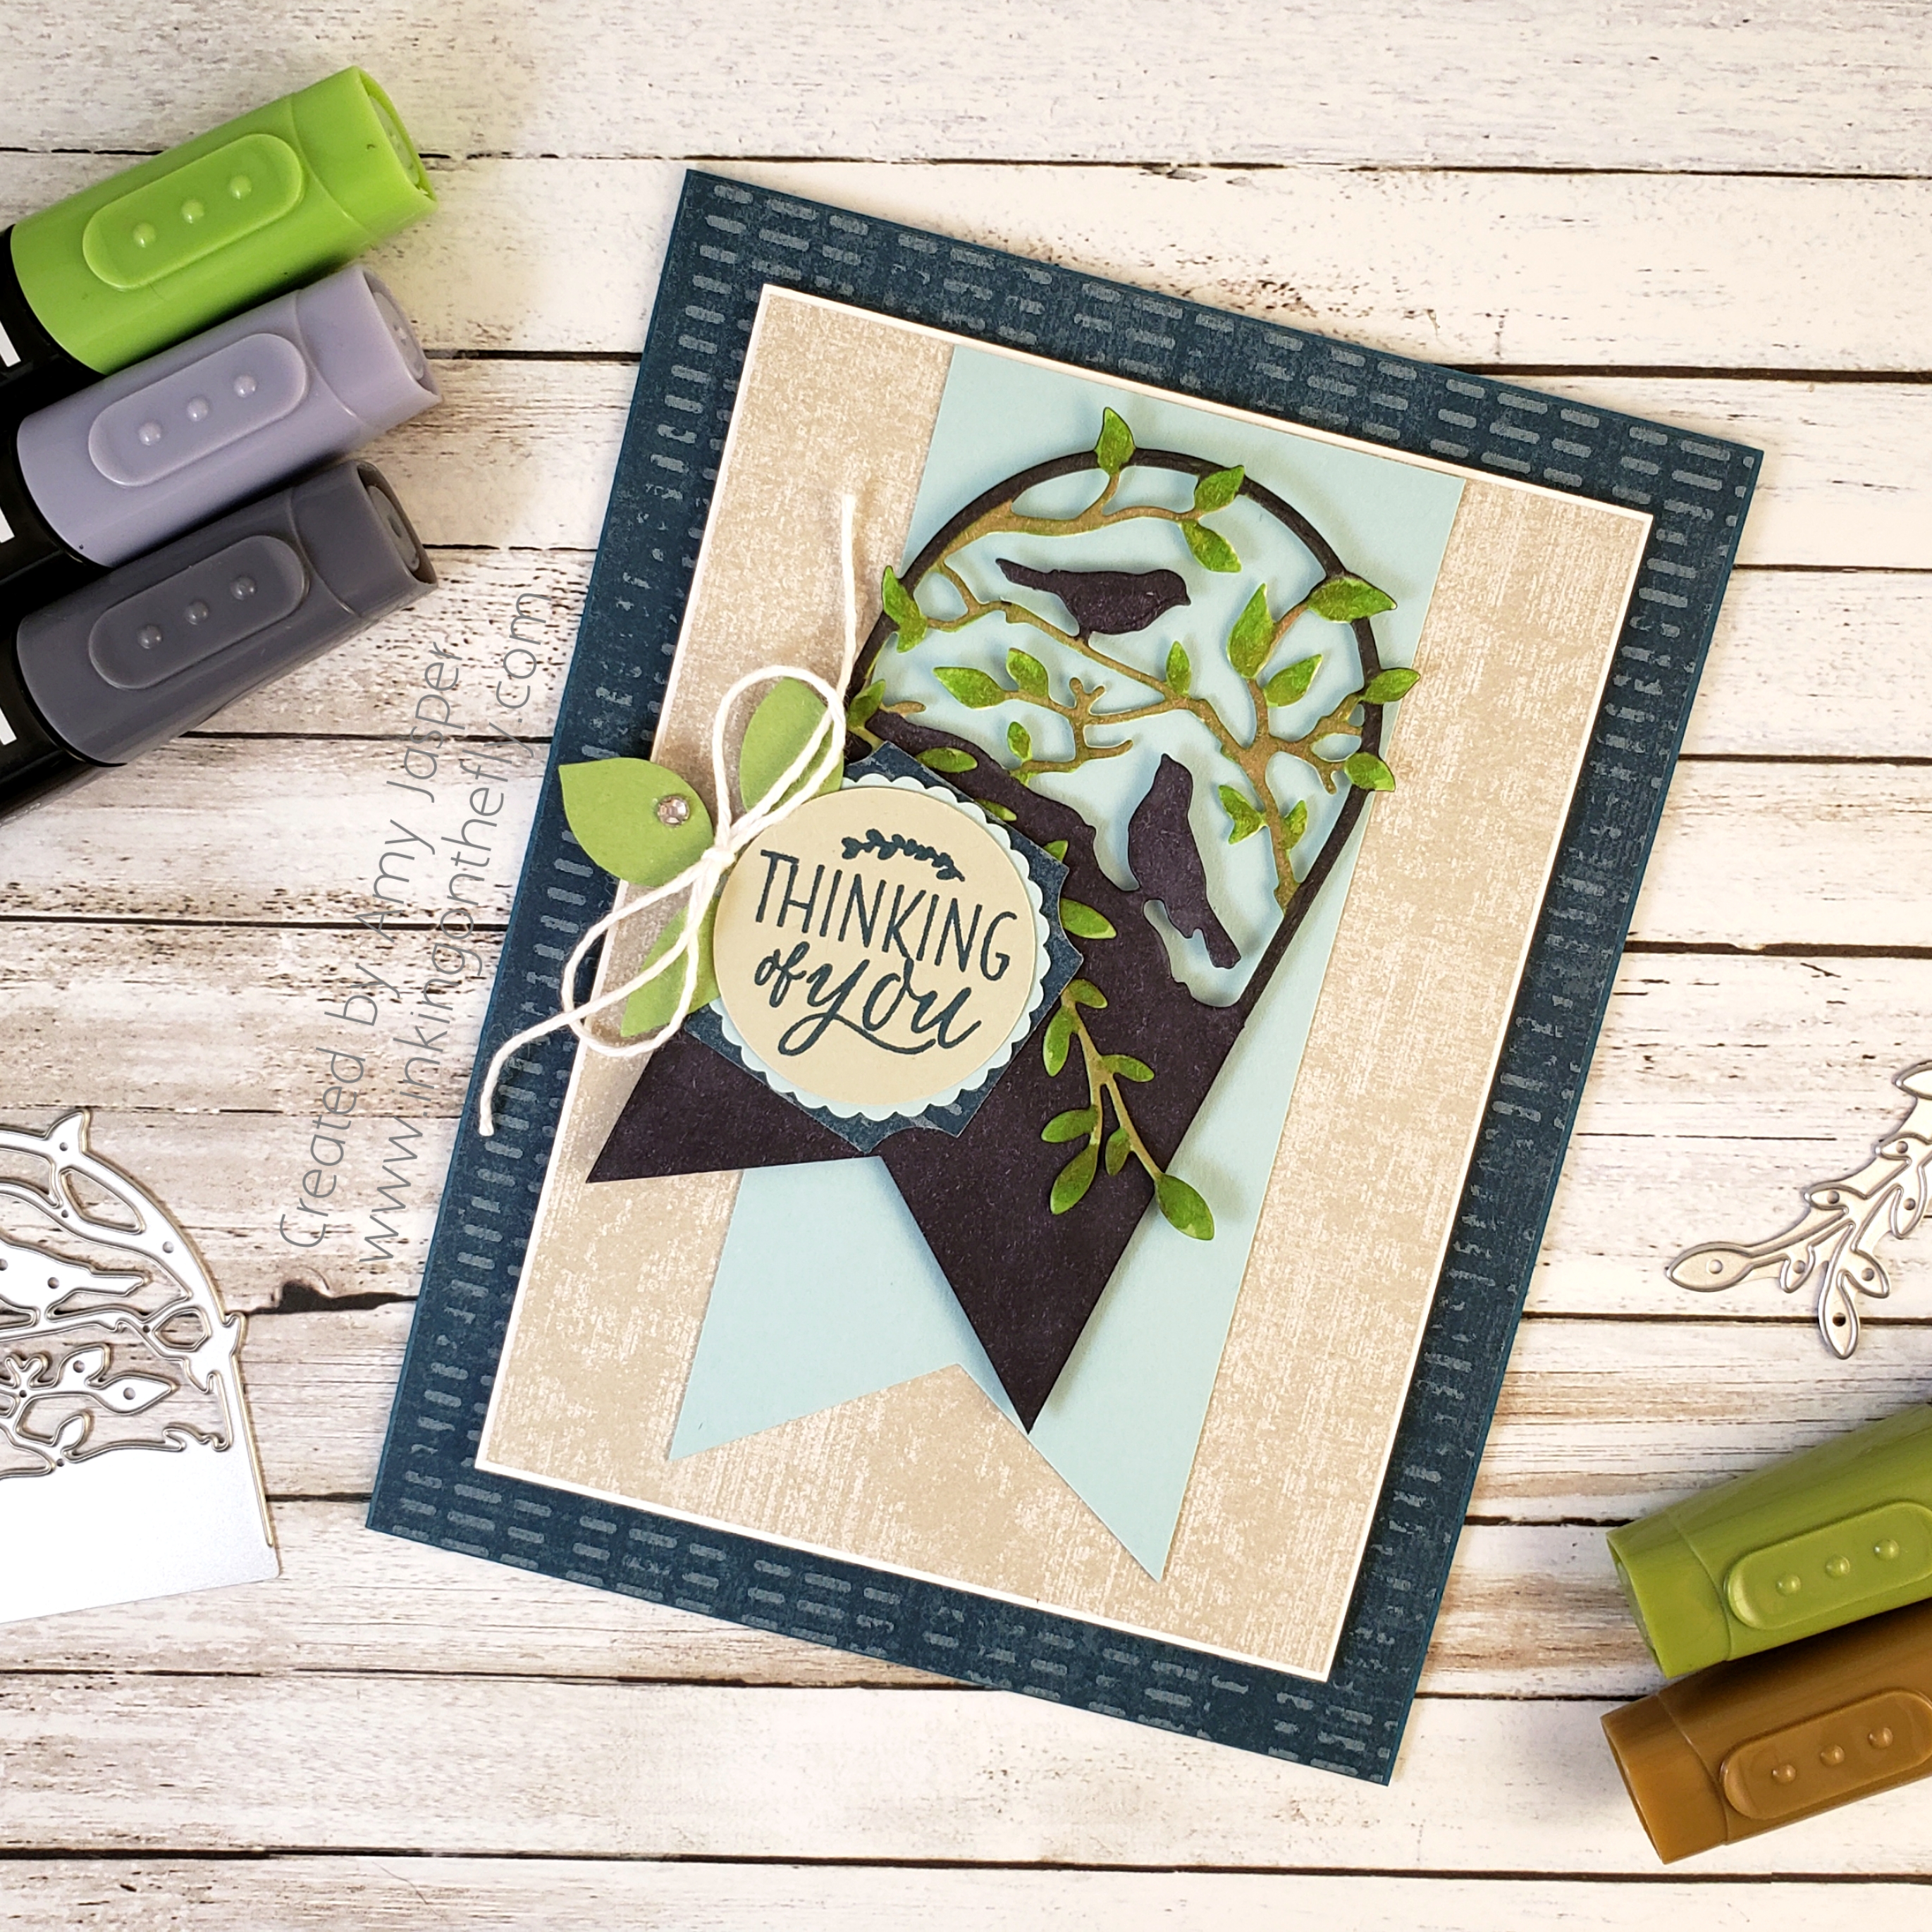
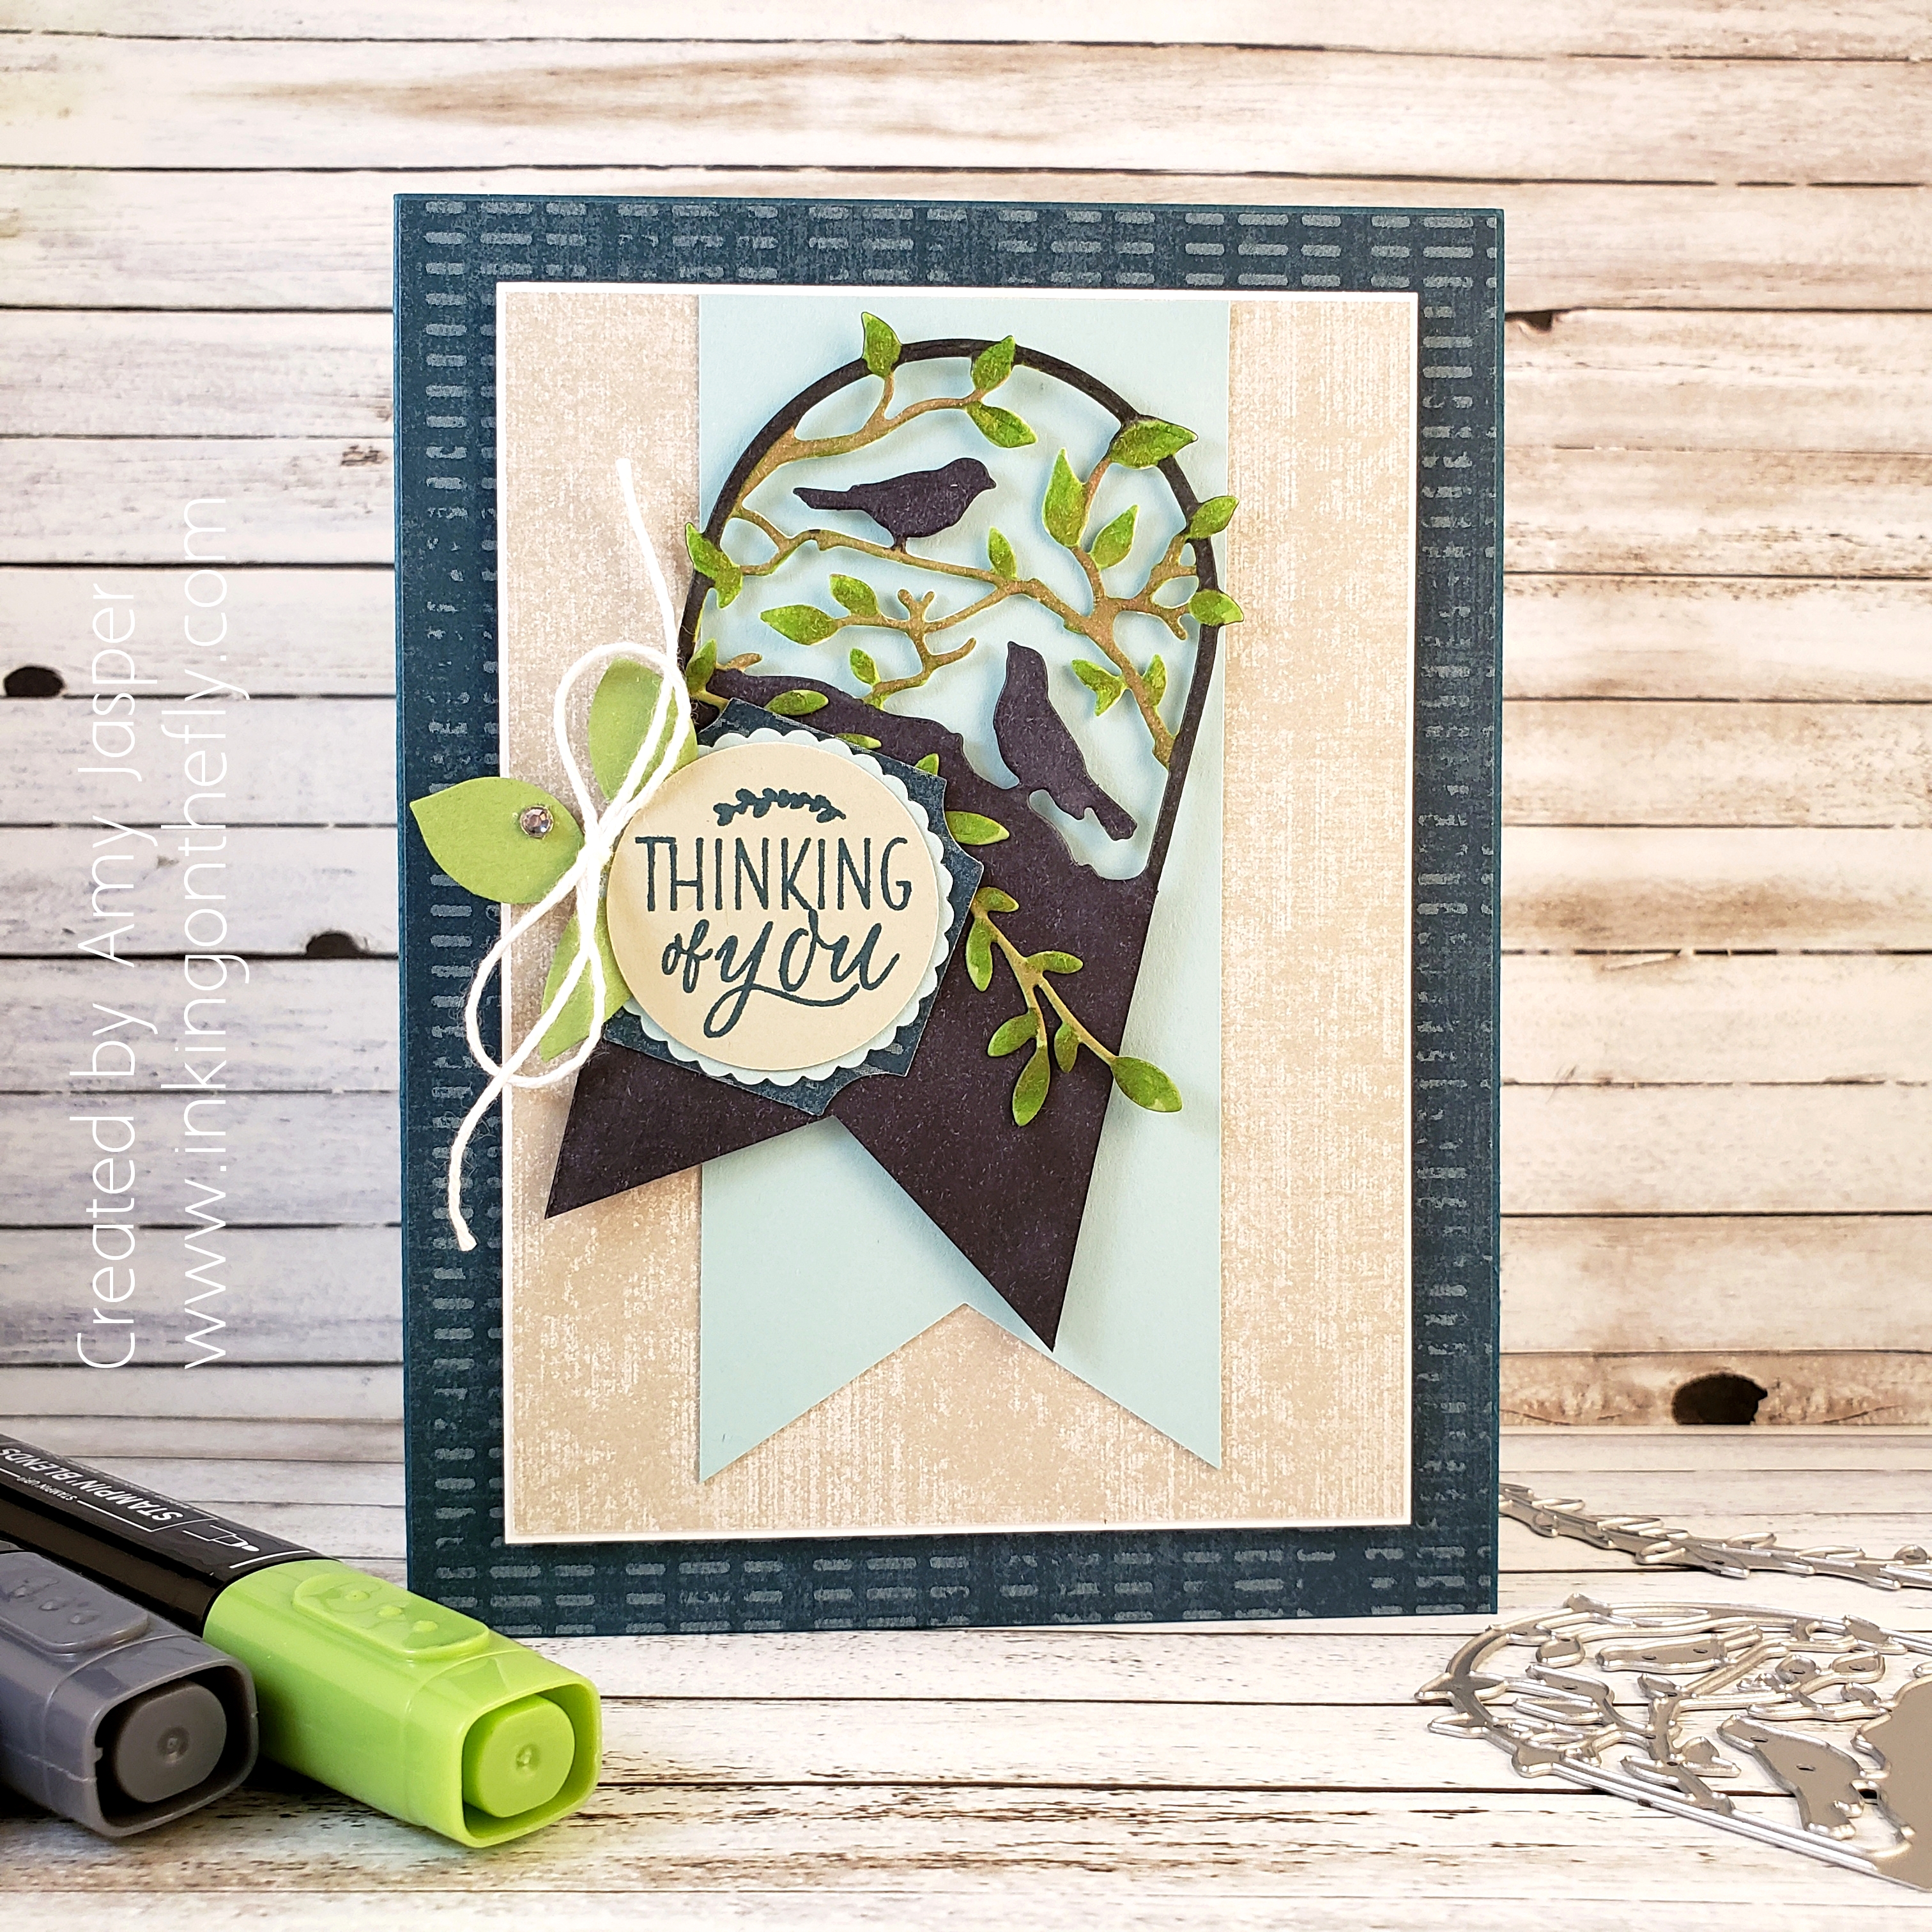
I cut the tag out of Whisper White Cardstock and coloured it using the Stampin’ Blends. I ended up colouring the entire lower portion with my Black Stampin’ Blends! A bit colour happy, perhaps? LOL!

The Triple Banner Punch was used to cut the bottom of both the botanical tag die and the Pool Party banner. The branch/vine was cut using another of the dies from the Botanical Tags Dies and was also coloured with my Blends Markers.

The sentiment is from the stamp set in the Darling Label Punch Box by Stampin’ Up!. The Darling Label Punch was also used on this card as part of the layers on the tag. The sentiment was stamped on Sahara Sand cardstock using Pretty Peacock ink, then punched out with a circle punch to layer over the punched out Pool Party Scallop circle. I used yet another punch, the Leaf Punch, to cut the leaves that are tucked under the left side of the tag. The little Rhinestone Basic Jewel and the Whisper White Solid Baker’s Twine were just the right embellishments to complete the look I wanted for my tags.

All this is layered over the Woven Threads Designer Series Paper, matted with Whisper White cardstock. Stampin’ Dimensionals hold that onto the Pretty Peacock coloured Woven Threads Designer Series Paper layer on the Pretty Peacock cardstock base of the card.

Did you know that the Woven Threads Designer Series Paper is part of the BUY 3 GET 1 FREE DESIGNER SERIES PAPER SALE!?! Click on the link to go to my online store to see all the papers that are included in this deal!

Now it’s your turn. Give the challenge a try and share it with us at the As You See It Challenge Blog!
Happiness Looks Good

Have you ever thought about how we compliment each other? A friend mentioned this on a Facebook post recently and it really made me think. Here’s what she wrote:

“Many times I hear people being complimented on their appearance – what they are wearing, their hair, the weight they’ve lost, the stuff they have bought, the amazing house they have. I wonder why we don’t really compliment people on how happy they look, or how relaxed they look, or how kind or compassionate or authentic they are. We could compliment people on their generosity and helpfulness. I guess it’s just a reflection of what we value In our society.”

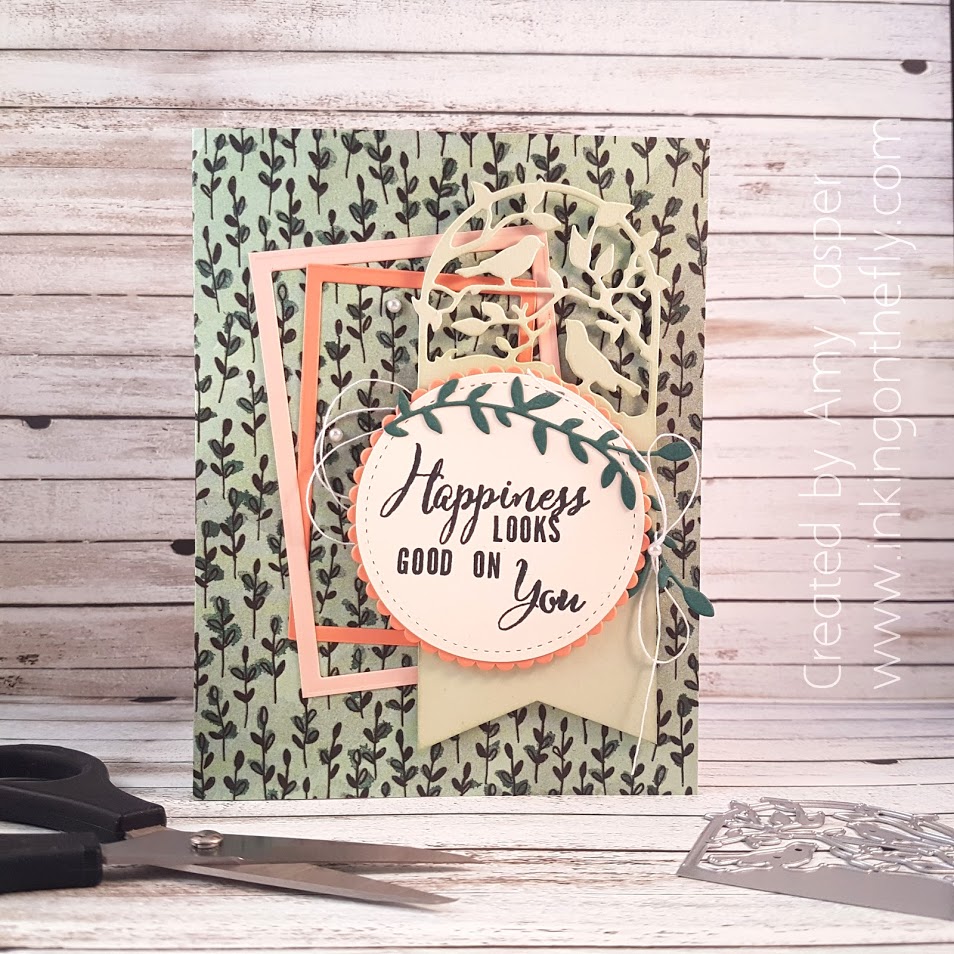
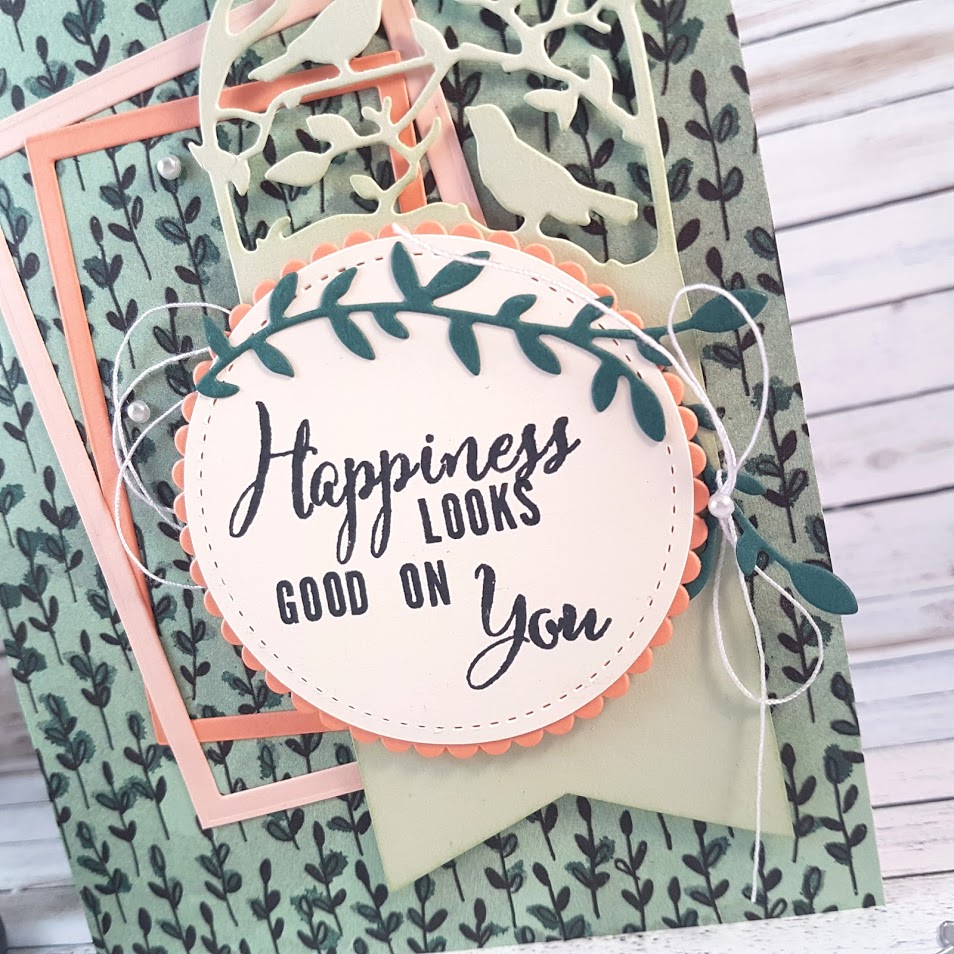
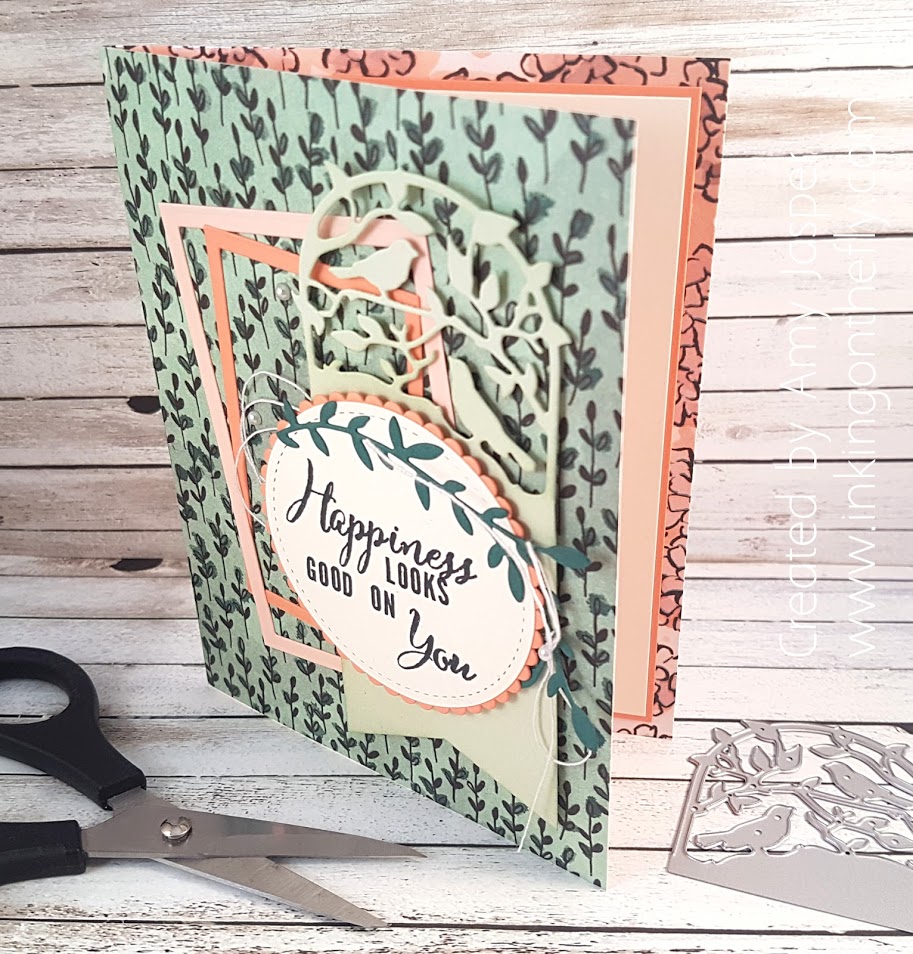
My card today is a reflection of this. I decided to create my own sentiment using the “Make a Difference” stamp set from Stampin’ Up! It has the beautiful hand lettering script and the small block print letters so you can create your own words.

Of course, as usual, I started with the As You See It Challenge sketch.

(but before I did anything, I had to clean my stamp room! It was back to its ol’ disaster of a mess again – silly room – I don’t know why it can’t just clean itself and let me get on with creating!)

Here’s the As You See It Sketch:

The sentiment on this design is great for anyone who is experiencing something in life that has brought them happiness – an engagement, graduation, new home, new baby. I love how the Share What You Love Specialty Designer Series Paper is cardstock weight so you can use it for a card base. The Petal Pink and Grapefruit Grove rectangular frames were created using the Layering Squares thinlits – to cut the rectangle inside, I just cut a square twice – side by side. Easy peasy. A tag was made using the Botanical Tags thinlits and Soft Seafoam cardstock and attached with Dimensionals. Layered over that is a Grapefruit Grove scallop circle cut using a circle die from the Layering Circles framelits with a Very Vanilla circle cut using a circle die from the Stitched Shapes Framelits. A few leaves from the Botanical Tags Thinlits were cut from Tranquil Tide cardstock and adhered to the card front.The sentiment is stamped one letter at a time using the Make a Difference stamp set. I drew some lines very lightly in pencil to help me stamp my words straight, then erased them when I was done. It turned out quite well for my first try!

The final touch of White Thread from the Share What You Love Embellishment kit and a few Basic Pearls finish this card off nicely.

Be sure to try the sketch and play along. We love to see what you’re creative brains can do!