Posts by Amy Jasper:

Groovy Love

041header

Welcome to my blog where I share the creations that I have designed using the tools and supplies from Stampin’ Up!

I don’t know if I ever explained why I call my blog “Inking on the Fly”. It all started with ladybugs.

I love ladybugs.

They represent the complex beauty of the great outdoors (which I also love). I have a tattoo on my right hip of a ladybug that was etched in all it’s permanency about 18 years ago and I still love it and it still suits me. My first blog was called “Ladybug Landing”, but I decided that it did not have a descriptive element to it that had anything at all to do with paper crafting and rubber stamping! So, I thought of “inking on the fly” and then dropped the “ladybug landing” part altogether when I started this new blog.

As a busy mom of 3 kids (10, 8, and 5) who also works part time and tries to maintain my stamping business, my yard, my house, and my family’s well-being, I don’t have a lot of time for creating with my craft supplies anymore. When I do have time to design, I find that it is brief and rushed more often than not. So, when I “ink”, I am often doing it “on the fly” … how does this apply to ladybugs, you ask? …. Well, they fly, too, silly!!

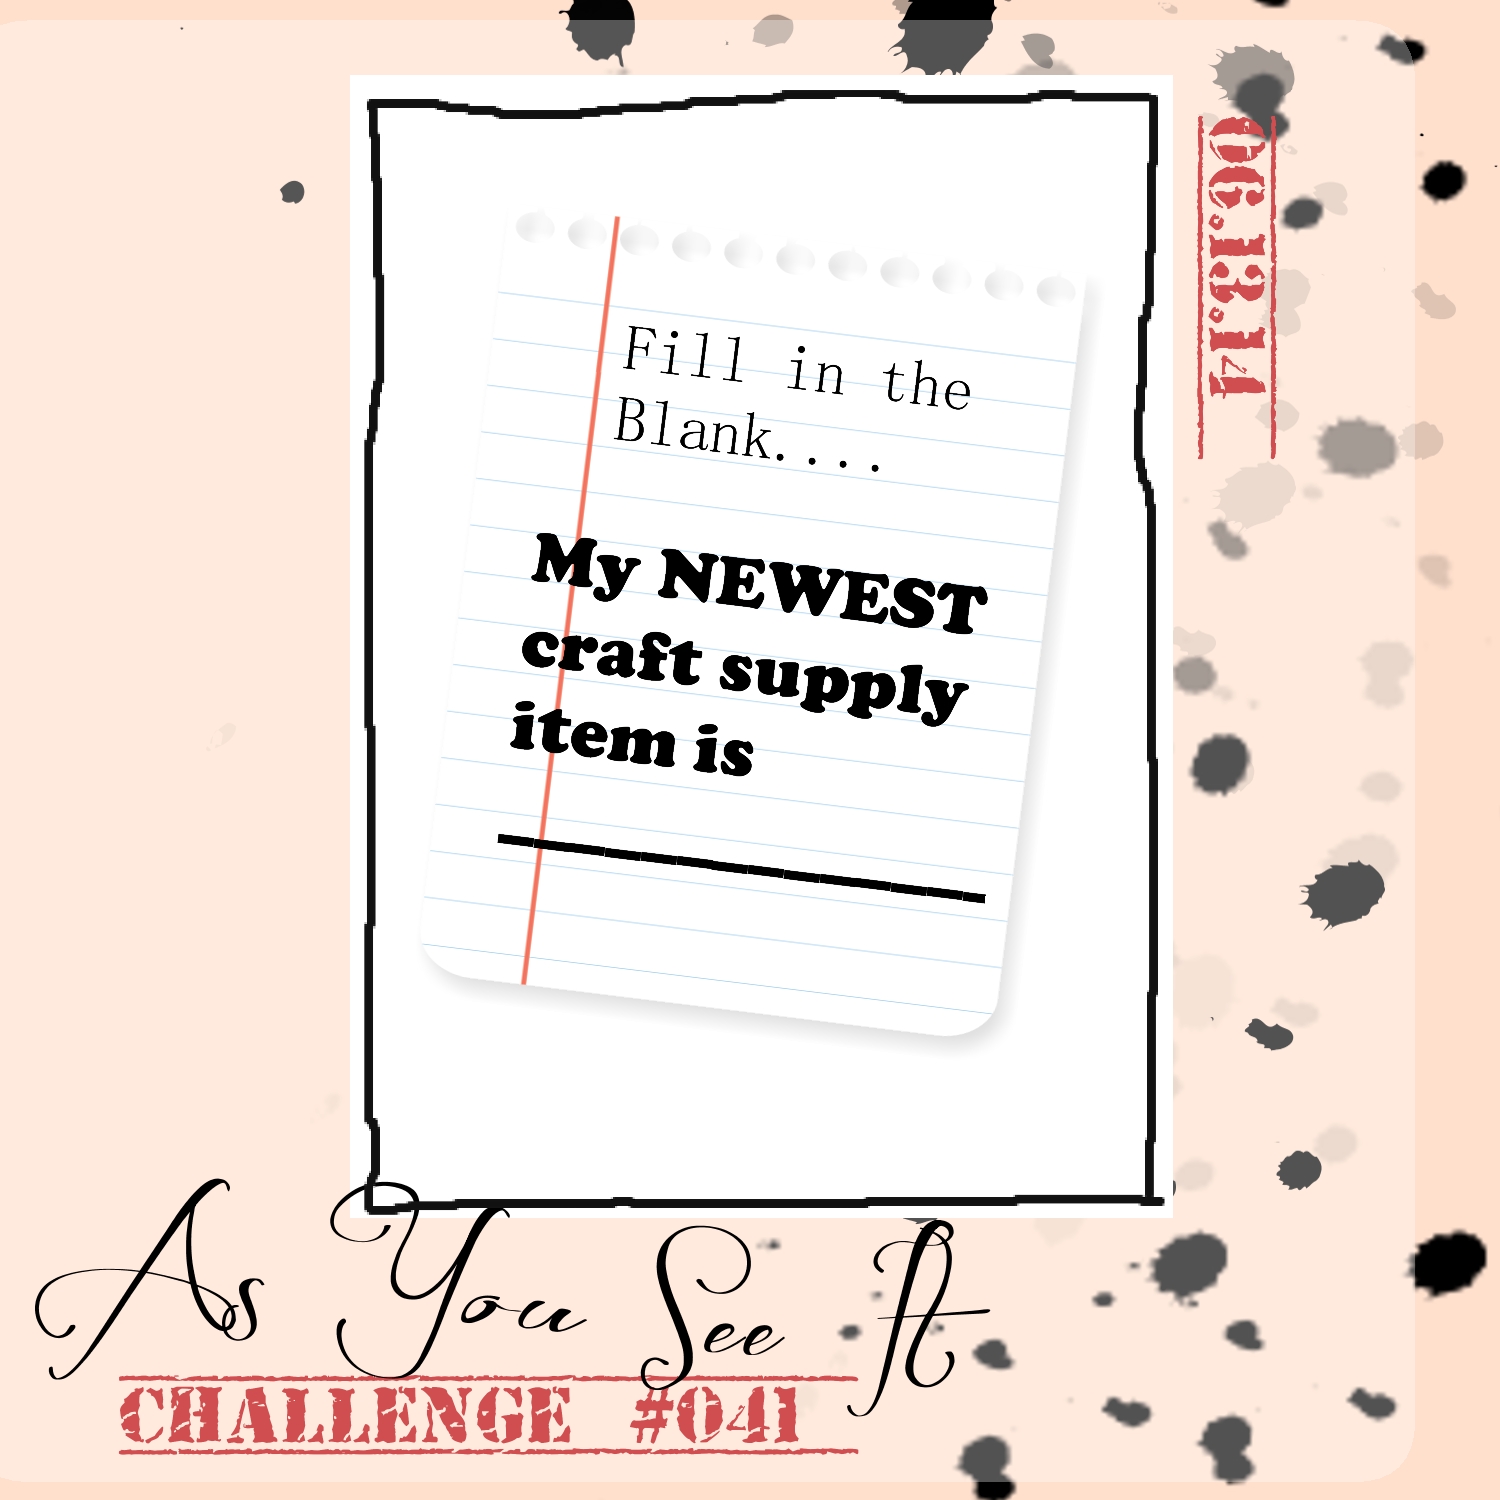
Here’s the challenge this week. As you See it Challenge #42

#42

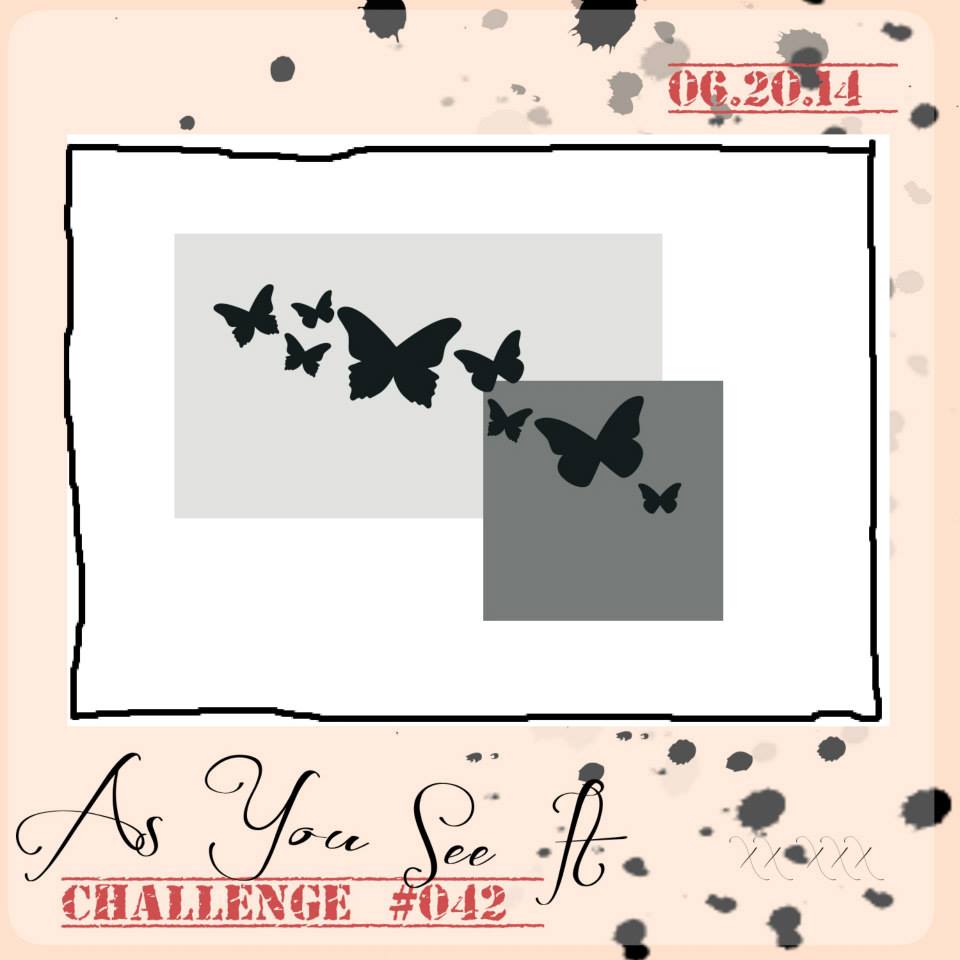
I was definitely inking on the fly when I created my card for this one. We have a camping trip planned for which I have done NOTHING to prepare. I have washed a few clothes and made a grocery list and menu. I have not packed ANYTHING! I guess inking isn’t the only thing I do on the fly, lol!
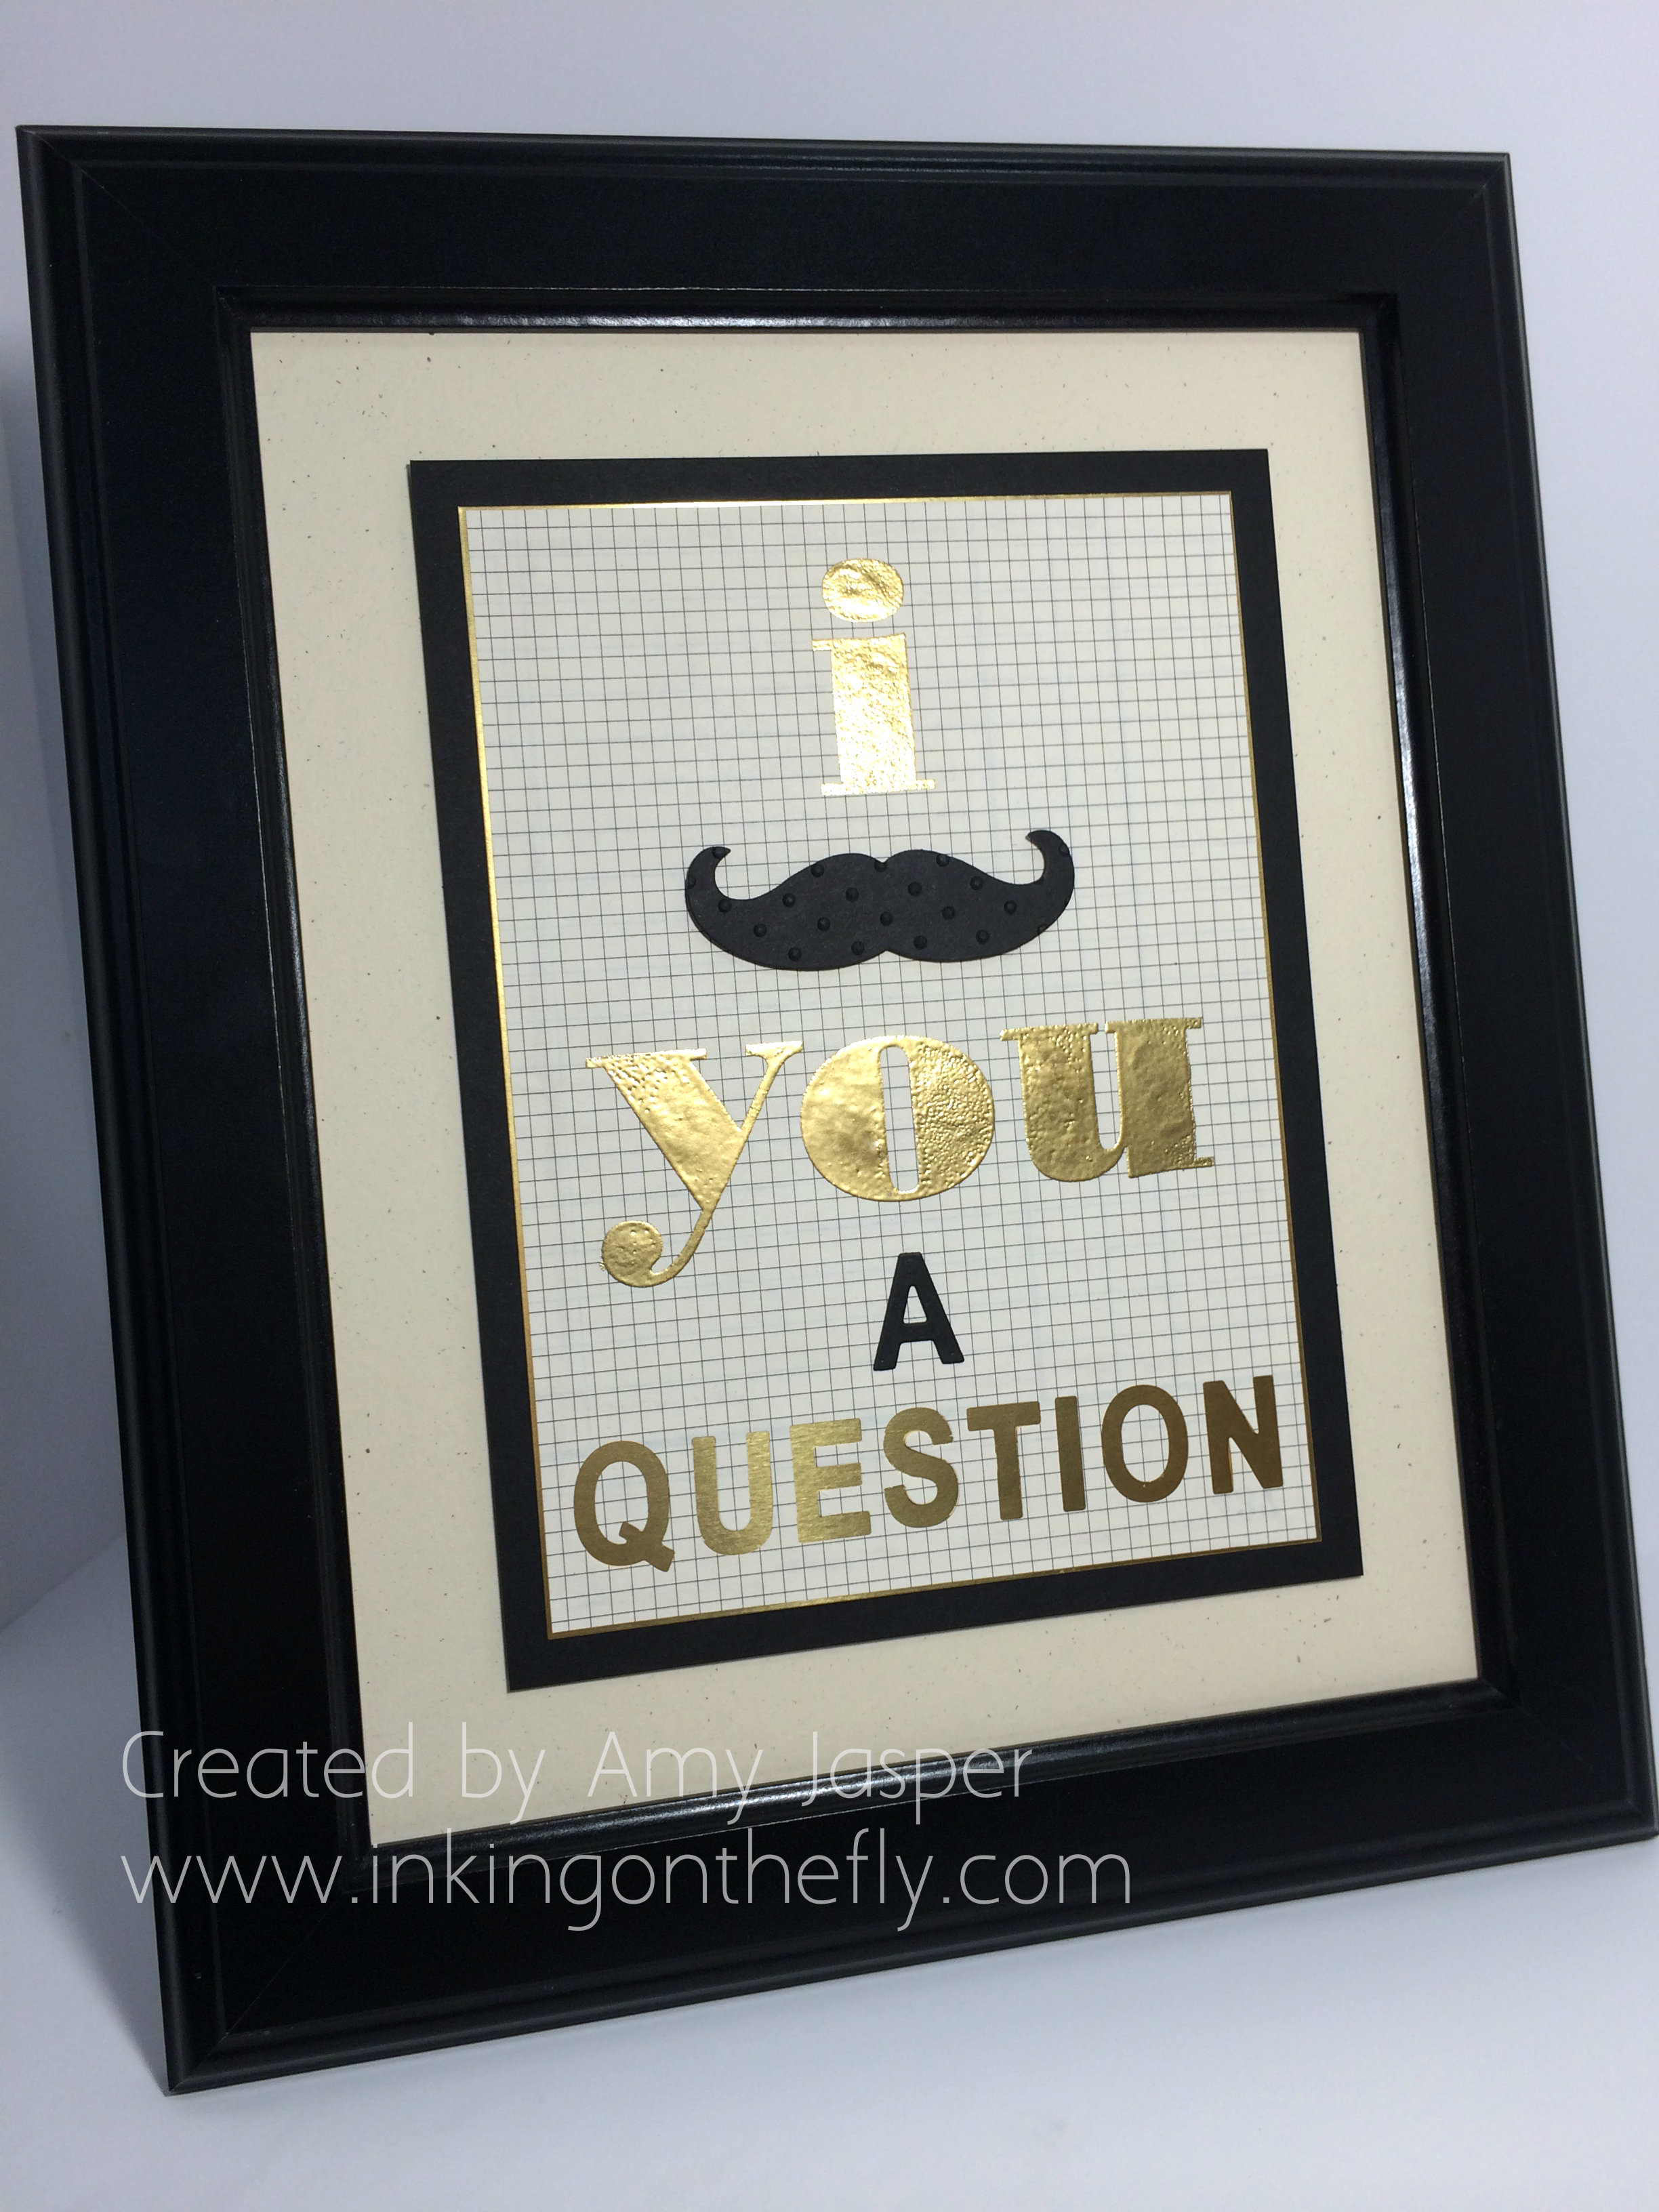
042Amy

Ain’t it purdy!!

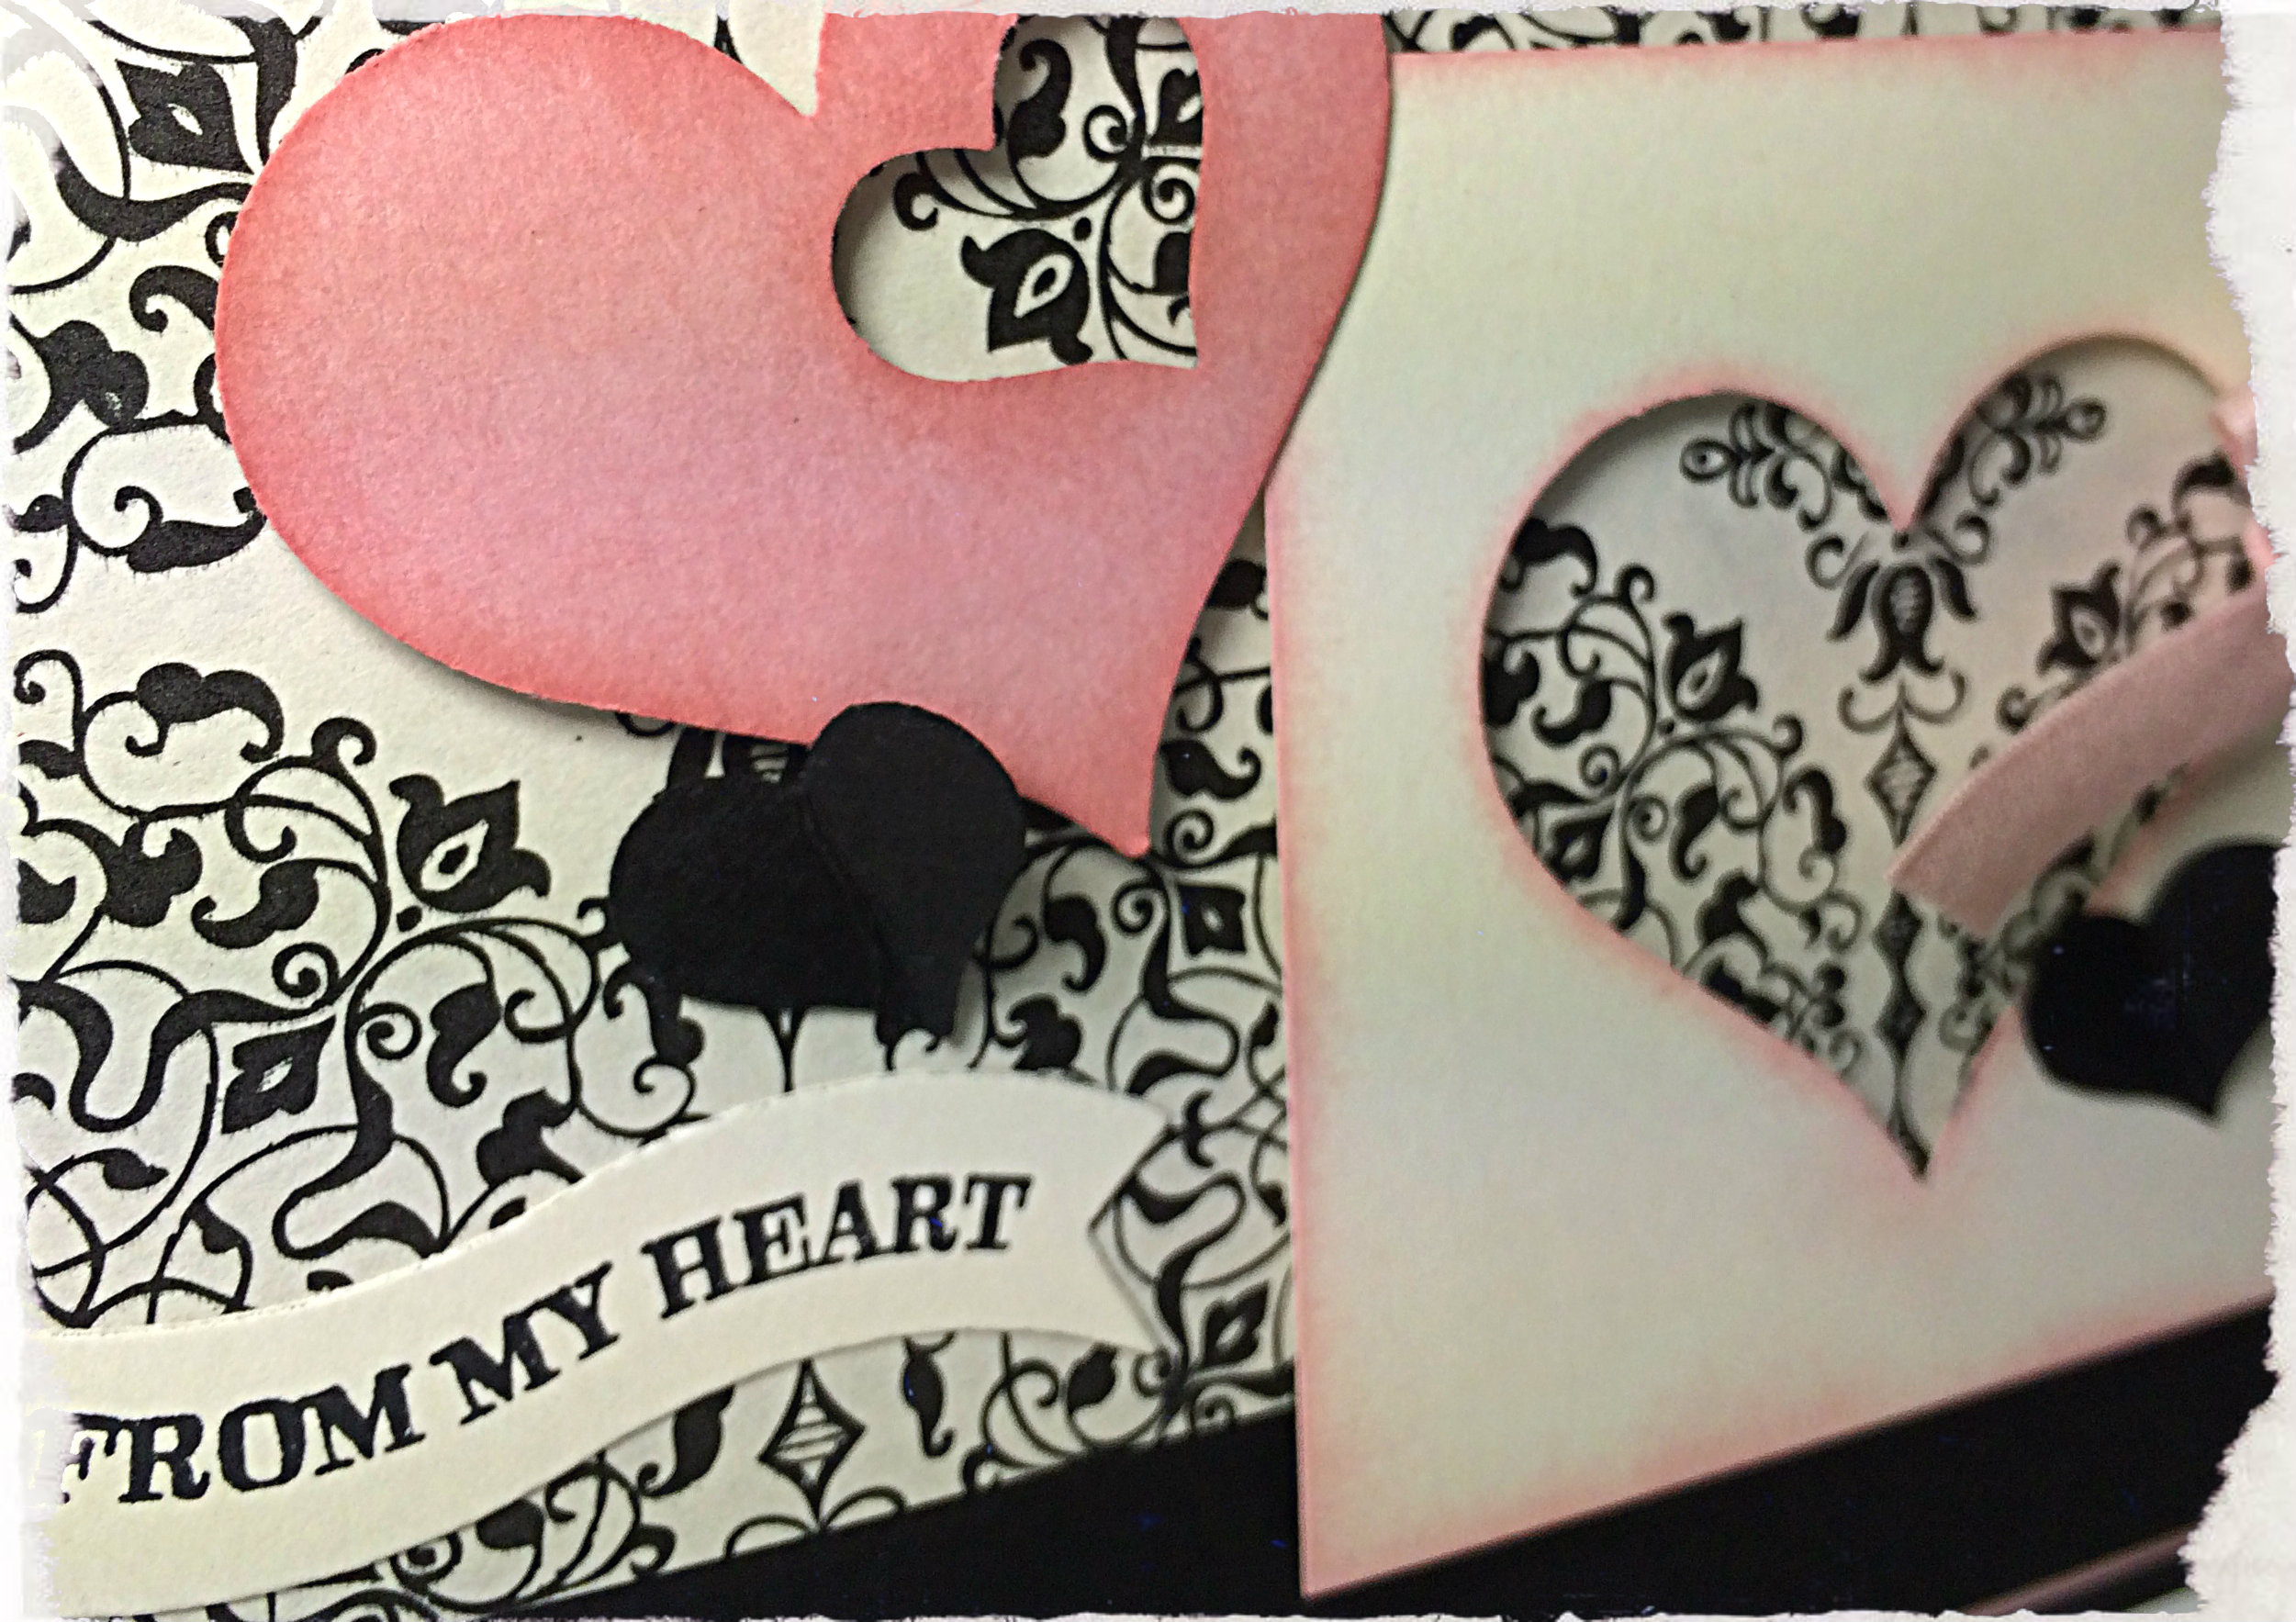
Notice the new 1/4″ Blushing Bride Cotton Ribbon and the new Sweetheart Punches? The little punch is from the Itty Bitty Accents Punch Pack. The big heart is all on its own. Both have that sweet little curved tip on their tails – I guess that’s the “sweet” part of the sweethearts.

I used Basic Black cardstock for my card base, then a layer of Blushing Bride cardstock to thinly frame another layer of Basic Black. Over this, I placed a rectangular piece of the fabulous Typeset Specialty Designer Paper. Then I played with the hearts!

I punched a Sweetheart from the square piece of Very Vanilla cardstock and sponged lightly with my sponge dauber and Blushing Bride ink around all the edges. I tied the ribbon through the punched out heart and attached the Vanilla cardstock piece with Stampin’ Up Dimensionals to the card front.

042 heartclose

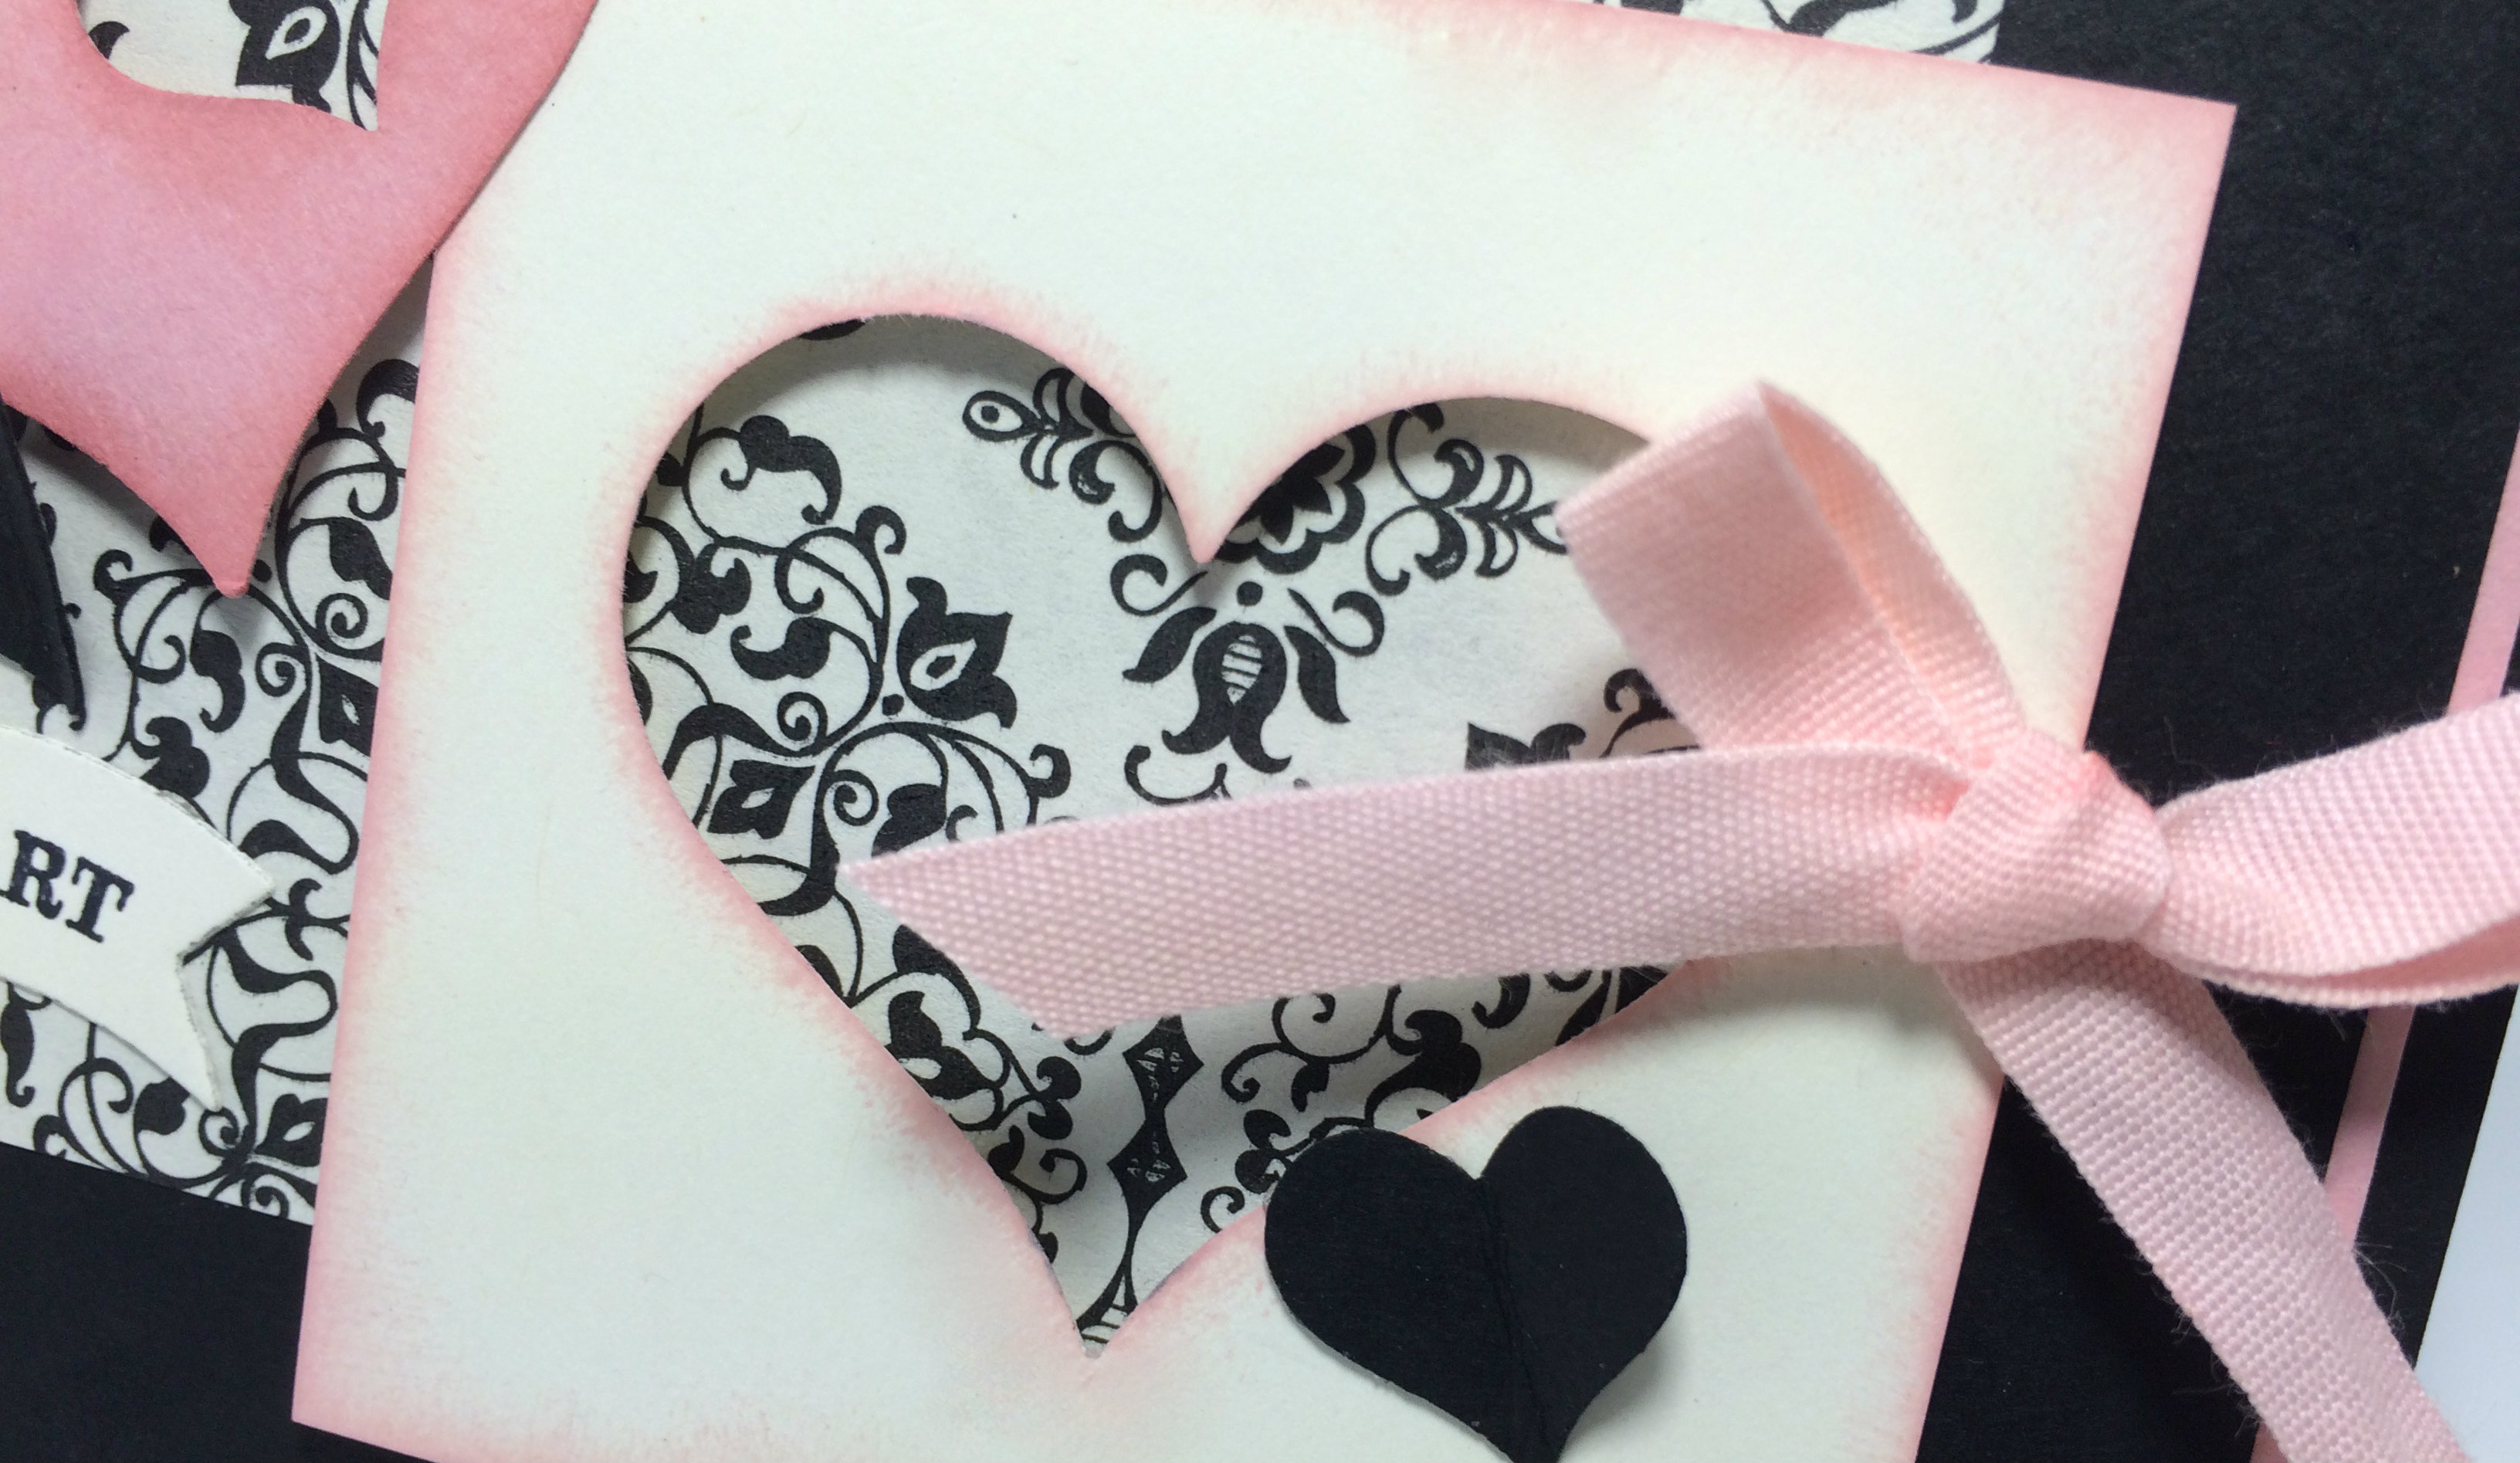
The small heart punch from the Itty Bitty Accents punch pack was used for all of the small hearts. I sponged Blushing Bride ink over the edges of those that were punched from the Blushing Bride cardstock. The large Blushing Bride heart is attached with Dimensionals while the small hearts were each creased in the middle and only attached to the card by the left lobe of the heart.

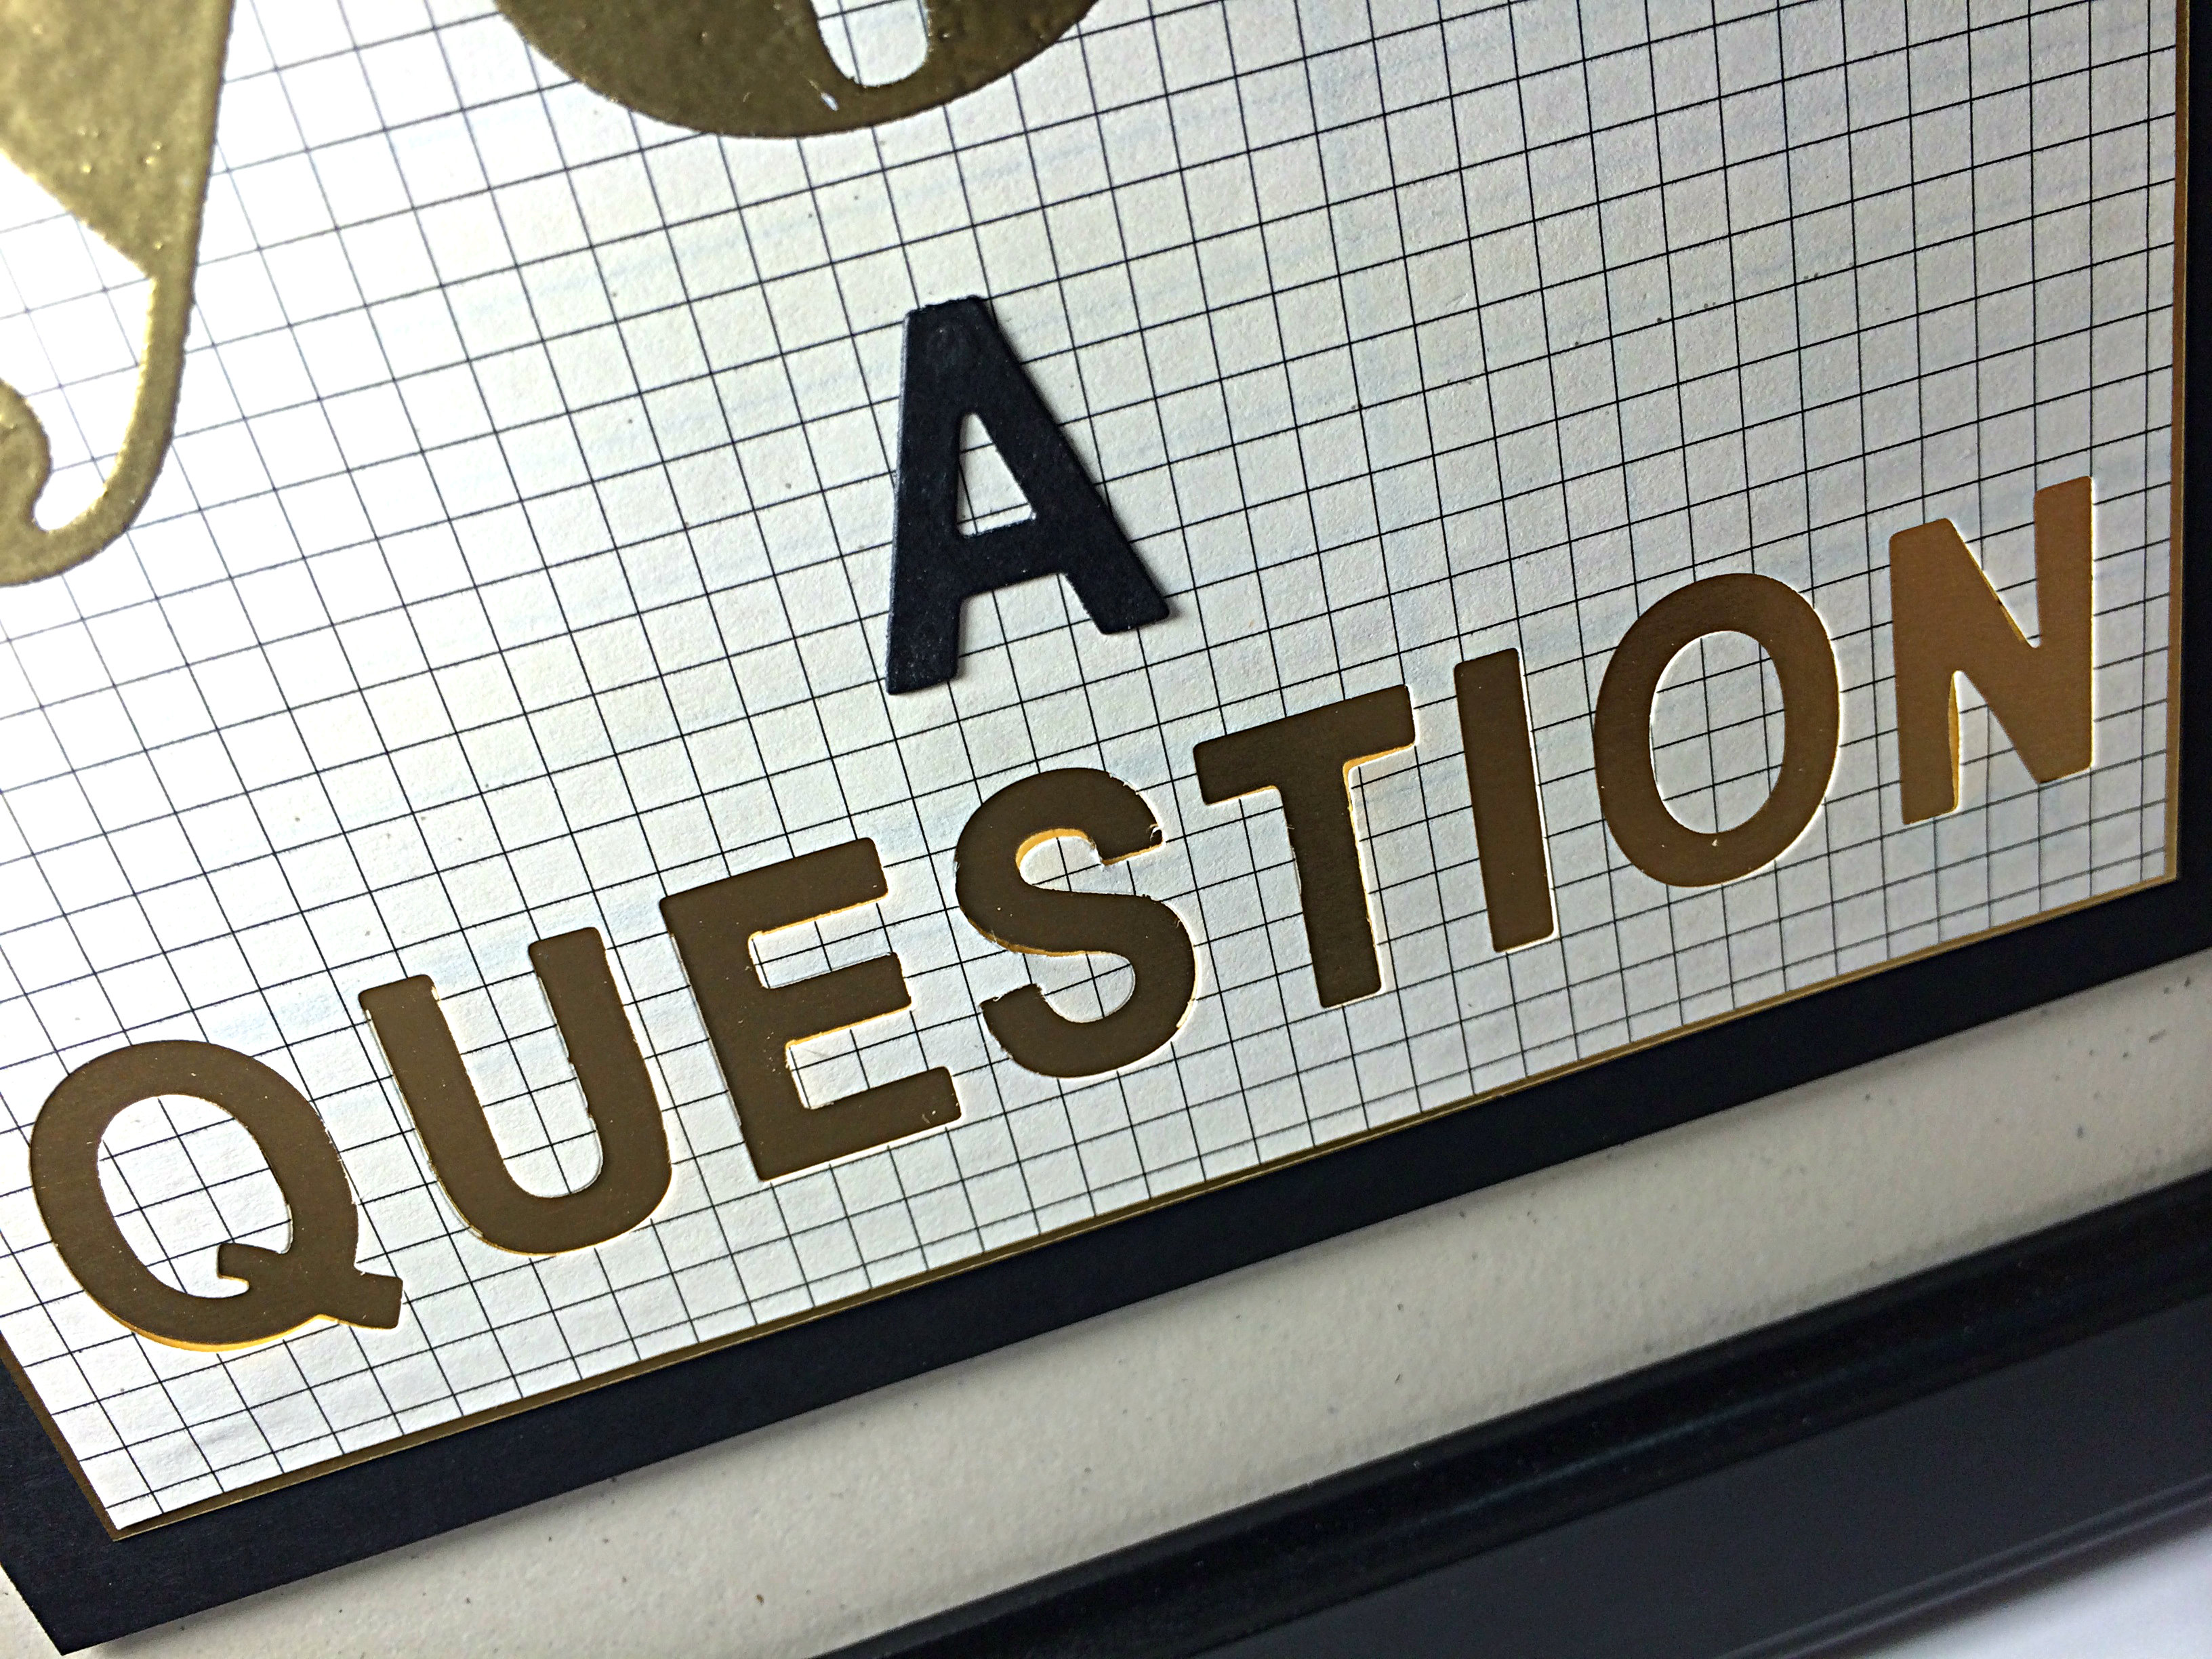
Finally, I added the sentiment from the Groovy Love stamp set. I stamped it on Very Vanilla cardstock with Stazon Black ink and die cut it in my Big Shot with the Bitty Banners framelits that matched the shape.

I hope you like it.

I’m sorry that I haven’t posted what the winner receives for her prize from my draw. I will have to post that after the weekend. I’m doing too many things on the fly these days, lol!

Go on over to www.asyouseeitchallenge.com and have a look. There is a new challenge every Friday for you to stretch your creative muscles on. See what you can come up with for the sketch this week and follow the directions to link it before Wednesday night. We want to be inspired by the way you see it!

(do you sometimes ink on the fly, too?)


Amy


Designer-Badge

Winner!

The day has finally come to pick a winner to receive the Stampin’ Up! product care package!

Are you excited!!??

I want to make sure I remind you that just because the contest is over, doesn’t mean you don’t need to bother commenting. A quick note of acknowledgement from you might be the determining factor for whether I show my next project with you or just put it off another day and go to bed early, lol!

To be as random and objective in picking as I possibly could, I entered all of your names to a Random Name Picker. No hats, no writing names on fiddly little pieces of scrap paper, and none of my silly throw-it-in-the-air-and-pick-it-up-off-the-floor techniques. I went with pure technology on this one.

So, without further ado, here is what the Random Name Picker came up with:

Random name picker

That is pretty small, can you read it, lol! I’ve never used a computer screenshot before. I’m very proud!

Congratulations to ….

Karen!!

(whom you are all probably well aware, also happens to be my mom!), which somehow is well suiting because she is my BIGGEST FAN!! LOL!

I will deliver your Stampin’ Up! care package this week and will post what you won tomorrow for all to see.

Hope you will all play again next time, and keep those comments coming!! Just because there isn’t a contest and a prize to be won, doesn’t mean you should stop the love. I am so encouraged by your comments as they show me that you do, in fact, visit my blog, and that you have an opinion on what I’ve shared with you.

Thank you for visiting!

Amy.

Excuse me, I mustache you a question …

041header
Welcome to my blog where I share my love of designing using Stampin’ Up paper, tools, inks and stamps! I wanted to share what I recently did with my new Mustache Framelit and Little Letters Thinlits! All this for the As You See It Challenge blog for which I am one of the designers.

It is time for another challenge from the As You See It Challenge Blog!

AYSIChallenge041

I really like challenges like this one because it’s left WIDE OPEN!! Because of the recent new catalogue, I actually have a lot of new craft supplies, but in my last box received from UPS were a few things that I was particularly excited about trying: My new Little Letters Thinlits dies and my Larger Than Life Alphabet & Numbers Photopolymer set. I really love all alphabets because they provide so many possibilities! These are also quite cost effective alphabets in comparison to getting them in alternate forms. The thinlits are much much less costly than they would be if they were offered as a Bigz Die set (though Bigz dies do offer the cutting of many more materials, while thinlits are limited primarily to paper products). The photopolymer alphabet sets (as in the case of the Larger Than Life set) is less costly than the red rubber stamps in either the clear mount or wood mount options.

041Amy

I love how the Little Letters thinlits can also be lined up on a piece of paper to cut one word – ALL AT ONCE!! This framed art showed how the thinlits can be used to add the letter A in black cardstock, but it also shows how they can be used to take away the shape of the letters from the grid patterned paper (from the new Typeset Specialty Designer Series paper) to reveal the Gold Foil Paper underneath.

041question

I lost the center of my letter “Q” for a bit there, but had a little party when I found it on the window ledge where I’d “put it away where I would find it”! The entire time that I was creating this framed project, I kept saying “I mustache you a question” at random moments to my friend, Gwen who was stamping with me at the time. I even made up a song (oh if only I could write music, it would open up so many fun possibilities!):


 “I mustache you a question,

It won’t take very long.

I mustache you a question,

I mustache it in song”


I should have paid more attention in piano lessons, lol!

041mustache

The adorable Mustache Framelit was one item from the new Catalogue that I just couldn’t pass up. I used Basic Black cardstock and, after cutting it out with the mustache framelit, I used my Perfect Polka Dots embossing folder to add texture and make it even more fun. The mustache is, of course raised up with Stampin’ Up Dimensionals.

Those beautiful gold embossed letters are from the Larger Than Life Alphabet and Numbers set. I love the boldness of these letters!

041Amy

Now the entire is framed with a thin mat of Gold Foil paper that also shows through the cutout of the letters spelling “question”. Then I have it matted with Basic Black cardstock and finally matted again with the 8×10 piece of Naturals Ivory cardstock so that it would fit in the black frame.

I love it and it makes me smile! I hope it does the same for you!

What is your most recent craft supply item? This is an easy one for you to submit to the challenge blog! Who doesn’t want to create something with their new supplies?!! All you have to do is put it on Pinterest or your blog and link it up to the challenge!

Don’t forget to leave a comment and have your name entered into the draw. Only a few days left before the draw date on Sunday, June 15th!

Thanks for stopping by!

Amy


Designer-Badge