As You See It Challenge

Hello Adventure

The concept of a vacation is different for everyone. Some people think of vacations as travelling over-seas. Those are definitely very special and memorable vacations. My family vacations usually have camping and adventure involved. Vacations don’t have to be anything fancy, though. I recently enjoyed a mini vacation on my front porch; just me and an entire bucket of Häagen-Dazs ice cream. My family had no idea where I was and didn’t come looking for me for at least an hour. It was glorious!!

Why am I talking about vacations, you ask? Well, that is the theme for the challenge from the As You See It Challenge Blog today.

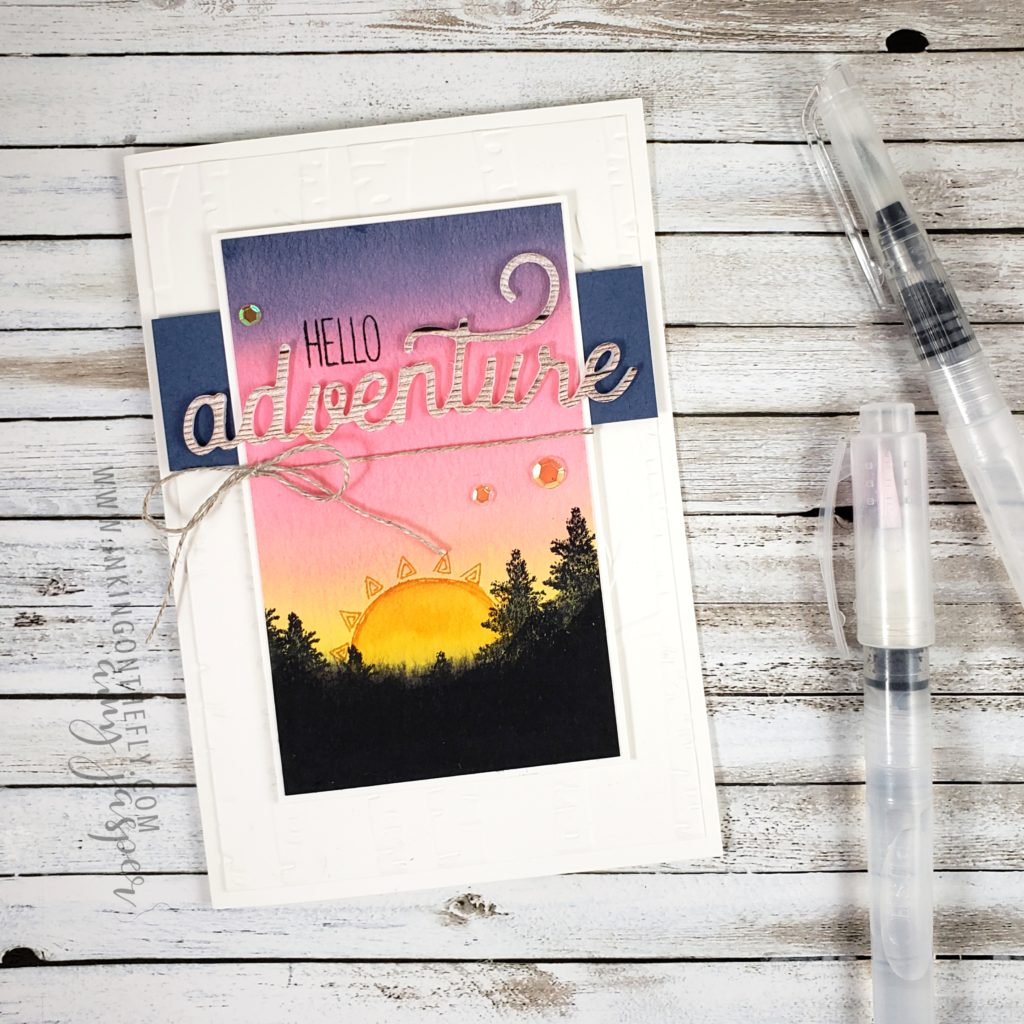
My card design represents vacationing with my family on our camping adventures. I was so excited to try die-cutting my sentiment using the new Foam Adhesive Sheets from Stampin’ Up! I love how the foam pops up this die-cut word from the Sweet Silhouette dies.
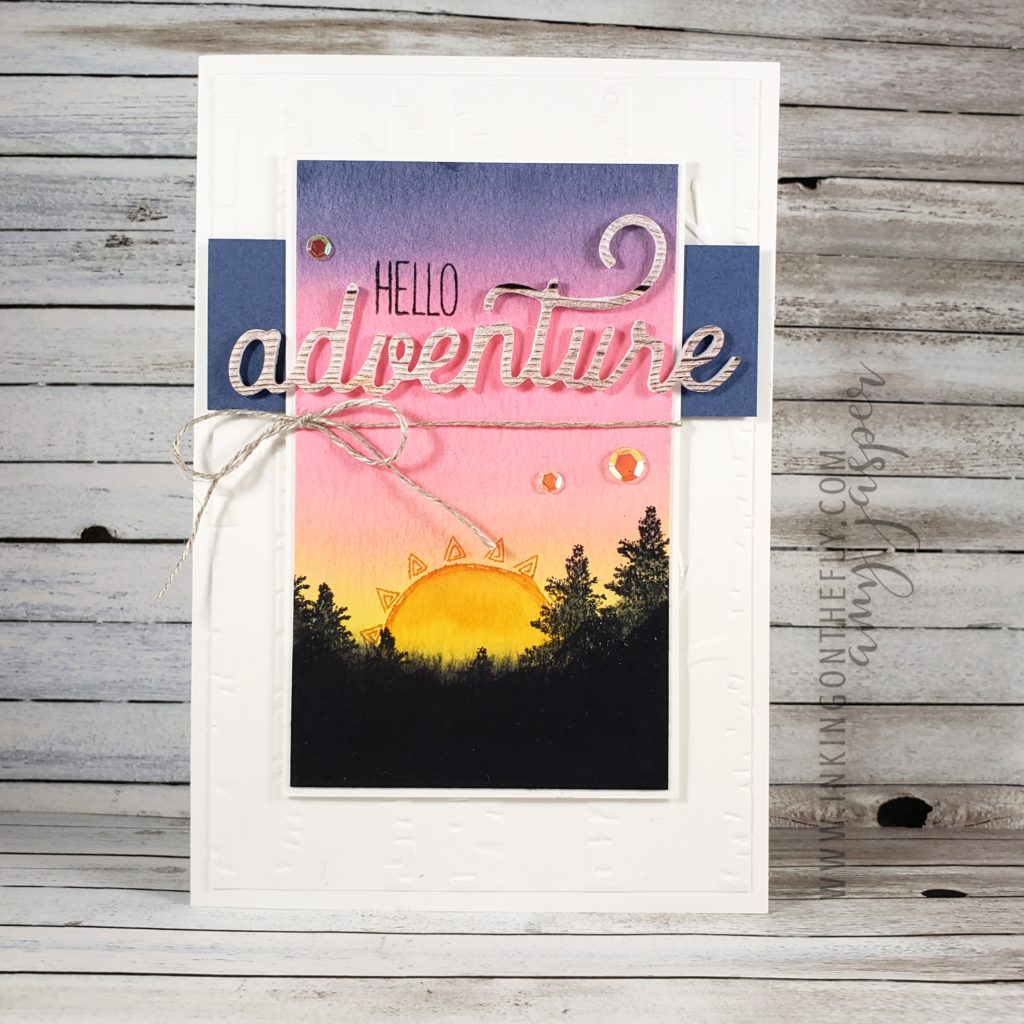
I also used the new Water Painters to paint the colour wash background with Mango Melody, Magenta Madness, Misty Moonlight, and Tuxedo Black Momento ink.
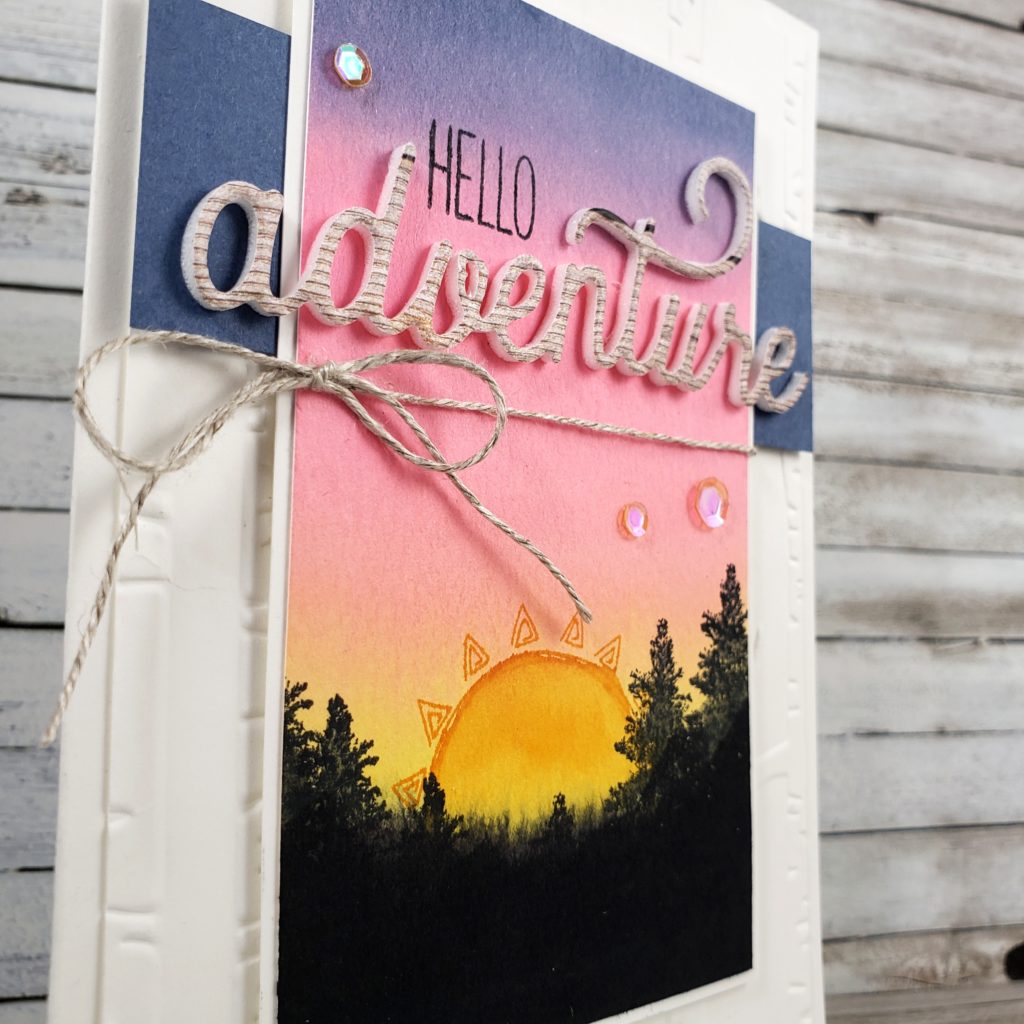
Some elements on this card are from the June 2020 Box of Sunshine Paper Pumpkin kit. Can you spot them? If you already are a Paper Pumpkin subscriber, then you’ll recognize them right away. If you aren’t a Paper Pumpkin subscriber, why aren’t you!? Go and subscribe right now so you don’t miss anymore kits! I get so excited when my box arrives at my door each month. It’s a little creative boost and a mini escape.

Hmm… kind of like a mini … vacation!

(See what I did there? I very cleverly pulled Paper Pumpkin into the vacation theme. Yes, I am clever sometimes. Yes, I know I’m being a bit sassy right now, just groan and roll your eyes and move on. I love making people groan at my bad jokes. It makes me feel whole, LOL!)

Where was I?

Oh yes … Here’s another photo.
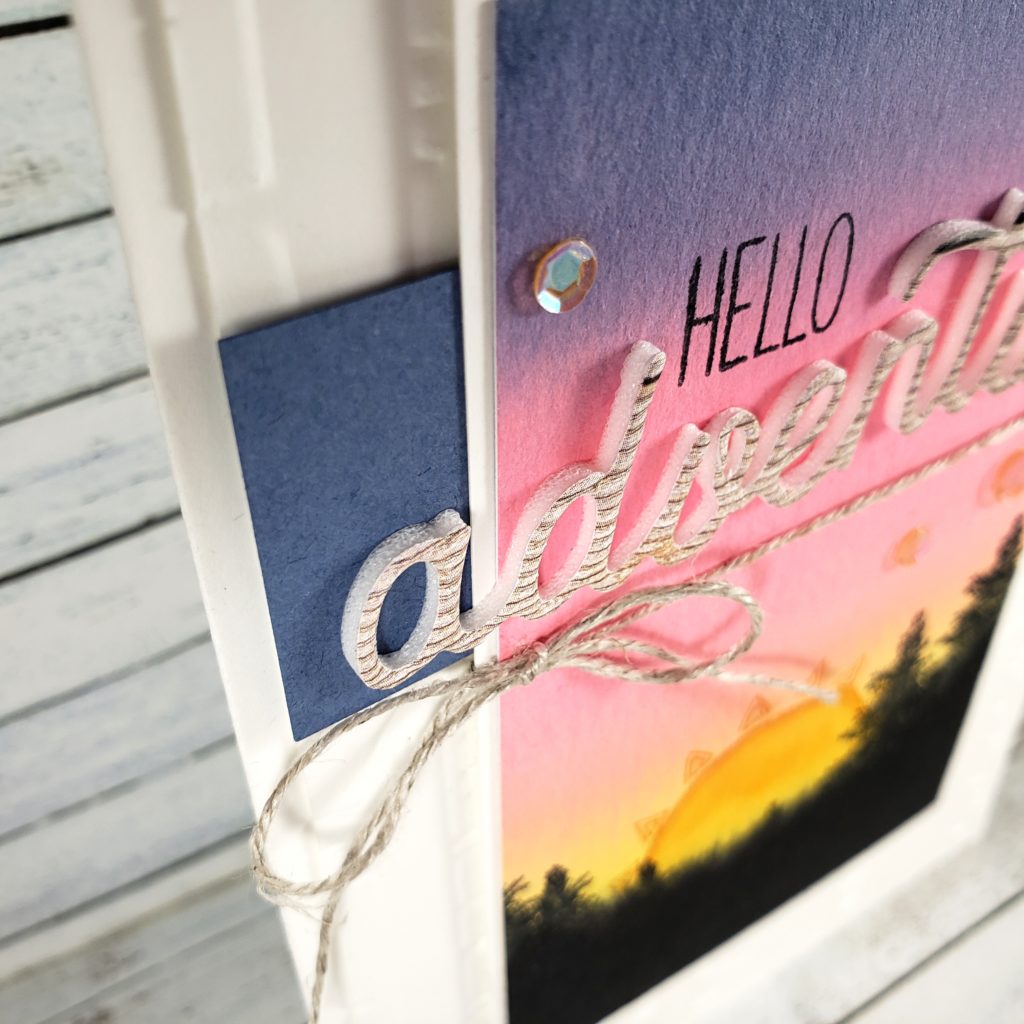
You can see the very cool Foam Adhesive under the die-cut word in this photo. Seriously, having this stuff for die-cutting makes me really happy! I just peel off the backing of one side of the sheet and apply my paper of choice to that sticky surface (in this case, I used one of the wood patterns from the In Good Taste designer series paper) and run it through my die cutting machine just like I normally would.
What are you most excited about in the 2020-2021 Annual Stampin’ Up! catalogue? I want to know what’s on your wish list!

If you don’t have a copy of the Canadian catalogue, you can view a digital copy by accessing the menu at the top of this blog.

I’d also love to see your take on this theme challenge. Give it a try and share it with us at the As You See It Challenge Blog! We are inspired by your creativity!

Wind in Her Hair

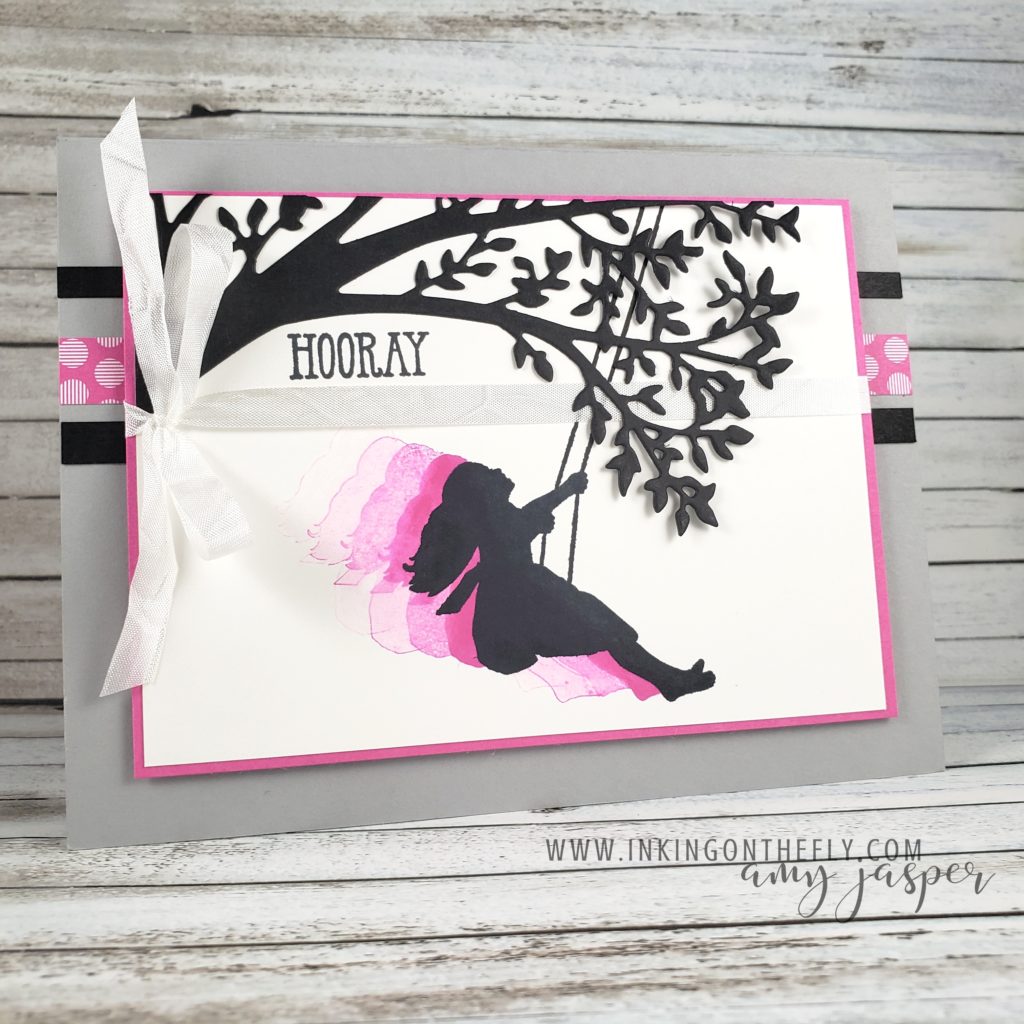
My daughter has loved the sensation of a swing since she was a baby. She would instantly calm down when she was being rocked and she loved her baby swing that moved her back and forth in a sideways motion (while I happily made cards at the dining room table). Eventually, her dad and grandpa built a swing set in our backyard. At 14, she still loves the feel of the wind in her hair as she soars as high as the swing will allow.

The card I made to share with you today is inspired by the As You See It Challenge Blog and by my daughter and her love for swings. 🙂

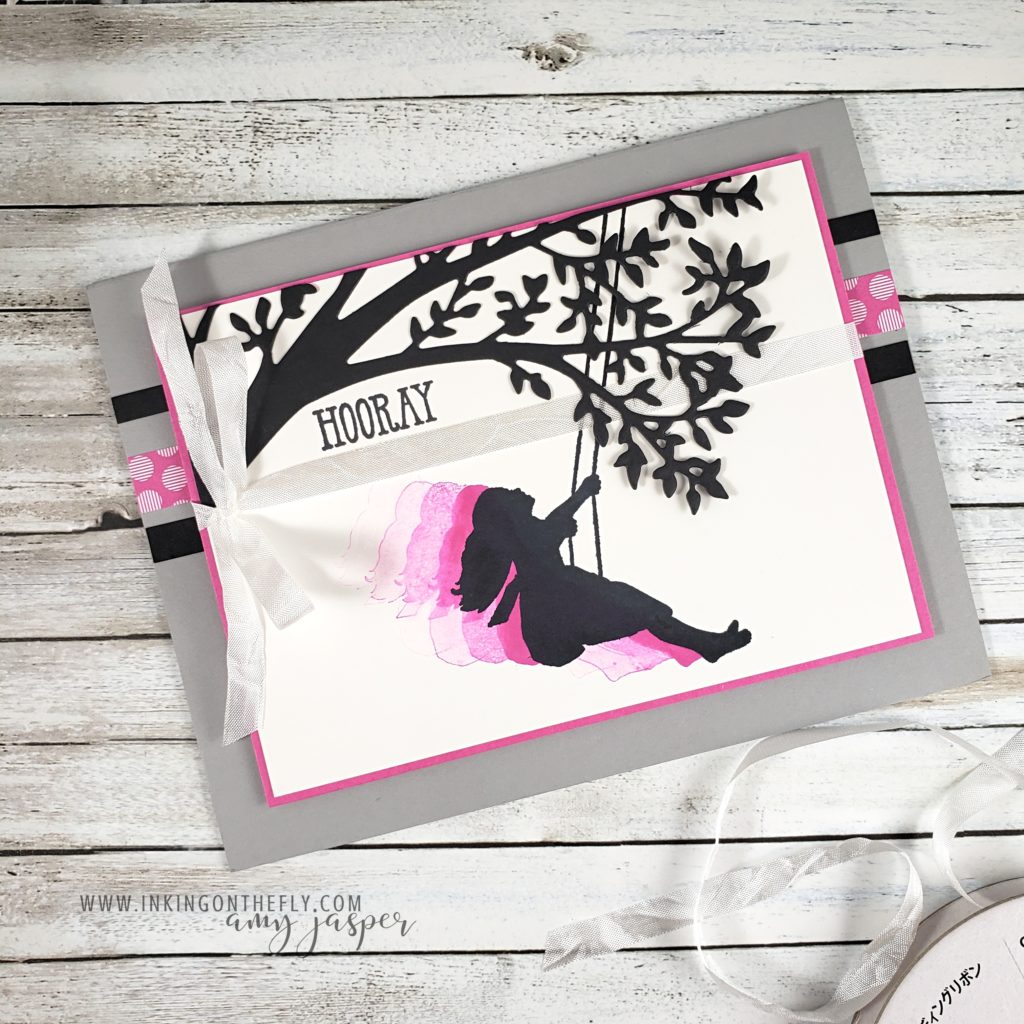
I don’t know what it was about the paper scraps element for this card, but it kept throwing me off. I had a plan with the repeat images element, but when I tried to add the idea of paper scraps, I got stuck. I think I was just trying too hard. In the end, my paper scraps ended up being some strips of paper that were still left in my scrap pile beside my paper trimmer. You can see the thin strips of Basic Black and the Magenta Madness patterned paper behind the front layers with the tree branch.

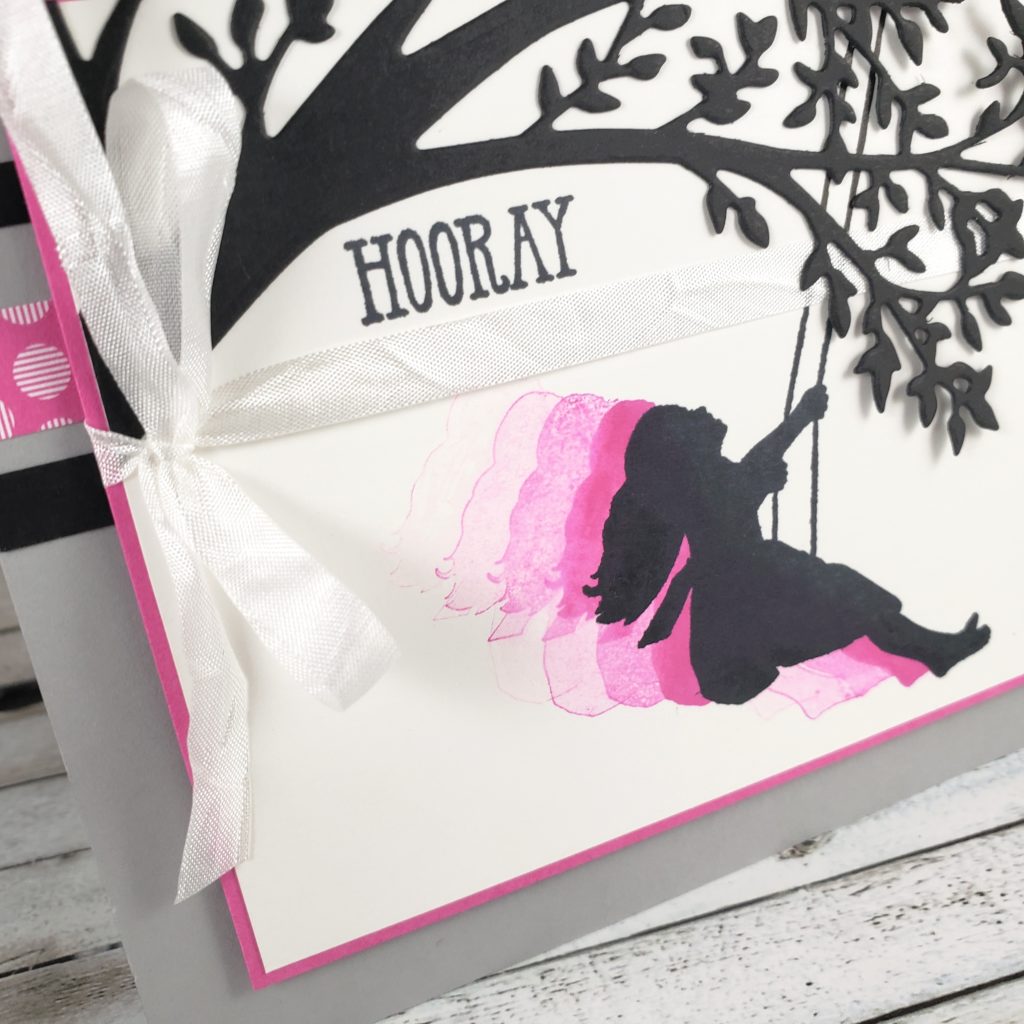
It took me a few tries before I was happy with my repeat images with the little girl on the swing. I wanted to use the repeat images to create movement, showing that she was swinging forward. Other times that I’ve used this technique, it was to indicate a linear left to right movement, but she’s on a swing, which required a bit of an angled movement. I found that if I started with the black image first, that the repeat images overlaying it seemed to effect the quality of the black image. I also had the challenge of parts of the pink images unintentionally peaking out to the right of the black image, no to mention the ropes of the swing and her arms were a bit too much going on.

My final copy was stamped with a bit more precision than is normally required with this sort of repeat image technique. I used my Stamparatus and decided where I wanted the final black silhouette image to be, placing the paper in the middle of the Stamparatus so that none of the sides of the paper were against the edges of the Stamparatus. Instead, I drew lines on the Stamparatus grid paper around my cardstock so I could return to that placement after stamping the pink images. Repeat images using the Stamparatus require you to move the paper instead of the stamp. This allows for more precise placement than if you were stamping using a block and just eye-balling it. In this case, I moved my paper slightly down and to the right on the grid paper from it’s original position and slightly turned the paper in a counter-clockwise motion after each image was stamped. I used Magenta Madness at full strength for the first image, covering the arms and ropes with masking tape so that they wouldn’t be stamped on my paper. I shifted the paper after stamping and didn’t re-ink for each image after that, so the colour would fade each time.

When all of my pink images were placed, I removed the masking tape and cleaned the stamp with my Simply Shammy, placed my paper back into the original position that I had marked on the Stamparatus grid paper, and placed the magnets to hold it steady. Then I could stamp the full image using the Tuxedo Black Momento ink and, in the fabulous Stamparatus fashion, was able to get a gorgeous solid image because I could re-ink my stamp and re-stamp it in exactly the same spot as many times as necessary.

I used a ruler to extend the ropes of the swing to go to the top of my Whisper White cardstock with the pen tip of my Basic Black Stampin’ Write Marker. The branch die is from the Sweet Silhouettes Dies. The sentiment is from the Well Said stamp set. The card base is Smokey Slate cardstock and the matte is Magenta Madness.

I used the Whisper White 1/4″ Crinkled Seam Binding ribbon for my bow as the finishing touch.

I’m so glad you stopped by to check out my card design today! I hope you will give the challenge a try and share it with us on the As You See It Challenge Blog.

As always, if you’re in Canada and don’t have a demonstrator, I would love to take care of your crafting needs. You can order all of these products at my online store. Just click on the shopping button on my blog and you can browse or shop. I’m also happy to answer any question and I love reading your comments and thoughts, so be sure to comment and say hello!


The Sun Will Come Out Tomorrow

This challenge was so hard!! I know what movies I like and I can make a card, but trying to combine the two was a completely different thing!

The challenge is a fill in the blank.

There are 12 steps to making a card for this challenge:

  1. Choose a movie from your long list of favourites
  2. Think about how you can represent that movie on a card
  3. Find a stamp set that will work with your idea
  4. Find a stamp set that will work with your idea
  5. Find a stamp set that will work with your idea
  6. . . . . . . . . .
  7. Choose a different movie
  8. Find a stamp set that will work with your idea
  9. . . . . . . . . .
  10. Just find a stamp set that will work with any of your many favourite movies
  11. . . . . . . . . . nevermind
  12. Make a card without any stamps and hope for the best.

Okay, so it turned out different than my first idea and even my second idea, but I actually stuck with the same movie. I just could NOT find any stamps that worked for me. I was probably trying too hard.

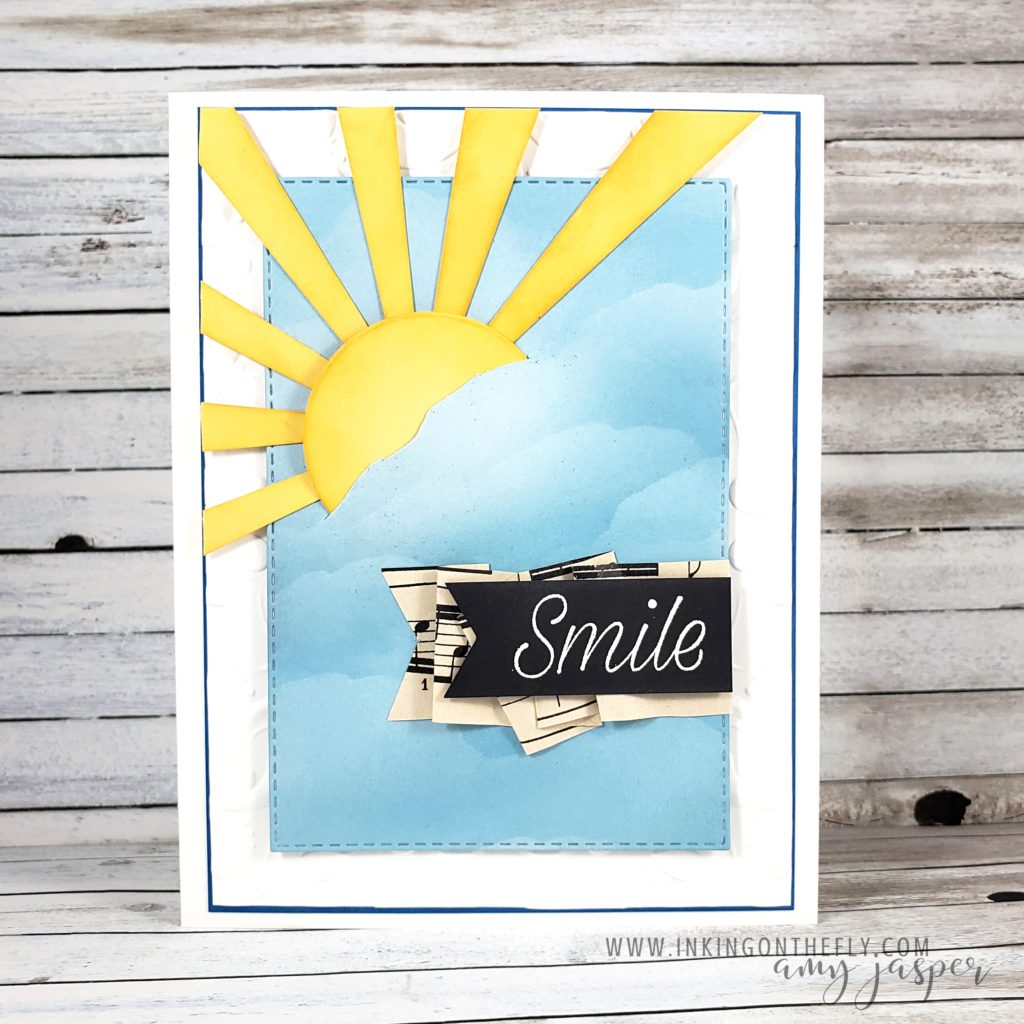
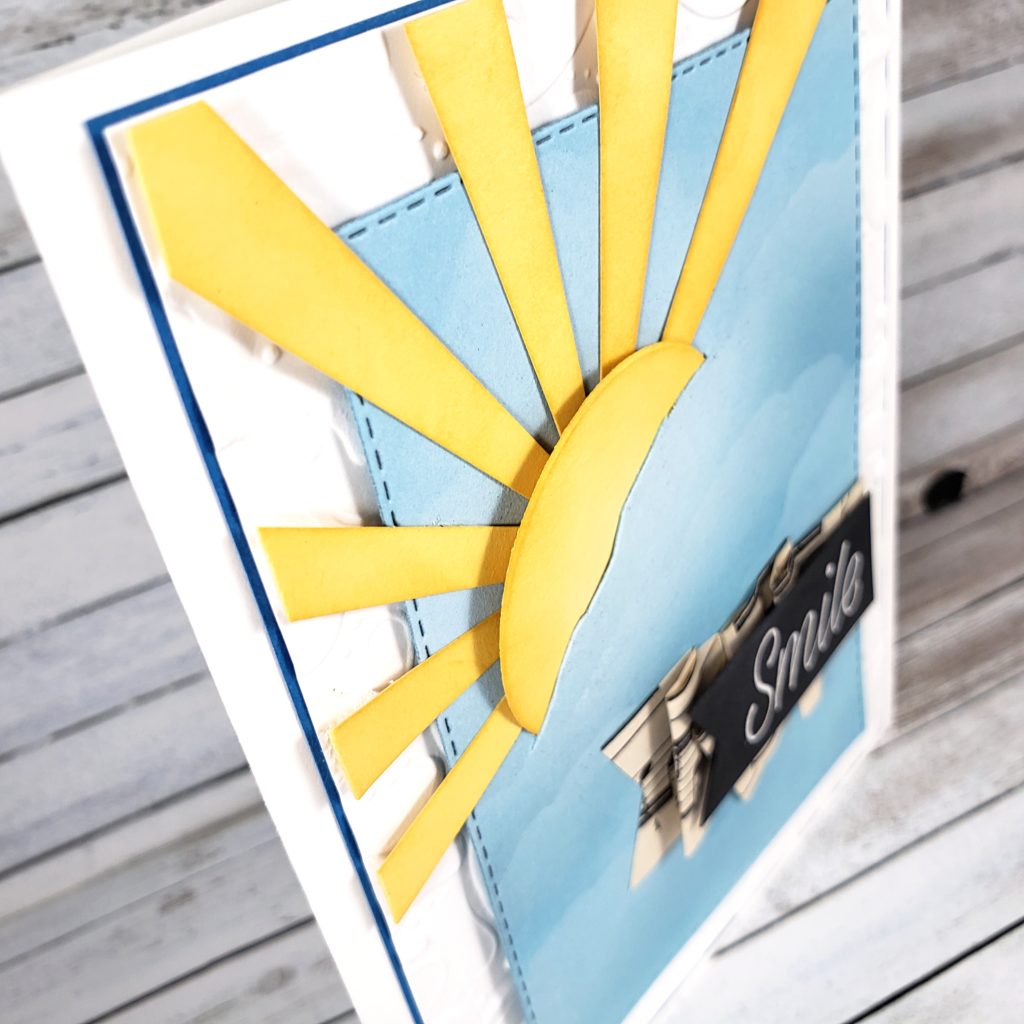
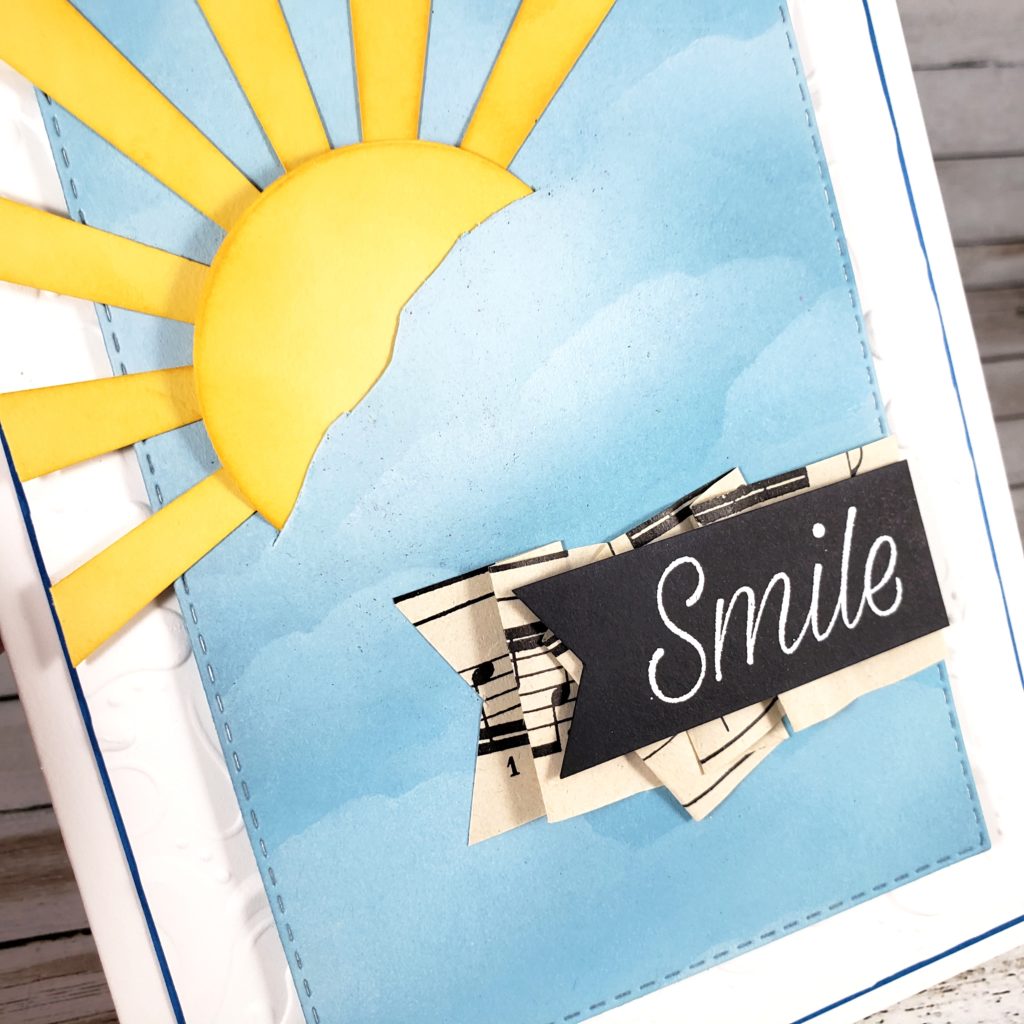
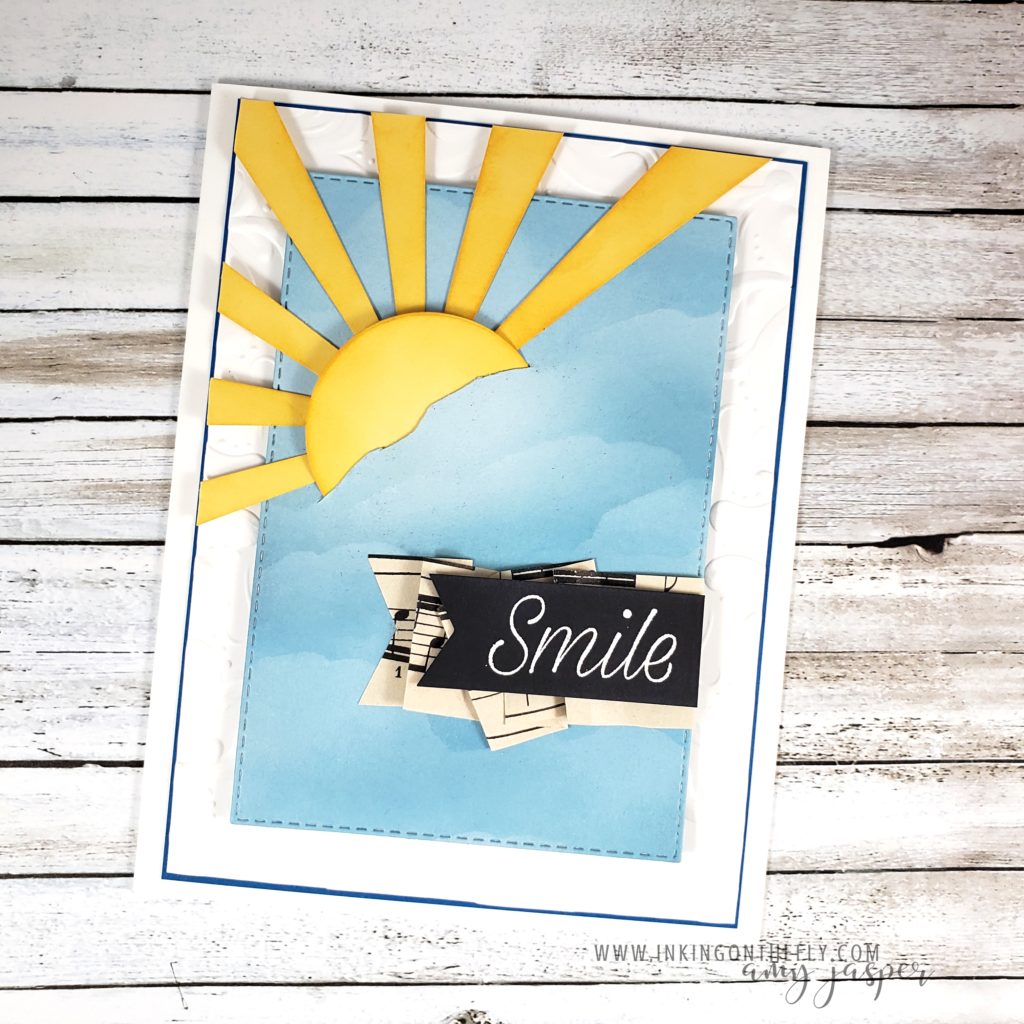
I won’t make you guess which movie. I wanted so badly to piece a bunch of different sentiments together to have it say “the sun’ll come out tomorrow”, but after extensive searching, I had to give up and use the word “smile” from the Daisy Lane stamp set. So, my card design goes along with “the sun’ll come out tomorrow” but the sentiment represents “you’re never fully dressed without a smile”. This is one of my all time favourite movies.


ANNIE (1982)

There have been a few attemps to remake this movie, but none of them even hold a candle to this one. Carol Burnett was perfectly crazy and amazing!

I ended up doing a whole bunch of crazy sponging on my card to create the clouds on Balmy Blue cardstock. I used torn pieces of paper as a mask and sponged Whisper White Craft ink, then sponged on some Balmy Blue where I wanted some colour variations in the sky and to soften my harsh lines. I also used a craft knife to cut along the top of a “cloud” so I could tuck my sun in behind it. (because it isn’t coming out until tomorrow, you know!)

I used the Stitched Rectangle Dies, the Parisian Embossing Folder (it’s hard to see on the white cardstock in these photos), and the Layering Circle Dies. Whisper White cardstock, Pacific Point cardstock for a thin matte, and So Saffron for the sun (which I sponged the edges of using Daffodil Delight ink). The sentiment was stamped with Versamark on the Basic Black cardstock and was heat set with White Embossing powder.

Do you see that sheet music? I expressed how I love sheet music patterned paper, so she gave me some actual sheet music! How fun is that!

As always, if you are in Canada and you like some of the products you see in my blog, you can purchase from me by clicking on the shop button on my page.

This challenge was really hard. Are you up for it? I bet you can do it! Give it a go and show it off at the As You See It Challenge Blog. We’d love to see how you worked one of your favourite movies into a card.