As You See It Challenge

On the Brighter Side: A quick & fun get-well card

I have a few personal rules that I follow when I have to make a card in a hurry:

  1. No colouring
  2. Do not emboss
  3. Avoid die-cutting
  4. Bows are out
  5. Fussy-cutting? No way!

If I choose to break ONE of those personal rules, I can usually create a great card in less than 10 minutes, no problem.

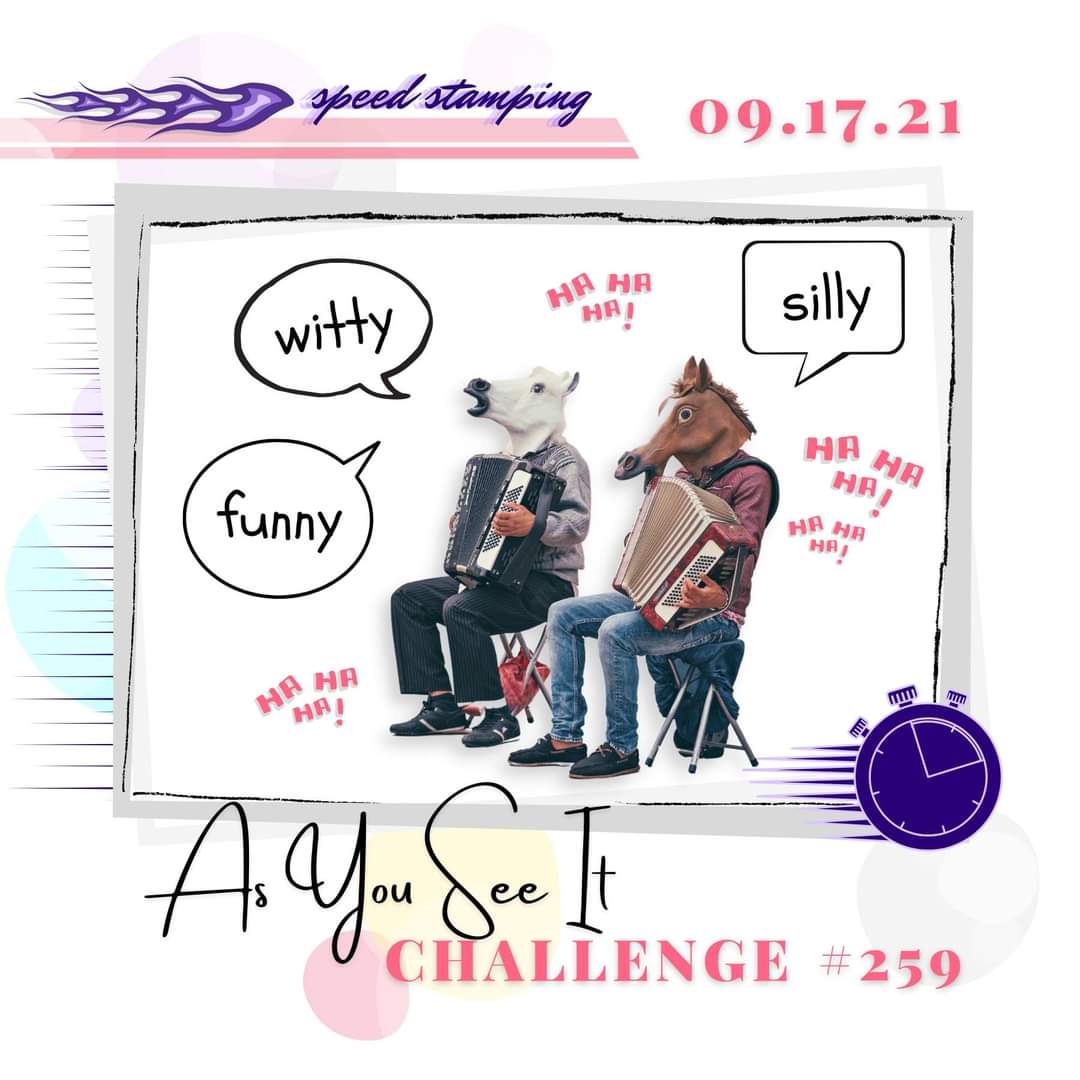
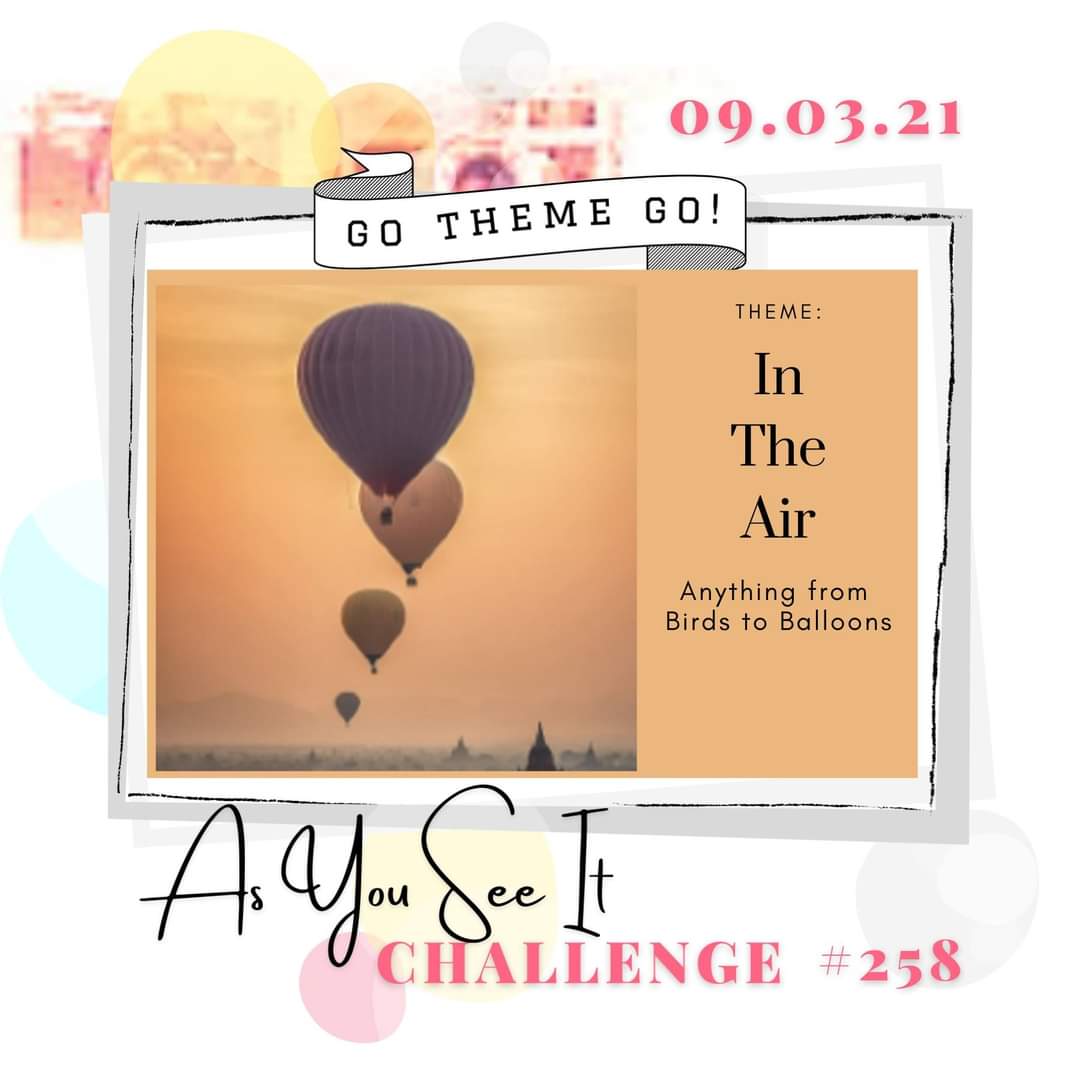
Today’s card was created for the As You See It Speed Challenge and my rules got thrown out the window!

10 minutes or less!

I was frantically searching for my Glue Dots to attach my bow when I looked at my stopwatch. At 9 minutes and 48 seconds, I had to call it quits in order to meet the requirements of this challenge! Ack!!

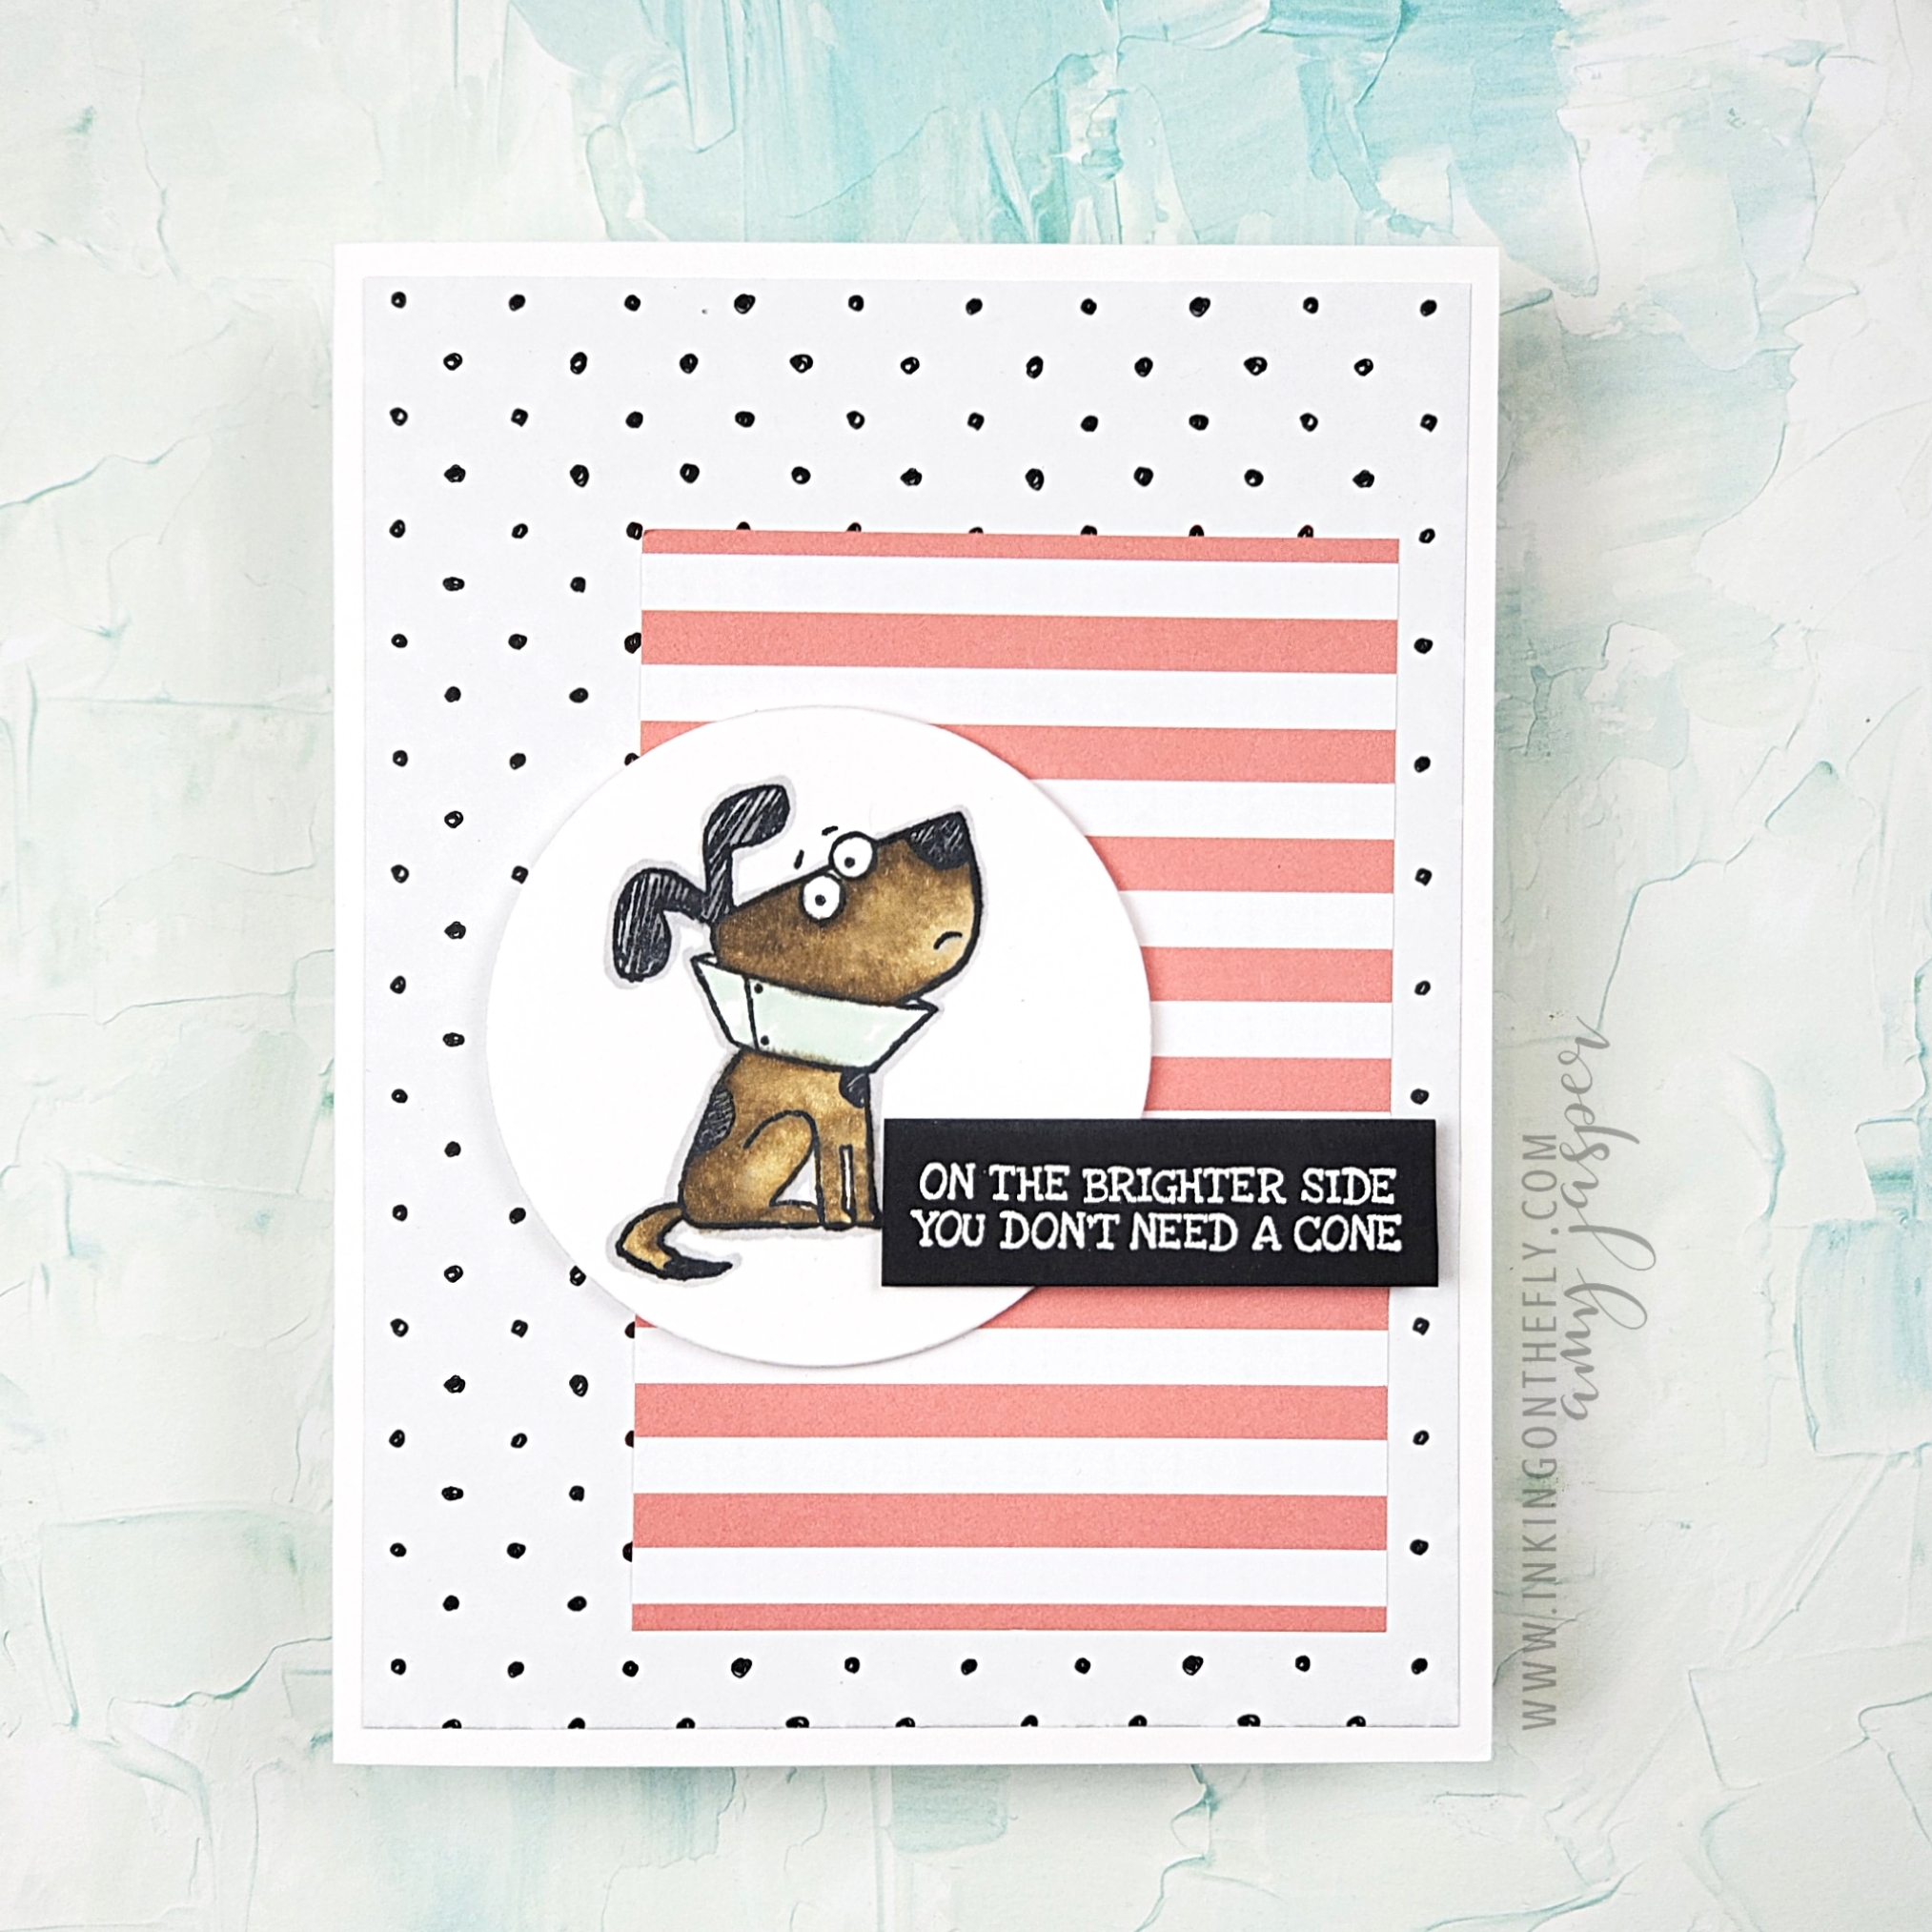
My bow-less card is still pretty cute, though. I used the Bunches of Fun stamp set to achieve the playful comedic approach required for this challenge. This dog looks so embarrassed, don’t you think! He has exactly the same expression that my dog had when he had to wear the cone. LOL!

Step it up!

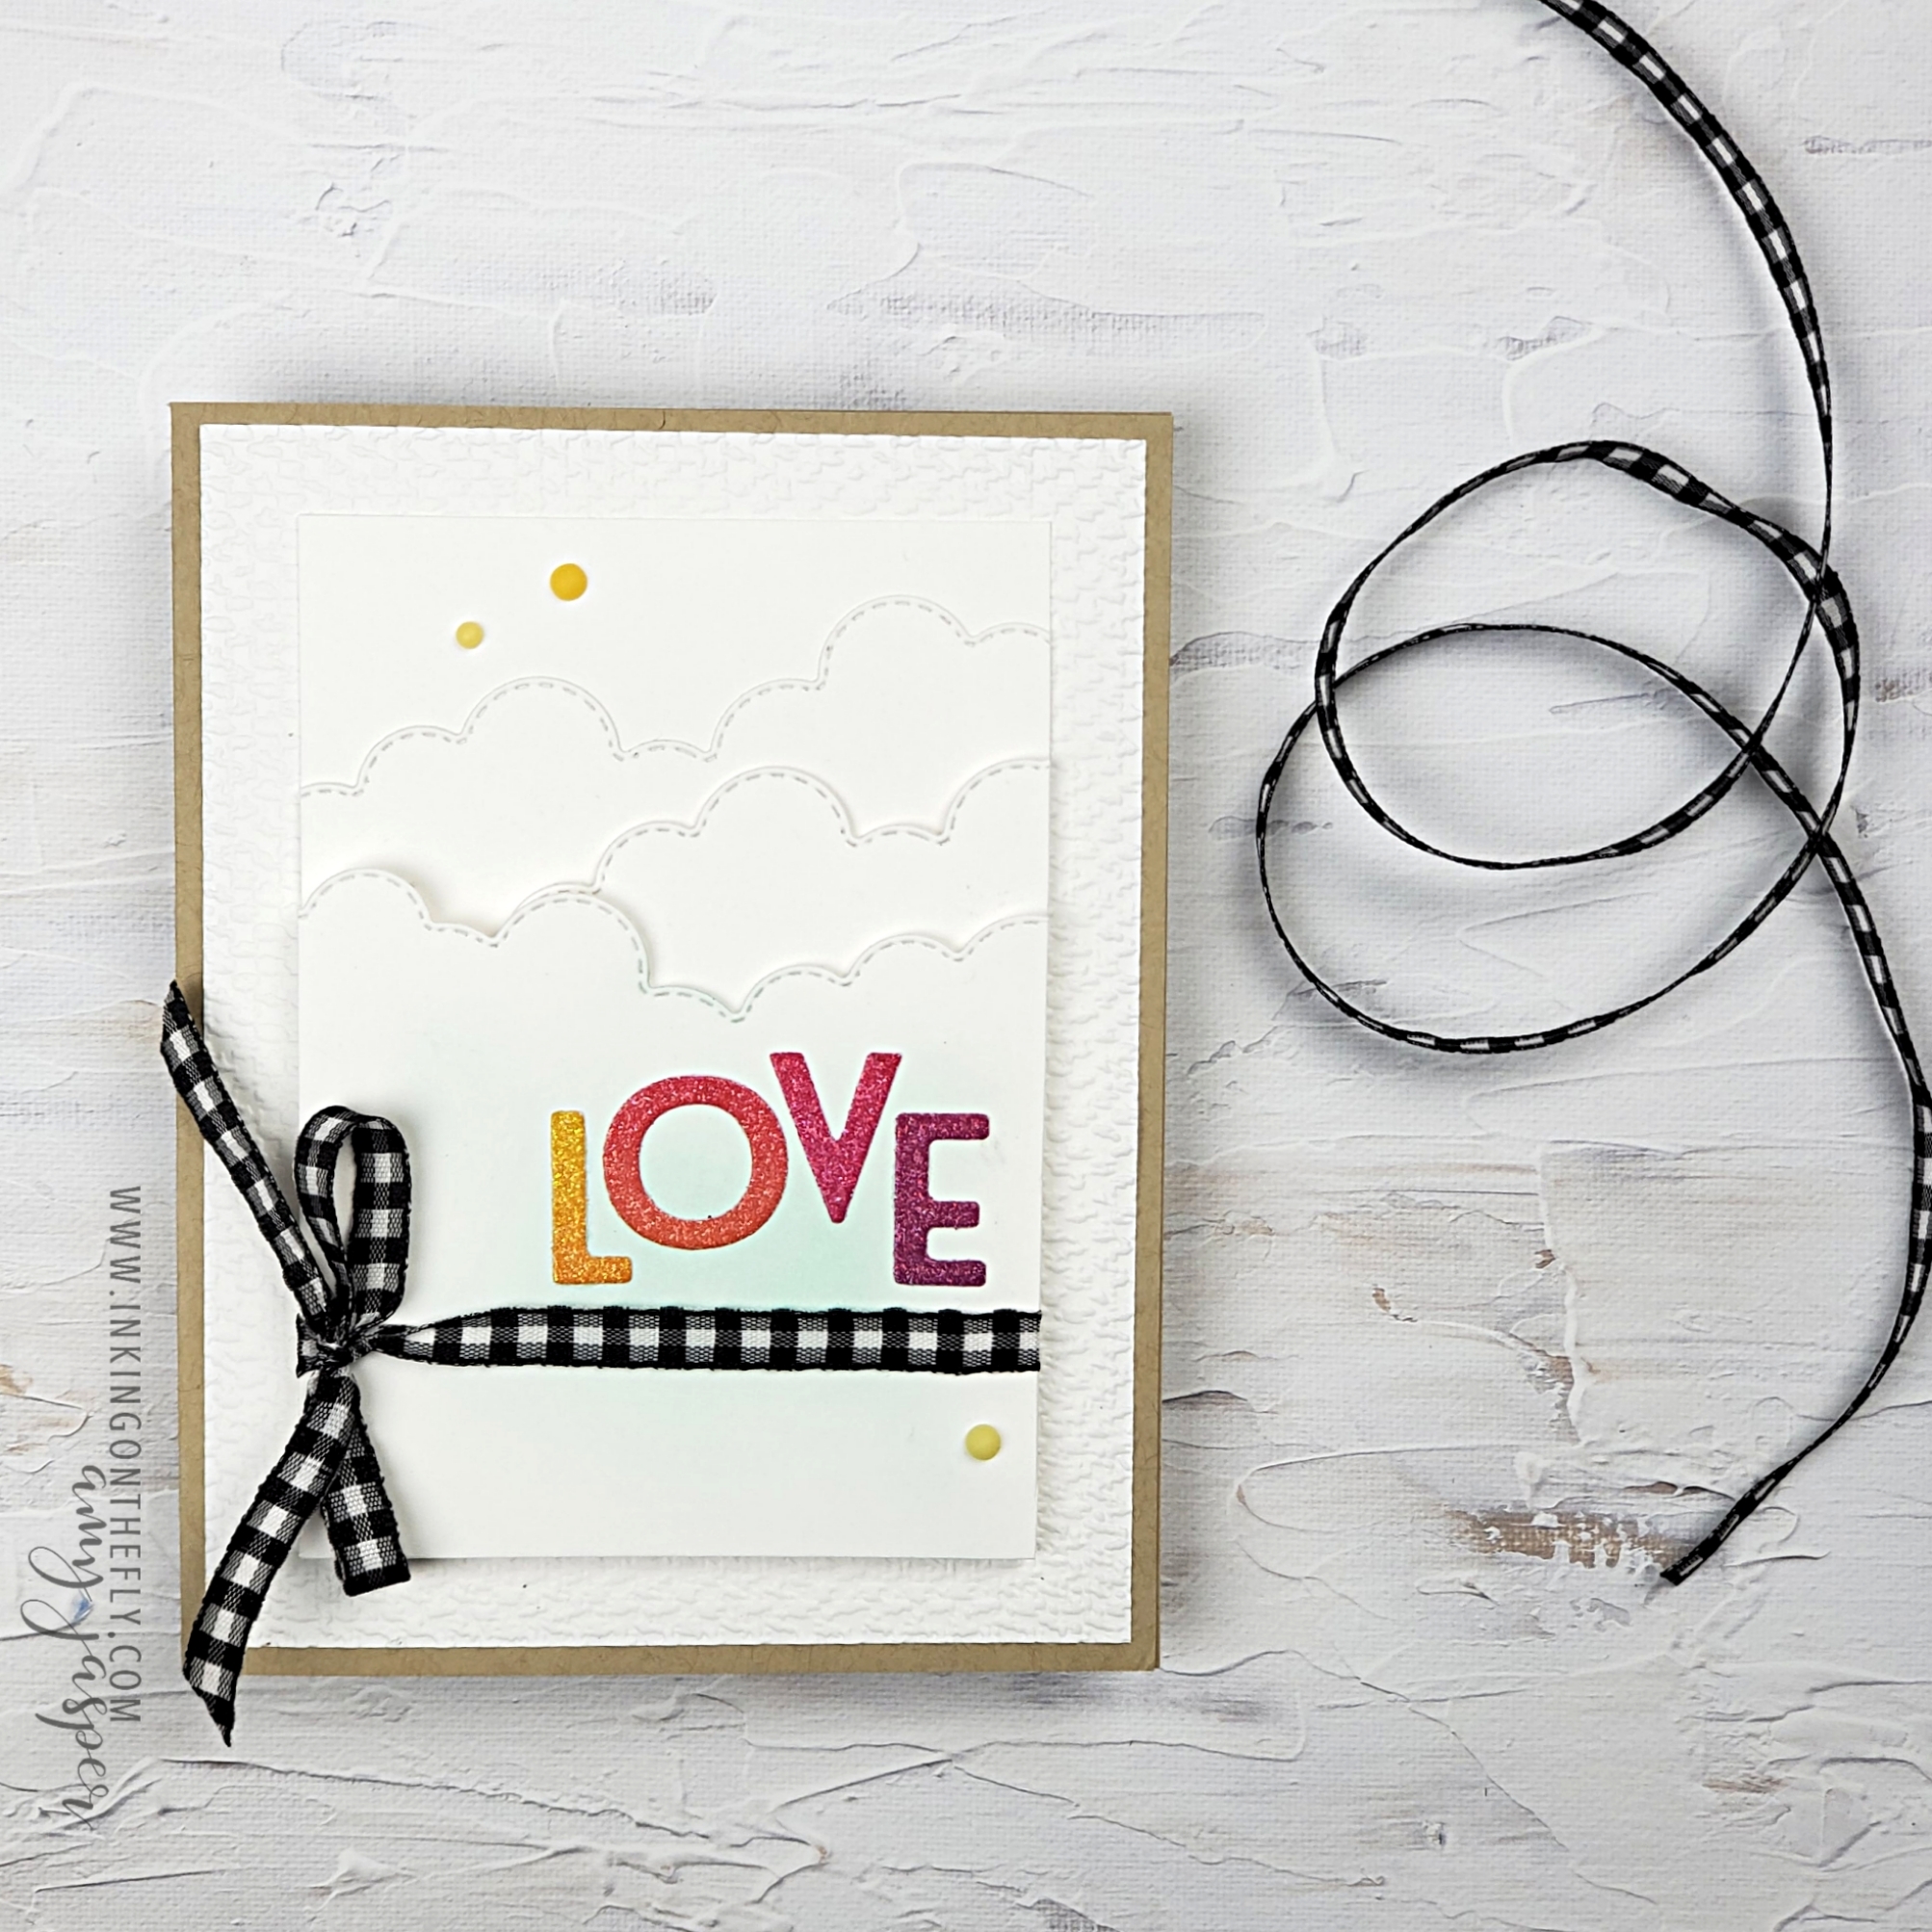
Even though this card turned out pretty cute, it just didn’t feel done. I decided to do another one, without the time limit, so that I could step-it up.

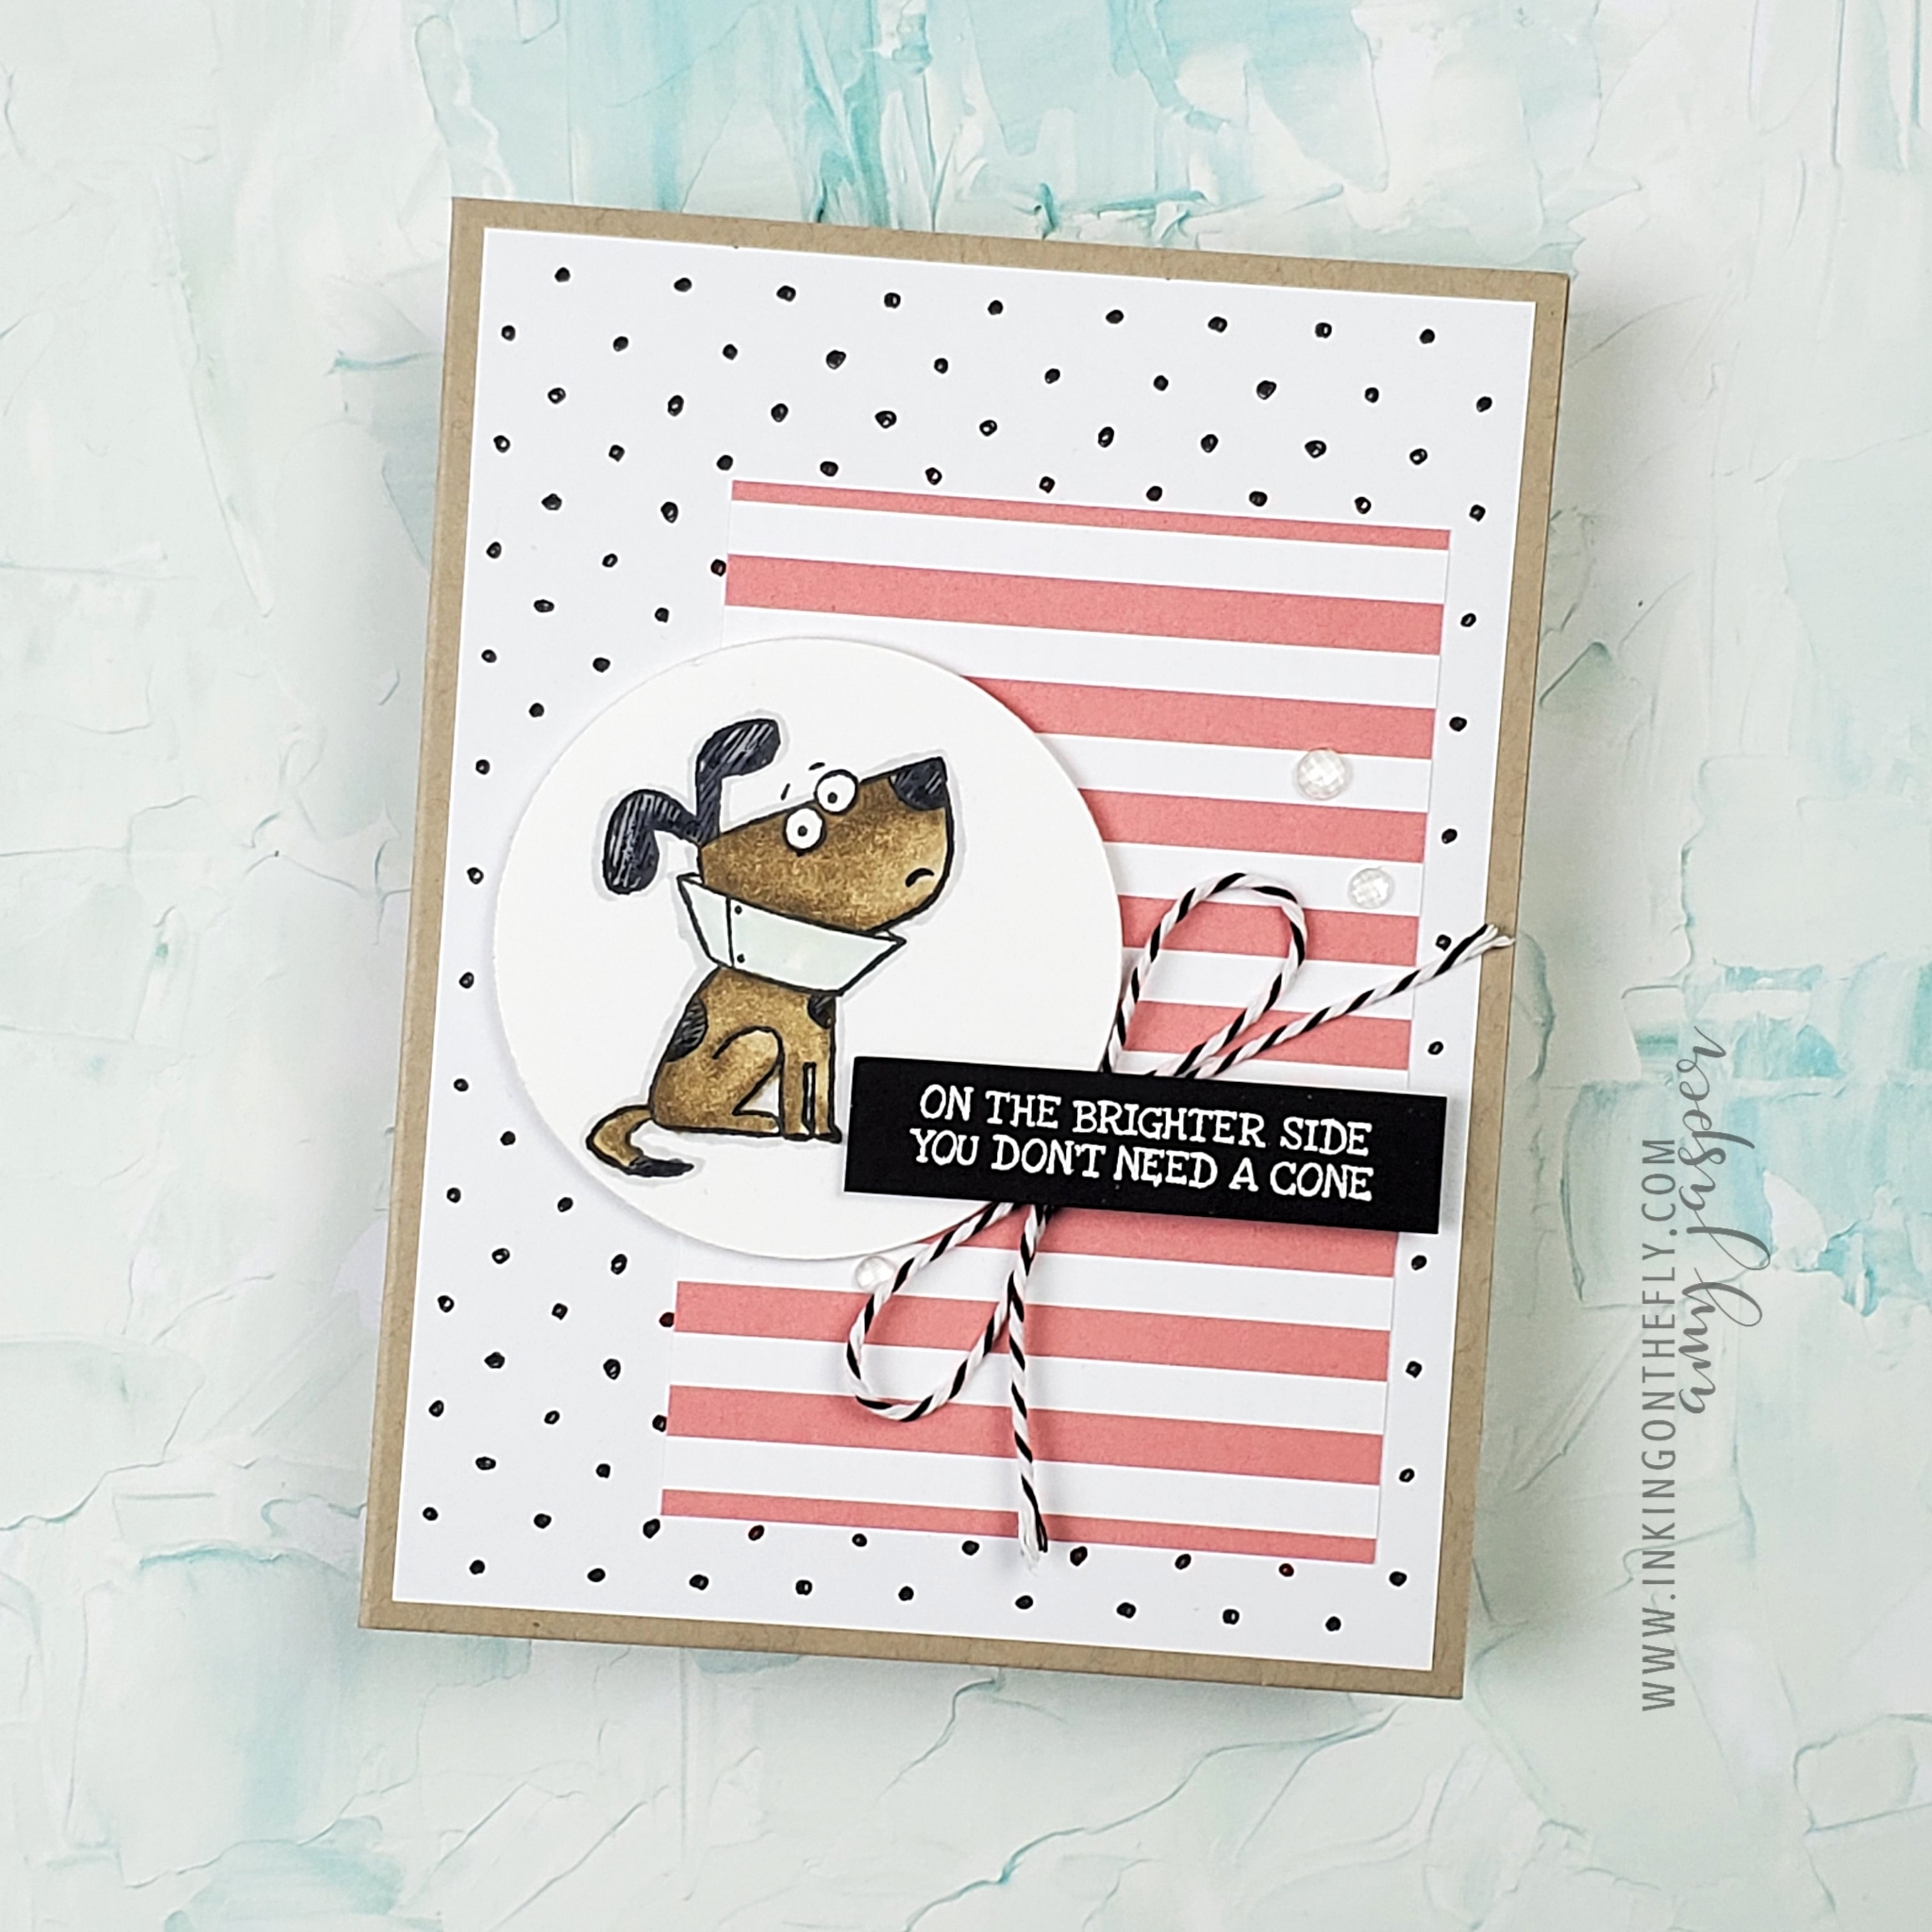
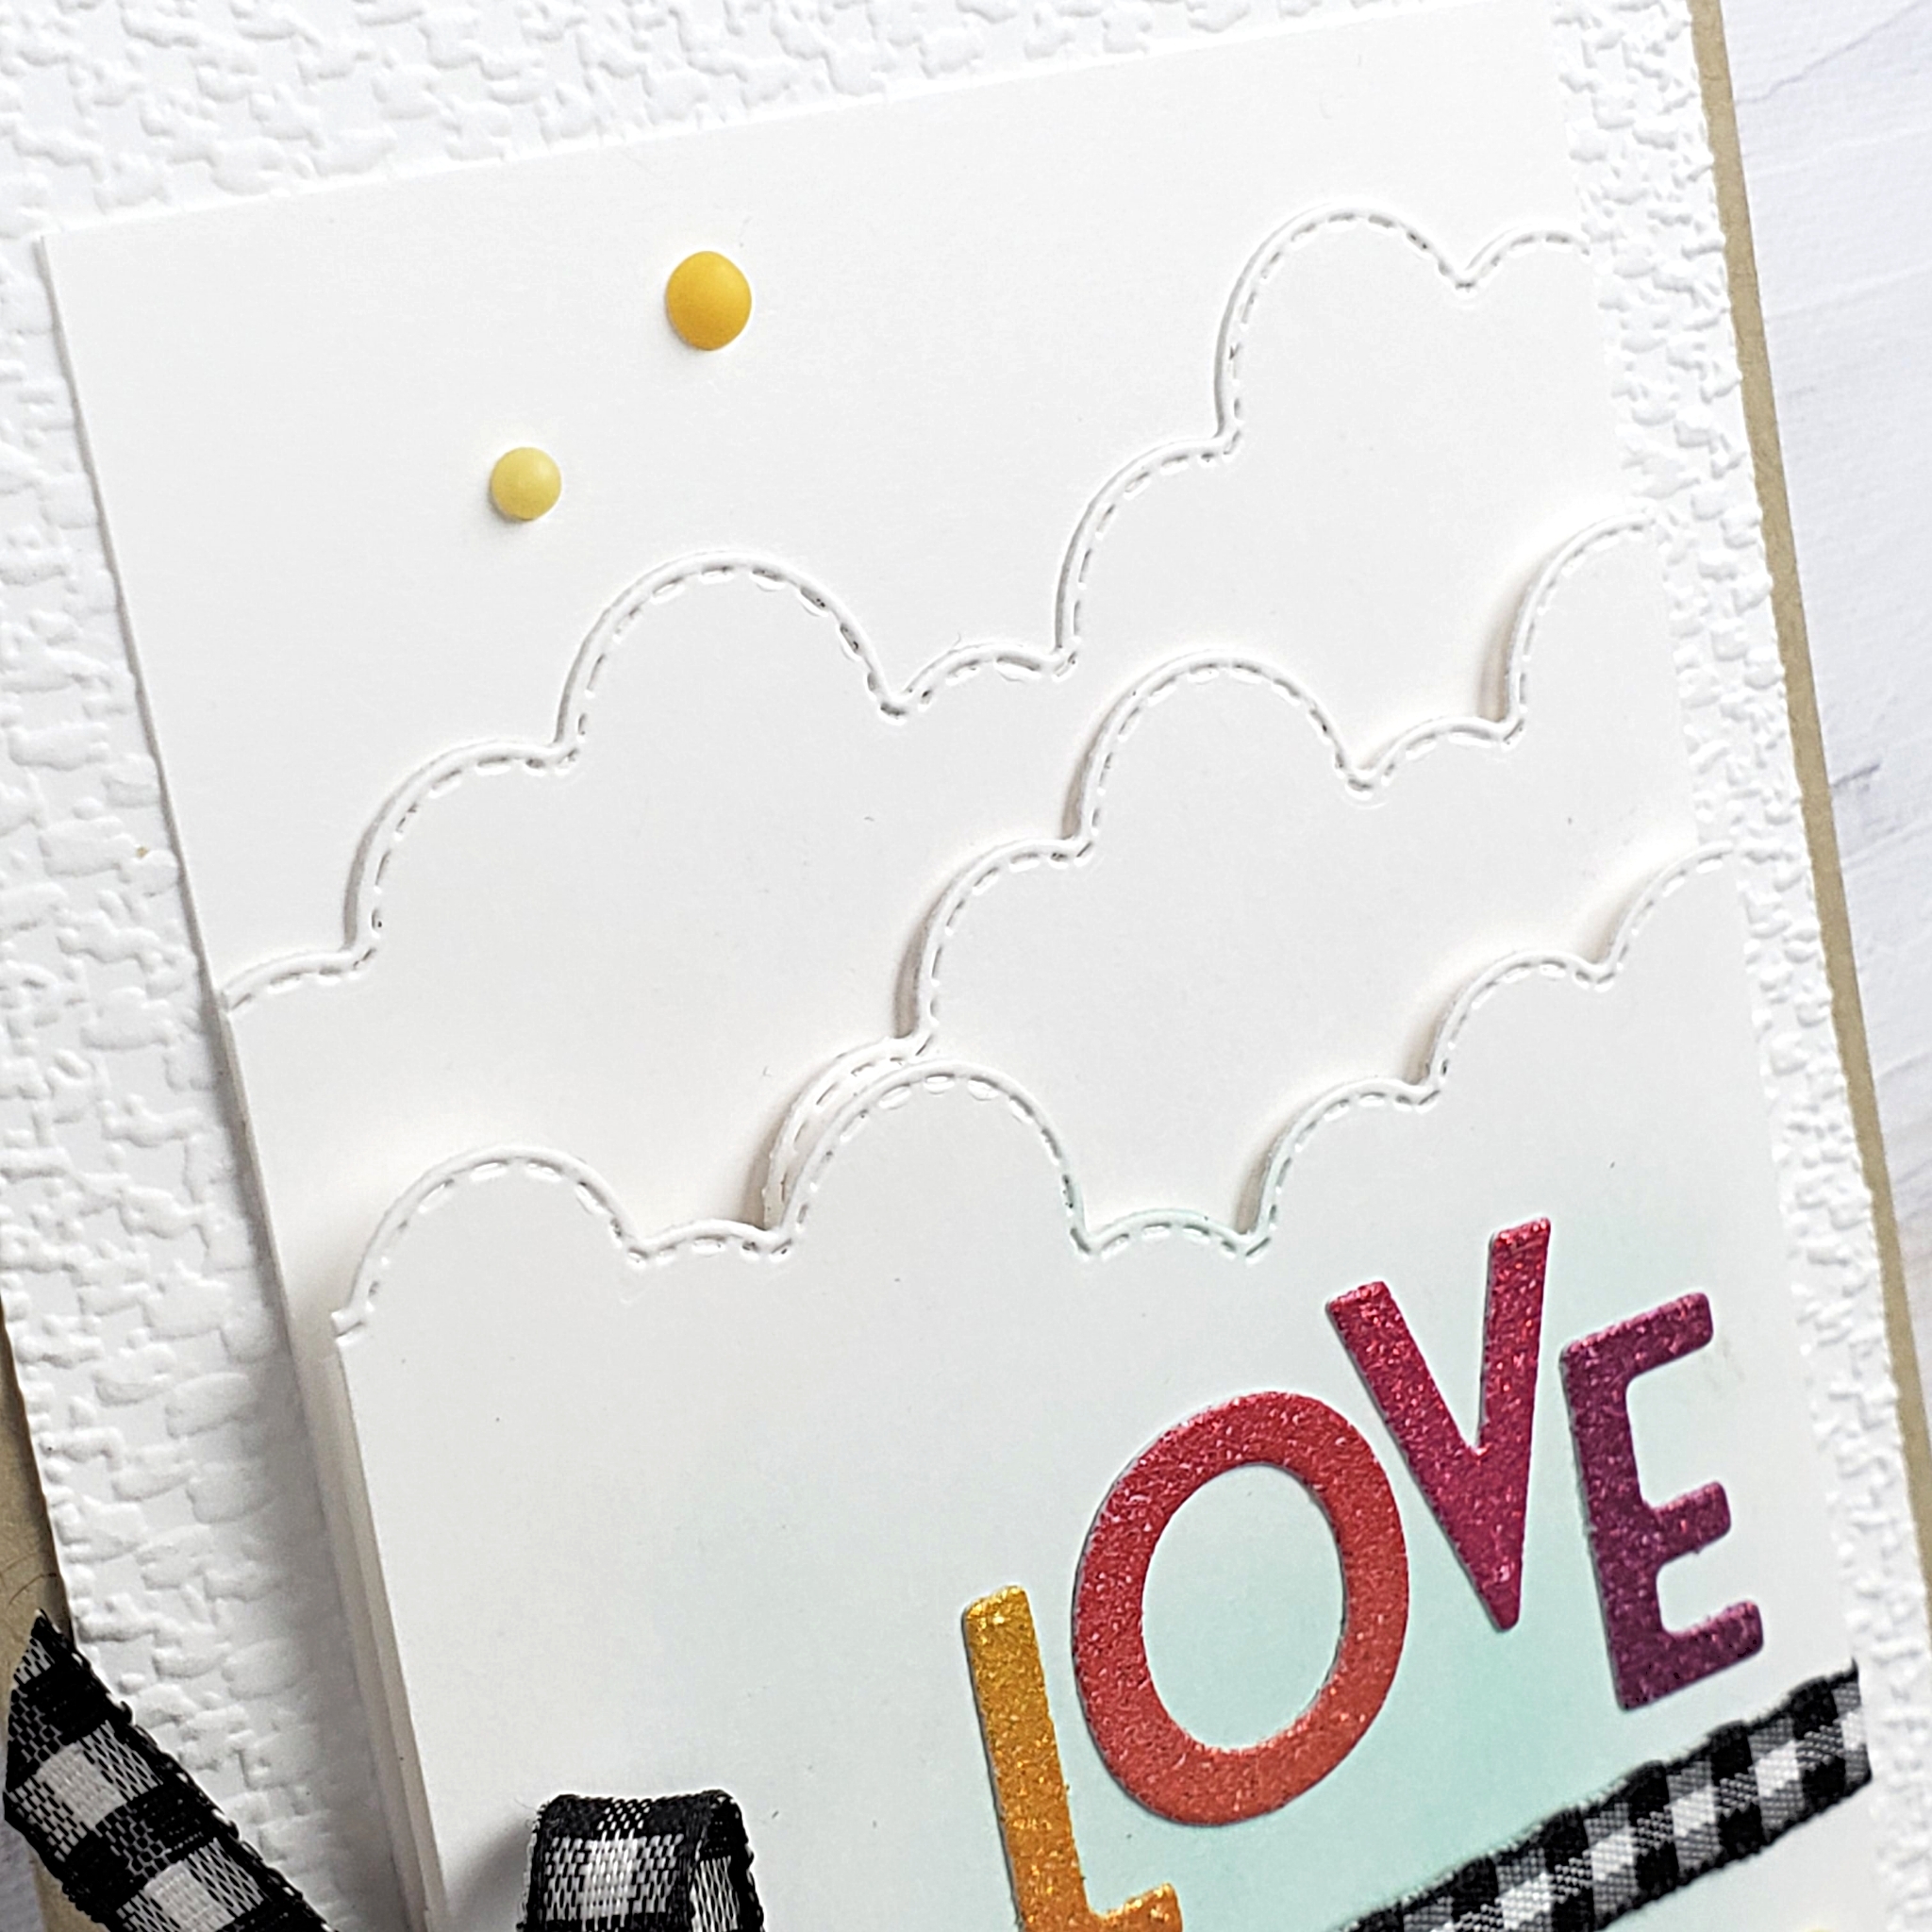
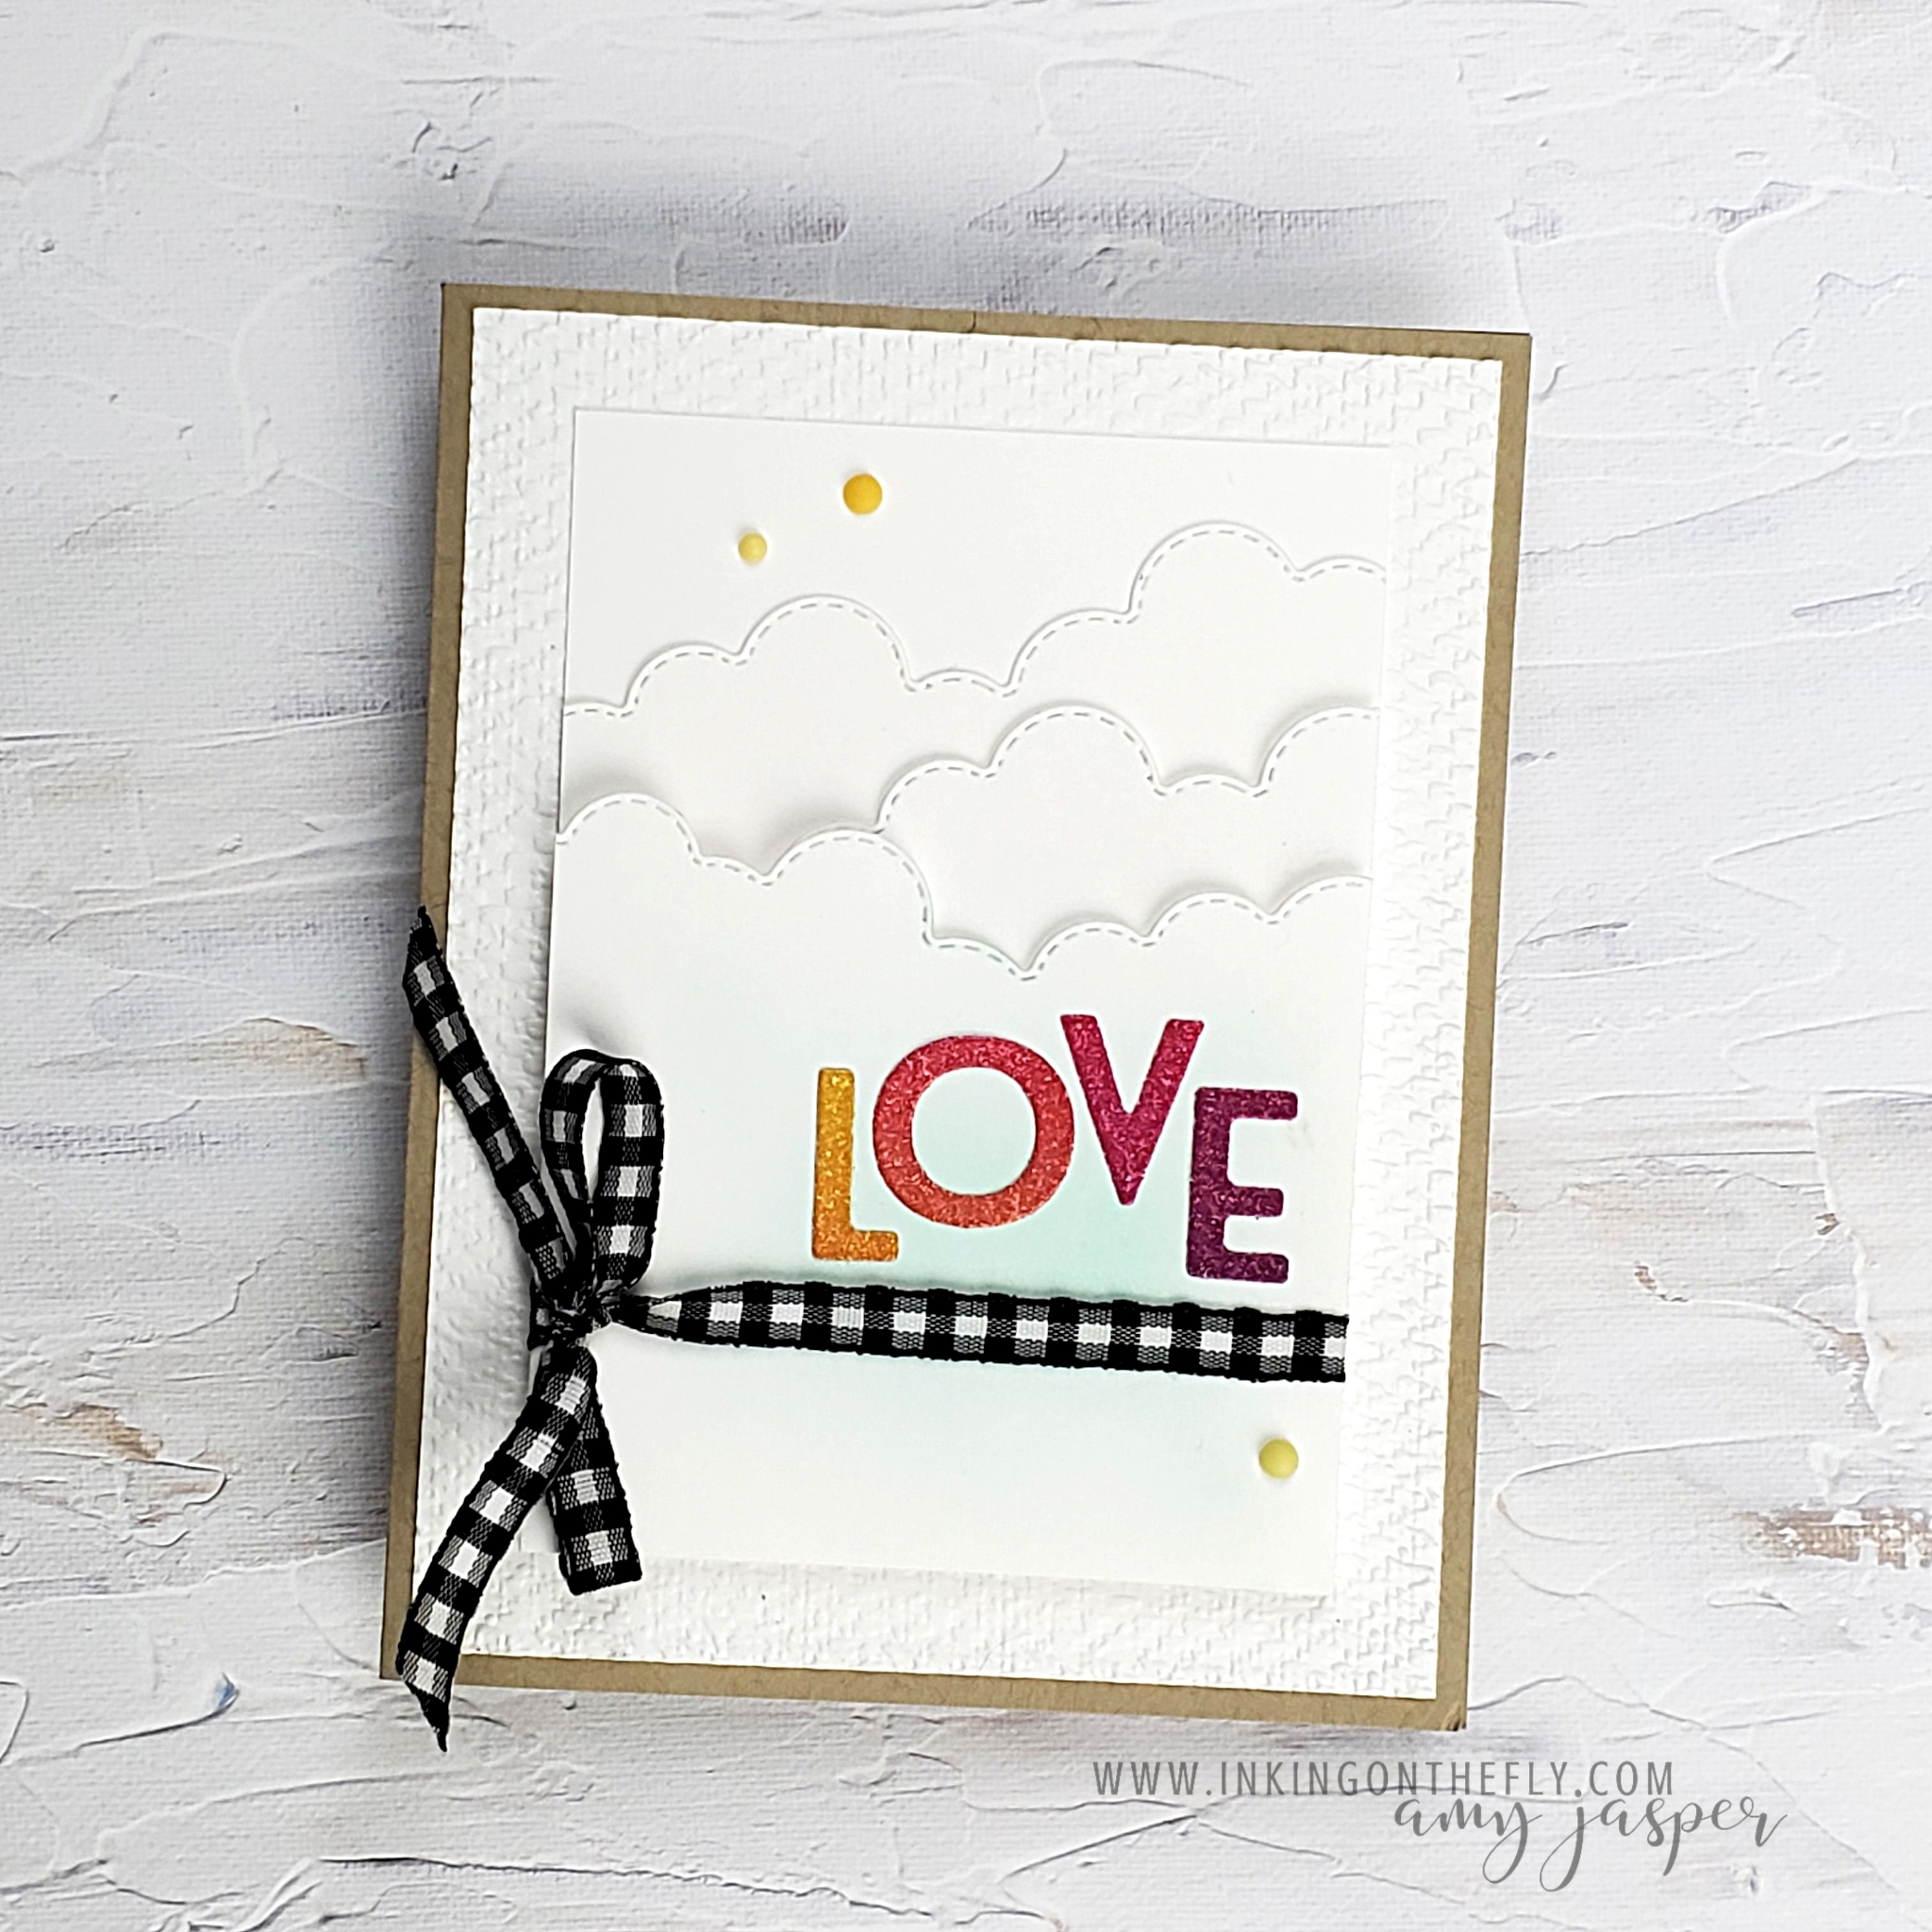
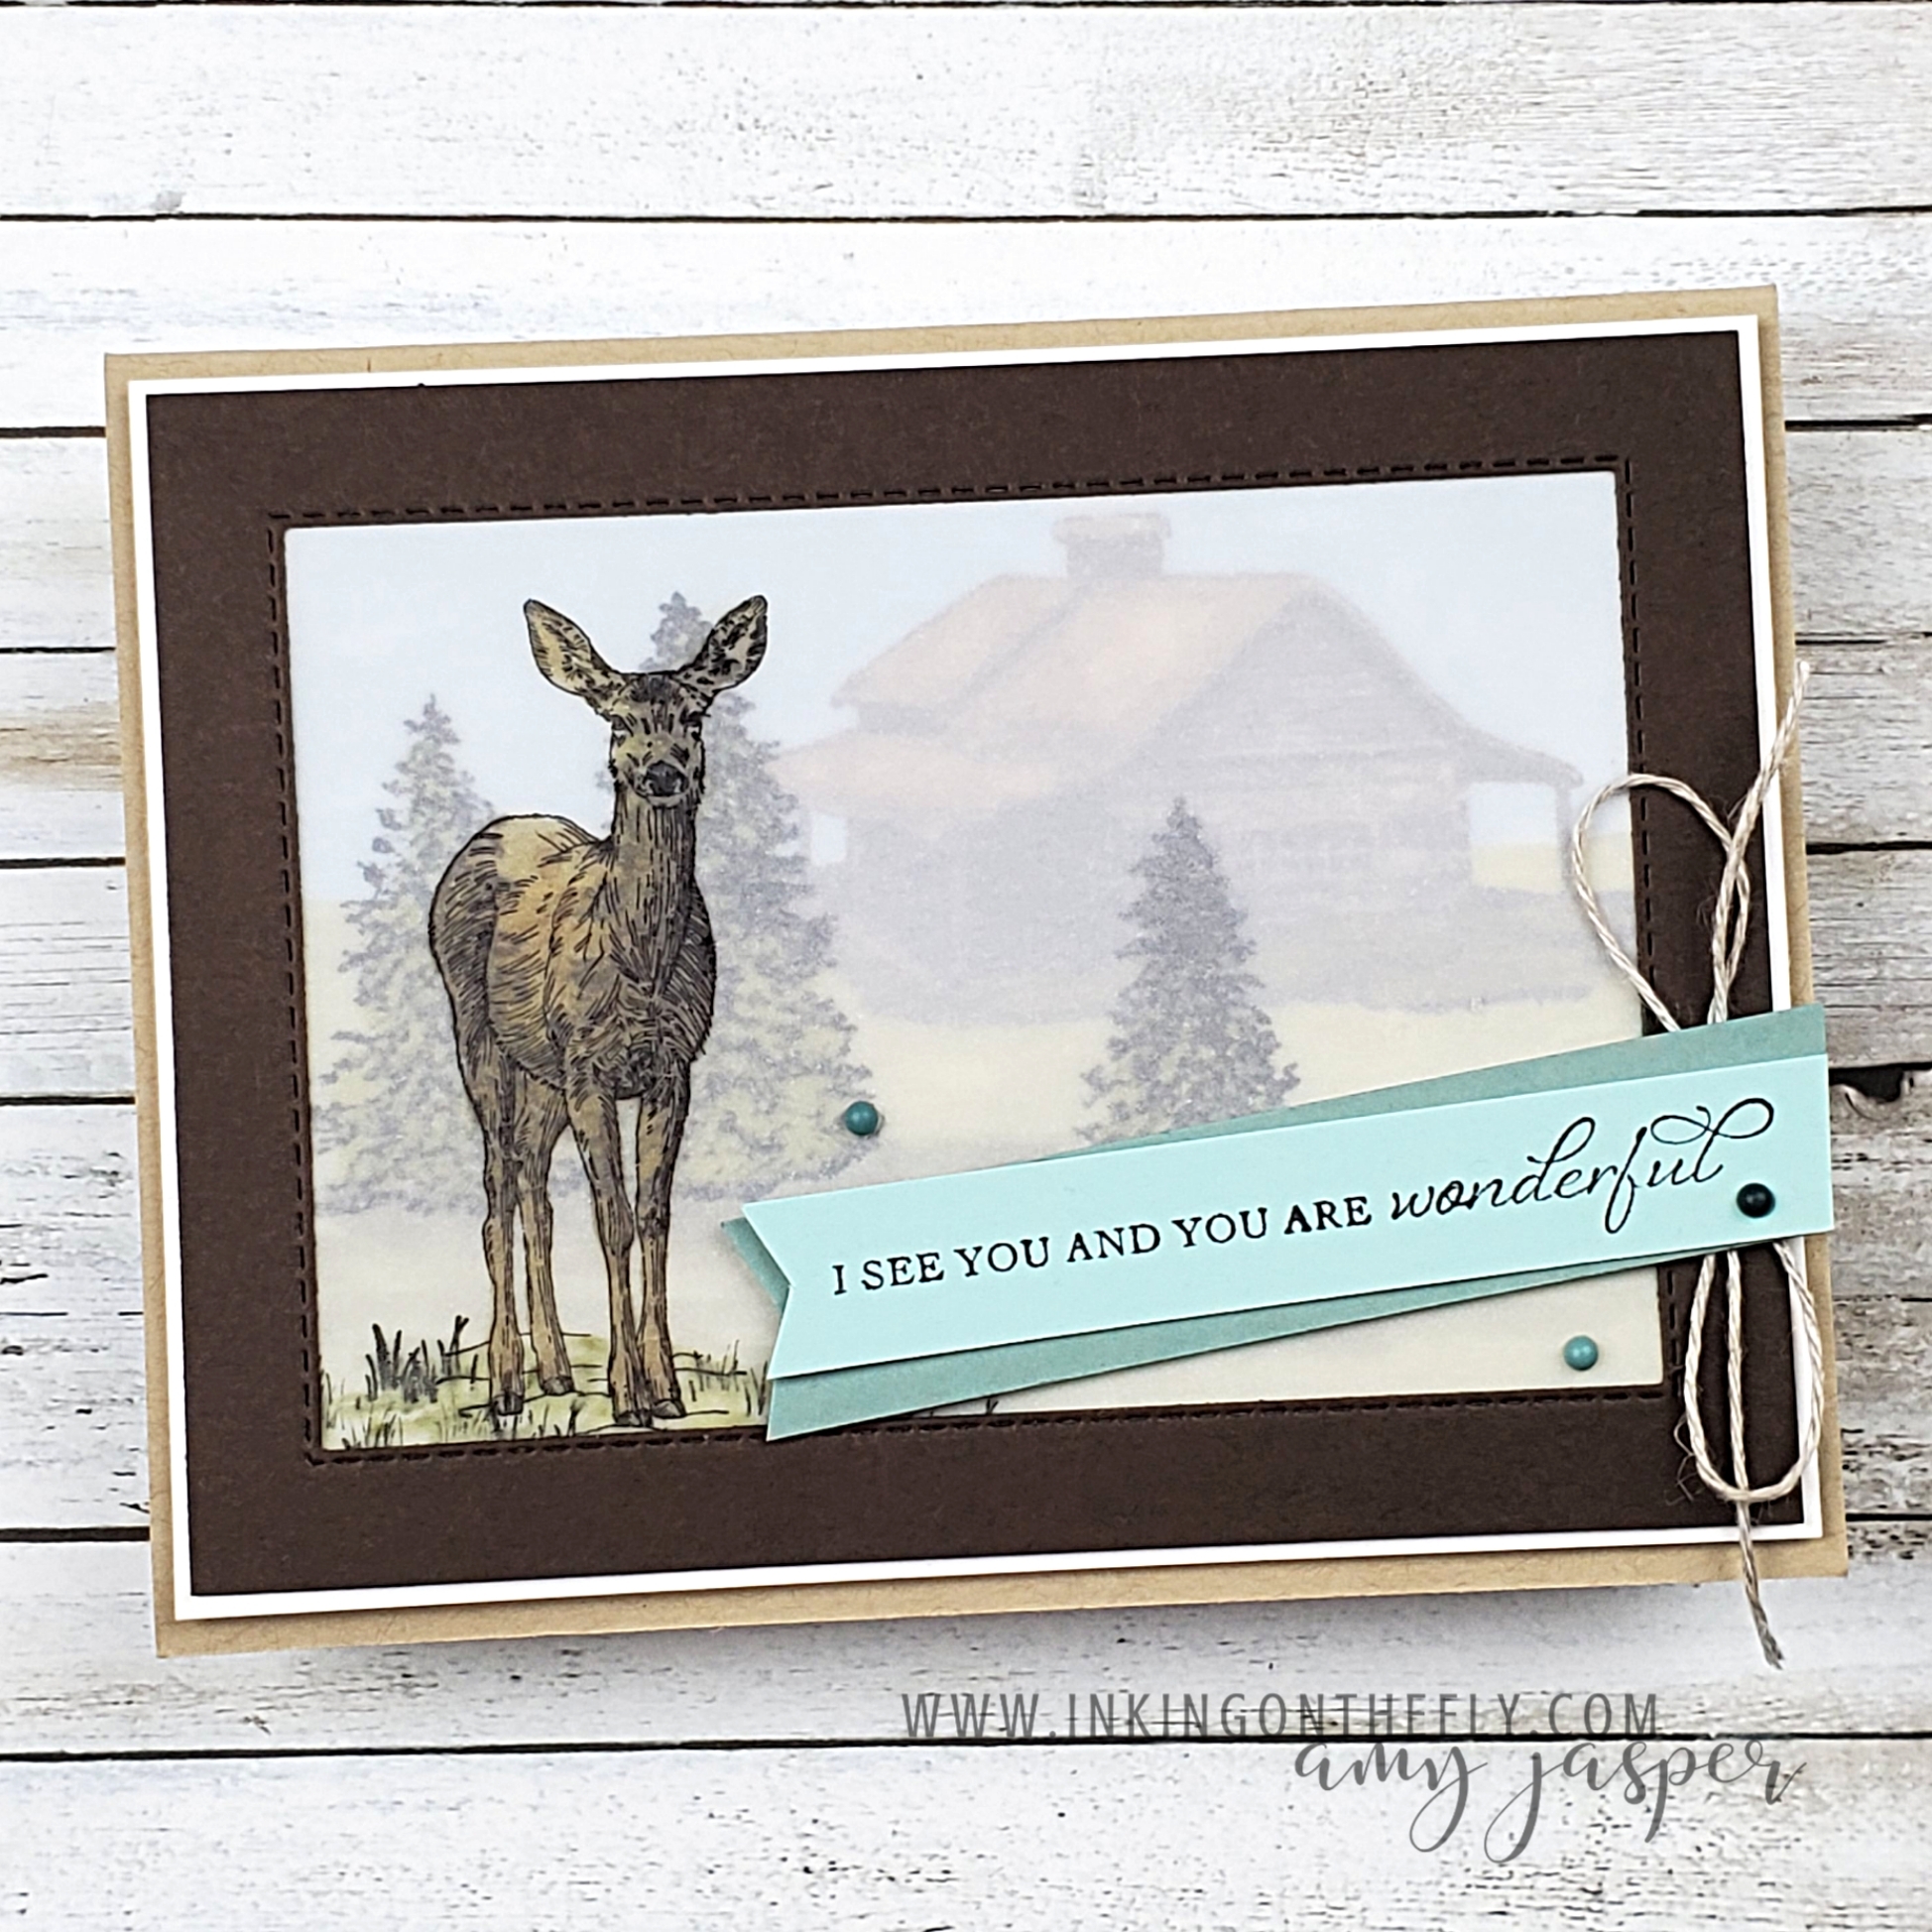
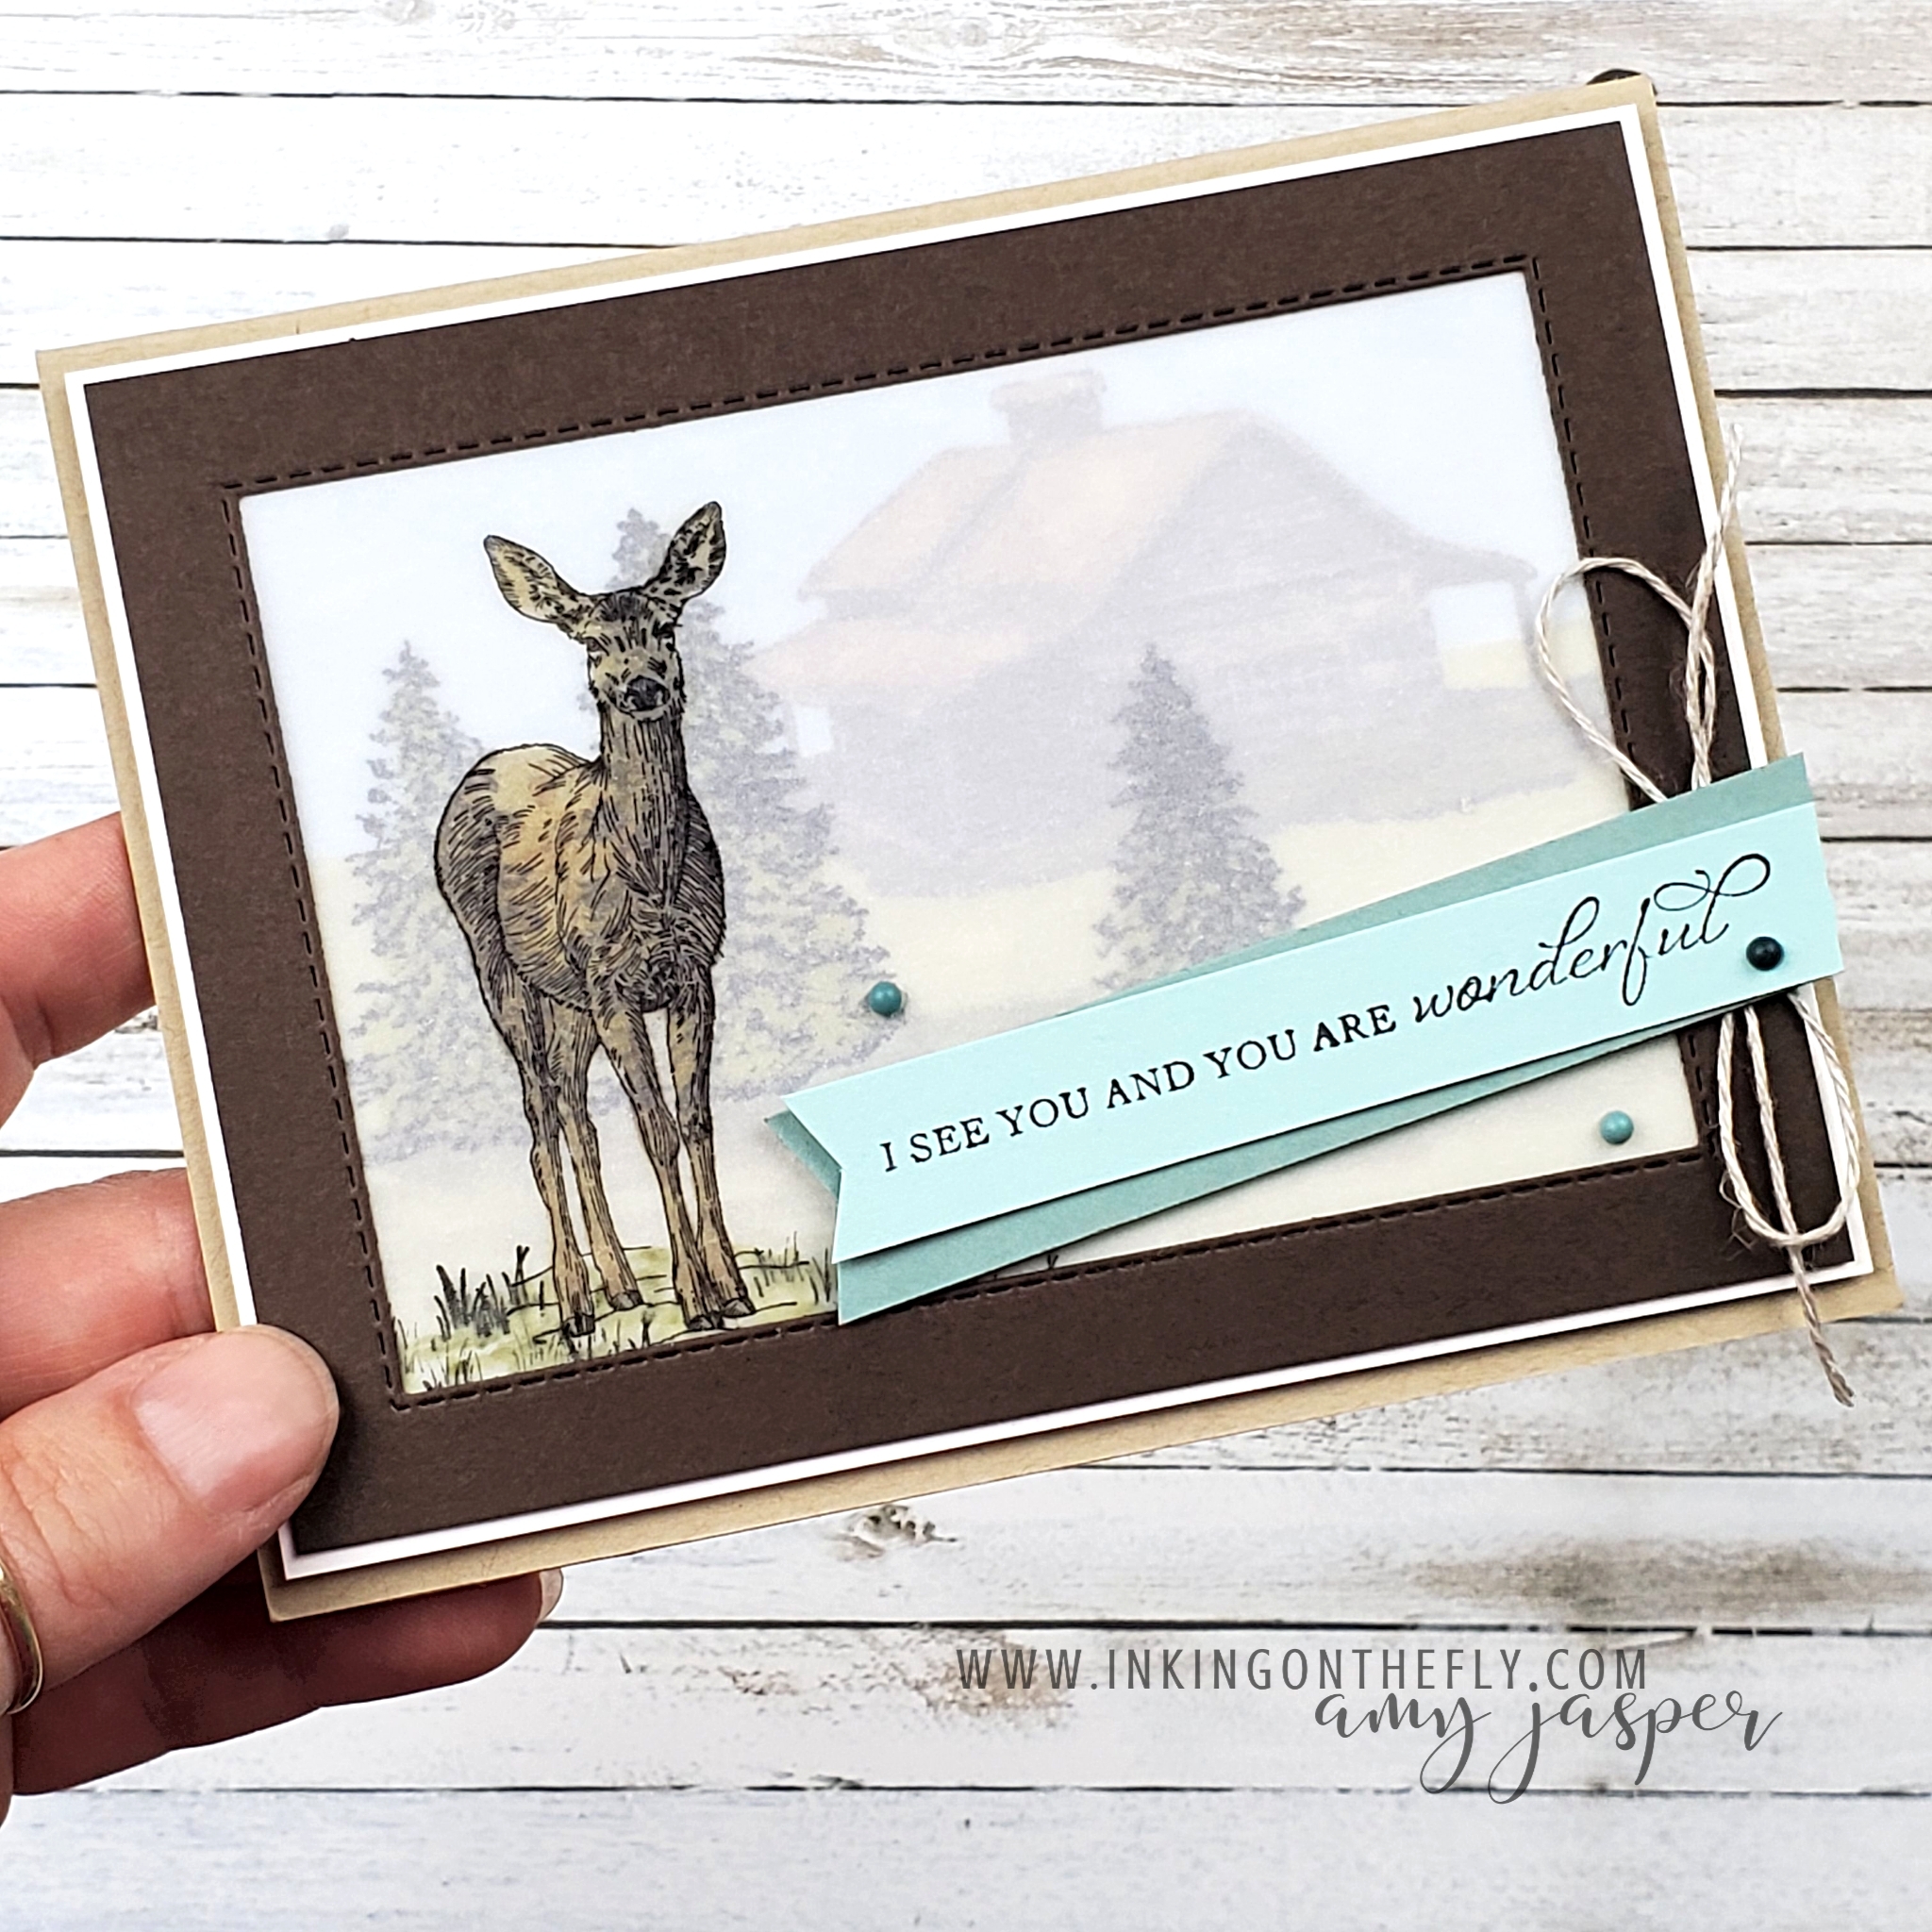
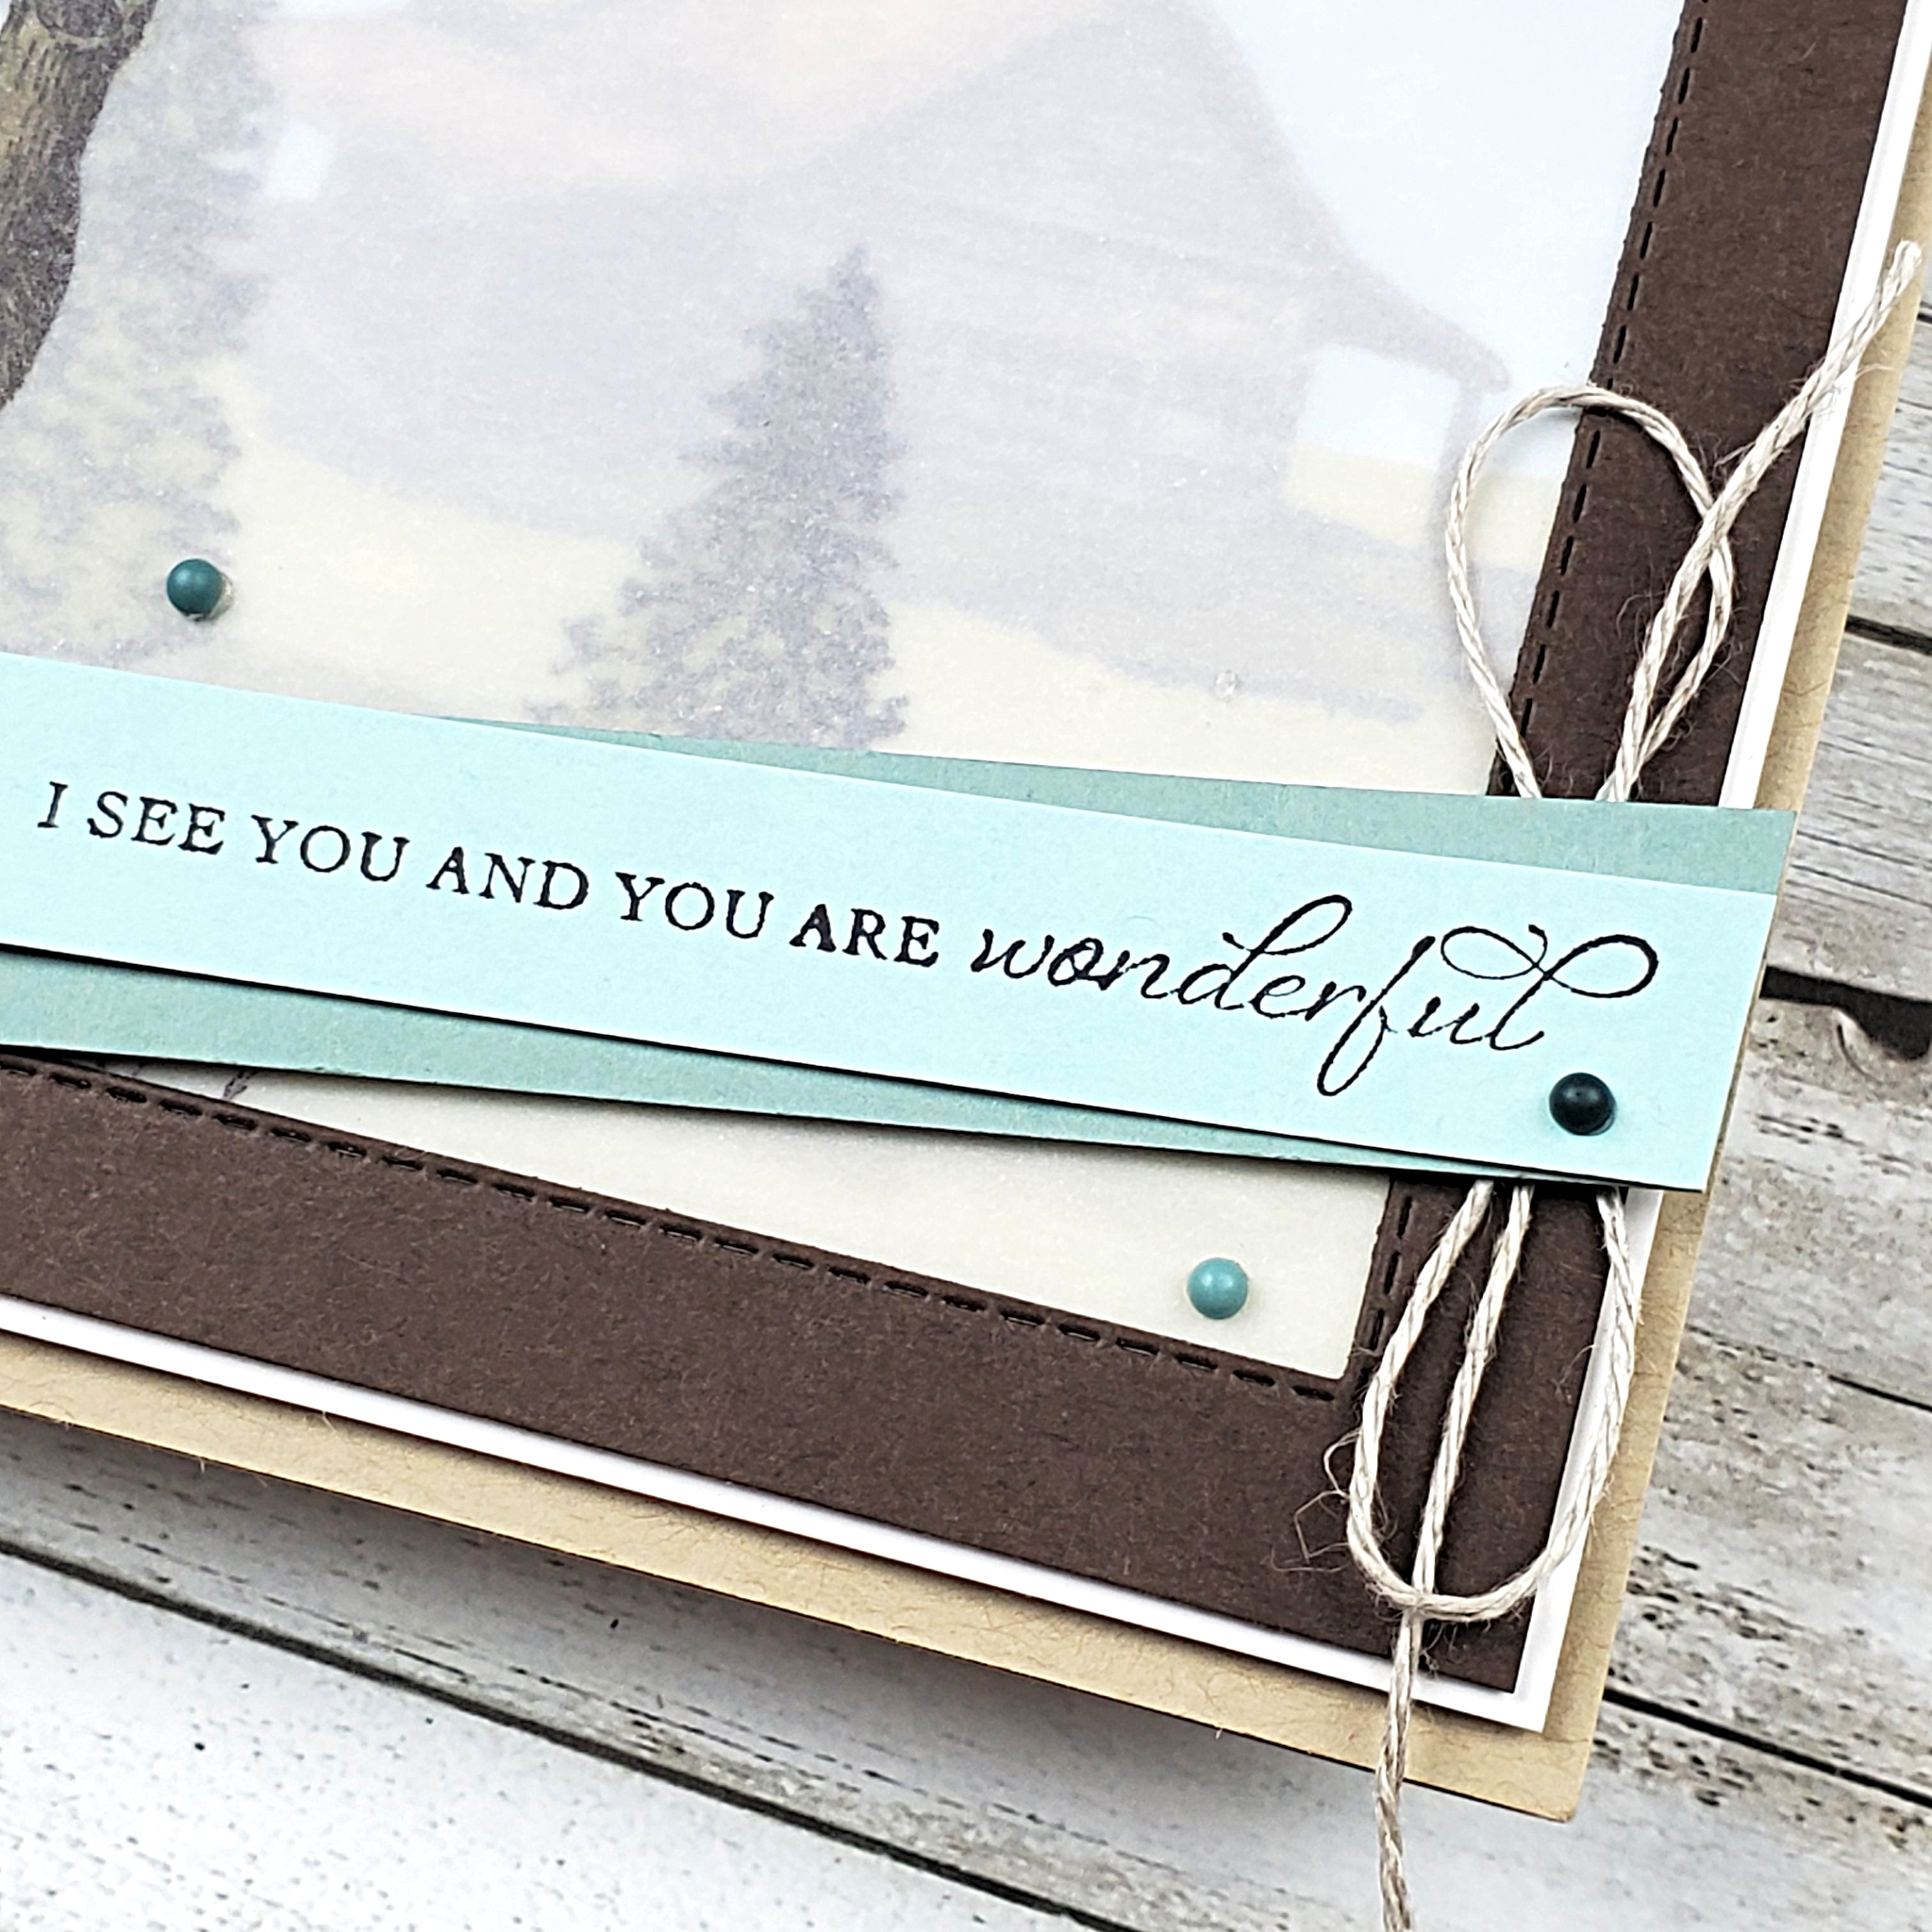
I didn’t change much, but you can see how switching the card base from Basic White to Crumb Cake makes a big difference. Also, I DID add that bow along with a few of the clear Elegant Faceted Gems. That’s all it needed for me to be satisfied that it was complete.

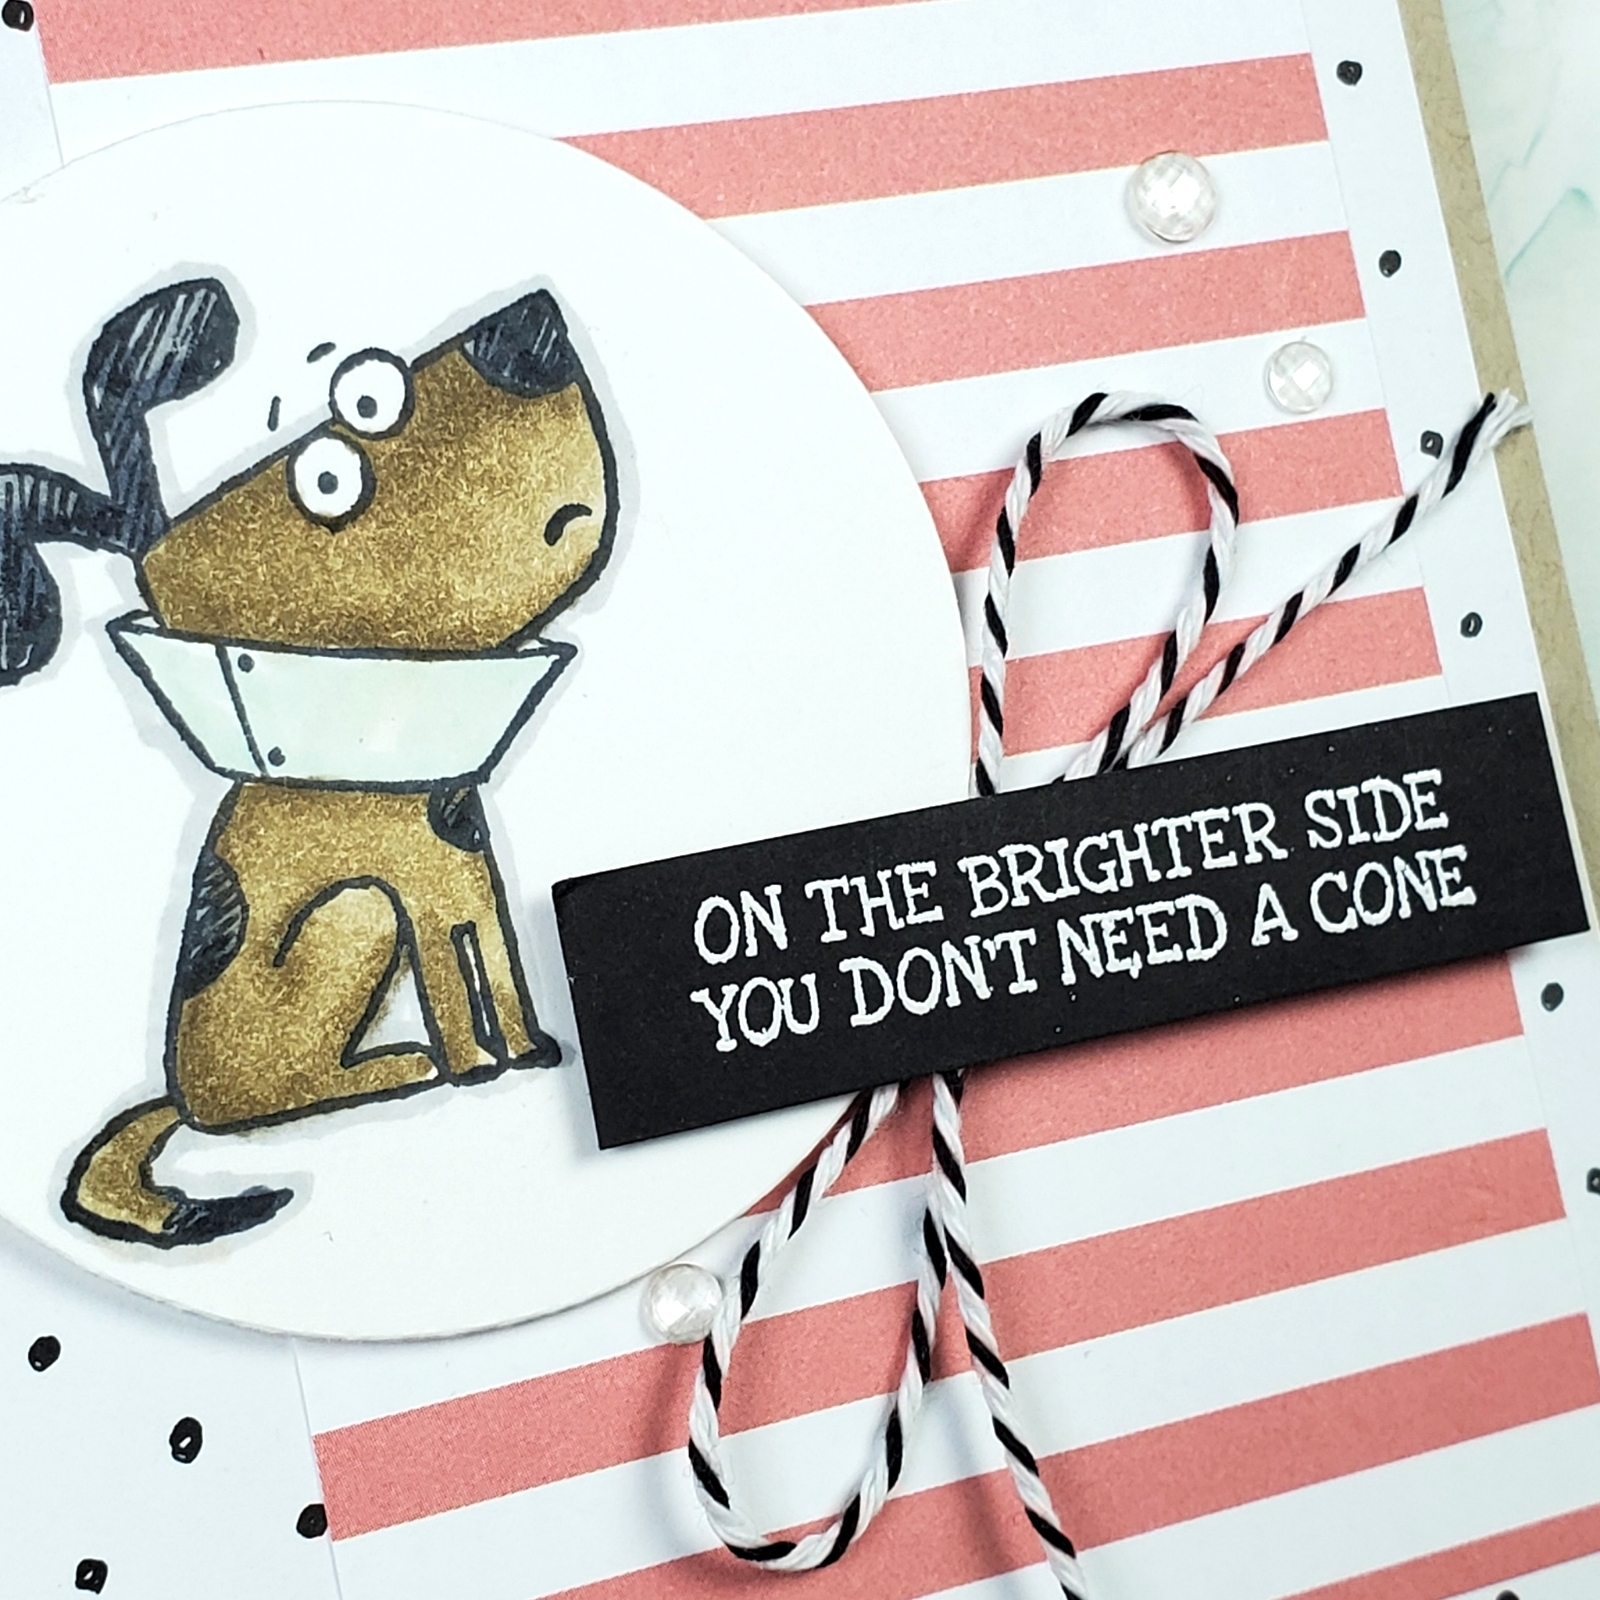
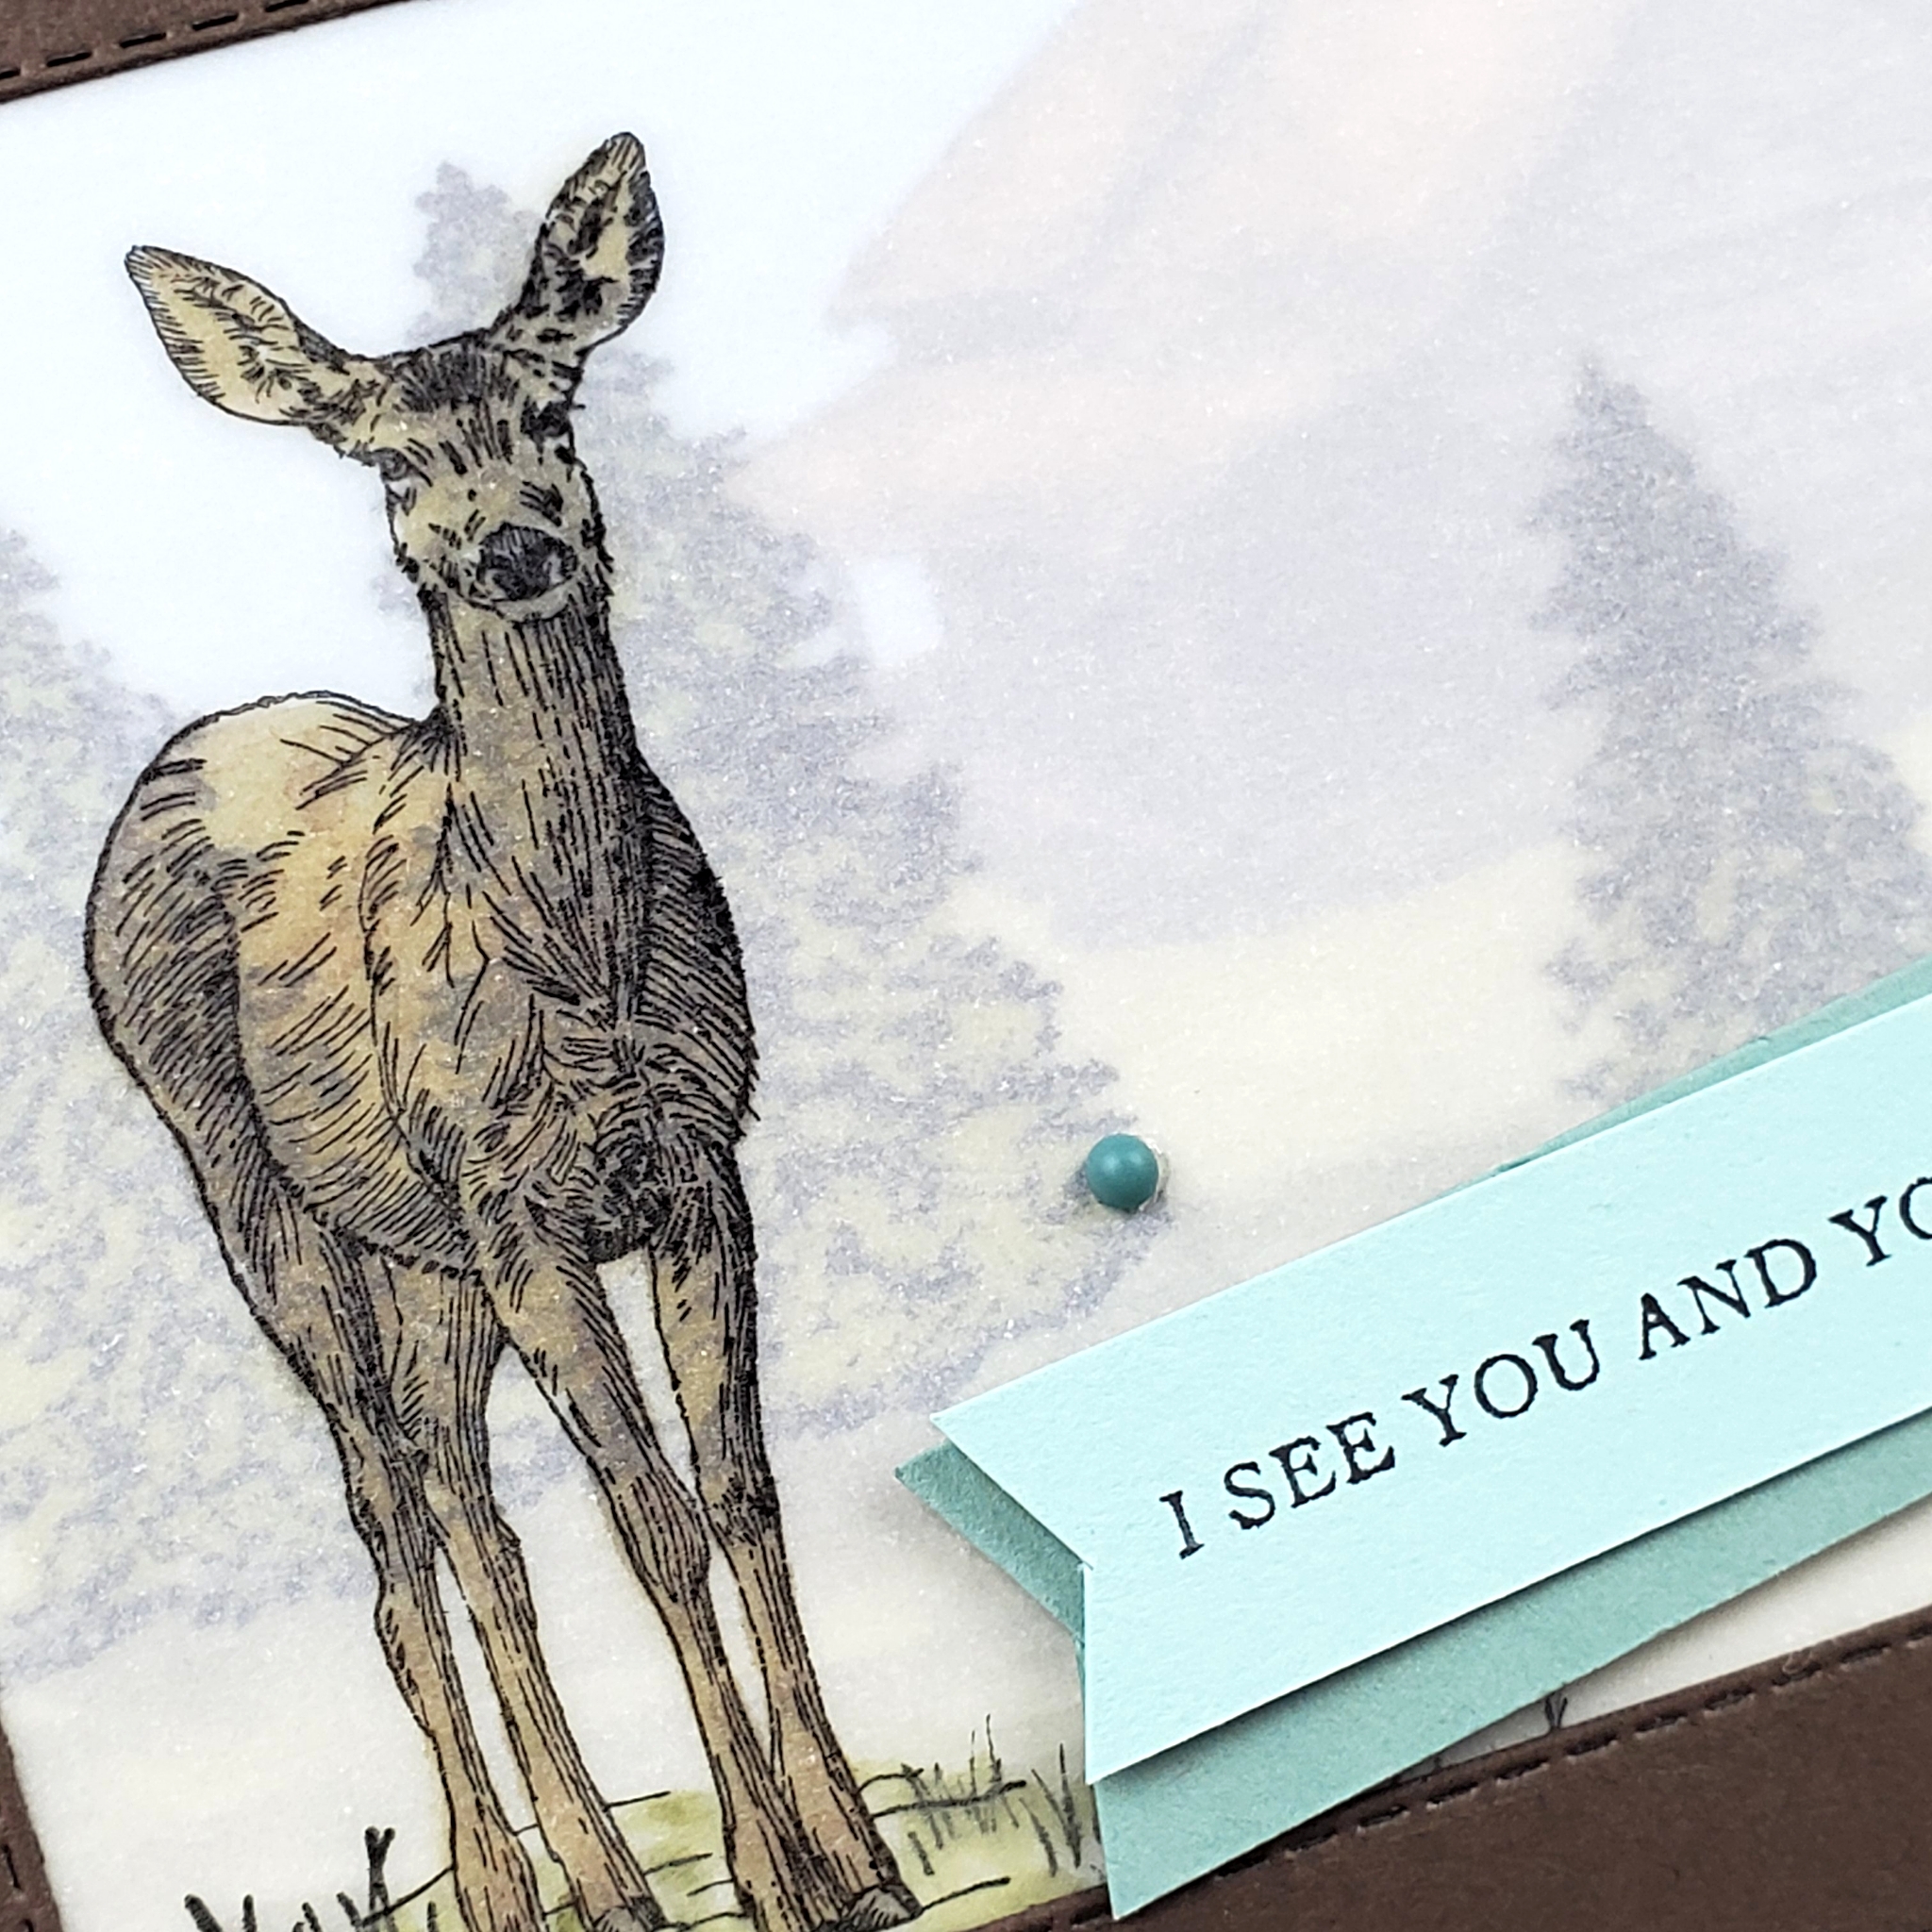
I gave this self-conscious canine his brown fur with a combination of my Stampin’ Blends Markers. Dark and Light Soft Suede Stampin’ Blends Markers were used, then coloured over with the Light Crumb Cake. His black spots are accented with Dark Smoky Slate and Light Basic Black. For the cone, I used the Light Soft Seafoam. Finally, to give this pitiful pooch a bit more dimension on the Basic White background, I carefully outlined the image with the Light Smoky Slate Stampin’ Blends Marker.

After colouring, Rover was given his circular frame with the Cut & Emboss Machine and one of the Layering Circles Dies. I attached him to patterned paper layers with Stampin’ Dimensionals.

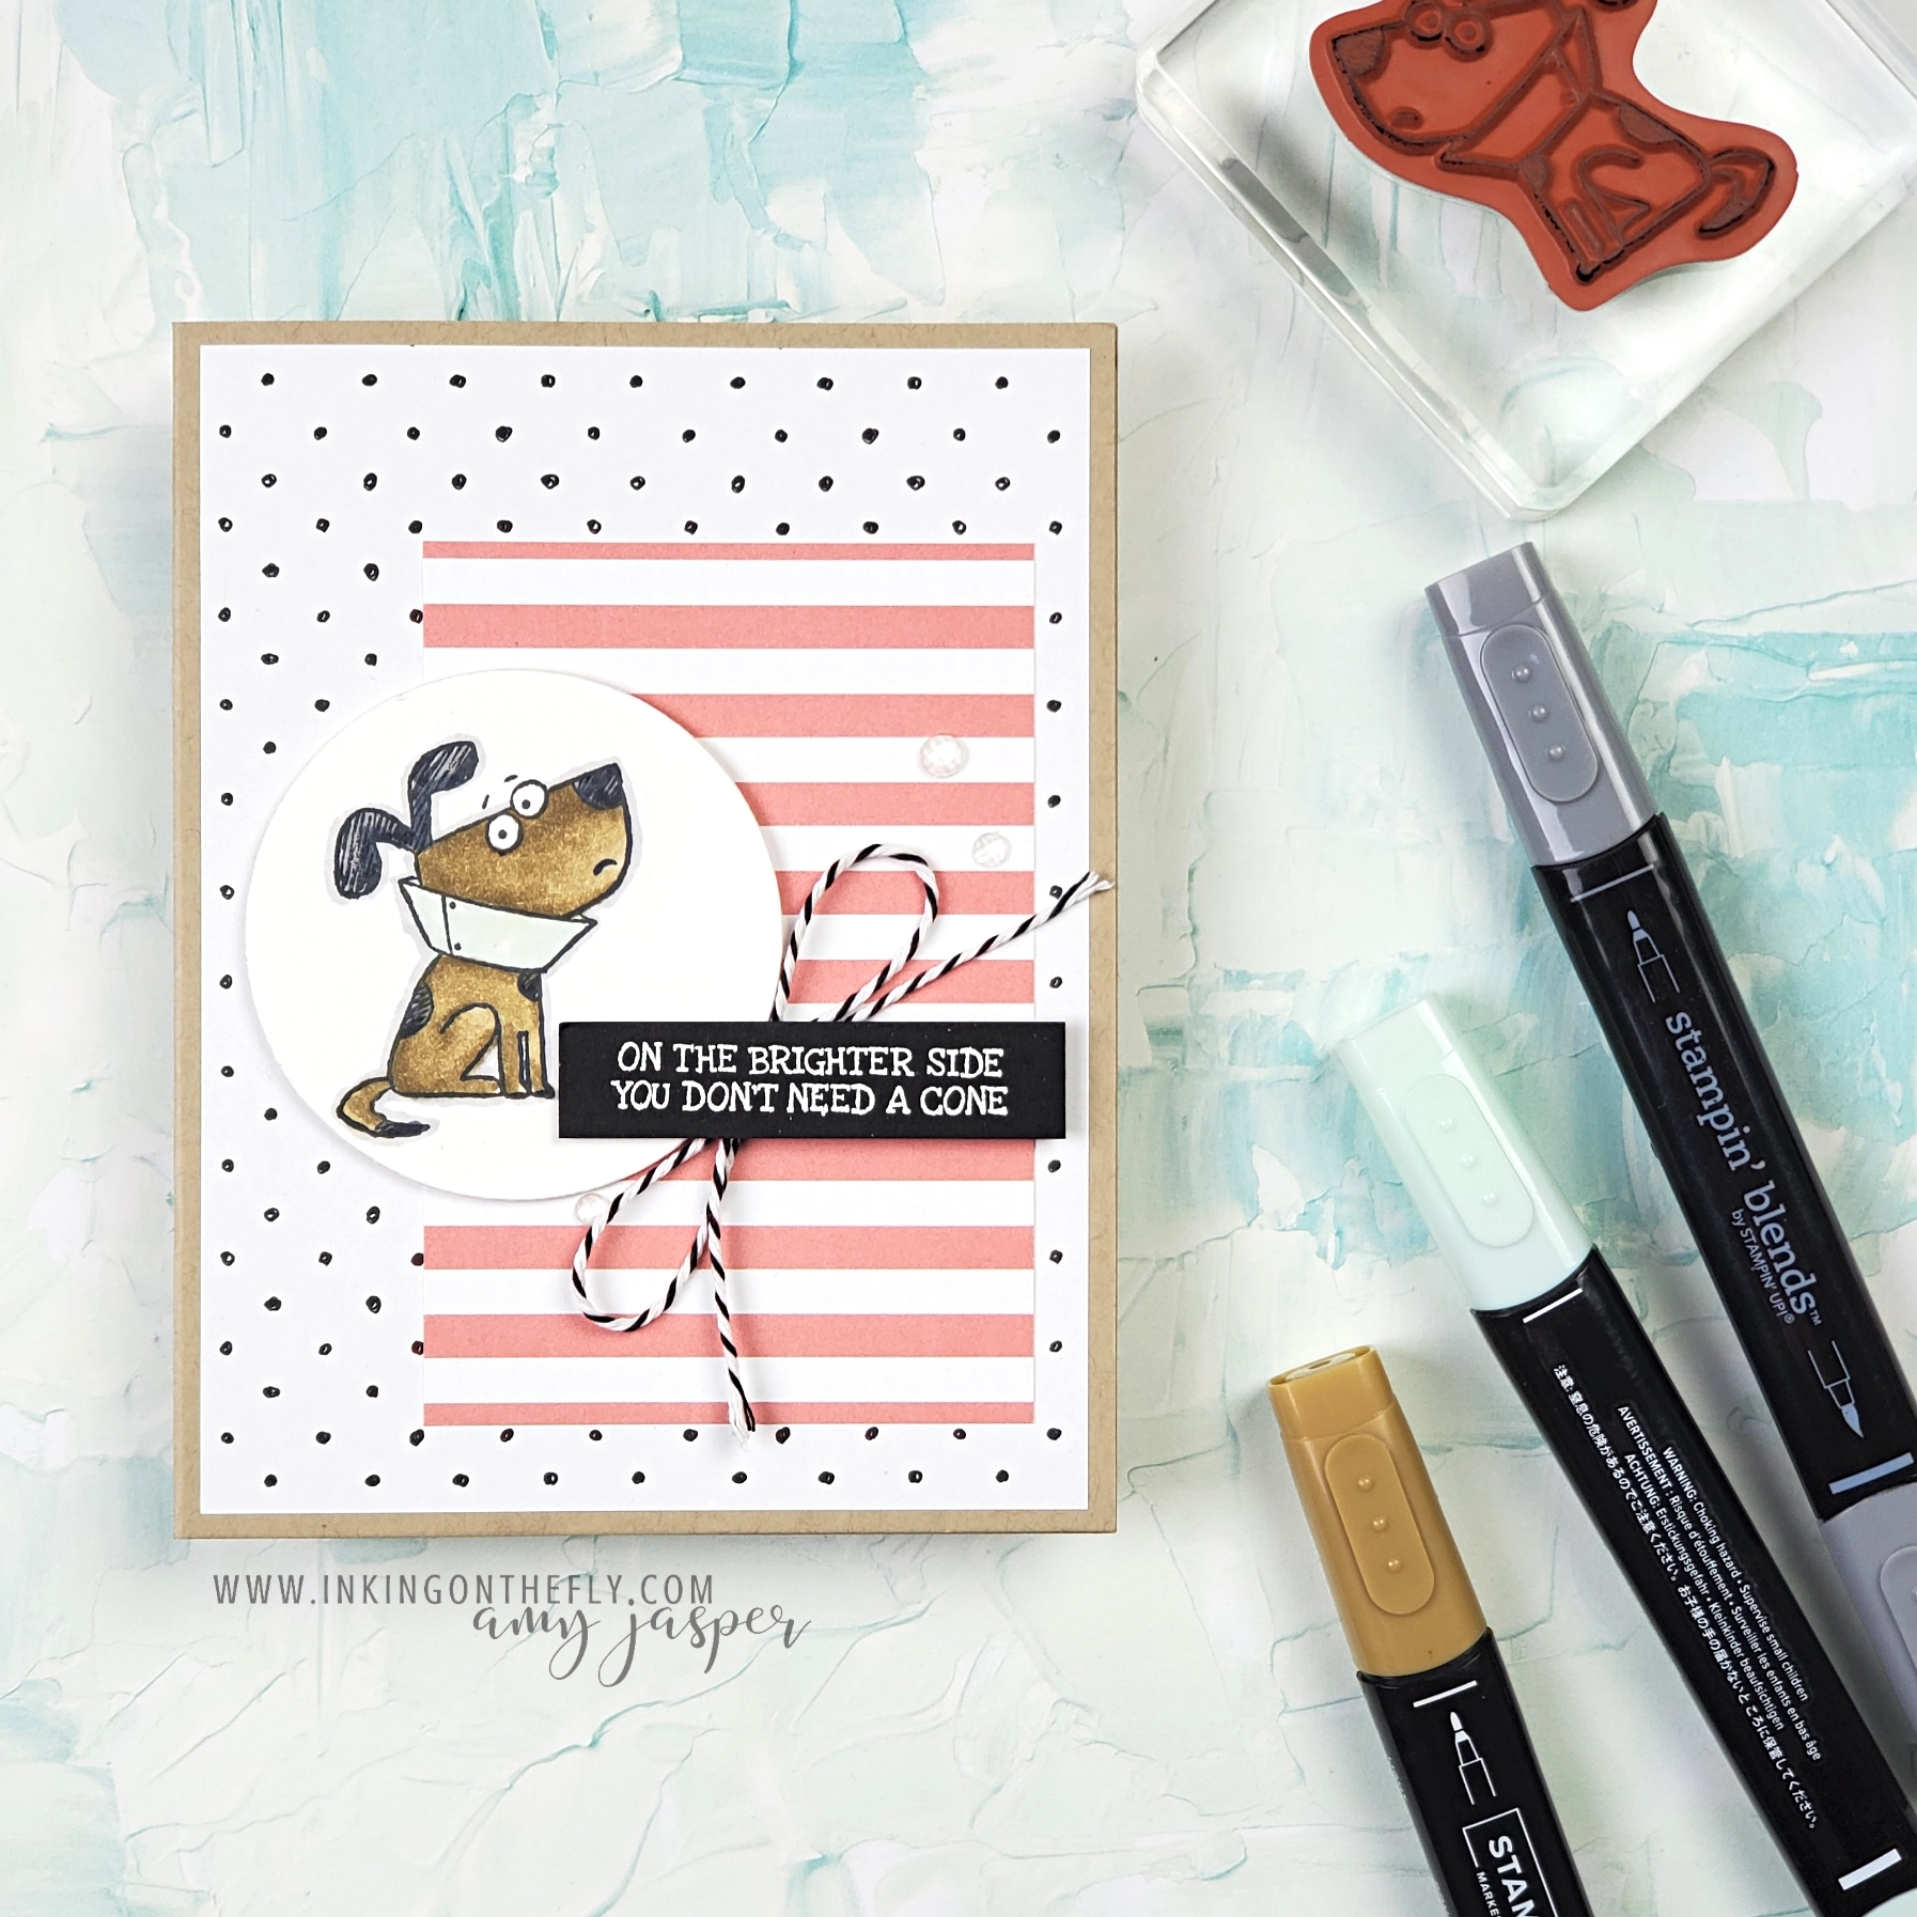
There are a couple different pieces of patterned paper used on this design. First, the pink stripes paper is from the Pattern Party host exclusive paper pack. Second, the black polka-dot paper is from the Beautifully Penned paper pack, only available as a FREE item this month during Sale-a-bration.

Of course, you can see that I used White Embossing on the Basic Black cardstock for the sentiment.

Side by side comparison

Are you up for the challenge?

As a designer for the As You See It Challenge blog, I have the privilege of creating samples to give some inspiration to our players. If you feel inspired to try this speed challenge, be sure to share your finished card with us over at the blog. Remember to use a stopwatch so you can tell us your time!

In Canada? You can order from me anytime at my online store and register for any of my virtual classes.

Love is in the Air

I’ve been away for a while and will slowly be moving back into full swing in these next few days. It’s been an incredibly busy summer with August being the busiest of all! School will be starting soon and my husband will be moving out of my craft room and into his office at work again. This will be a game changer for me and my productivity!

The card that I have to share with you today is designed for the As You See It Challenge Blog.

We have a theme challenge today!

Well, the first thing that I thought of was love! Love is in the air!

One of the dies among the Basic Borders Dies has a stitched cloud shape. I used this a few times on Basic White cardstock and layered them together with Stampin’ Dimensionals.

A Blending Brush and some Coastal Cabana ink was used to add a hint of colour behind the Playful Alphabet letters. I love the Ombré Specialty Paper for these letters! So fun!

The Tasteful Textile embossing folder was used with Basic White cardstock in the Cut & Emboss Machine to create the background. This adds some interest without taking away from the main focus of the design. I think the Crumb Cake cardbase helps to balance all that white while allowing the letters and the Black & White Gingham ribbon to keep the spotlight.

As a final touch, the yellow Decorative Matte Dots bring a little extra somethin’-somethin’.

You can find all the products used on this card on my online store. If you’re in Canada, you can order from me anytime! I’d love to be your Stampin’ Up! Demonstrator. 🙂

You’ll Love the Beautiful Effect of Layered Vellum

The As You See It Challenge Blog has us sharing our favourite animal as the starting point for our designs today. I don’t know about you, but I had to work within the limits of my supplies! There aren’t any images of moose among the current Stampin’ Up! products!

Since my favourite animal is under-represented at the moment, I chose to go with my close second favourite animal, instead. A deer!

The Layers

This card shows off a layering technique with vellum to create the feeling of distance on a misty morning.

I stamped the cabin first on a piece of Basic White cardstock with Tuxedo Black Momento ink. The cabin image is from a new stamp set called Peaceful Cabin that was just released along with the new Mini Catalogue! It’s so exciting to be able to play with new products! I used Soft Suede and Crumb Cake Blends Markers to colour the cabin, then coloured the area around the cabin with Old Olive and Balmy Blue to give a little bit to the earth and sky.

The next layer is vellum, on which I stamped the trees from the same stamp set. I used black ink again, then coloured behind it with an Old Olive Blends Marker. I also added some Smoky Slate with my Blends Marker to create a bit of a shadow under the trees.

Next, I stamped the deer from the Nature’s Beauty stamp set on a second piece of vellum, colouring it with my Soft Suede and Bronze Blends Markers (on the back of the vellum. I added the grass image at the deer’s feet, using the olive Blends Marker to accent the grass.

Each layer was adhered behind the Early Espresso frame, created with one of the Rectangle Stitched dies. I cut a narrow Basic White matte to go behind the frame and attached it to the Crumb Cake card base with Stampin’ Dimensionals.

Finishing the Card

With all my vellum layering complete, I then stamped the sentiment from the In Your Words stamp set on Pool Party cardstock with black ink. This stamp set is only available for FREE during Sale-a-bration to anyone who hosts a qualifying workshop or personal order over $375. I was surprised at how nicely the Soft Succulent paper works with the Pool Party.

The two paper strips were flagged on the ends with scissors and attached together before adhering them to the card with Stampin’ Dimensionals.

Finally, I added the Linen Thread bow and the adhesive-backed dots from the new Decorative Matt Dots embellishments.

If you made a card for this challenge, then what animal would you use? Why not share it with us at the As You See It Challenge Blog! We love to see your beautiful creations!