As You See It Challenge

Deck the Halls

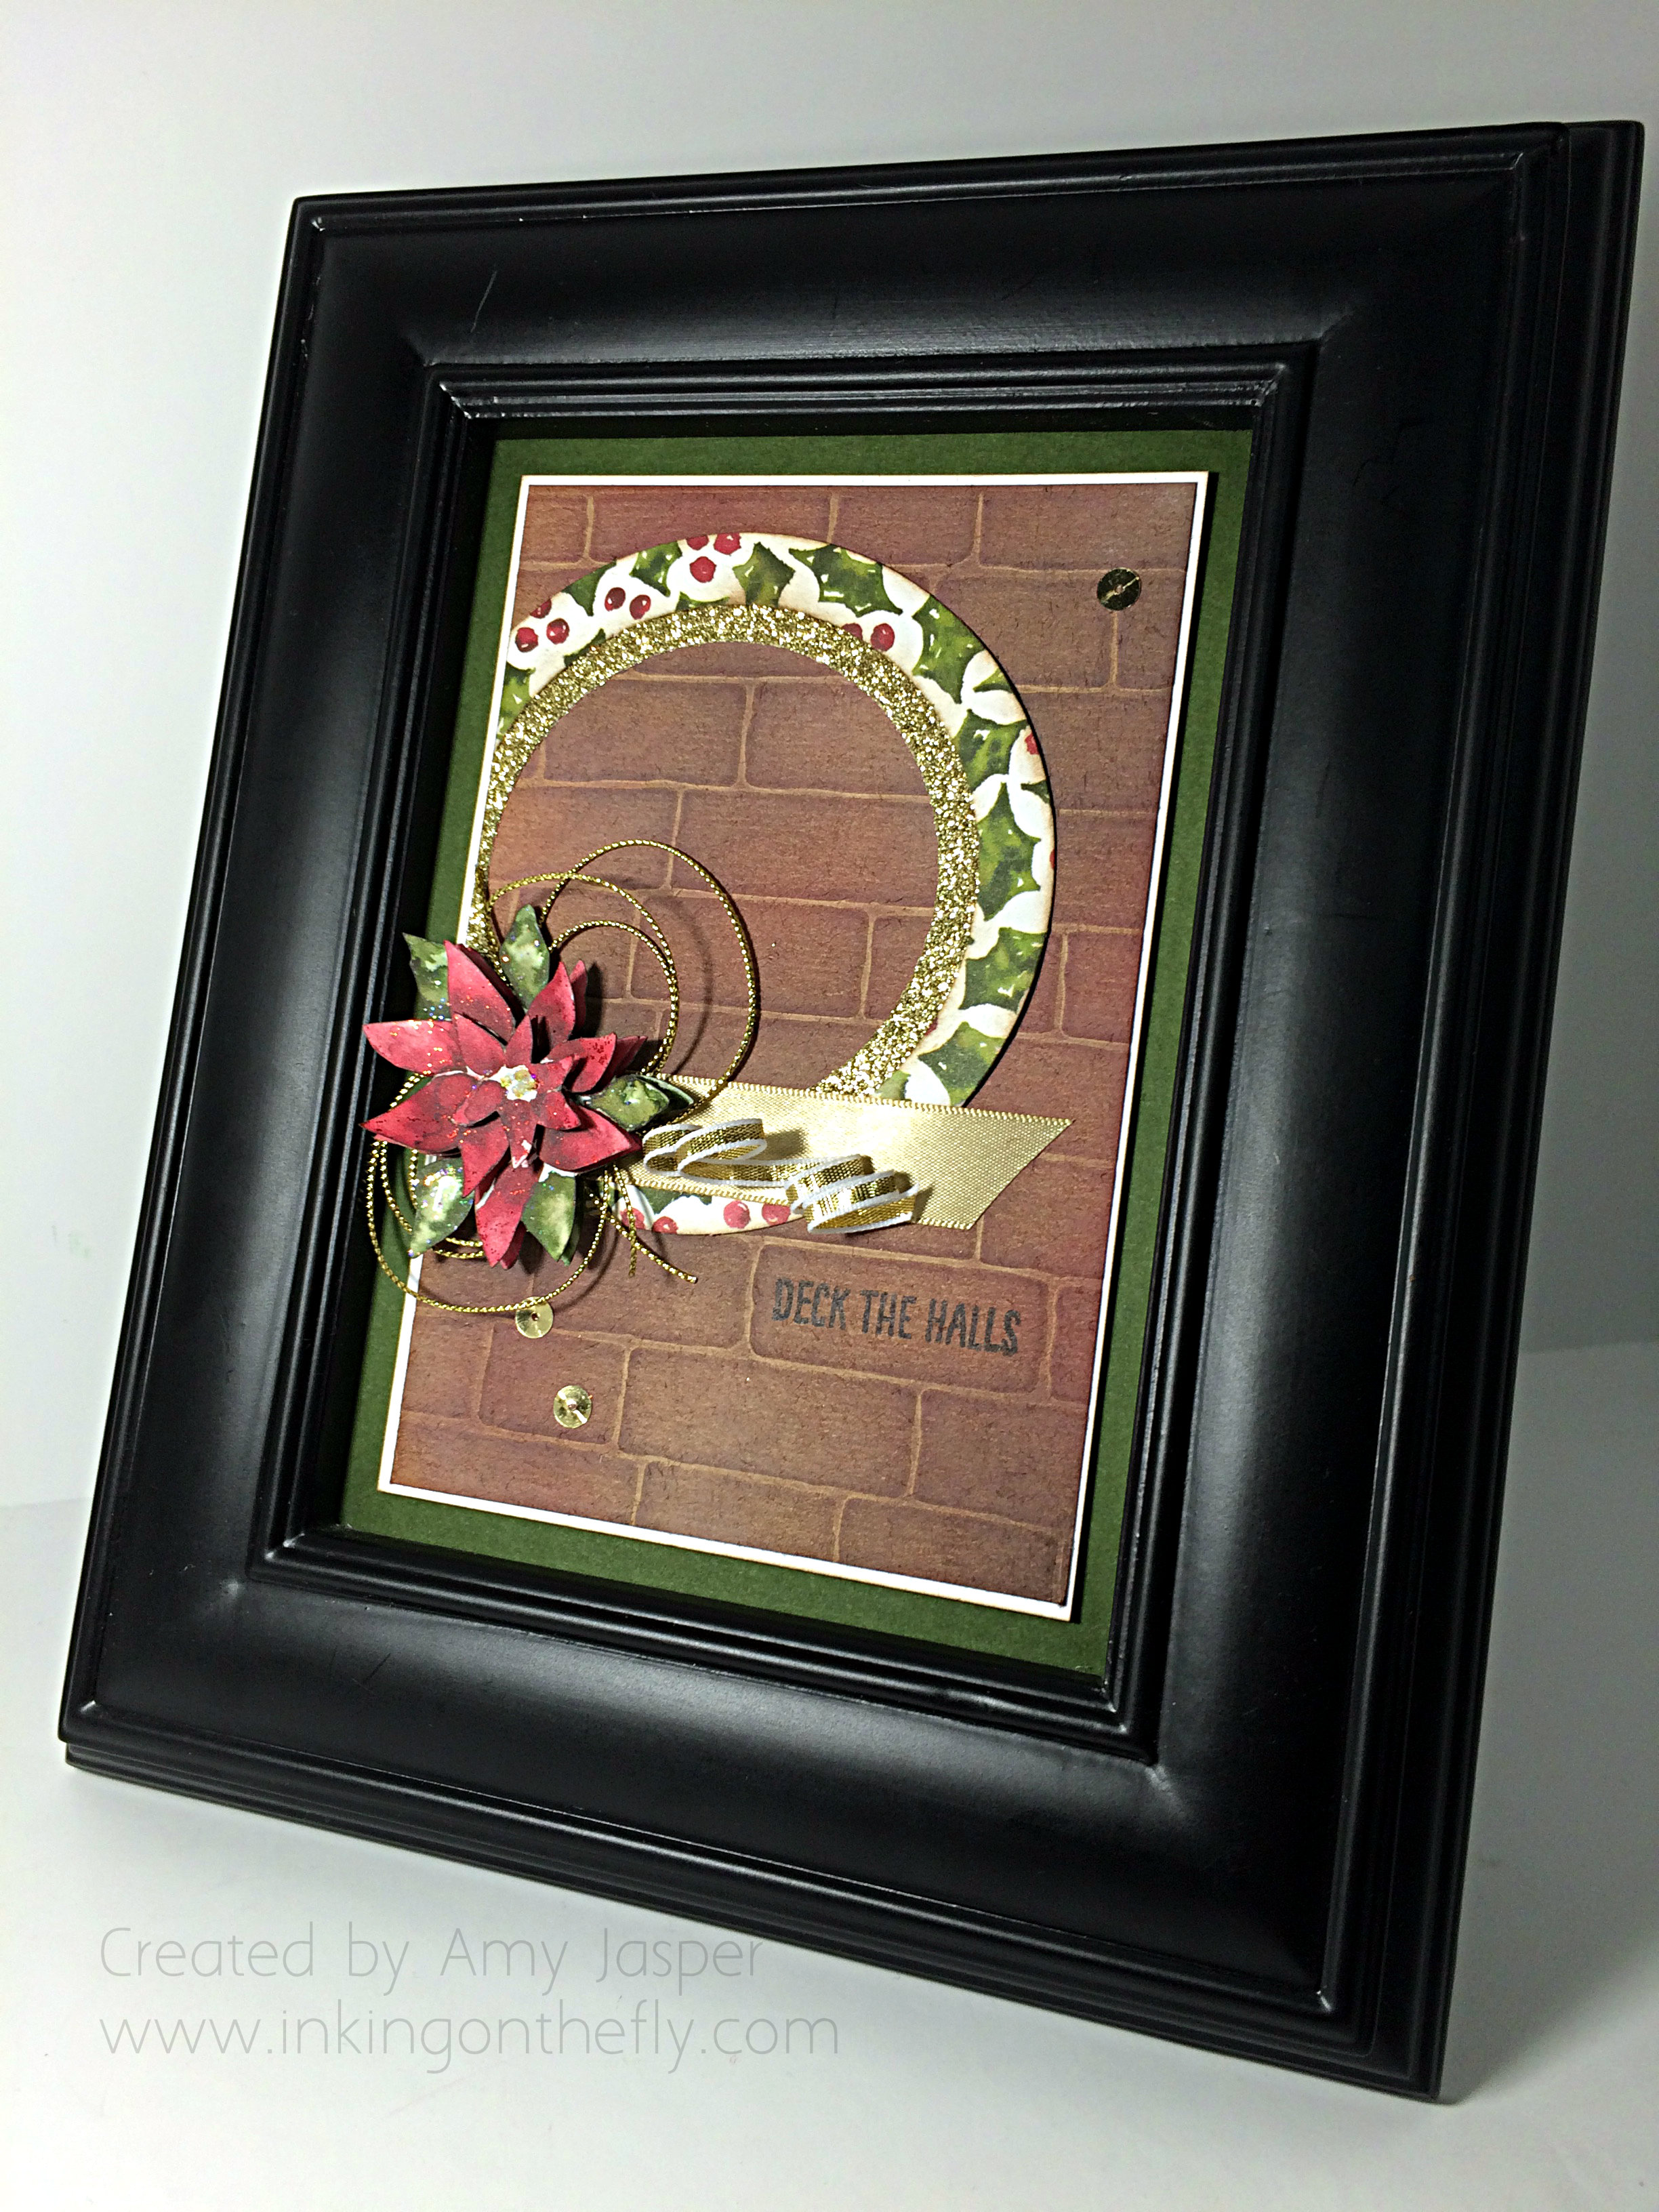
Sometimes you need to add to your home decor. Here’s a 5×7″ piece of holiday artwork you can create using Stampin’ Up products.

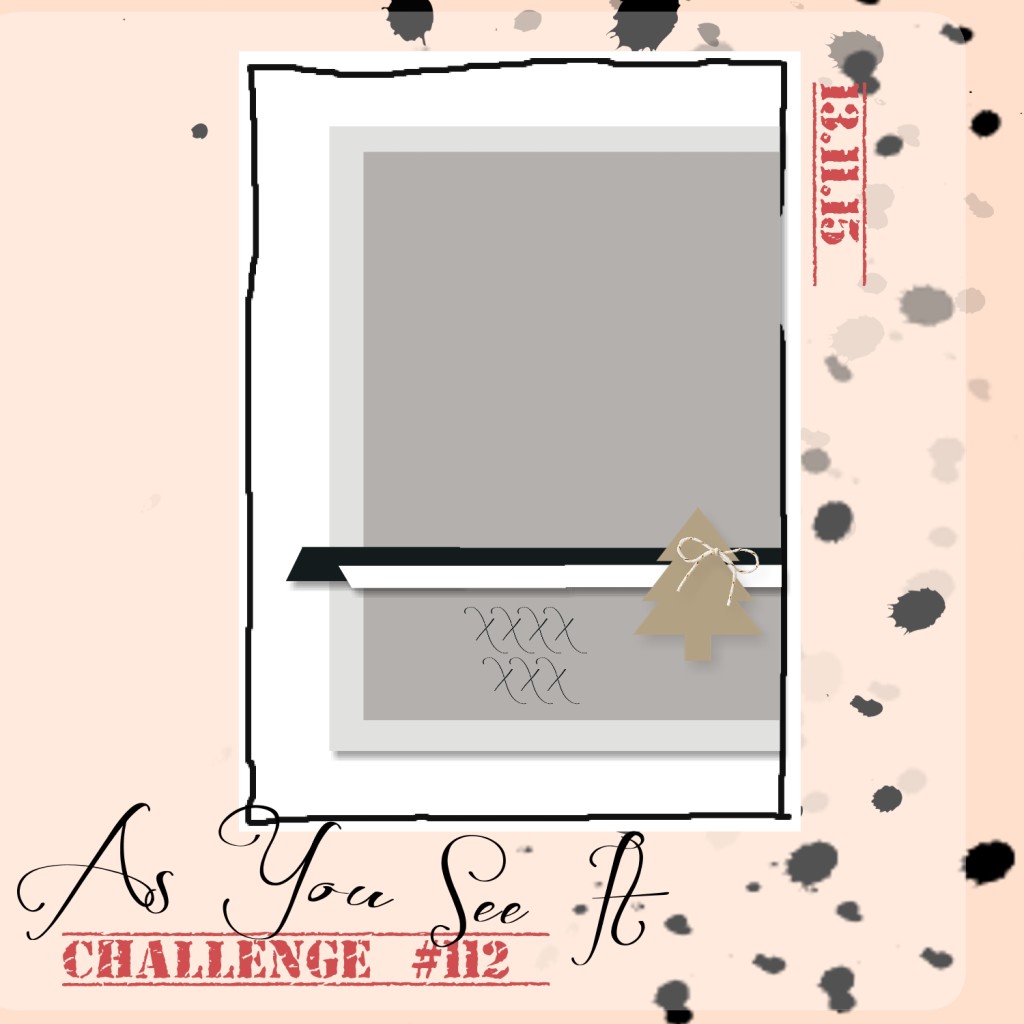
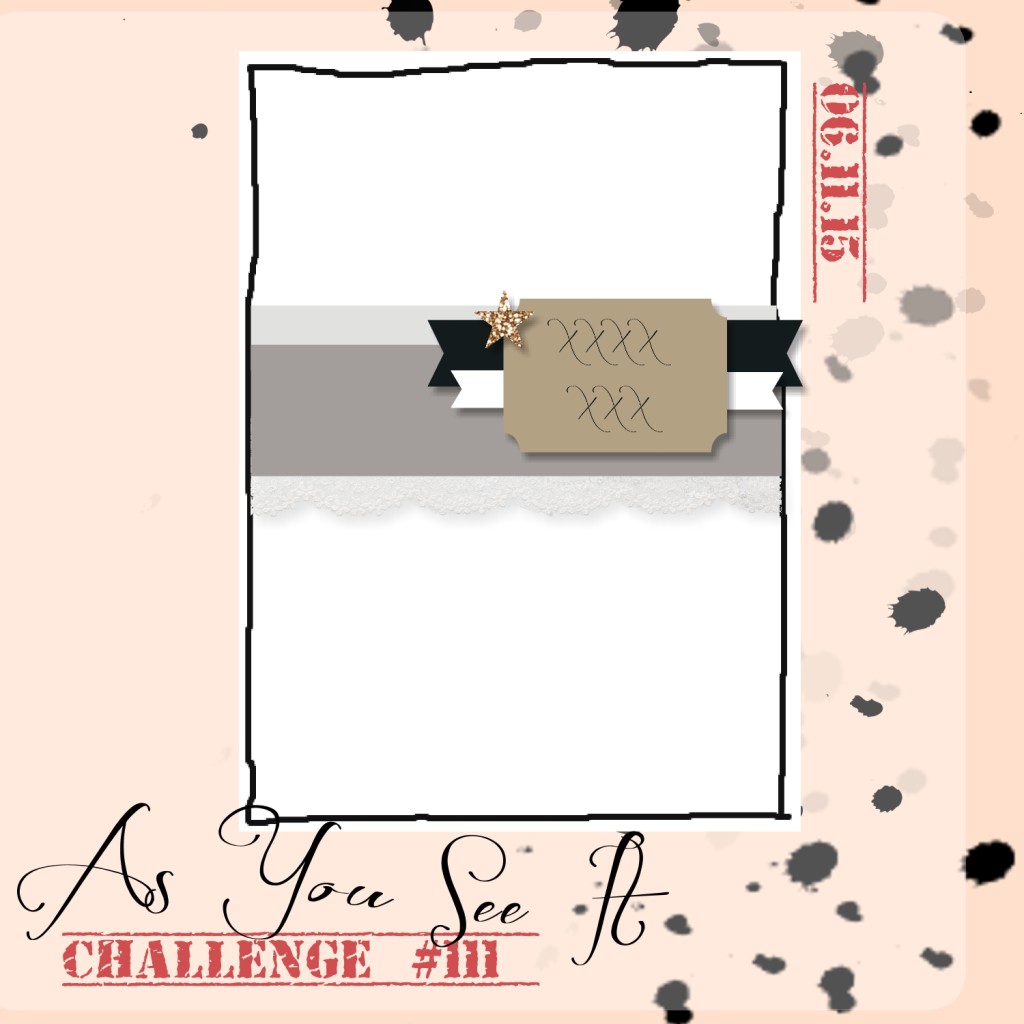
Of course, I started with this sketch challenge from the As You See It Challenge Blog.AYSIChallenge112-1024x1024 Then I decided to go with a circular background instead of a rectangle. Always trying to see things a little differently. Here’s my framed holiday artwork that I ended up with:
112 Deck the Halls Frame

I used the Season of Cheer designer series paper to create the layered poinsettia flower. Just a lot of fussy cutting using four flowers that were identical from a sheet of the patterned paper. I adhered the layers together with Stampin’ Dimensionals. Some Cherry Cobbler Dazzling Details glue was painted on the petals to add a little shimmer.

Circle Framelits were used with my Big Shot to create the wreath look with more patterned paper and some Gold Glimmer paper. I even curled the 1/8″ Gold Taffeta ribbon just like you would curl paper ribbon with your scissors. This adds a festive texture to the artwork.

But the beauty of this project is really the brick background.
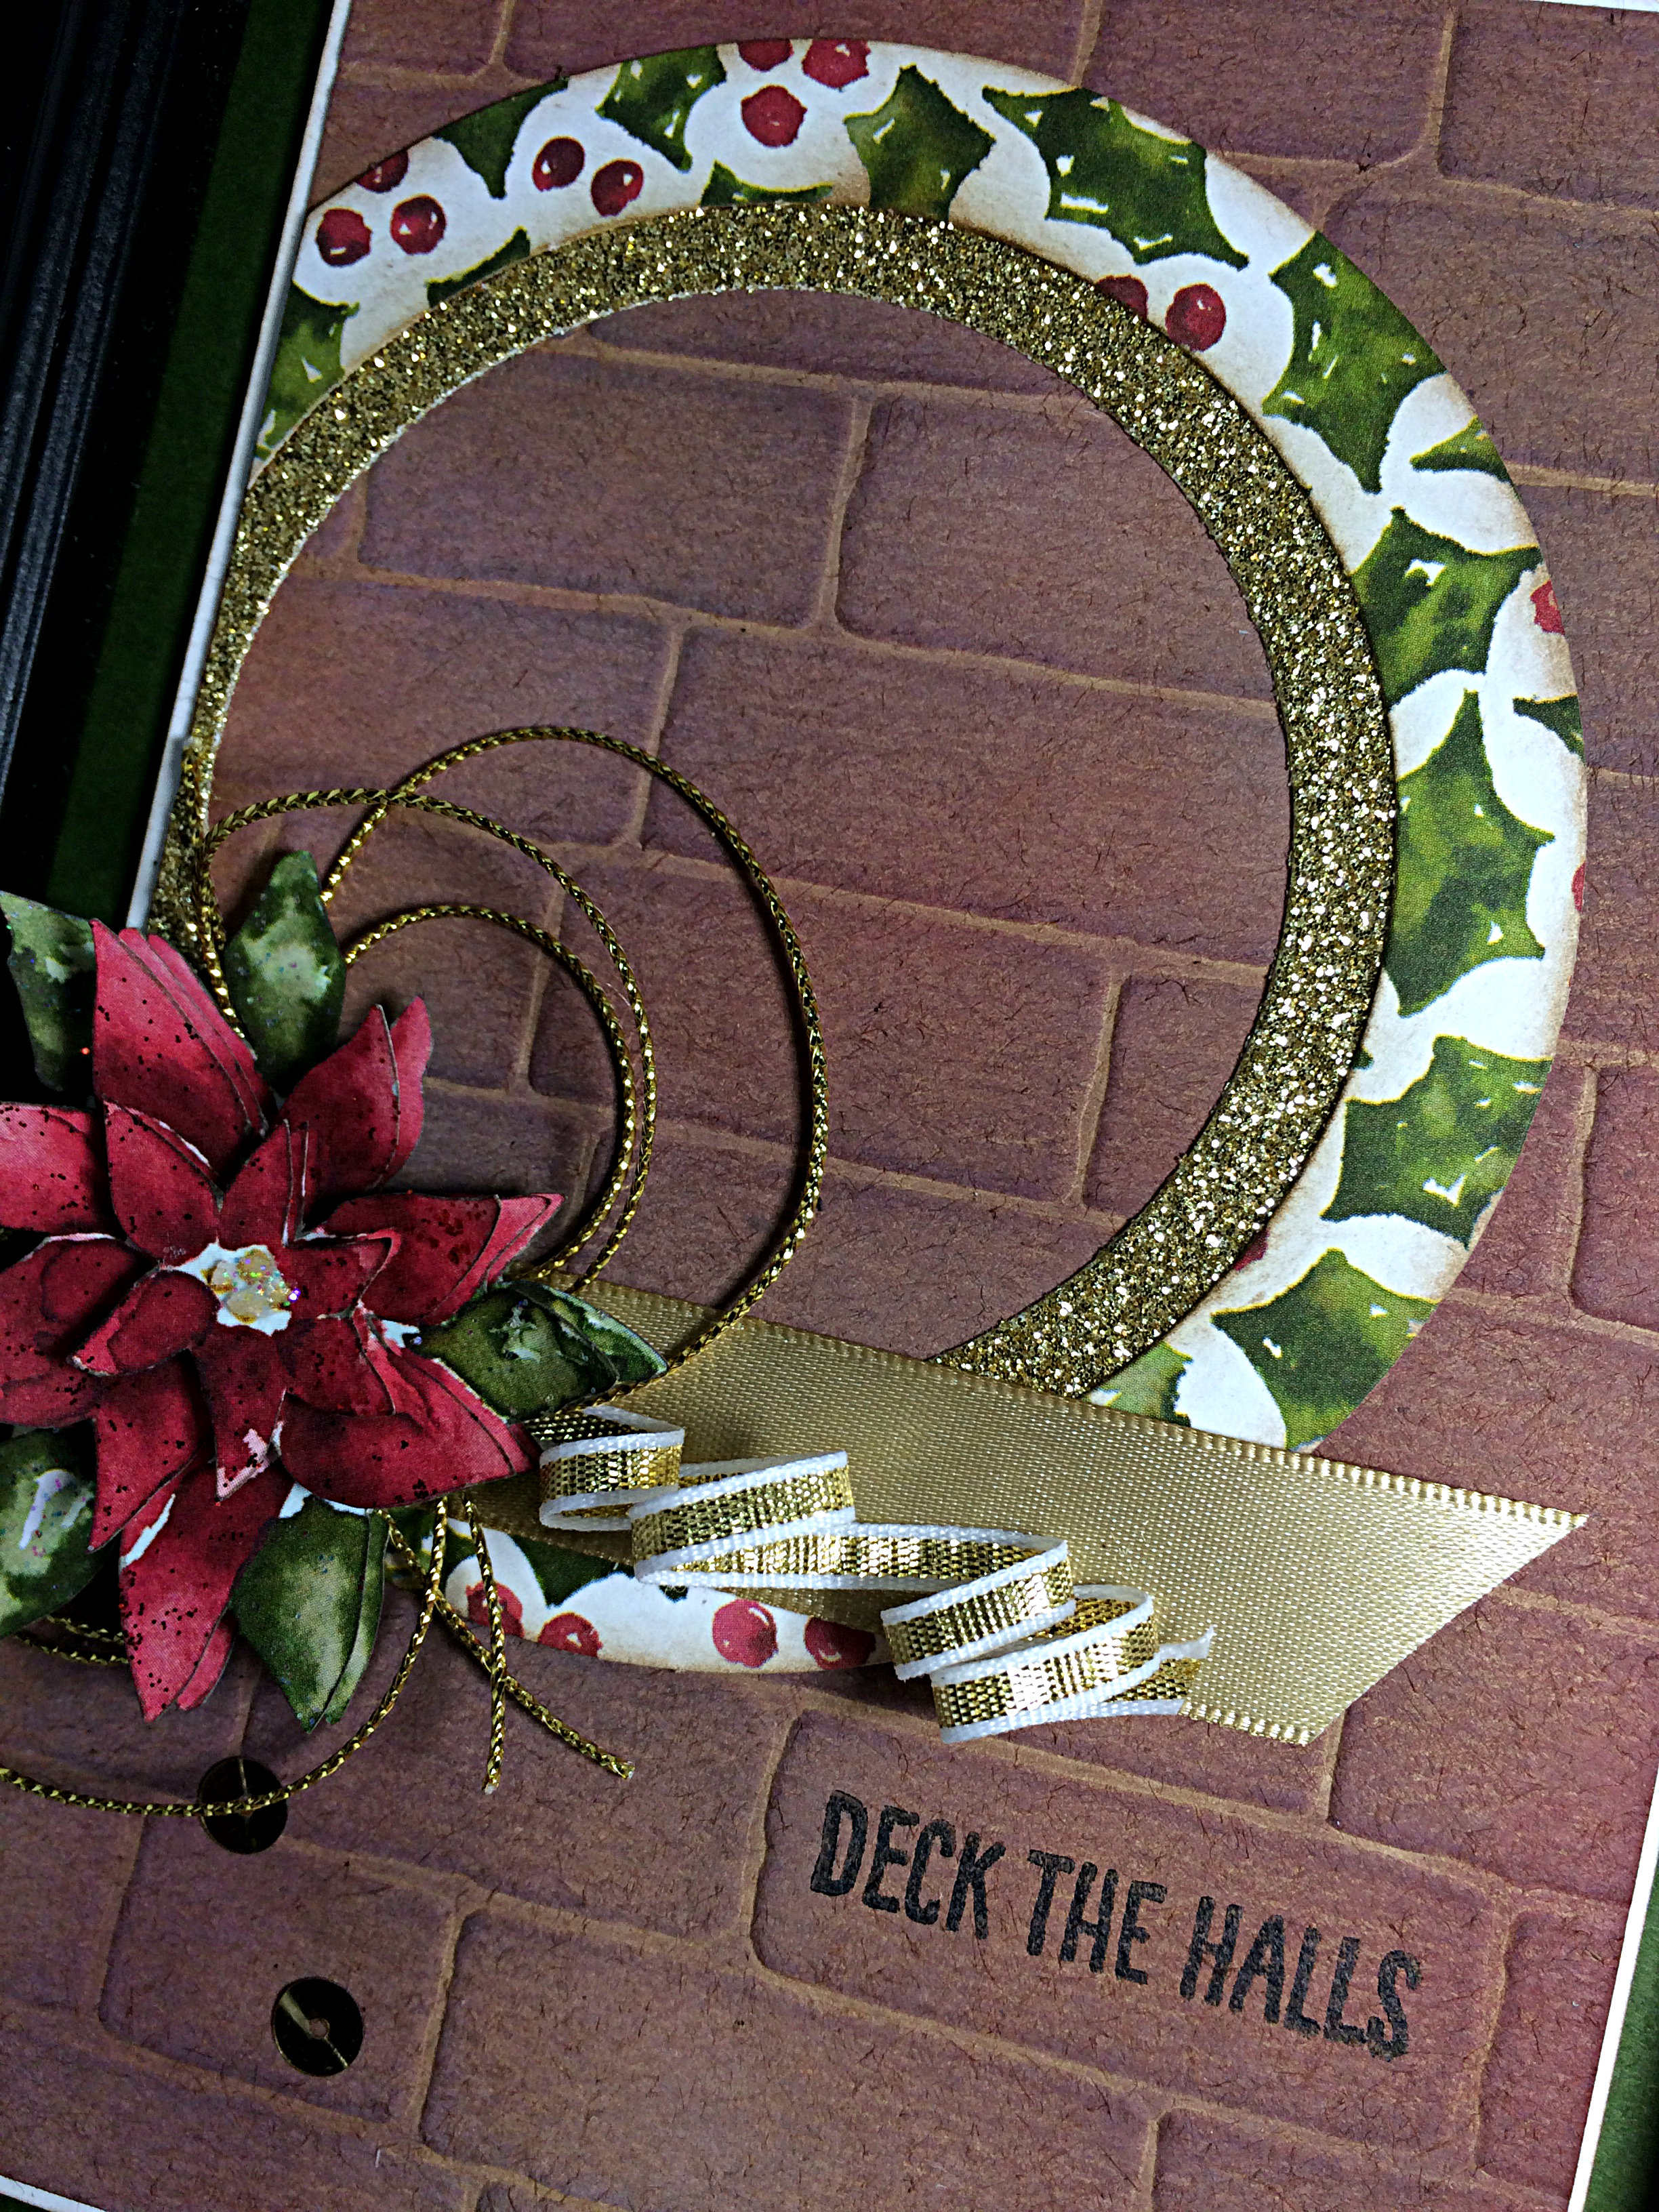
112 Created by Amy Jasper www.inkingonthefly.comI started with Kraft paper. It comes in a 12×12 pack and is a different texture than Stampin’ Up’s other cardstock. I ran a 4×6″ piece through the Big Shot with my Brick Wall embossing folder, then sponged it. I sponged it a lot! I used relatively random placements of inks: Crumb Cake and Cajun Craze first, then Whisper White craft ink to soften the orange of the Cajun Craze. Finally, Soft Suede to sort of even it all out. I love how it turned out and will likely share it with my technique class in the new year.
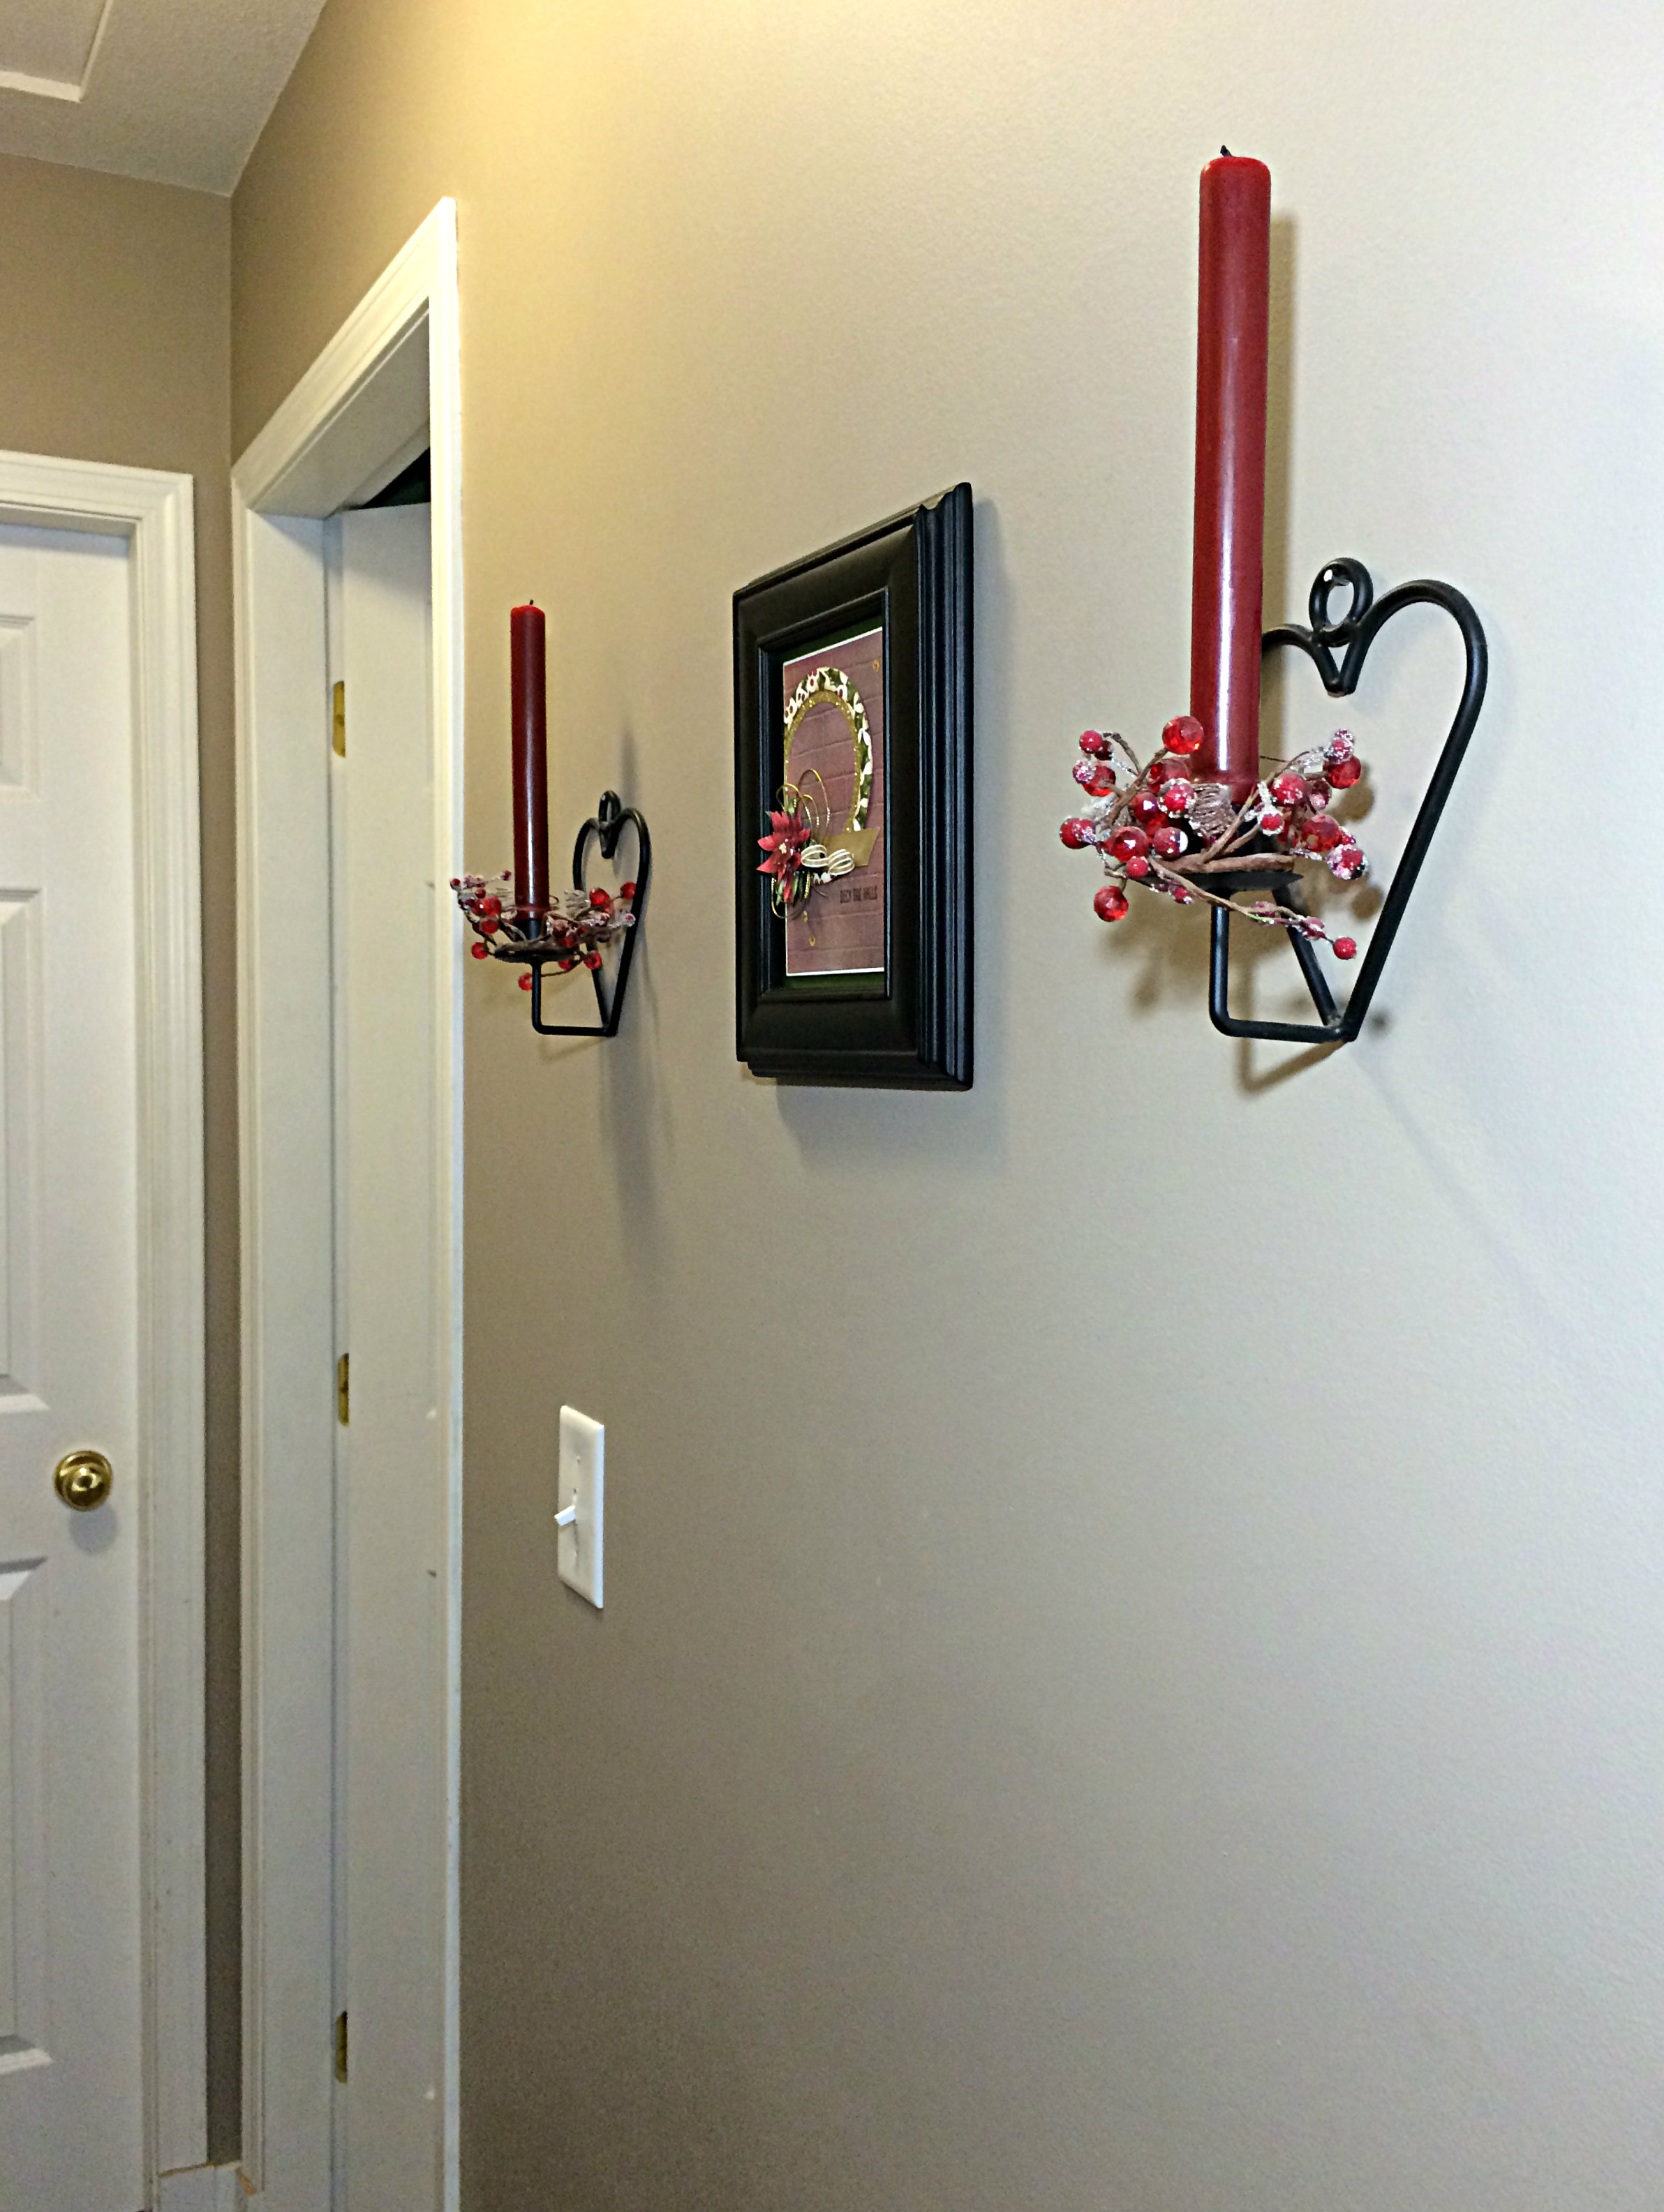
112 on the wallI’m not great at home decor, but I thought you might like to see it on the wall, in my hallway. I thought I should deck my hall with this piece of art. (I know … groan)

Okay, that’s all I’m going to write today. My son and I are heading to Abbotsford, British Columbia, less than four hours from here, for a youth event. Whoop Whoop! Should be high-energy fun!

Have a great weekend and be sure to try this sketch for yourself. You can share it with us at the As You See It Challenge Blog! Hope you do!
Fleece Navidad

I took a break last week. Basically, I ran out of time. I made a card for last week’s challenge, but … well … I did the wrong challenge.  I suppose I should have posted it anyway, but the wind was knocked out of my sails and my time was waning.

I might show it to you later.

Not much is different this week with the whole being short on time thing (when am I not?), but I did do the right challenge and I am posting it for you today. Phew!

Today, we have a sketch, whoohoo! Check out this fine design idea from the As You See It Challenge blog.

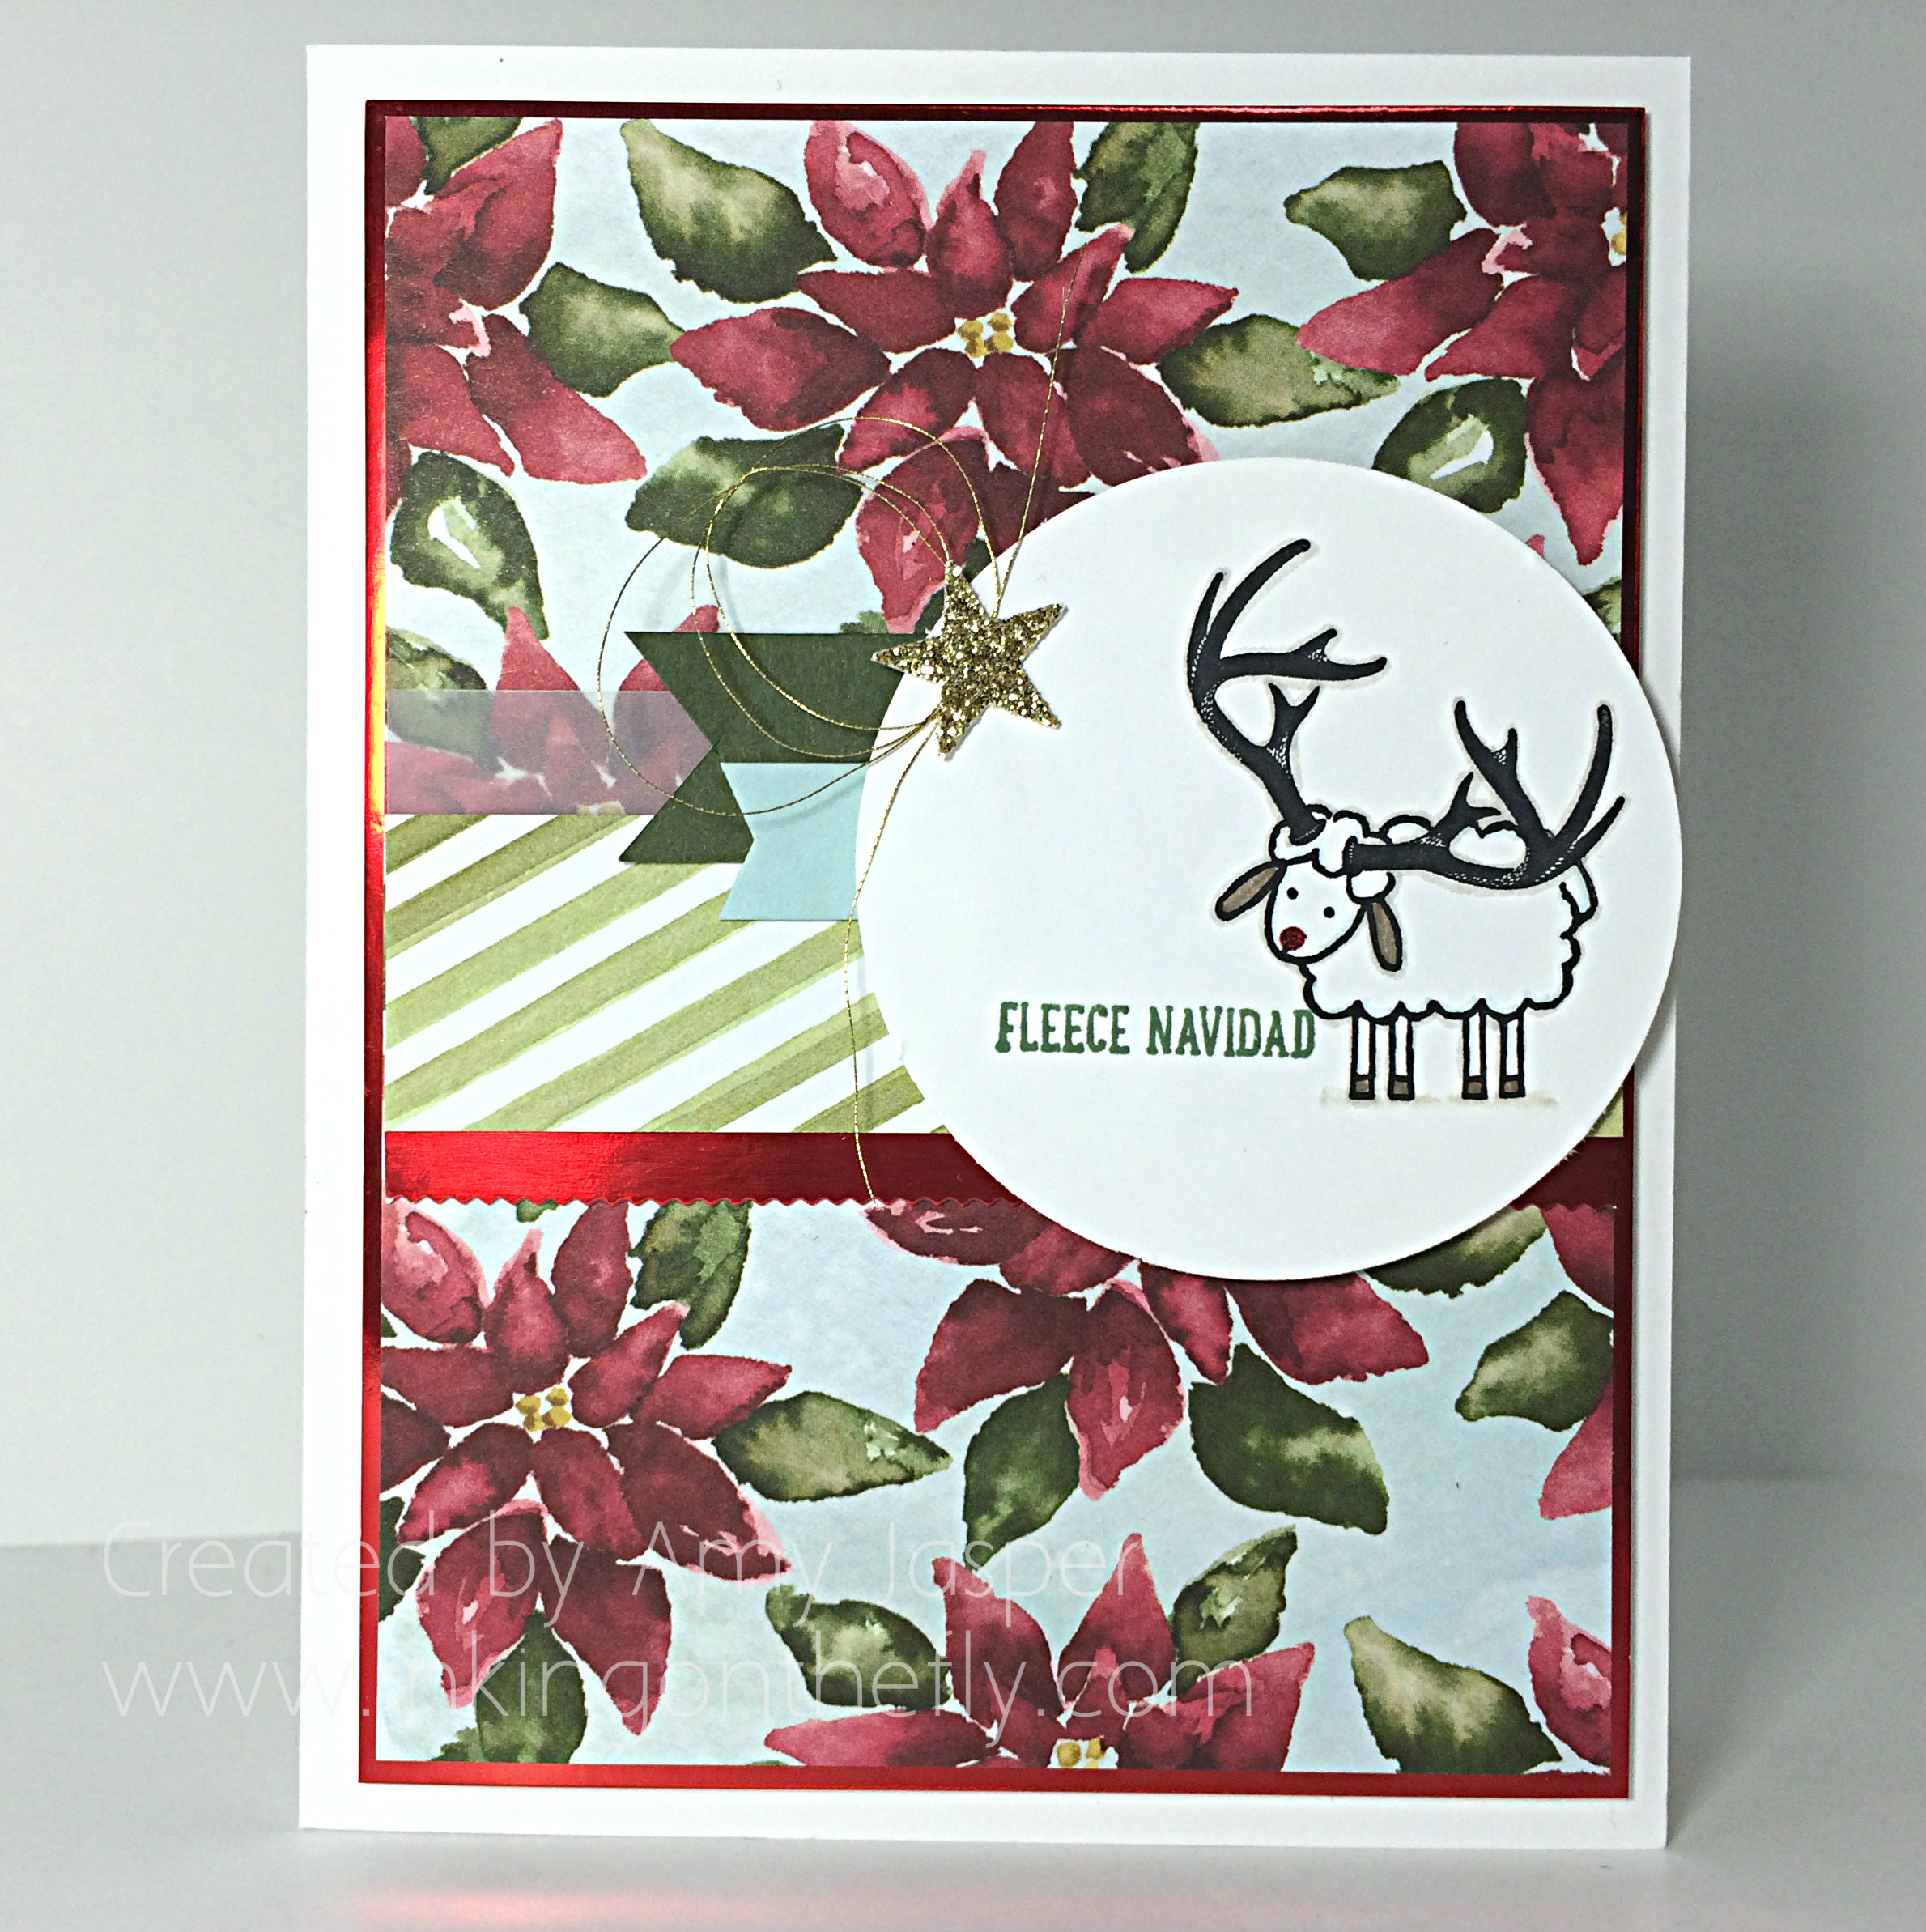
AYSIChallenge111-1024x1024Being short on time, I grabbed the first piece of pretty patterned paper in reach – the Season of Cheer Designer Series paper with the lovely painted poinsettias on it. Next to that, was the shiny and festive Real Red Foil paper. And so it began …

Fleece Navidad card created by Amy Jasper at www.inkingonthefly.com

I saw the CUTEST card designed with the Barnyard Babies stamp set (see card here). Of course, I had to buy this set for myself so I could make it, too. I was inspired!

With said stamp set now in my possession, I combined the little lamb stamp with the antlers from the Wonderland stamp set to create this holiday sheep. I’m not sure what I think about his Soft Suede ears, but he’s cute, none-the-less.

The card base is a sturdy Thick Whisper White cardstock, then you have the Red Foil matted under the Season of Cheer designer series paper. The diagonal striped patterned paper is also from the Season of Cheer paper package.

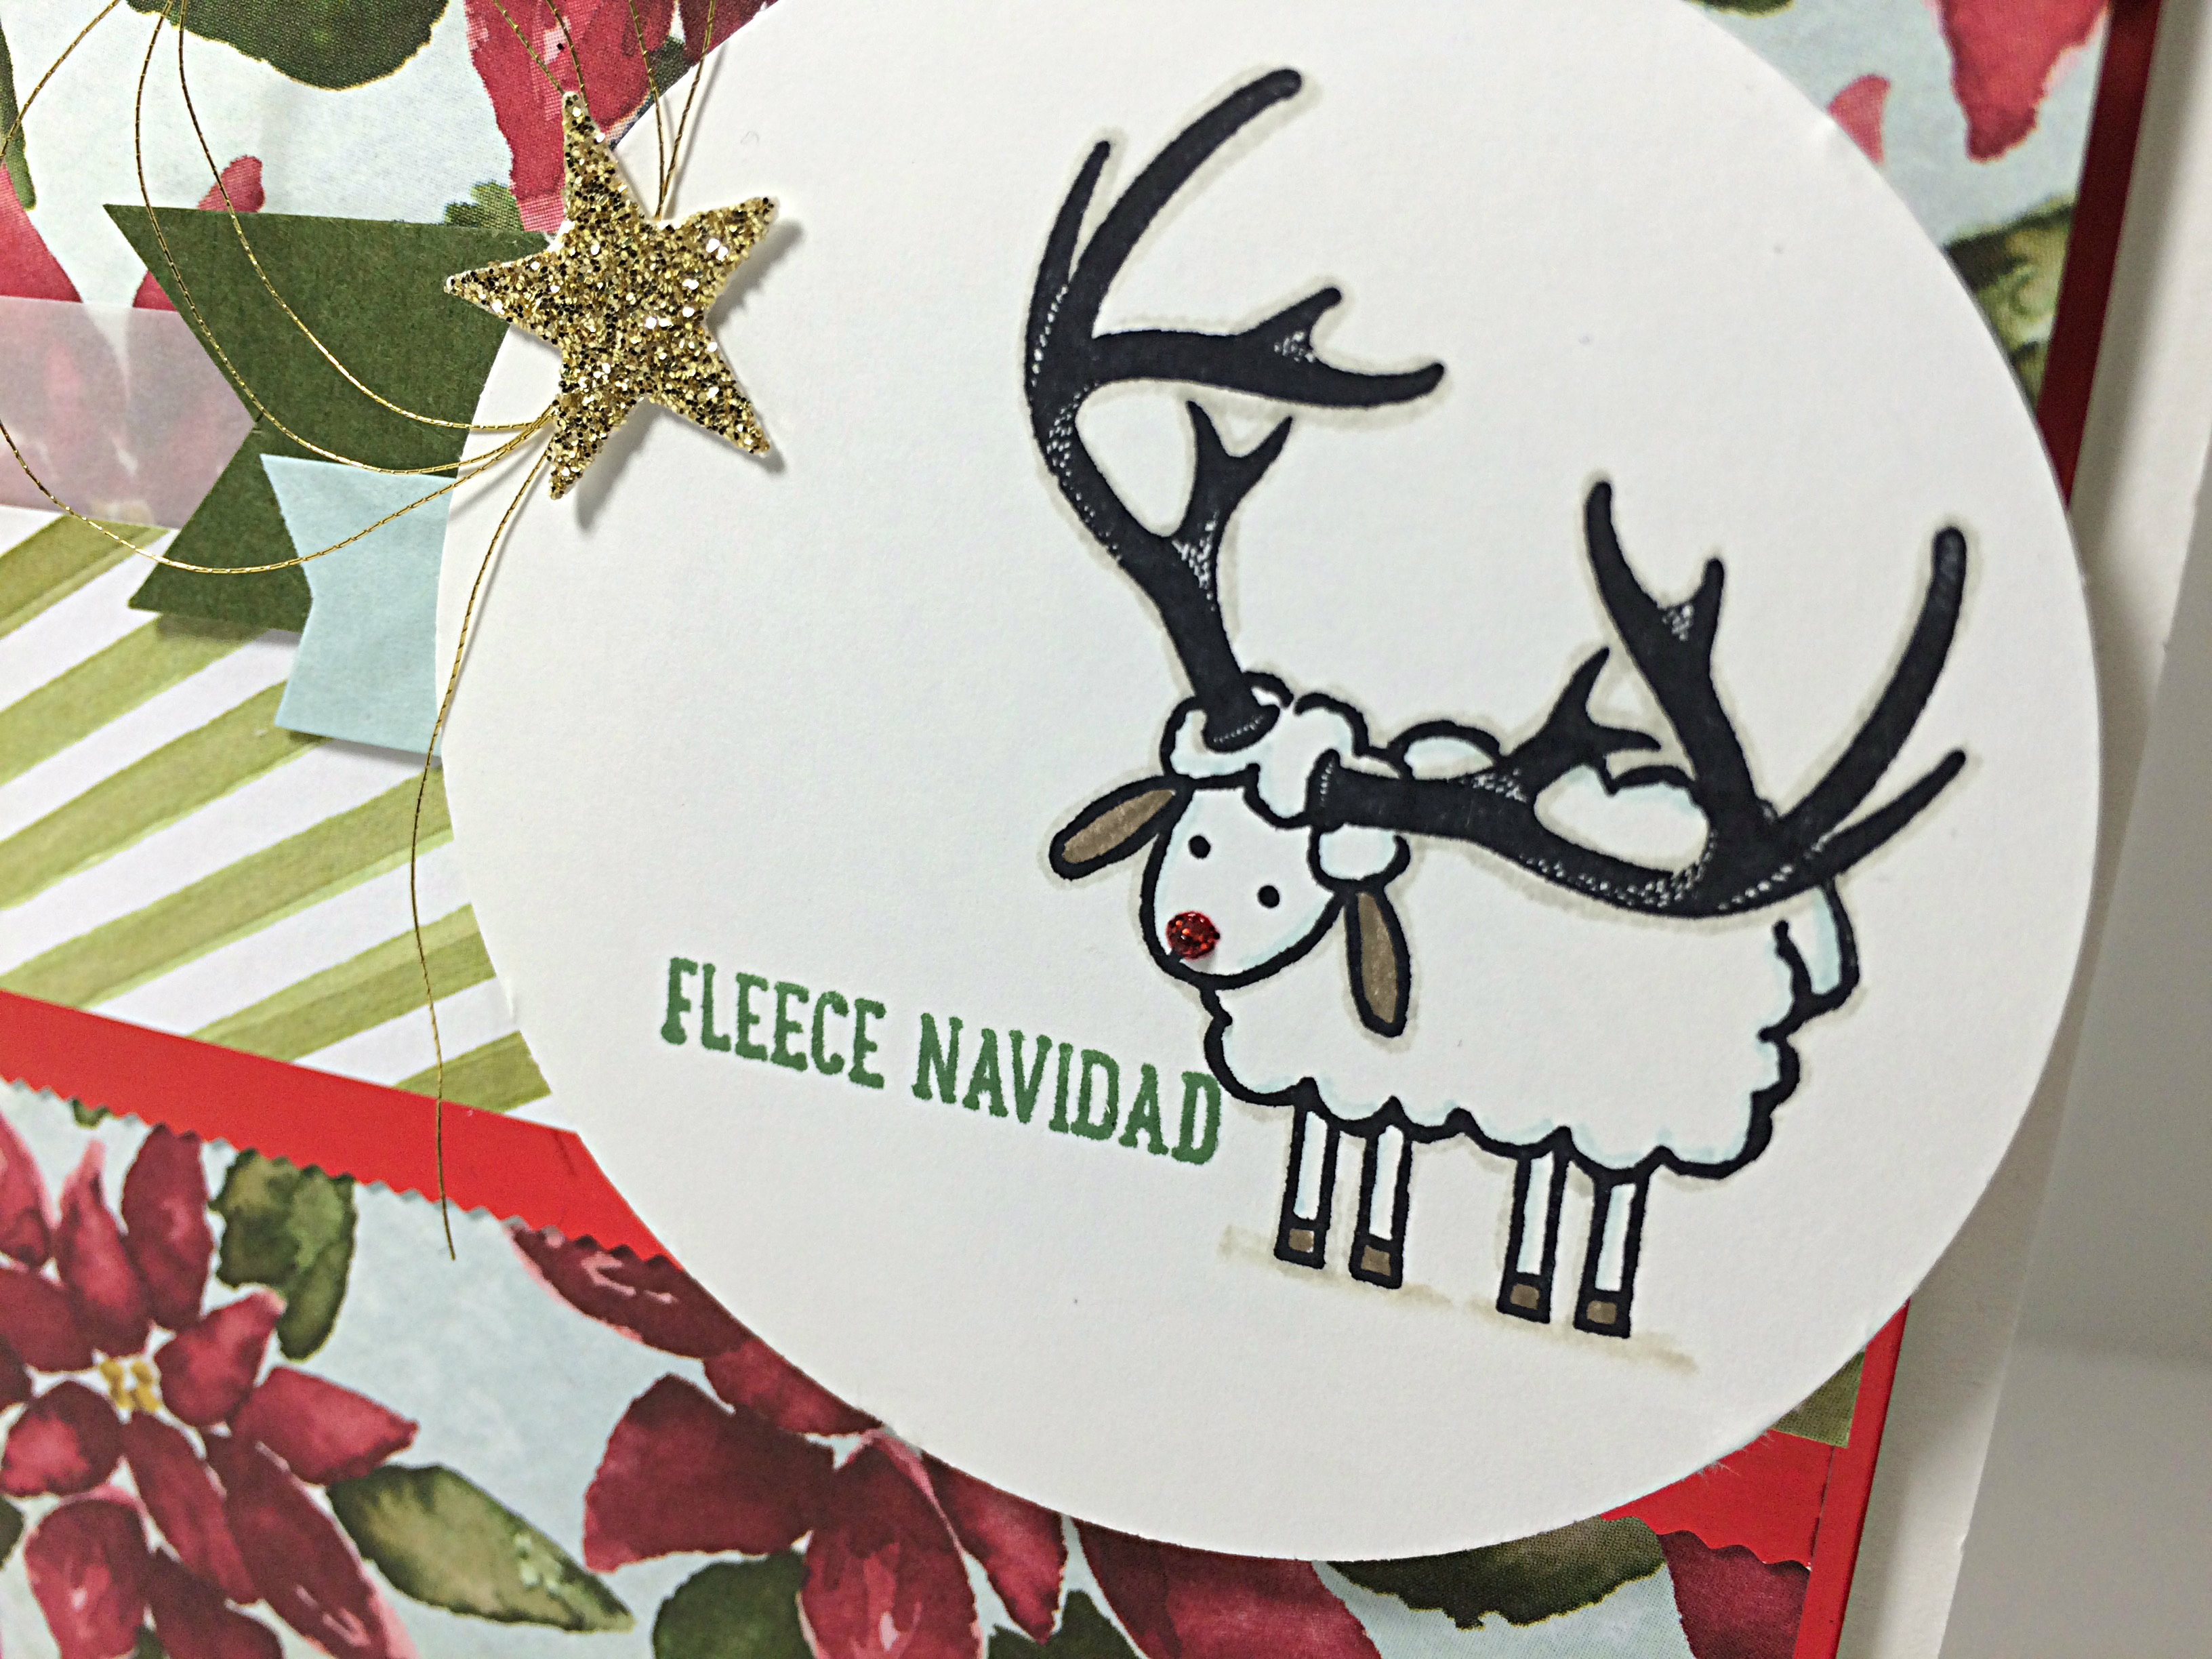
111closeCan you see the tiny wave detail on the Red Foil piece across the card front? I finally used my Tiny Wave cutting blade for the rotary trimmer attachment on my Stampin’ Up Paper Trimmer!  Yay me!

My “reinsheep” has a little red nose that was drawn in Real Red marker, then made to sparkle and shine with a dob of Cherry Cobbler Dazzling Details. I used my Sahara Sand marker to very thinly outline my reinsheep so he

(though, he could be a she as reindeer girls have antlers, too – bet you didn’t know that little tidbit of trivia!)

could have a little bit of depth. The Soft Sky marker was used around the inside of his body so he/she wouldn’t have boring, flat, white fleece.

And there you have it! How cute it THAT!!

Don’t forget to try this sketch for yourself. It’s a great way to get your creative mojo flowing and you can load it up and share it with us at the As You See It Challenge Blog, too!

Orange Watercolour Wash

Last week, the As You See It Design team honoured Lola, a little girl in the midst of her 5 year battle with Leukemia. We asked that you would create cards with fairies, unicorns, pink, gold, or glitter so that she could view them digitally and enjoy the love and best wishes that they represent. The challenge itself is complete, but the link to load your cards is still active on the website until November 16th. If you haven’t posted a card yet, there’s more time available to shower Lola with kindness. I hope you will take the time to make a card for her and upload it to the As You See It page HERE. She will get to view all of the cards. I know it will put a big smile on her face to see how many people are cheering her on!

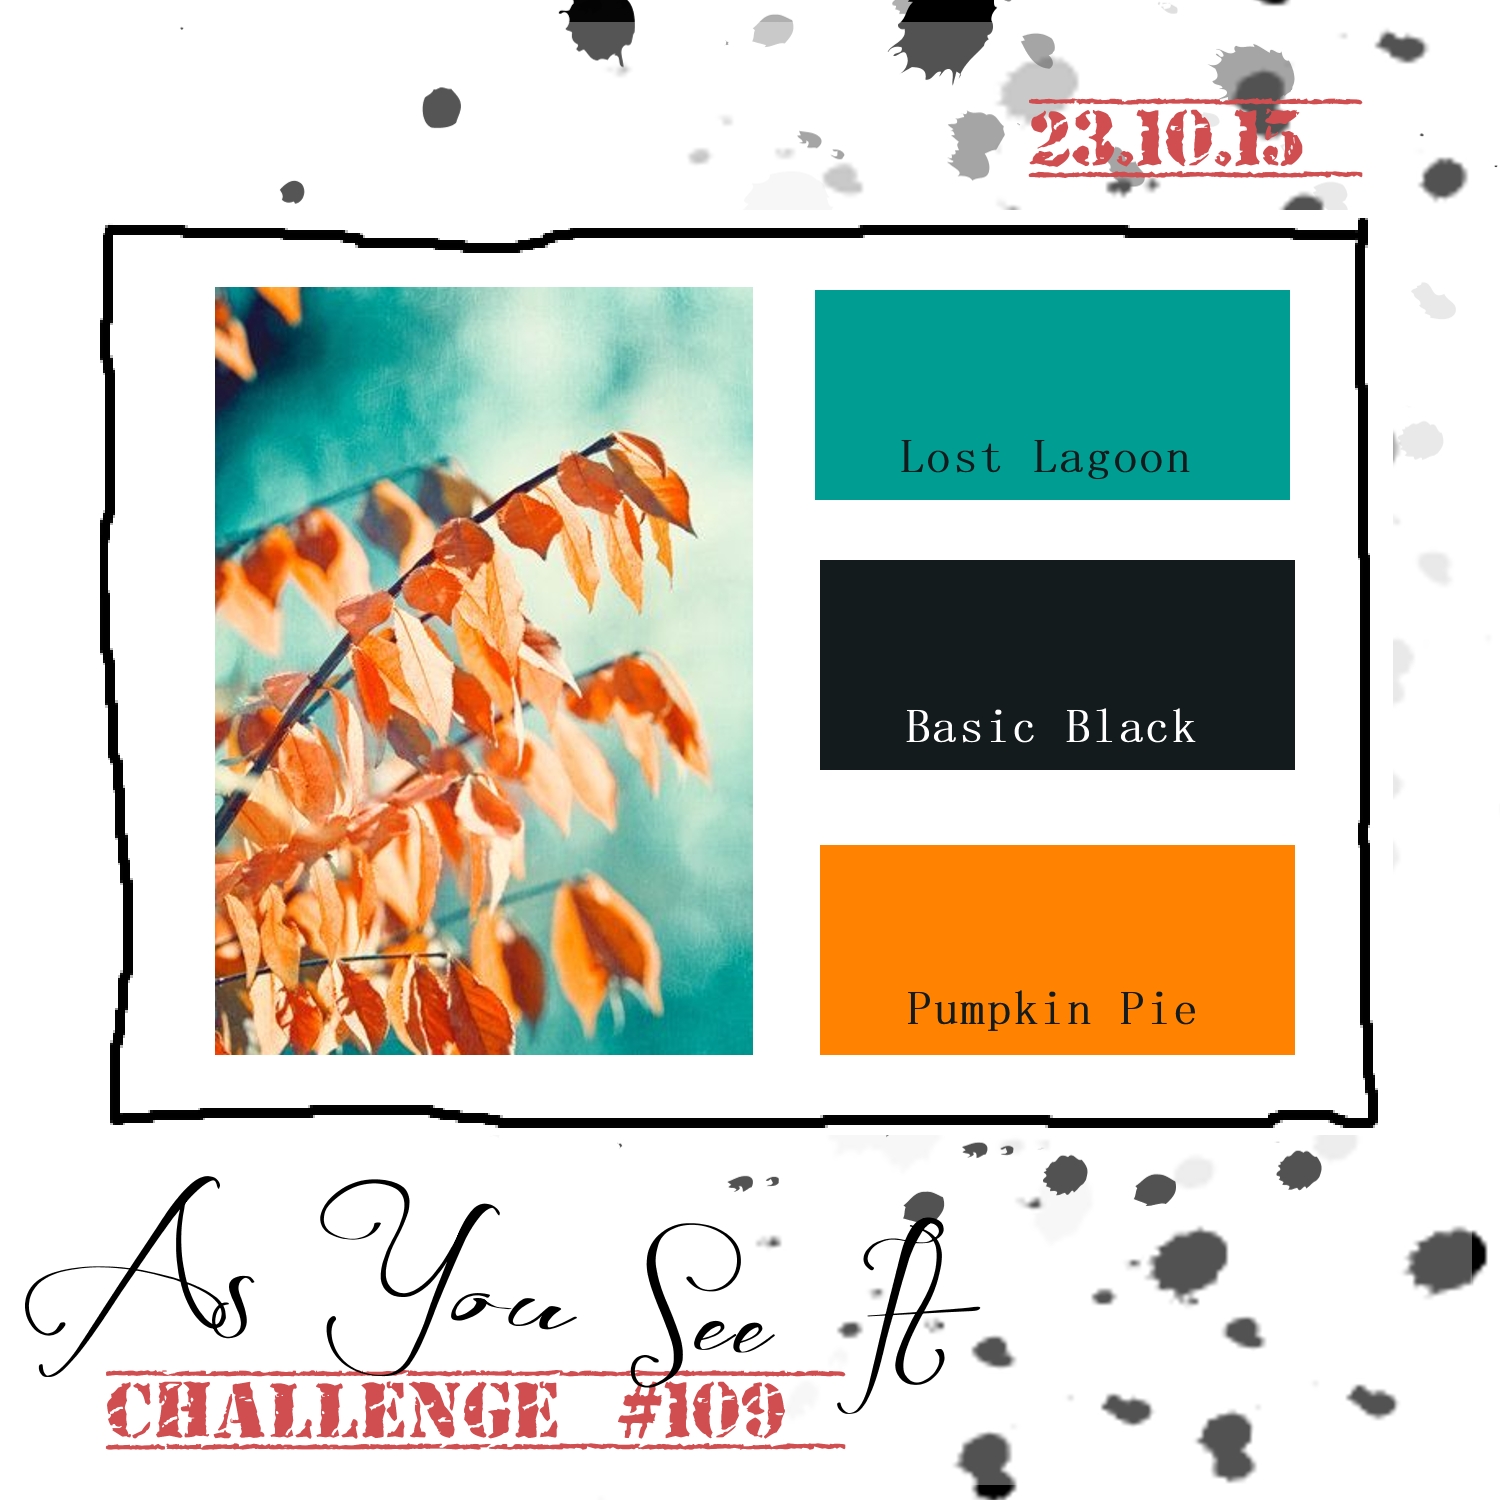
For today’s challenge, we have a colour combination.

AYSIChallenge109

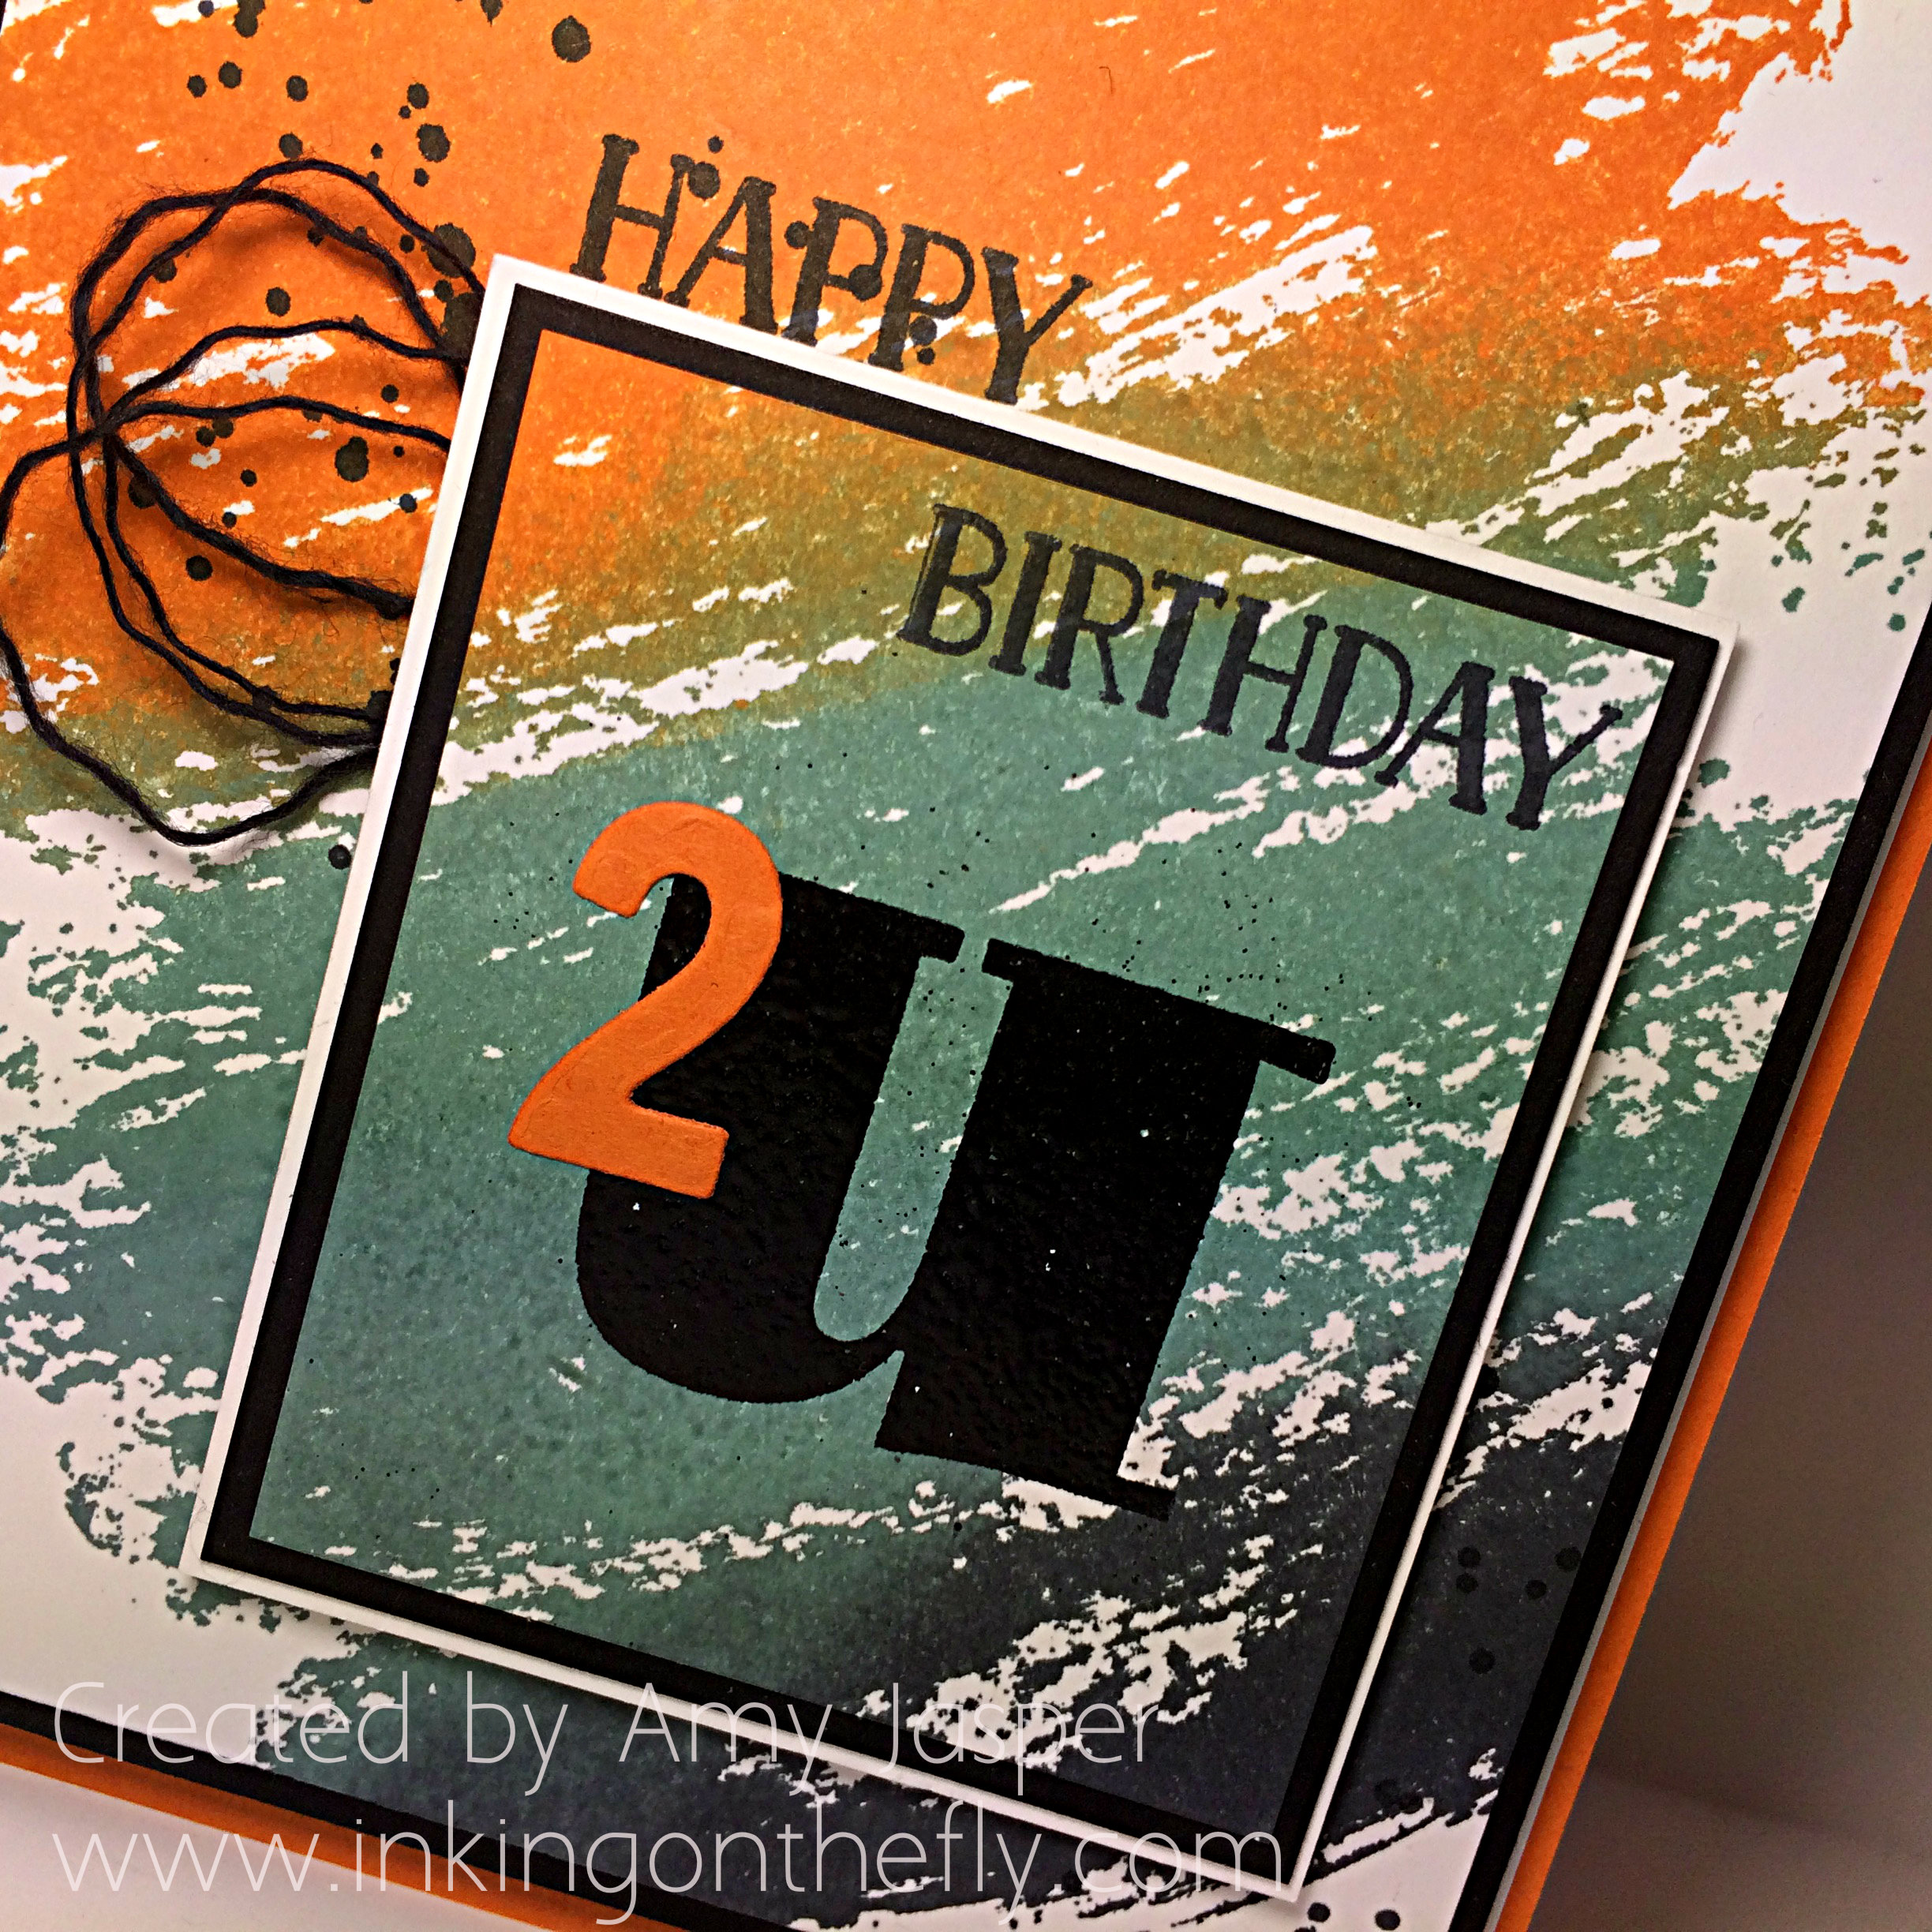
I chose to use these colours to make a birthday card. One might call it a masculine birthday card, but I don’t like to generalize. This card could be used for anyone who appreciates these colours or this style of card.

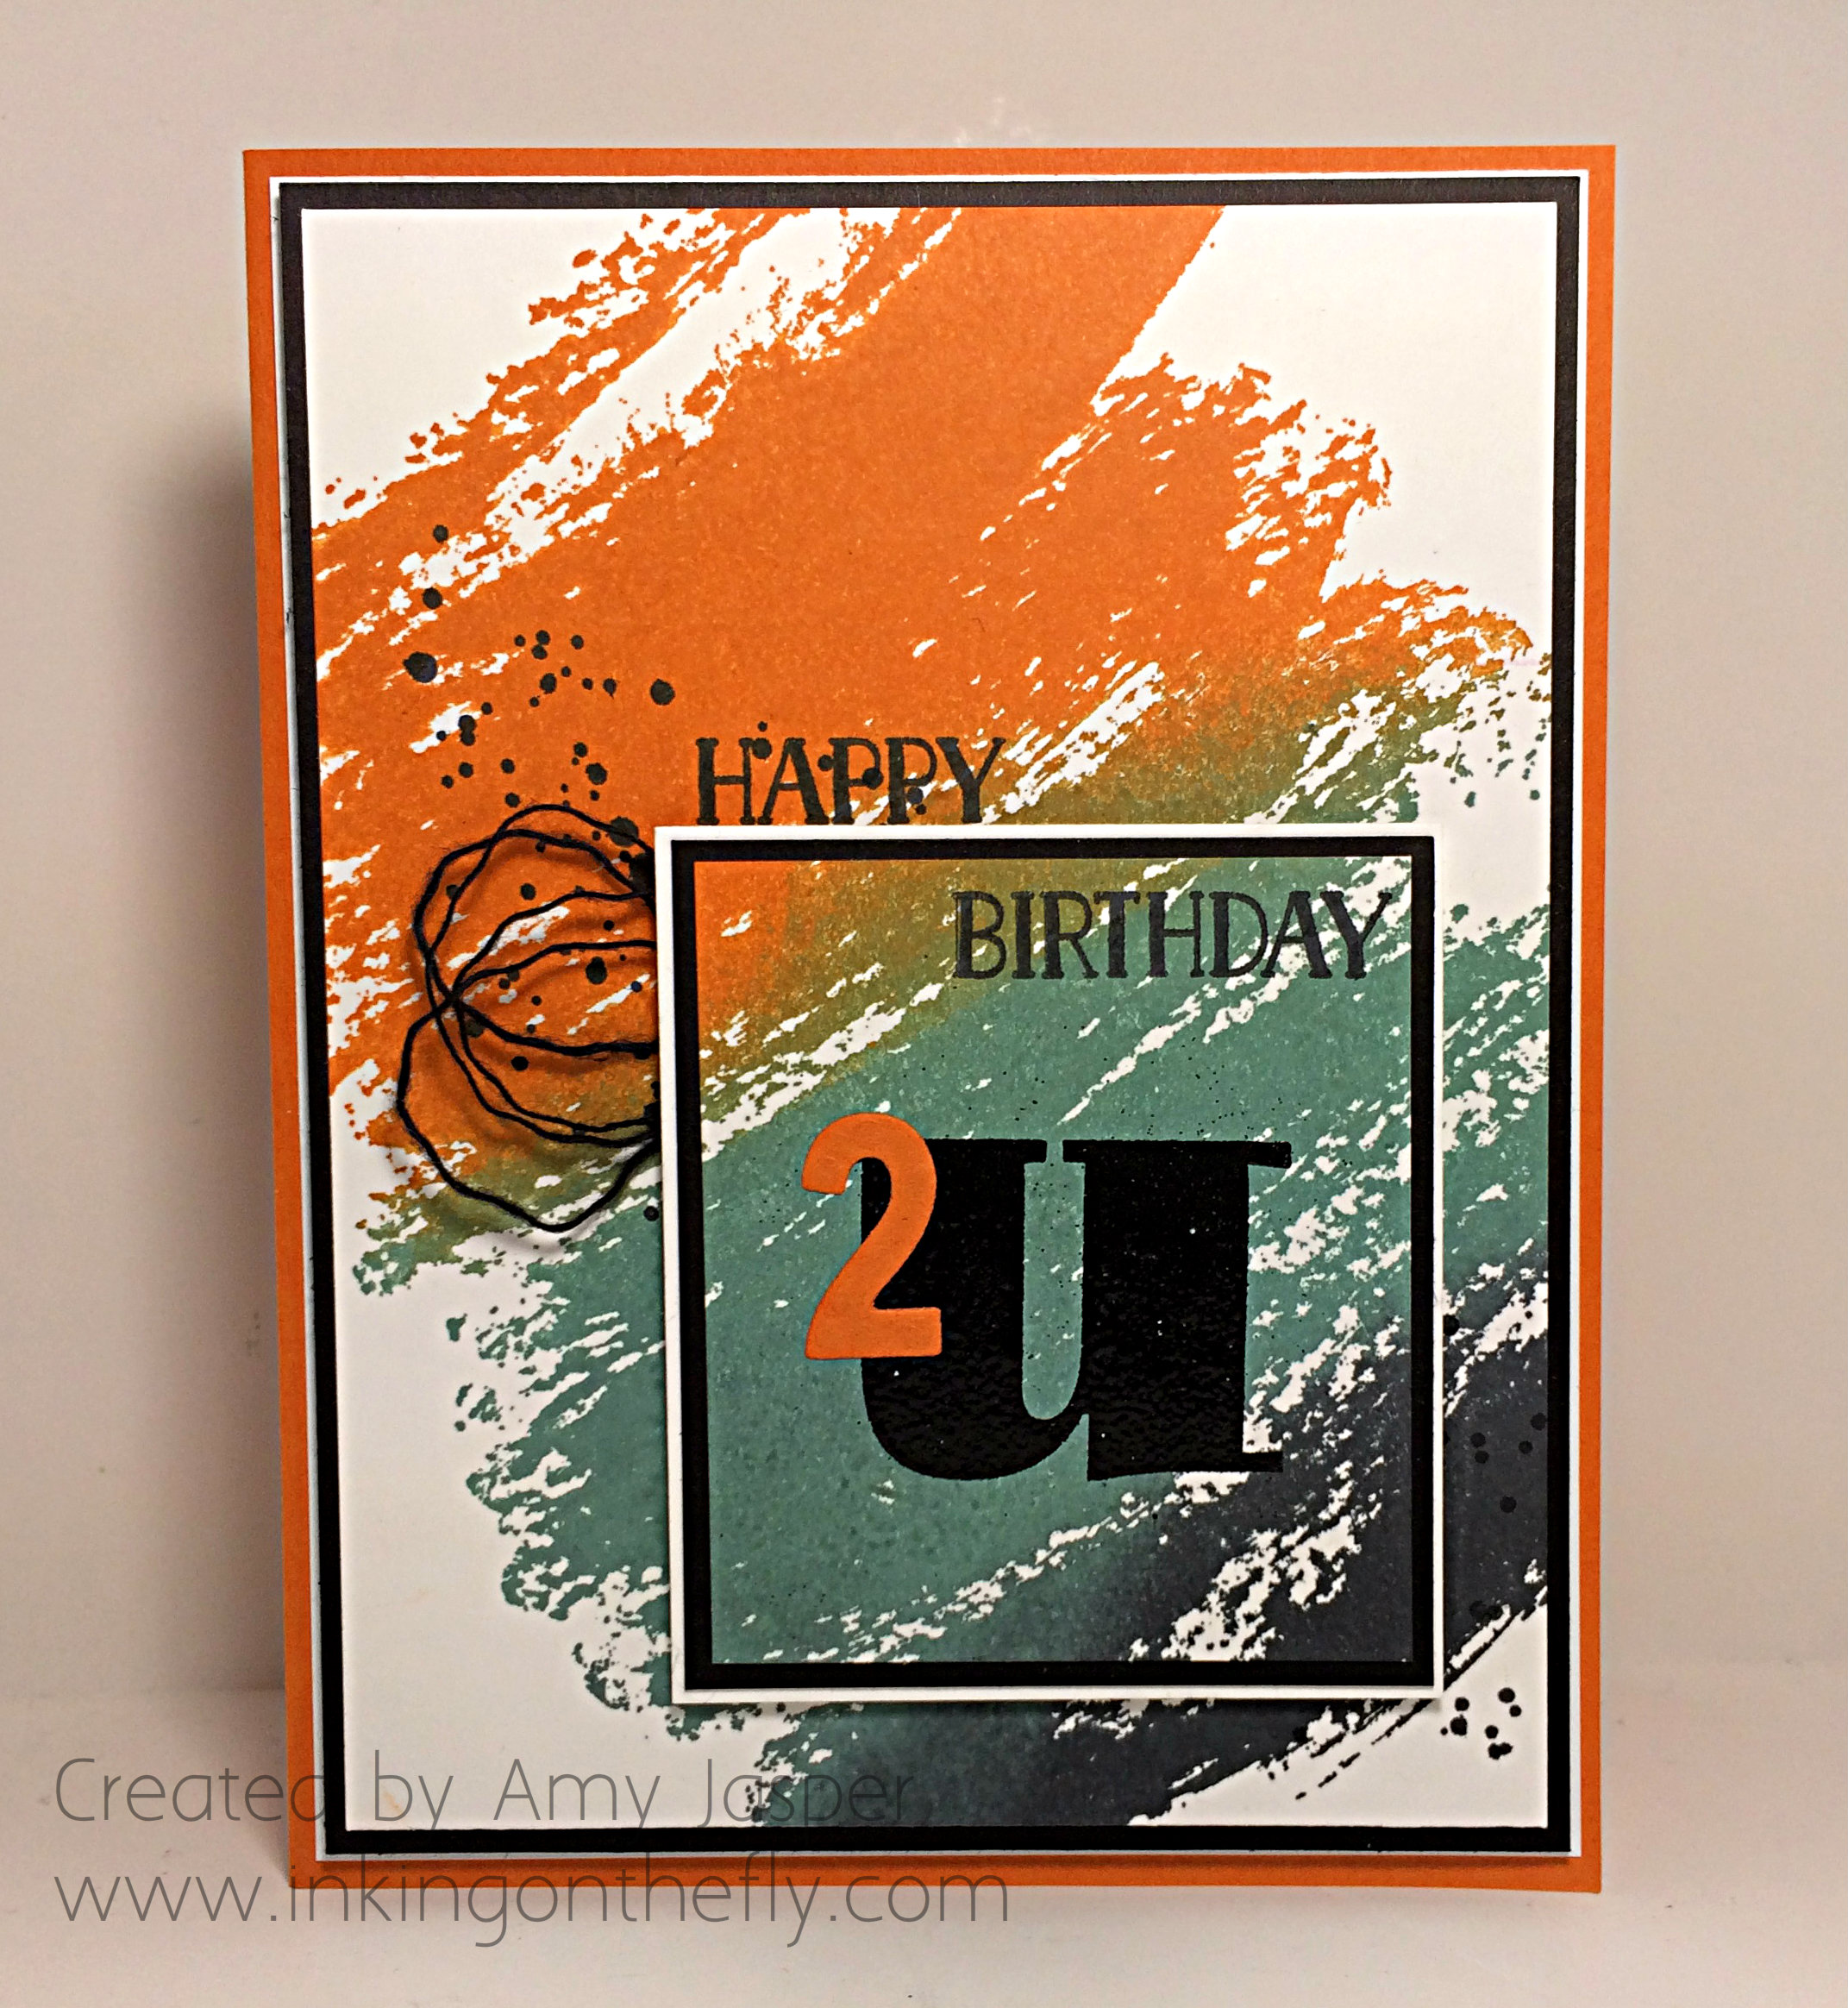
Orange Watercolour Wash birthday cardEver since I discovered, while doing the card for a previous post, how much I like this Watercolour Wash background stamp on an angle, I keep wanting to use it! This time I inked it up with my Pumpkin Pie, Lost Lagoon, and Tuxedo Black Momento ink pads. I sponged on the stamp to soften the edges between colours, then stamped it on two layers of Whisper White cardstock at the same time. This allowed me to use the smaller piece for the 2 U sentiment as a layer while still maintaining the continuity of the colour wash over the entire card front.

Orange Watercolour Wash Birthday Card up closeThe letter ‘U’ is from the Larger than Life photopolymer stamp set, which was stamped with Versamark ink and heat embossed with Basic Black embossing powder. I die cut the ‘2’ with my Big Shot and Little Numbers Thinlits and adhered it with my Fine-Tip Glue Pen. The Happy Birthday sentiment is from the Tin of Cards stamp set.

The splatter image from the Gorgeous Grunge stamp set was added in Tuxedo Black Momento ink to the background before adding my layers.

I’m in love with the simple looping of thread and twine on my cards, so I took the black thread out of my Basic Black Baker’s Twine and looped it to add some needed texture to this one.

This card will be added to my Tin of Cards tin as one to save for my family. My nephew and my brother both have birthdays coming up in December. One down, one to go!

Be sure to upload your take on this colour challenge to the As You See It Challenge page. It doesn’t have to be a card, either!!