Christmas

Gold and Green

I’m thinking of the ice cream in the freezer. I should probably go get it and eat it while I write my blog. You don’t mind, do you?

. . .

Okay. I’m back with my coffee Haagen-Dazs. Yum. Though, honestly, I really shouldn’t be eating it after all of the Halloween candy I’ve been consuming. Maybe, I’m just getting ready to hibernate.

That’s a thing, right?

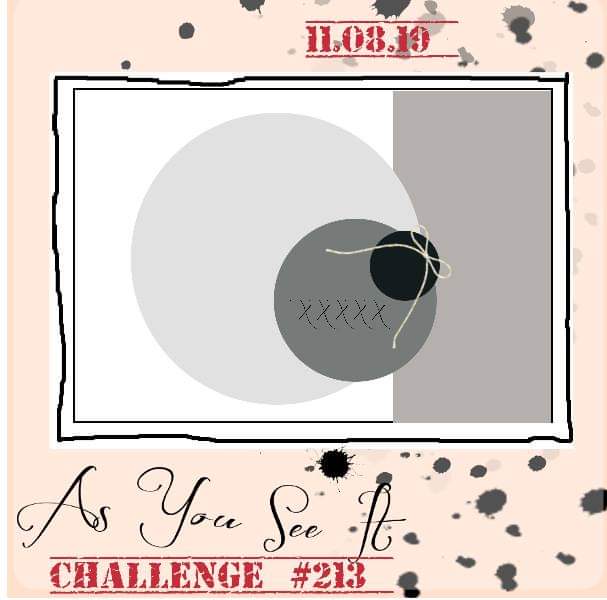
Once again, I have a card for you and once again it is inspired by the As You See It Challenge for which I am a designer.

Sketch challenges are pretty great because they provide some clear parameters, but still offer so much opportunity for your own creative spin. I decided to take this sketch and create a square card, rather than the more common 4-1/4″ x 5-1/2″ size.

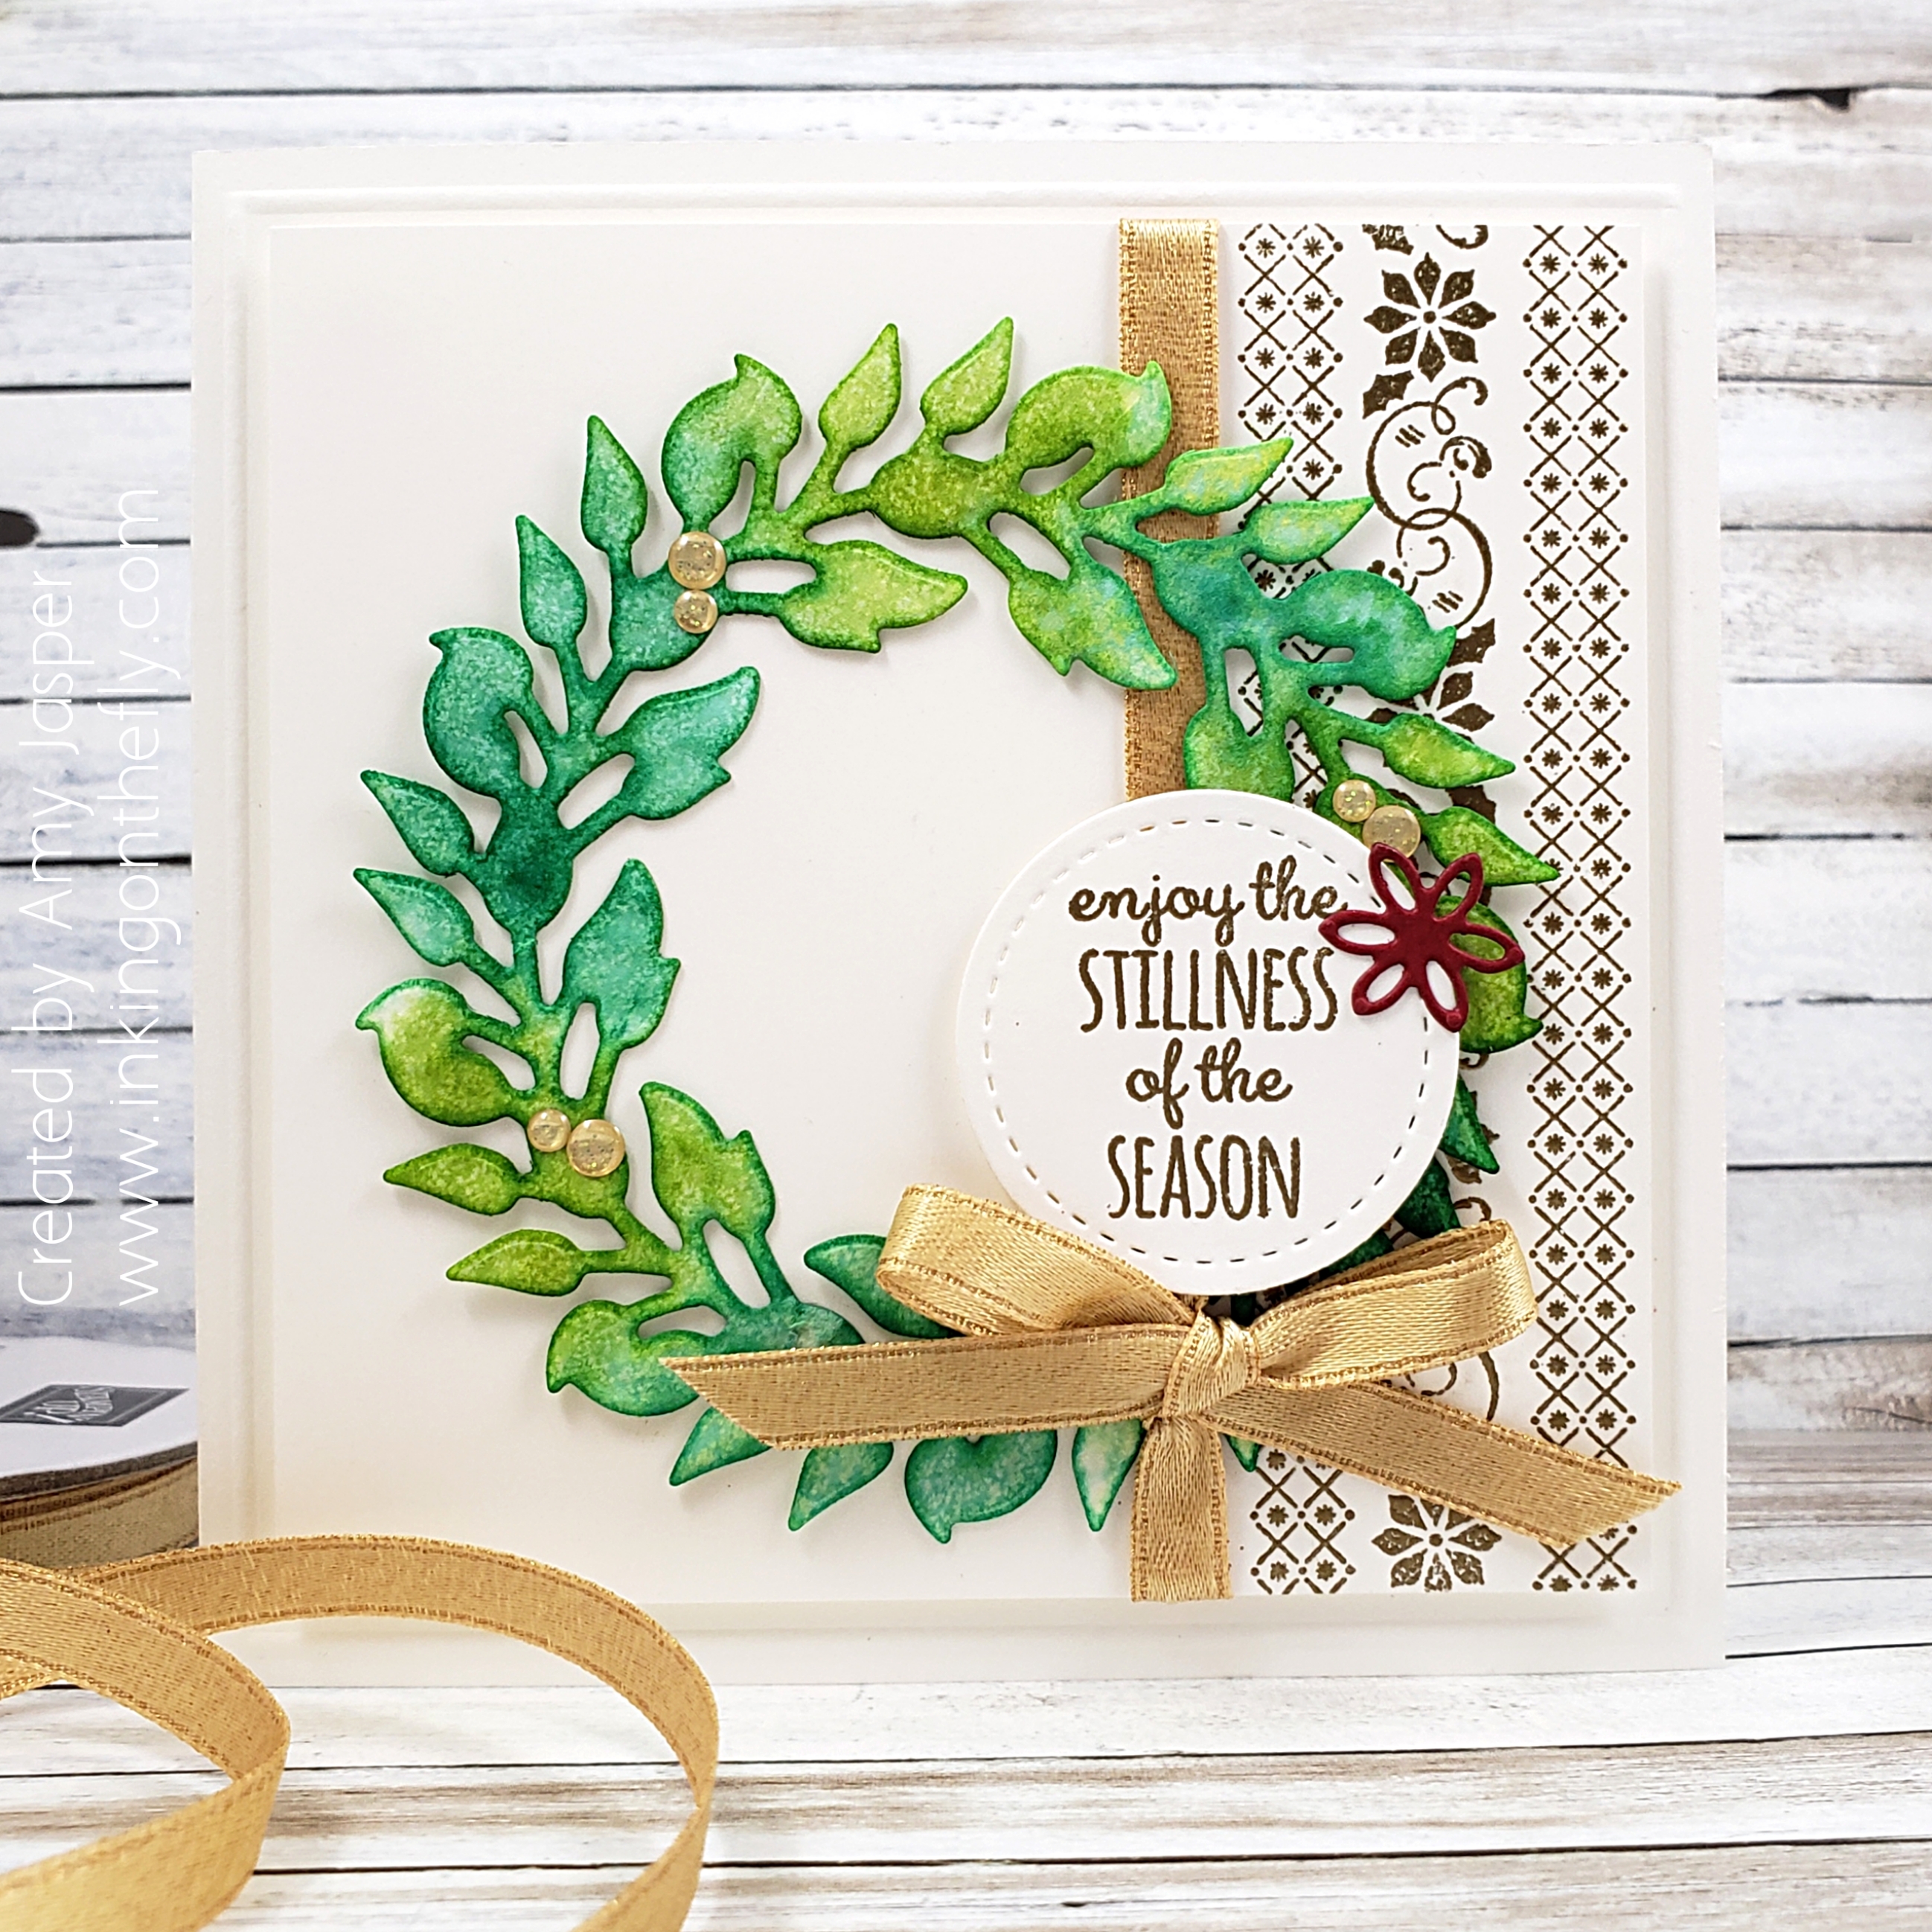
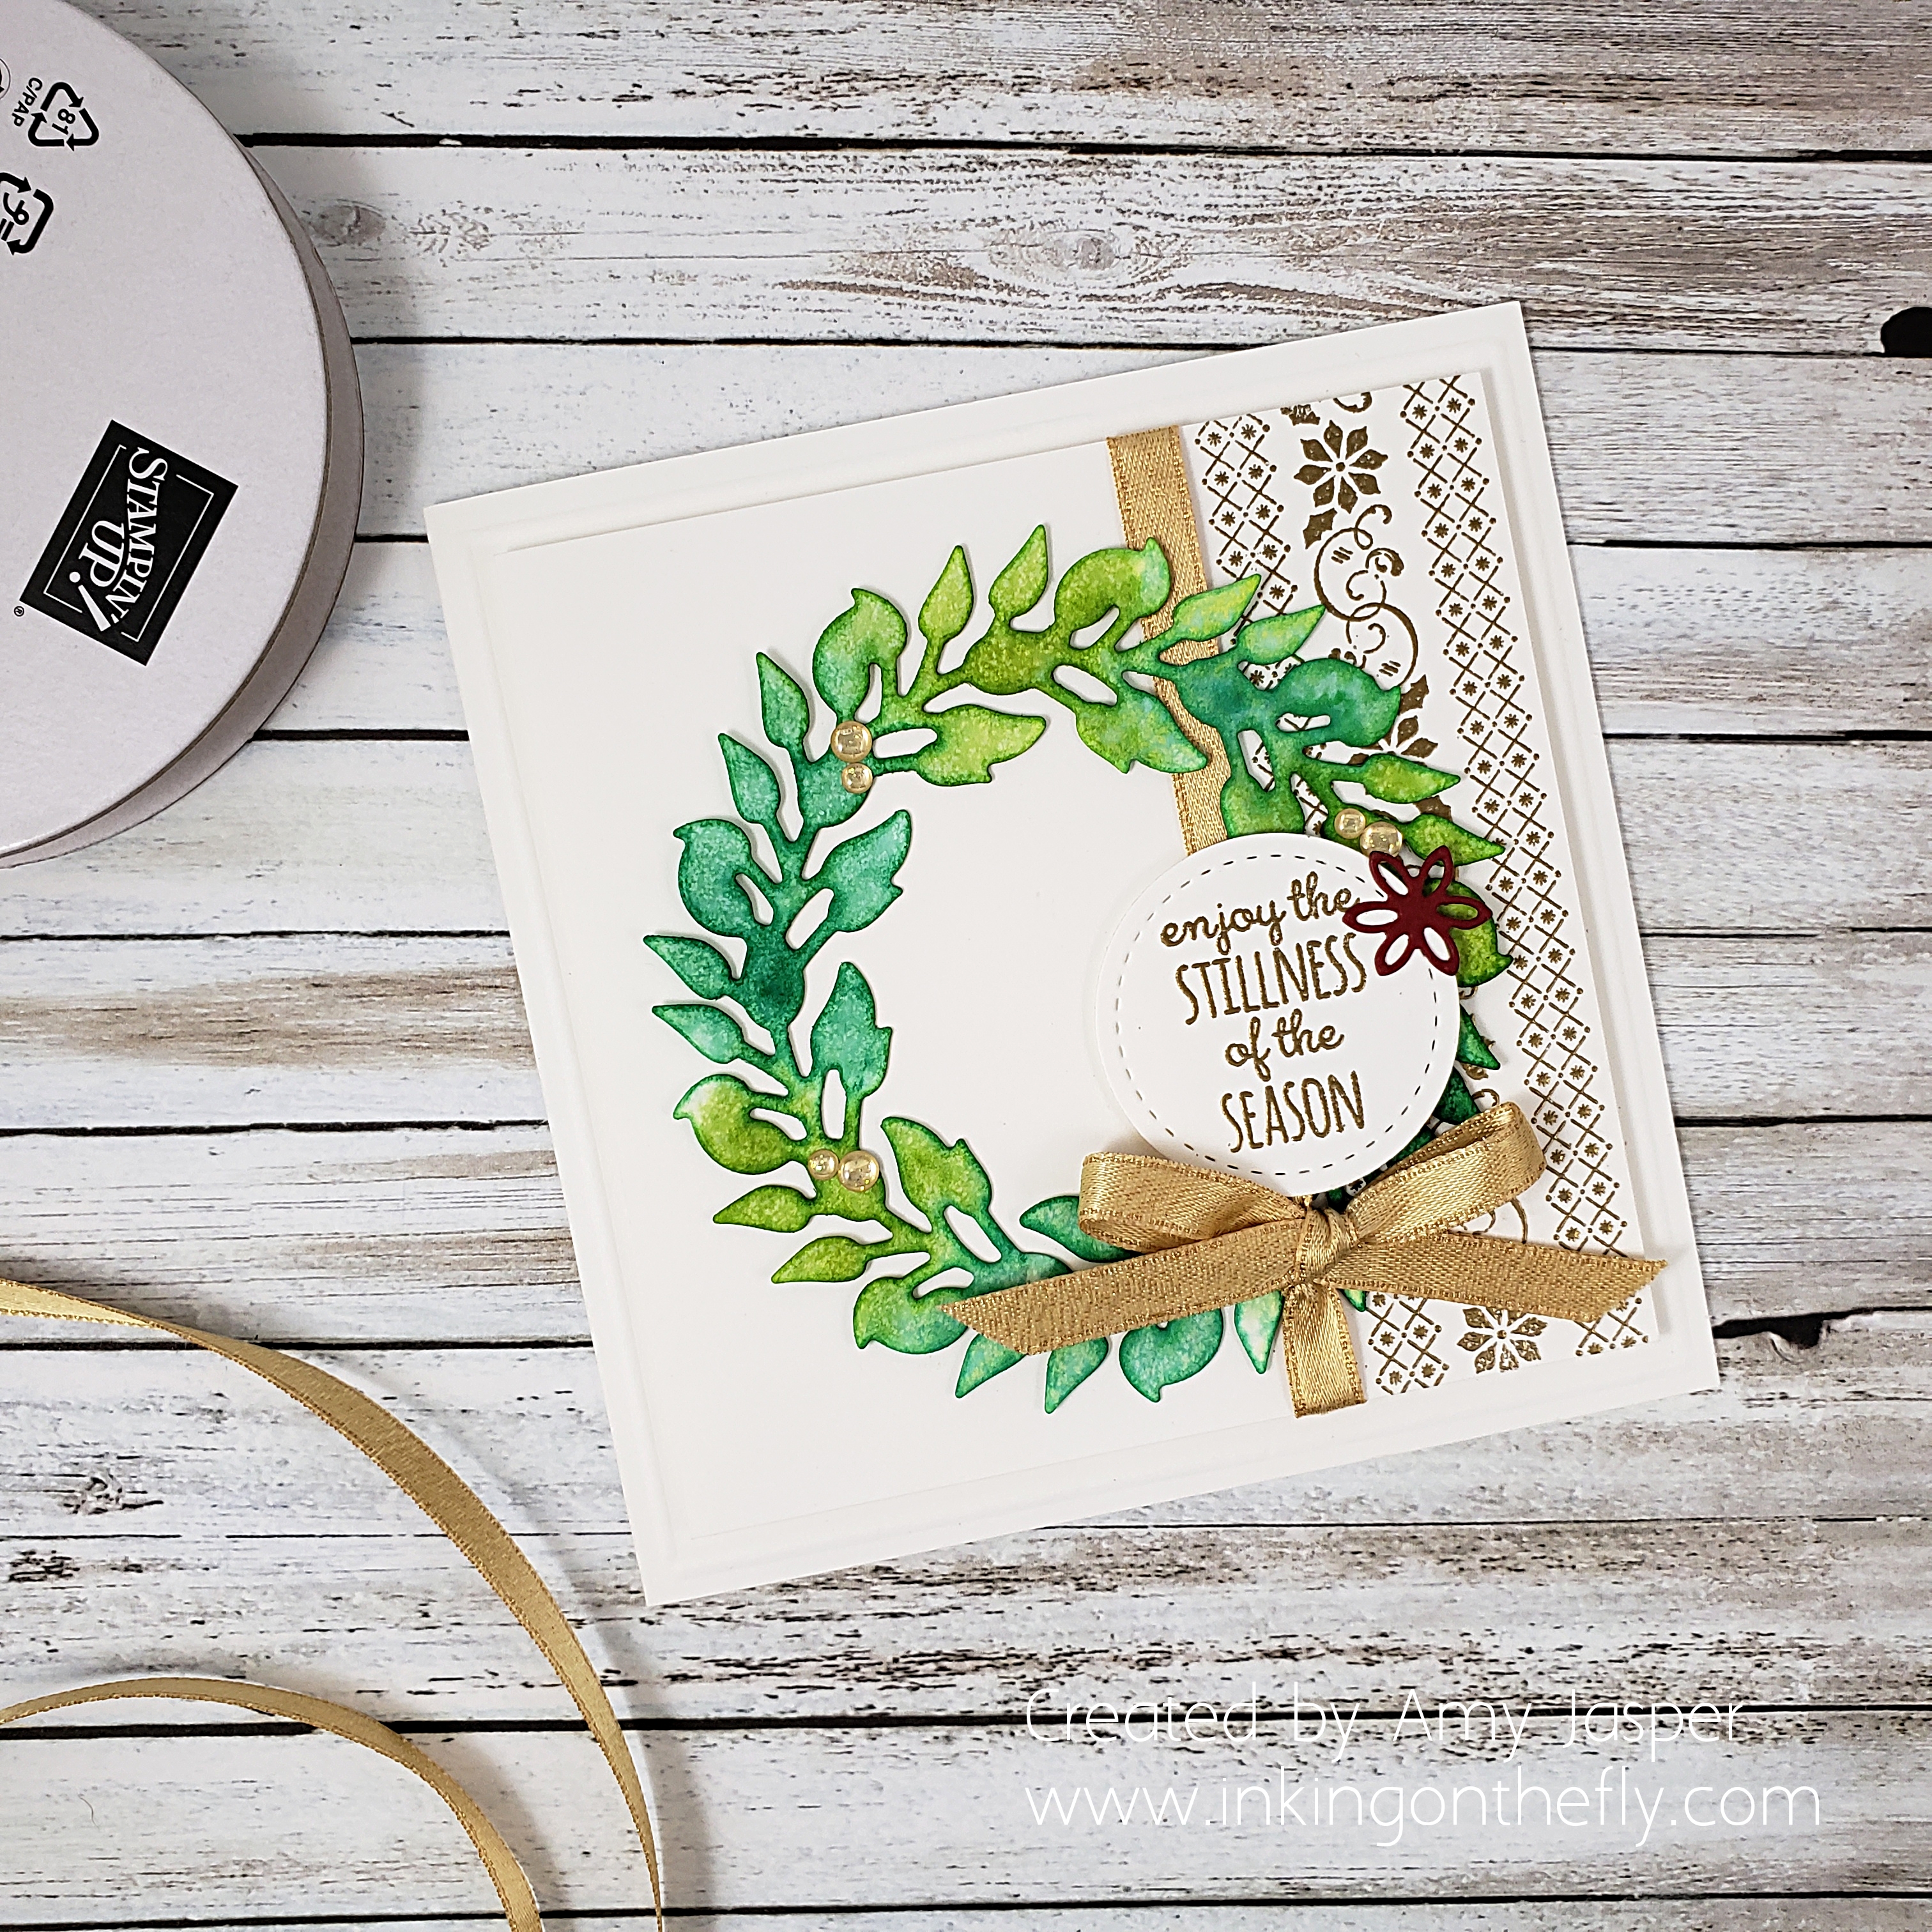
I have seen some beautiful watercolour wreaths created from the All Around Wreath Dies from Stampin’ Up!, so I thought I should give it a try. I cut the wreath from a piece of Watercolor Paper and placed it onto one of the clear plates of my Stamparatus. I then used an Aqua Painter to saturate the Watercolor Paper with plain water. Next, I applied ink using the Aqua Painter and Ink Refills. I used Call Me Clover, Granny Apple Green, and Coastal Cabana. As I applied each colour, I enjoyed watching it spread quickly over the paper because of the water that already prepared the way. Once I was happy with the saturation of colour, I used my Heat Tool to speed up the drying time so I could carry on with the rest of my card.

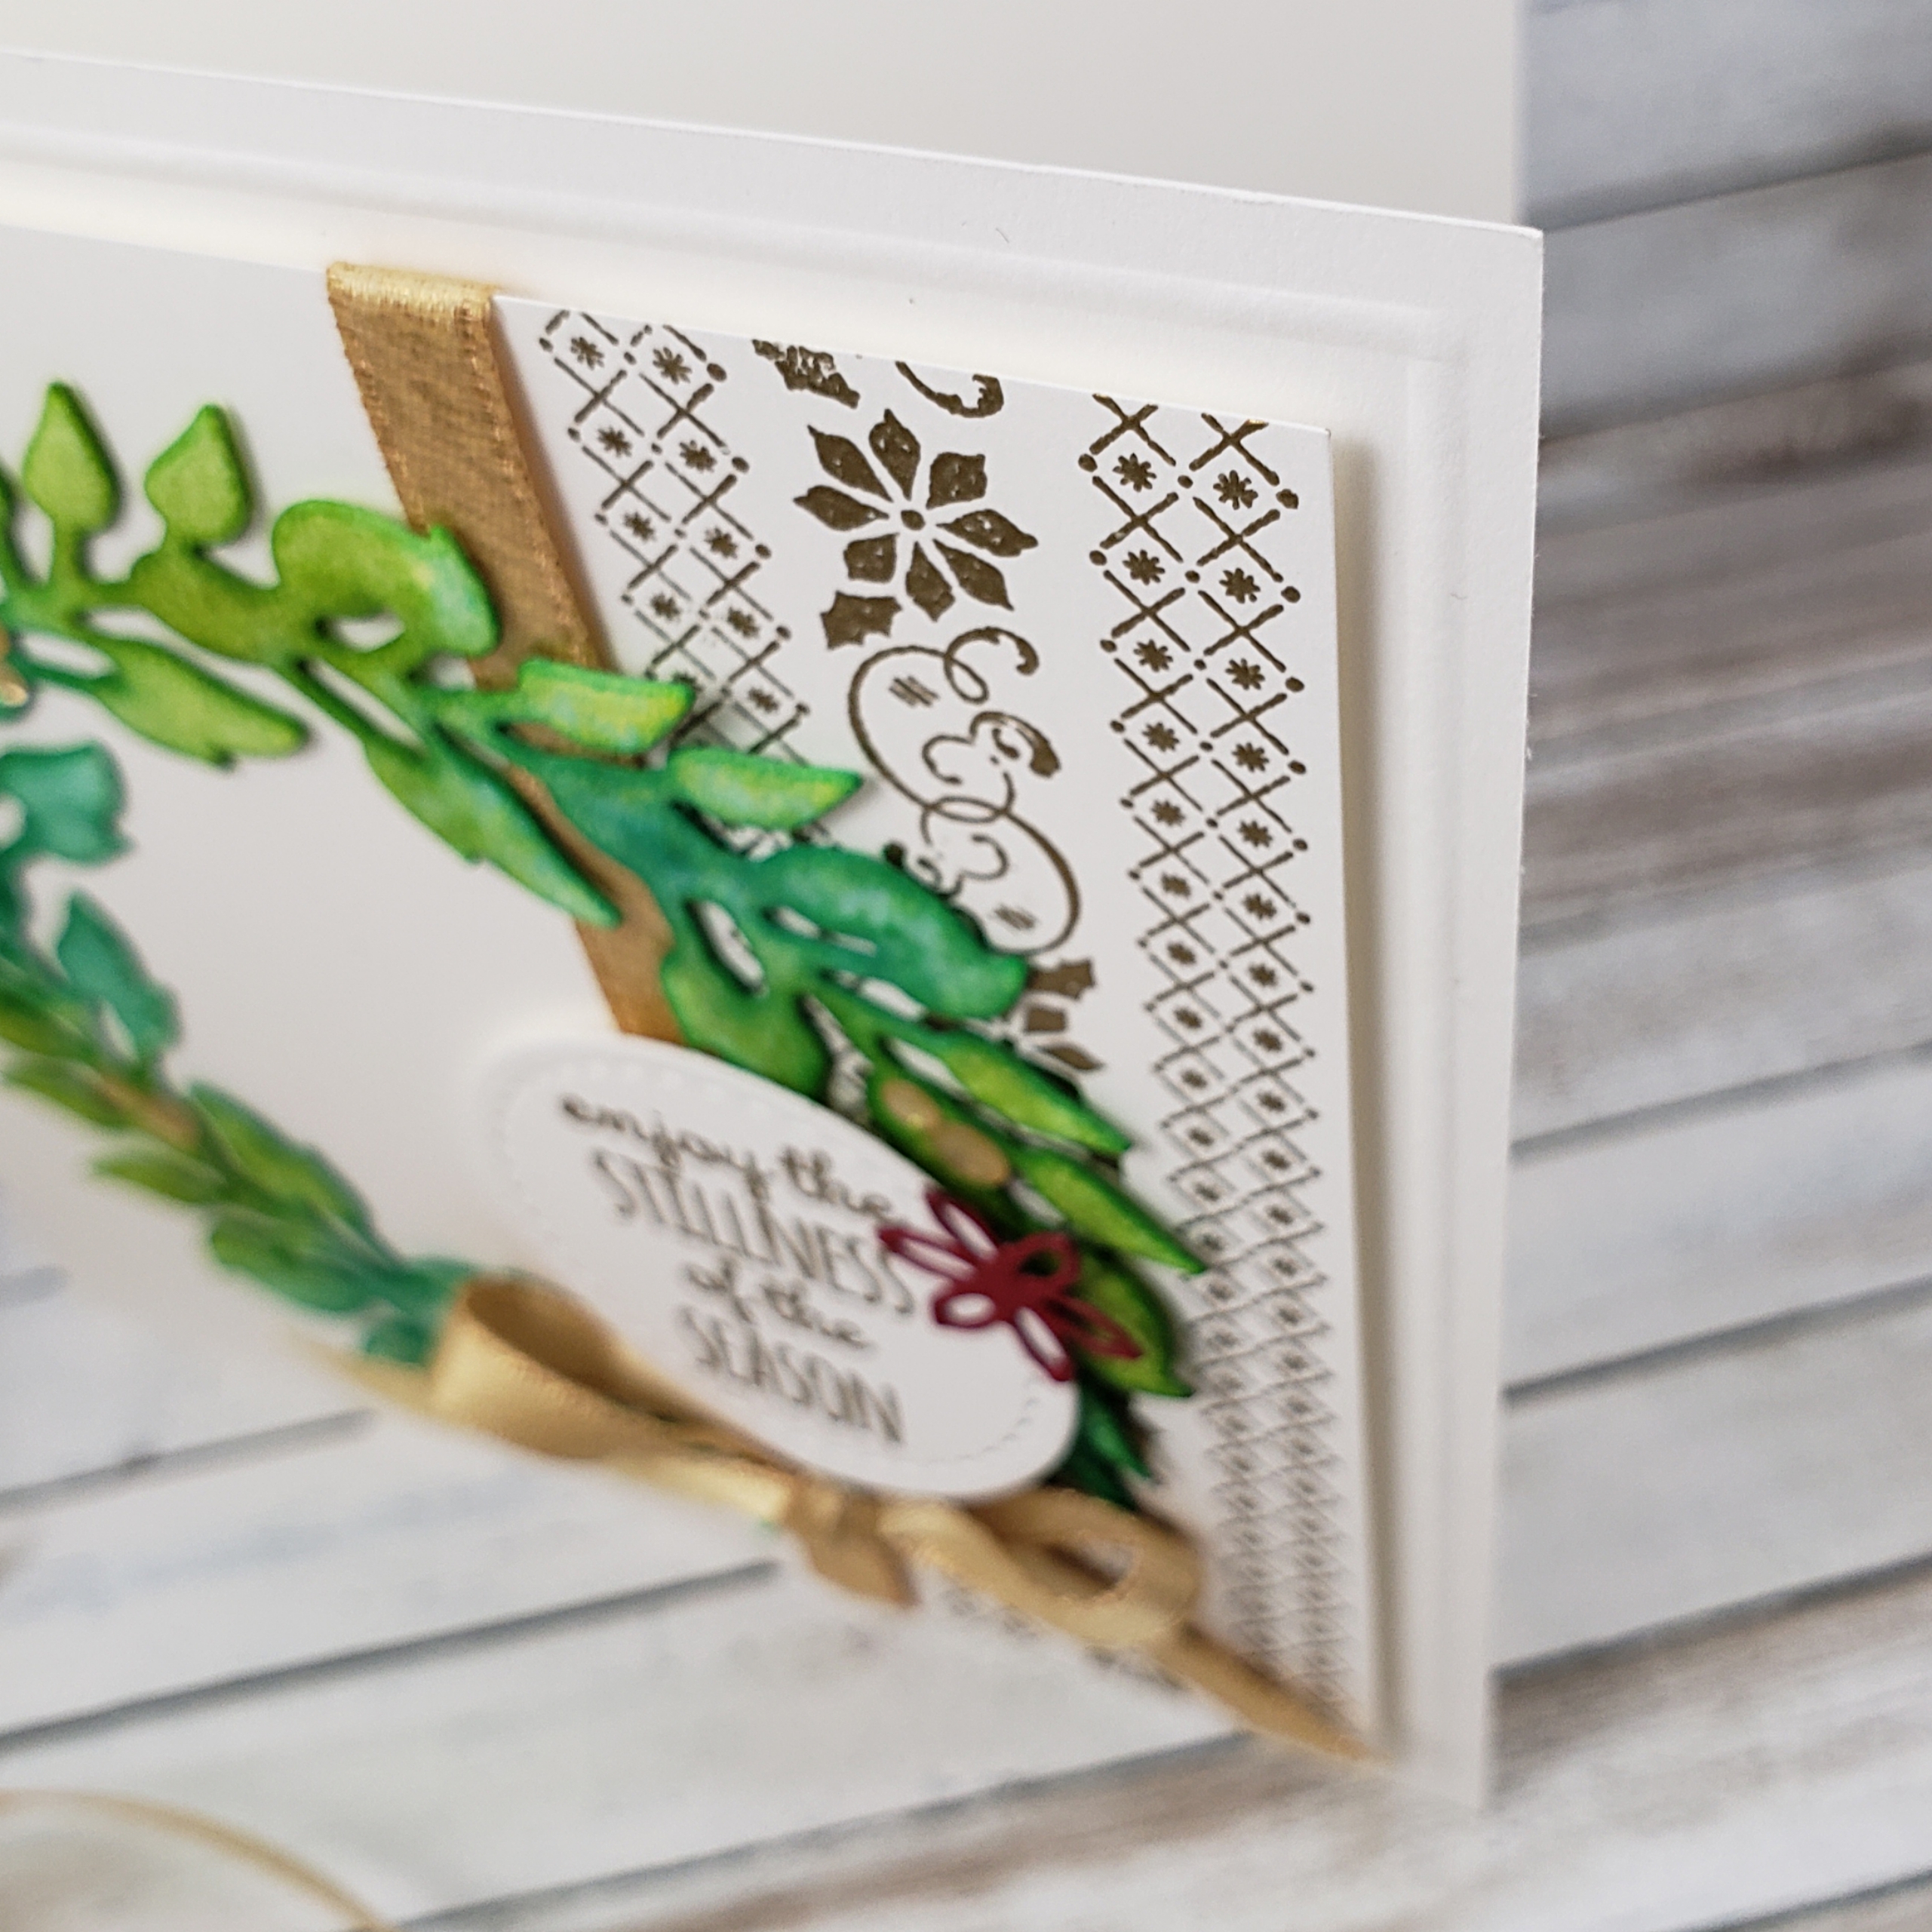
The card base is Thick Whisper White, which I cut to 8-1/2″ x 4-1/4″ so that I could have a completed 4-1/4″ x 4-1/4″ square card. This is a good size for a square, because it will still fit in Stampin’ Up! envelopes. I used the Simply Scored Tool to create an embossed outline around the card base. I like how that simple step somehow instantly makes a card more elegant.

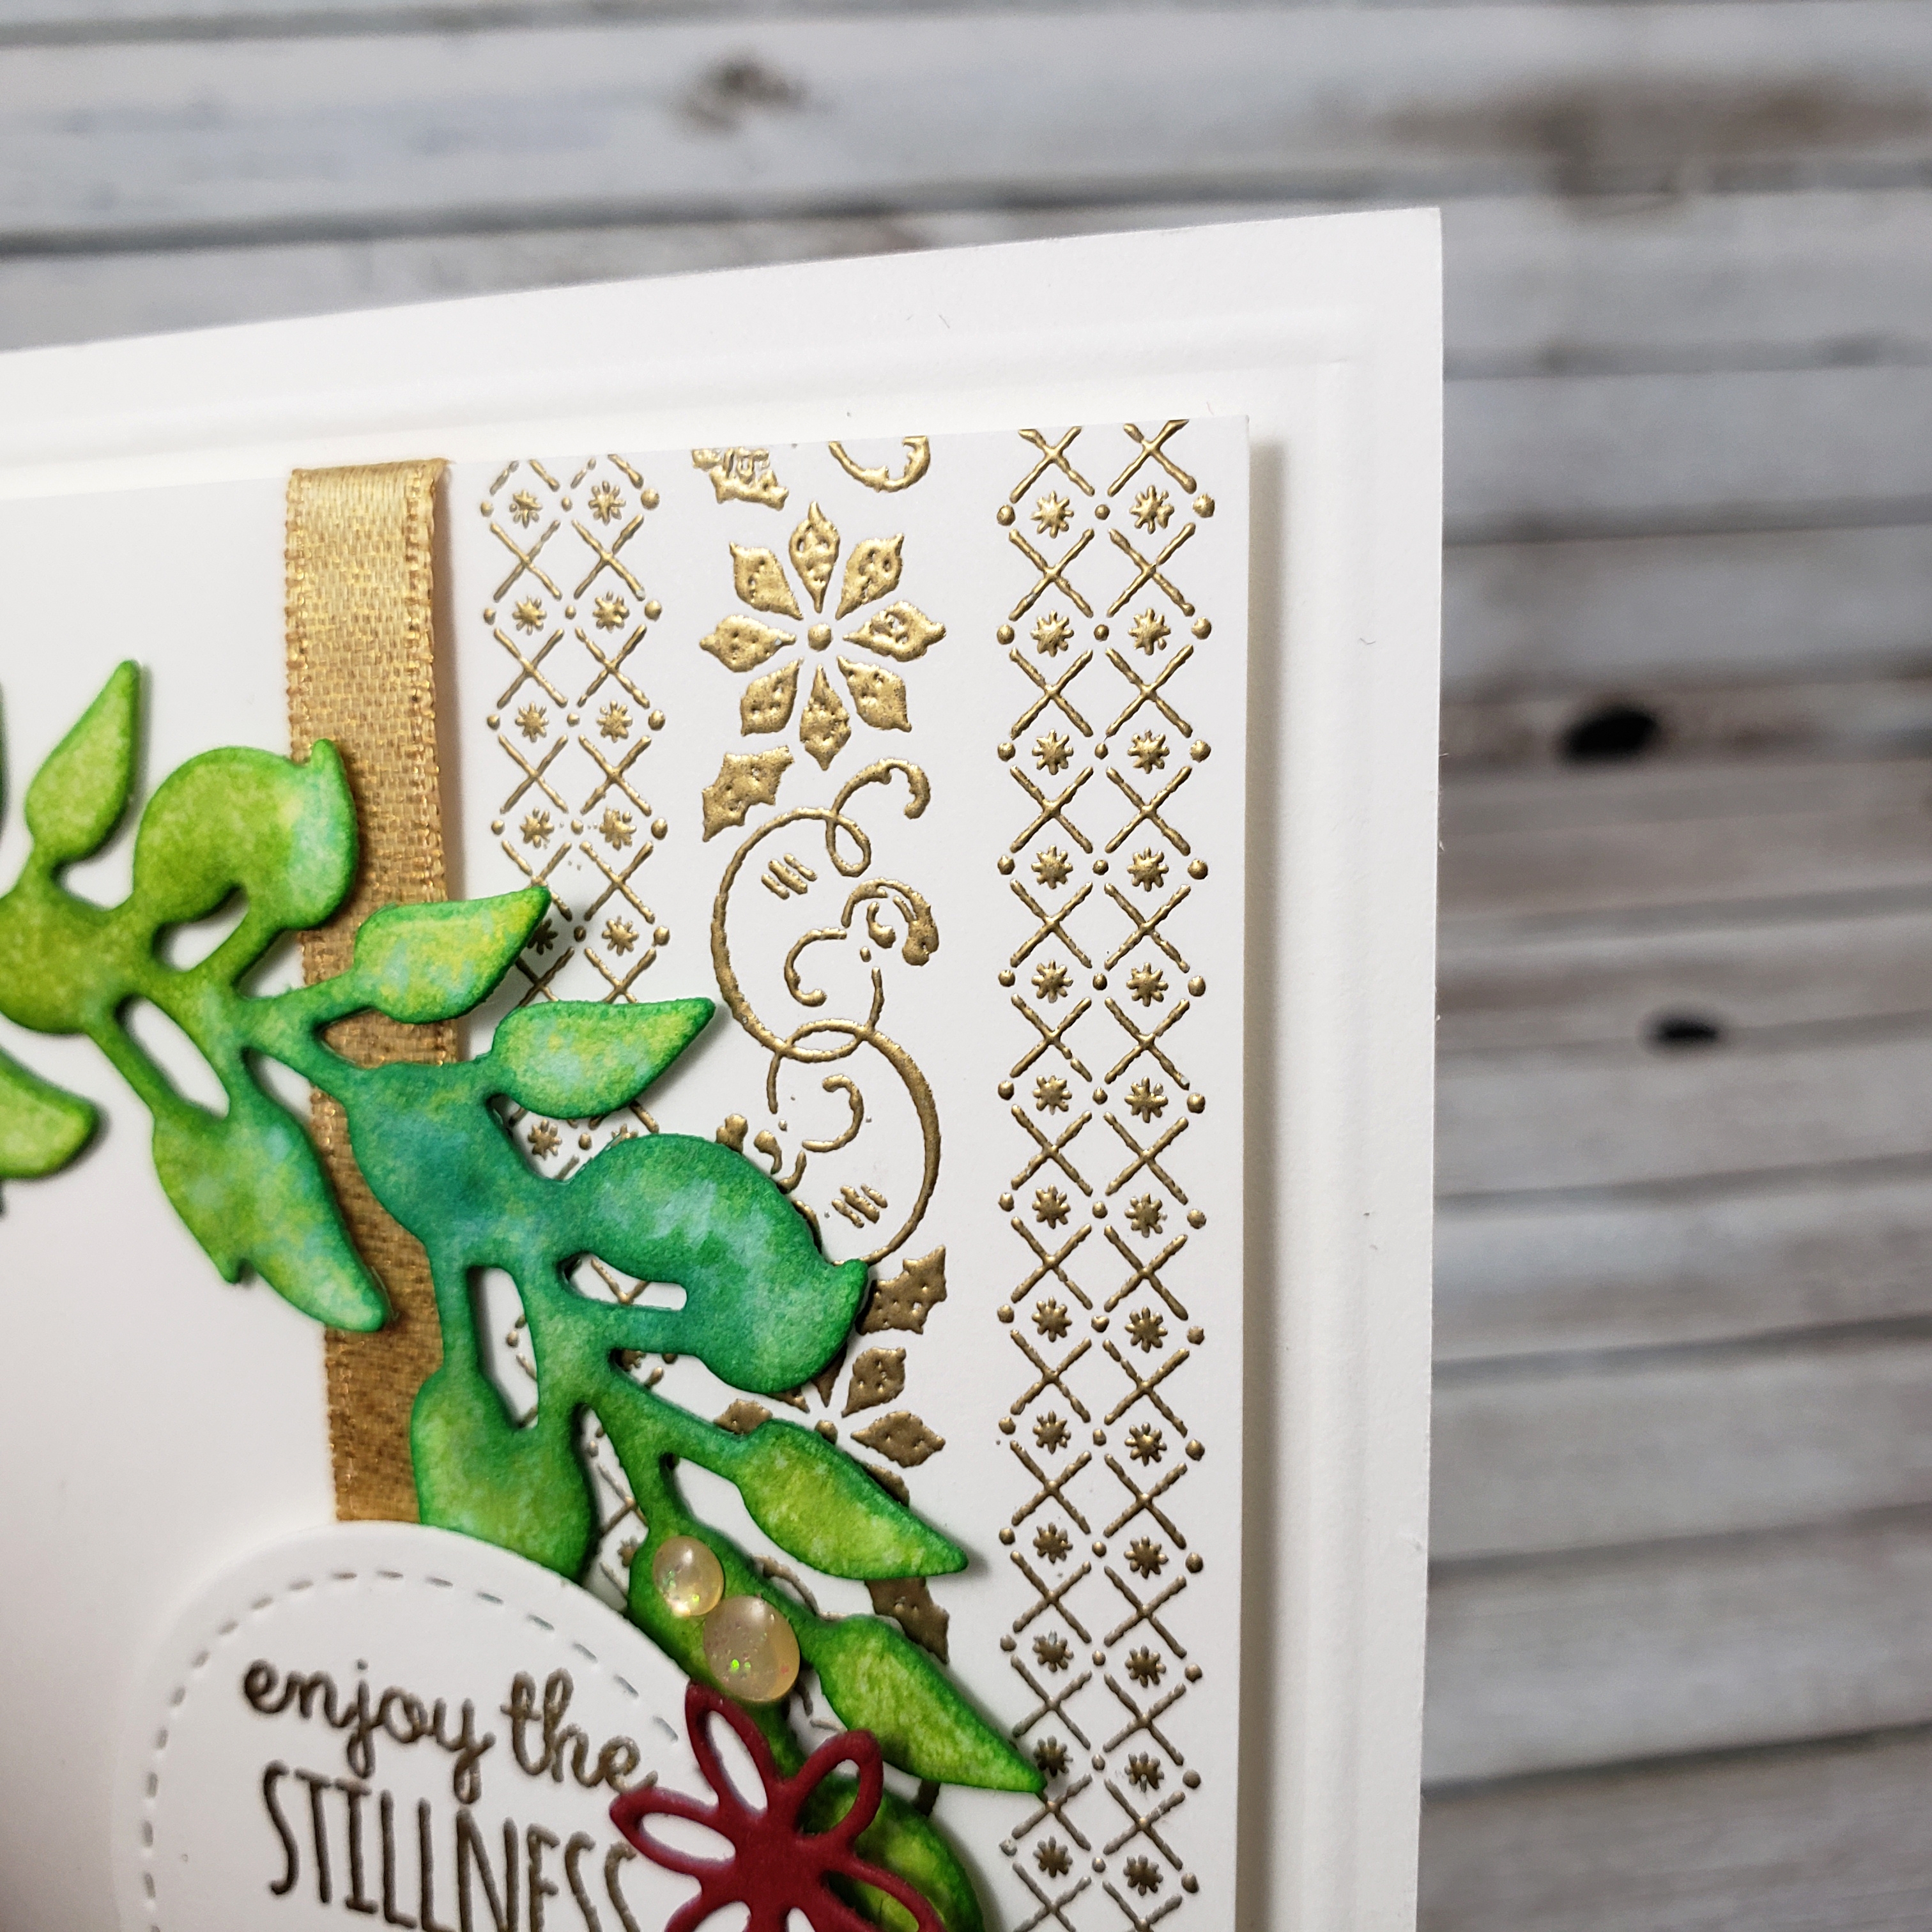
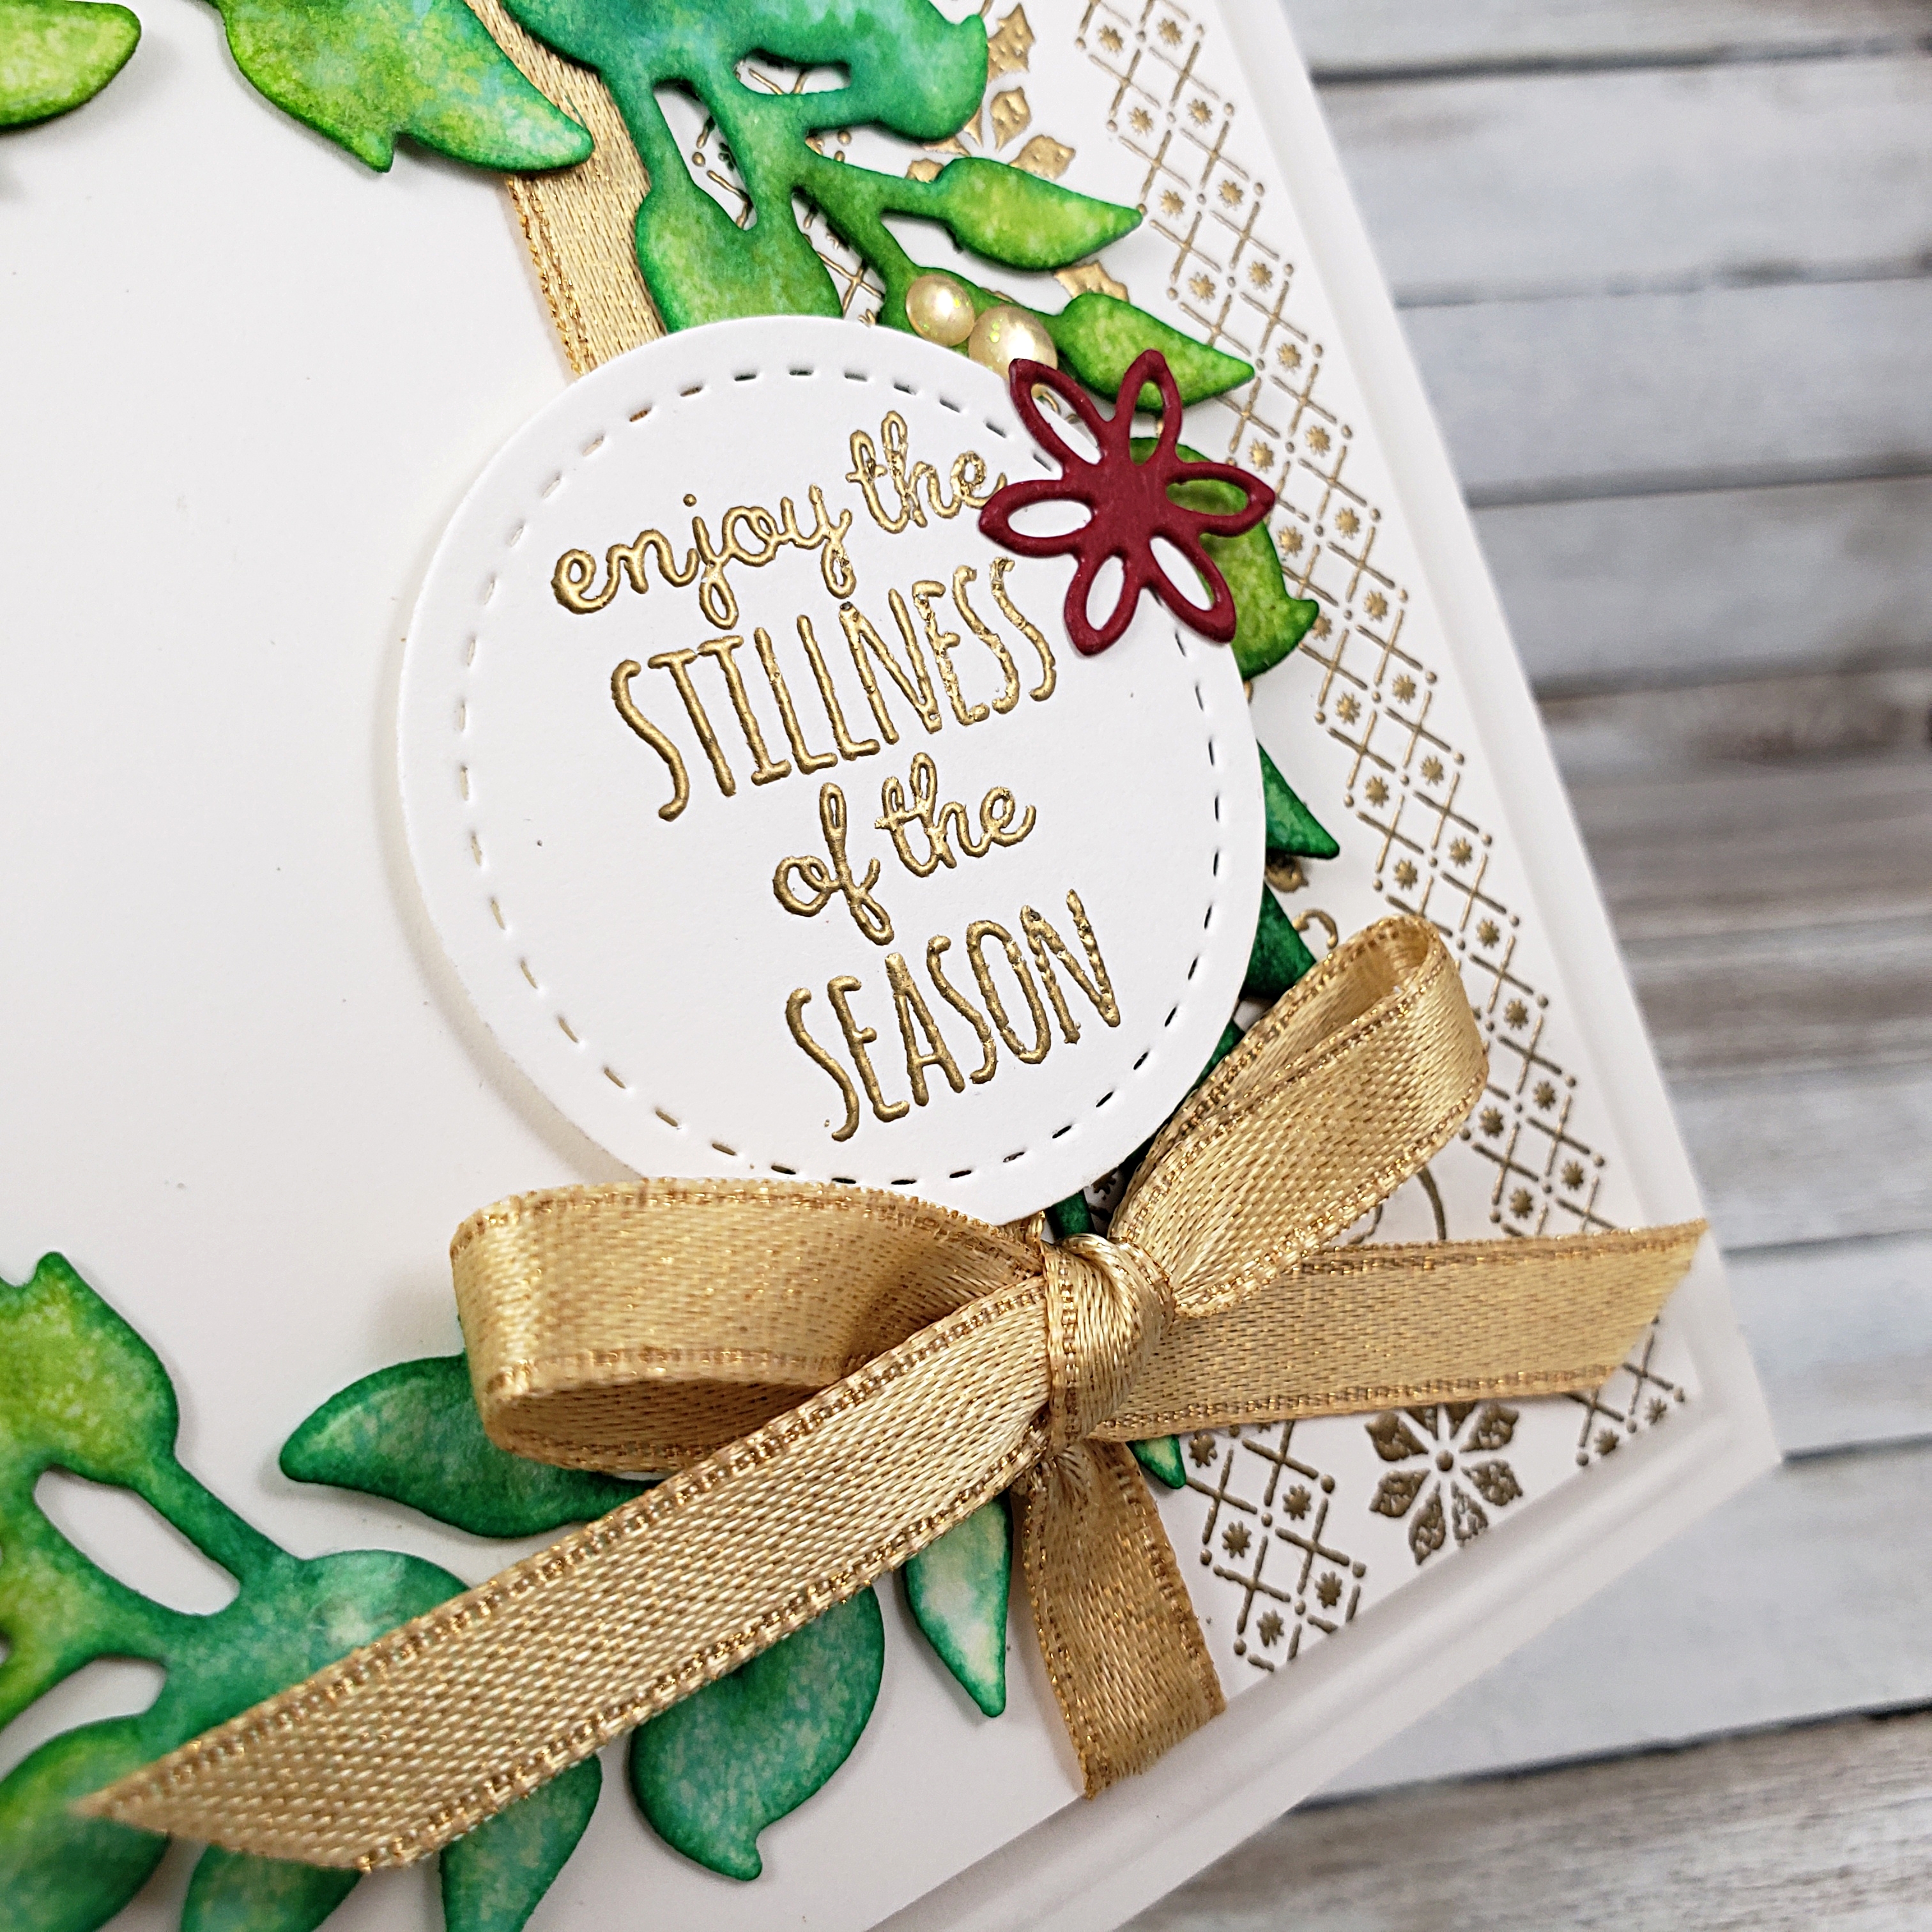
The next layer is a Whisper White square on which I stamped the line stamps from the Christmas Countdown Cling Stamp Set from Stampin’ Up!. I stamped these in Versamark ink and applied the Gold Embossing Powder, melting it to a beautiful shine with my Heat Tool. I wrapped the Gold 1/4″ Shimmer Ribbon (from the new and only available while supplies last, Christmastime is Here Suite!) around this piece and tied it in a bow. This was attached to the card base with Stampin’ Dimensionals.

The dry watercoloured wreath was attached to the front of the card with glue dots, but I had to cut it to be able to tuck it under the bow of my ribbon. Pretty sneaky, right!

The sentiment is from the Merry Moose stamp set and was stamped with Versamark ink on Whisper White cardstock. Once again, I applied the Embossing Powder and heat it with my Heat Tool, before cutting it in my die cutting machine with one of the circle dies from the Stitched Shapes Dies. This was applied to the card with Stampin’ Dimensionals.

The last few things to add were the gorgeous Gold Glitter Enamel Dots (from the Christmastime is Here Suite), and the Cherry Cobbler flower, which I die cut with my die cutting machine and the Detailed Deer Dies from Stampin’ Up!.

I followed the perimeters of the sketch challenge. I would say that I moved the location of my bow, but the basic sketch is still apparent, don’t you agree?

If you like the products I used on this card, you might want to go to my ONLINE STORE and see what else there is to get excited about! Have you seen the products in the Christmastime is Here Suite? Just beautiful! Definitely have a look.

… and don’t forget to try this sketch and play along with us at the As You See It Challenge Blog!

Okay, my ice cream is done. It was yummy.
Toile Tidings

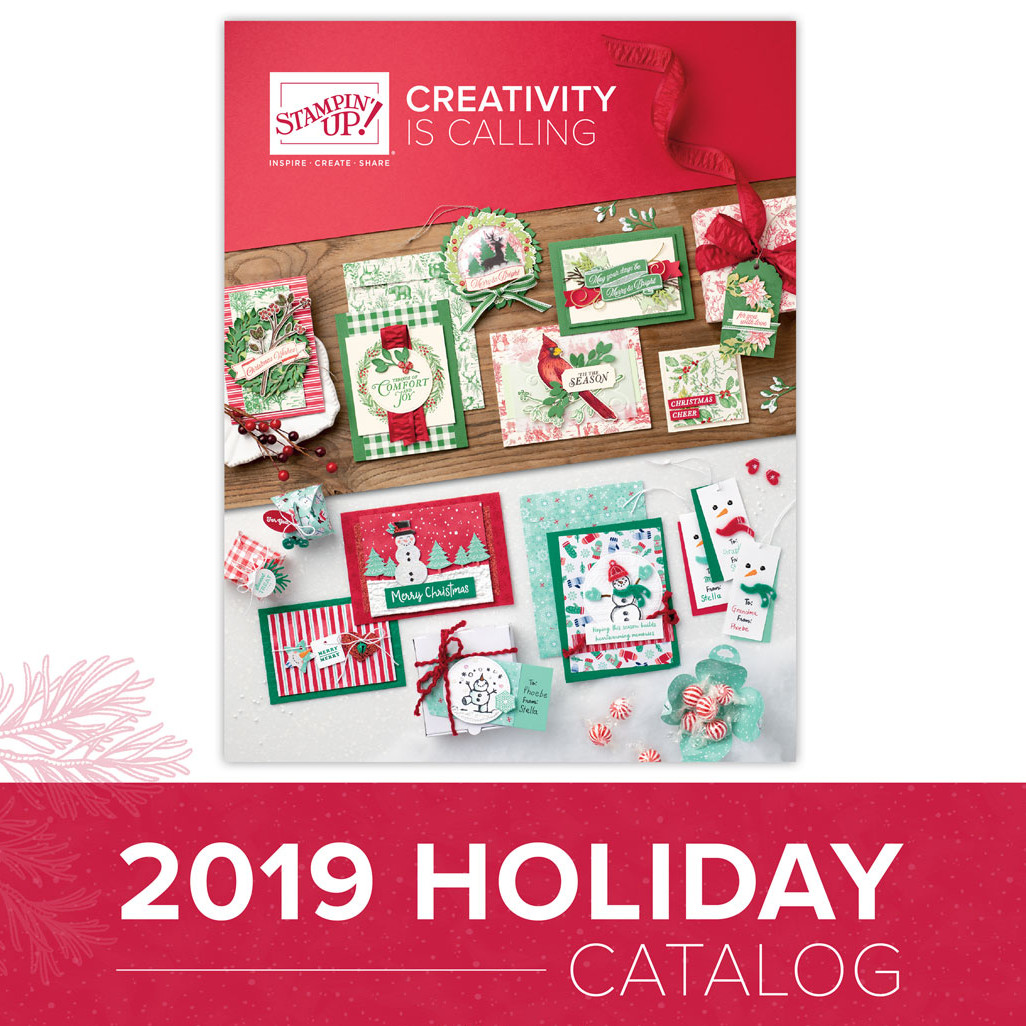
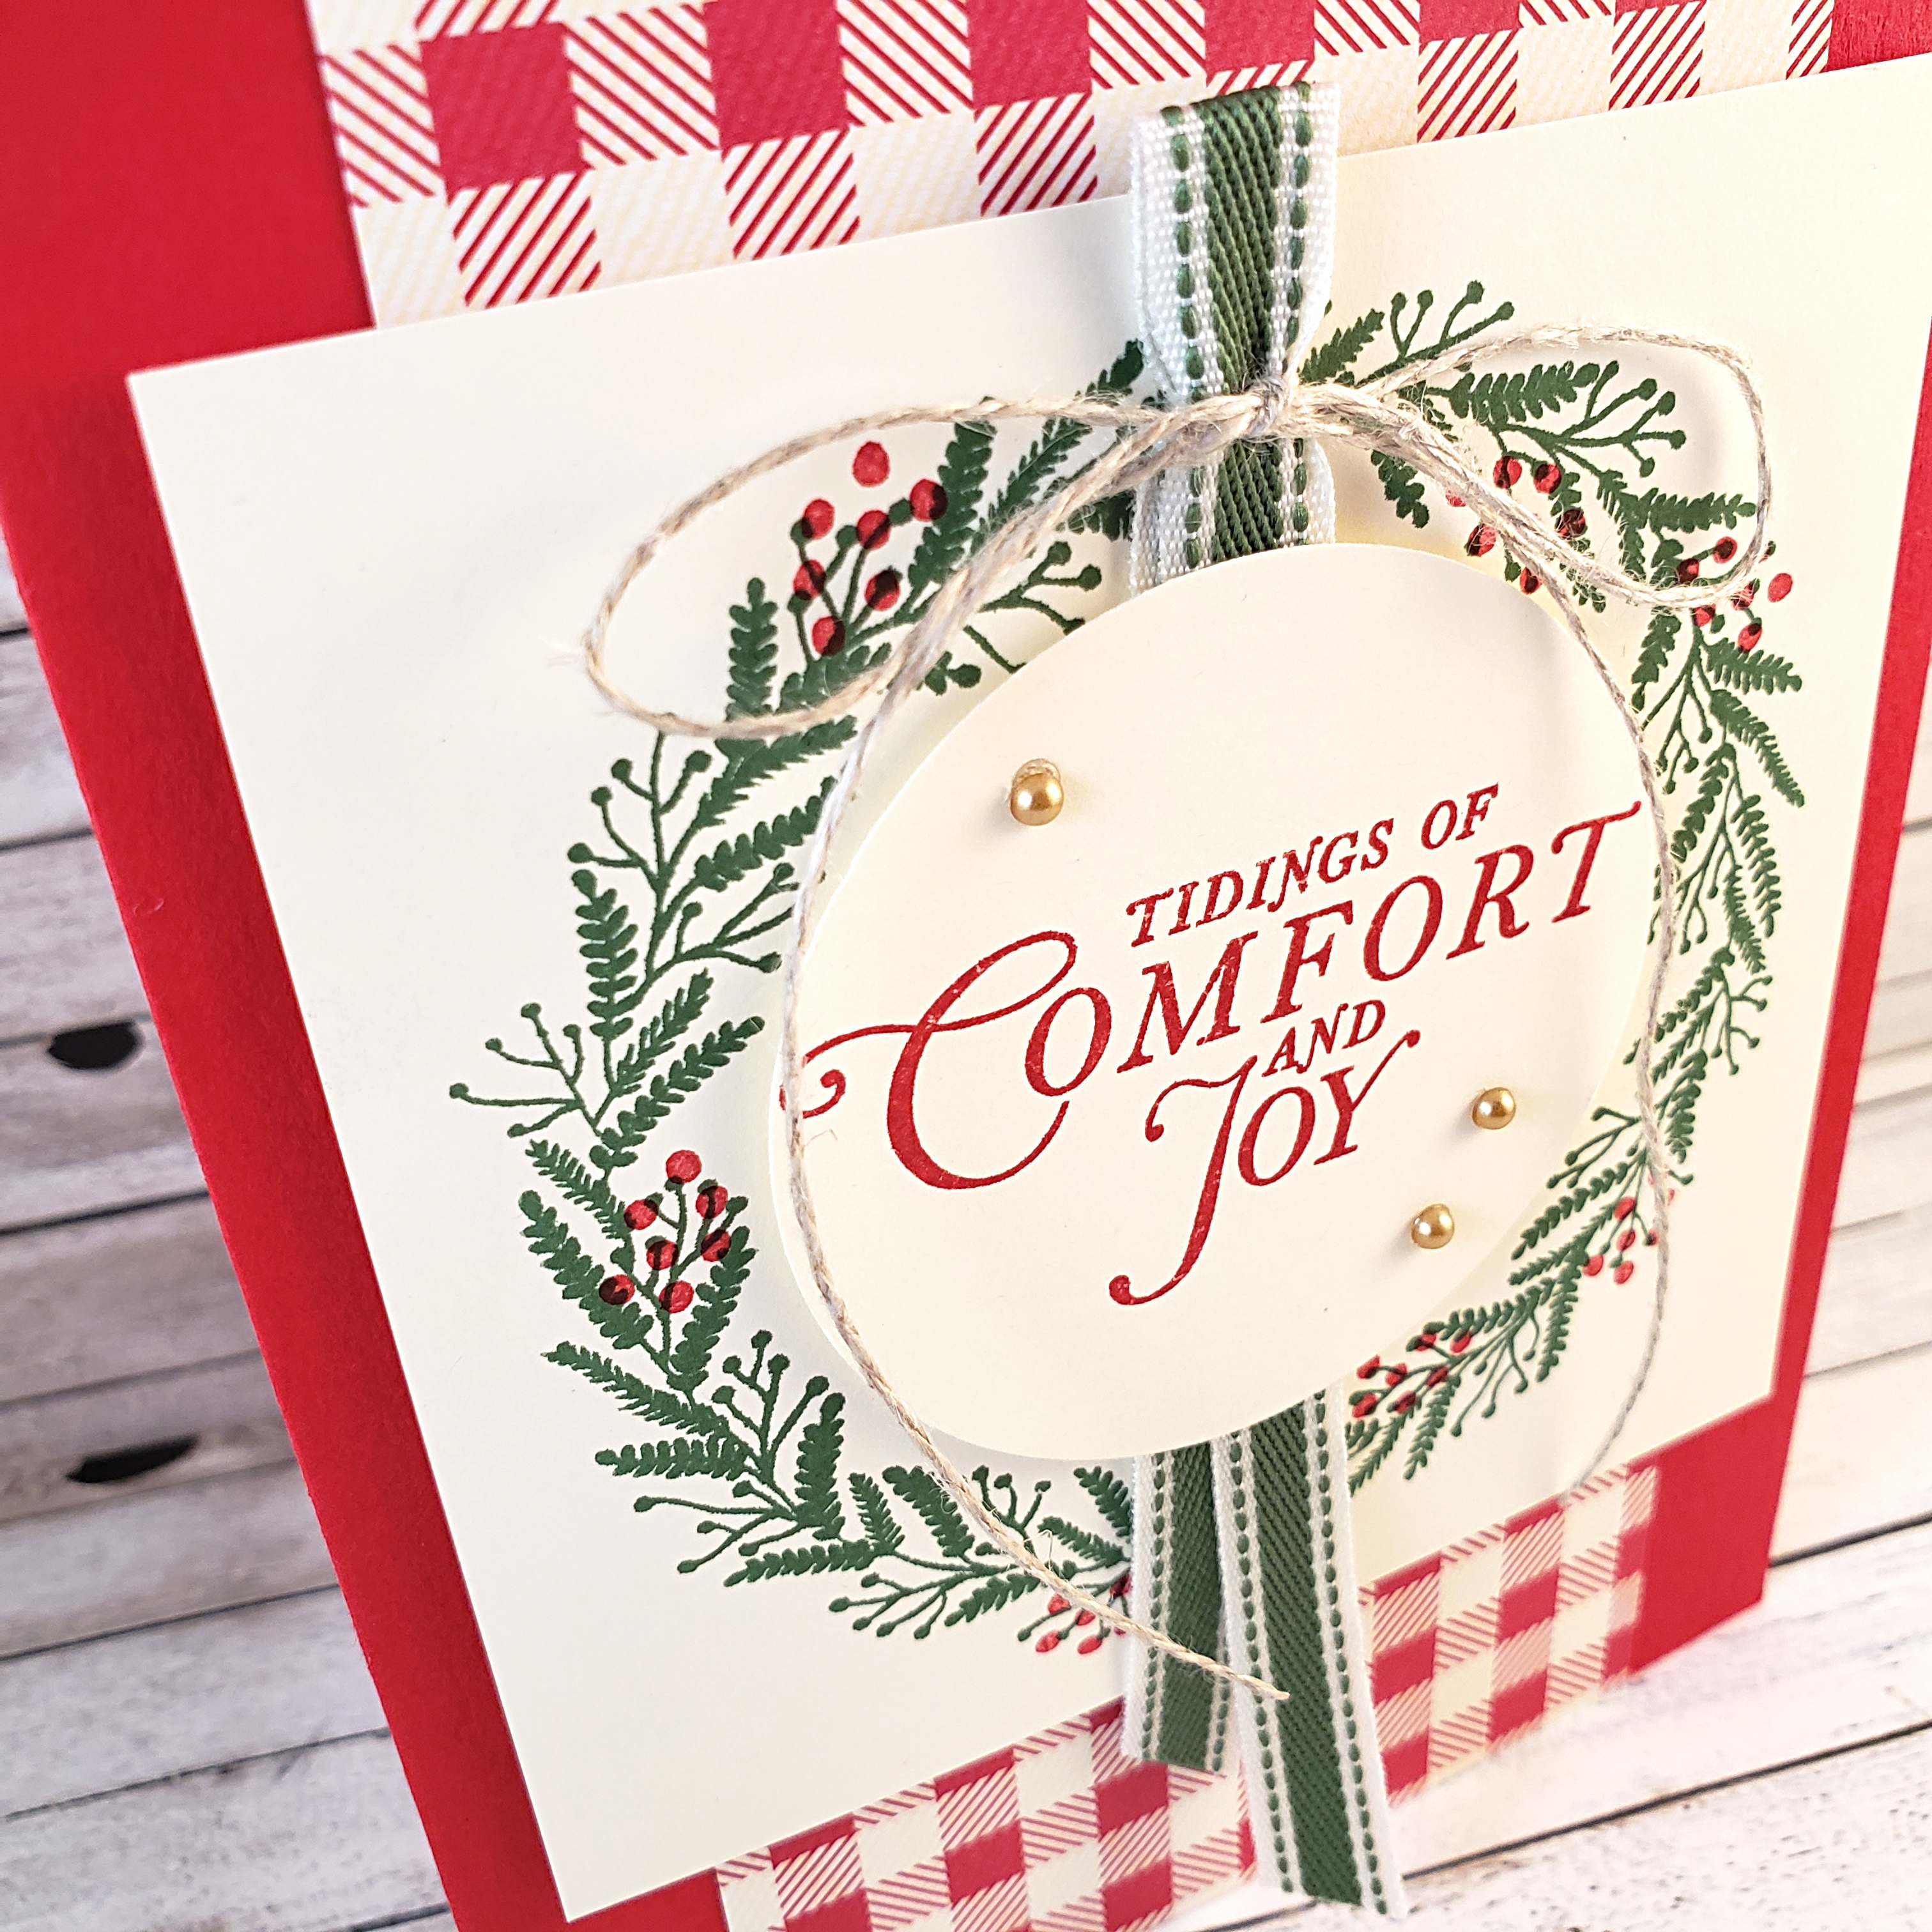
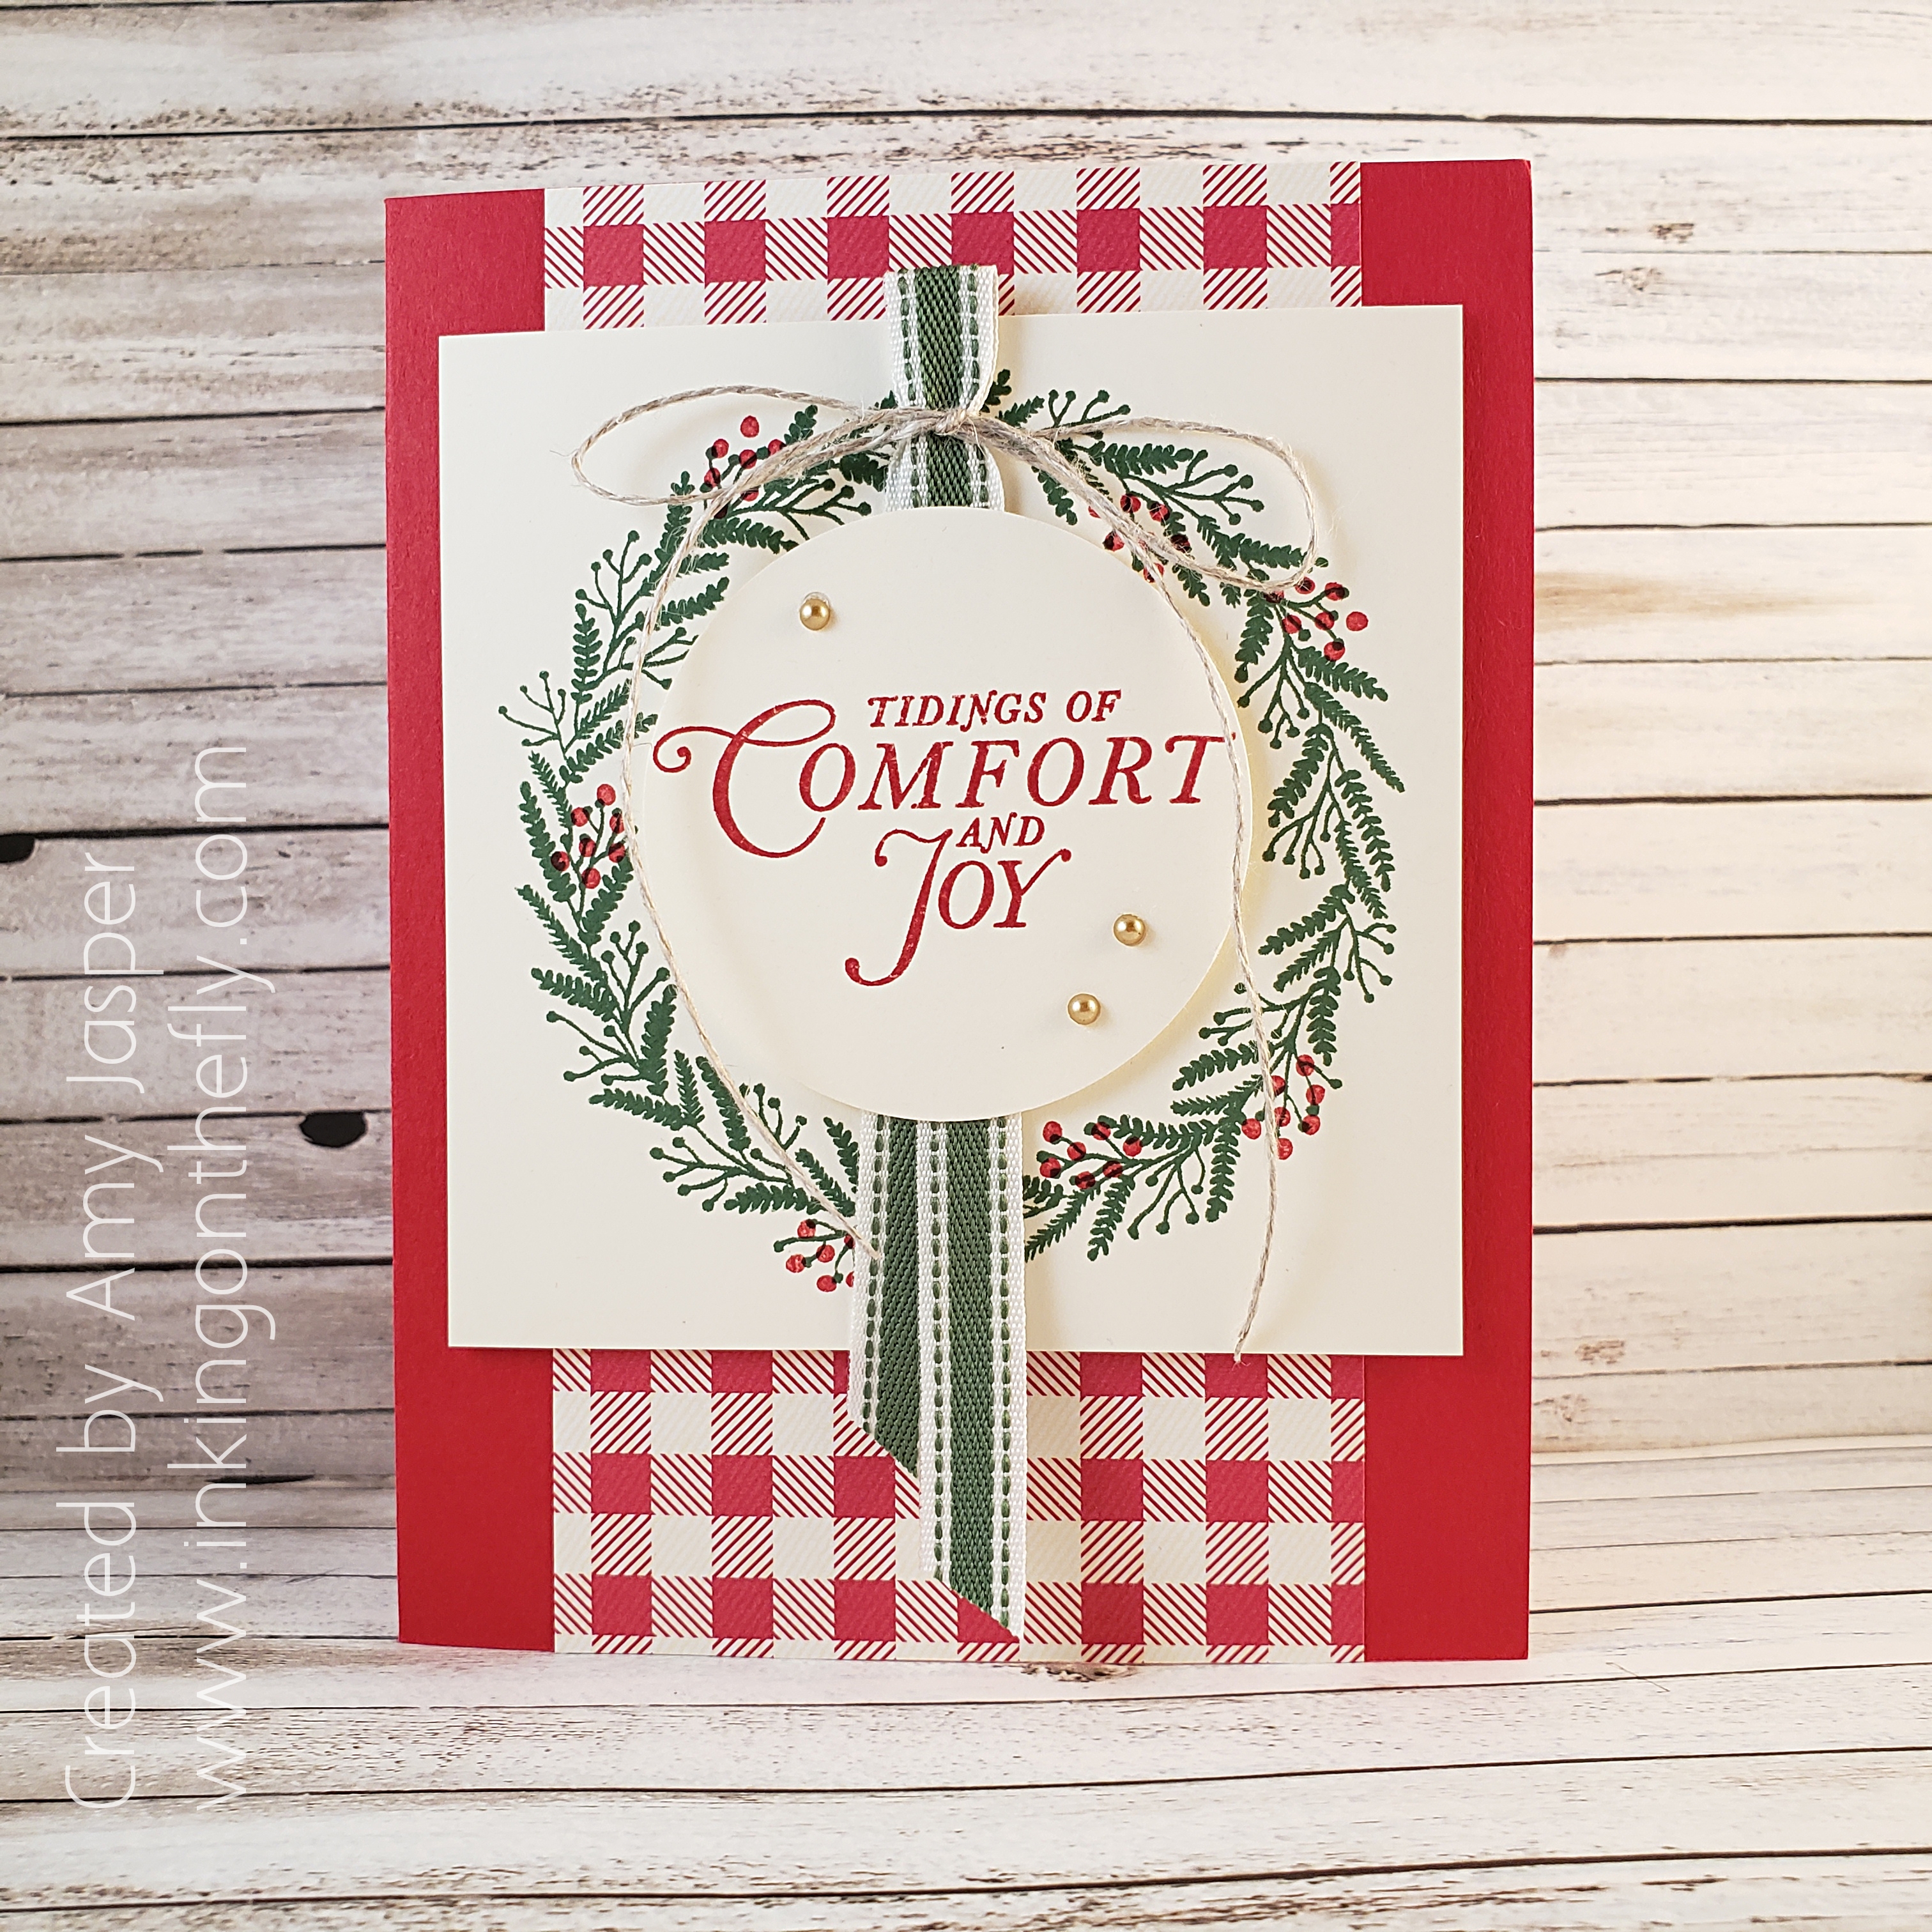
The Stampin’ Up! catalogues are not just catalogues of stamping and art supplies that you can purchase, but they are a great resource for ideas and inspiration! My card design today is one that I copied from the cover of the Stampin’ Up! Holiday Catalogue. I changed out the colours a bit and made some other minor changes, but it’s a copy. And I LOVE it!!

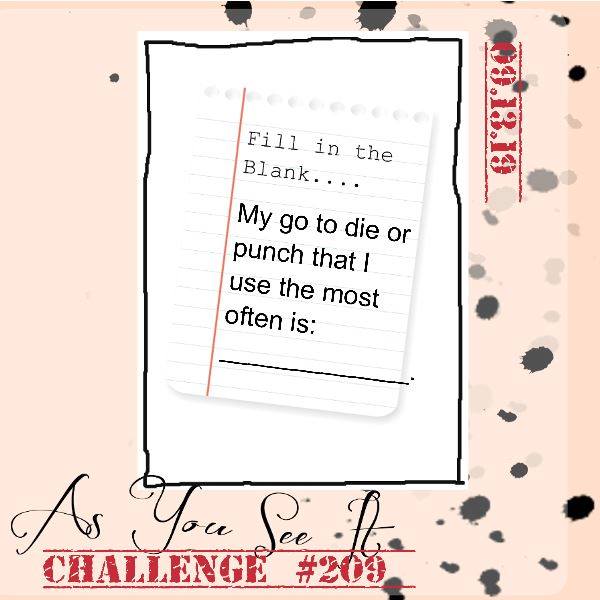
Today’s blog post is also inspired by the As You See It Challenge Blog which challenges participants to create a card using their most used punch or die.

What’s your go-to die or punch?

My favorite is the large 2-1/4″ circle punch from Stampin’ Up! I love how quick and easy it is to use punches instead of a die cutting machine. There are fewer steps to using a punch, which makes it easier and faster to create a card (and especially multiple cards) with a punch, rather than a die.

When I saw the card on the cover of the Stampin’ Up! holiday catalogue, I was immediately drawn to the plaid designer series paper and the square/circle combination with the layers on the card.

Can you spot the card on the cover that inspired me!?

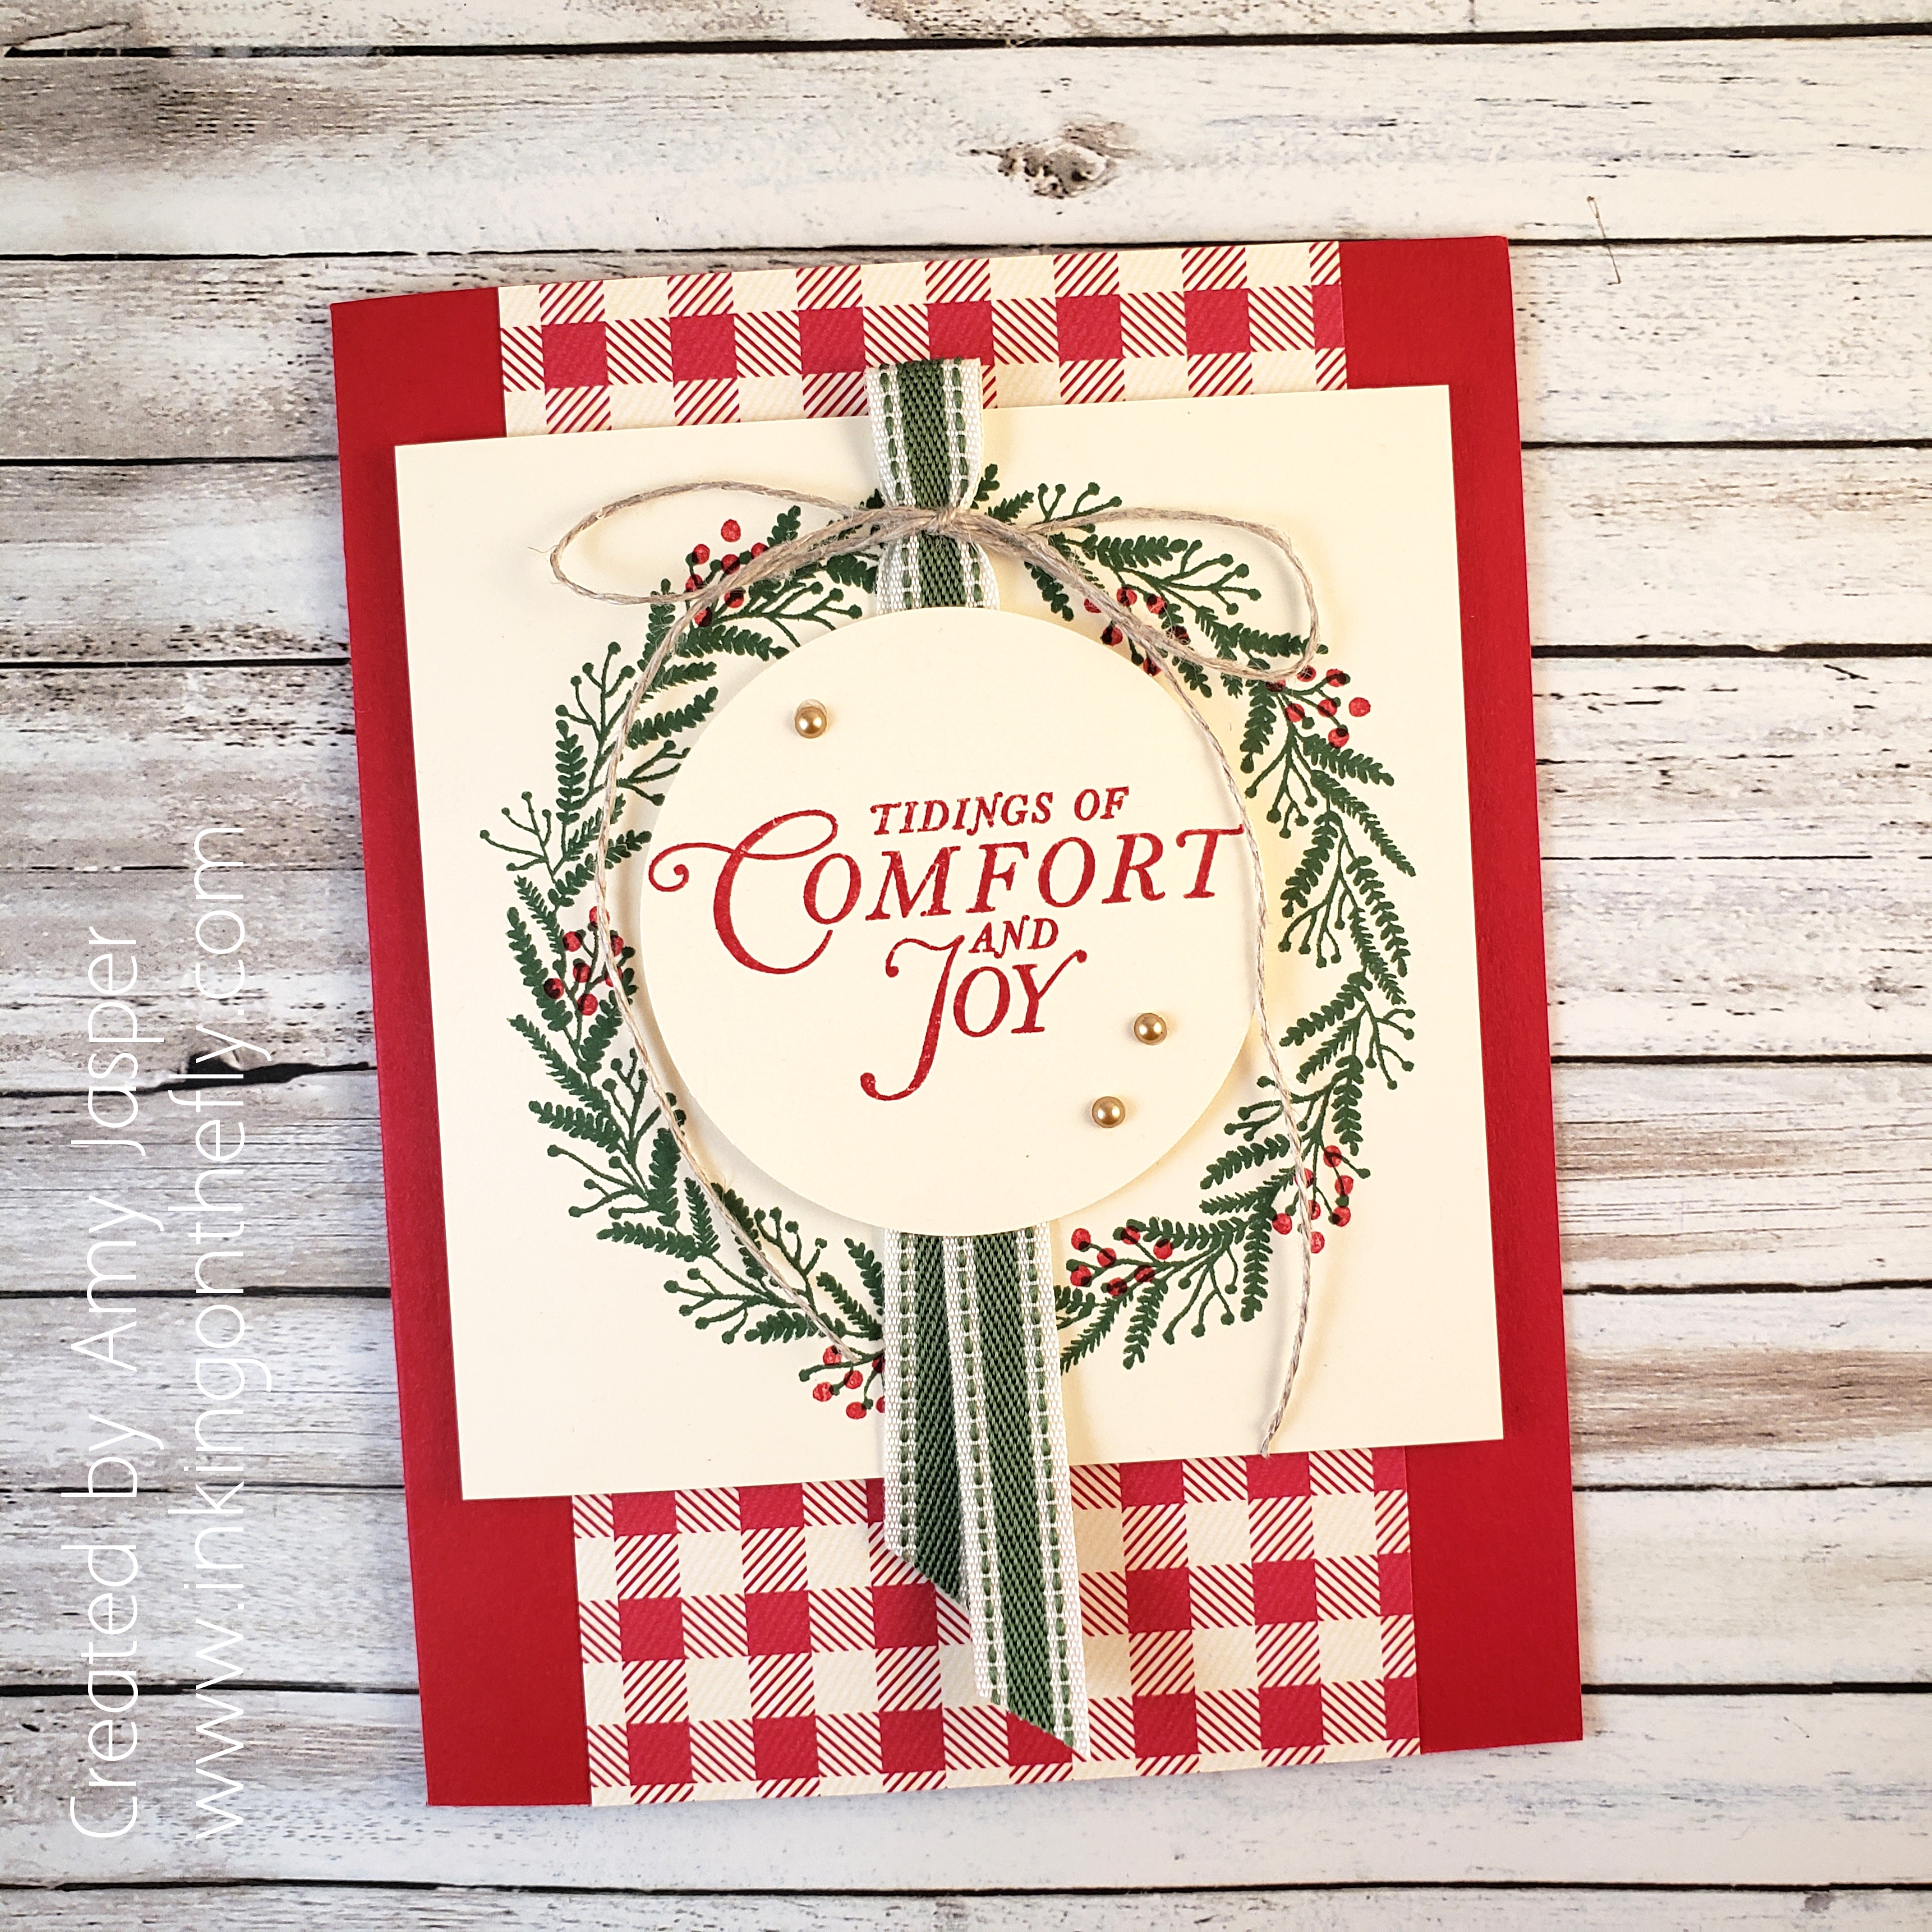
Now, I do have nearly all of the products shown on that sample, but I wanted to put my own spin on the design. I started with Real Red cardstock for the card base, then added the 3″ x 5.5″ piece of the red plaid (or is it gingham?) patterned paper from the Toile Tidings Designer Series Paper pack.

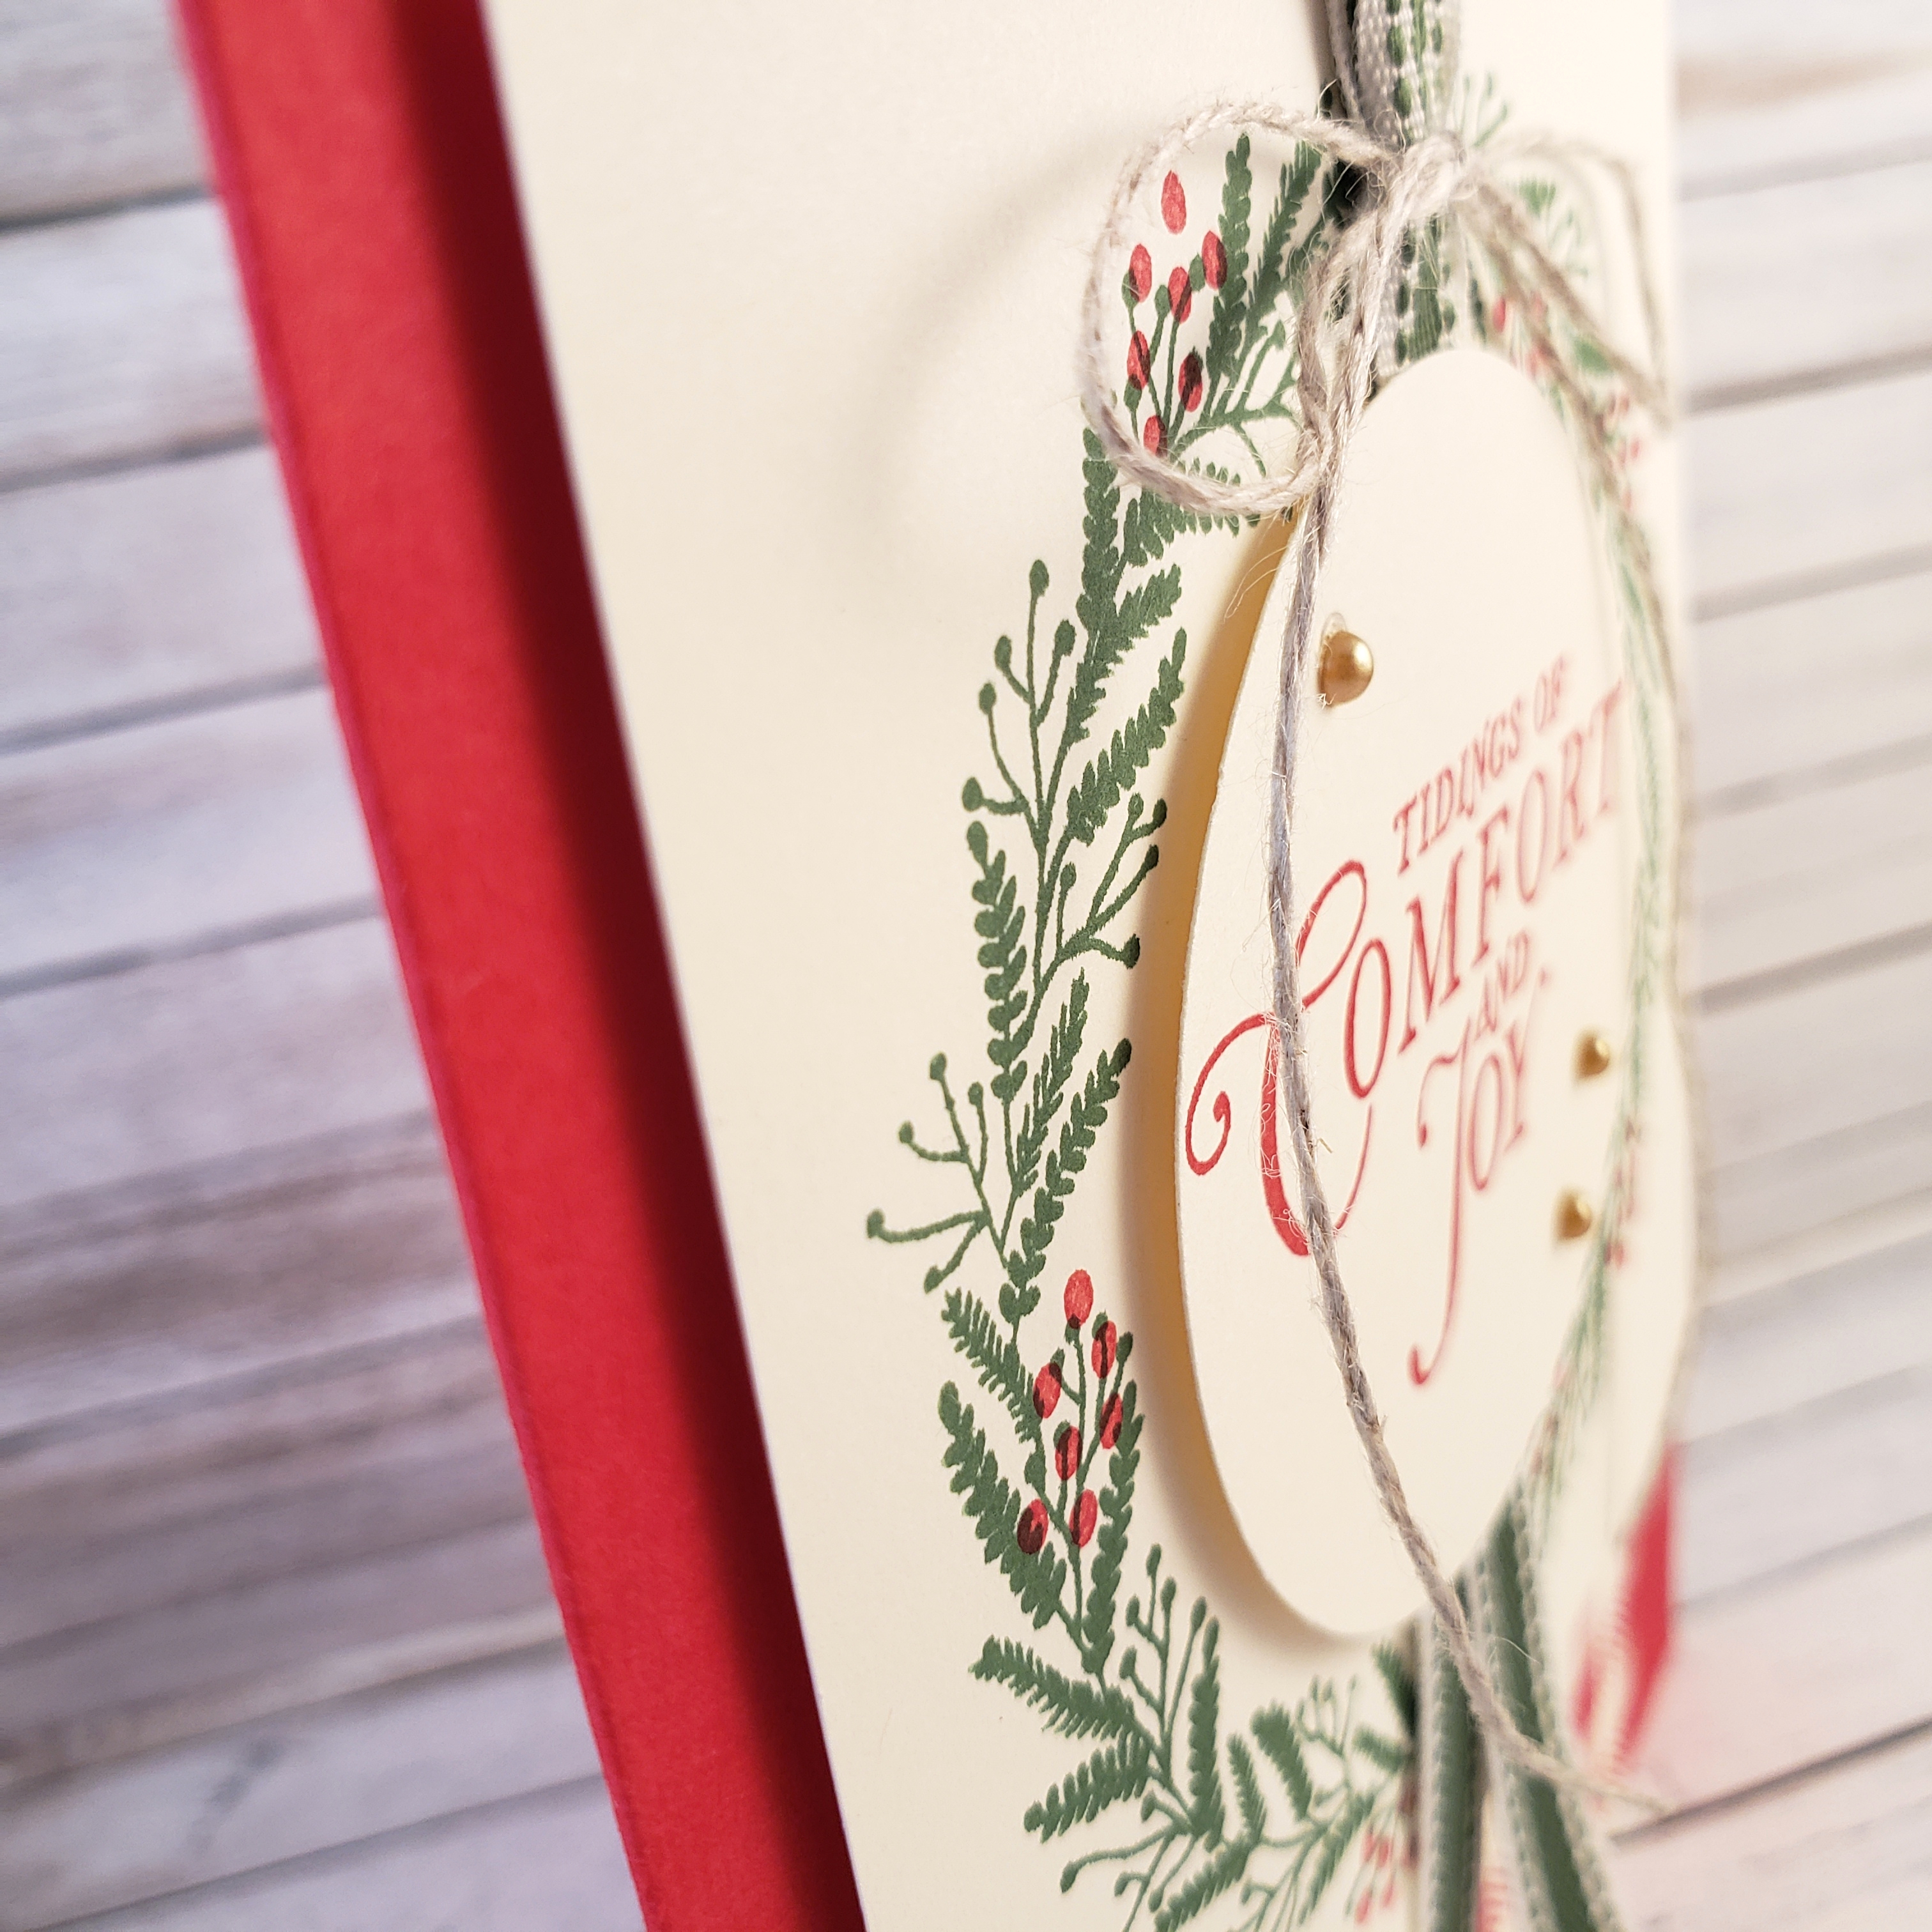
Next was to cut a 3-3/4″ square of Very Vanilla cardstock and stamp the wreath image from the Tidings All Around stamp set in Garden Green ink. To this, I stamped multiple berries from the same stamp set using Real Red ink. The square is adhered to the card front using Stampin’ Dimensionals. Then I added a piece of the Garden Green 3/8″ Double-Stitched Ribbon, approximately 8.5″ long, folded in half over the wreath image. Mini Glue Dots made attaching the ribbon super easy!

I love how the bow of Linen Thread tied onto the top of the folded ribbon adds an extra touch of a country cottage style. Of course, the circle of Very Vanilla cardstock is created using my favourite 2-1/4″ Circle Punch from Stampin’ Up! First, I stamped the sentiment with Real Red ink onto a piece of Very Vanilla cardstock, then used the punch so that the sentiment would be centered in the circle. This was then attached over the ribbon to the middle of the stamped wreath image with Stampin’ Dimensionals.

The final touch was to add the three gold Metallic Pearls around the sentiment.

Do you have a punch or die that you find yourself using quite a lot more than the others?  Let me know in the comments on this post. Or, why not just make a card with it and share it on the As You See It Challenge Blog! We all want to see how you use your go-to cut-out!

As always, you can order these products by going to my Online Store. Just click on the SHOP option on the top menu of the page or click on the SHOP circle on the side bar on your computer or scroll down to find it at the bottom of this post if you’re on your mobile device.

Christmas in July

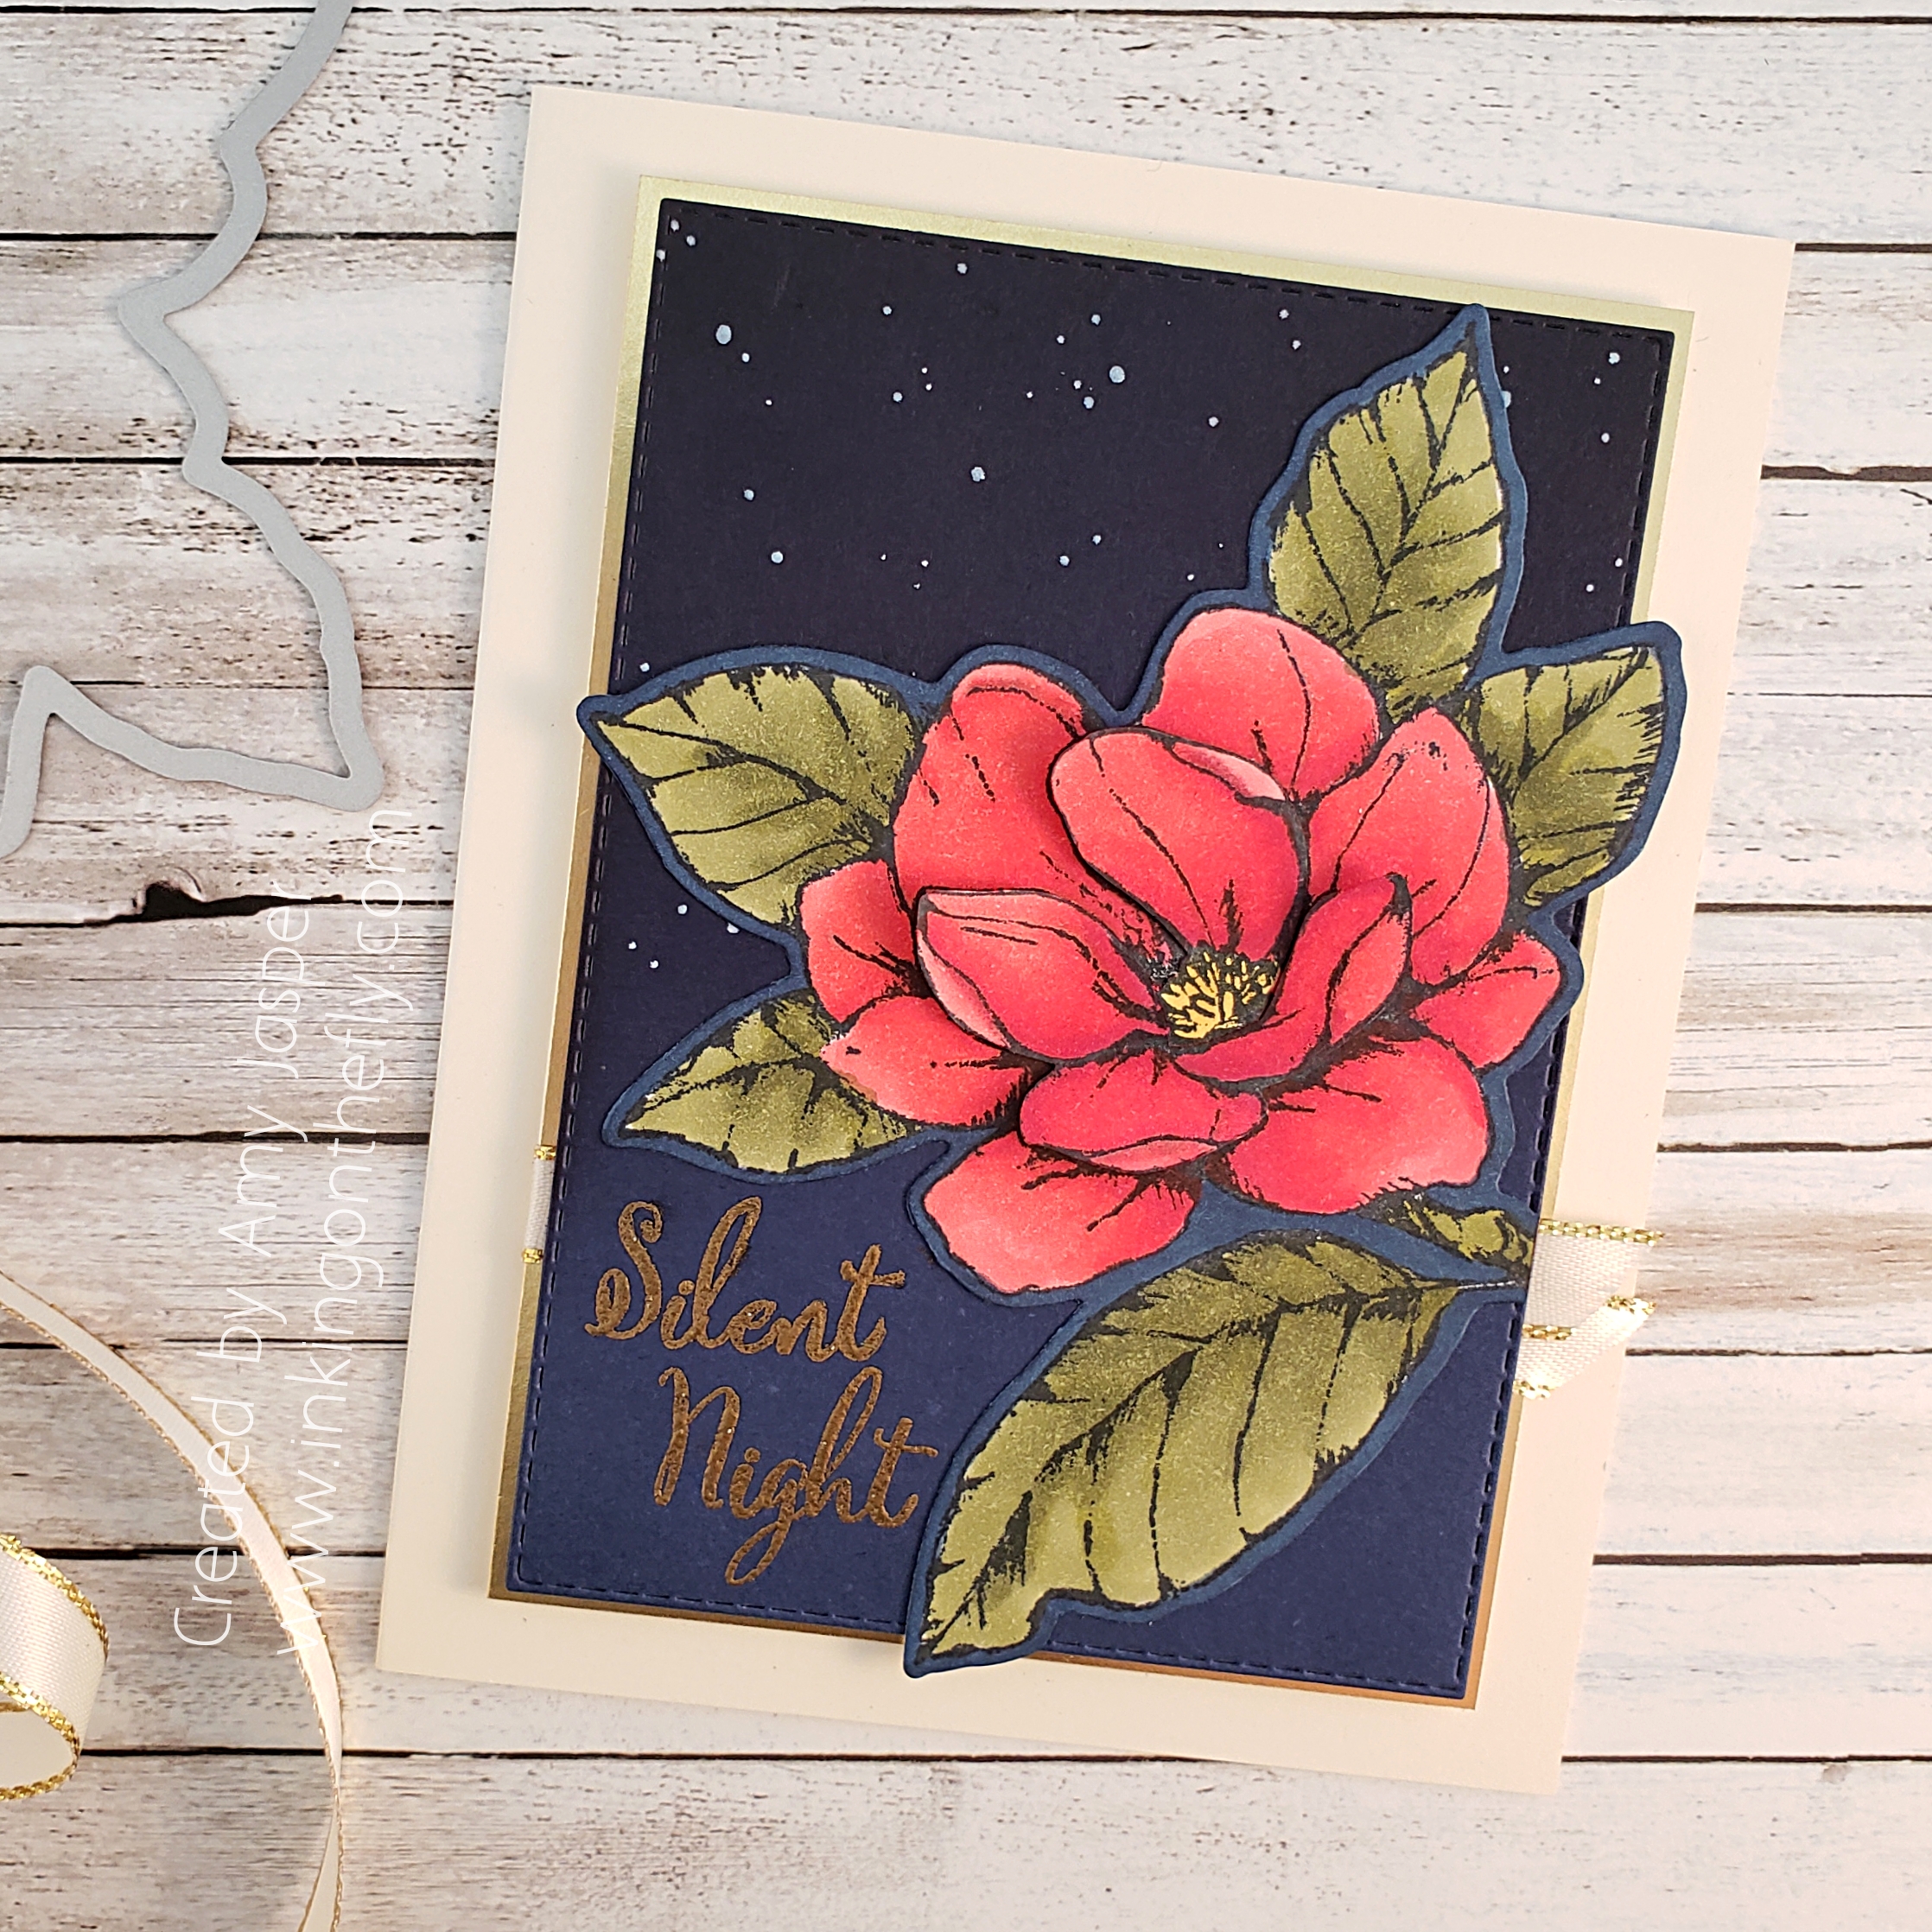
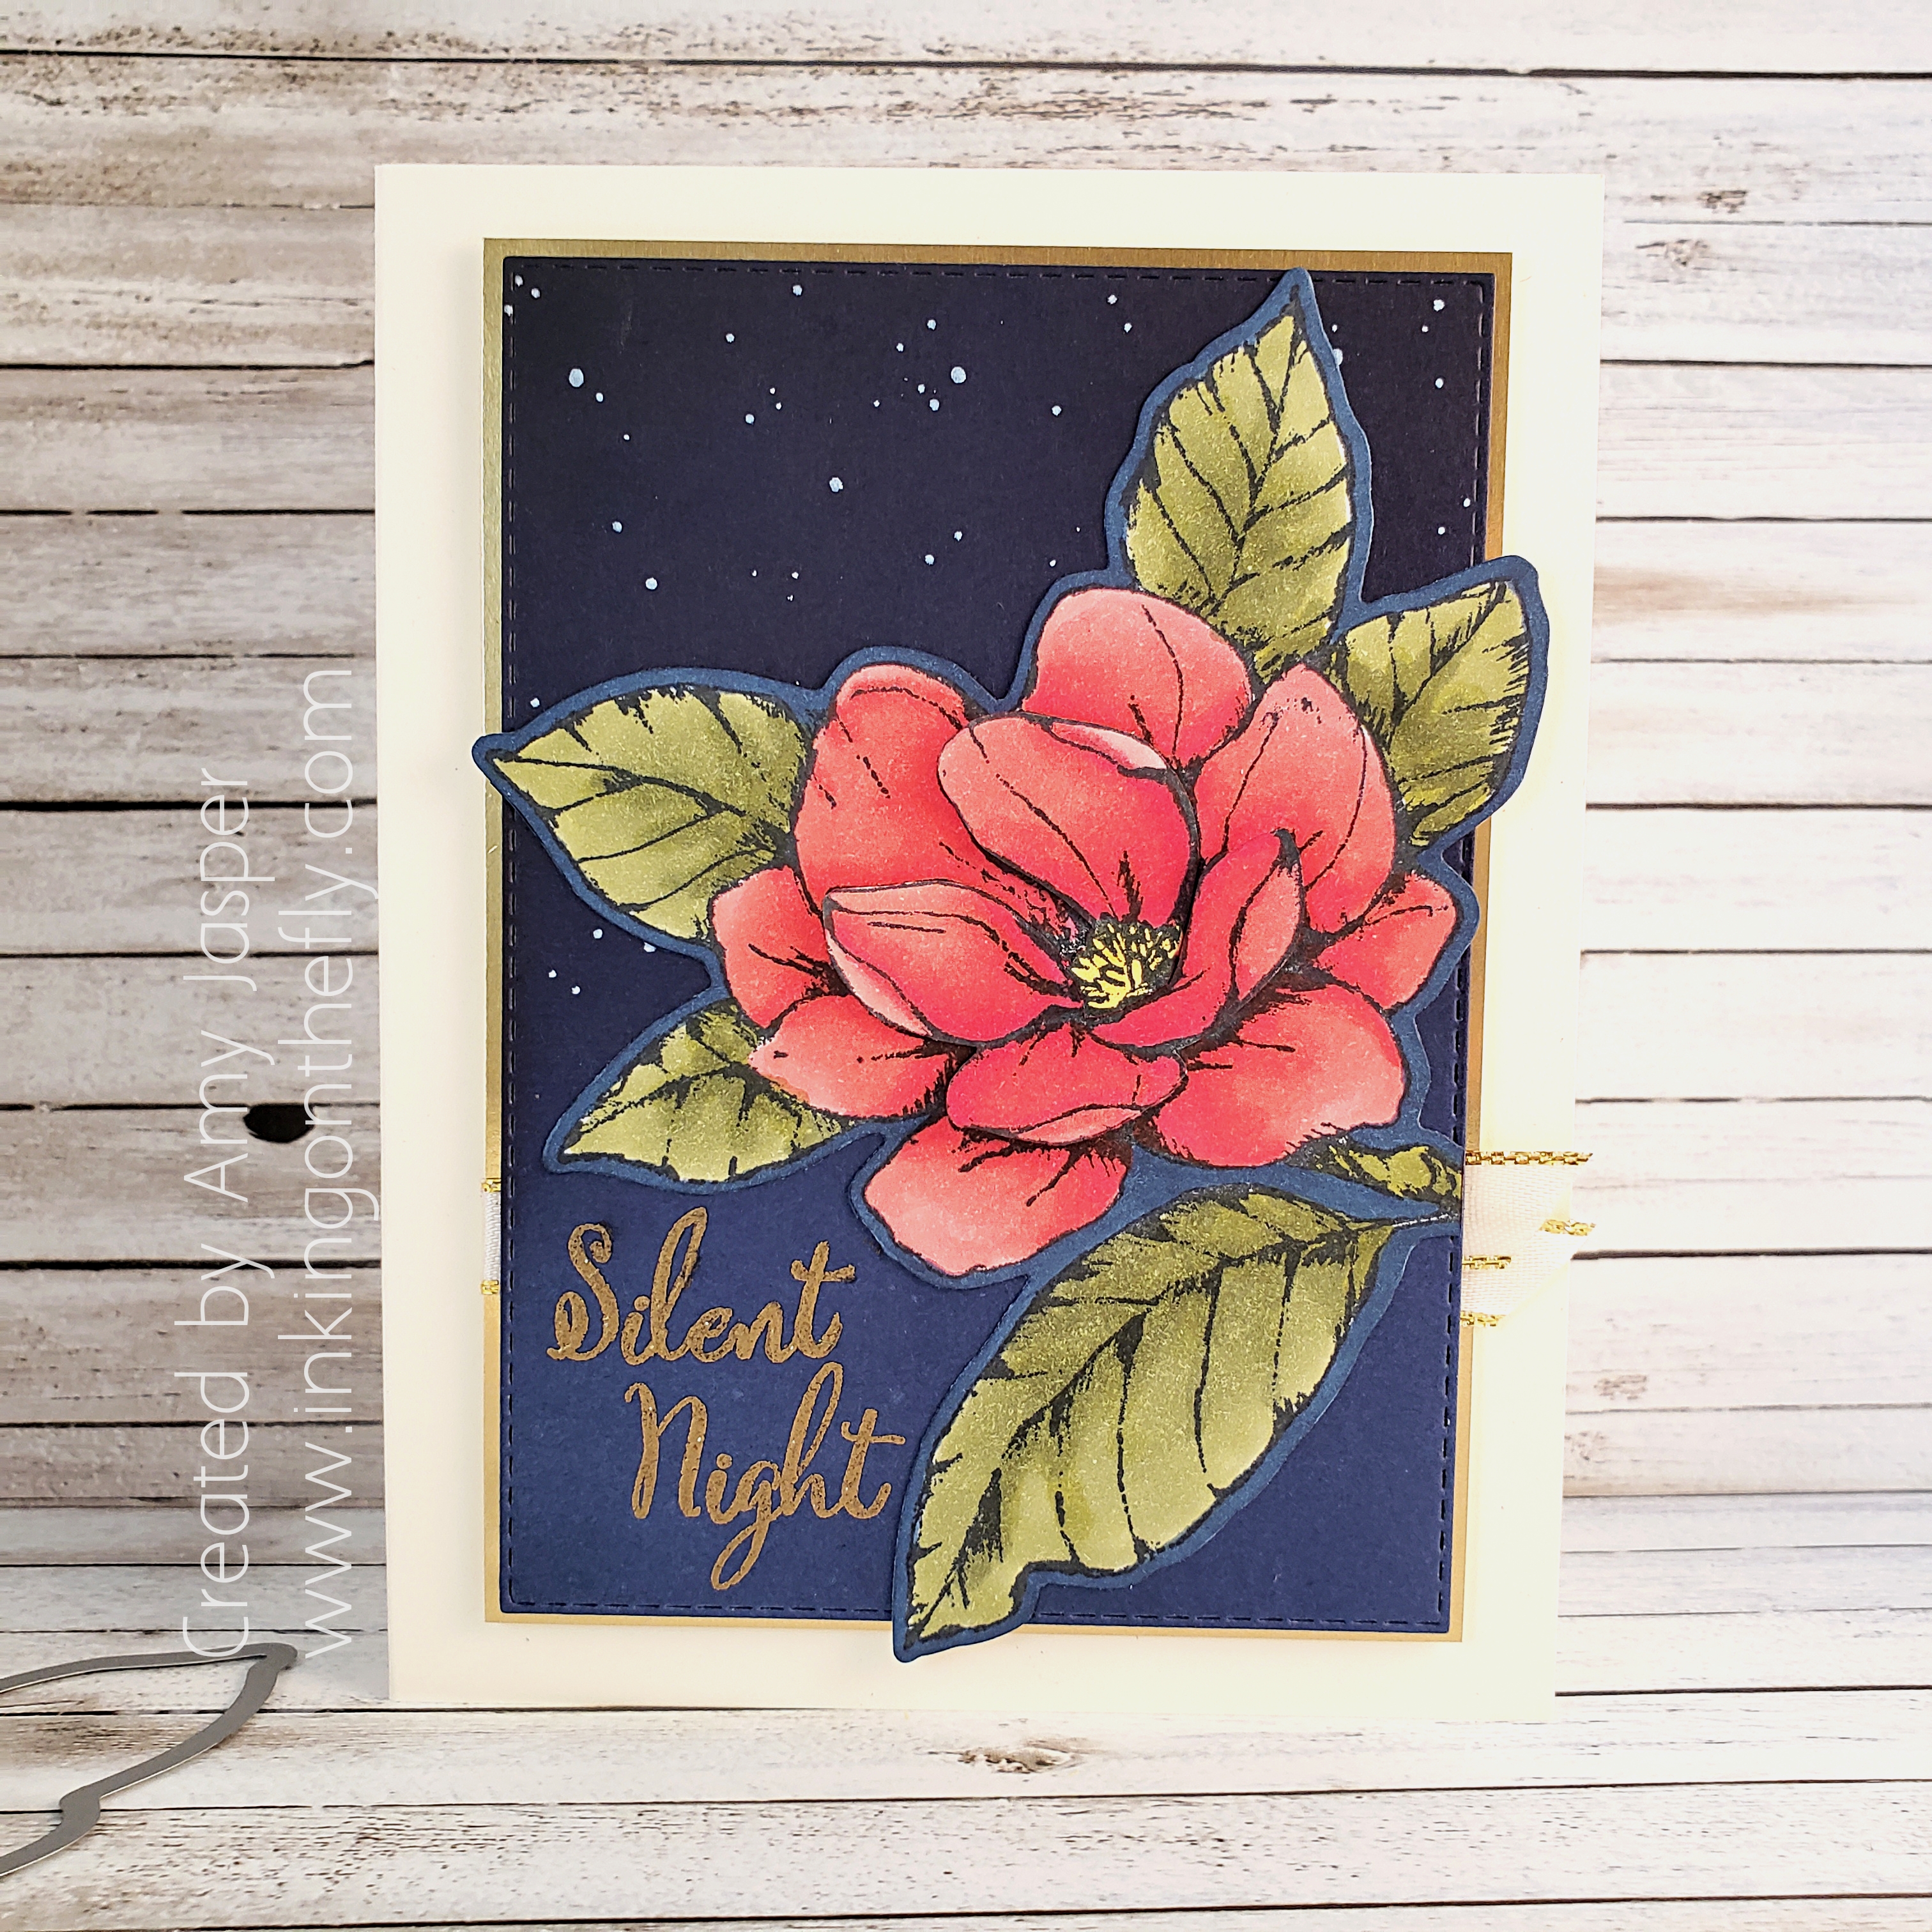
I just can’t get enough of the Good Morning Magnolia stamp set!

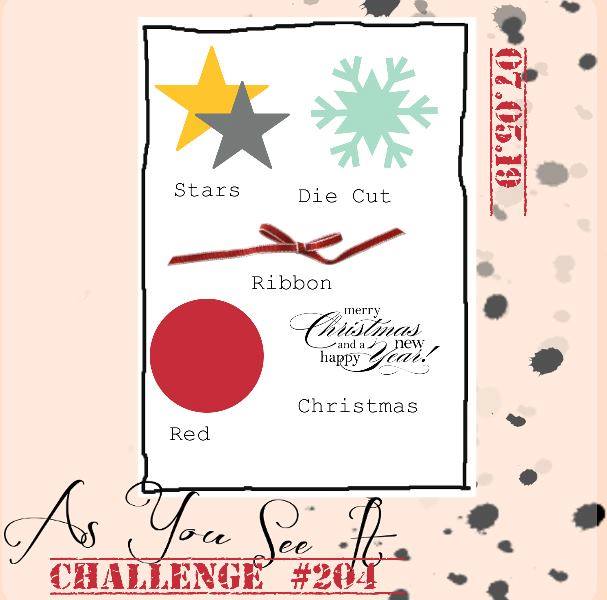
The As You See it Challenge this week is what we call an assortment challenge. You have to include all of the listed elements on your card design.

I wasn’t sure how to pull this one off as I like to use current Stampin’ Up! product for the cards I post on my blog and I didn’t have ANY stars!! Not a single current stamp set or die cut with a star. I’m a little bit shocked at this finding. It appears that I need to make a purchase, lol!

Since I didn’t have stars, I remembered a technique using the Chalk Marker to dot the background to look like stars in the night sky. That was the beginning of this card.

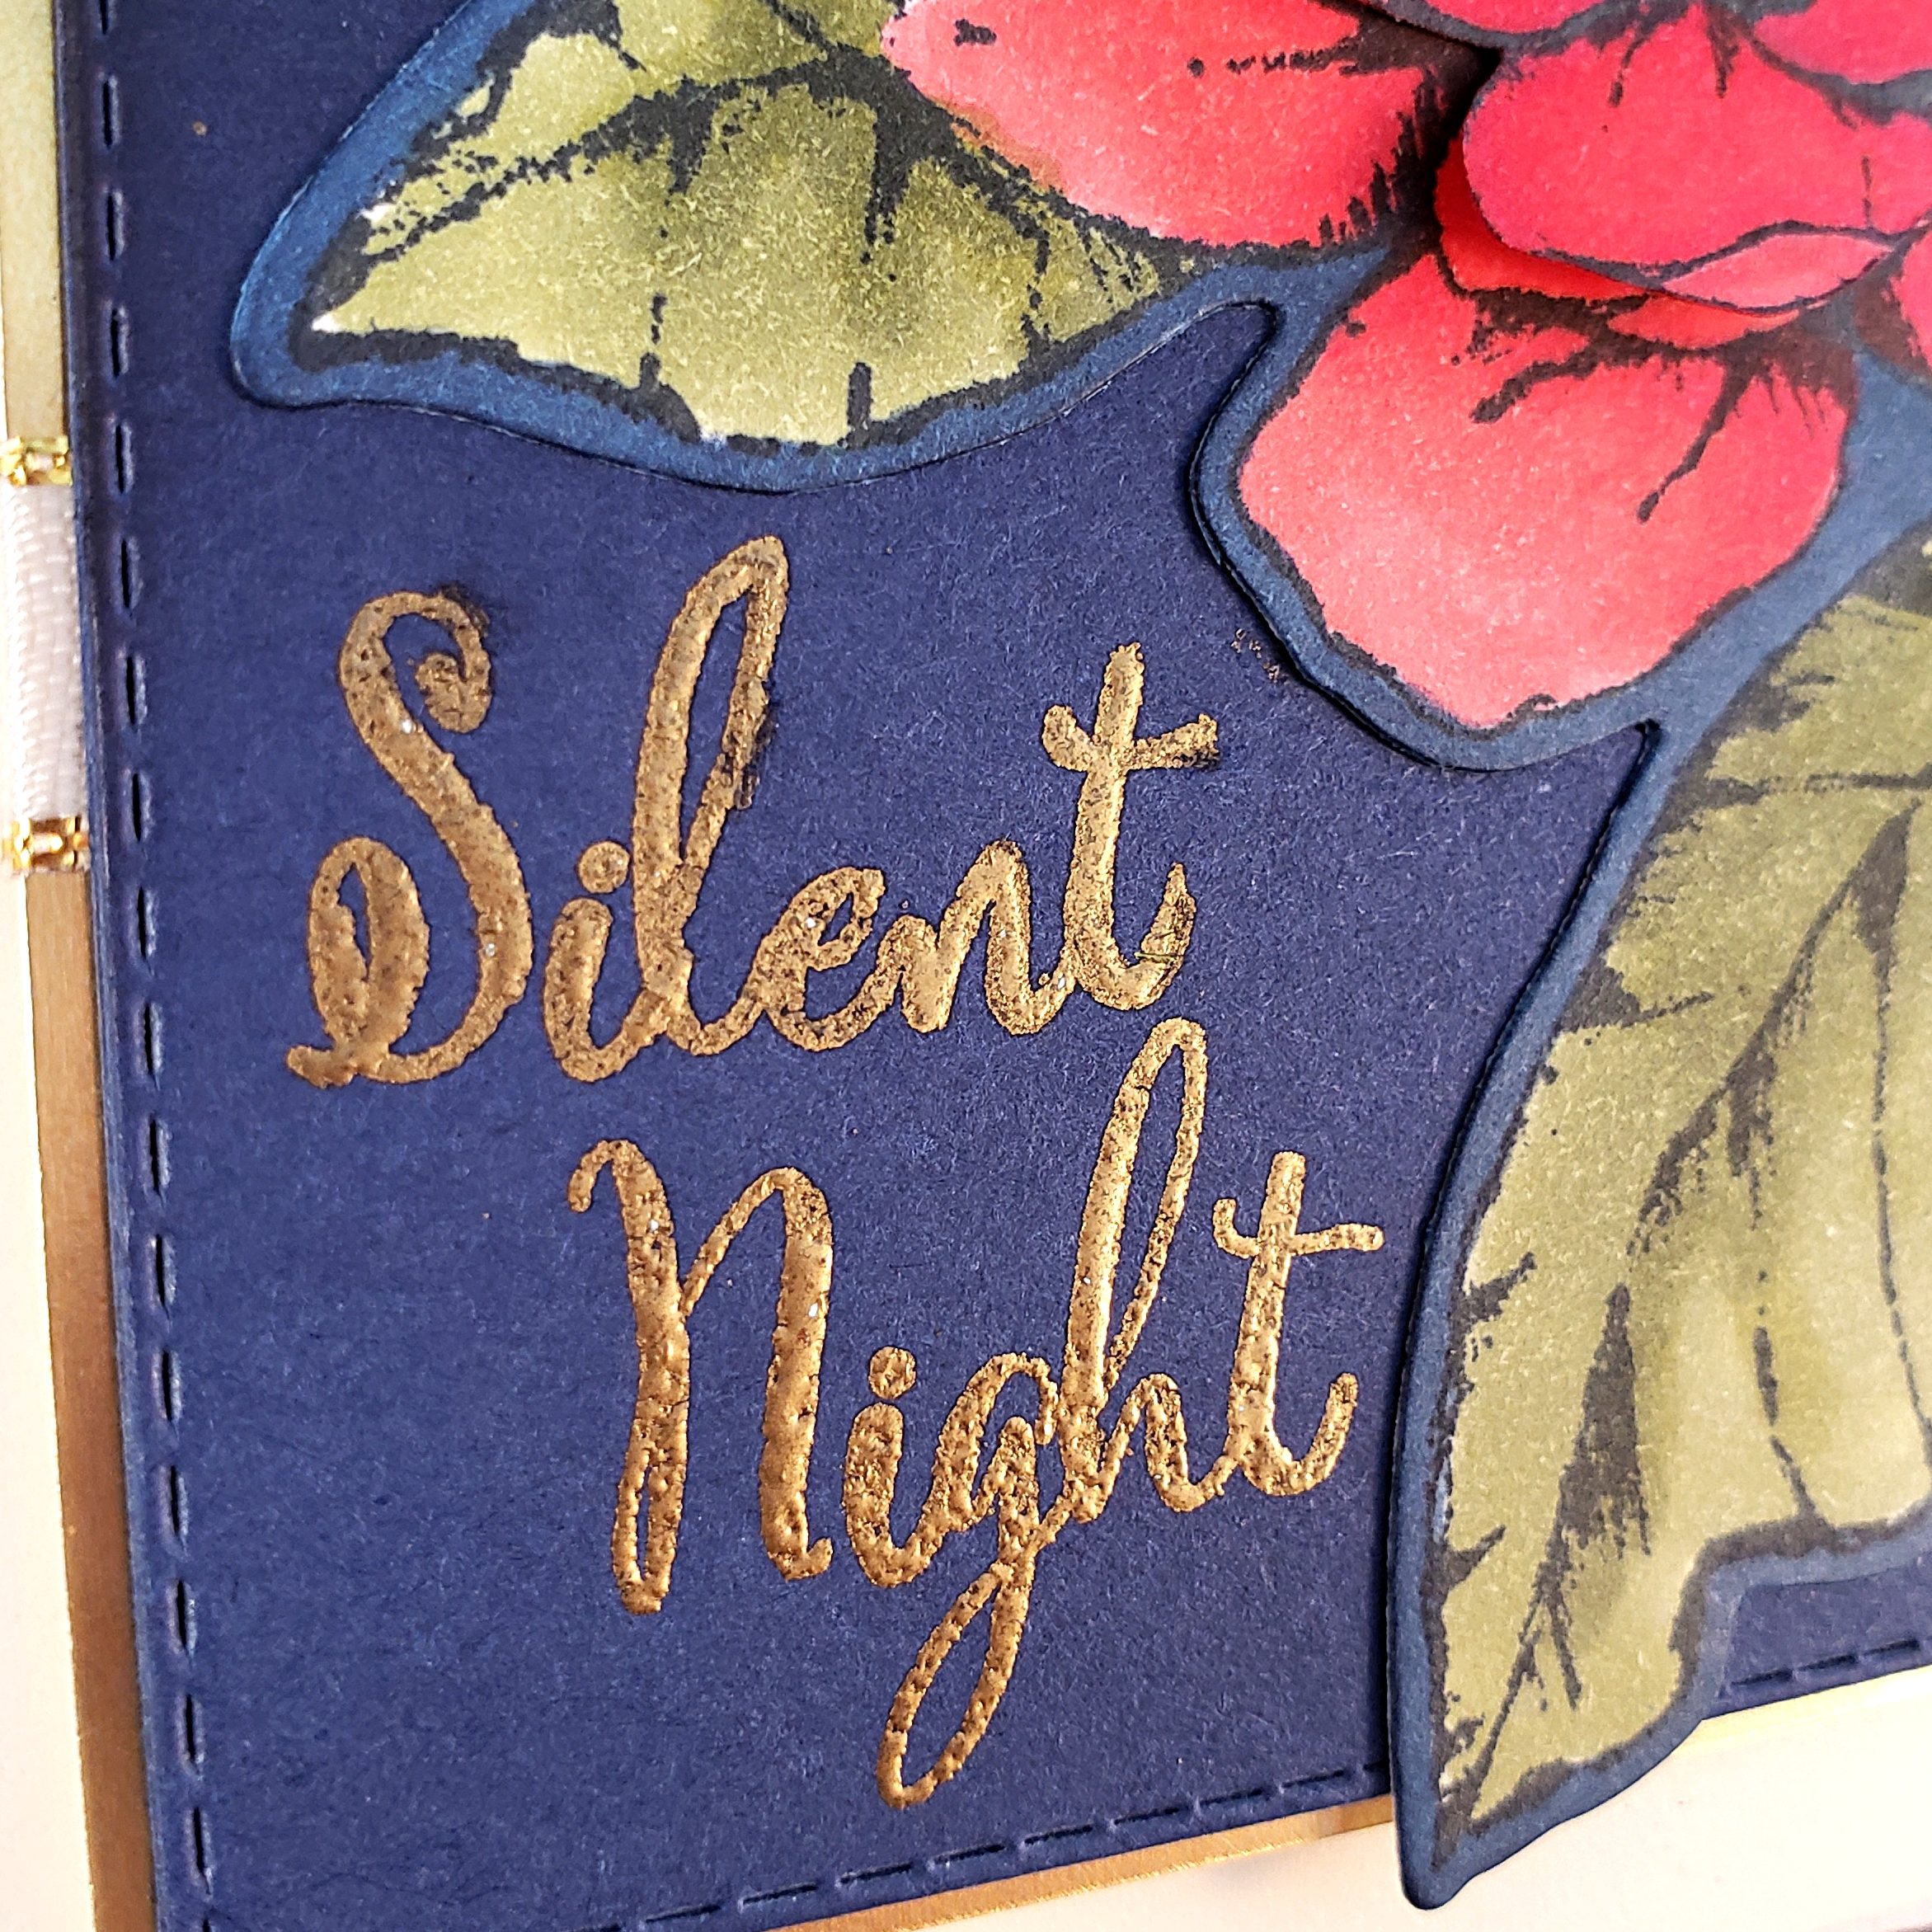
I sponged some Night of Navy ink on to Night of Navy cardstock fading it lighter as I moved down the paper. The Chalk Marker dots were then added to make the starry night sky. The sentiment is another problem that I came across as I couldn’t find any Christmas sayings that were the right size for that small space. So I created my own using the Make a Difference Photopolymer Stamp Set. It’s a bit more effort, but it allows you to write whatever you might choose. I stamped each letter with Versamark ink, then heat embossed with Gold Embossing Powder.

I used the Rectangle Stitched Dies to cut the Night of Navy piece to the size I wanted. That was attached to a piece of Gold Foil Paper on which I added a little peek-a-boo amount of the Gold Metallic Edged Ribbon. Both of those layers were added to the Thick Very Vanilla cardstock card base.

The magnolia image is the main attraction on this elegant Christmas card. I stamped the image on Whisper White cardstock with Tuxedo Black Momento ink, then coloured it using my Stampin’ Blends Markers: Poppy Parade (light and dark), a tiny touch of the Cherry Cobbler (I think it was the light one, but I can’t remember now, sorry), Mango Melody (dark) for the centre, Mossy Meadow (light and dark), and the Color Lifter Blends Marker to intensify some highlights on the petals. I then coloured around the outside of the flower with the Sark Night of Navy Blends Marker so that when I die cut the image, it would blend more with my background colour. I attached the die cut magnolia with Multipurpose Liquid Glue.

But that’s not all!

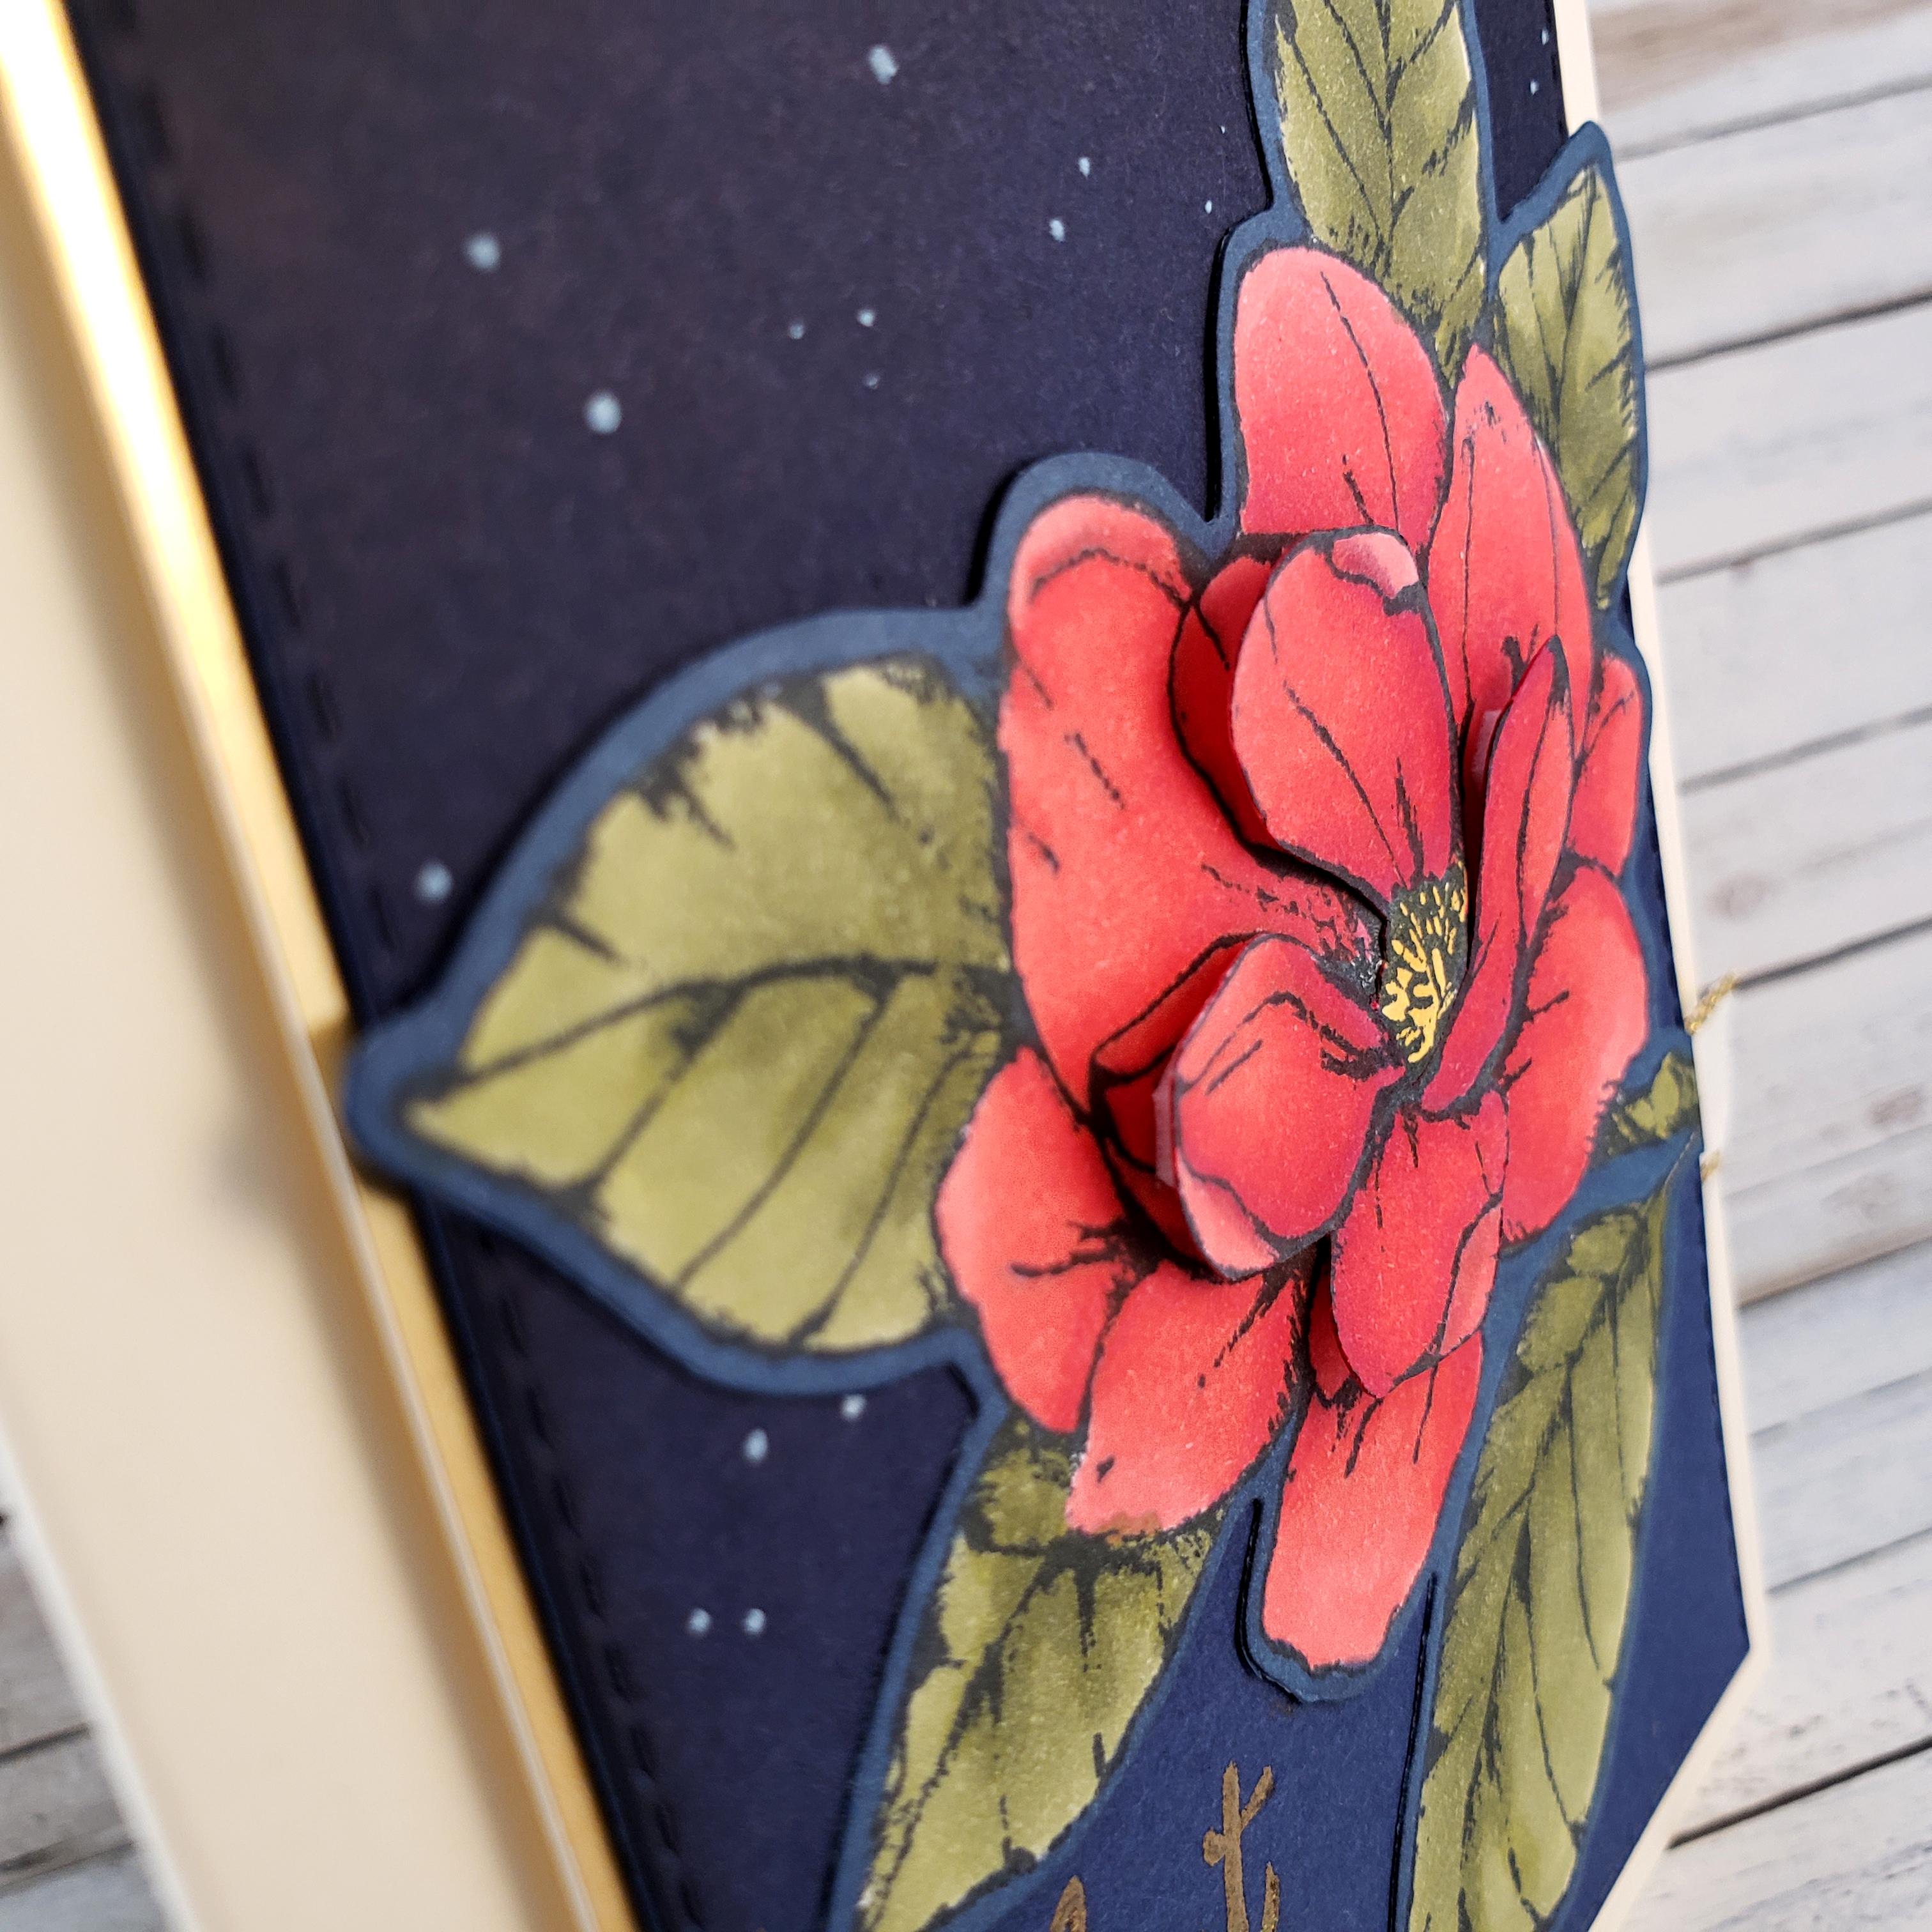
I stamped the magnolia a second time on Whisper White cardstock, colouring just the flower centre and four centre-most petals. I then fussy cut around those four petals. I attached them with Multipurpose Tombo Liquid Glue under the centre of the group of petals, and with Mini Stampin’ Dimensionals under the outer-most area of the petals, giving the flower more of a 3D look.

I love how it turned out!! I am definitely going to share this 3D look with my technique class in the future. I think they’ll really like it!

Now it’s your turn to give this assortment challenge a try and share it with us on the As You See It Challenge Blog! We would love to see how you pulled all of those elements together.

And if you like this Good Morning Magnolia stamp set as much as I do and you are in Canada, why not go over to my ONLINE STORE and add it to an order. You’ll probably love the whole Magnolia Lane Suite! It’s all just gorgeous!