Expressions in Color Paper Pumpkin Kit

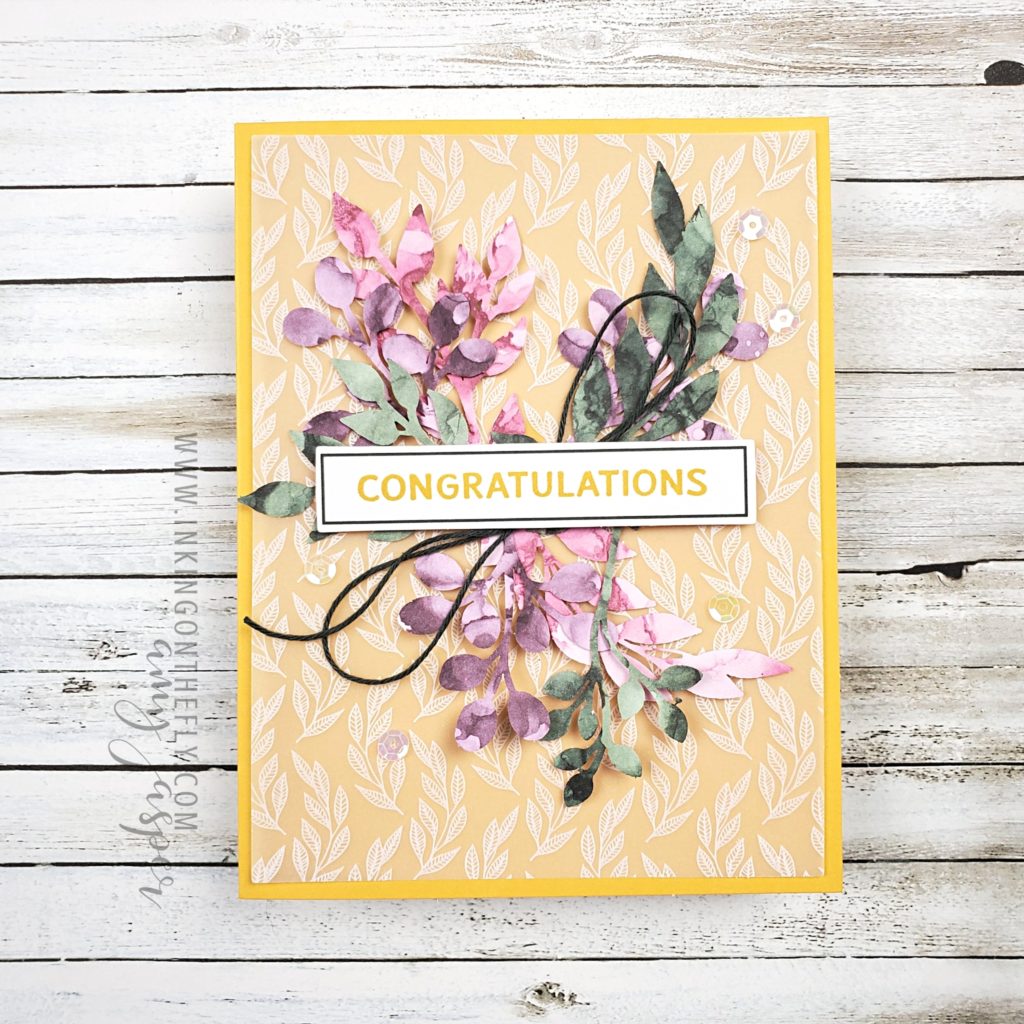
The Paper Pumpkin kit for June has stunning paper designs in the style of the Expressions in Ink Suite from Stampin’ Up!. If you don’t have any of the elements of this suite, you’ll definitely want to add them to your crafting supplies!

Paper Pumpkin is a subscription service that brings you a papercrafting kit each month – right to your door! The kit includes everything you need to make the projects designed exclusiveley for that month. You can subscribe or add them to an order as a pre-paid option.

If you’re in Canada, like me, you can SUBSCRIBE NOW and get your first box of creativity dropped at your door in July.

Whenever my Paper Pumpkin kit arrives, I always start with making one of each of the projects by following the instructions closely. I share my unboxing and assembly of the kit live on Facebook the Monday after I receive my kit. Usually, that will be the third or fourth Monday of the month. The following Monday, I share my alternative projects using elements of the kit.

I would love for you to join in on my Facebook Live videos every Monday morning at 10:30 (PT). It’s an absolute delight to chat and share my passion with you! I will be sharing my alternative projects this Monday, June 28th. You can join me there or check back here on the 29th to see what projects I create with the supplies in the kit.

Did you miss my unboxing of the June 2021 Expressions in Color Paper Pumpkin kit? No problem! Just watch it here!

If you like my videos, make sure you subscribe to my YouTube Channel.

Thanks so much for supporting me in my small business (or is it more of a big hobby?). I love being able to share my love of stamping, crafting and art.

Now go make something beautiful!
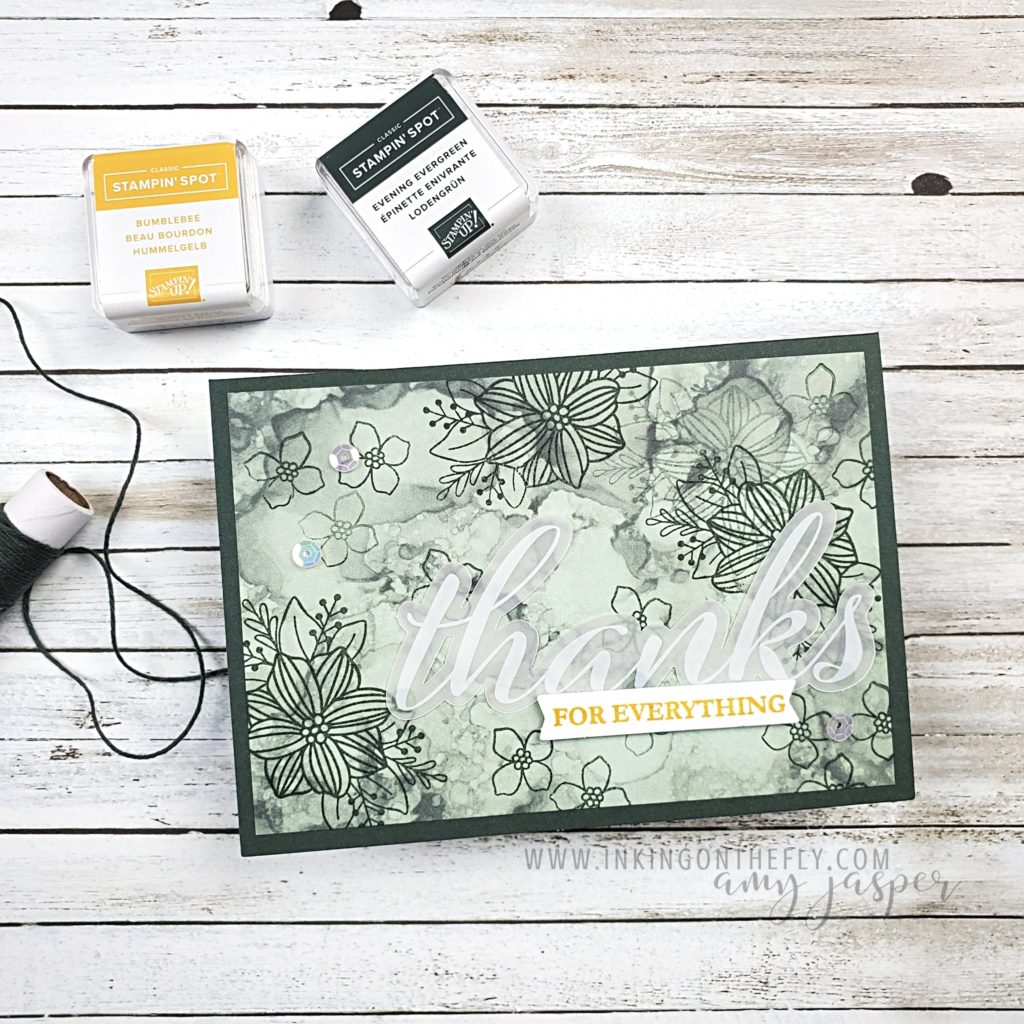
Celebrating Great Male Role Models

Today is Father’s Day. I’m so lucky to still live in the same town with my Dad. I also have the privilege of living in the same town as my Father-in Law!

We are camping this weekend with my parents. Celebrating Father’s Day in the great outdoors with hiking, sleeping in our tent, campfire food, and fishing on the little lake in the canoe. There will also be swatting at mosquitoes and using the outhouse in the middle of the night, but we try not to focus on these things. LOL!

Camping is one of the many interests that my Dad and I share together. We also enjoy cross-country (Nordic) skiiing, cycling, gardening, building things, and general outdoor adventure activities. My Dad is also a good person for me to test out a new fancy fold card on. If he struggles with opening it, then I know it’s a card that requires some extra instructions in the envelope!

Not everyone is so lucky to have a Dad that they can look up to. If you don’t, then today is the day to celebrate the men in your life who have been great role models and supporters.

Happy Father’s Day!

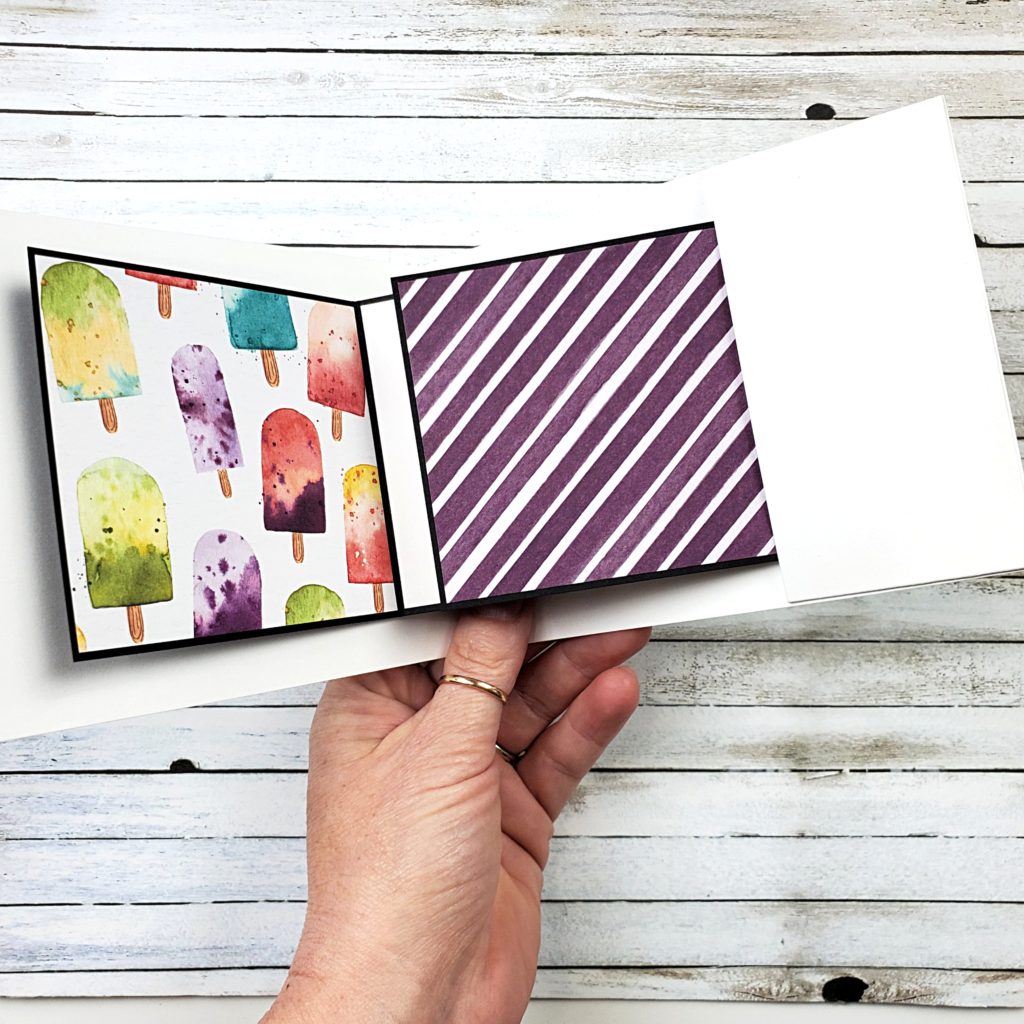
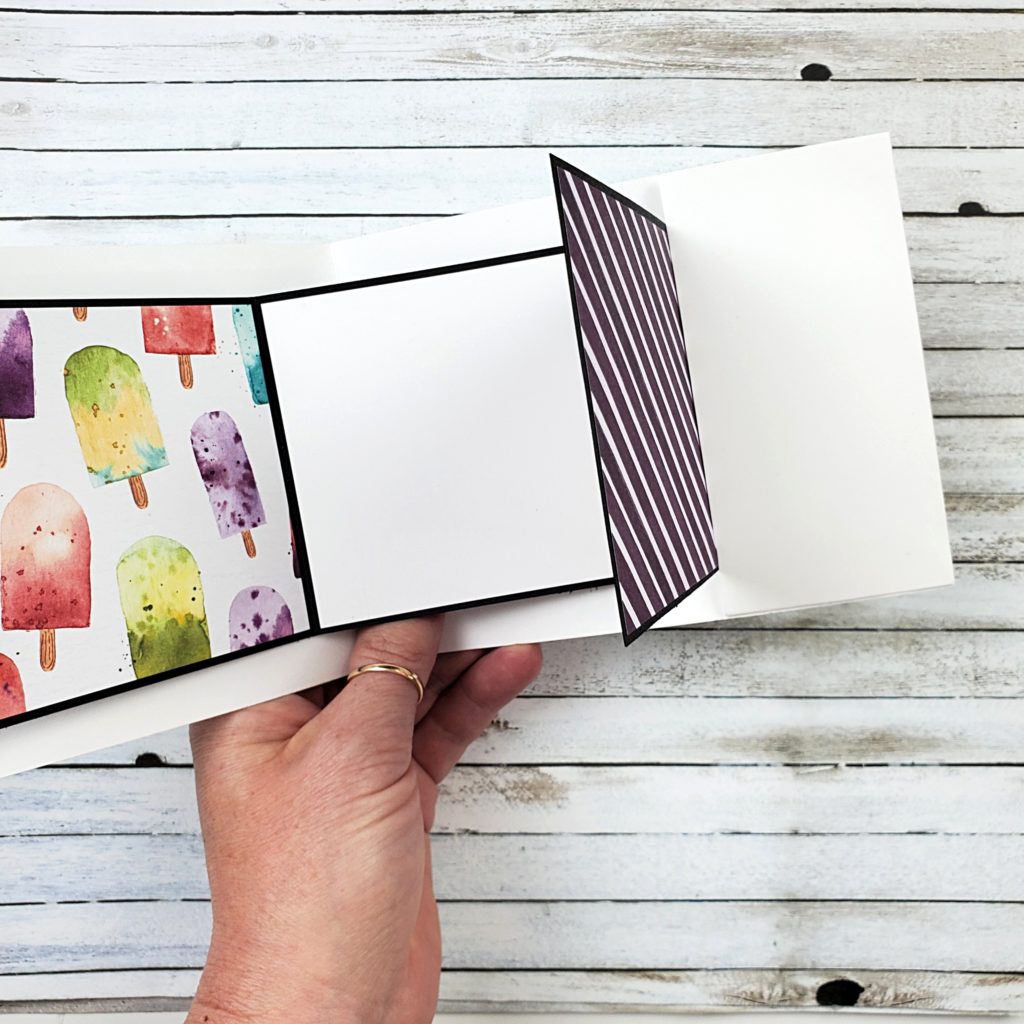
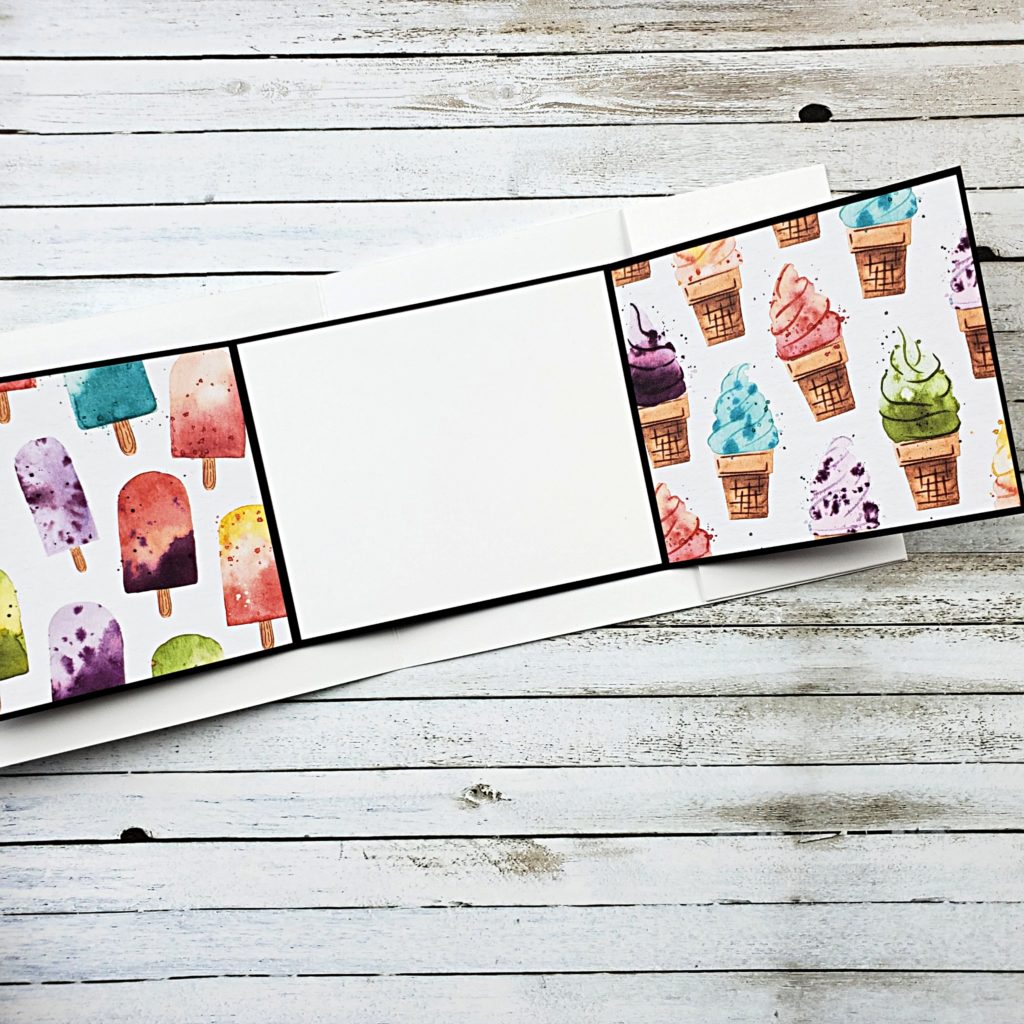
My How-to Video Makes this Fun Pop-up-flap Card Easy

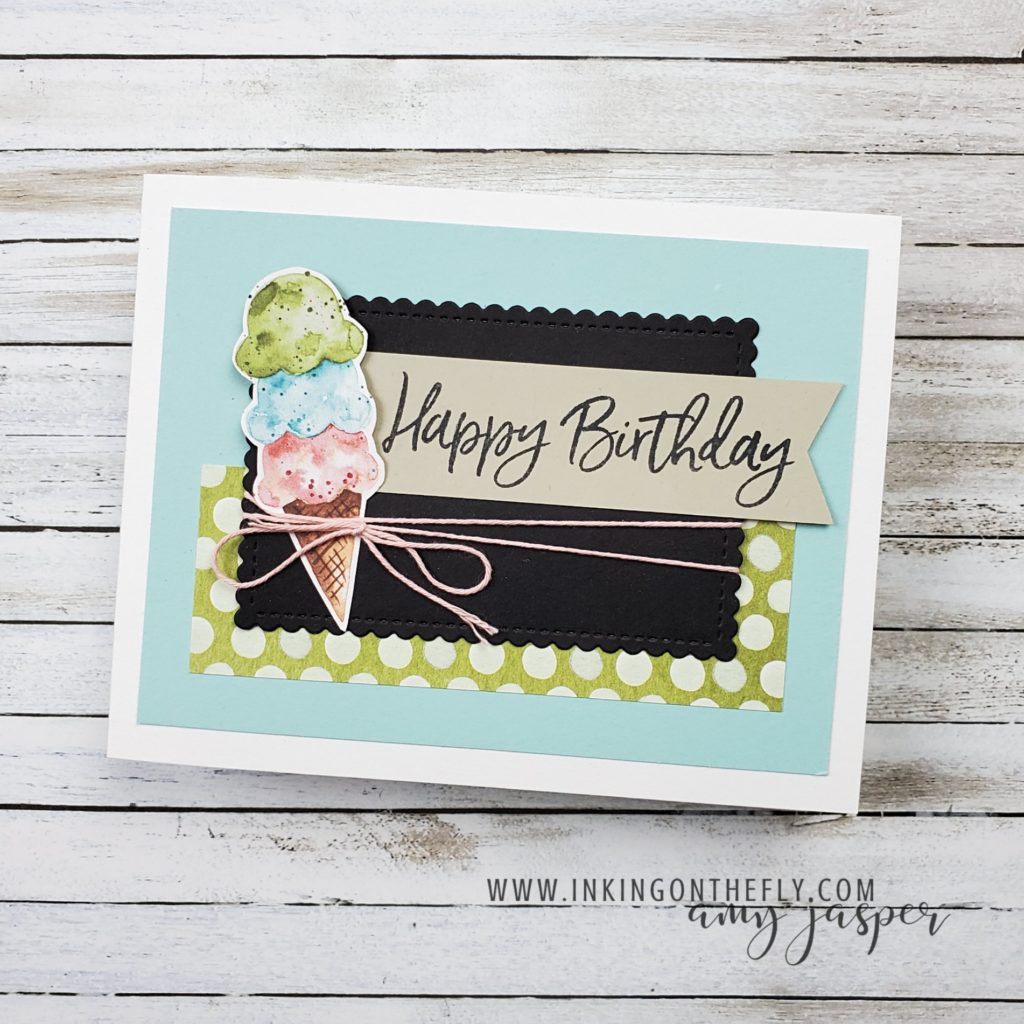
I love pop-up cards and this design is one of my absolute favourites! I first discovered this style of pop-up by watching a video tutorial shared by Mitosu Crafts. You should definitely check out their great ideas on YouTube.

I didn’t follow their directions exactly. Instead, I made a few adaptations to the pop-up mechanism to make it a little less bulky and, hopefully, a little bit simpler.

The ice cream patterned paper pack is no longer available from Stampin’ Up! I don’t think that will be a problem for you because I know you’re very clever crafters and will be able to make a beautiful card with different paper. In fact, I’d like to make another card like this one and use some of the bright and cheerful paper from the Pattern Party Paper Pack. It has 48 sheets of 12″ x 12″ paper that you can only get with Host Rewards from hosting a workshop or placing an order for yourself that’s over $200 CAD.

The ice cream cones on the front of this design are also from the retired Ice Cream Corner paper, but can easily be replaced using the Ice Cream Cone Builder Punch and the Sweet Ice Cream stamp set from Stampin’ Up!.

Follow along with my video tutorial below and give this pop-up card a try. I think you’ll be pleasantly surprised to find that it’s easier to make than you think! You’ll fine the cutting measurements at the bottom of this post.

Measurements for the Card Front

4 ¼” x 11” Thick Basic White, score at 5 ½”
5” x 3 ¾” Pool Party
1 ½” x 4 ¼” Ice Cream Corner paper
Fussy-cut ice cream cone from Ice Cream Corner paper
3 ⅝” x 2 ⅜” Basic Black Stitched So Sweetly die-cut
3 ¾” x 1” Sahara Sand
21” Baker’s Twine

Measurements for the Inside

2 ⅛” x 5” Thick Basic White, score at ⅜”, 4 ⅝”
2” x 3” Thick Basic White, score at 1”, 2”, 2 ½”
11” x 3 ¼” Basic Black, score at 3 ½”, 7 ½”
3 ⅞” x 3 ⅛” Basic White
2” x 2 ½” Clear envelope (or plastic bag)
3 ⅜” x 3 ⅛” Ice Cream Corner DSP (x3)