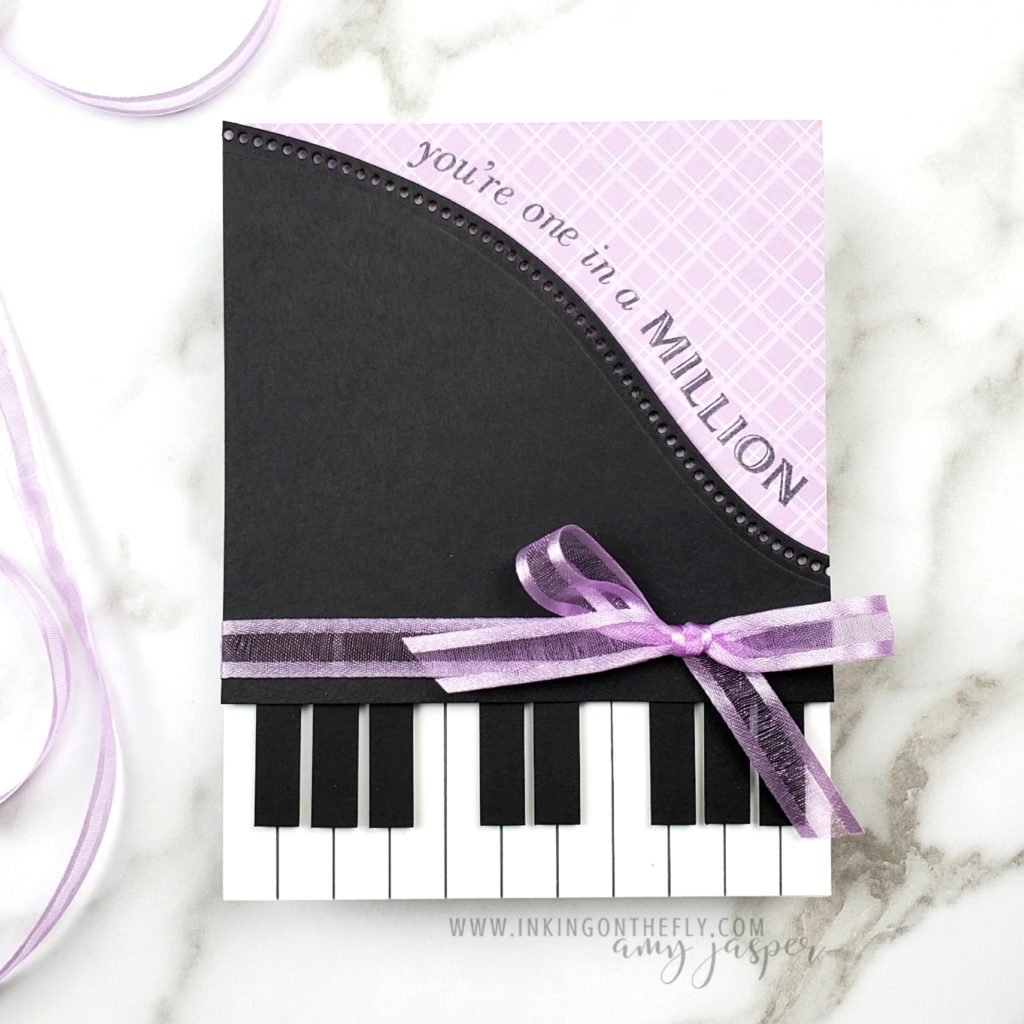
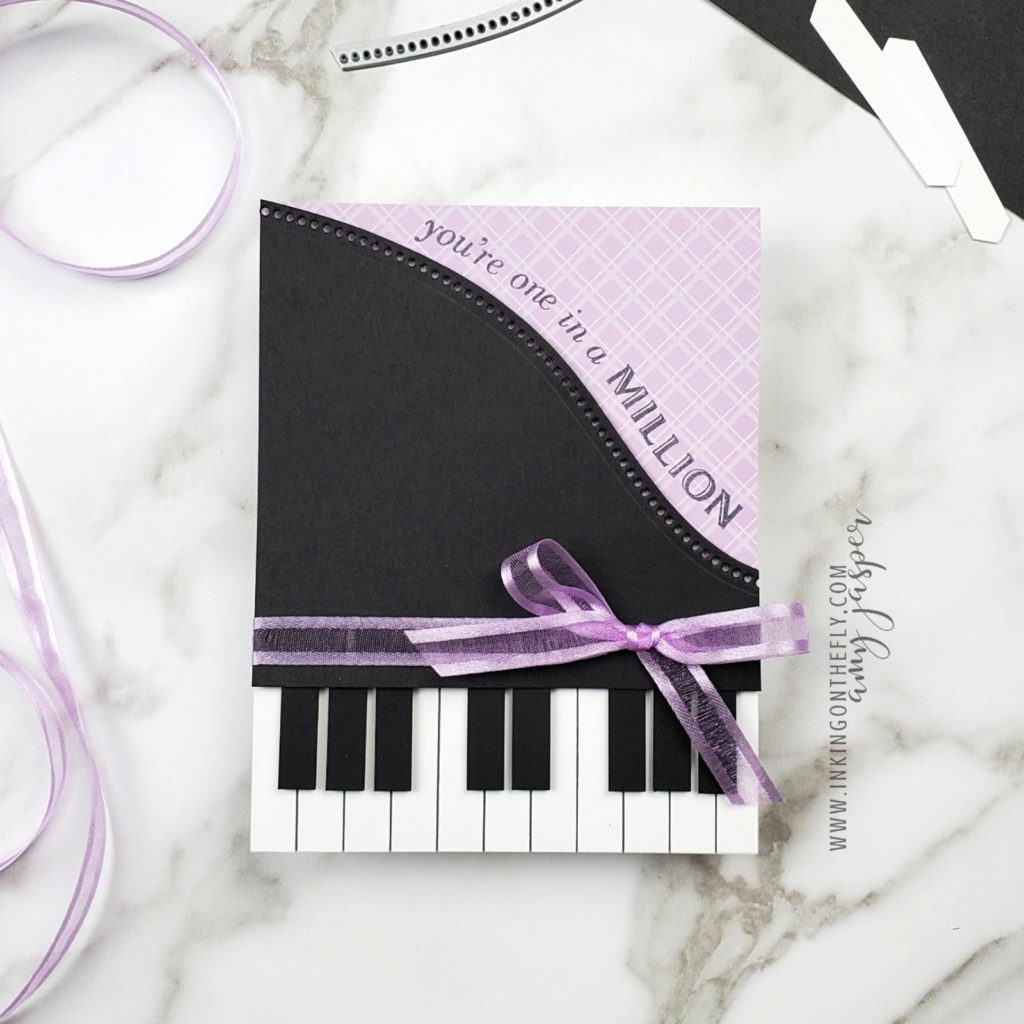
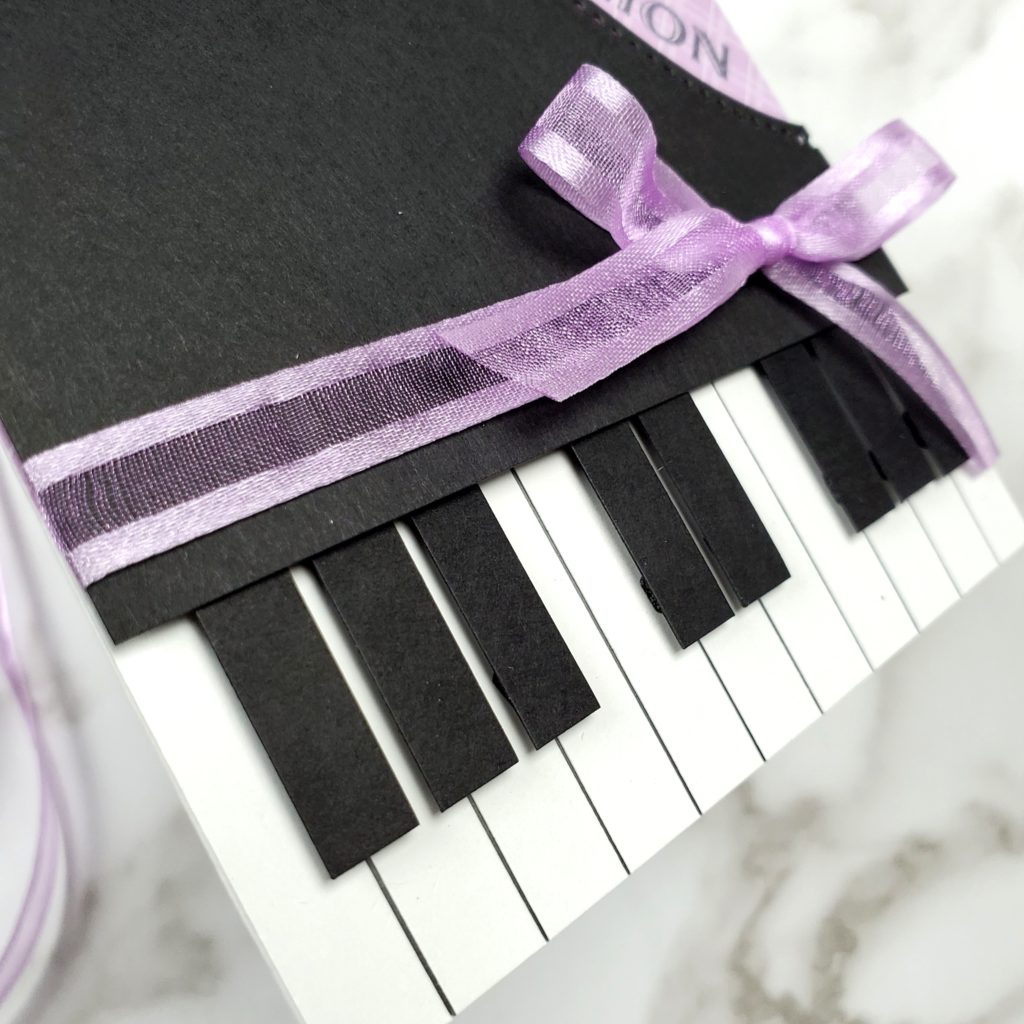
Curvy Piano Card

When I first saw the Curvy Dies from Stampin’ Up!, I knew that I wanted to use one of the curves to make a card like the one I have to share with you today.

I want to tell you more about this card, but I am suffering from a shoulder injury that is aggravated by typing on my keyboard and by using my phone to scroll or write. I’m currently pecking this out with only my right hand to protect my left shoulder from pain.

I just hope that I can still create this week! I have inspiration that I need to follow!

Below is the video tutorial of this cool piano card. You’ll just have to watch it if you want more info. I’m off now to Netflix and chill – and by chill, I mean with an ice pack on my shoulder! LOL!

The Curvy Dies and Quite Curvy stamp set are retiring soon, so head on over to my online store and get them before they’re gone.
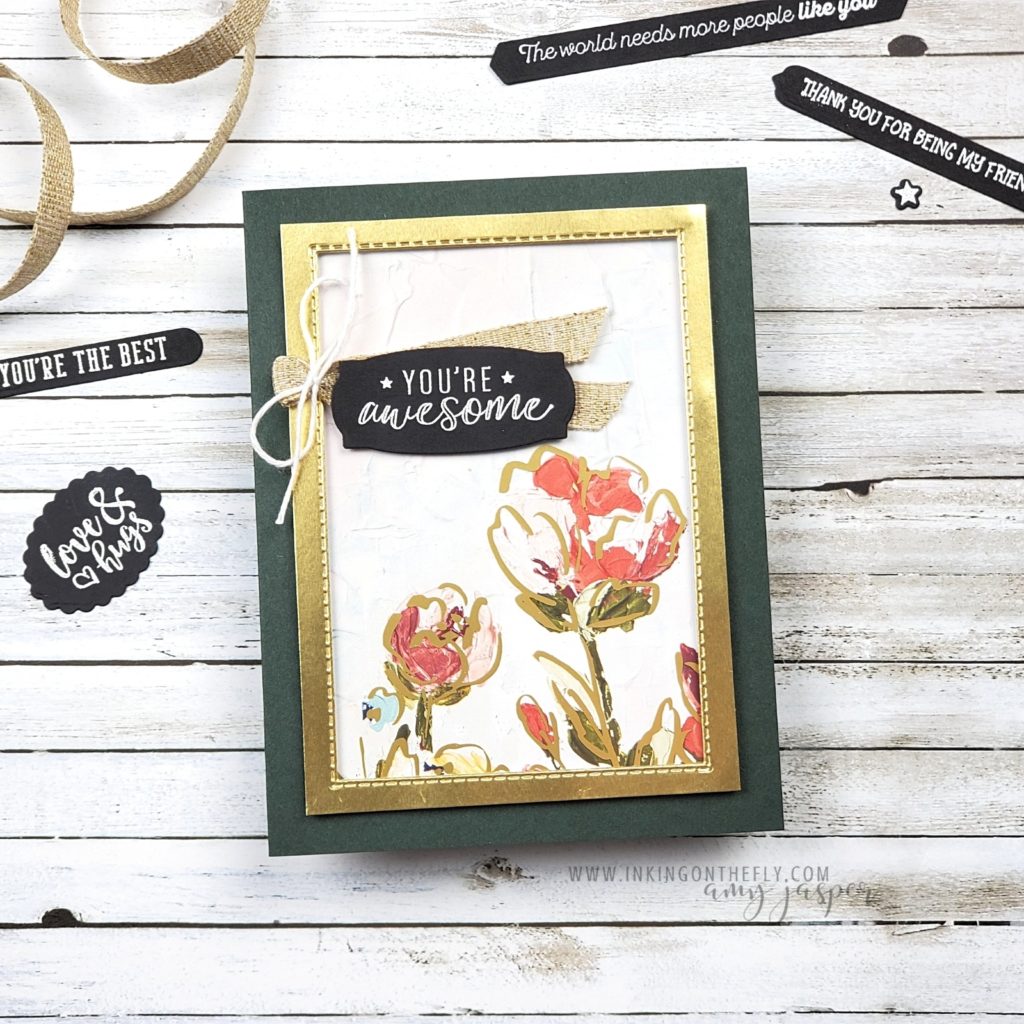
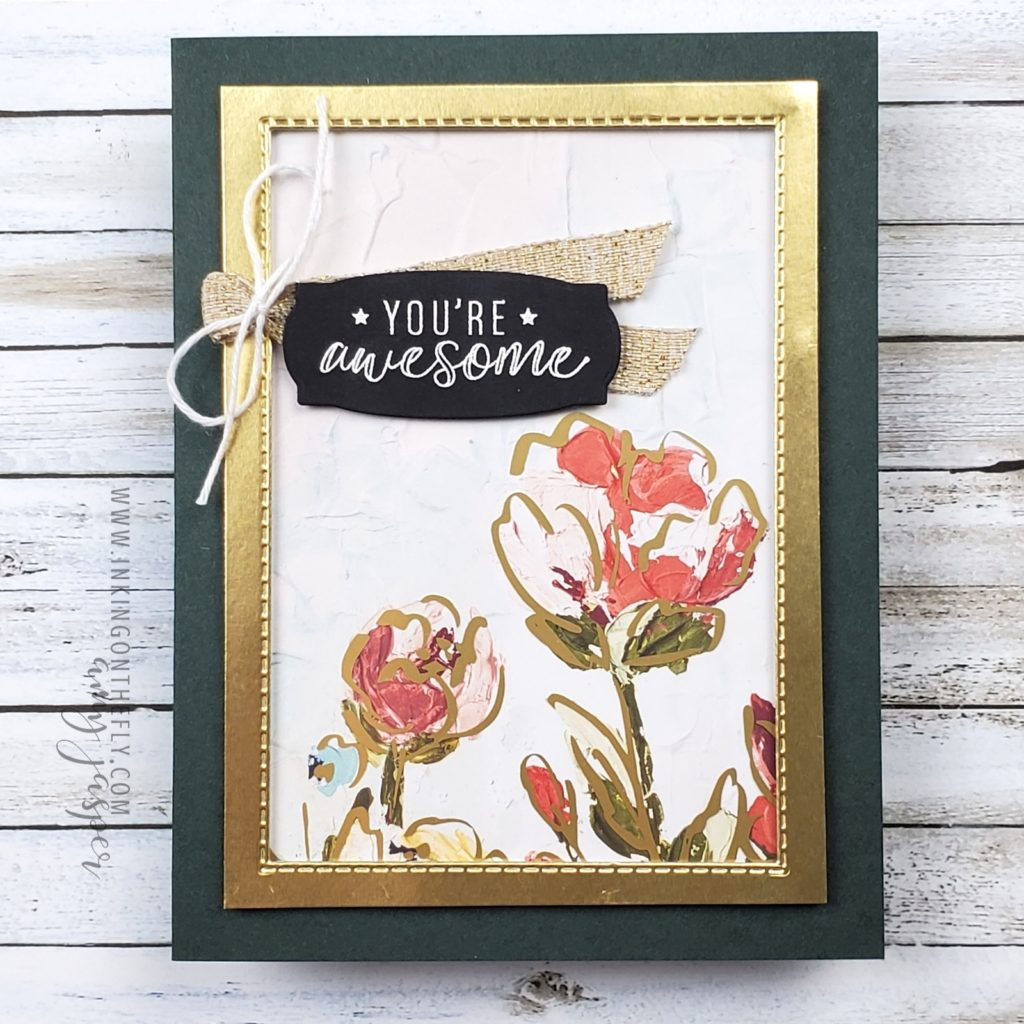
Floral Overlay Framed with Gold

Welcome to a send a card Sunday!

I wanted to show off the Fine Art Floral Designer Series Paper a few more times before it’s gone forever. I loved this paper and this entire suite of Stampin’ Up! products from the moment I saw it!

It’s always sad to see our favourite products retire. The January – June Mini Catalogue is coming to an end and many of the products will be selling out fast!

If you like this paper and the Golden Garden acetate, make sure you hurry over to my online store to grab some before it’s gone forever!

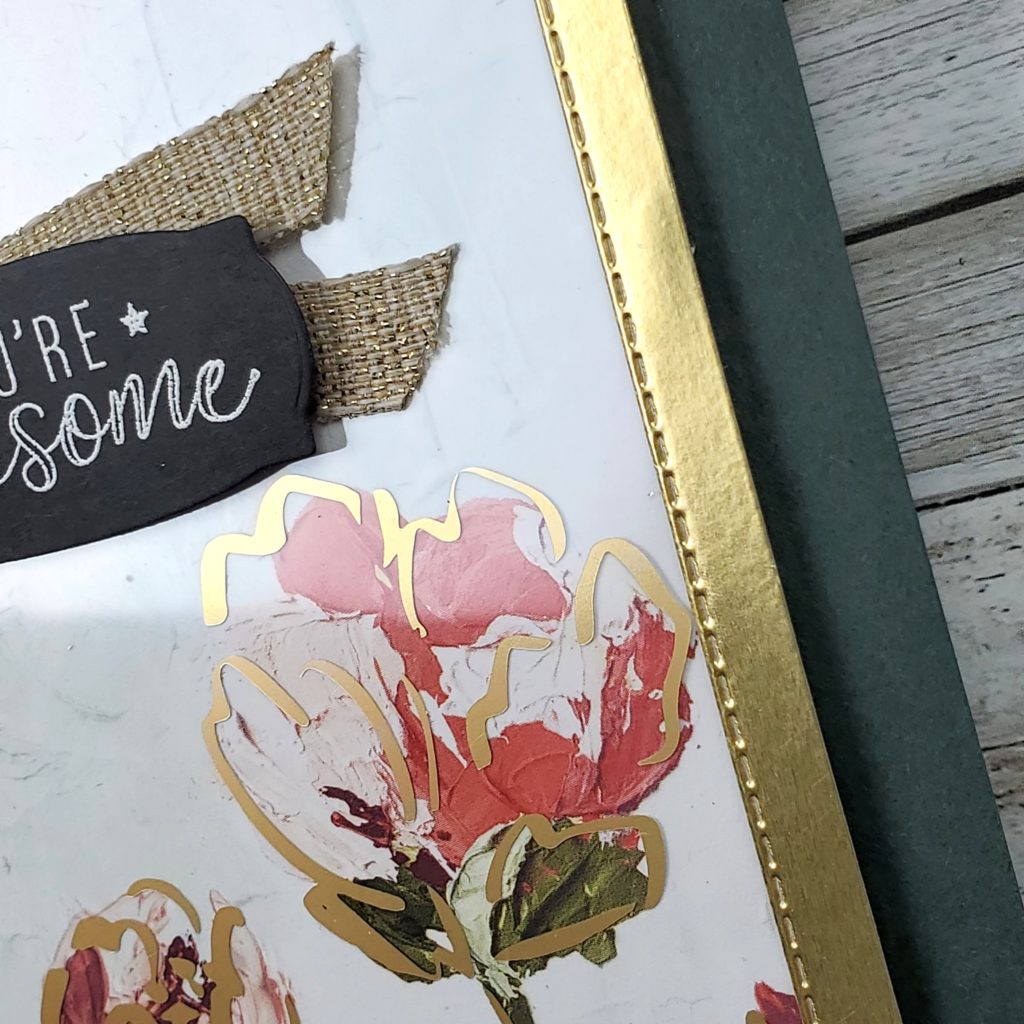
Look at how the acetate matches the patterned paper. So pretty! So Elegant!

I created a frame on this card by cutting out the center of the Gold Foil Paper with one of the Stitched Rectangle dies. The stitched edge adds a bit of texture and interest and is also a sneaky way to hide the adhesive beneath the clear acetate.

I think the gold is so striking with the Early Evergreen cardstock!

I stamped the Many Happenings stamp with Versamark ink on Basic Black cardstock and heat embossed it with White Embossing Powder before die-cutting. It’s so efficient to be able to use one stamp and one die to create a bunch of labels all at the same time!

Now I have a little collection of sentiments ready to use for my future projects.

Hello, time saver!

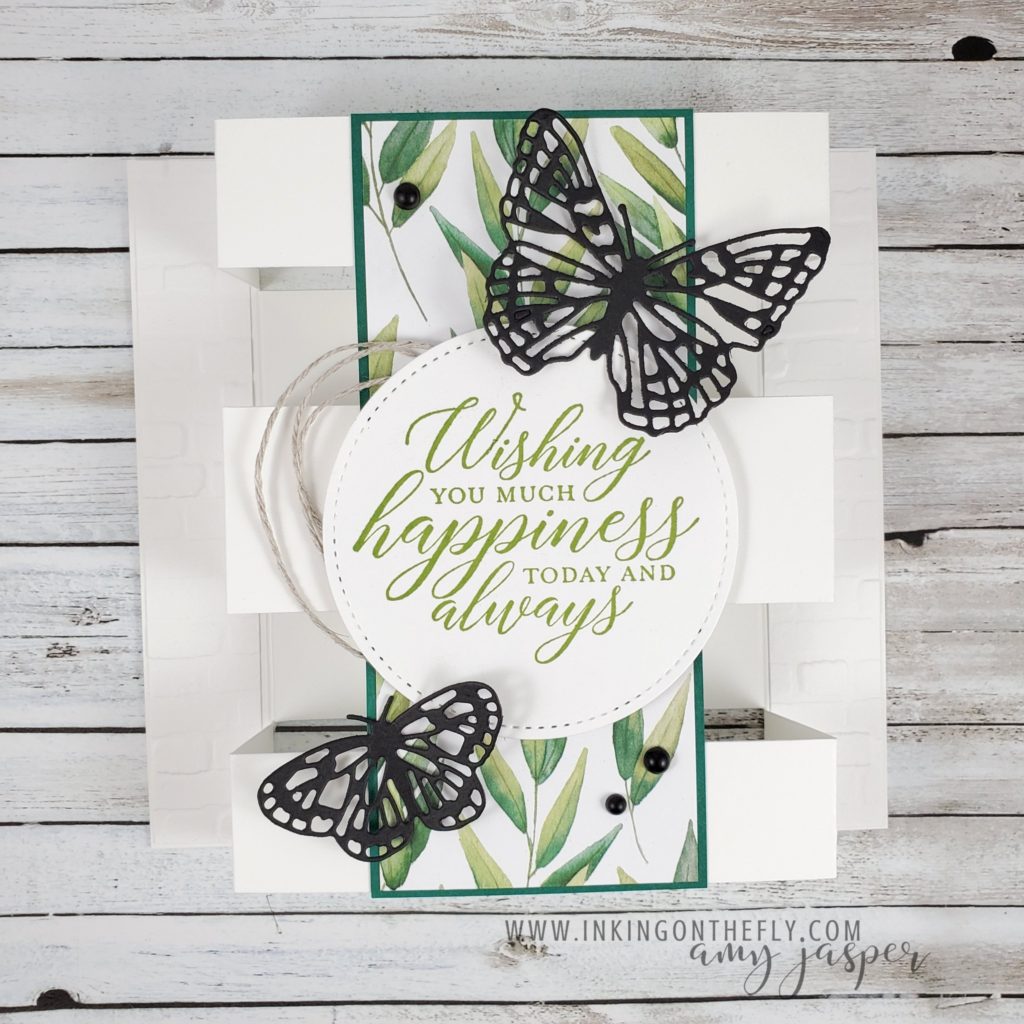
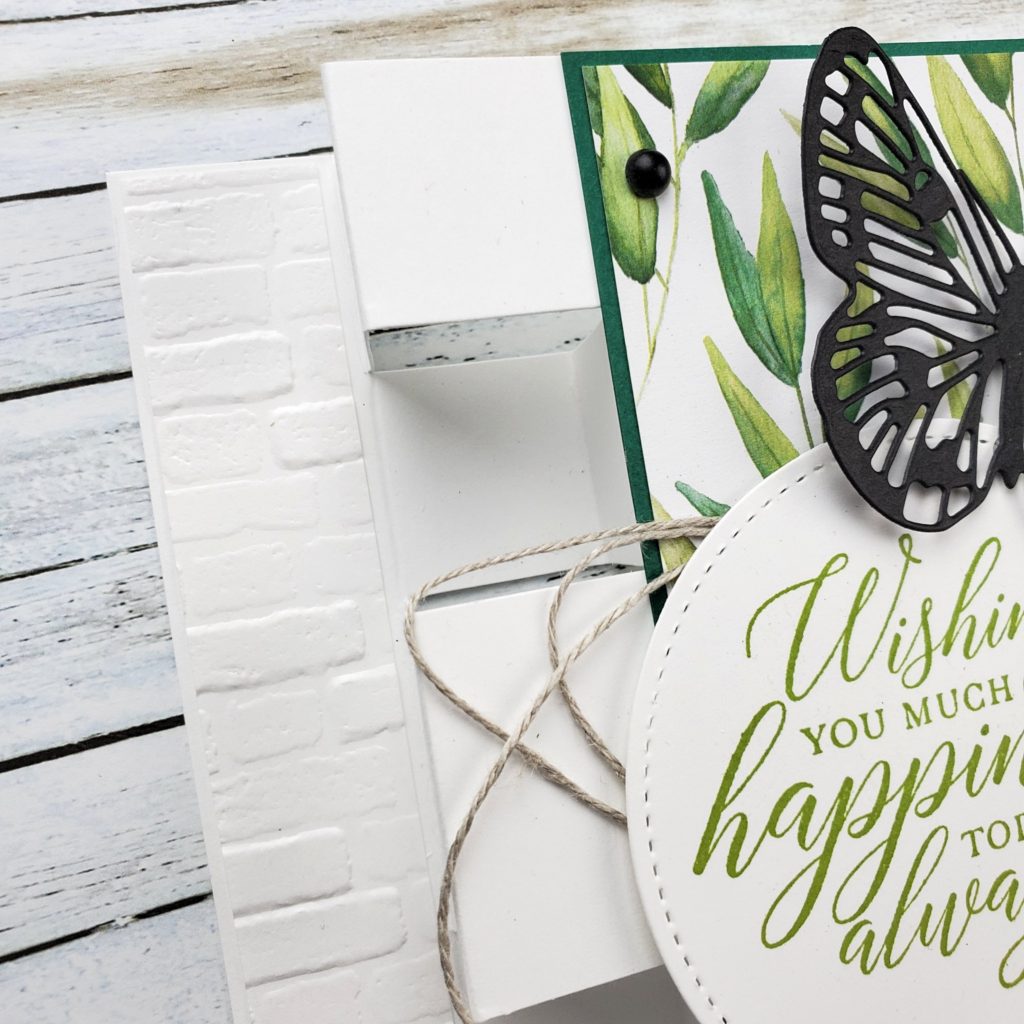
Butterfly Tower Fun Fold

The tower fun fold card design is so unique and is actually very easy to make. You just need to know where to cut and where to fold!

Thankfully, there are amazing and generous people who share their talents online! I first saw the idea shared on one of my demonstrator groups on Facebook, then was directed to the tutorial shared by Julie Davidson, who simplified the concept that she saw from someone else. I think it’s very cool how we get to learn from each other and then make it our own!

My card is one that I offered in my technique class back in March. Those who attend my monthly technique class and those who have VIP Access to the tutorials are given sole viewing privileges for two months. After their private access has come to an end, the tutorial video is available for the general public. Since I designed this project two months ago, some of the supplies used may no longer be available for purchase.

On this particular design, there are three items that are no longer available to purchase from Stampin’ Up!. You can no longer order the stitched circle die, the stamp, or the patterned paper. I recommend using the Layering Circles Dies in place of the stitched circle. The new Expressions in Ink Specialty Designer Series Paper has some beautiful greens that may be a good replacement for the greenery patterned paper that is no longer available. You can use any sentiment that will fit in the circle.

Measurements and supplies used:

  • 8 1/4″ x 5 1/2″ Thick Basic White (cut and scored as explained in the video tutorial)
  • 7/8 x 5 3/8″ Basic White (x2) embossed with the Brick & Mortar 3D Embossing Folder
  • 2 3/8 x 5 1/2″ Shaded Spruce
  • 2 1/4″ x 5 3/8″ Forever Greenery Designer Series Paper (Try it with the new Expressions in Ink paper!)
  • Basic Black die cut butterflies using the Brilliant Wings Dies
  • 3″ Basic White die-cut circle from the Stitched Shapes Dies (Try it with the Layering Circles Dies)
  • 21″ Linen Thread
  • Granny Apple Green Ink
  • Black Matt Dots