stitched rectangles dies

Easy and So Beautiful with Expressions in Ink

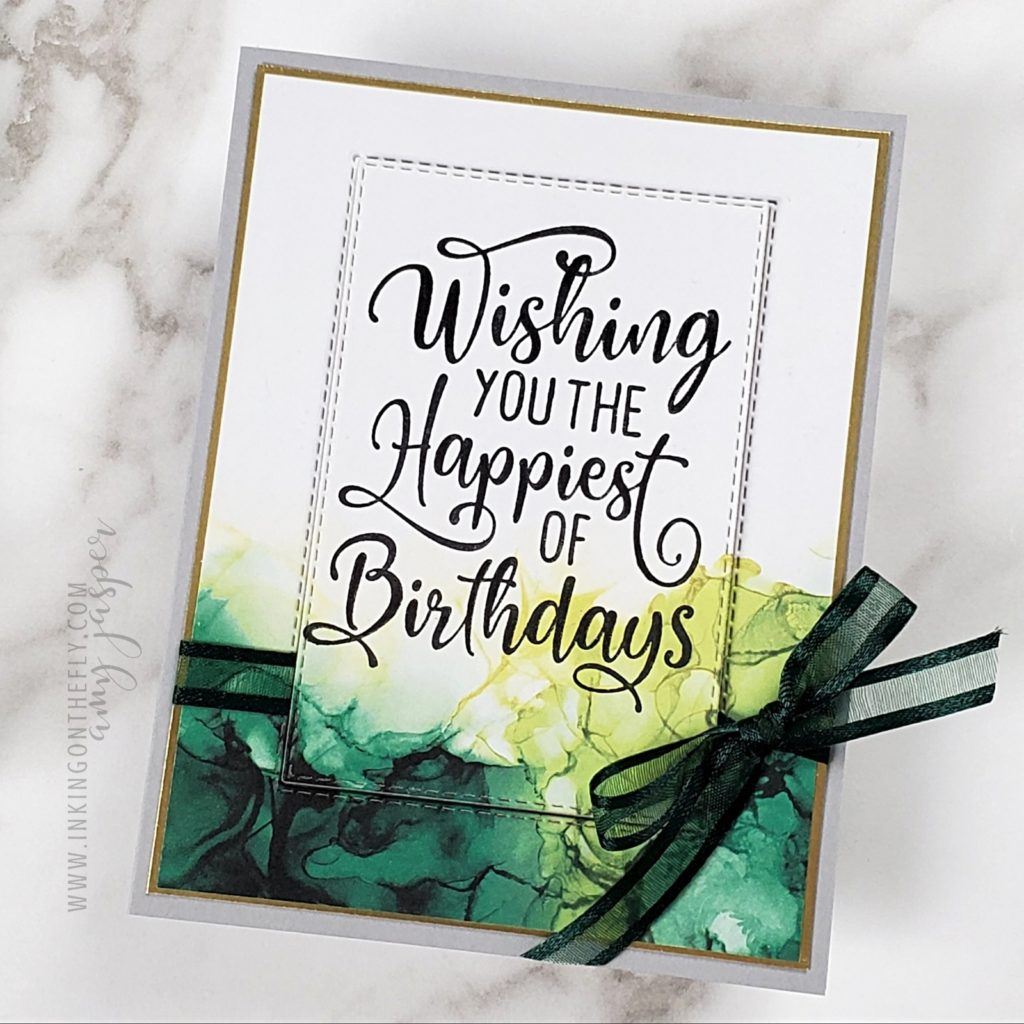
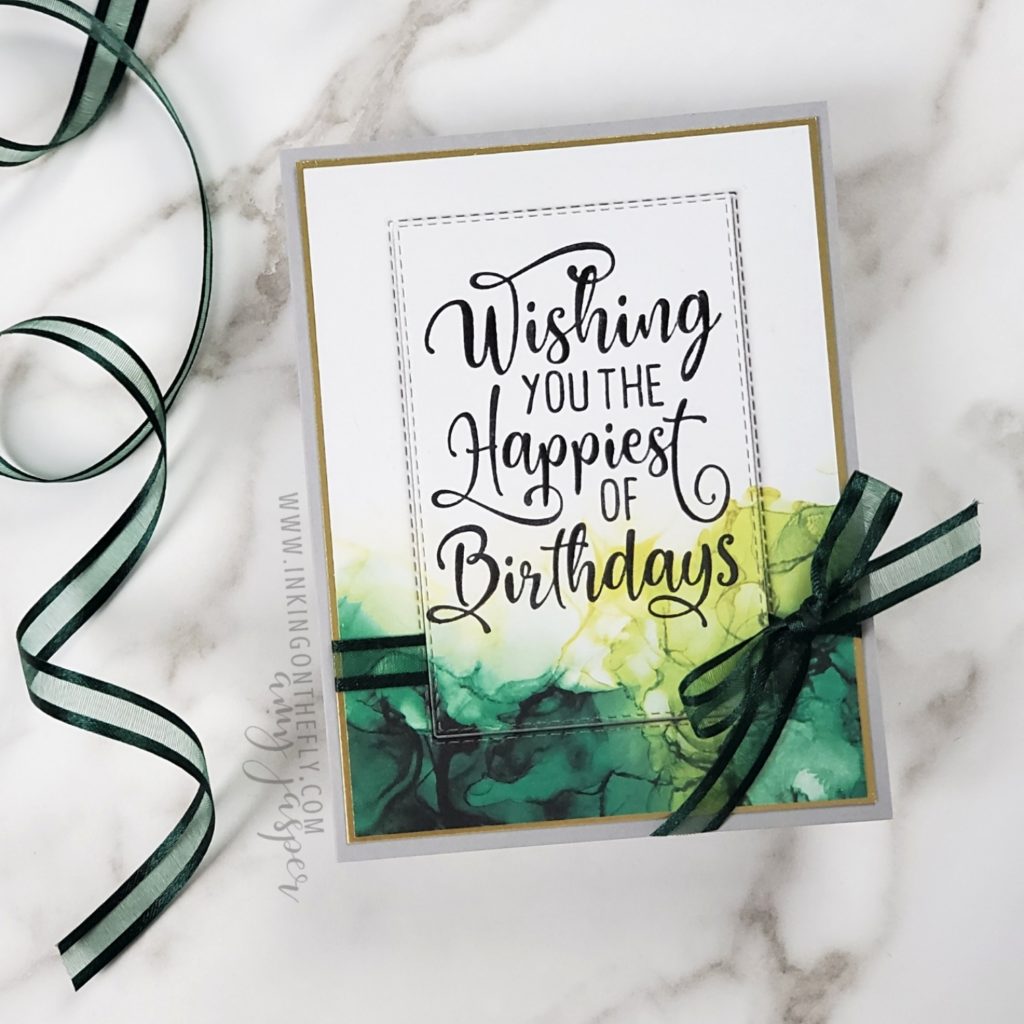
The Expressions in Ink Designer Series Paper is so beautiful that it can practically pull off a solo performance! In other words, it allows you to make a stunning card with hardly any effort!

The card I have to share with you today looks fancy, but is actually very easy. It all began with a piece of the Expressions in Ink Designer Series Paper from Stampin’ Up! ®️.

Making the card

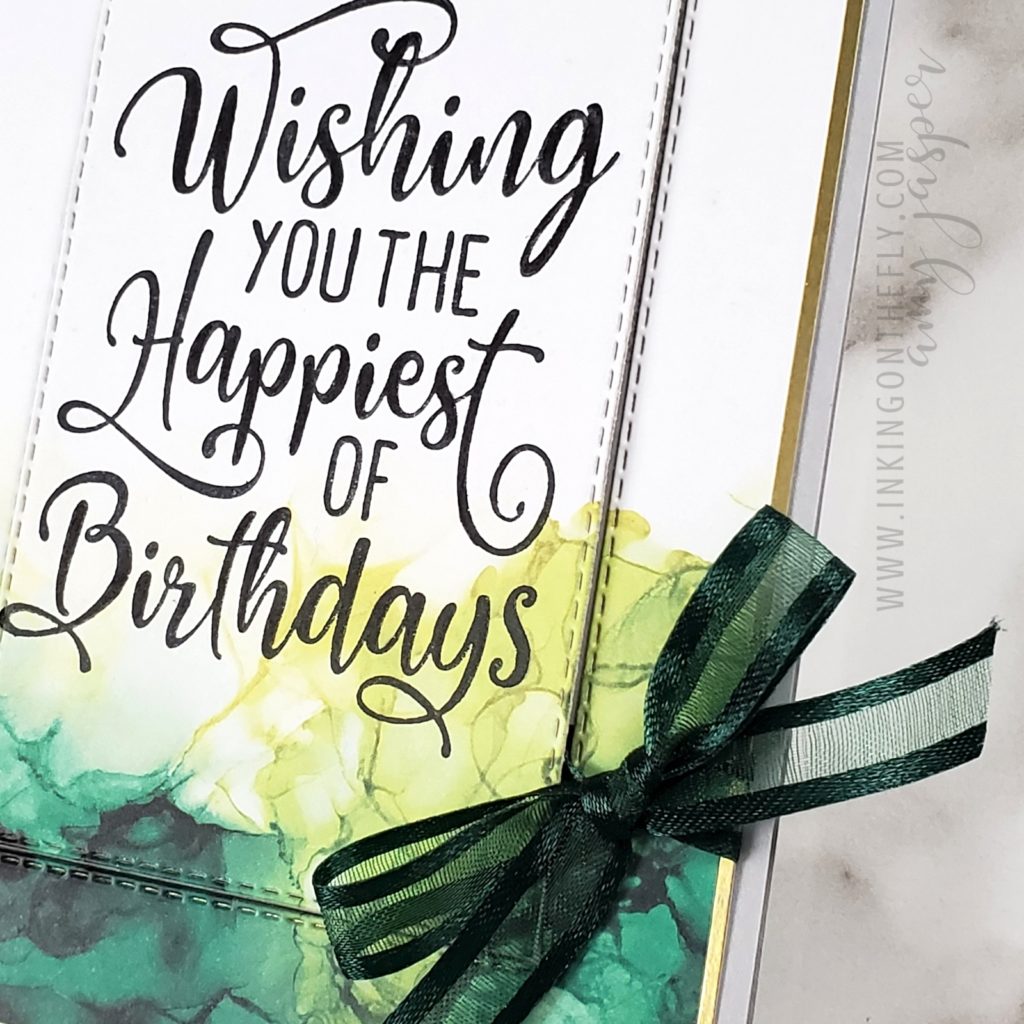
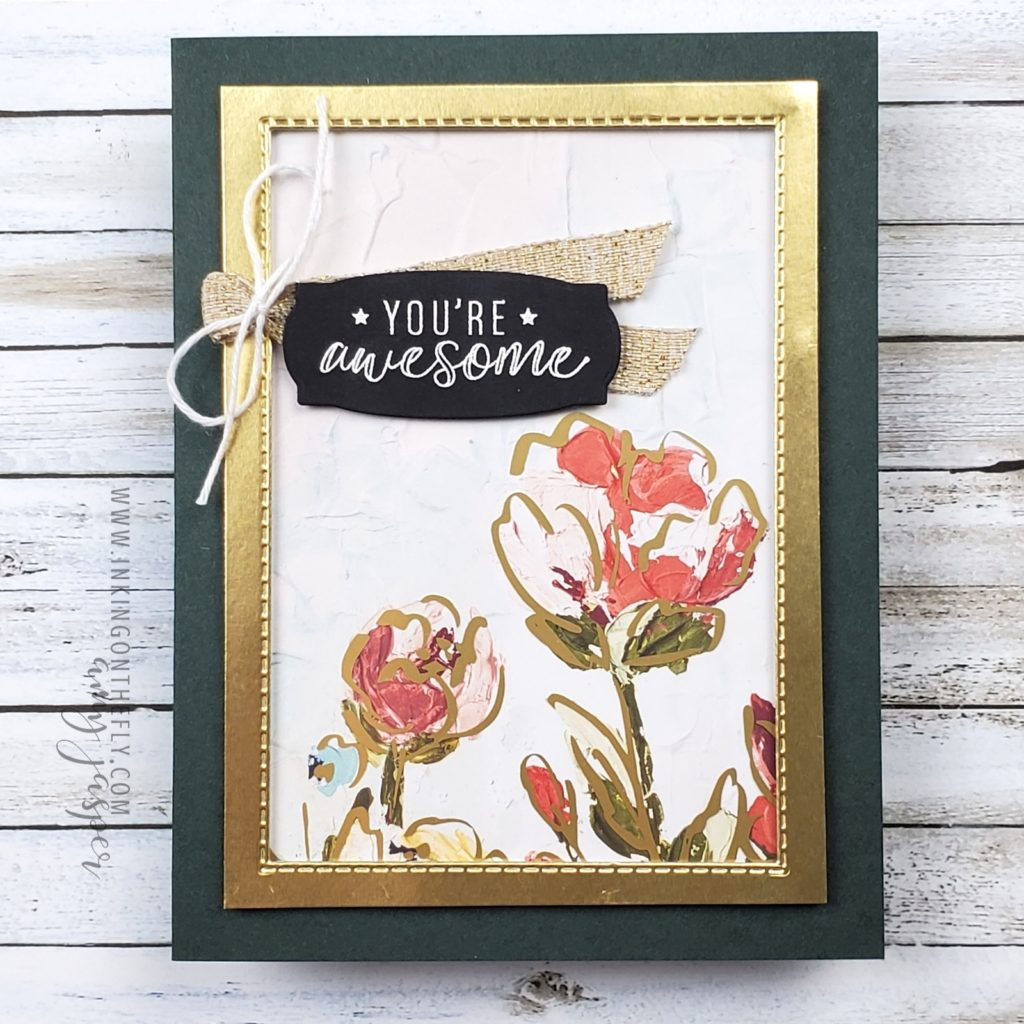
I stamped the sentiment on the patterned paper, then used a die to cut around the sentiment. Setting the centre cut piece to the side, I layered the outside frame over the Gold Foil.

Considering that the open weave ribbon is so pretty and ties very cleanly, you can probably guess that I have all the colours! How could I not!? I wrapped it around the two layers and tied a tidy little bow.

Once the ribbon was in place, I could then adhere these elements to the card base. Finally, the die-cut piece with the sentiment could be adhered to the card front with Stampin’ Dimensionals. I love how the lifted cut-out provides interest and texture, yet still allows the paper to be the main feature of the design.

This card was quick and simple. I feel like I cheated somehow by letting the patterned paper do all the work for me!

A few supplies

In the event that you might want to make this card (or assist it to make itself, as the case may be, LOL!), you will certainly want to get your hands on this gorgeous specialty paper. Unfortunately, (or fortunately, depending on how you look at it), this paper is so popular that it keeps going on backorder! Stampin’ Up! just can’t keep up with the demand.

If you find that’s its on backorder and can’t be ordered, keep checking back. The supply will be restocked. Alternatively, you can contact me and I can notify you when it comes available again.

Click on the links below to find each item easily on my online store.

When you use this paper, don’t let it make you feel like you cheated. Instead, be proud at the discovery of a more efficient way to make something beautiful!

It’s not cheating, it’s a life hack!
Muddling through to Beautiful Results

Sometimes, when I do a live stream video, nothing seems to go right. It can be technical issues, clumsiness, stumbling over words, family interruptions, or any number of things that could go wrong. There have been a couple live videos in the past that I had to remove so I could either edit out the worst parts or do the entire project over again!

Most of the time, I leave-in the blunders and mishaps because … well, because they’re real. I make mistakes and fumble through in my videos, just like I do in my life! I know that some of my videos are better than others. You can always skip to the important parts. I don’t mind. (If only I could do that in my life, too!)

The video below was recorded live yesterday. I muddled through a few weird mishaps, but the final result is beautiful.

At least, I think so.

Making the card

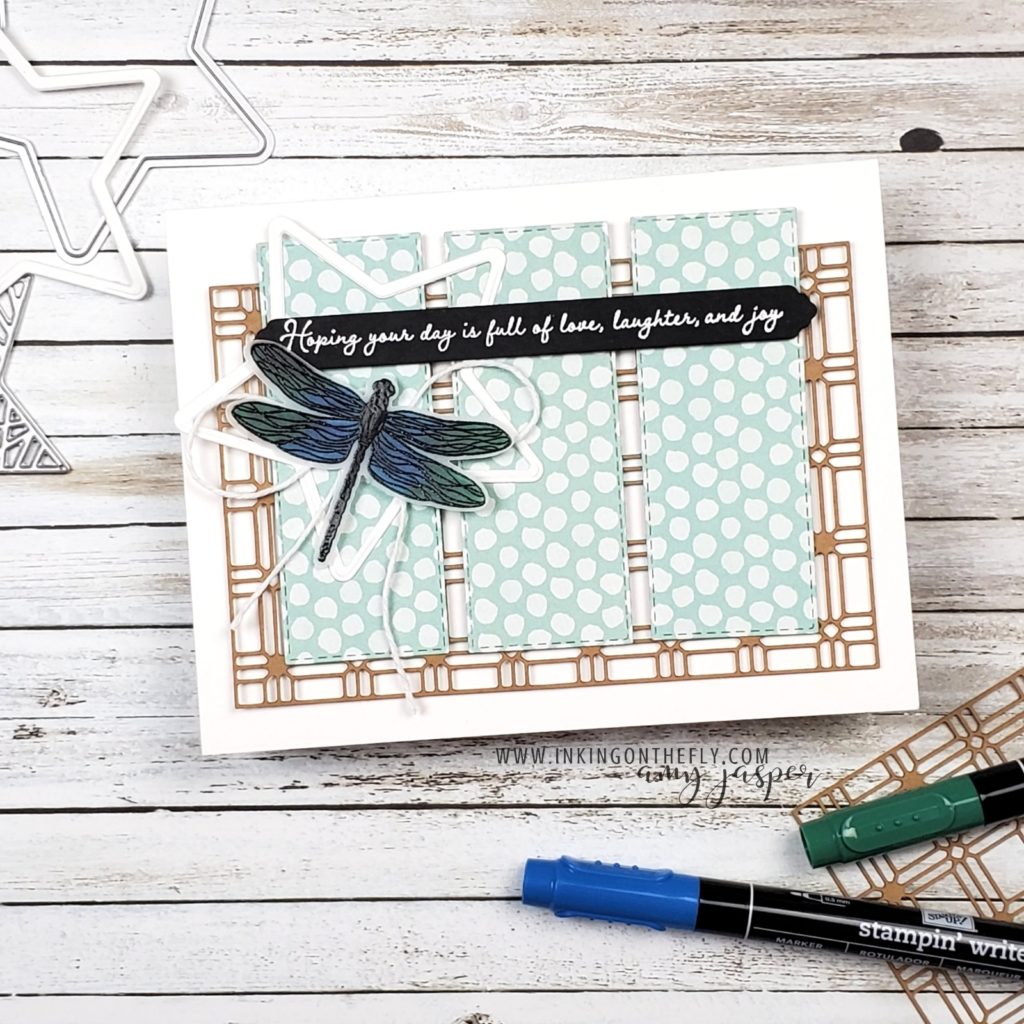
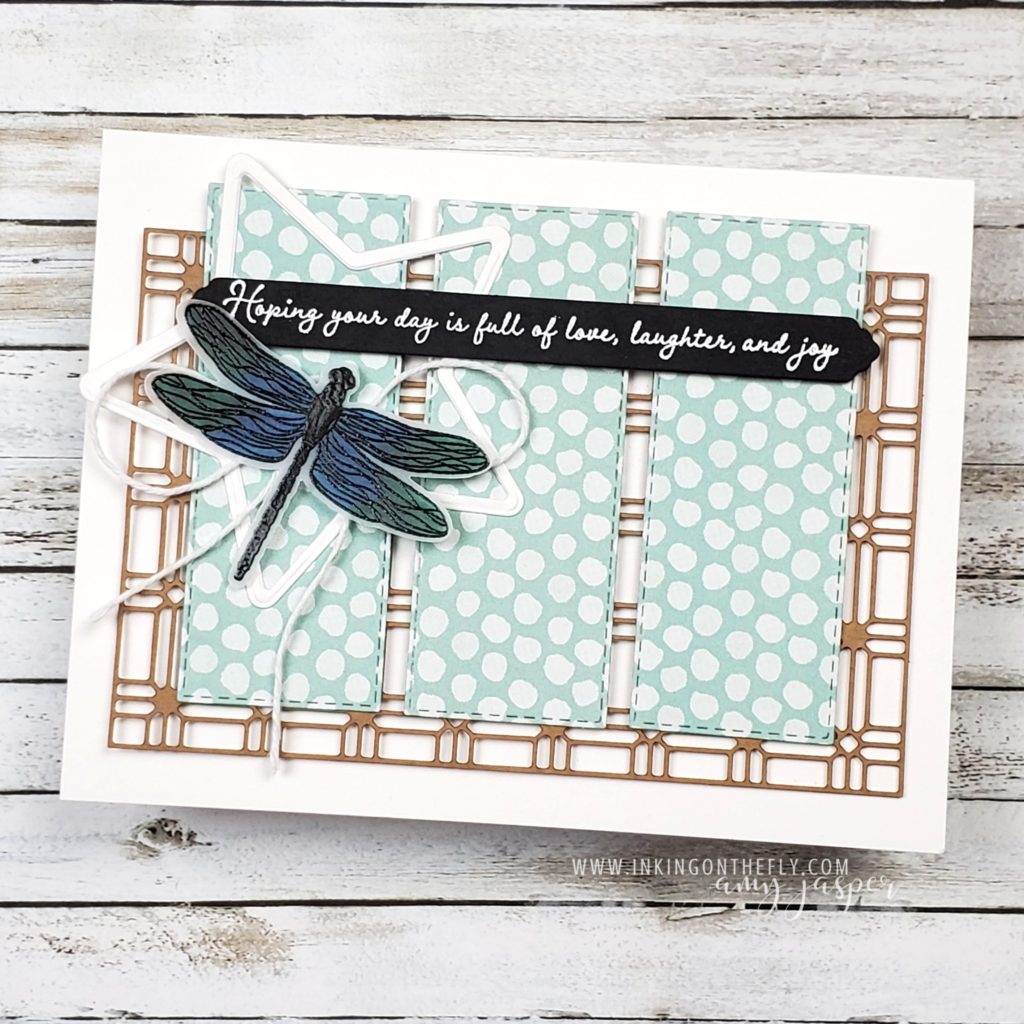
This is the first time I’ve used the cool Paper Lattice die-cut. I like the natural fibre look. It adds such a nice texture and pattern to a project. I layered the die-cut pieces of Pattern party Designer Series Paper over the lattice and attached the them to the card base with Stampin’ Dimensionals.

I had a couple of items left over from previous projects, just waiting to be made useful.

One was a Basic White star outline, the remnants of die-cutting for the Christmas in July Stamp Camp event. That event features the Christmas Trimmings dies and coordinating stamp set.

The other was was a black label with a white, heat-embossed sentiment. This had been stamped and cut using the Many Messages stamp set and Messages dies. Because of the multi-sentiment nature of that stamp and die duo, I had sentiments at the ready!

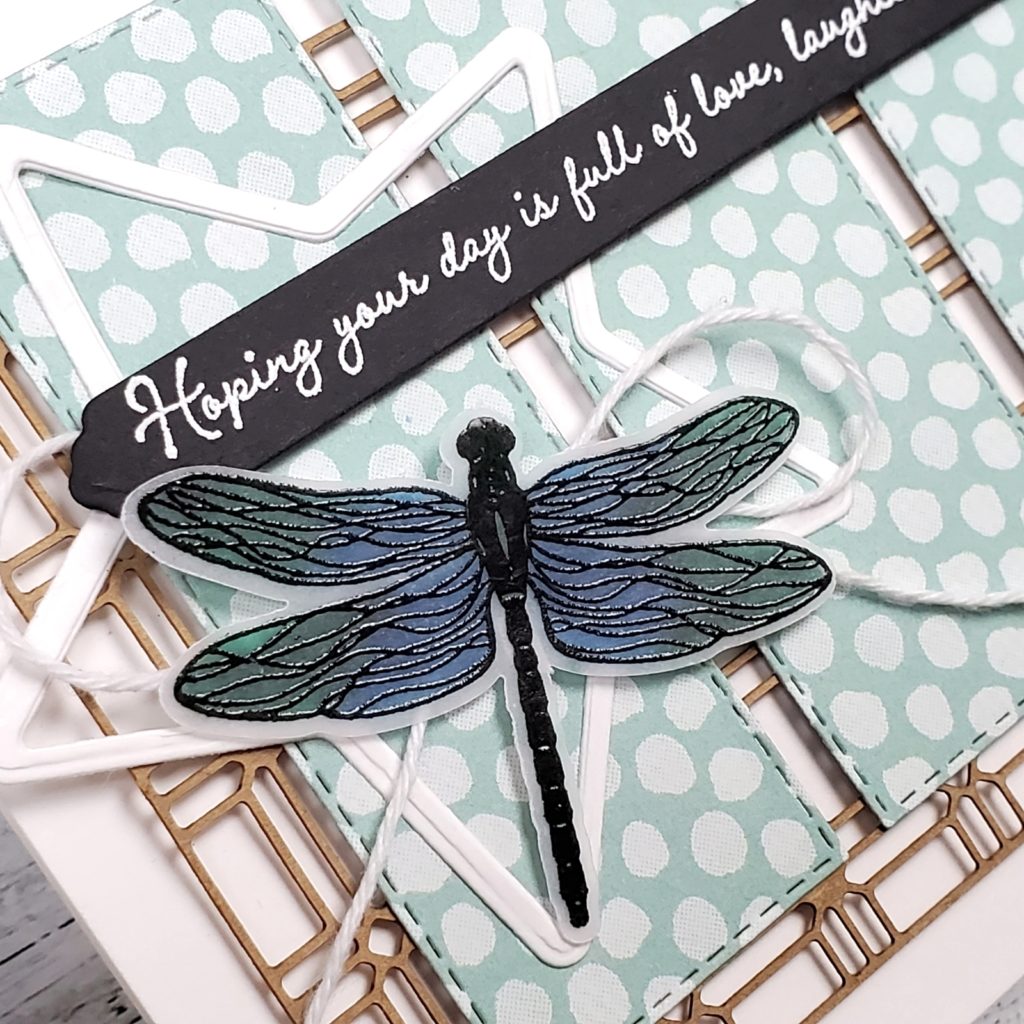
After adhering the star and sentiment, it was time for the best part! I stamped the dragonfly image from the Dragonfly Garden stamp set on Vellum with Versamark ink. Then I could use my Black Embossing Powder and Heat Tool to make that image really pop!

Thankfully, no fussy-cutting was necessary for this dragonfly image. Instead, I pulled out the handy-dandy Dragonflies Punch for a perfect cut-out! Stampin’ Up! makes it easy, folks!

Now that the punch did all the work for me, I could colour the underside of the dragonfly wings. Pacific Point and Shaded Spruce Stampin’ Write Markers gave me just the right combination. This elegant insect is nearly the same colour as the ones we see here in my part of Canada. So pretty!

Watch the Video below to see the elements of this card come together.

Remember, if you like my videos, click on the subscribe button and help me to grow my business. I appreciate your support and encouragement so much!

Floral Overlay Framed with Gold

Welcome to a send a card Sunday!

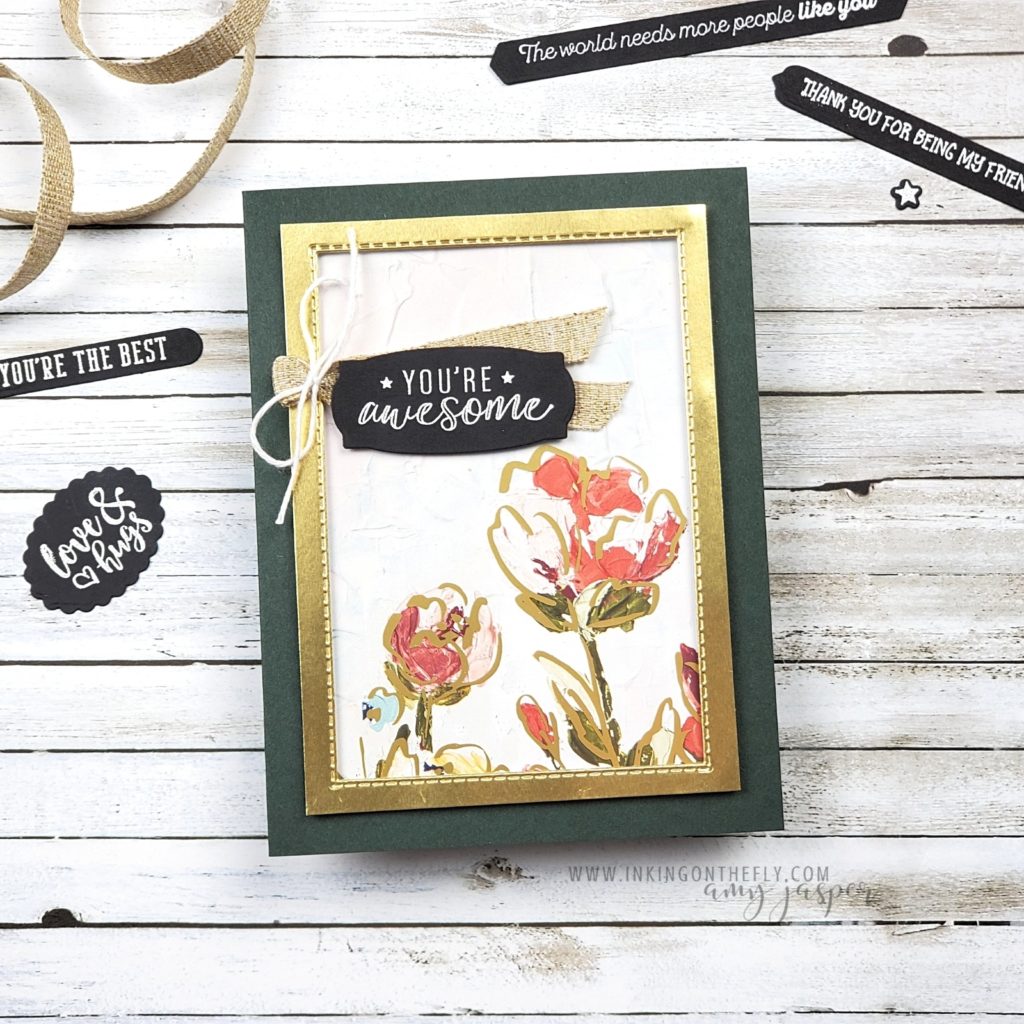
I wanted to show off the Fine Art Floral Designer Series Paper a few more times before it’s gone forever. I loved this paper and this entire suite of Stampin’ Up! products from the moment I saw it!

It’s always sad to see our favourite products retire. The January – June Mini Catalogue is coming to an end and many of the products will be selling out fast!

If you like this paper and the Golden Garden acetate, make sure you hurry over to my online store to grab some before it’s gone forever!

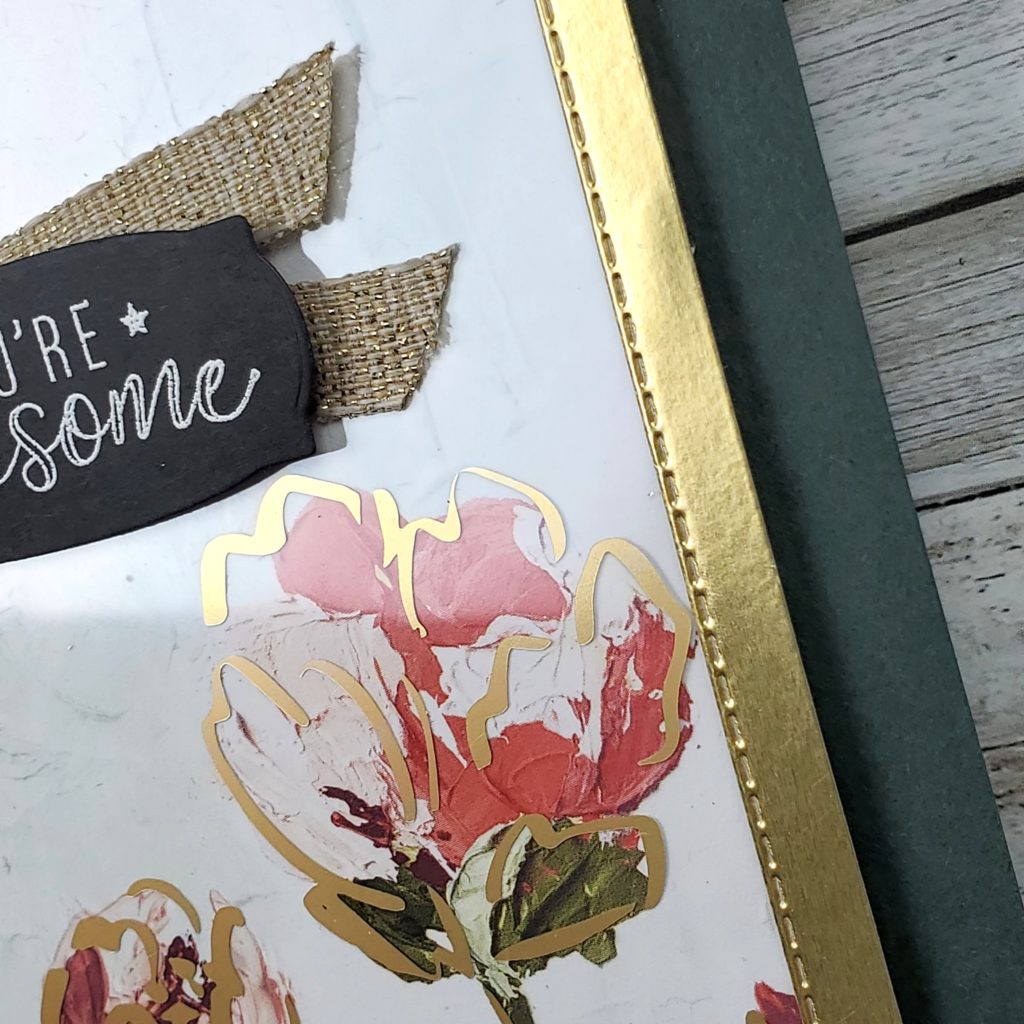
Look at how the acetate matches the patterned paper. So pretty! So Elegant!

I created a frame on this card by cutting out the center of the Gold Foil Paper with one of the Stitched Rectangle dies. The stitched edge adds a bit of texture and interest and is also a sneaky way to hide the adhesive beneath the clear acetate.

I think the gold is so striking with the Early Evergreen cardstock!

I stamped the Many Happenings stamp with Versamark ink on Basic Black cardstock and heat embossed it with White Embossing Powder before die-cutting. It’s so efficient to be able to use one stamp and one die to create a bunch of labels all at the same time!

Now I have a little collection of sentiments ready to use for my future projects.

Hello, time saver!