dragonfly garden

Muddling through to Beautiful Results

Sometimes, when I do a live stream video, nothing seems to go right. It can be technical issues, clumsiness, stumbling over words, family interruptions, or any number of things that could go wrong. There have been a couple live videos in the past that I had to remove so I could either edit out the worst parts or do the entire project over again!

Most of the time, I leave-in the blunders and mishaps because … well, because they’re real. I make mistakes and fumble through in my videos, just like I do in my life! I know that some of my videos are better than others. You can always skip to the important parts. I don’t mind. (If only I could do that in my life, too!)

The video below was recorded live yesterday. I muddled through a few weird mishaps, but the final result is beautiful.

At least, I think so.

Making the card

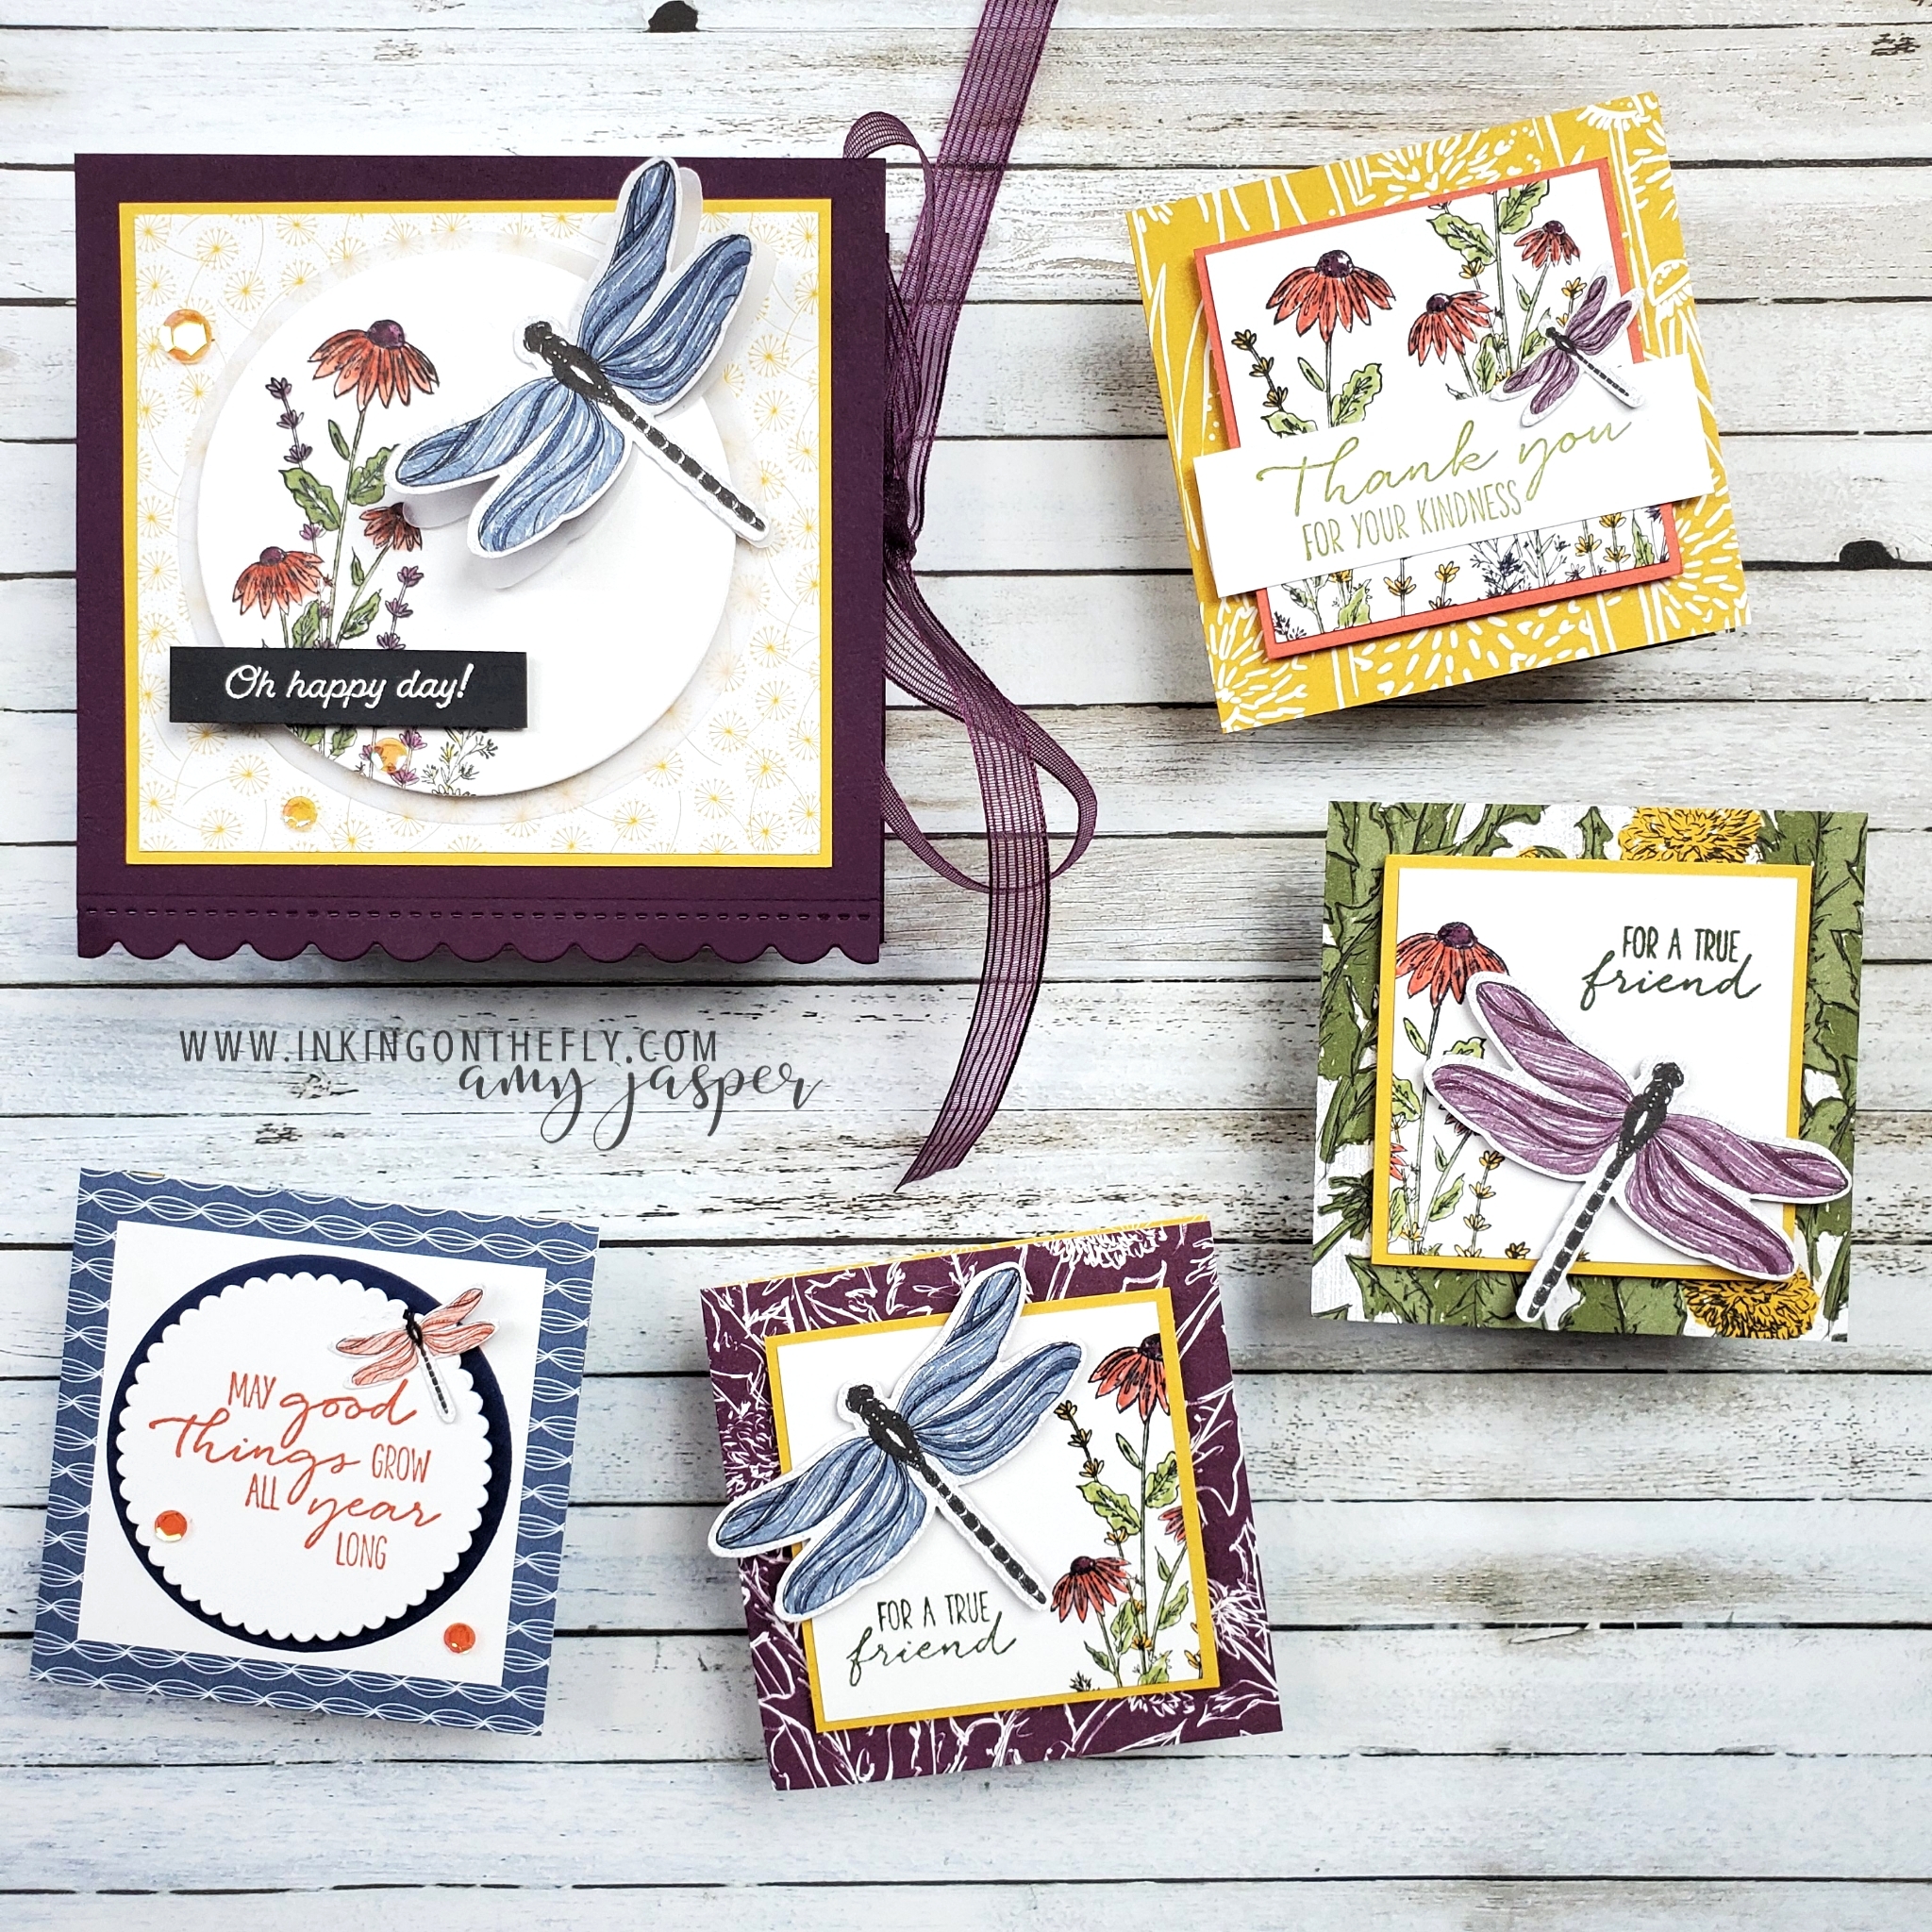
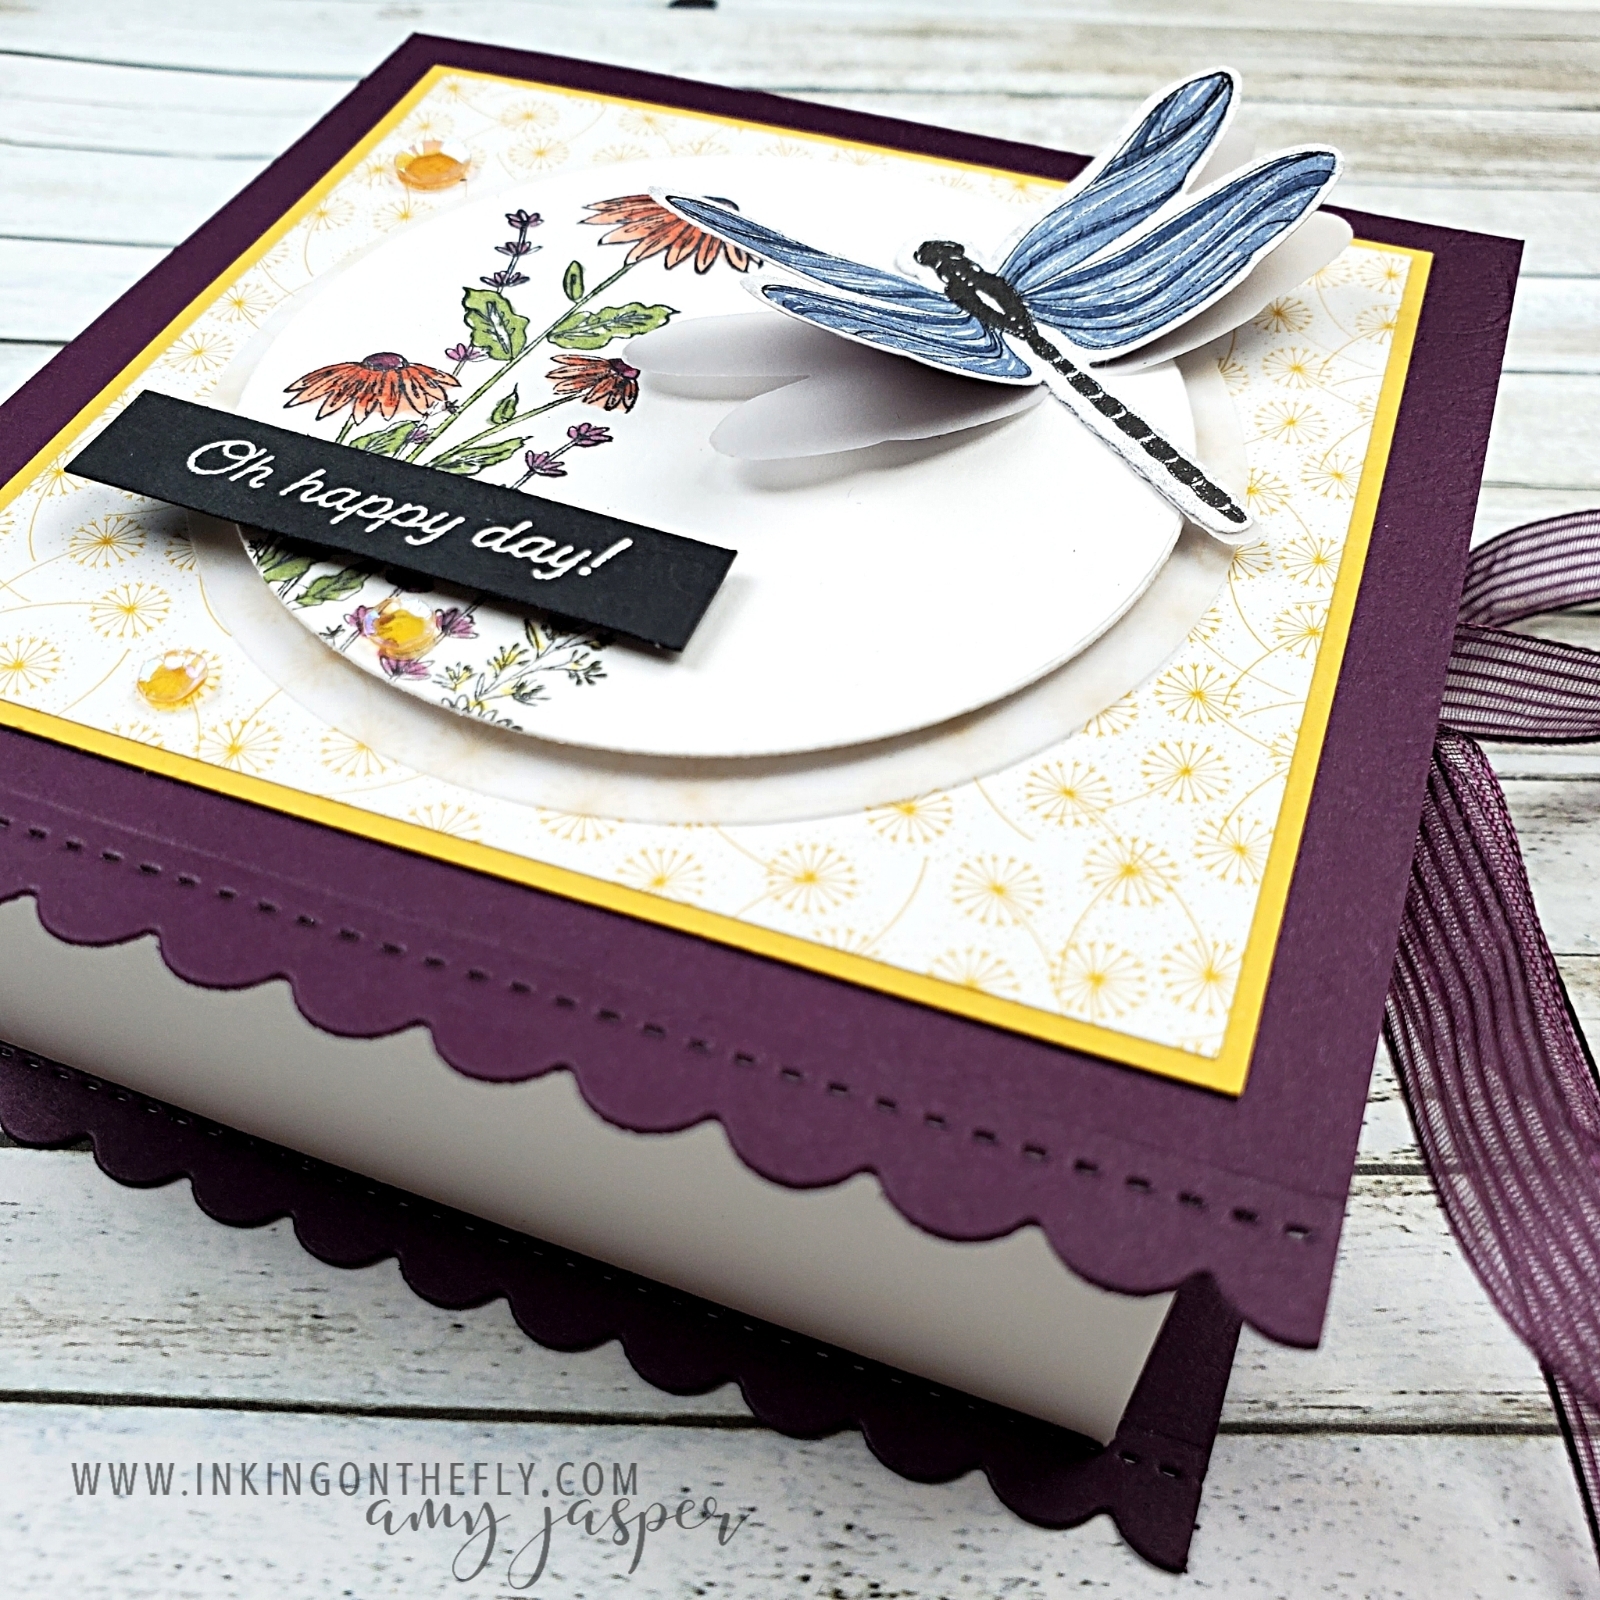
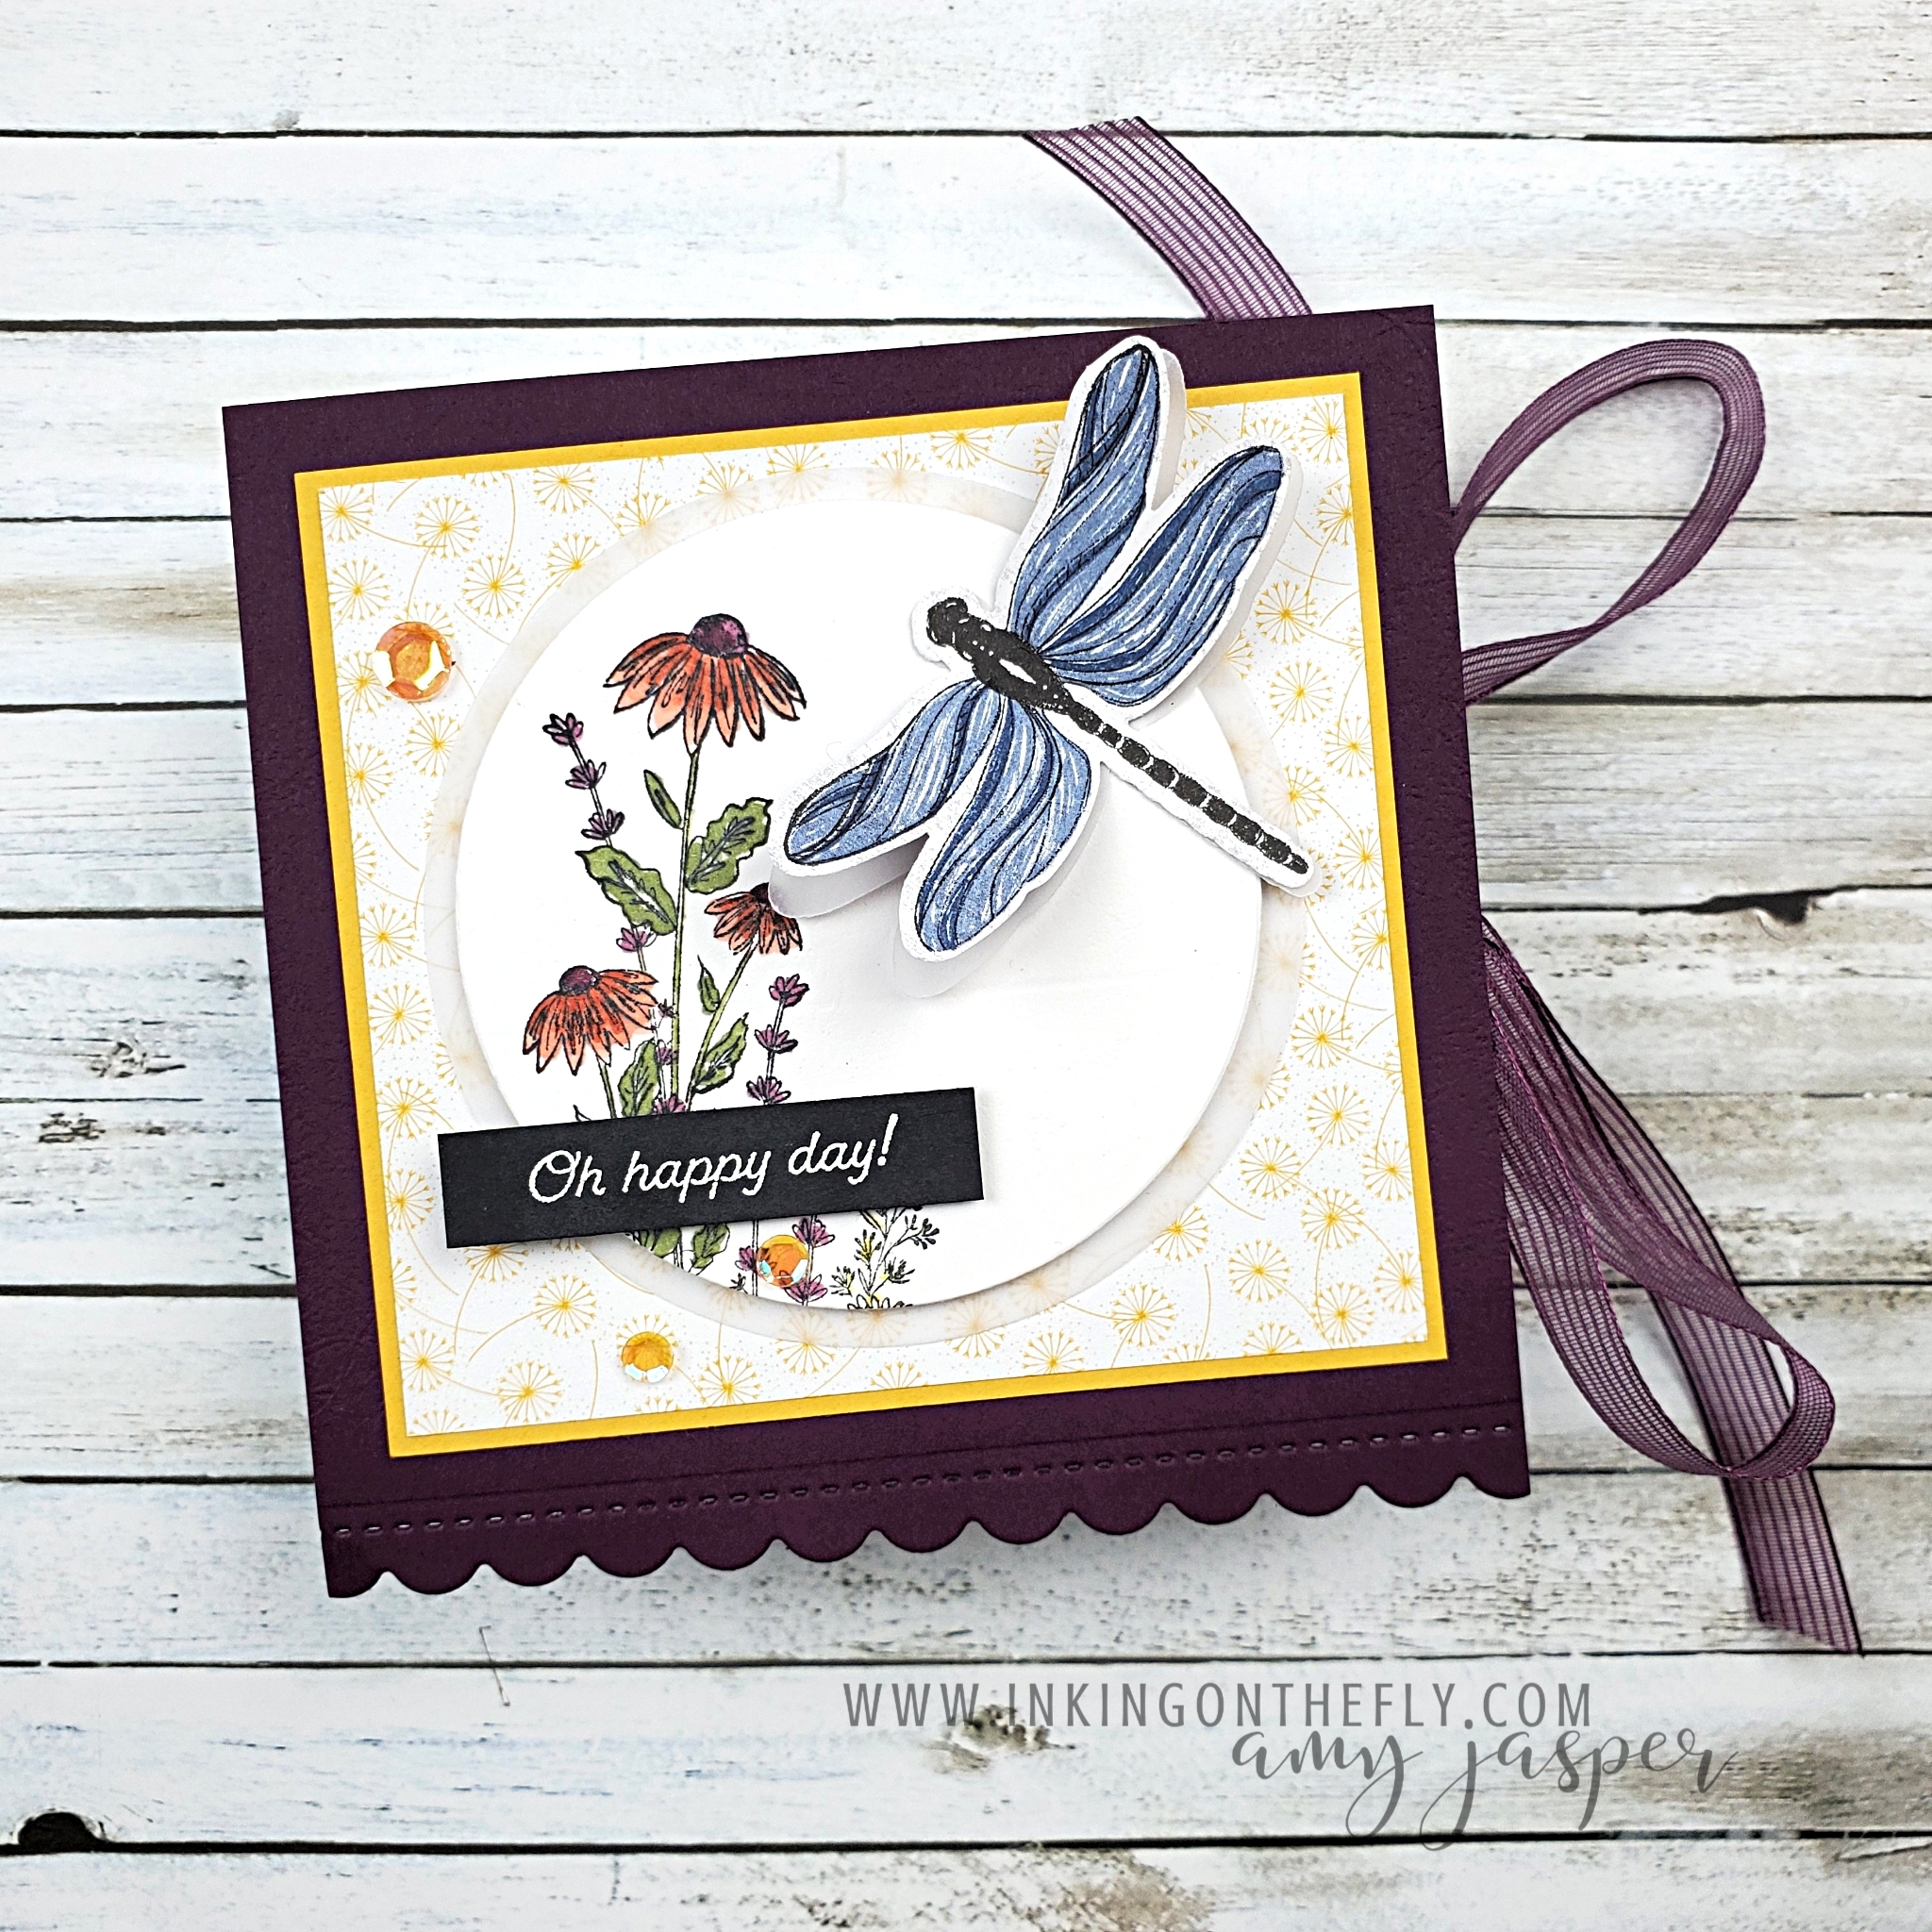
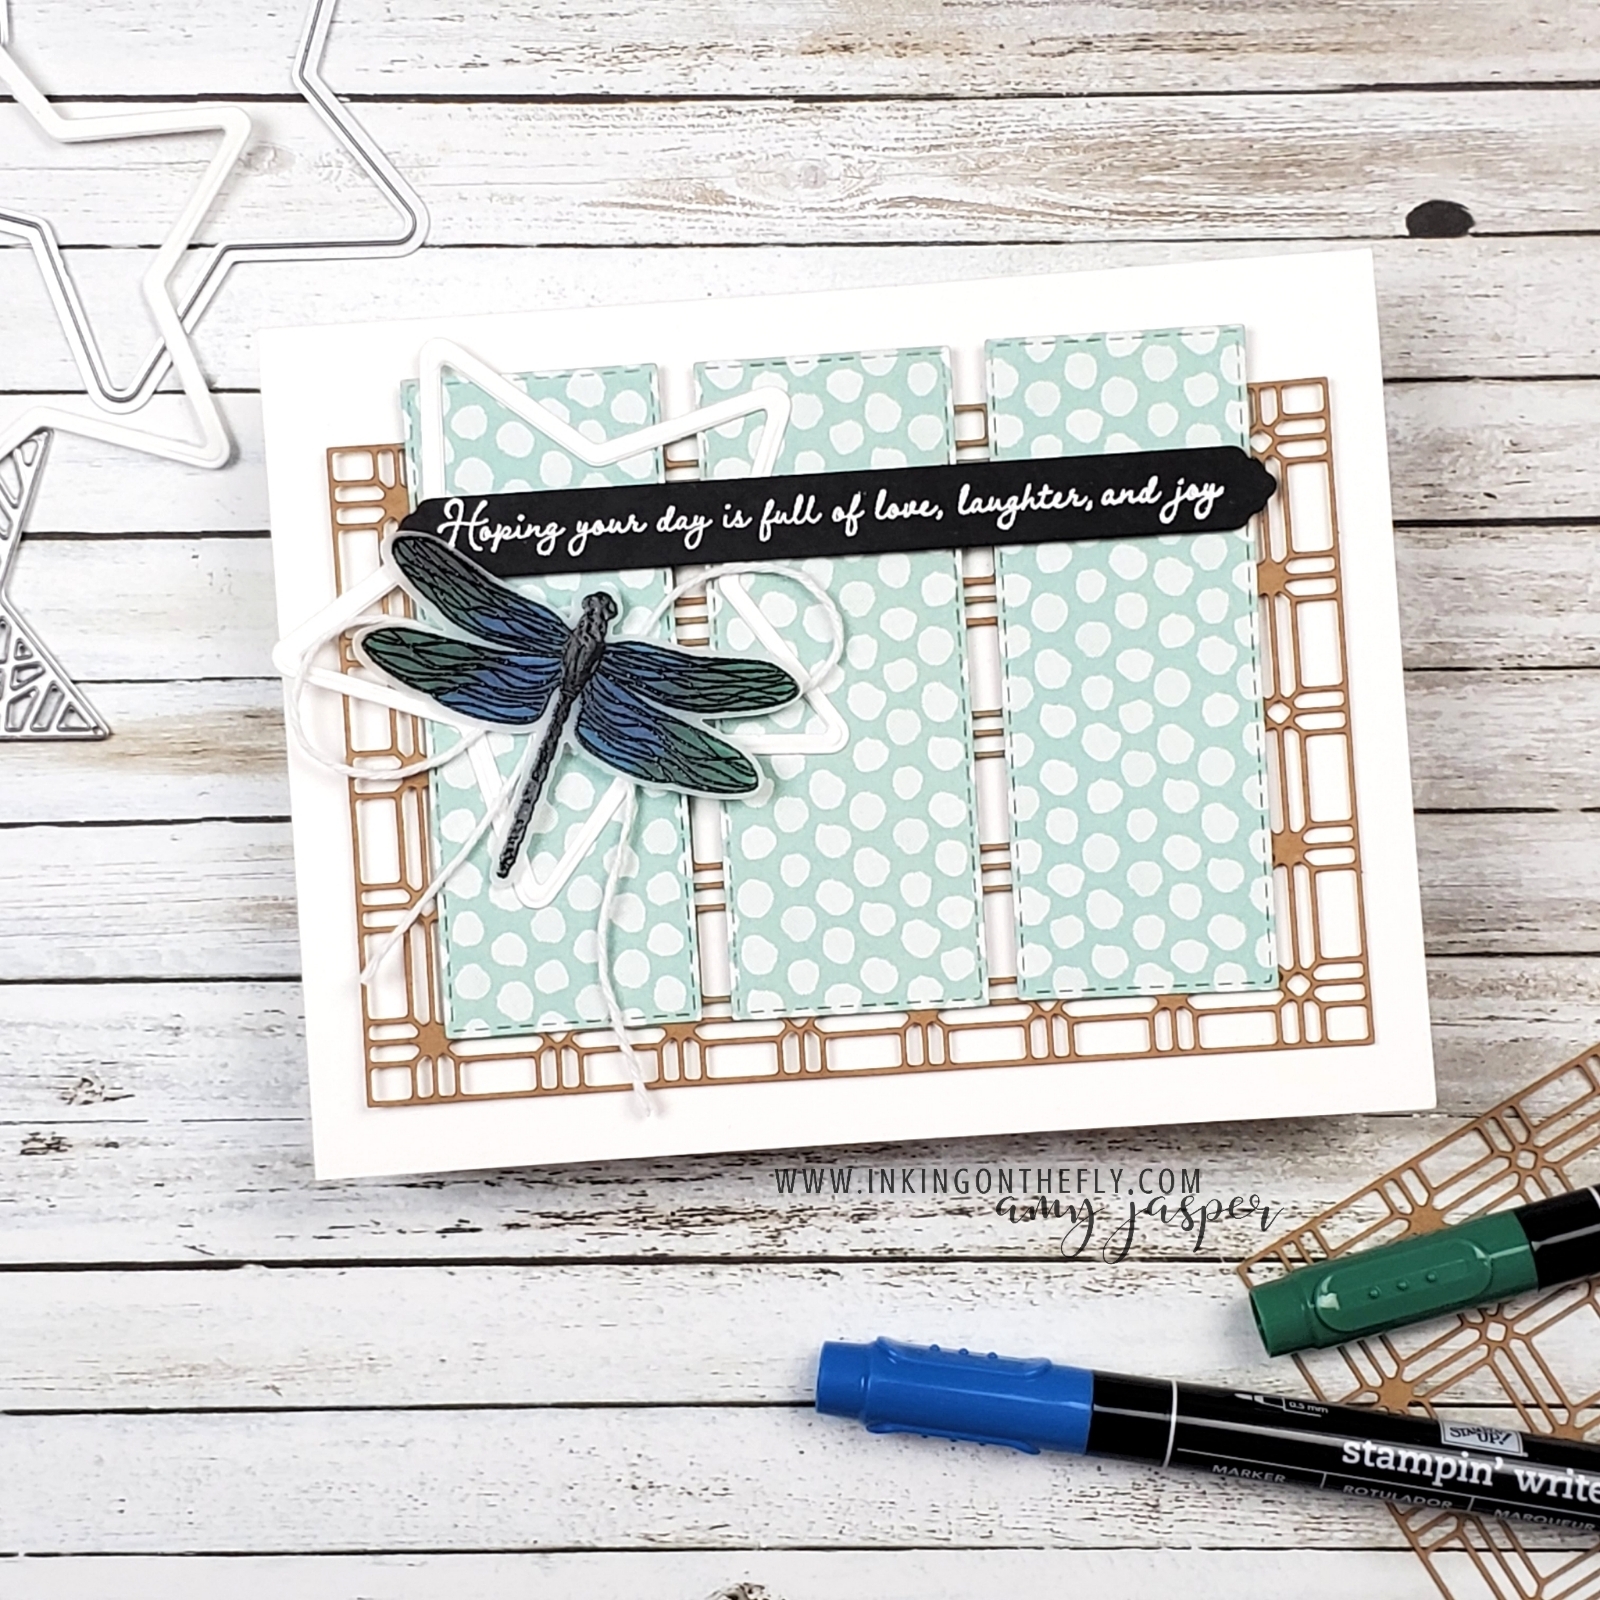
This is the first time I’ve used the cool Paper Lattice die-cut. I like the natural fibre look. It adds such a nice texture and pattern to a project. I layered the die-cut pieces of Pattern party Designer Series Paper over the lattice and attached the them to the card base with Stampin’ Dimensionals.

I had a couple of items left over from previous projects, just waiting to be made useful.

One was a Basic White star outline, the remnants of die-cutting for the Christmas in July Stamp Camp event. That event features the Christmas Trimmings dies and coordinating stamp set.

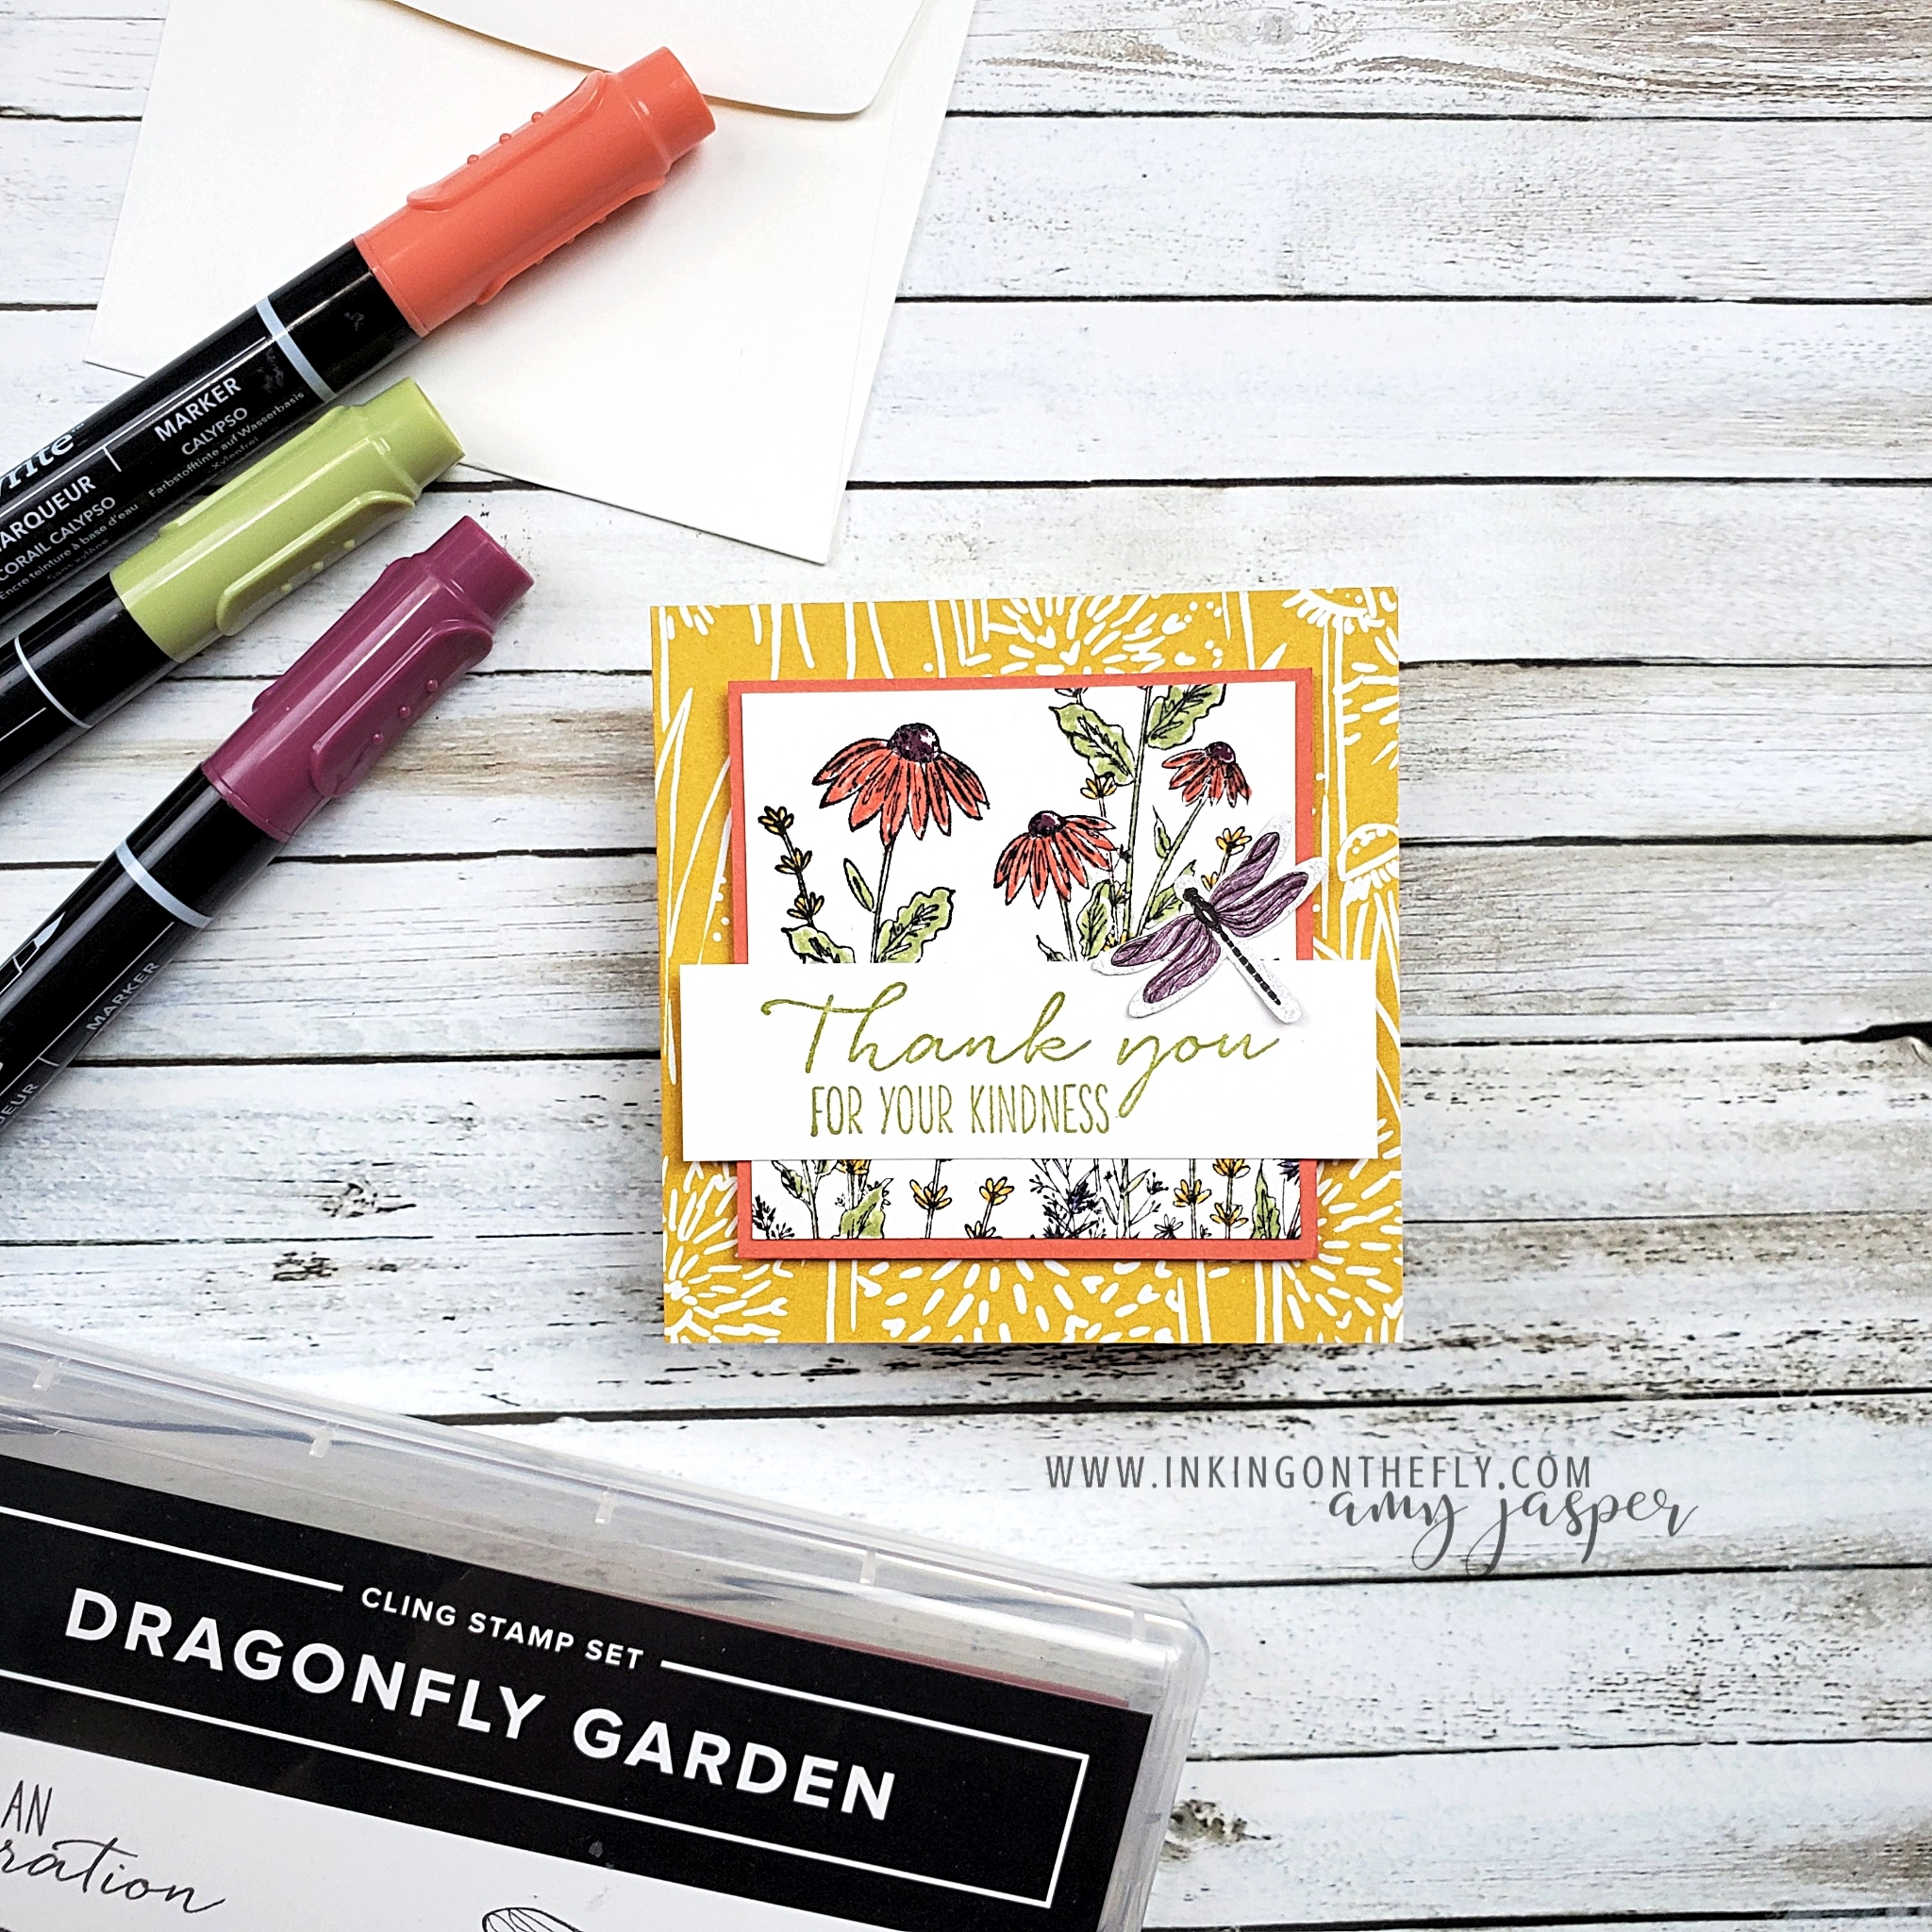
The other was was a black label with a white, heat-embossed sentiment. This had been stamped and cut using the Many Messages stamp set and Messages dies. Because of the multi-sentiment nature of that stamp and die duo, I had sentiments at the ready!

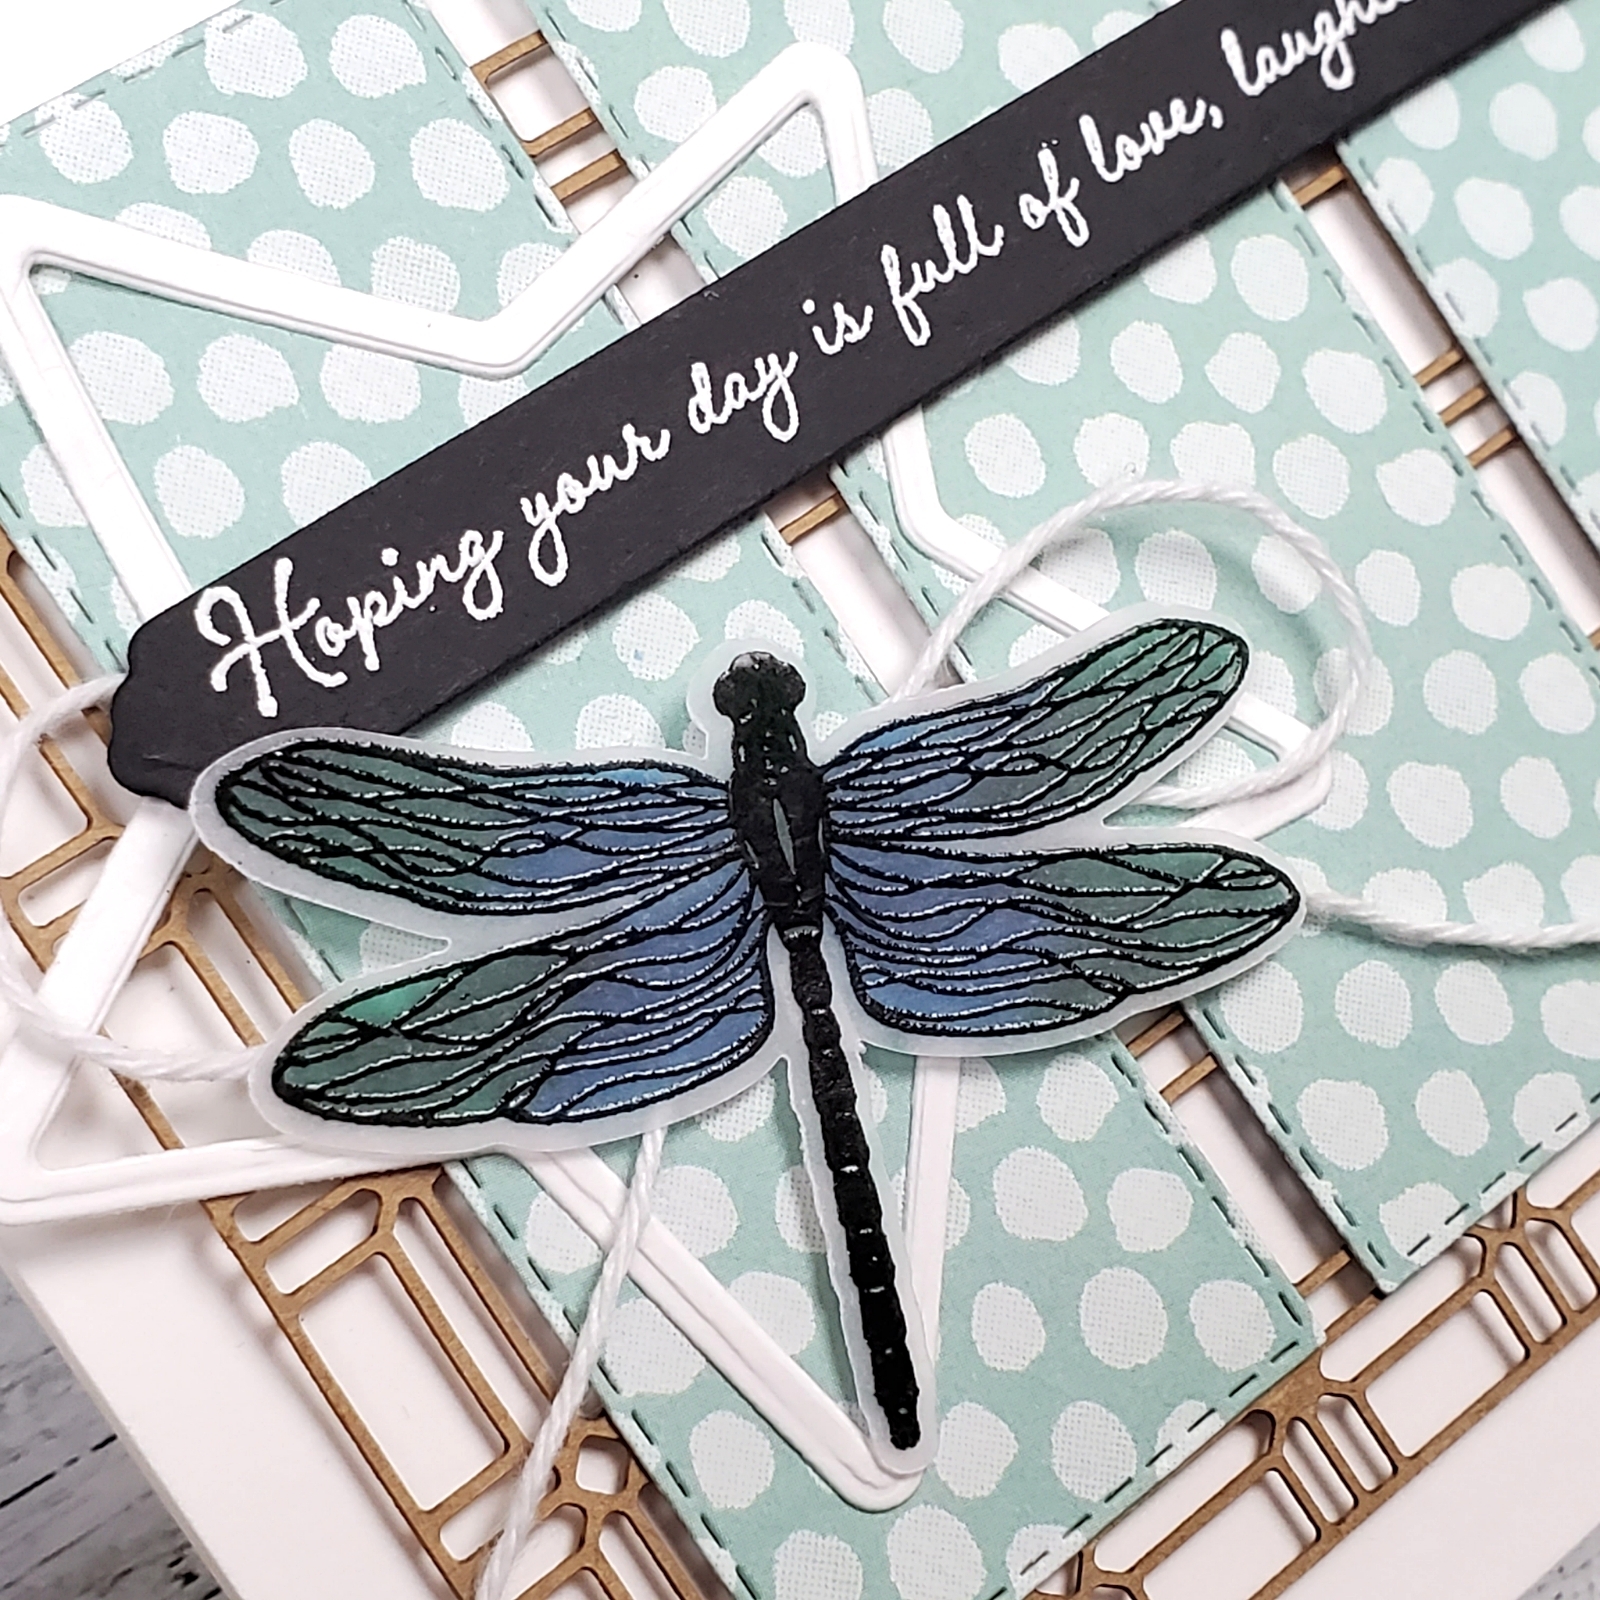
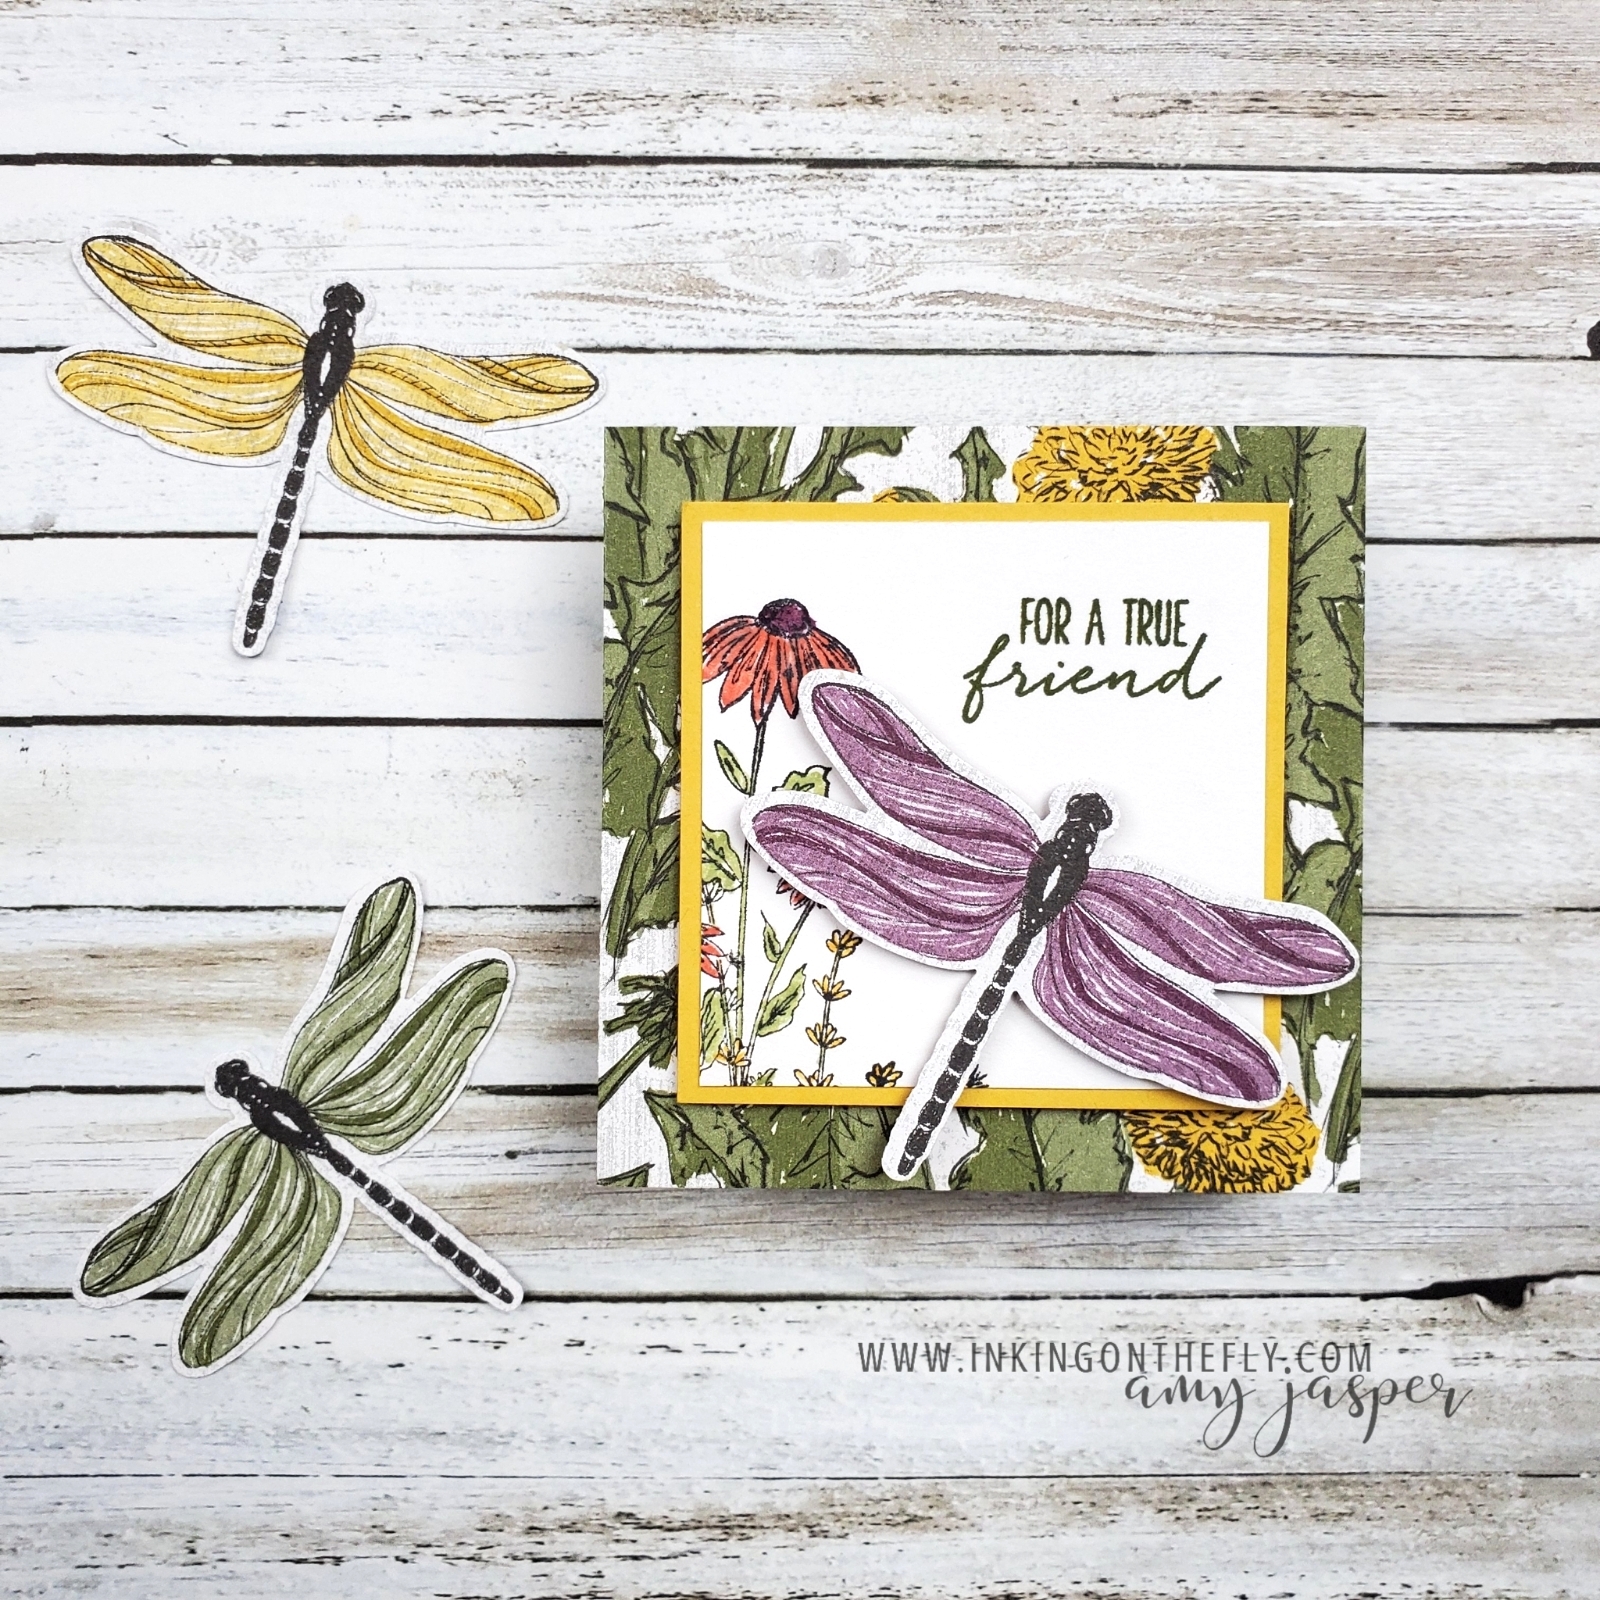
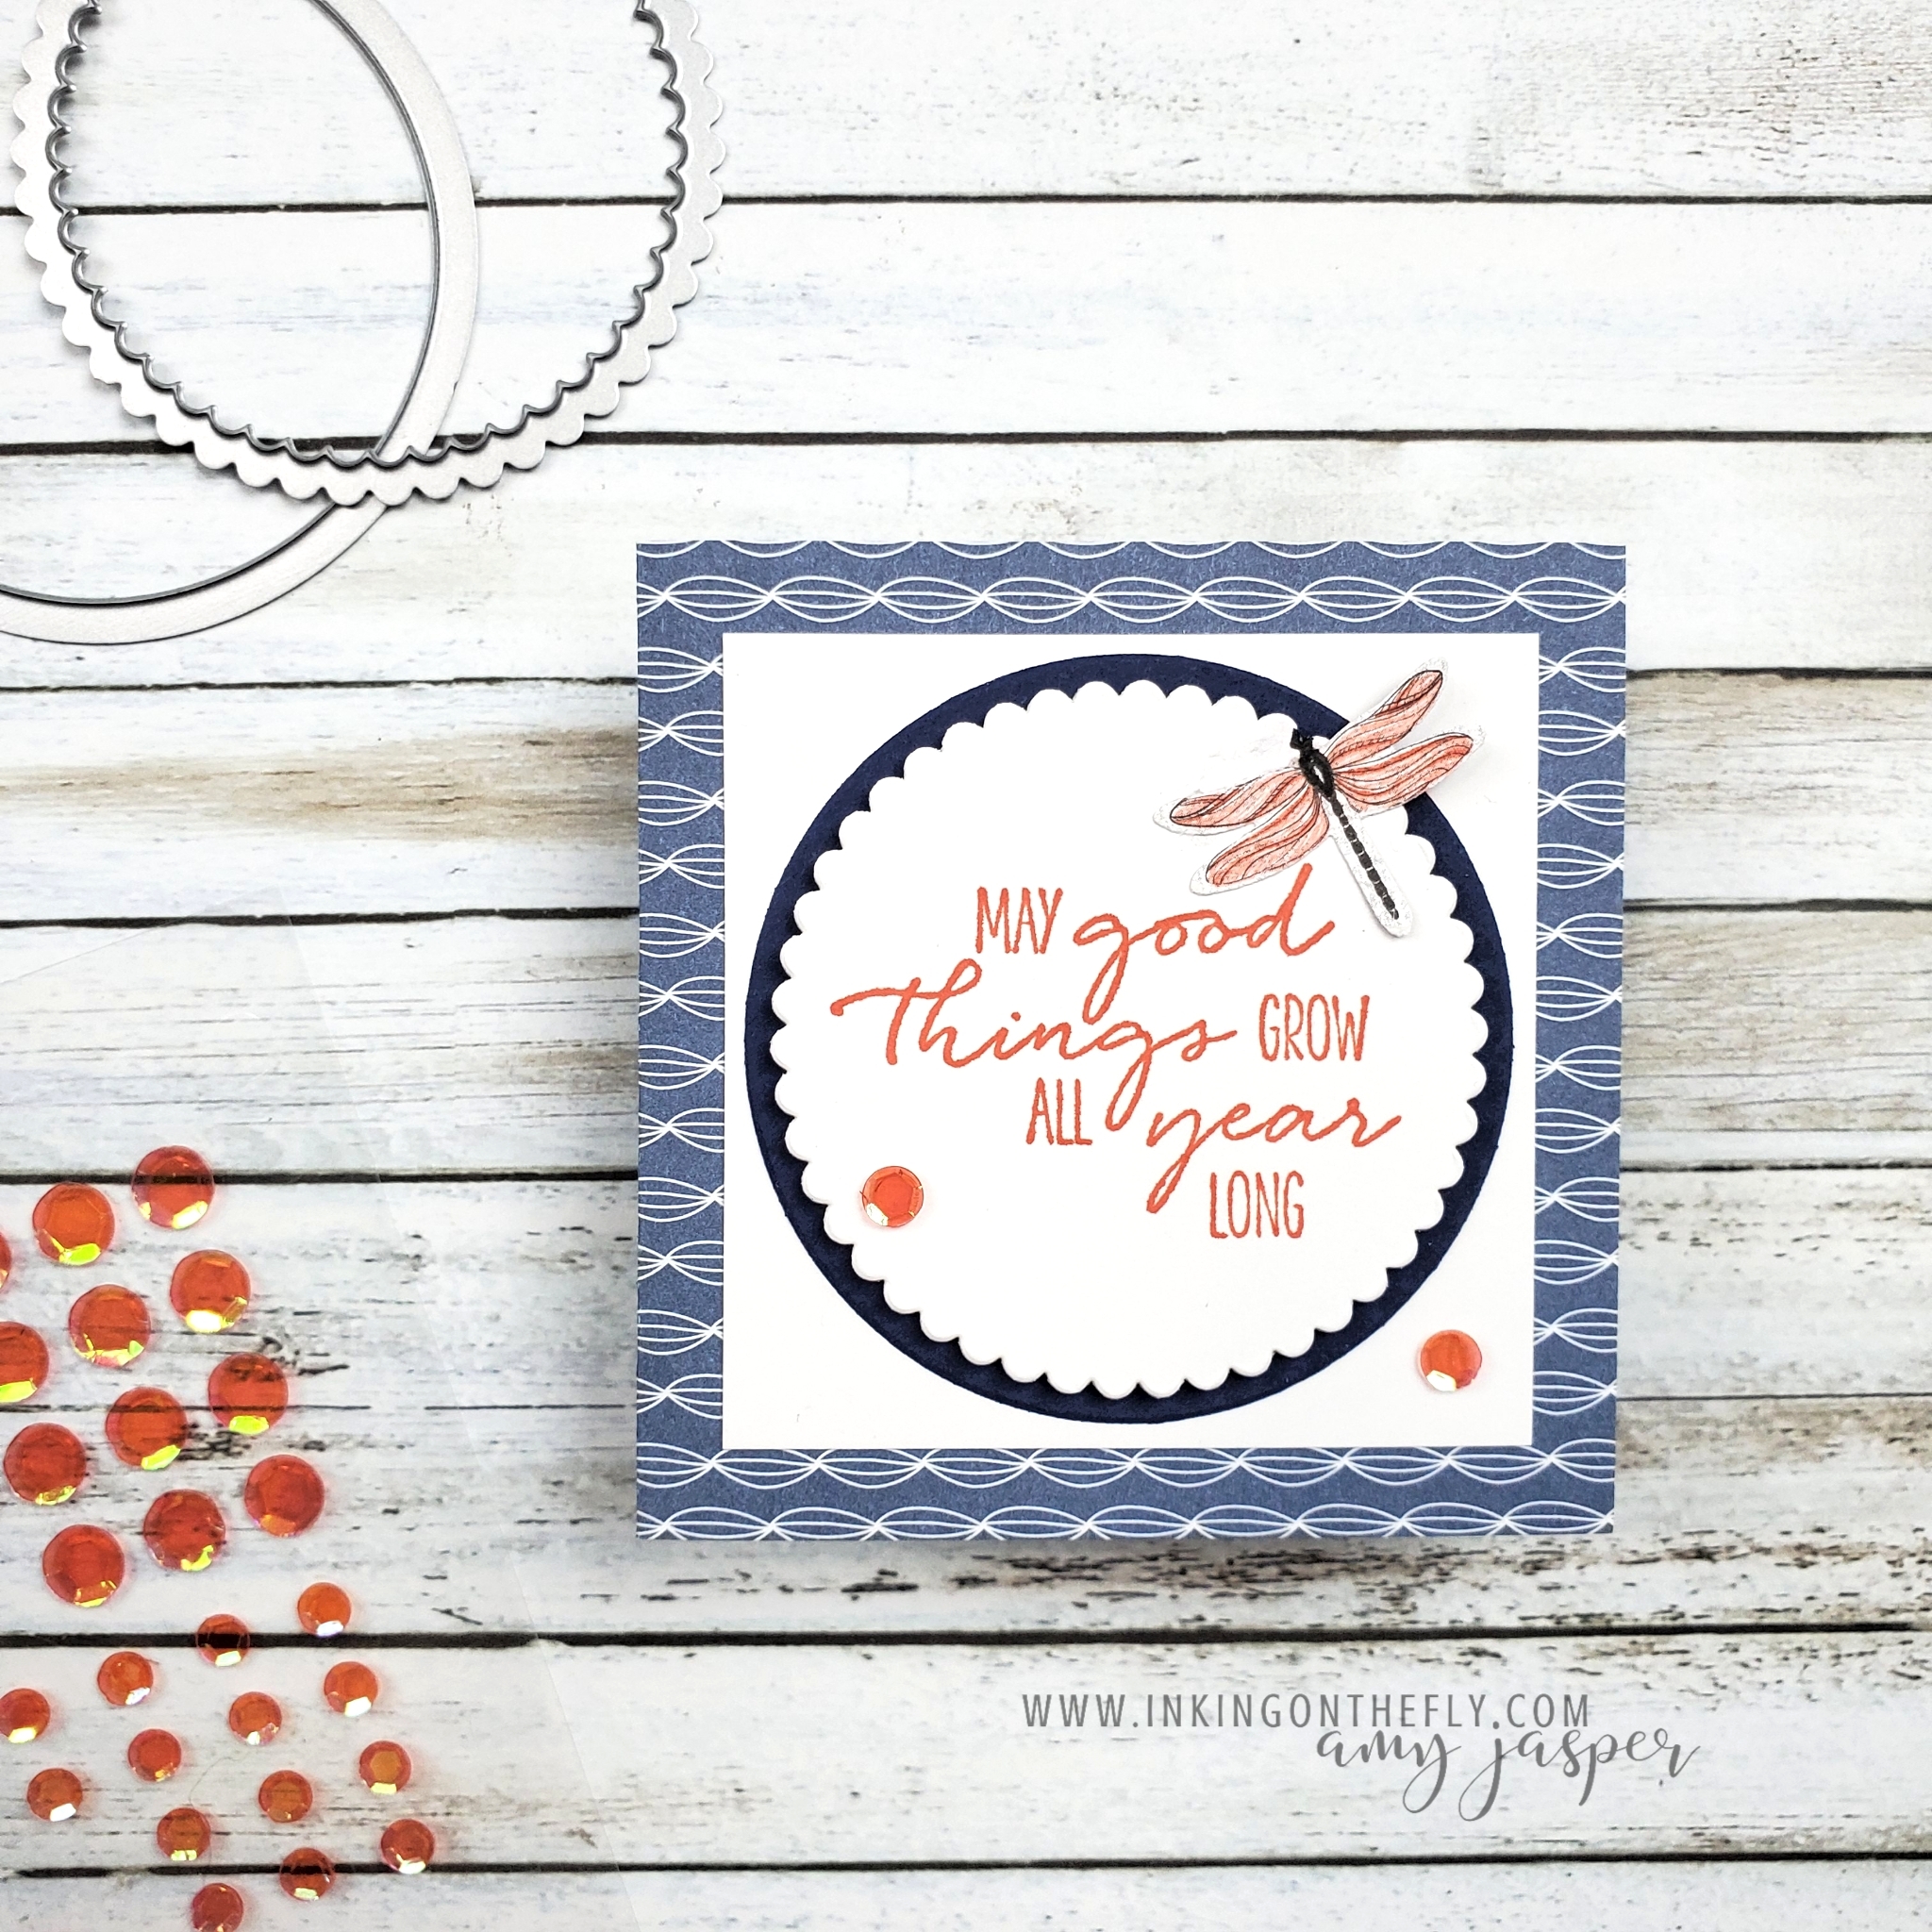
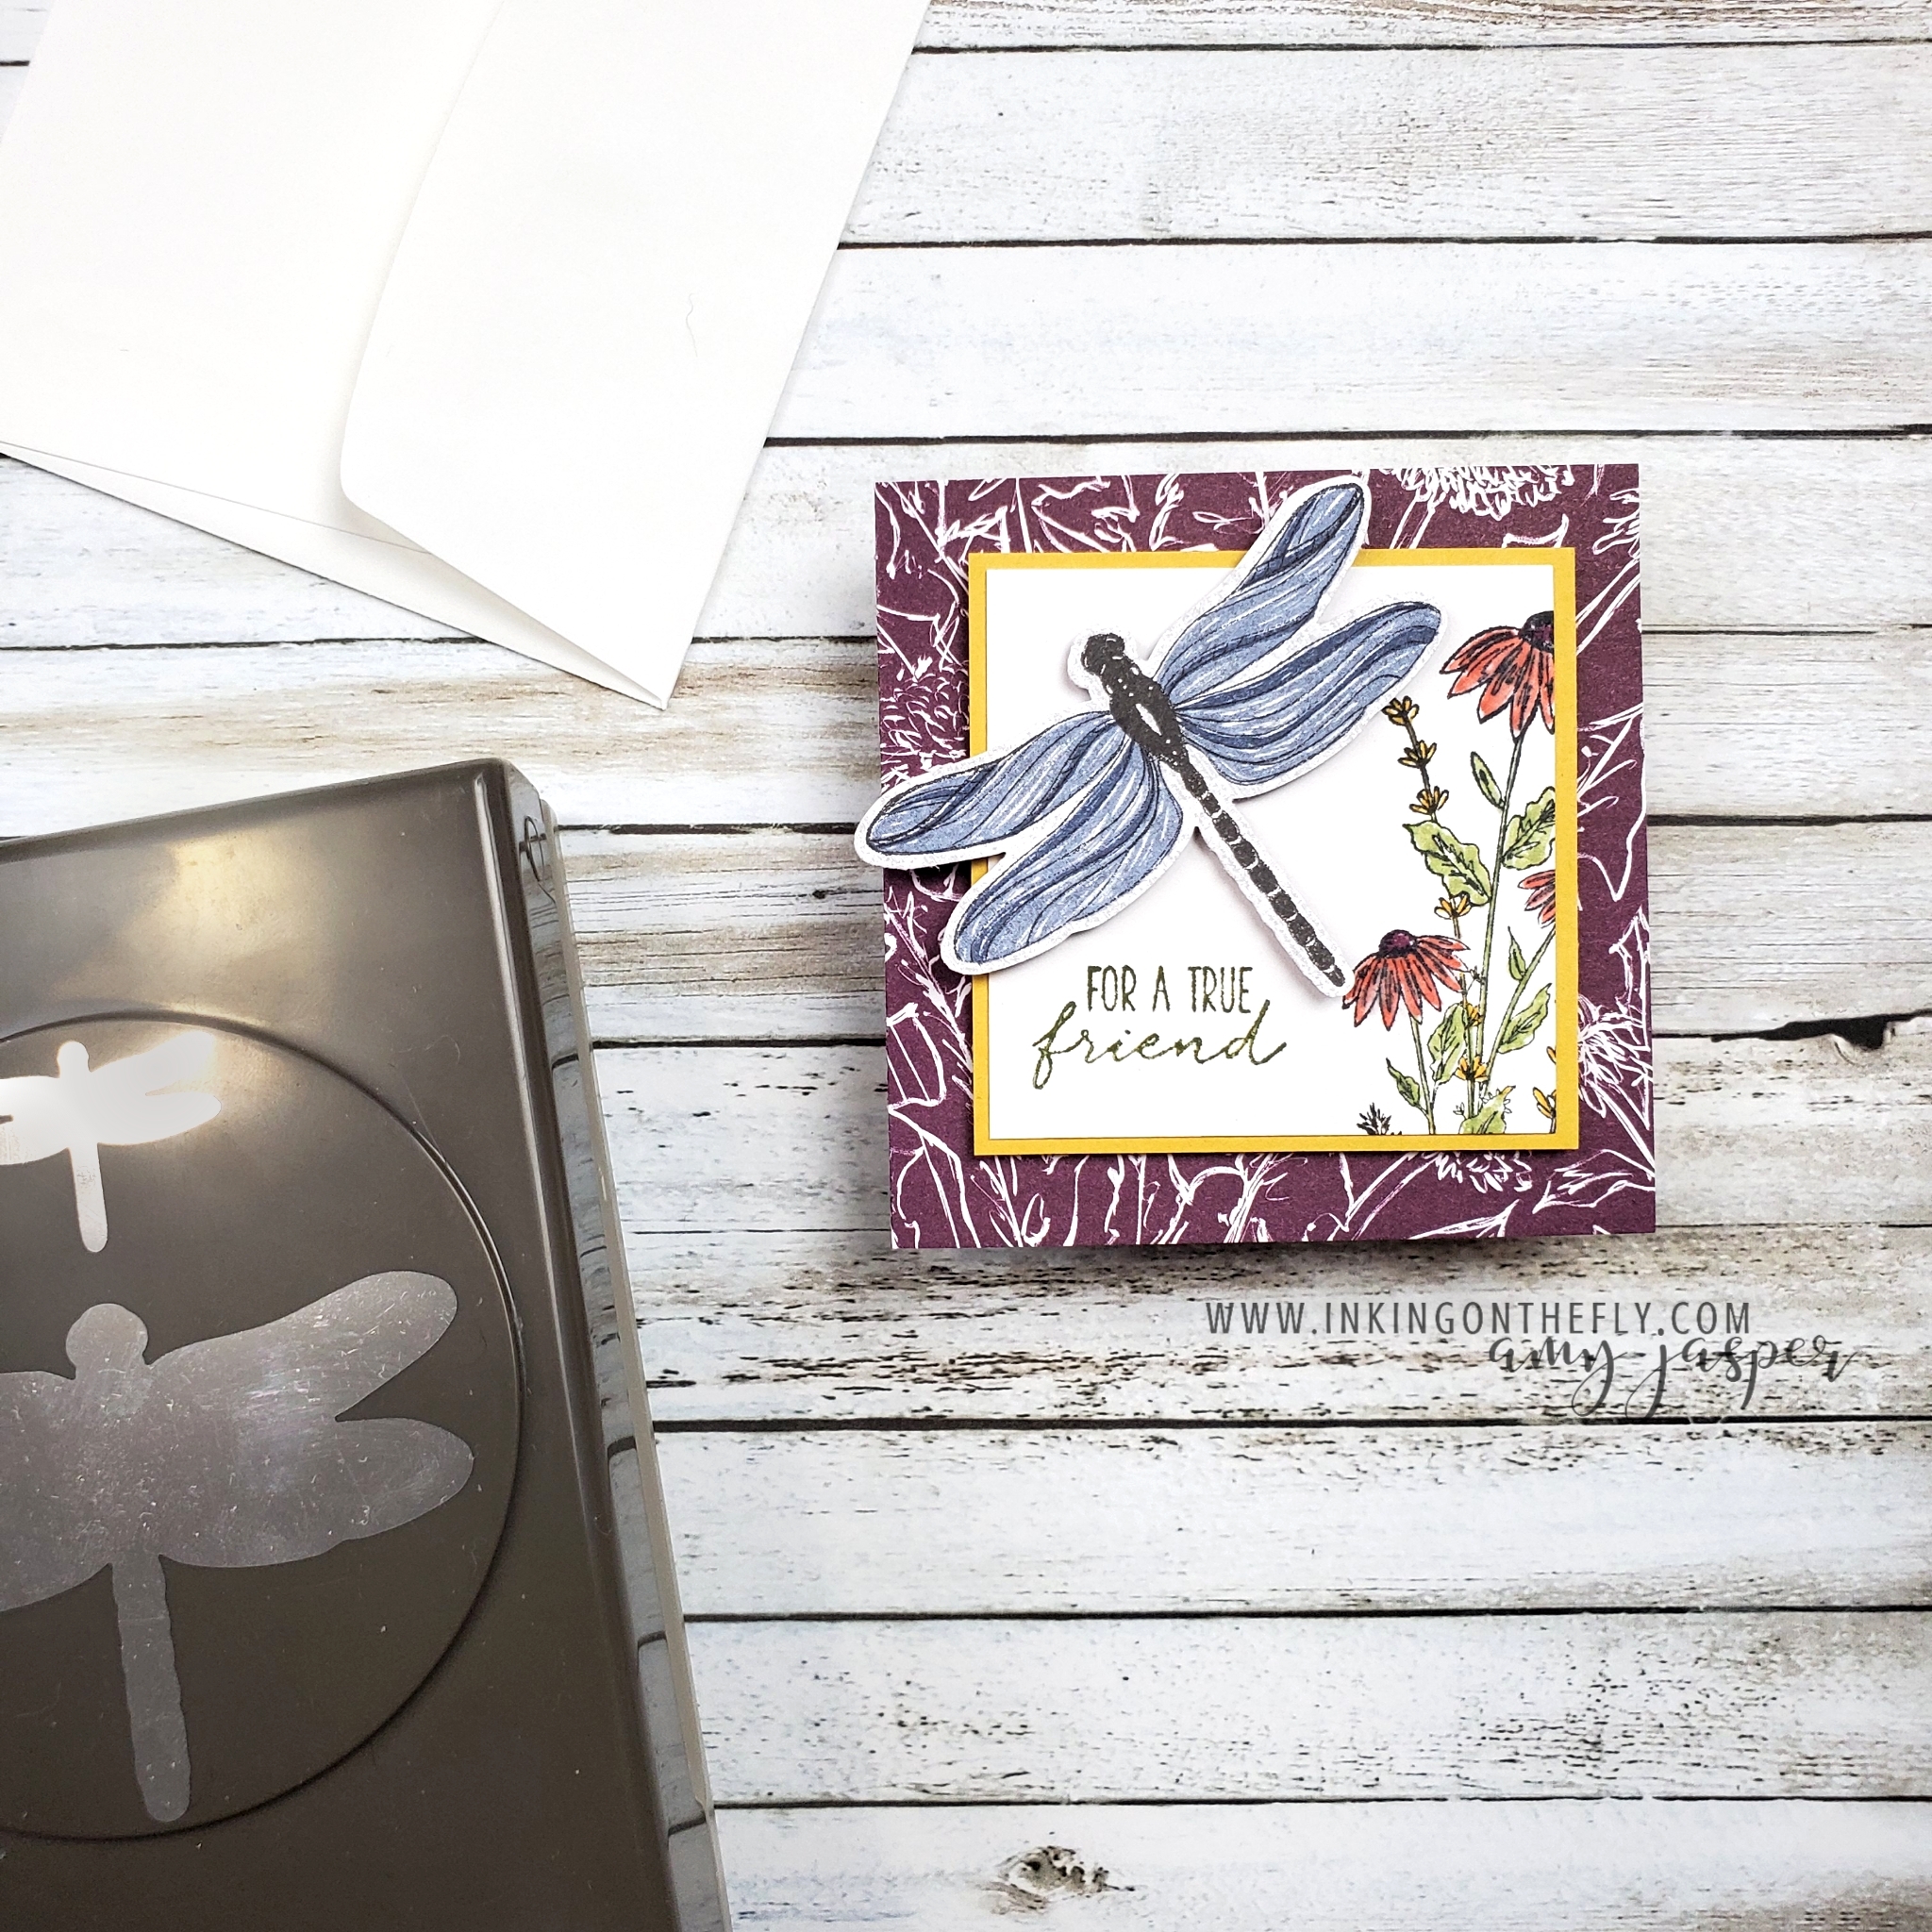
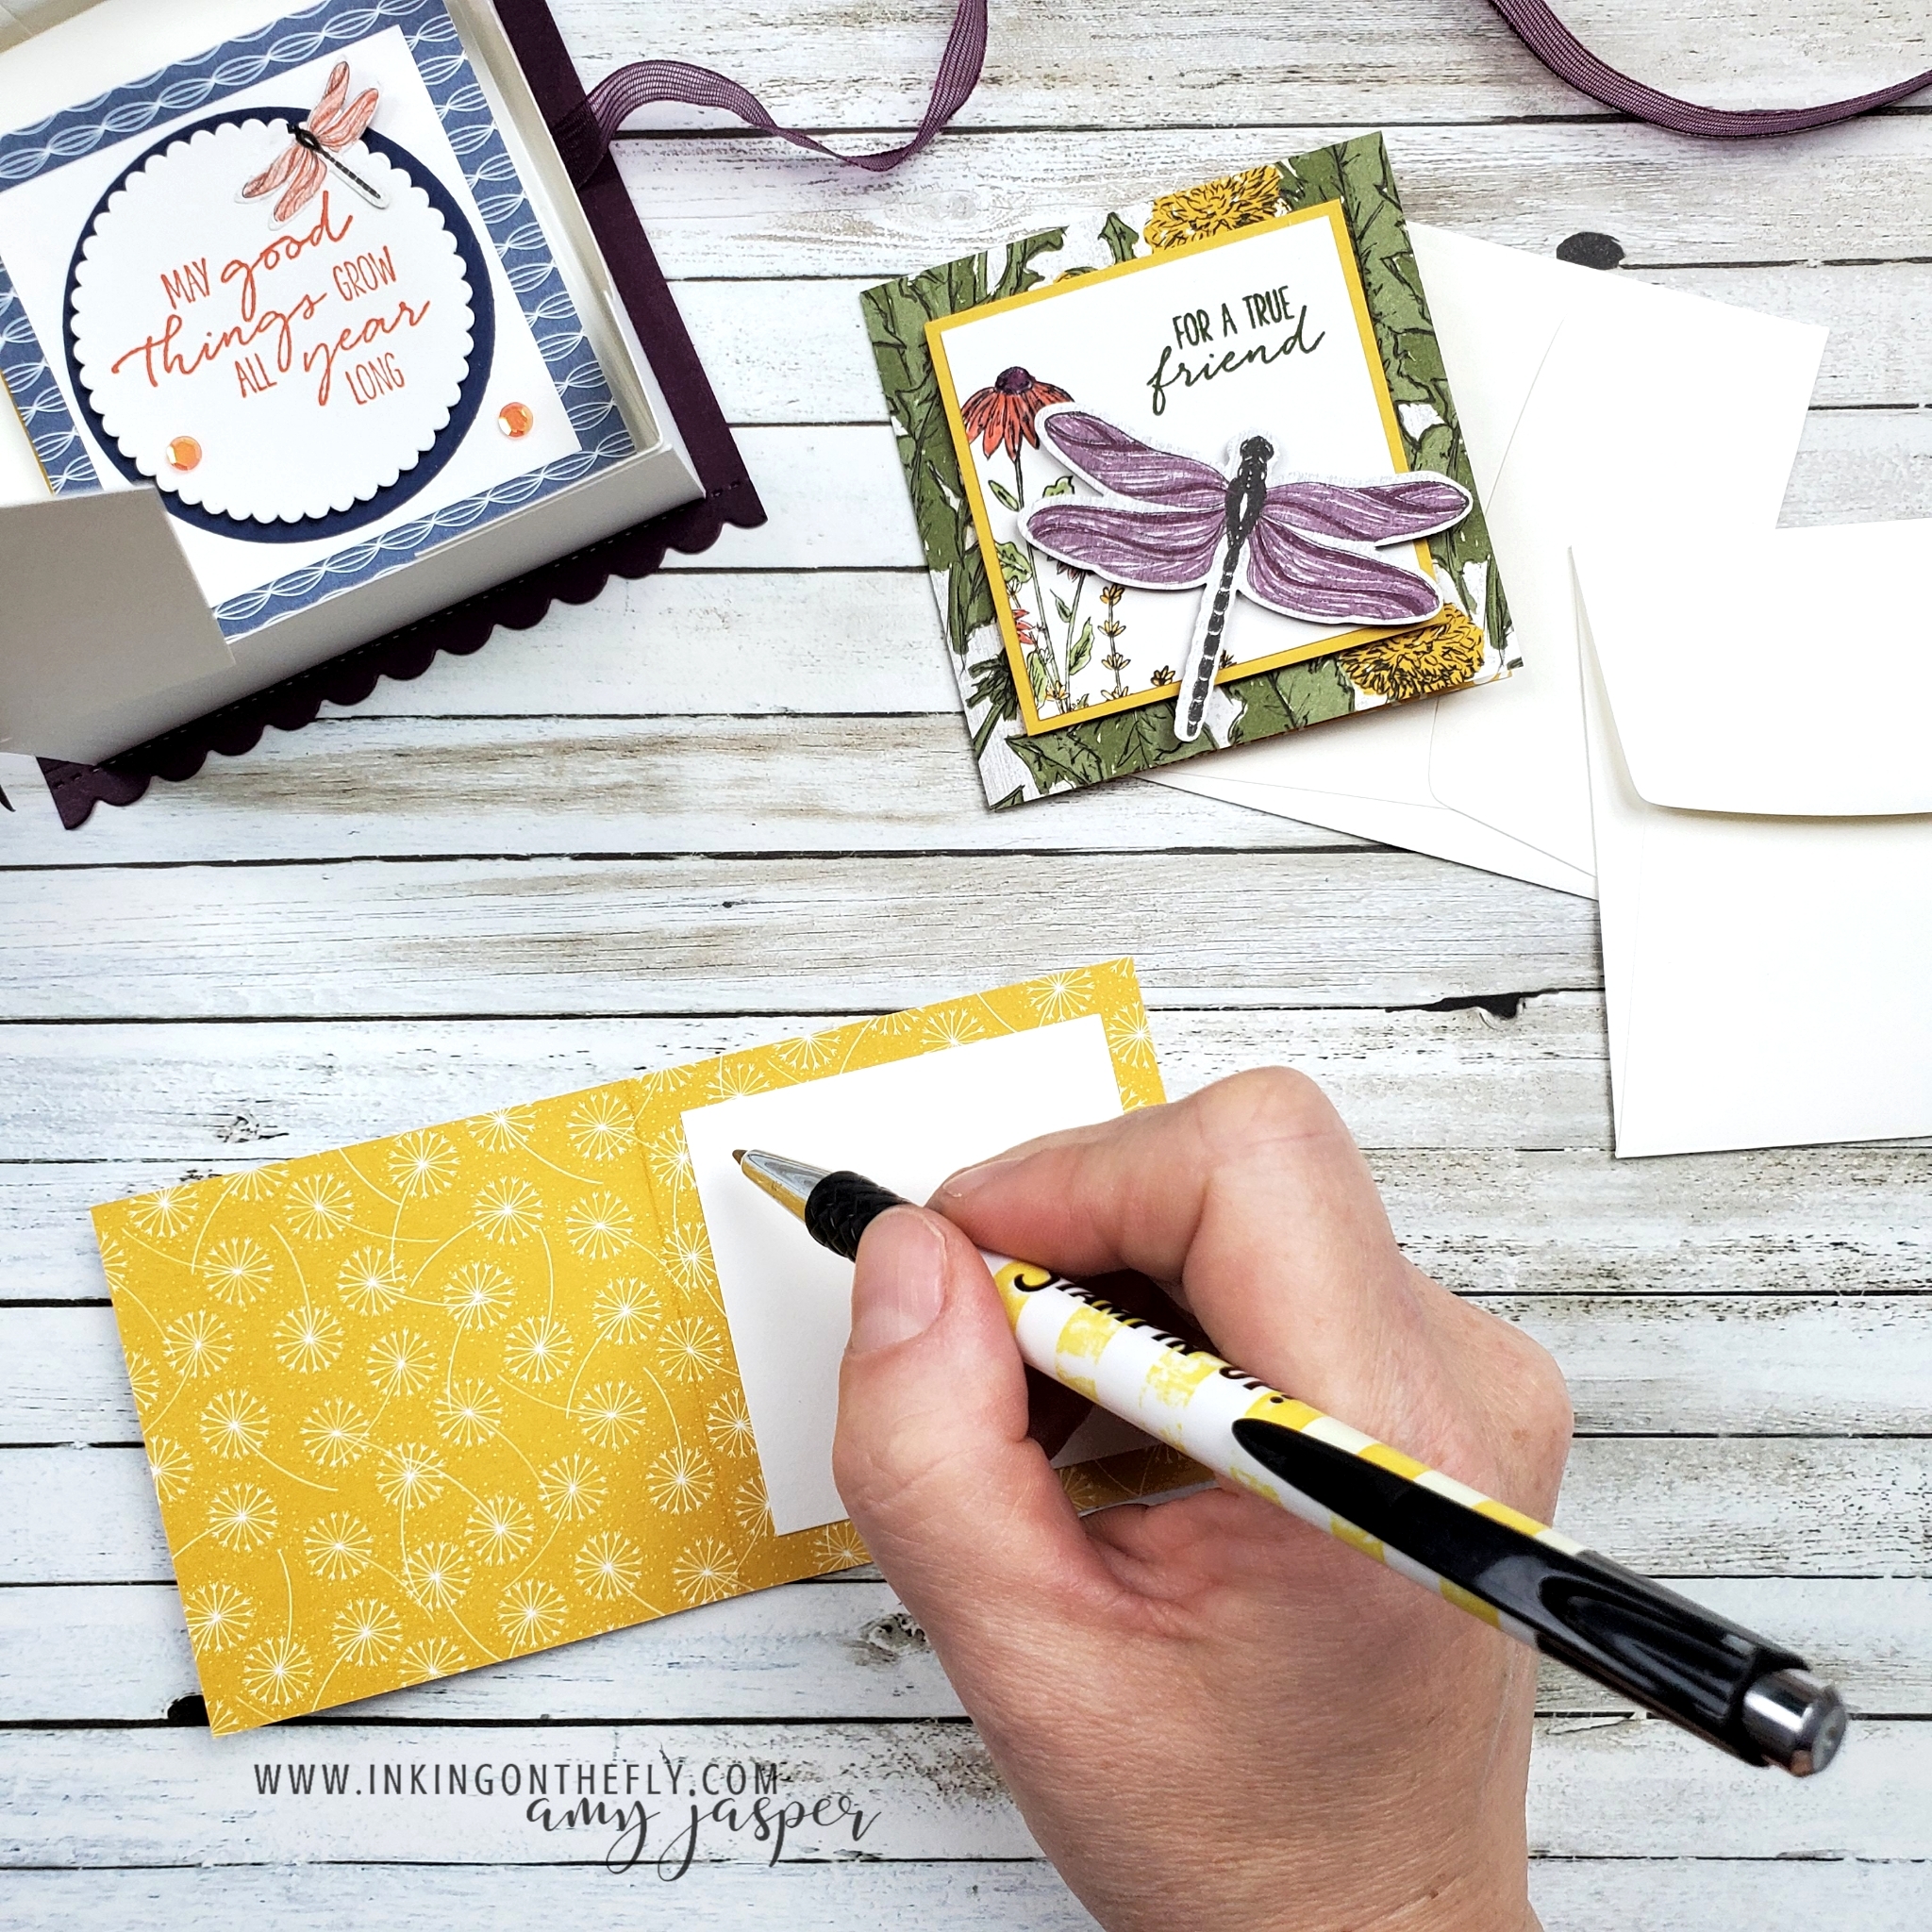
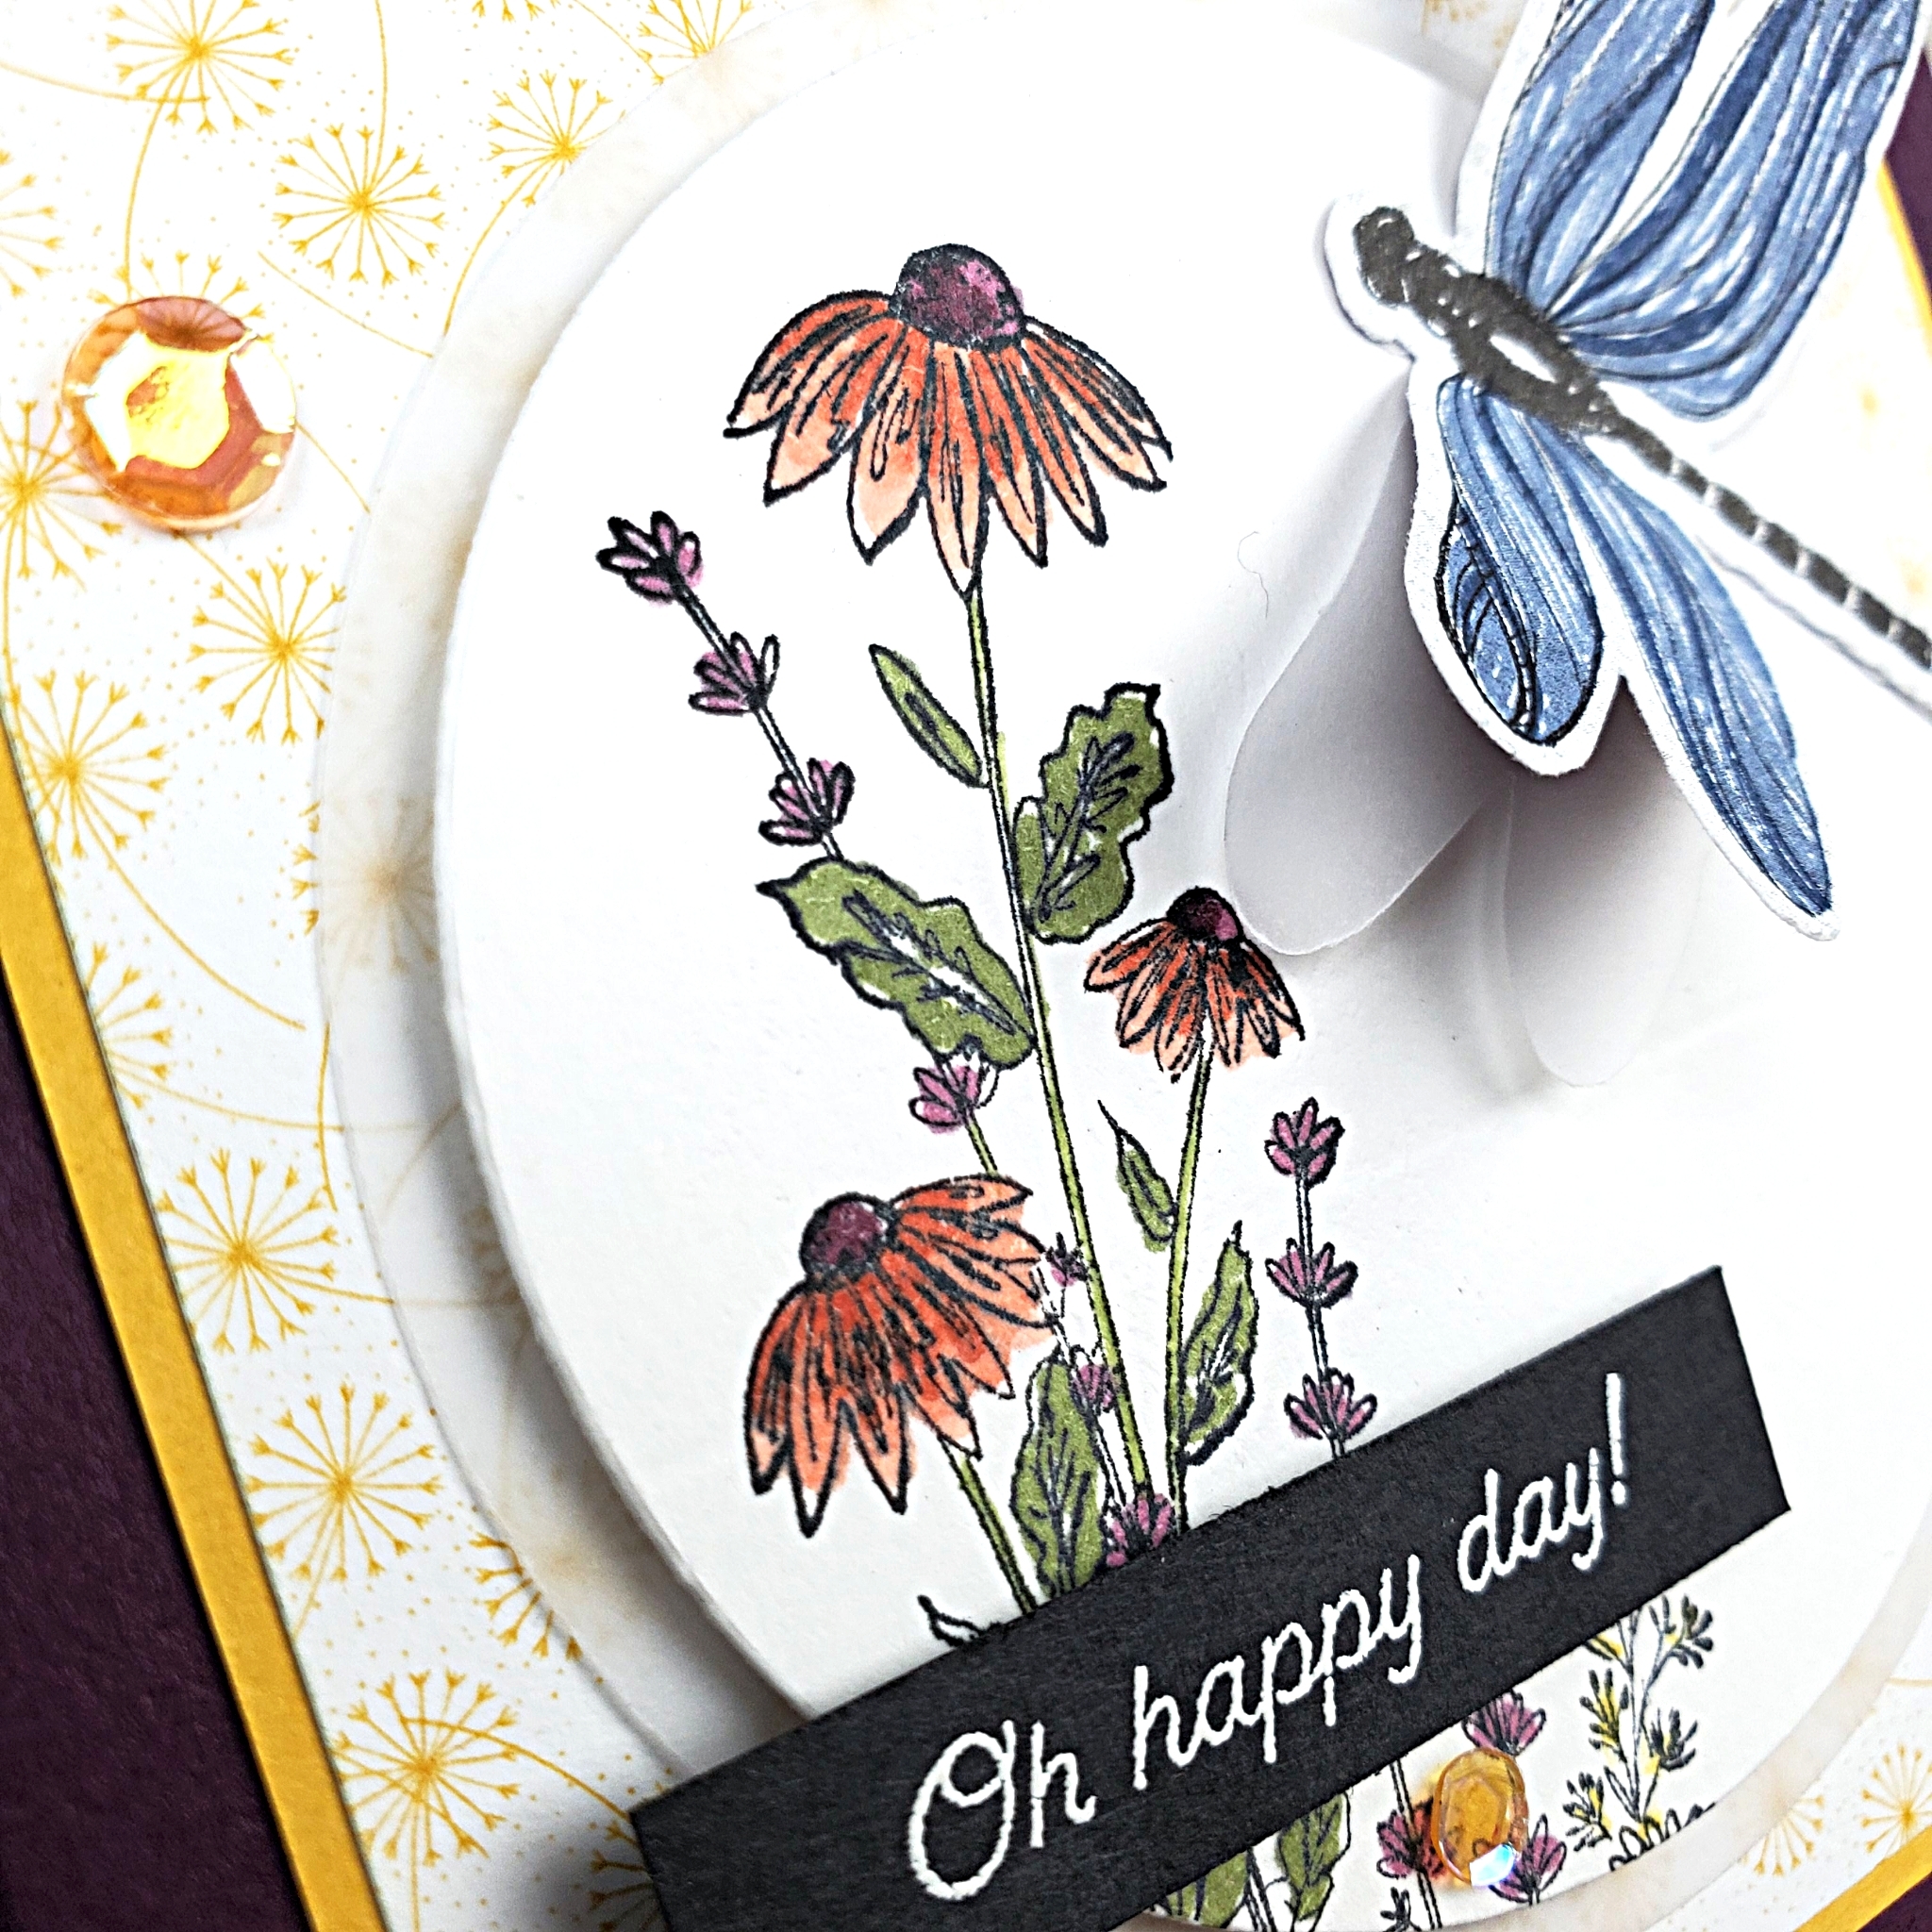
After adhering the star and sentiment, it was time for the best part! I stamped the dragonfly image from the Dragonfly Garden stamp set on Vellum with Versamark ink. Then I could use my Black Embossing Powder and Heat Tool to make that image really pop!

Thankfully, no fussy-cutting was necessary for this dragonfly image. Instead, I pulled out the handy-dandy Dragonflies Punch for a perfect cut-out! Stampin’ Up! makes it easy, folks!

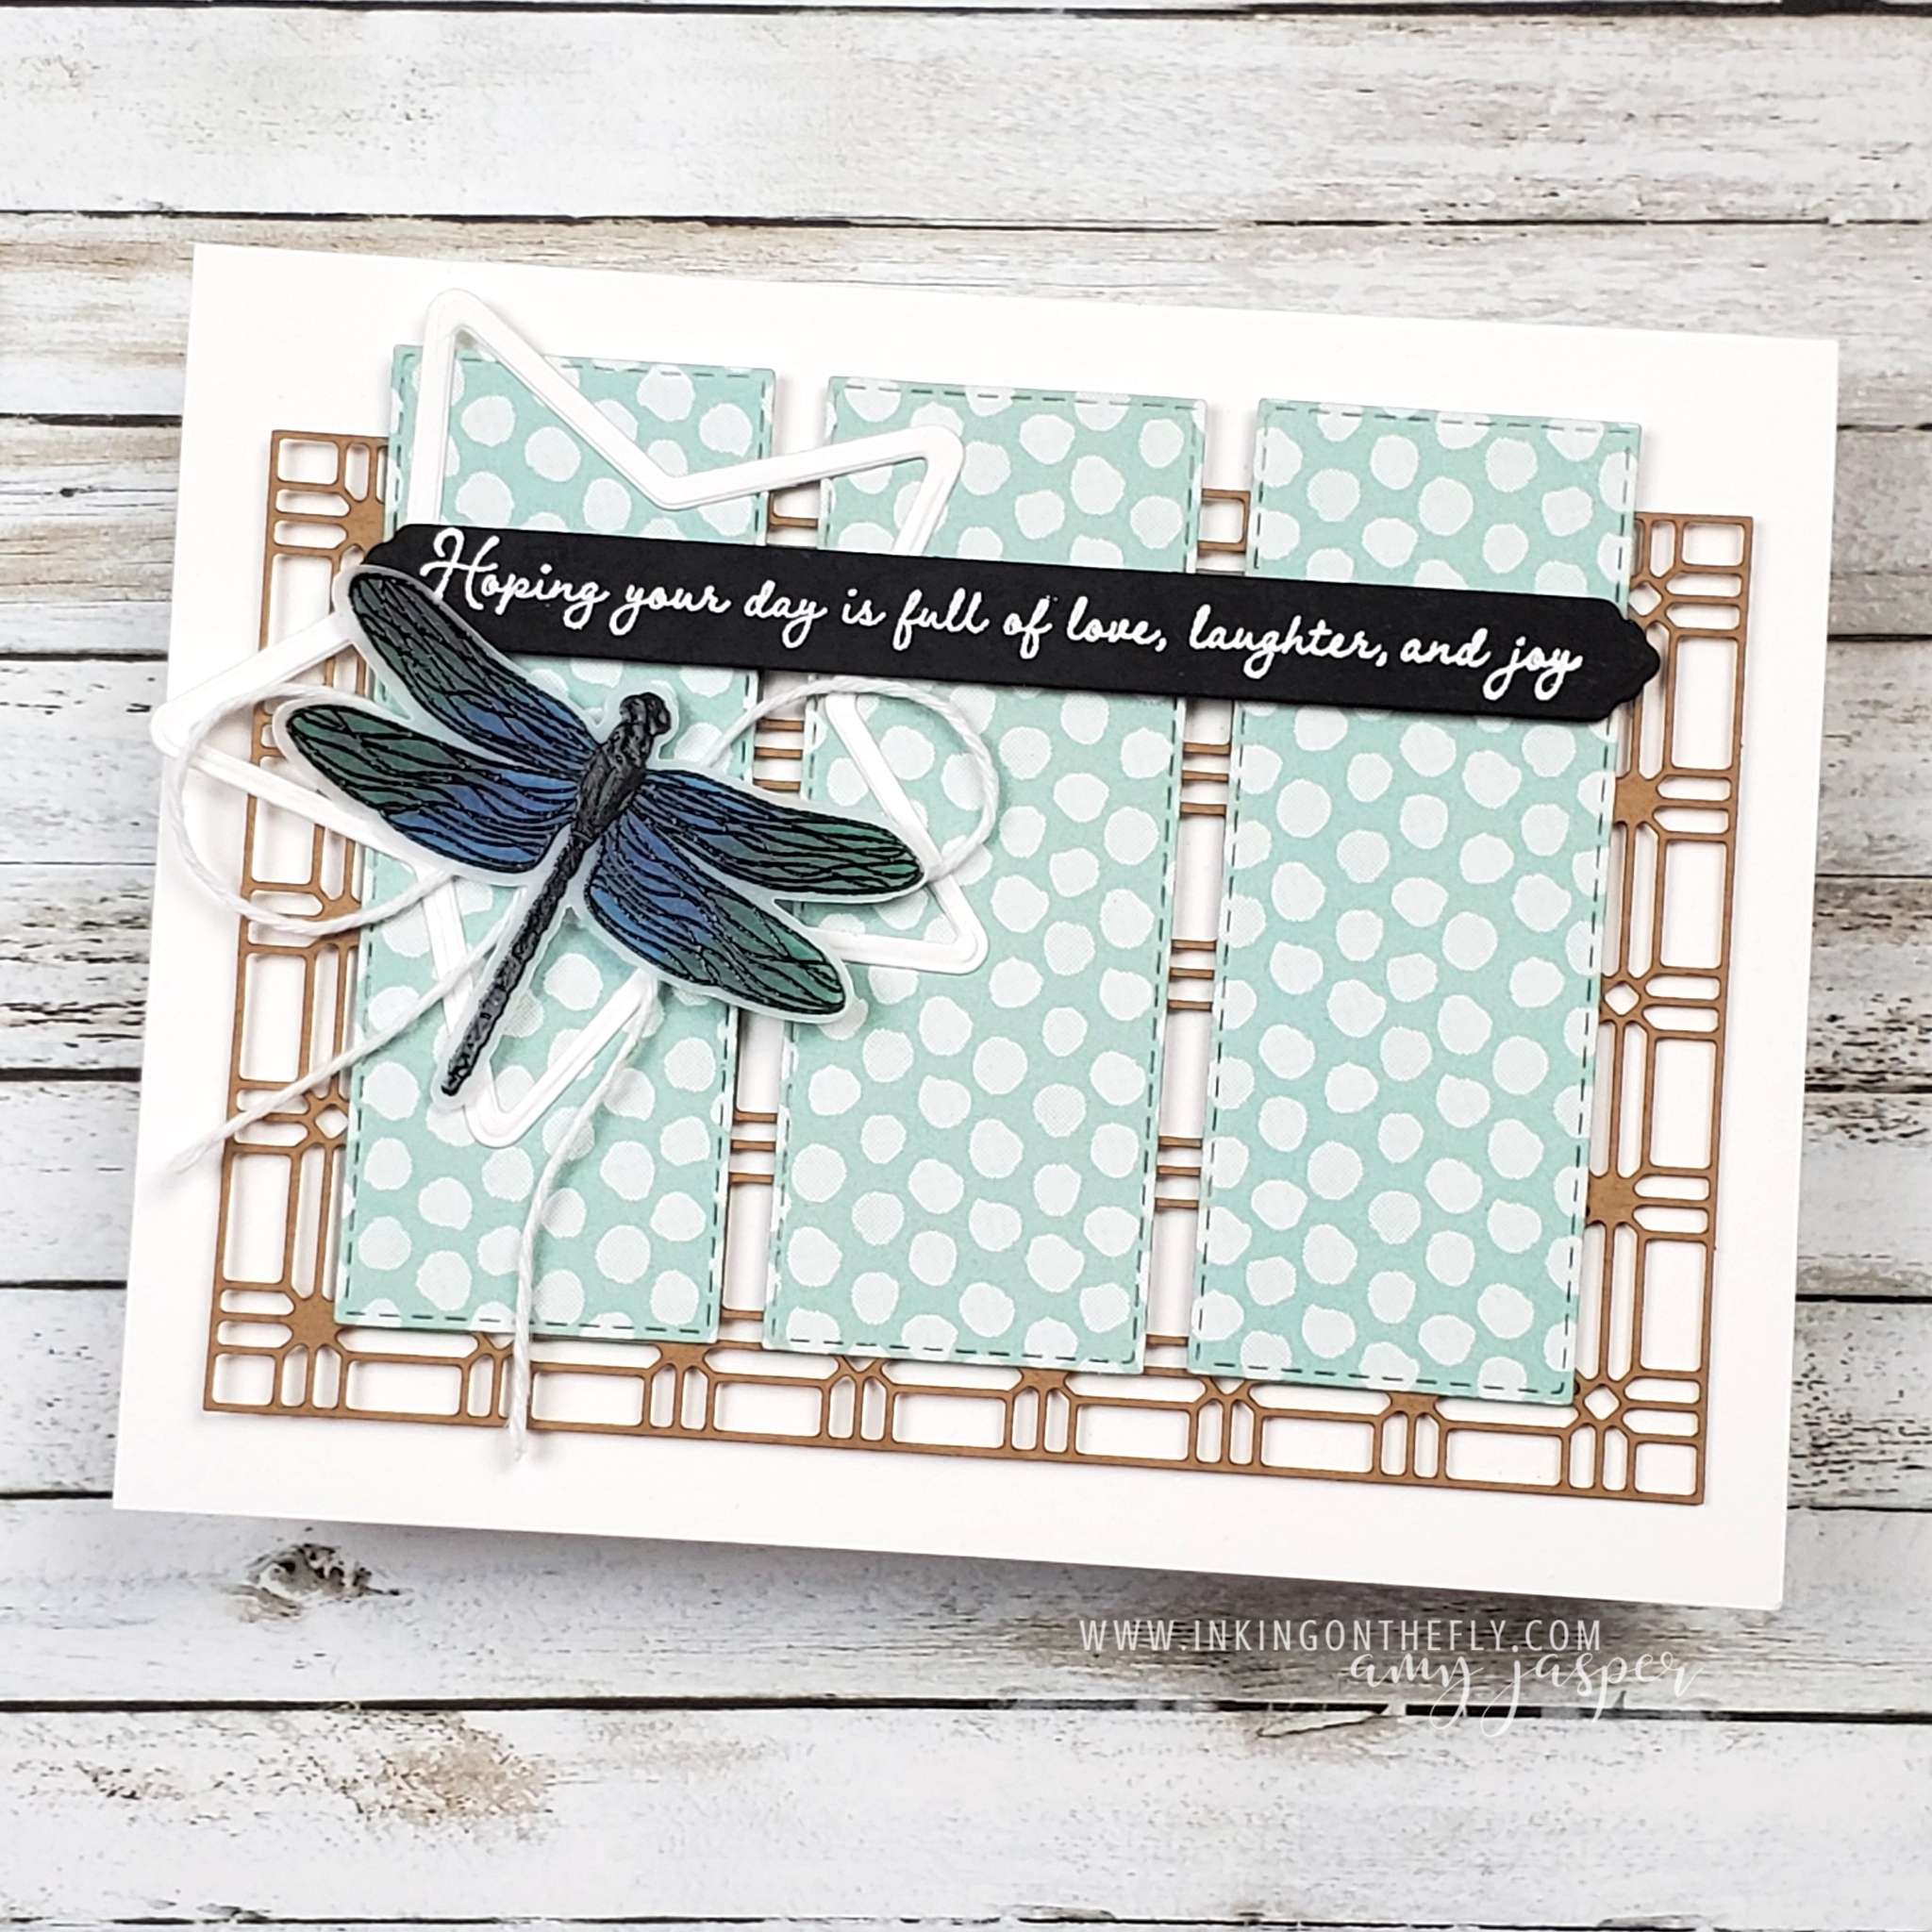
Now that the punch did all the work for me, I could colour the underside of the dragonfly wings. Pacific Point and Shaded Spruce Stampin’ Write Markers gave me just the right combination. This elegant insect is nearly the same colour as the ones we see here in my part of Canada. So pretty!

Watch the Video below to see the elements of this card come together.

Remember, if you like my videos, click on the subscribe button and help me to grow my business. I appreciate your support and encouragement so much!

Dragonfly Note Cards

Welcome to a simple stamping Sunday.

Last Tuesday, I shared an easy small gift box that I made to fit note cards. Well, my friends, I whipped up some note cards lickety-split using the Dragonfly Garden stamp set and the Dandy Garden Designer Series Paper from Stampin’ Up!.

If you didn’t see the box I made, you can go to my blog post by clicking HERE. There is a handy video tutorial there as well for anyone who might find it useful. I suspect that it will be a video that I refer back to myself when I want to make another box like it. It’s so easy when you have the measurements and instructions at your fingertips!

Making these mini note cards are super quick and easy as well!

The card bases are patterned paper cut to 2 3/4″ x 5 1/2″, then folded in half. I like my note cards to fit easily into the 3″ x 3″ Mini Envelopes, so I choose to make the cards 2 3/4″ square.

I used my Stampin’ Write Markers to colour the floral image from the Dragonfly Garden stamp set. The dragonflies were punched out with the Dragonflies Punch from one of the patterns of the Designer Series Paper. I could have stamped the dragonfly and coloured it myself before punching it out, but, hey, I’m all about efficiency today! LOL!

Normally, I wouldn’t use designer paper for my card base, but these cards are so little that it doesn’t matter that the paper is thin. Adding the layers on the front and inside the card add structure and make up for the designer paper being so much thinner. The cool thing about using the patterned paper for the base is that you get to show off both sides!

Note cards like this are great for anyone with a small business. You can write a quick thank you note and pop it in with a customer’s purchase. I also like to use note cards to attach to a little gift. A box of chocolates for a friend. Flowers for your mom. A personalized mug with some fancy tea for a teacher. These cards give that little extra something without overshadowing the modest elegance that a small gift represents.

All of the products that I used on these cards and the box are available to purchase at my Canadian online store. Let me know if you have any questions about products. I’m always happy to help if I can!

Dragonfly Garden Note Card Box

On my Facebook Live video yesterday, I shared how to make this cute box! It’s the perfect size for Mini Envelopes and 3″ x 3″ handmade cards. The Dragonfly Garden stamp set, Dragonflies Punch, and the Dandy Garden Designer Series Paper work together beautifully to create this easy box.

Show your appreciation to someone by giving them a box of handmade note cards!

It doesn’t have to be for note cards, though! This size box will fit lots of other things. You could fill it with candy or chocolates, but anything that fits would work: Jewelry, seed packs, candles, figurines, tea, snacks, car keys, ear buds, money, a face mask, make-up, a pair of socks … whatever! LOL!

It would be really funny to get a pair of socks!

The box is an adaptation of a smaller rectangular box that my friend and fellow Canadian Stampin’ Up! Demonstrator, Desirée Spenst made. It was a cute box, but not big enough to fit cards. I just had to adjust the measurements for the base of the box, then I could decorate it my own way. I chose the dragonflies.

It makes me happy.

To make this 3 1/2″ x 3 1/2″ square box that is 1 1/4″ high, start with a piece of Thick Basic White cardstock, measuring 6″ x 10 1/2″. Score the long side at 1″, 4 1/2″, 5 3/4″, and 9 1/4″. Score the short side at 1 1/4″ and 4 3/4″. With this as your base, you can use my video tutorial to complete the base of the box. Once you see how I put it together and decorated it, you can do the same or you can decorate it anyway you like! It’s easier than you might think!

After I finished recording the video tutorial, I added some Artistry Blooms Adhesive Backed Sequins and a white heat embossed sentiment from the Many Messages stamp. I think these elements complete the box nicely.

The video below is a recording of my Monday Facebook Live. You can join me live on Facebook at 10:30 PST every Monday morning and interact with me while I share projects with you. Next week I’ll be unboxing the May Paper Pumpkin kit!

Leave a reply or comment and say hello! I love to know that you stopped by!