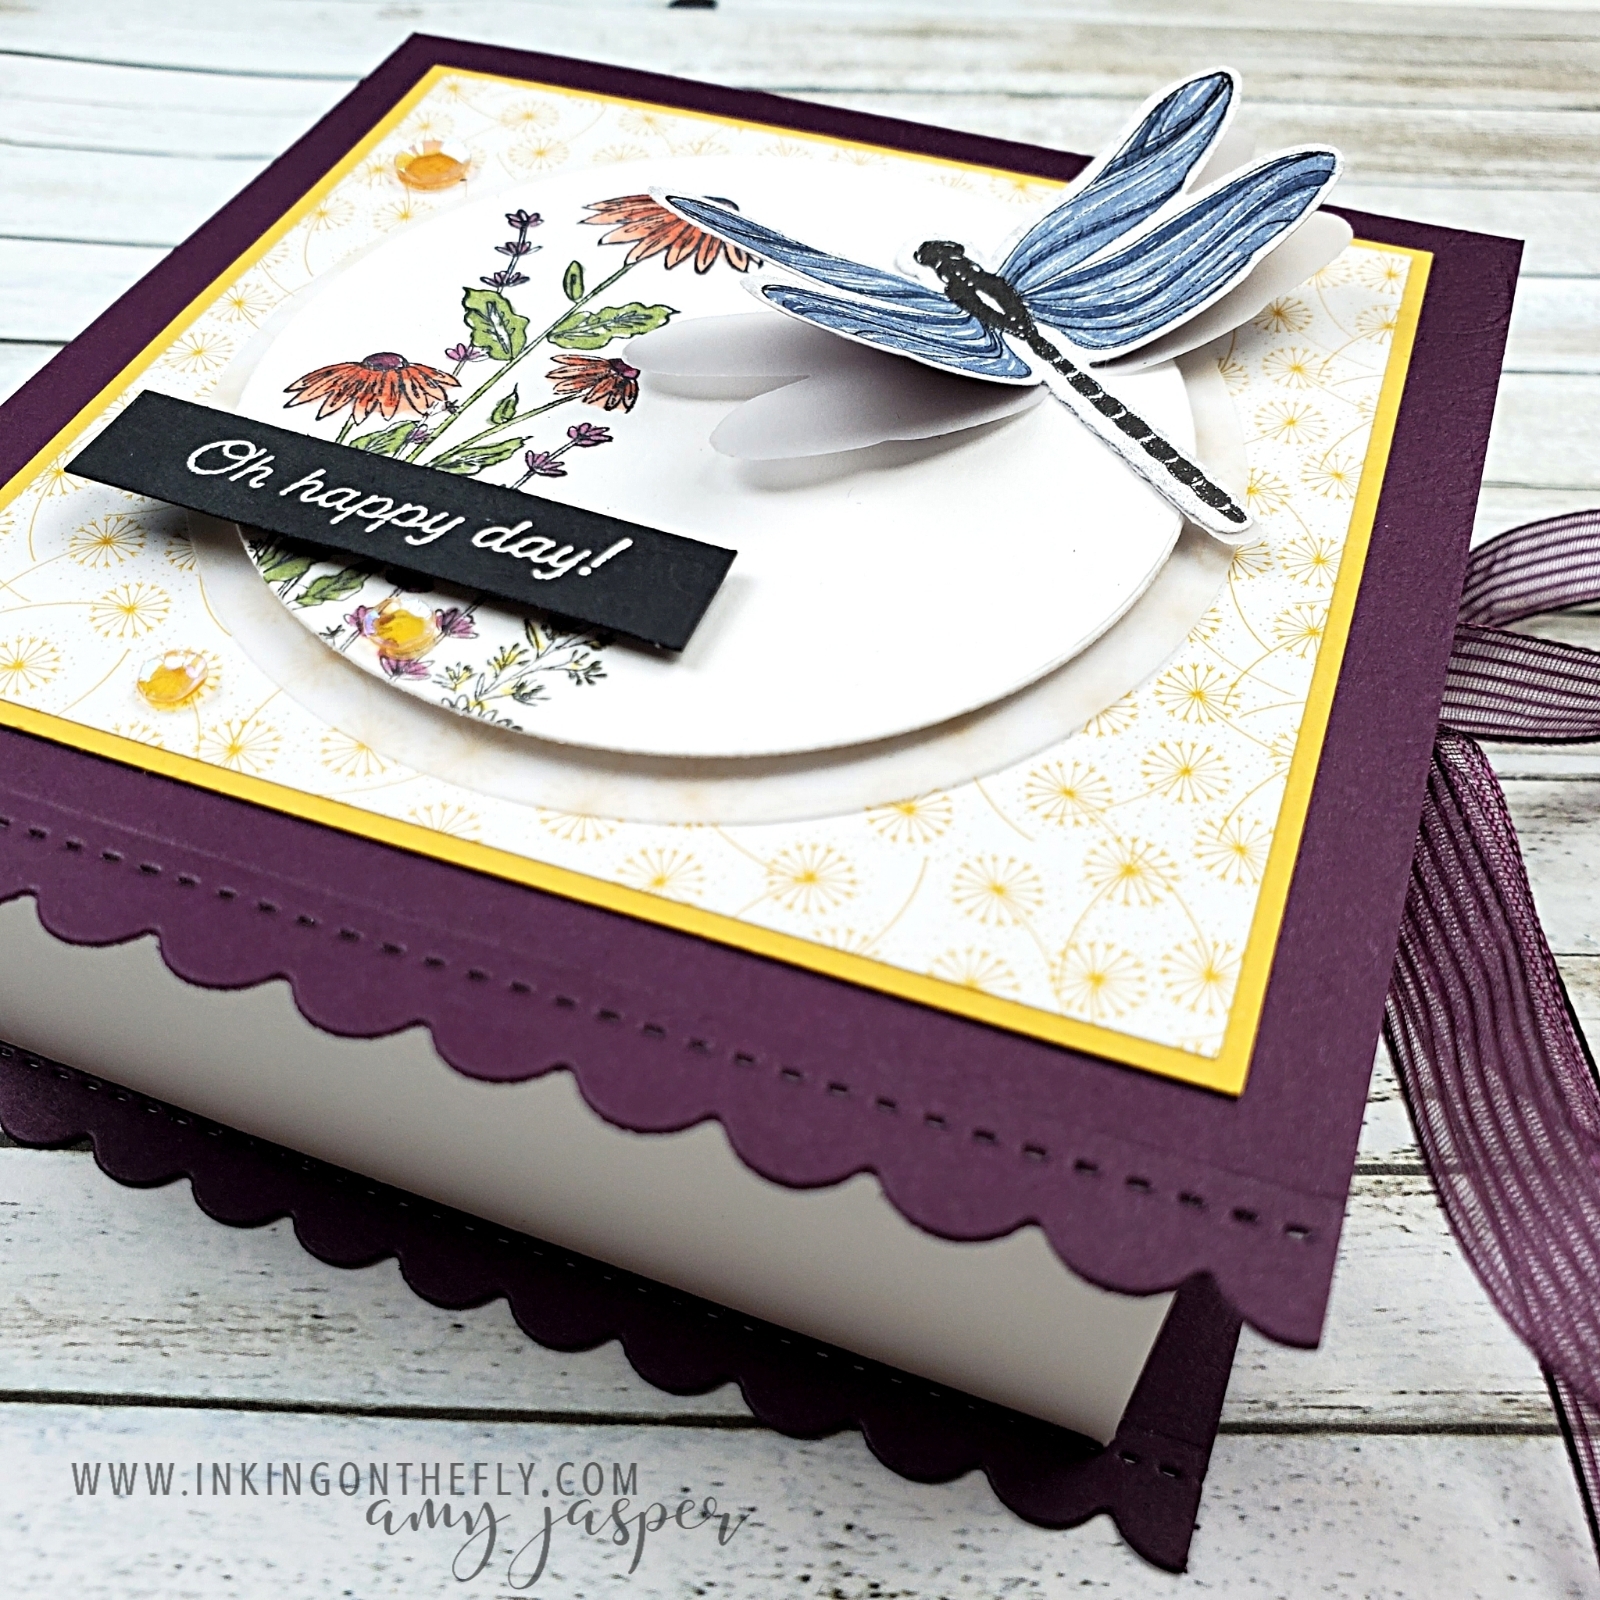
Dragonfly Garden Note Card Box
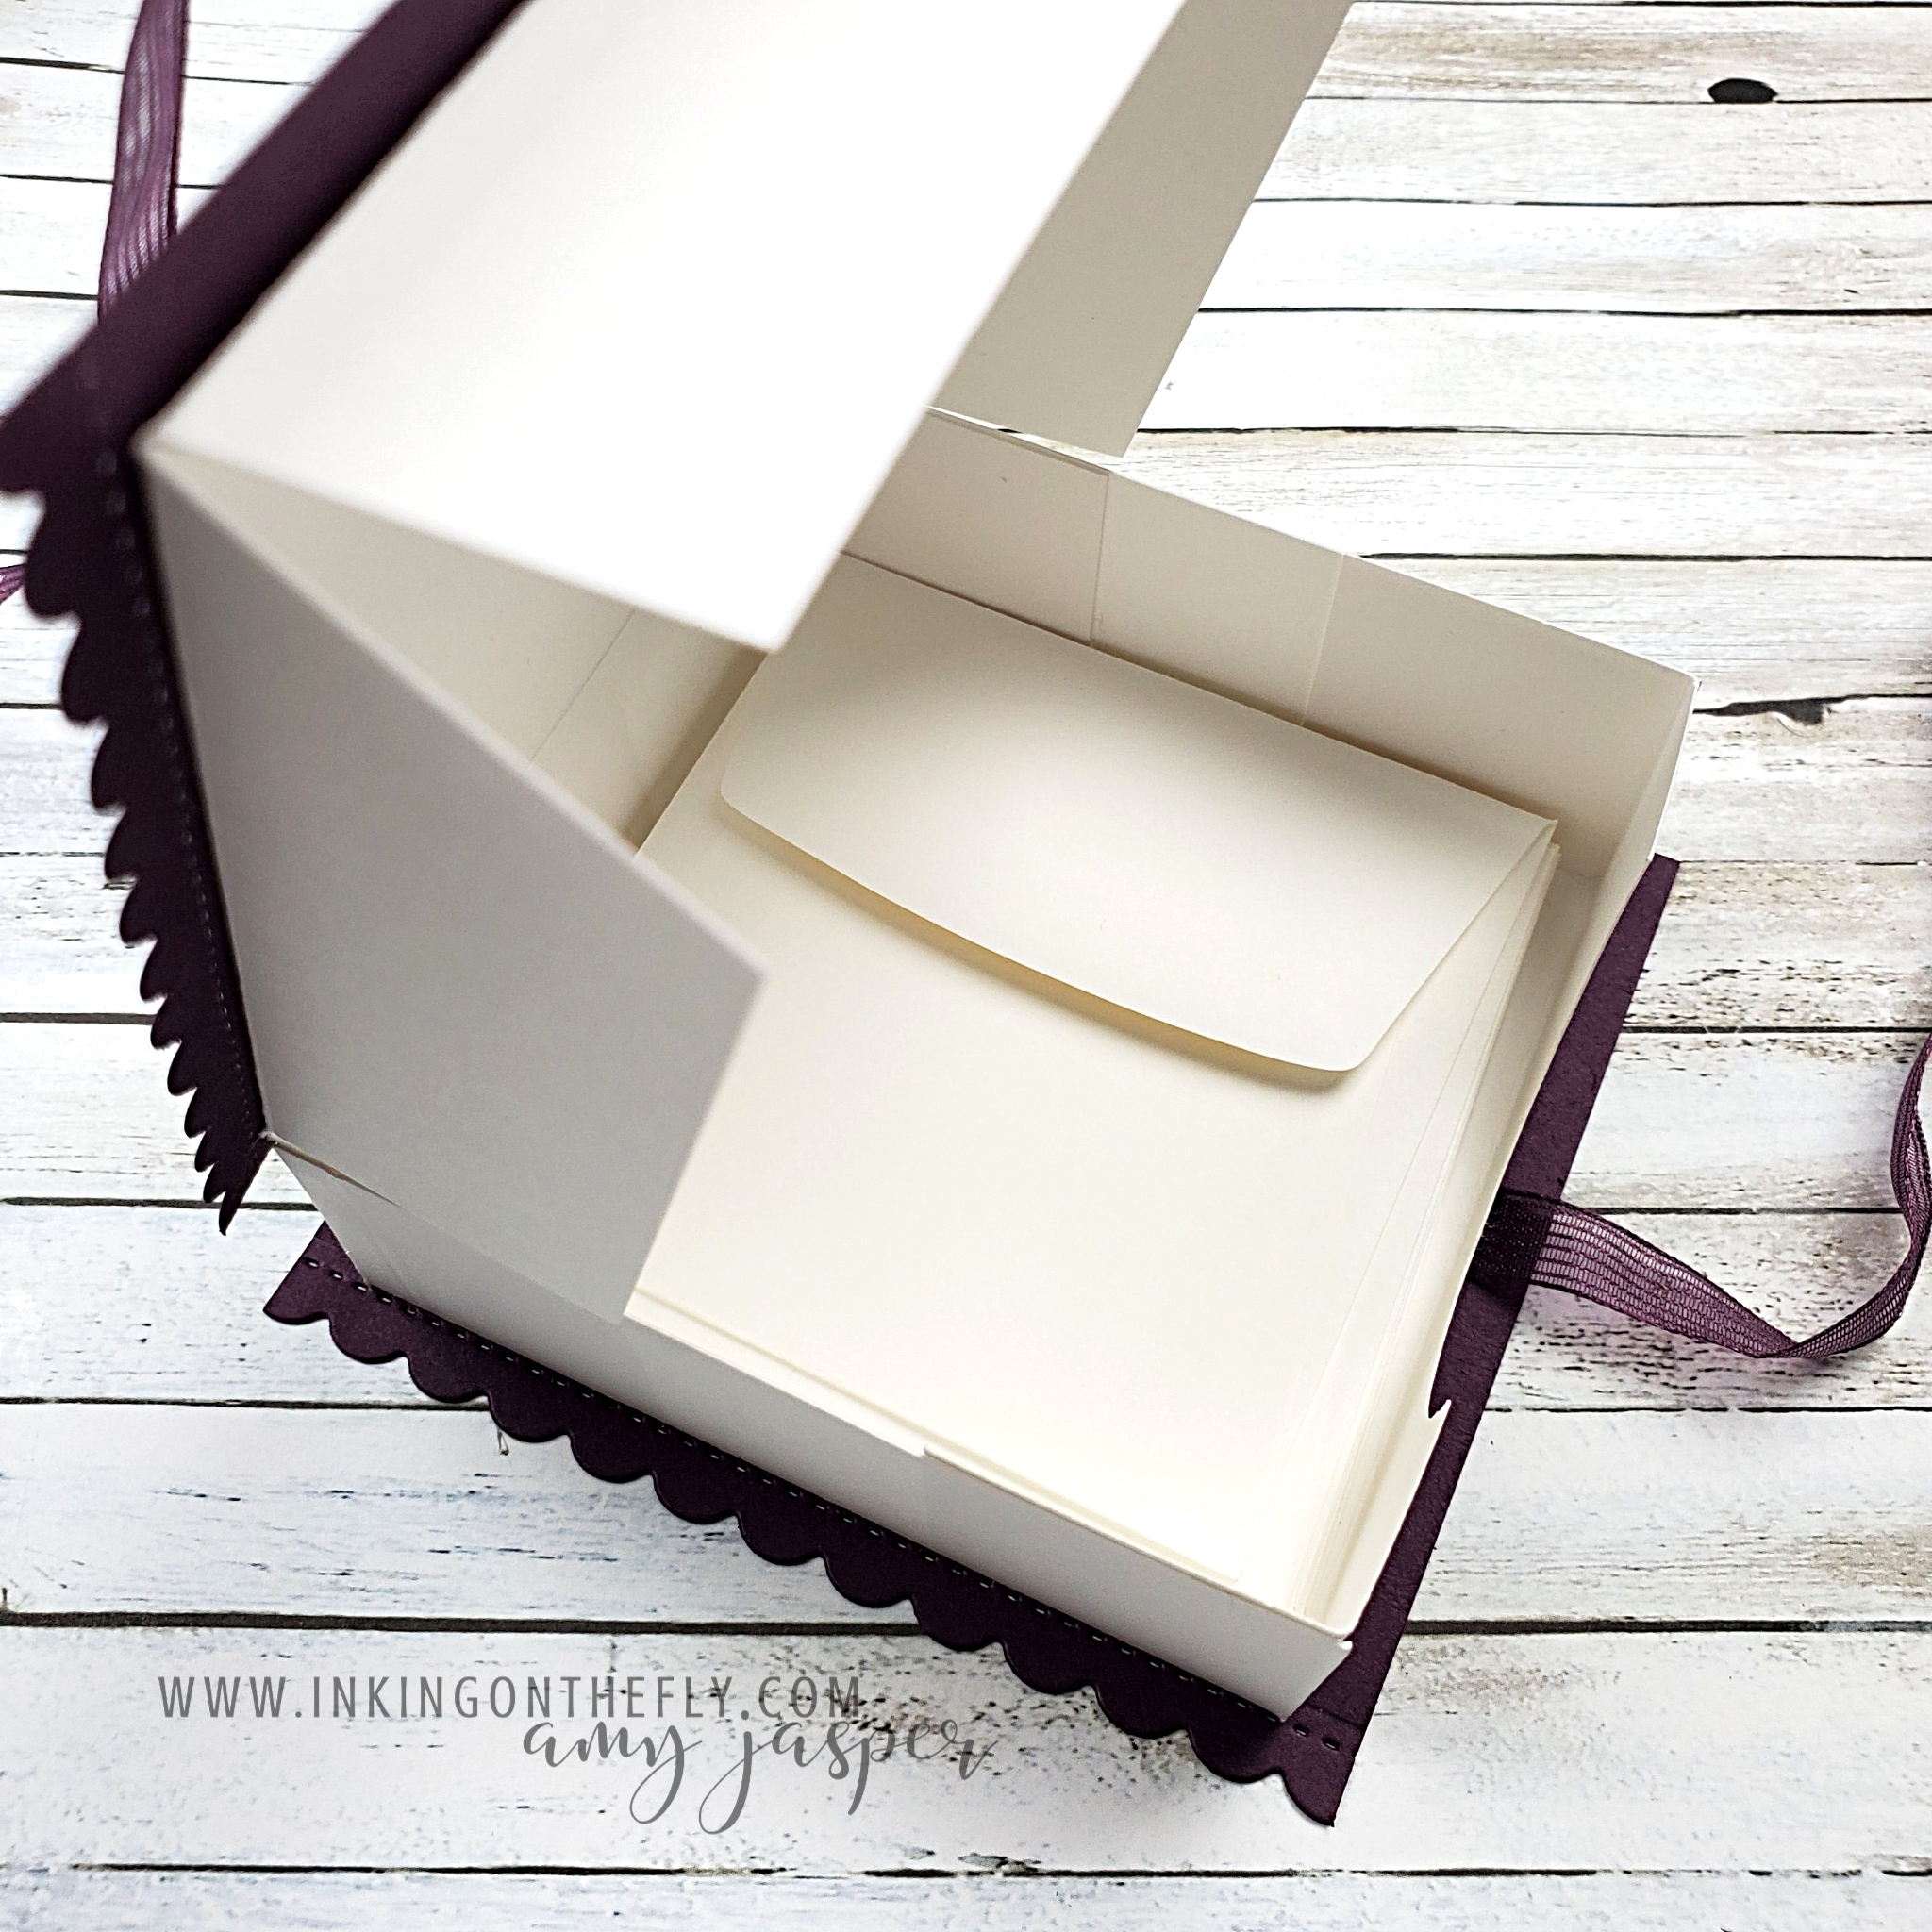
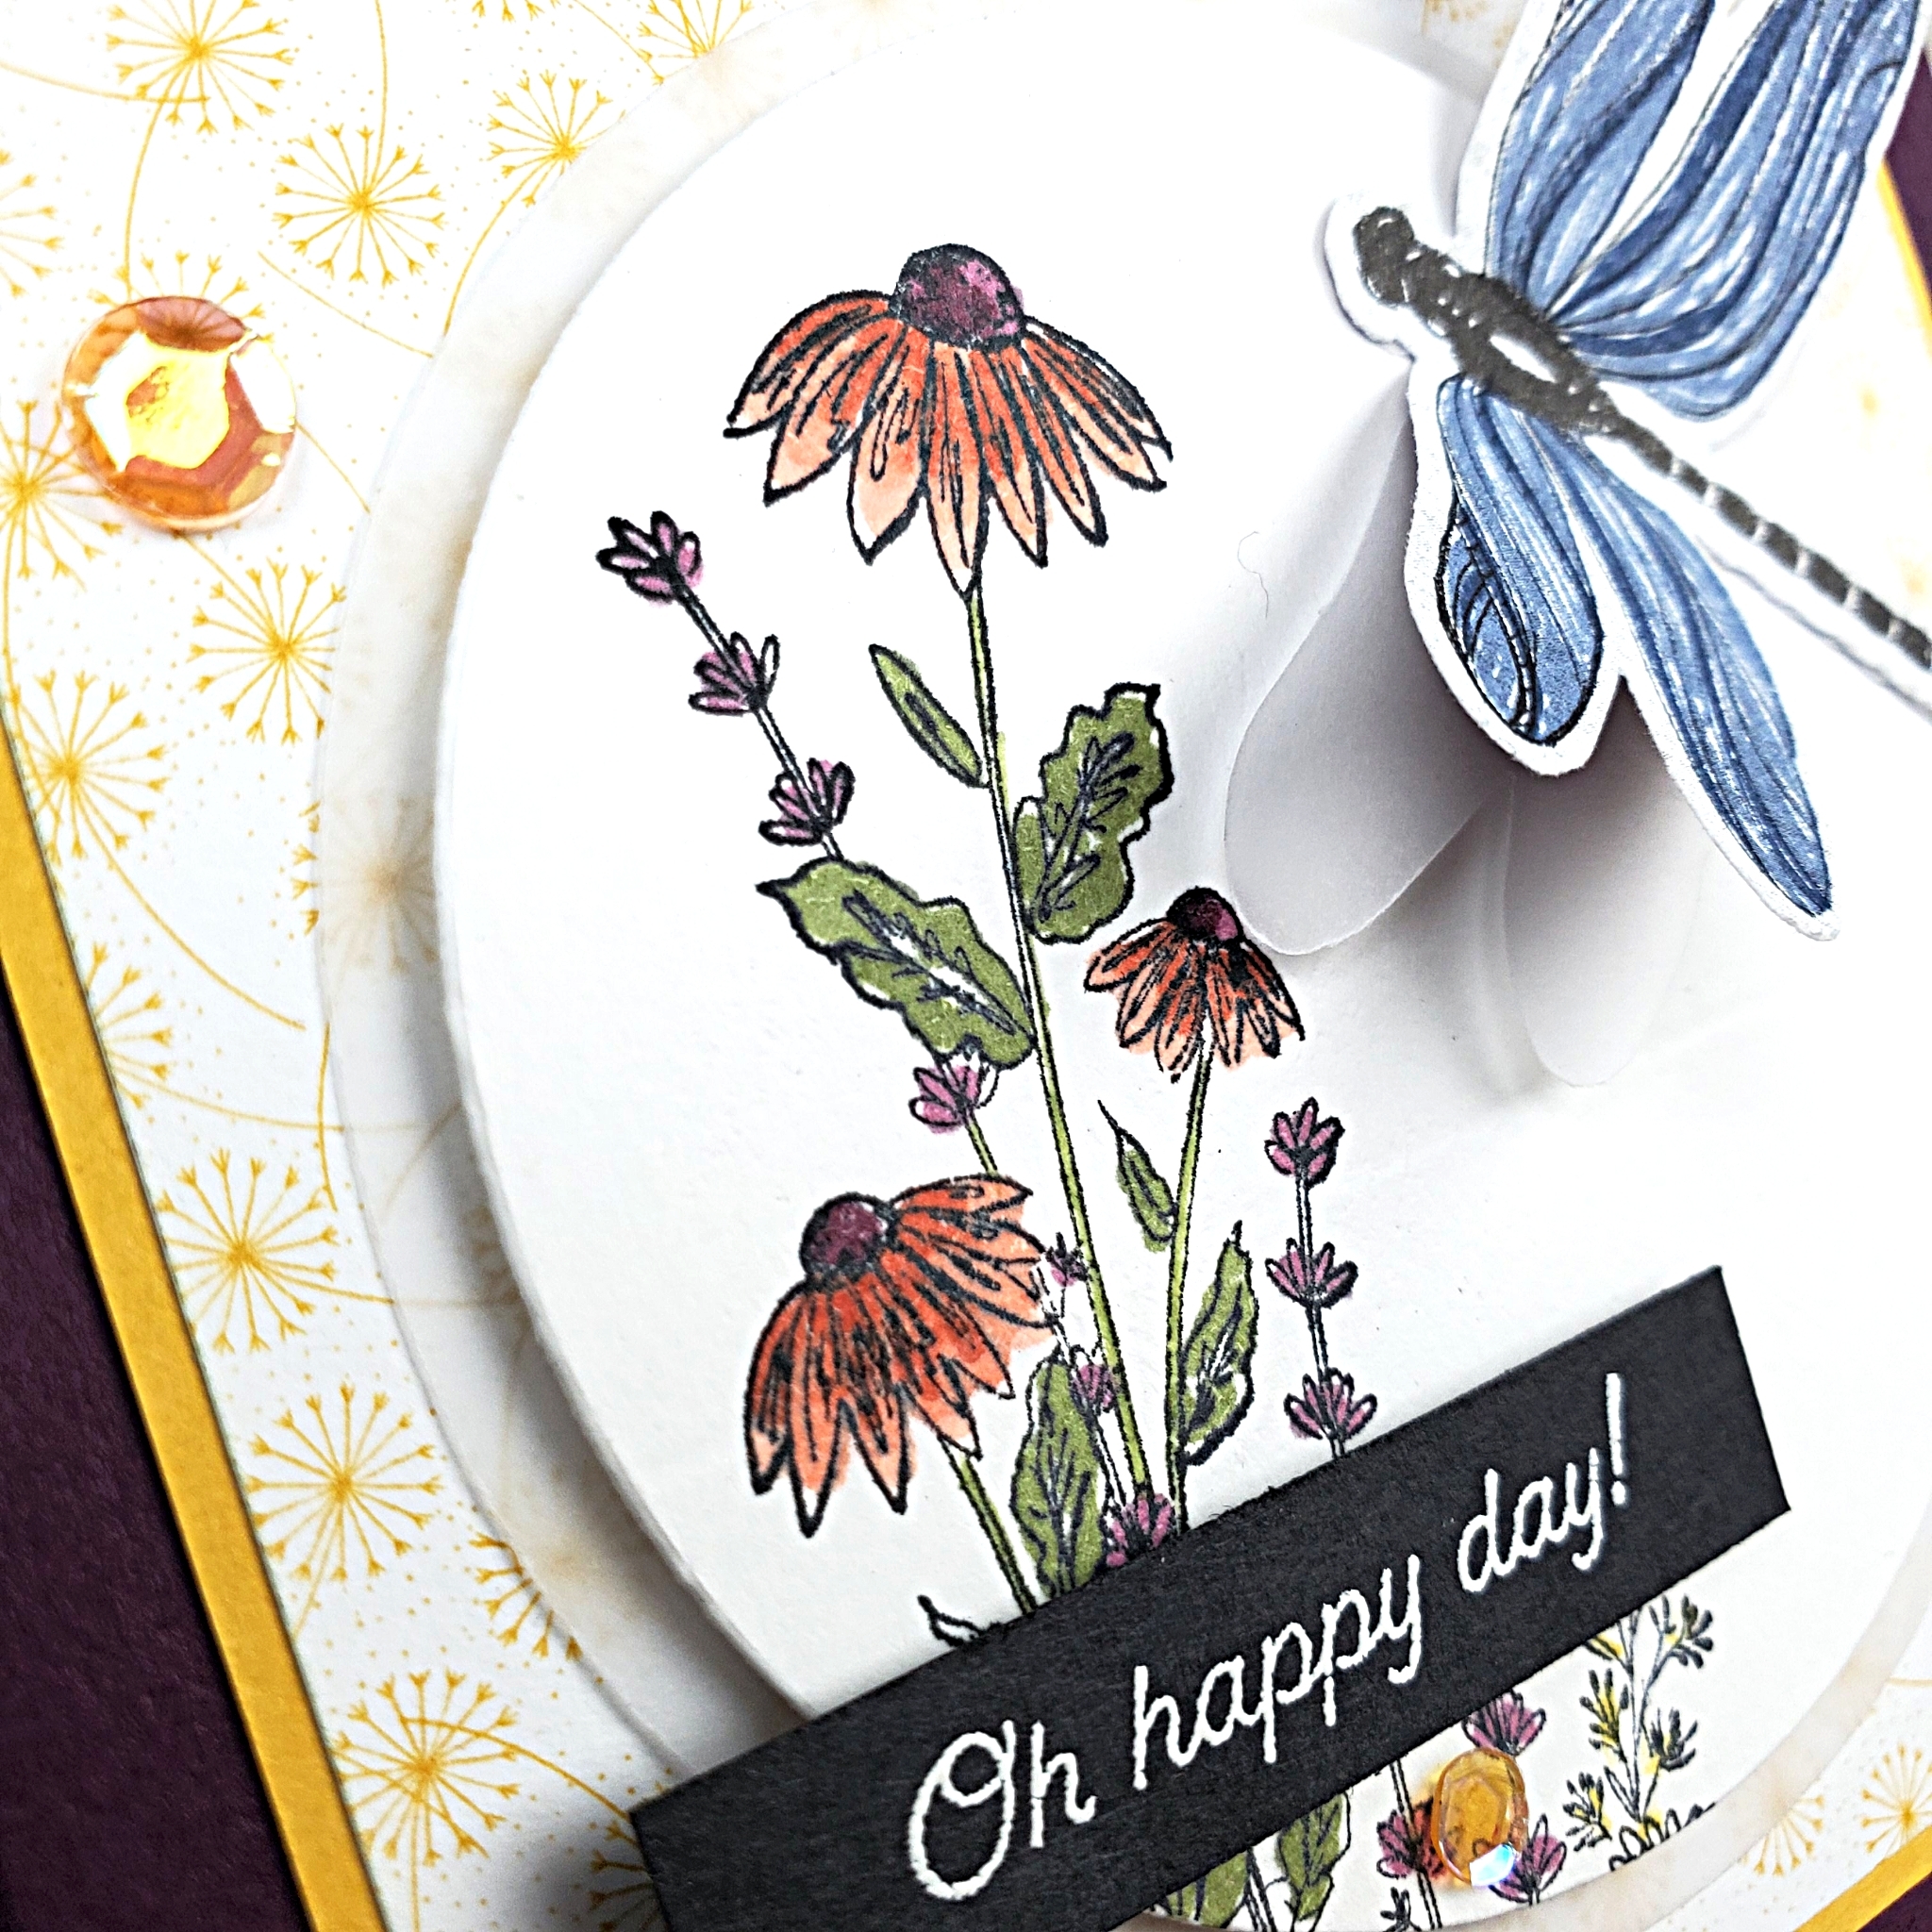
On my Facebook Live video yesterday, I shared how to make this cute box! It’s the perfect size for Mini Envelopes and 3″ x 3″ handmade cards. The Dragonfly Garden stamp set, Dragonflies Punch, and the Dandy Garden Designer Series Paper work together beautifully to create this easy box.

Show your appreciation to someone by giving them a box of handmade note cards!
It doesn’t have to be for note cards, though! This size box will fit lots of other things. You could fill it with candy or chocolates, but anything that fits would work: Jewelry, seed packs, candles, figurines, tea, snacks, car keys, ear buds, money, a face mask, make-up, a pair of socks … whatever! LOL!
It would be really funny to get a pair of socks!
The box is an adaptation of a smaller rectangular box that my friend and fellow Canadian Stampin’ Up! Demonstrator, Desirée Spenst made. It was a cute box, but not big enough to fit cards. I just had to adjust the measurements for the base of the box, then I could decorate it my own way. I chose the dragonflies.
It makes me happy.
To make this 3 1/2″ x 3 1/2″ square box that is 1 1/4″ high, start with a piece of Thick Basic White cardstock, measuring 6″ x 10 1/2″. Score the long side at 1″, 4 1/2″, 5 3/4″, and 9 1/4″. Score the short side at 1 1/4″ and 4 3/4″. With this as your base, you can use my video tutorial to complete the base of the box. Once you see how I put it together and decorated it, you can do the same or you can decorate it anyway you like! It’s easier than you might think!
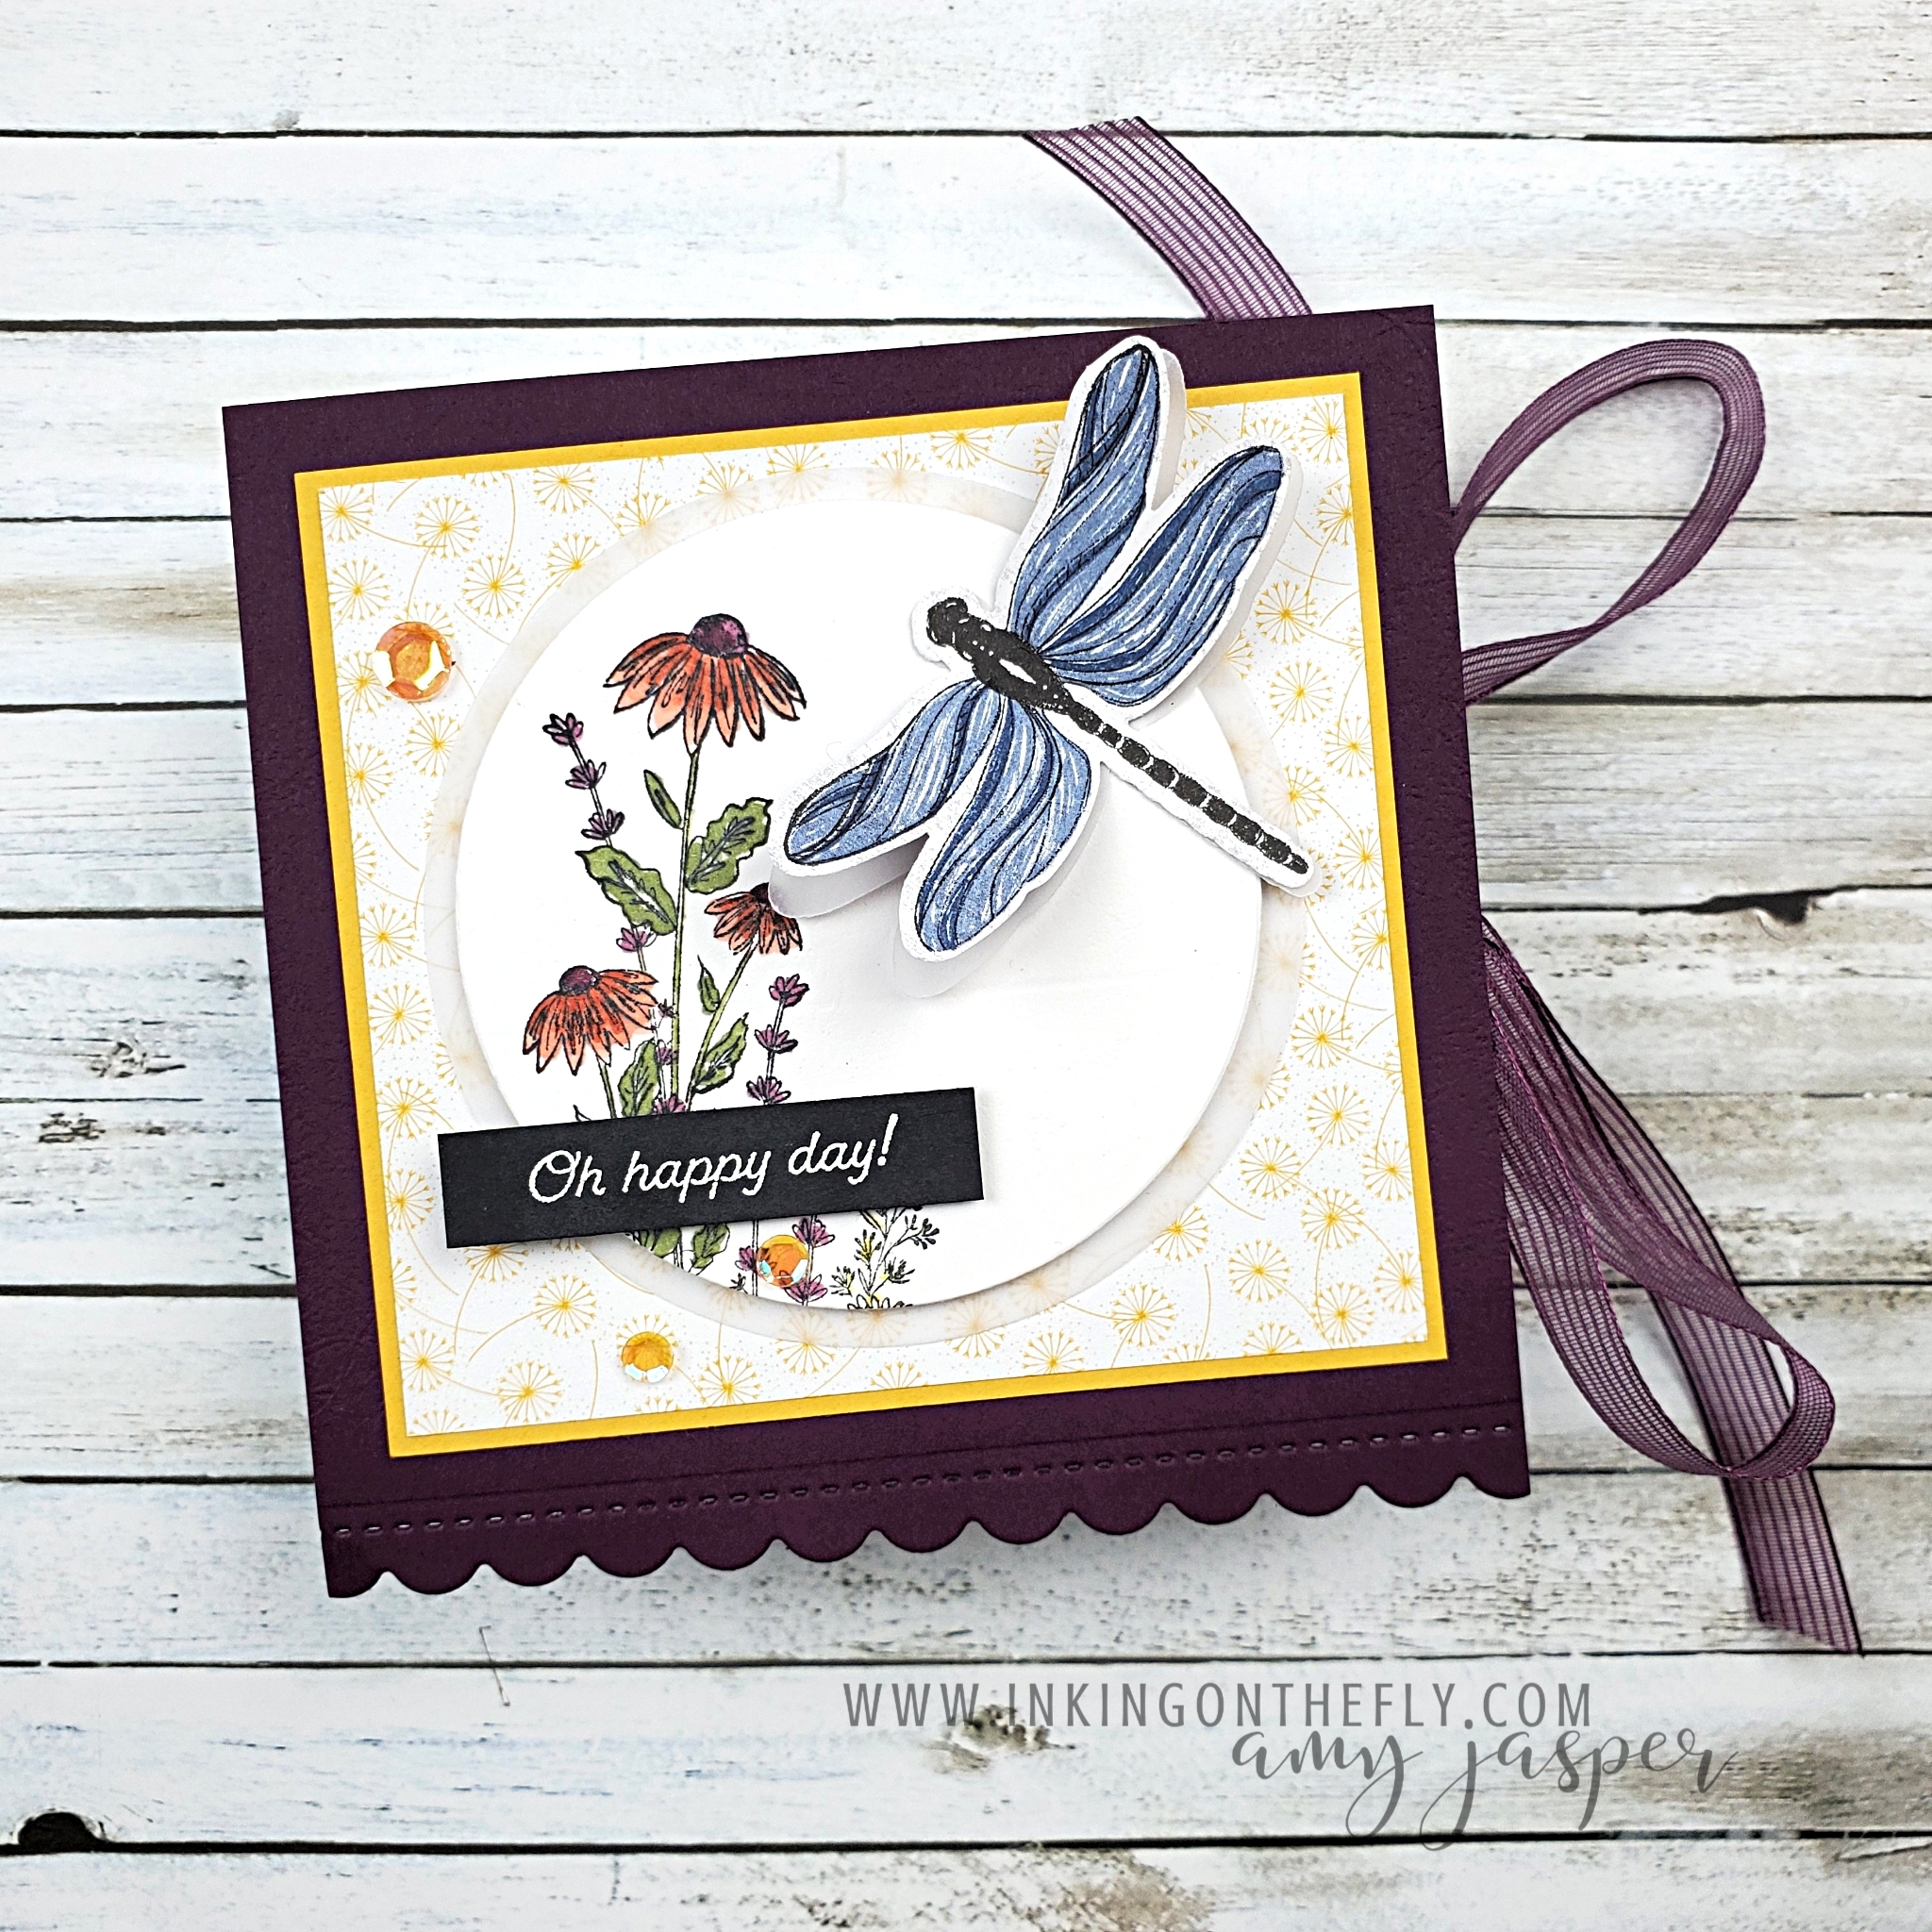
After I finished recording the video tutorial, I added some Artistry Blooms Adhesive Backed Sequins and a white heat embossed sentiment from the Many Messages stamp. I think these elements complete the box nicely.
The video below is a recording of my Monday Facebook Live. You can join me live on Facebook at 10:30 PST every Monday morning and interact with me while I share projects with you. Next week I’ll be unboxing the May Paper Pumpkin kit!
Leave a reply or comment and say hello! I love to know that you stopped by!