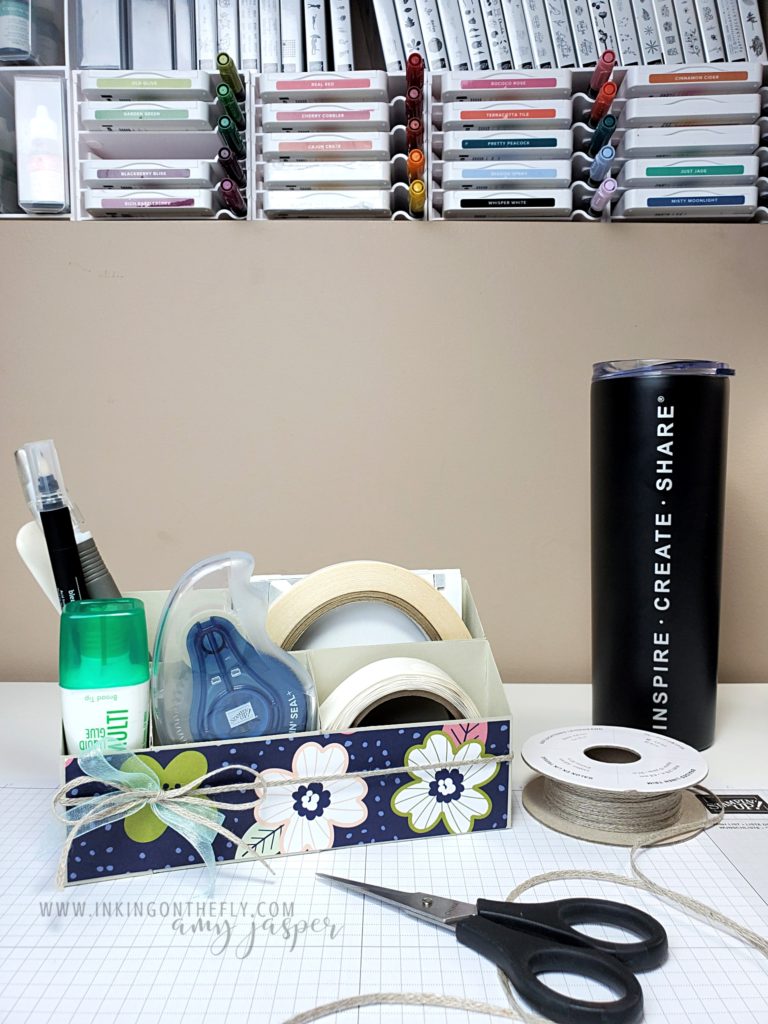
Desktop Adhesive Caddy
At the end of each year, I try to offer a special project for my customers.
Usually, I have a Christmas party in my home with goodies, prizes, and cheerful holiday music, while we craft together in our festive attire. It’s a wonderful time! The evening always ends with warmed hearts and a final Merry Christmas greeting to all, as each person bundles up against the snow and cold to make their way home again.
This year was a little bit different as we weren’t able to get together in person. Instead, we were able to meet together virtually on Zoom and enjoy each other’s company while we created the project that I prepared for everyone. The thing about virtual classes is that customers from out of town, who normally couldn’t attend my classes in person, were able to join in on the event. What a gift! We still had prizes and cheerful holiday music and we still ended with warmed hearts and a final Merry Christmas as we signed off and settled into our own space in our own homes. It was delightful! I feel incredibly blessed with the friends I’ve made because of my Stampin’ Up! business.
That said, I thought I would share the project with you as well, dear reader. We made a desktop adhesive caddy that was inspired by the project shared on sallystampers.com. I made some changes to the individual boxes and added a couple more sections for the Stampin’ Seal and Stampin’ Seal Plus. The only adhesive that doesn’t fit in my caddy is the Fine-Tip Glue Pen (I might have to create an additional section and share that with you another day).

The designer series paper I used for this project will be available in January along with many more beautiful stamps, paper, and embellishments launch of the Sale-a-bration brochure and the January – June 2021 Mini Catalogue.
Follow along with my video tutorial to make this beautiful and functional desktop adhesive caddy.
I wish you a very warm heart and a safe and happy holiday! Merry Christmas!


February 28, 2021 @ 1:22 pm
I love this holder and created one for myself. Your instruction are so very easy to follow. To solve the problem with the different lengths of the two rows, just trim off 1/8” from width of one of the 6” pieces before scoring.
March 3, 2021 @ 9:41 am
I’m delighted that you made the holder. 🙂 Great tip to trim one of the pieces. So simple! Thanks, Peggy.