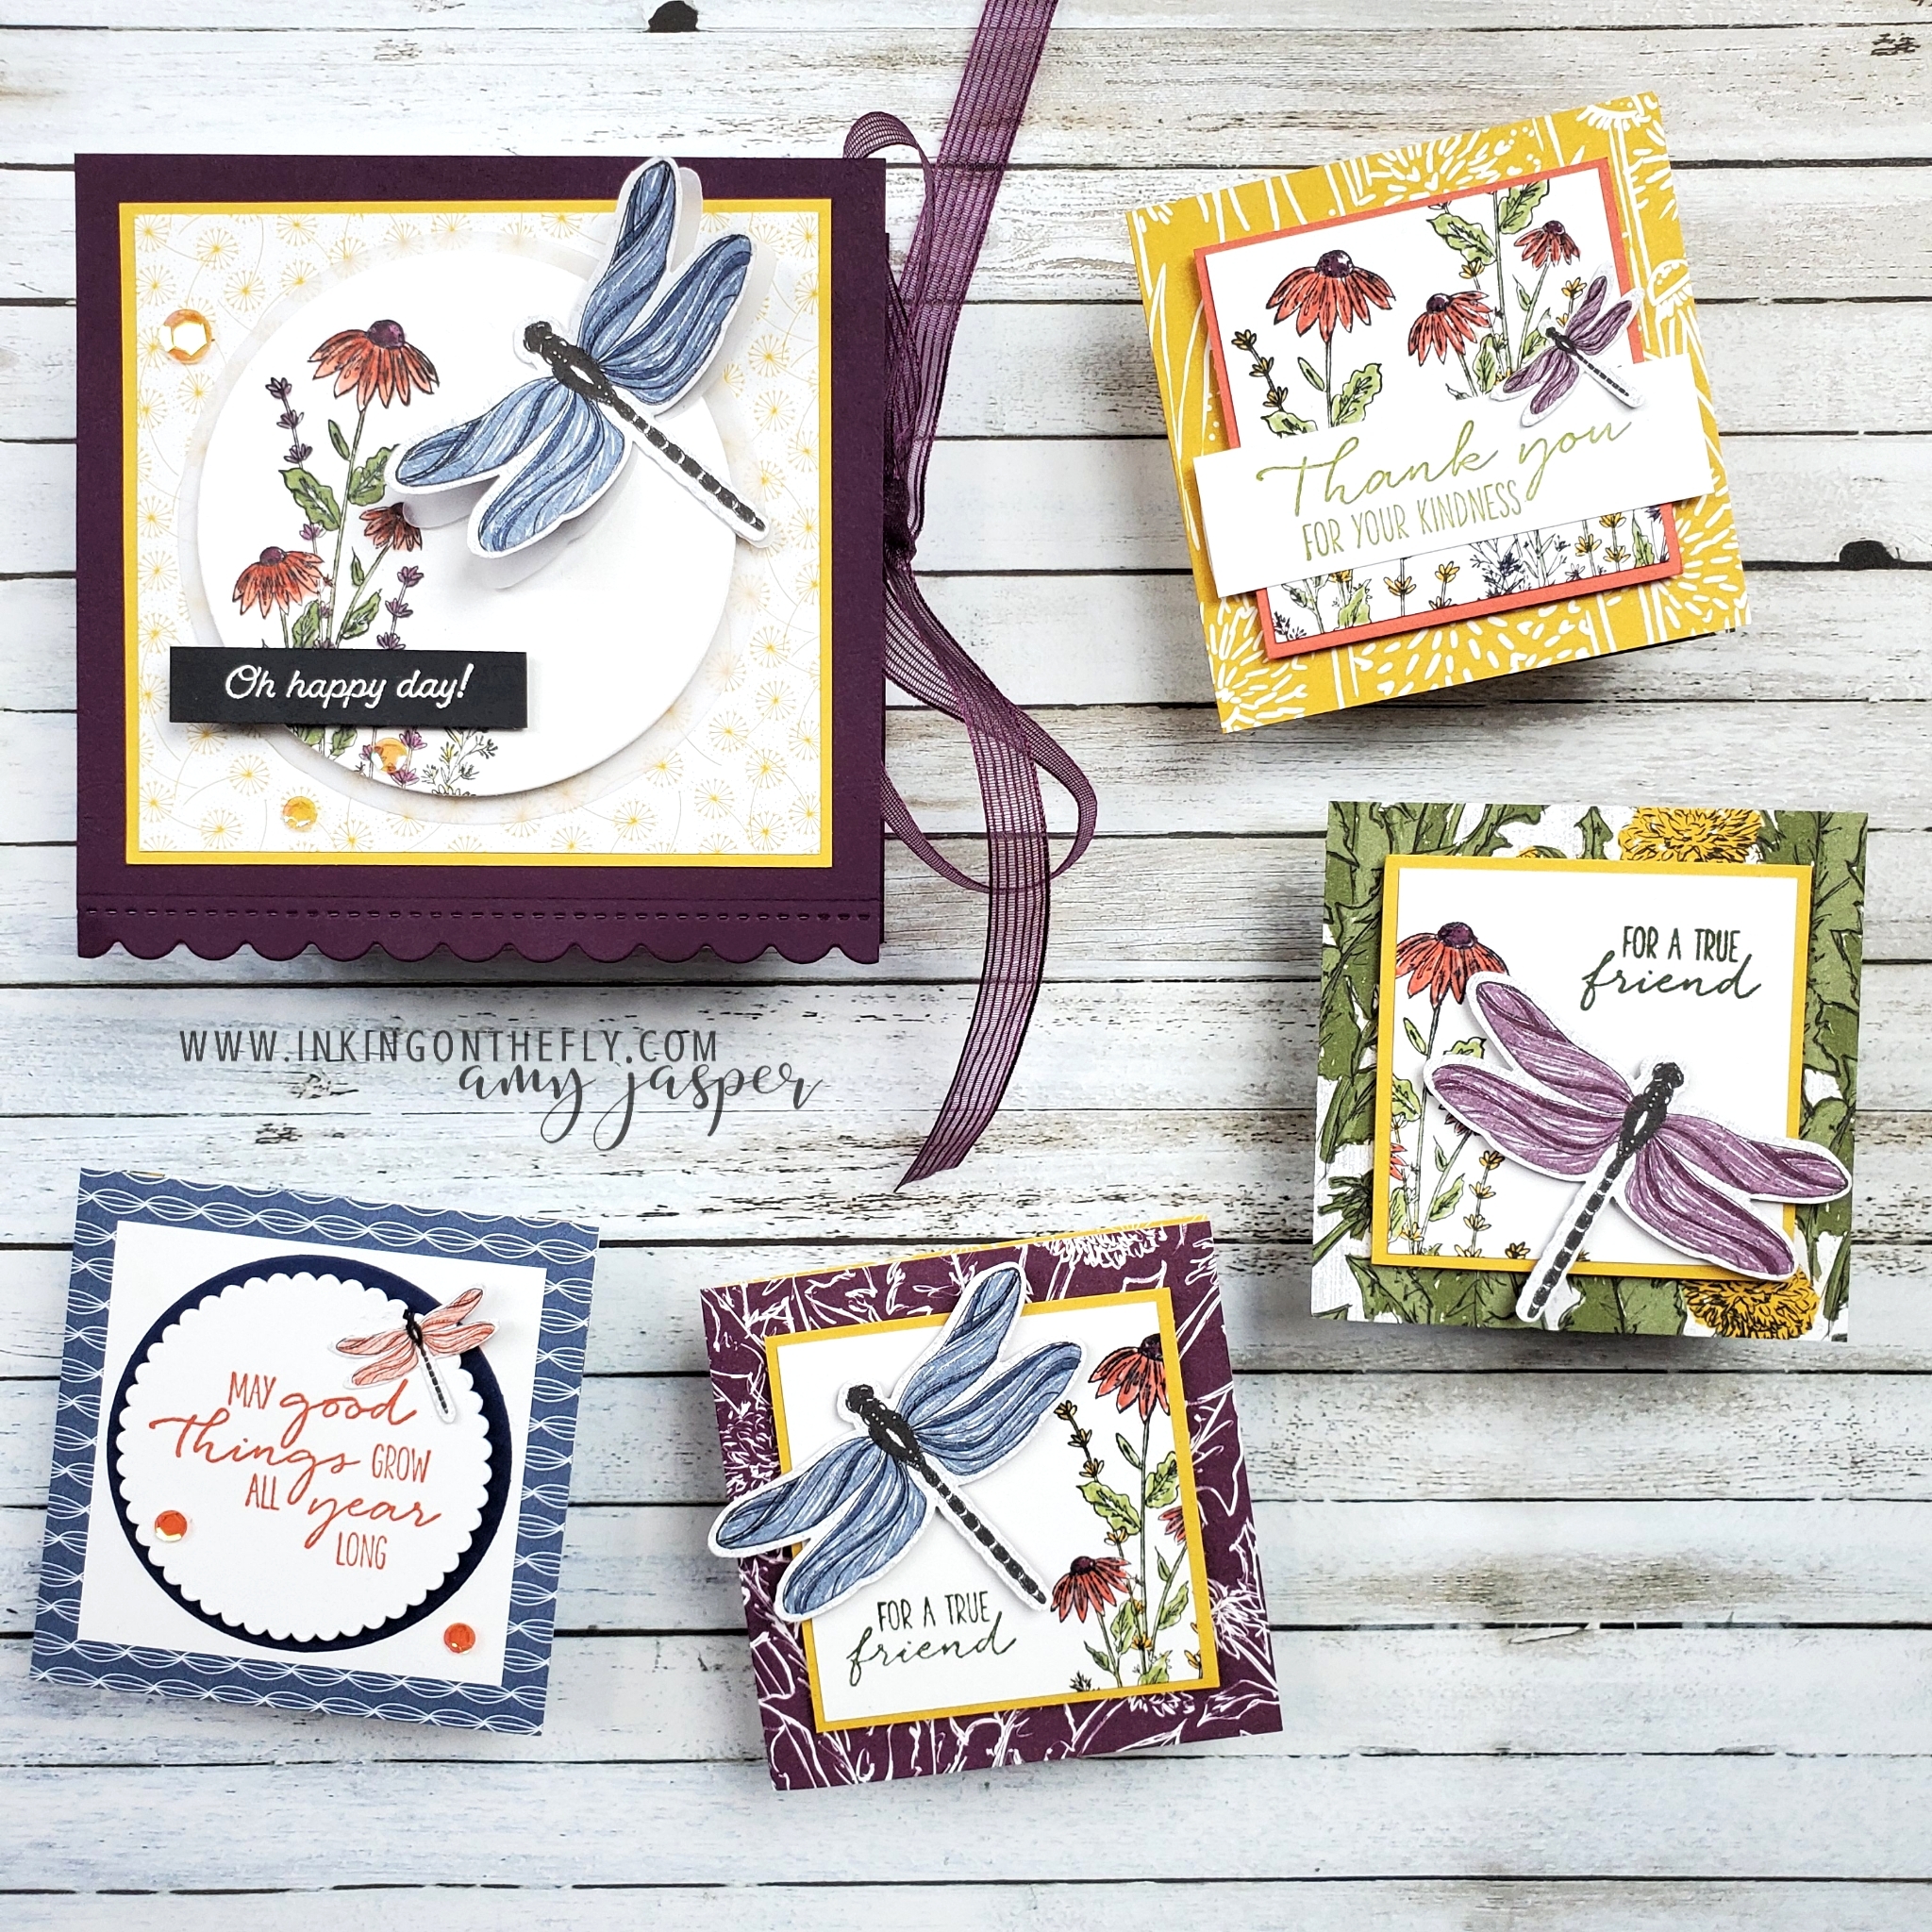
Dragonfly Note Cards
Welcome to a simple stamping Sunday.
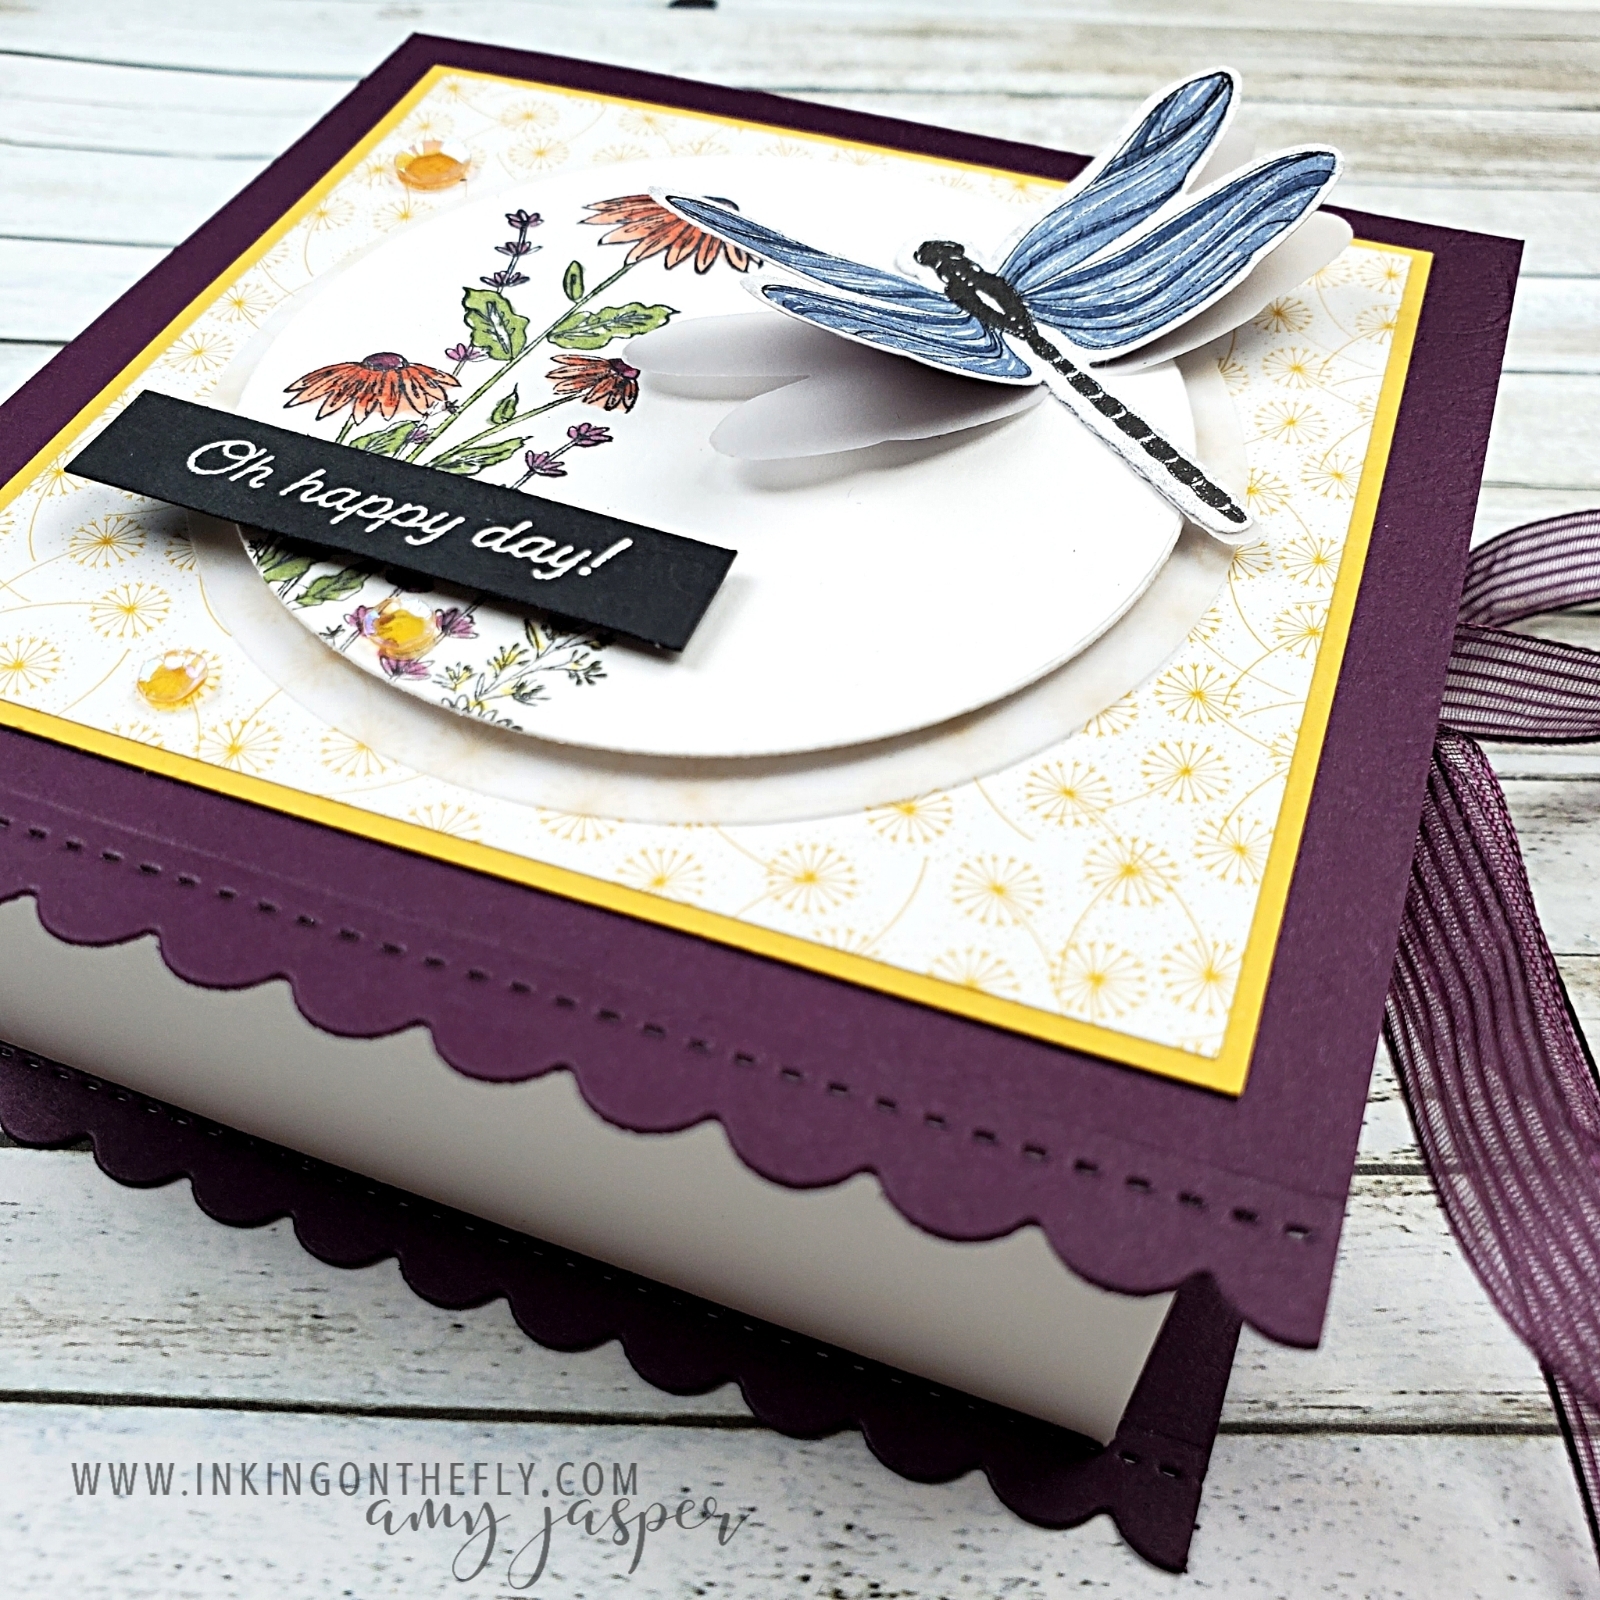
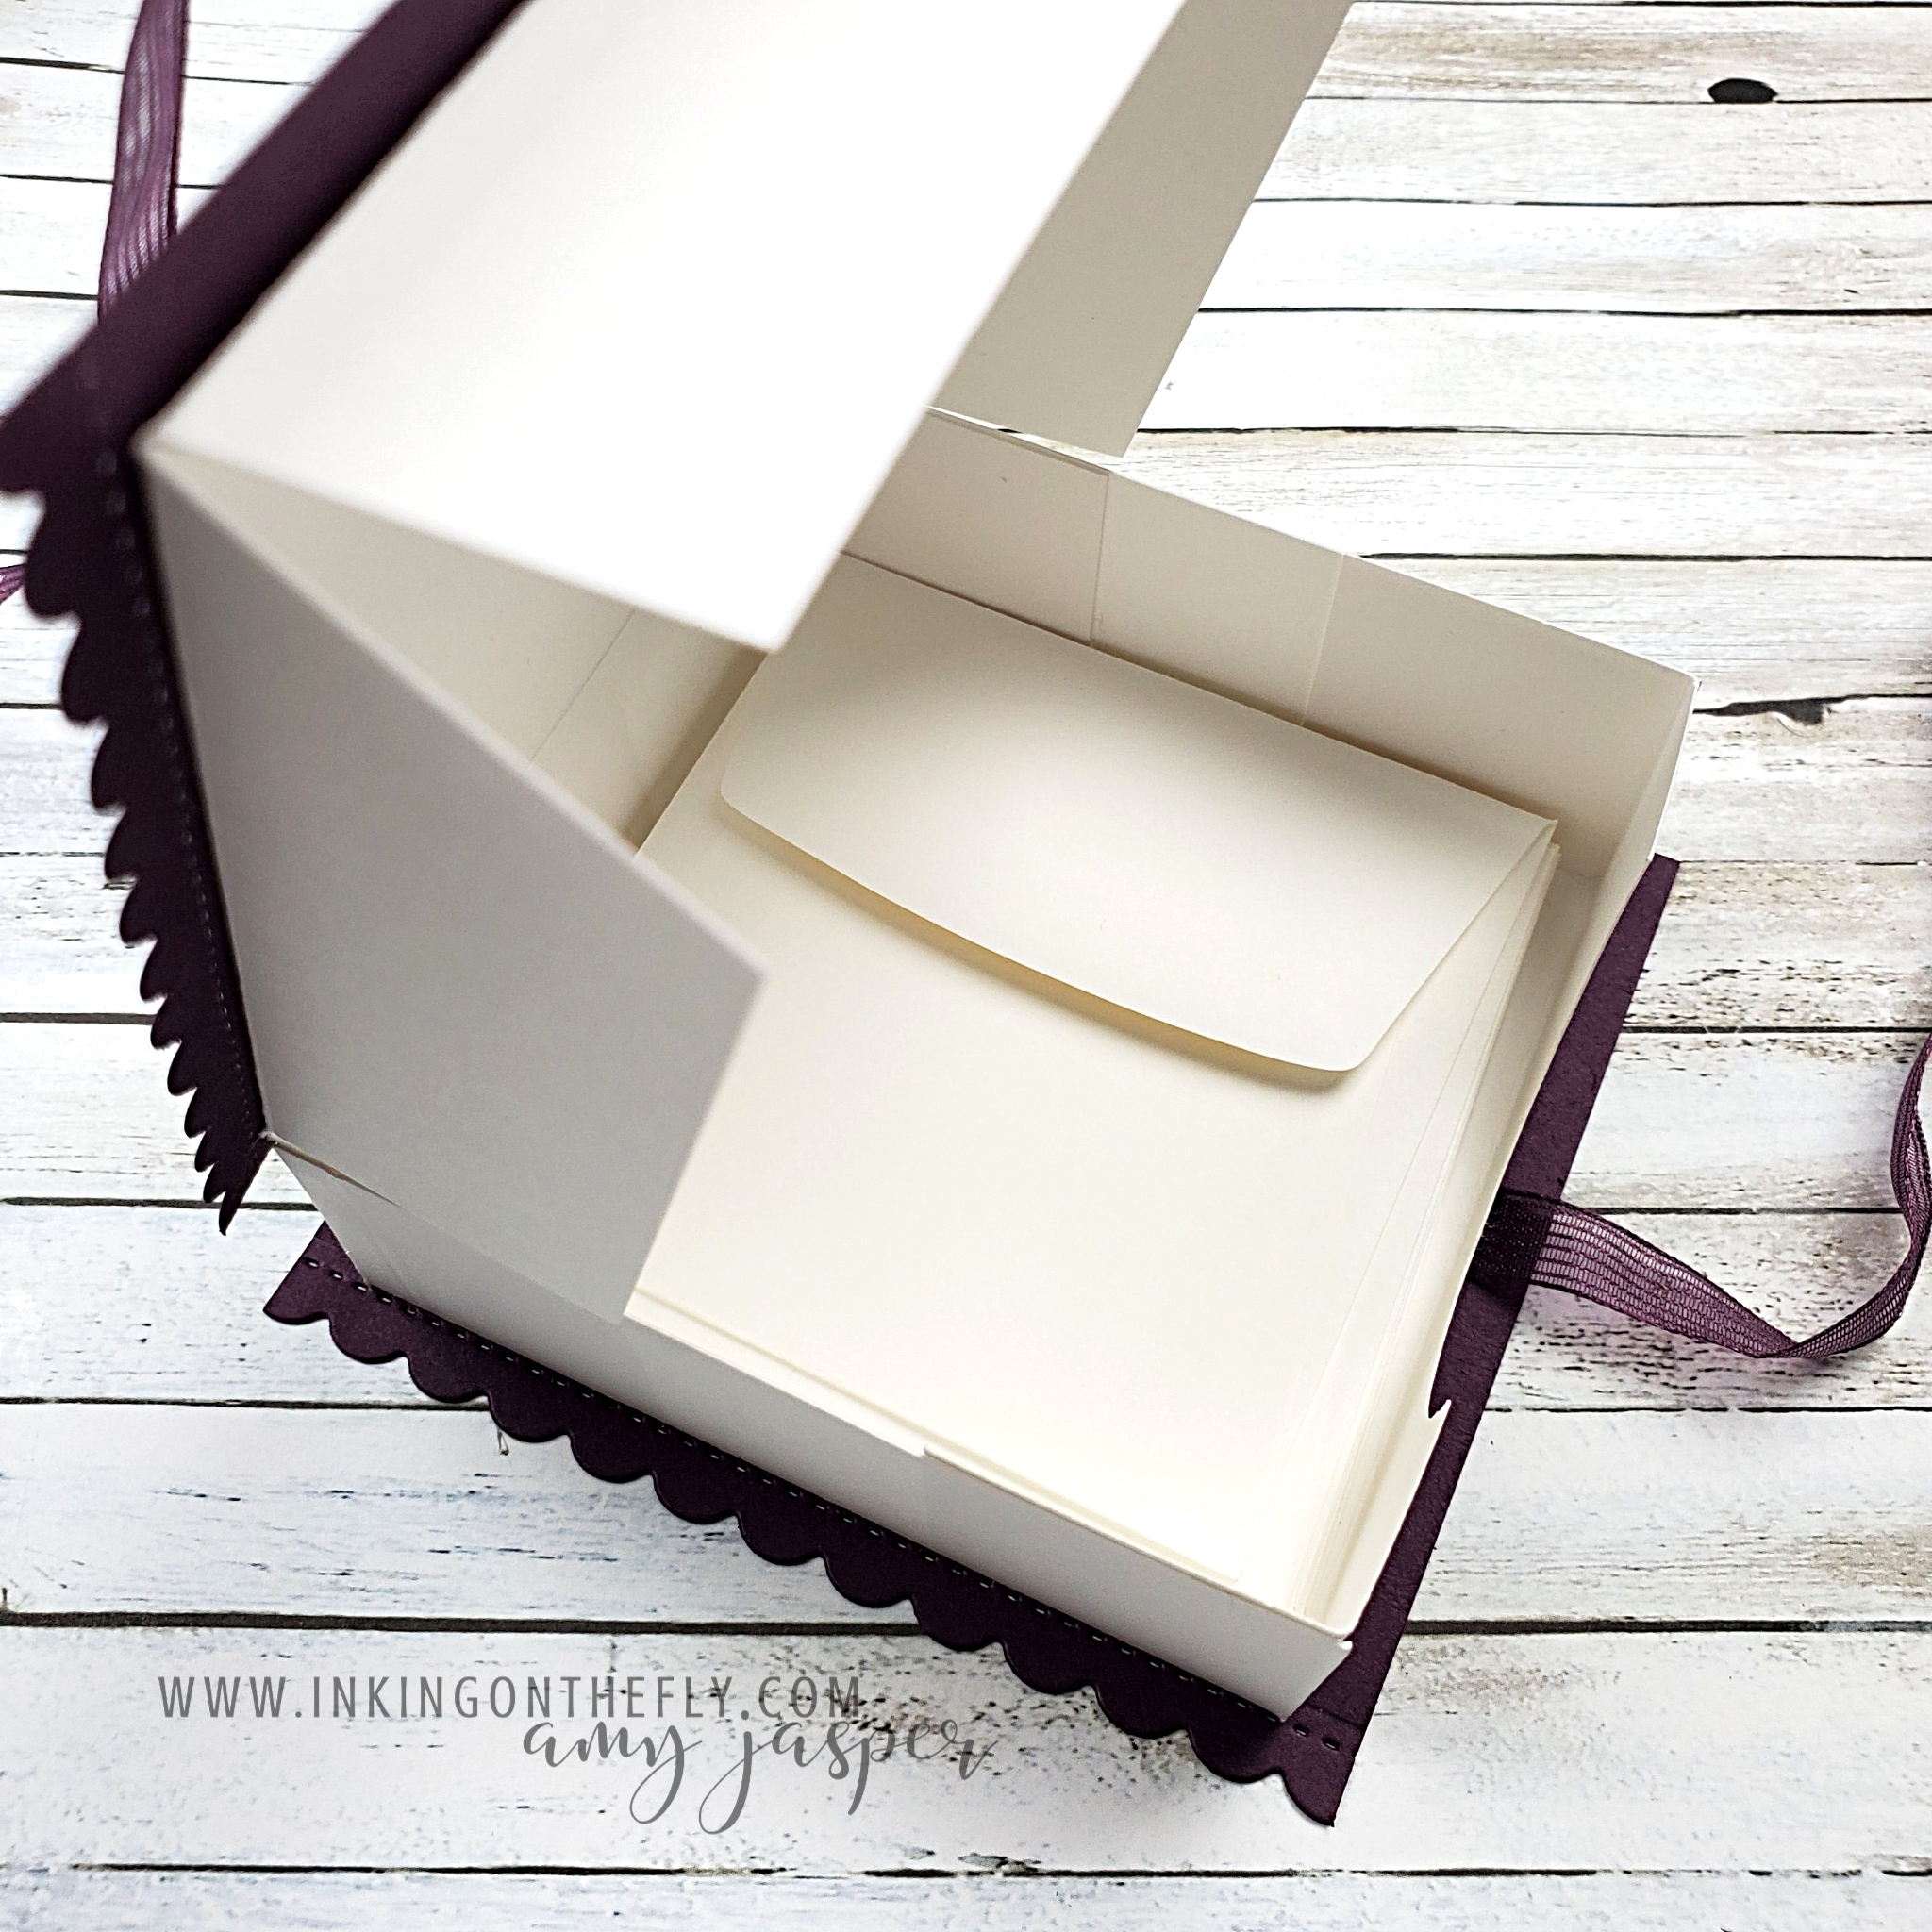
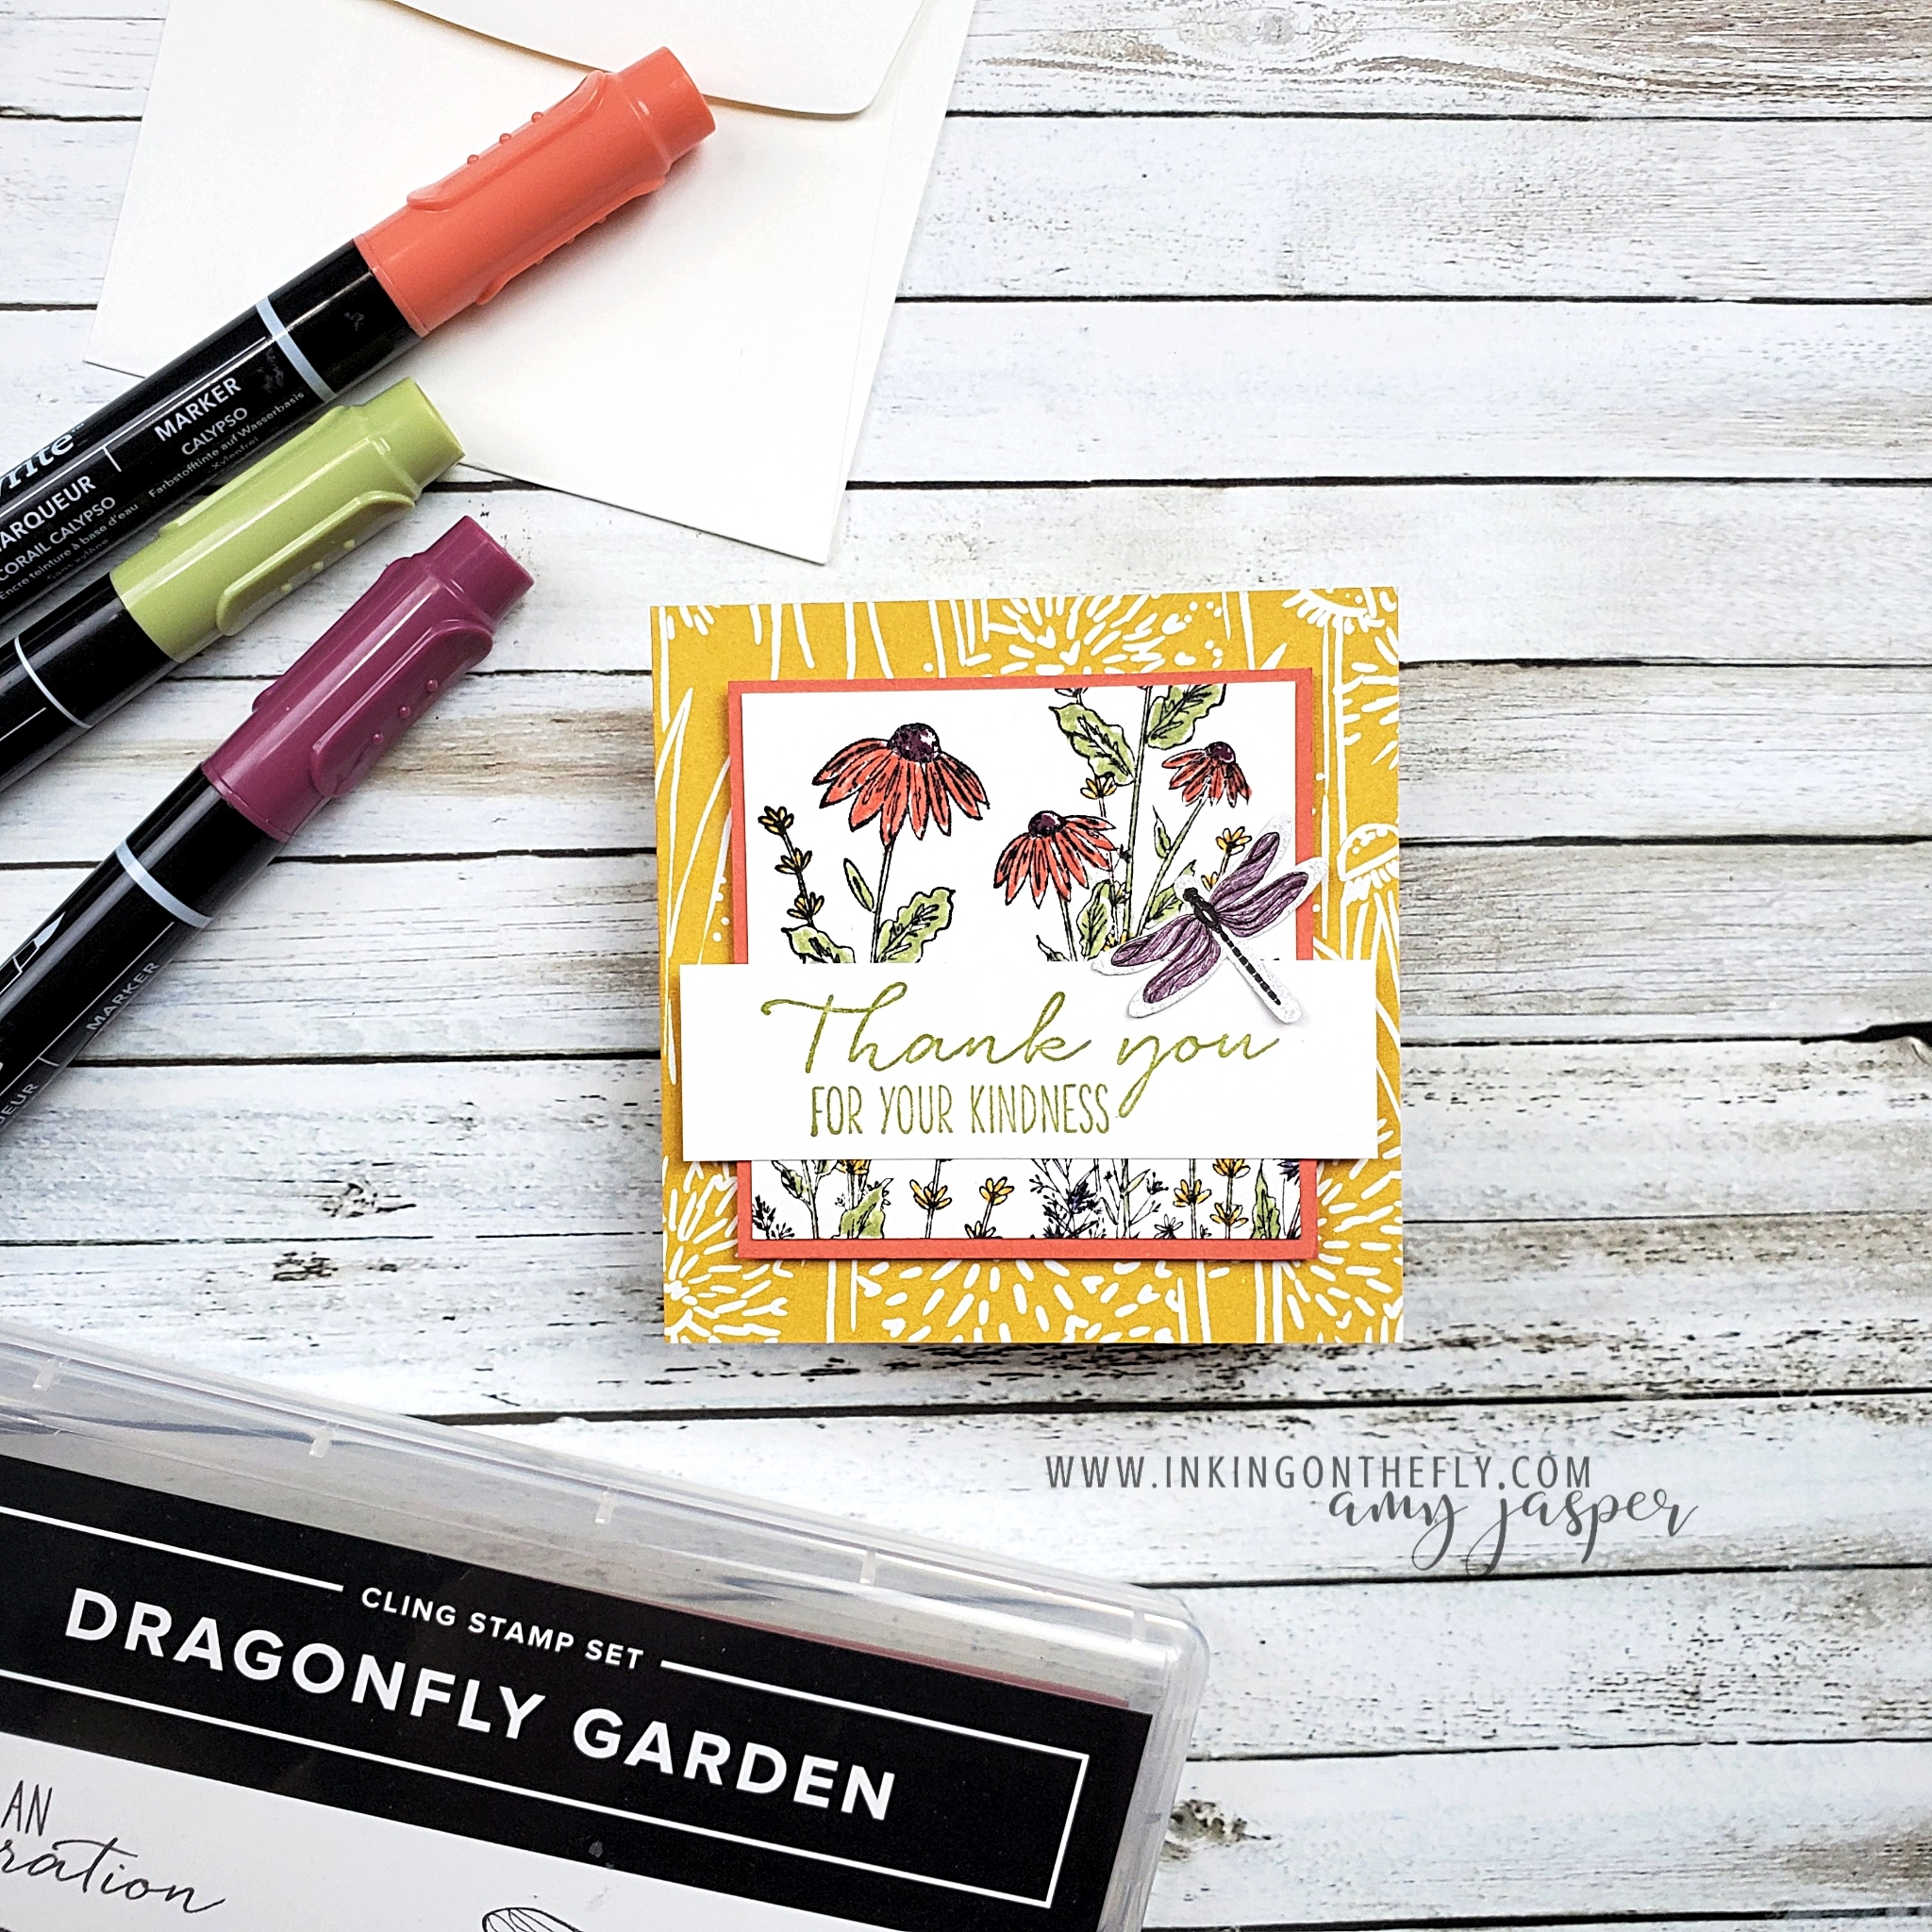
Last Tuesday, I shared an easy small gift box that I made to fit note cards. Well, my friends, I whipped up some note cards lickety-split using the Dragonfly Garden stamp set and the Dandy Garden Designer Series Paper from Stampin’ Up!.
If you didn’t see the box I made, you can go to my blog post by clicking HERE. There is a handy video tutorial there as well for anyone who might find it useful. I suspect that it will be a video that I refer back to myself when I want to make another box like it. It’s so easy when you have the measurements and instructions at your fingertips!
Making these mini note cards are super quick and easy as well!
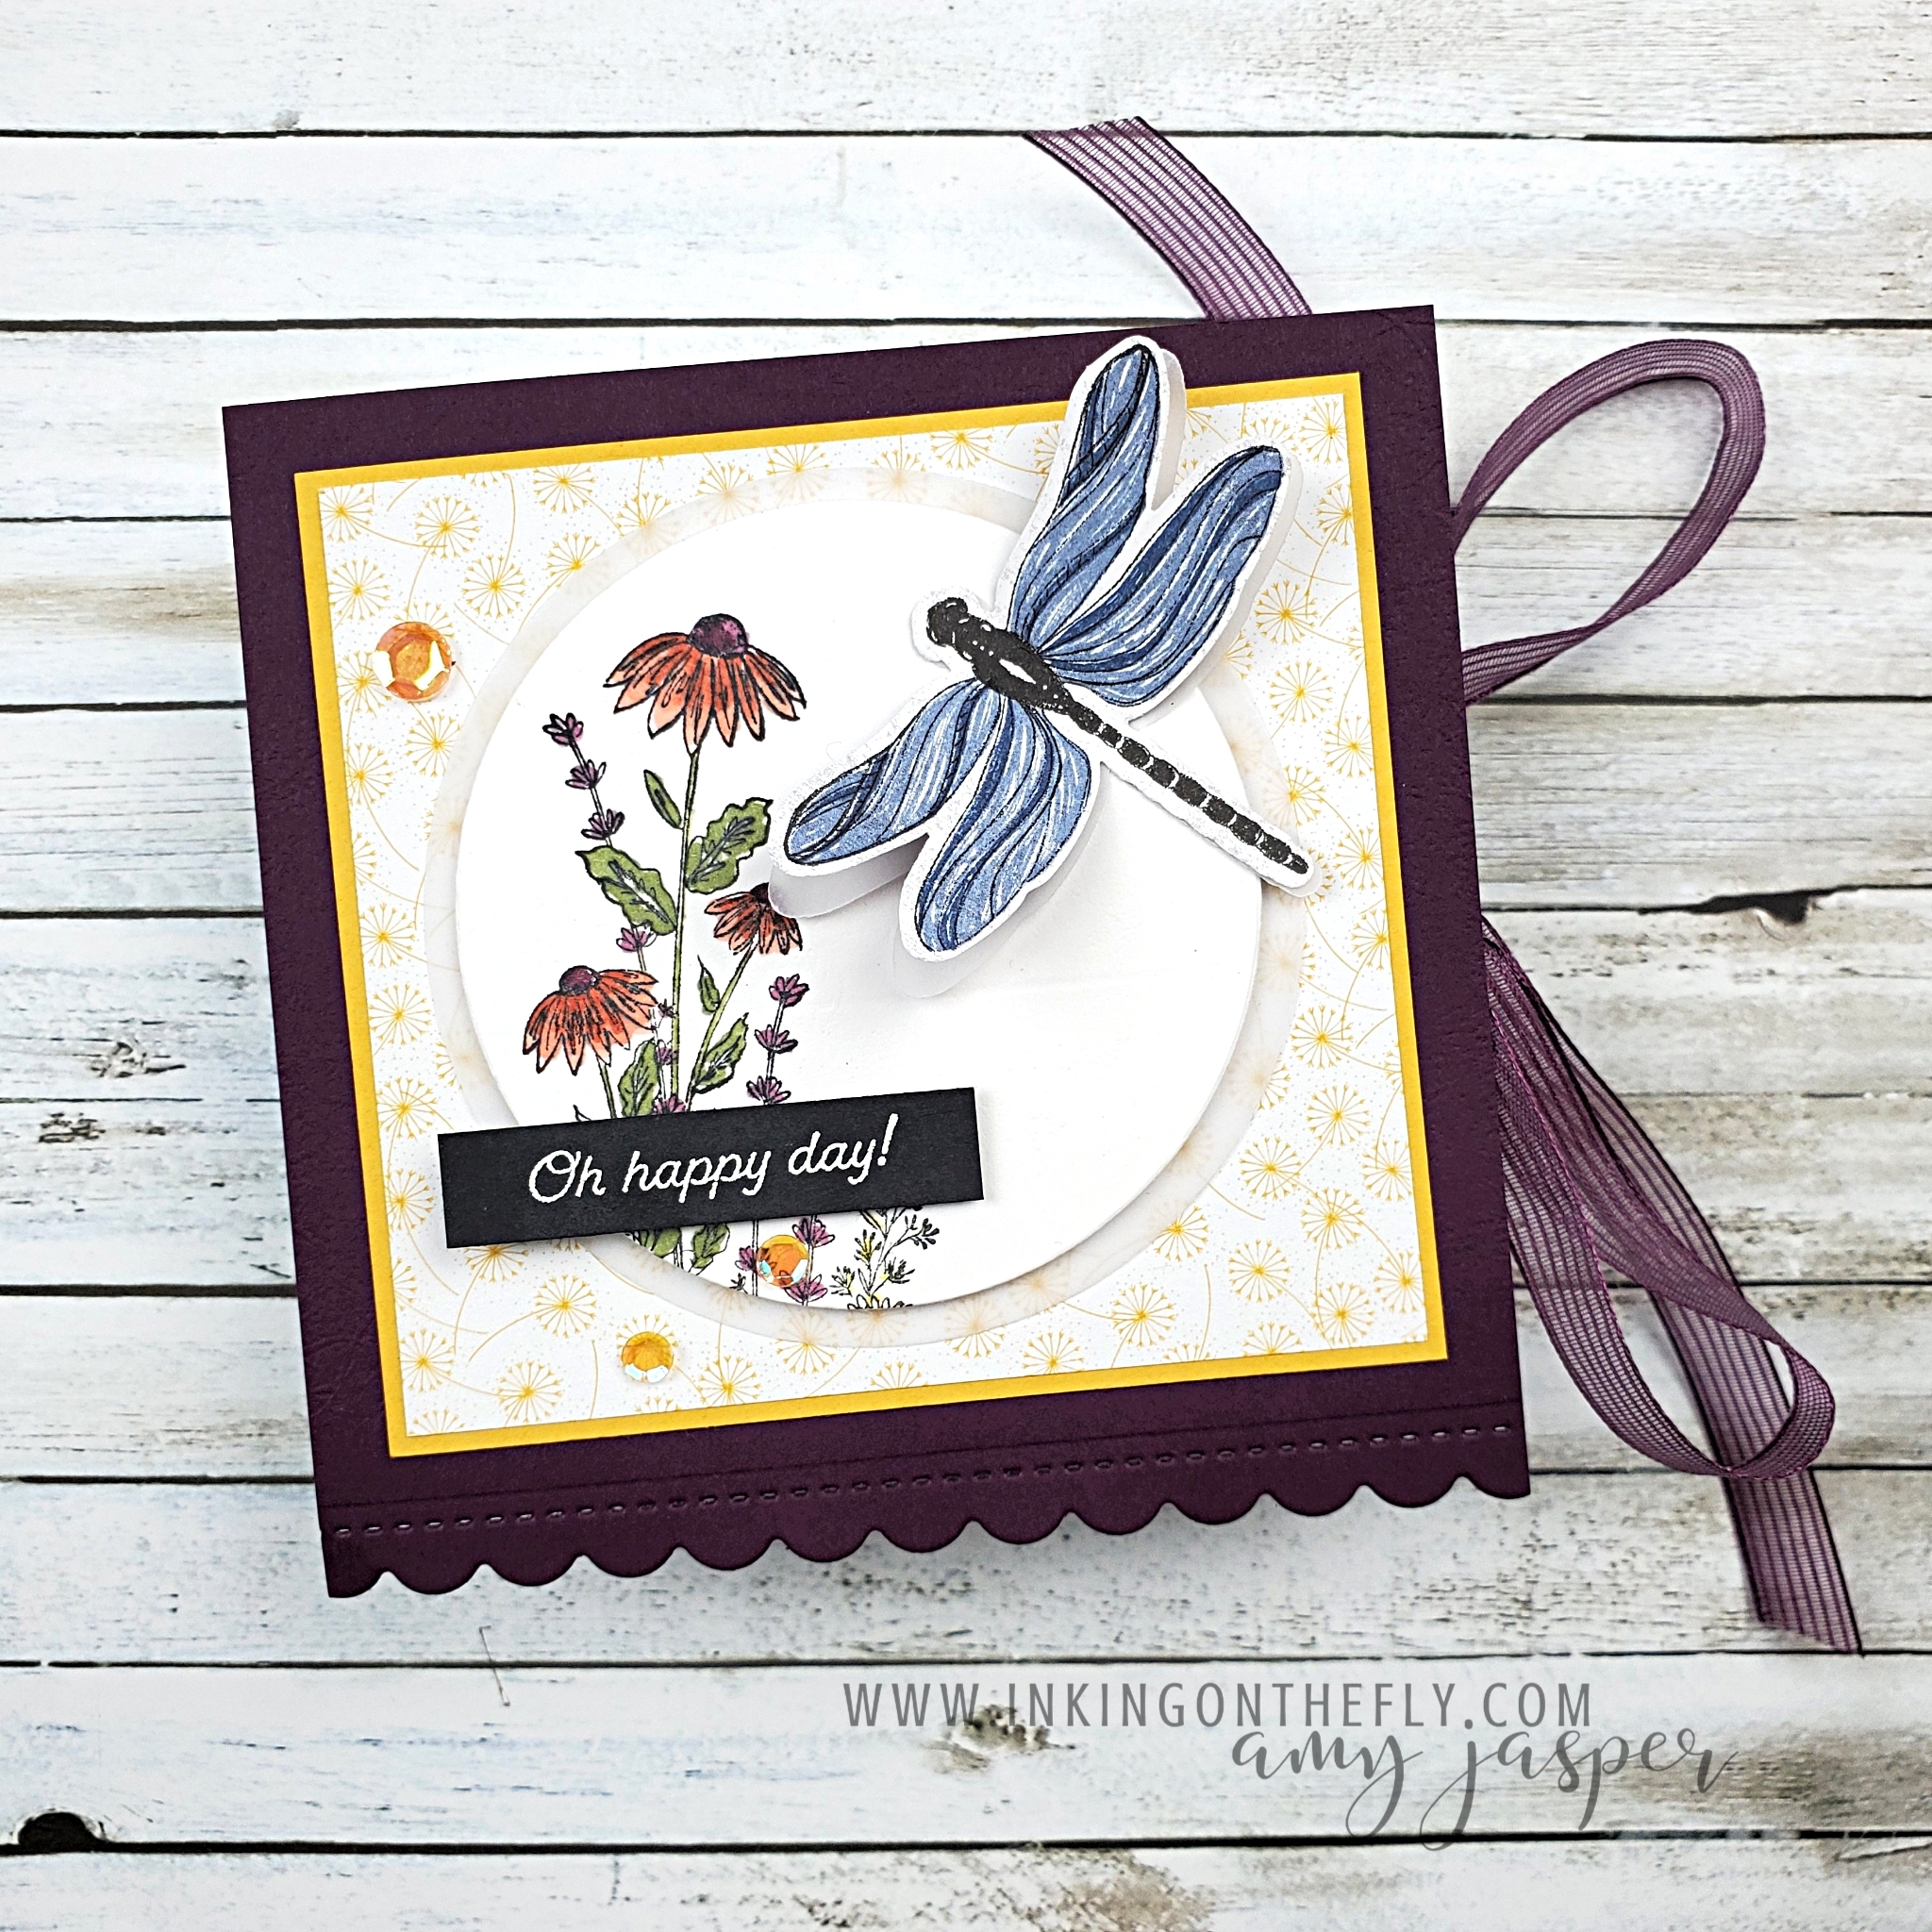
The card bases are patterned paper cut to 2 3/4″ x 5 1/2″, then folded in half. I like my note cards to fit easily into the 3″ x 3″ Mini Envelopes, so I choose to make the cards 2 3/4″ square.
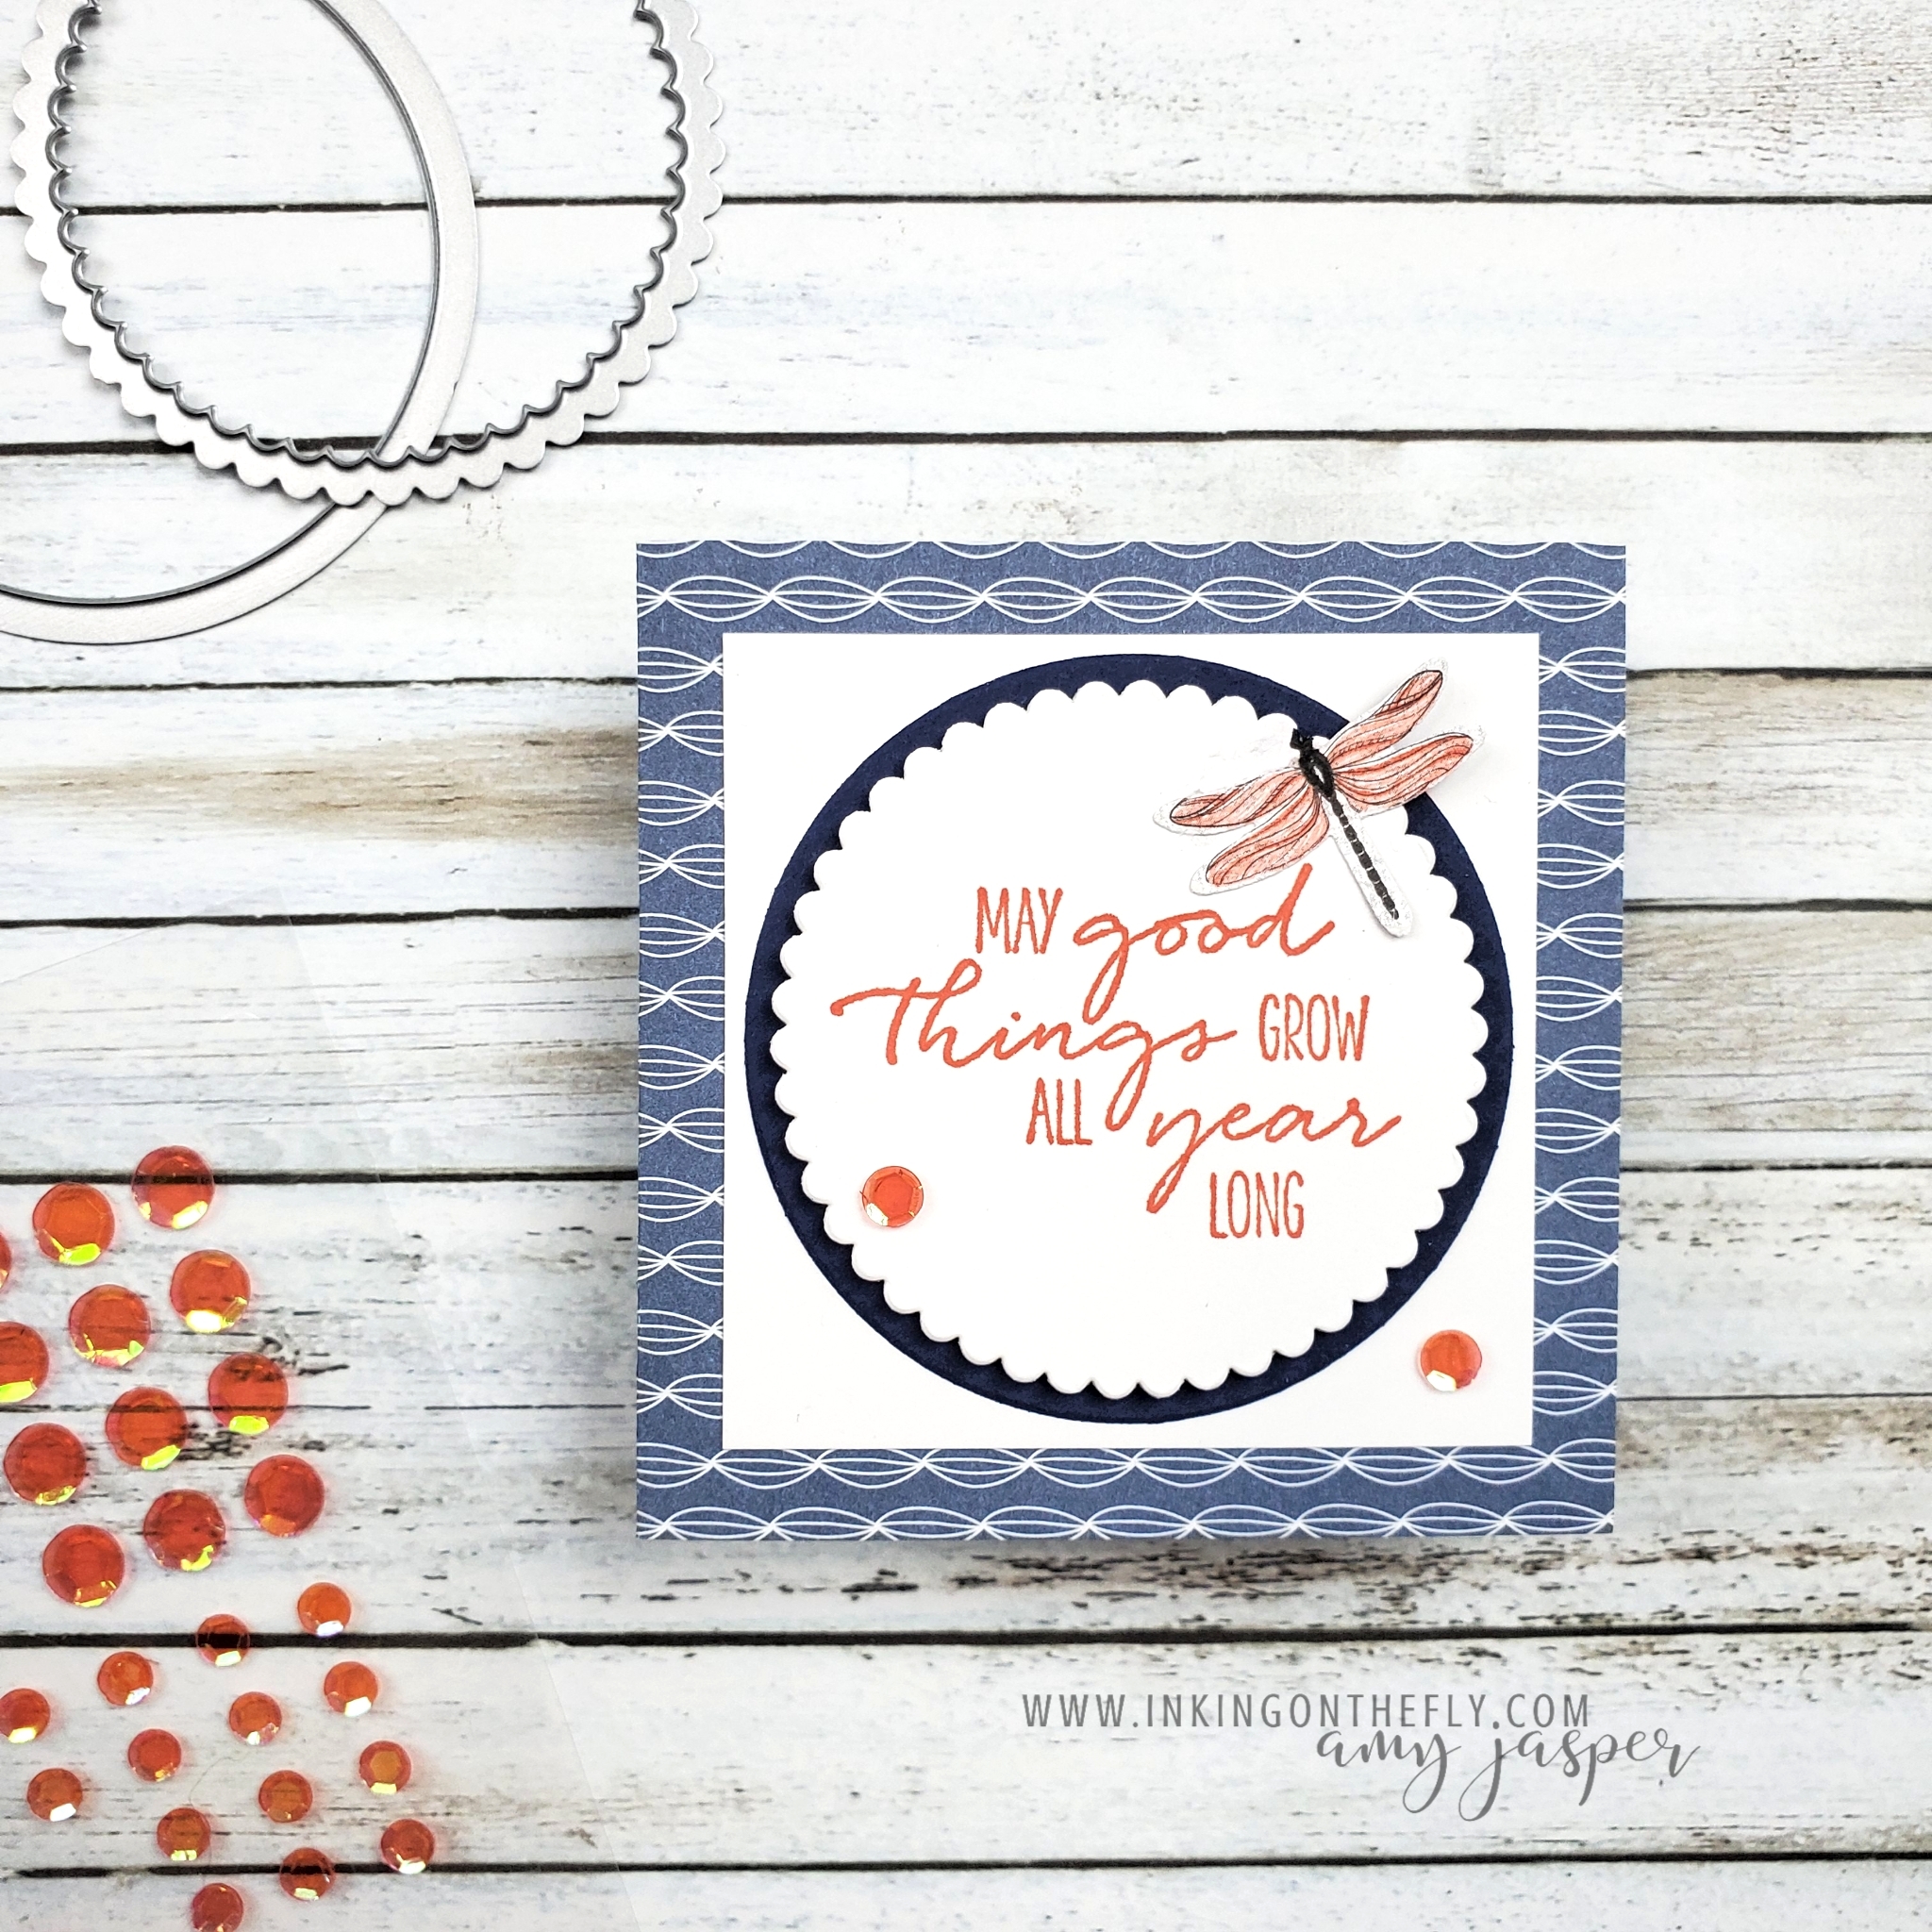
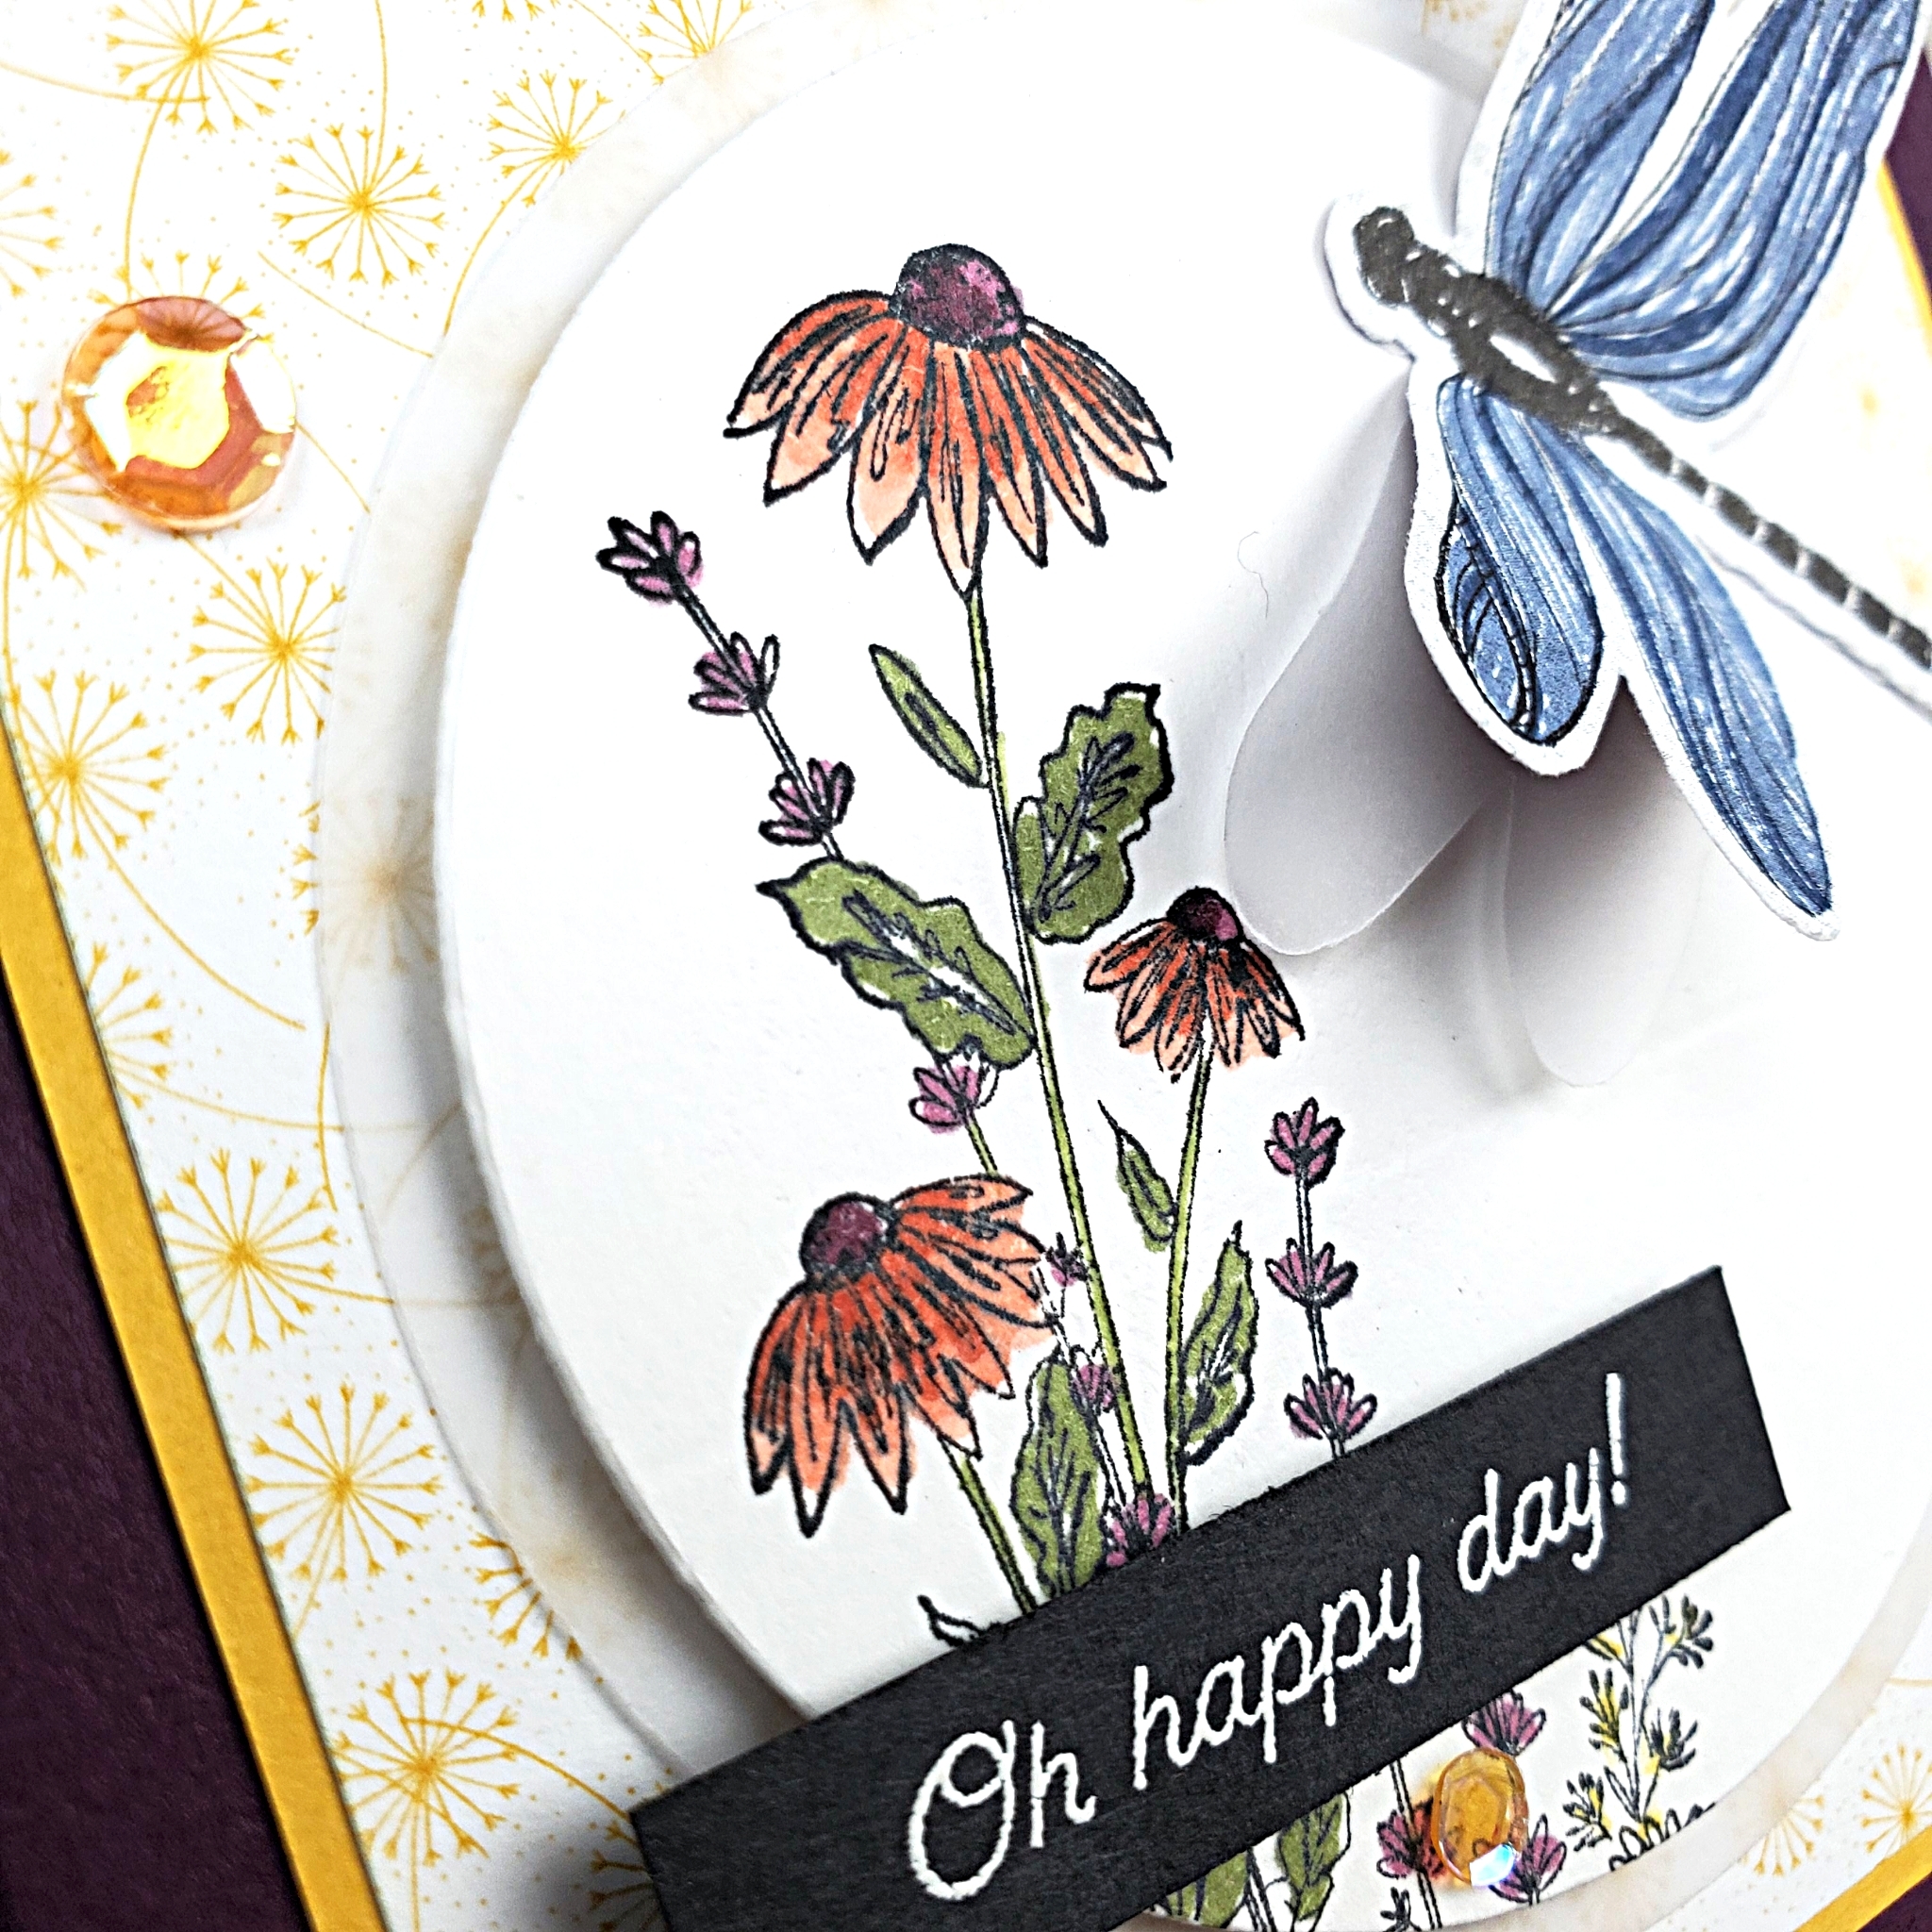
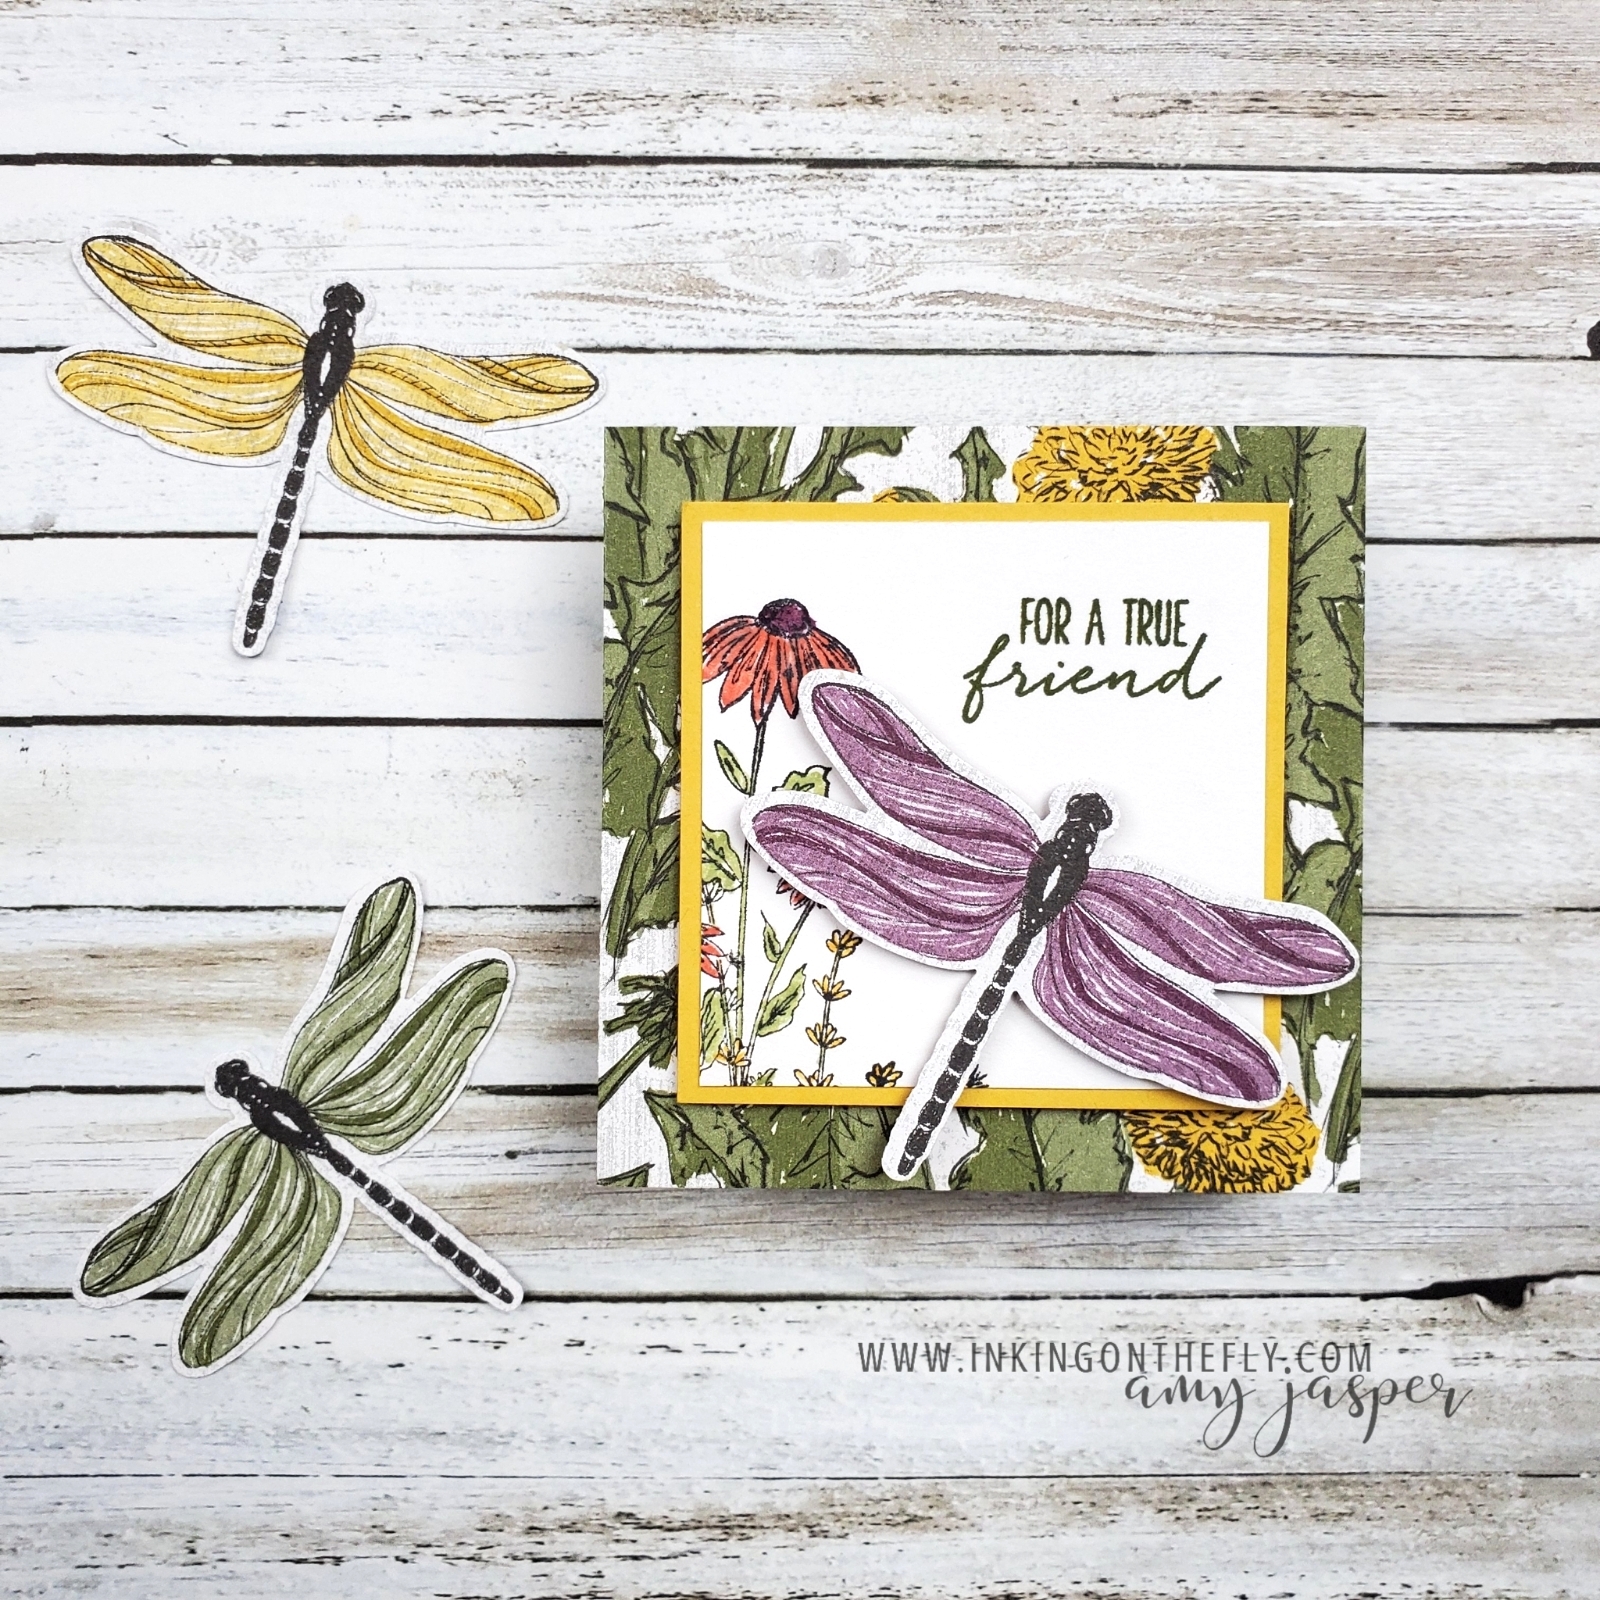
I used my Stampin’ Write Markers to colour the floral image from the Dragonfly Garden stamp set. The dragonflies were punched out with the Dragonflies Punch from one of the patterns of the Designer Series Paper. I could have stamped the dragonfly and coloured it myself before punching it out, but, hey, I’m all about efficiency today! LOL!
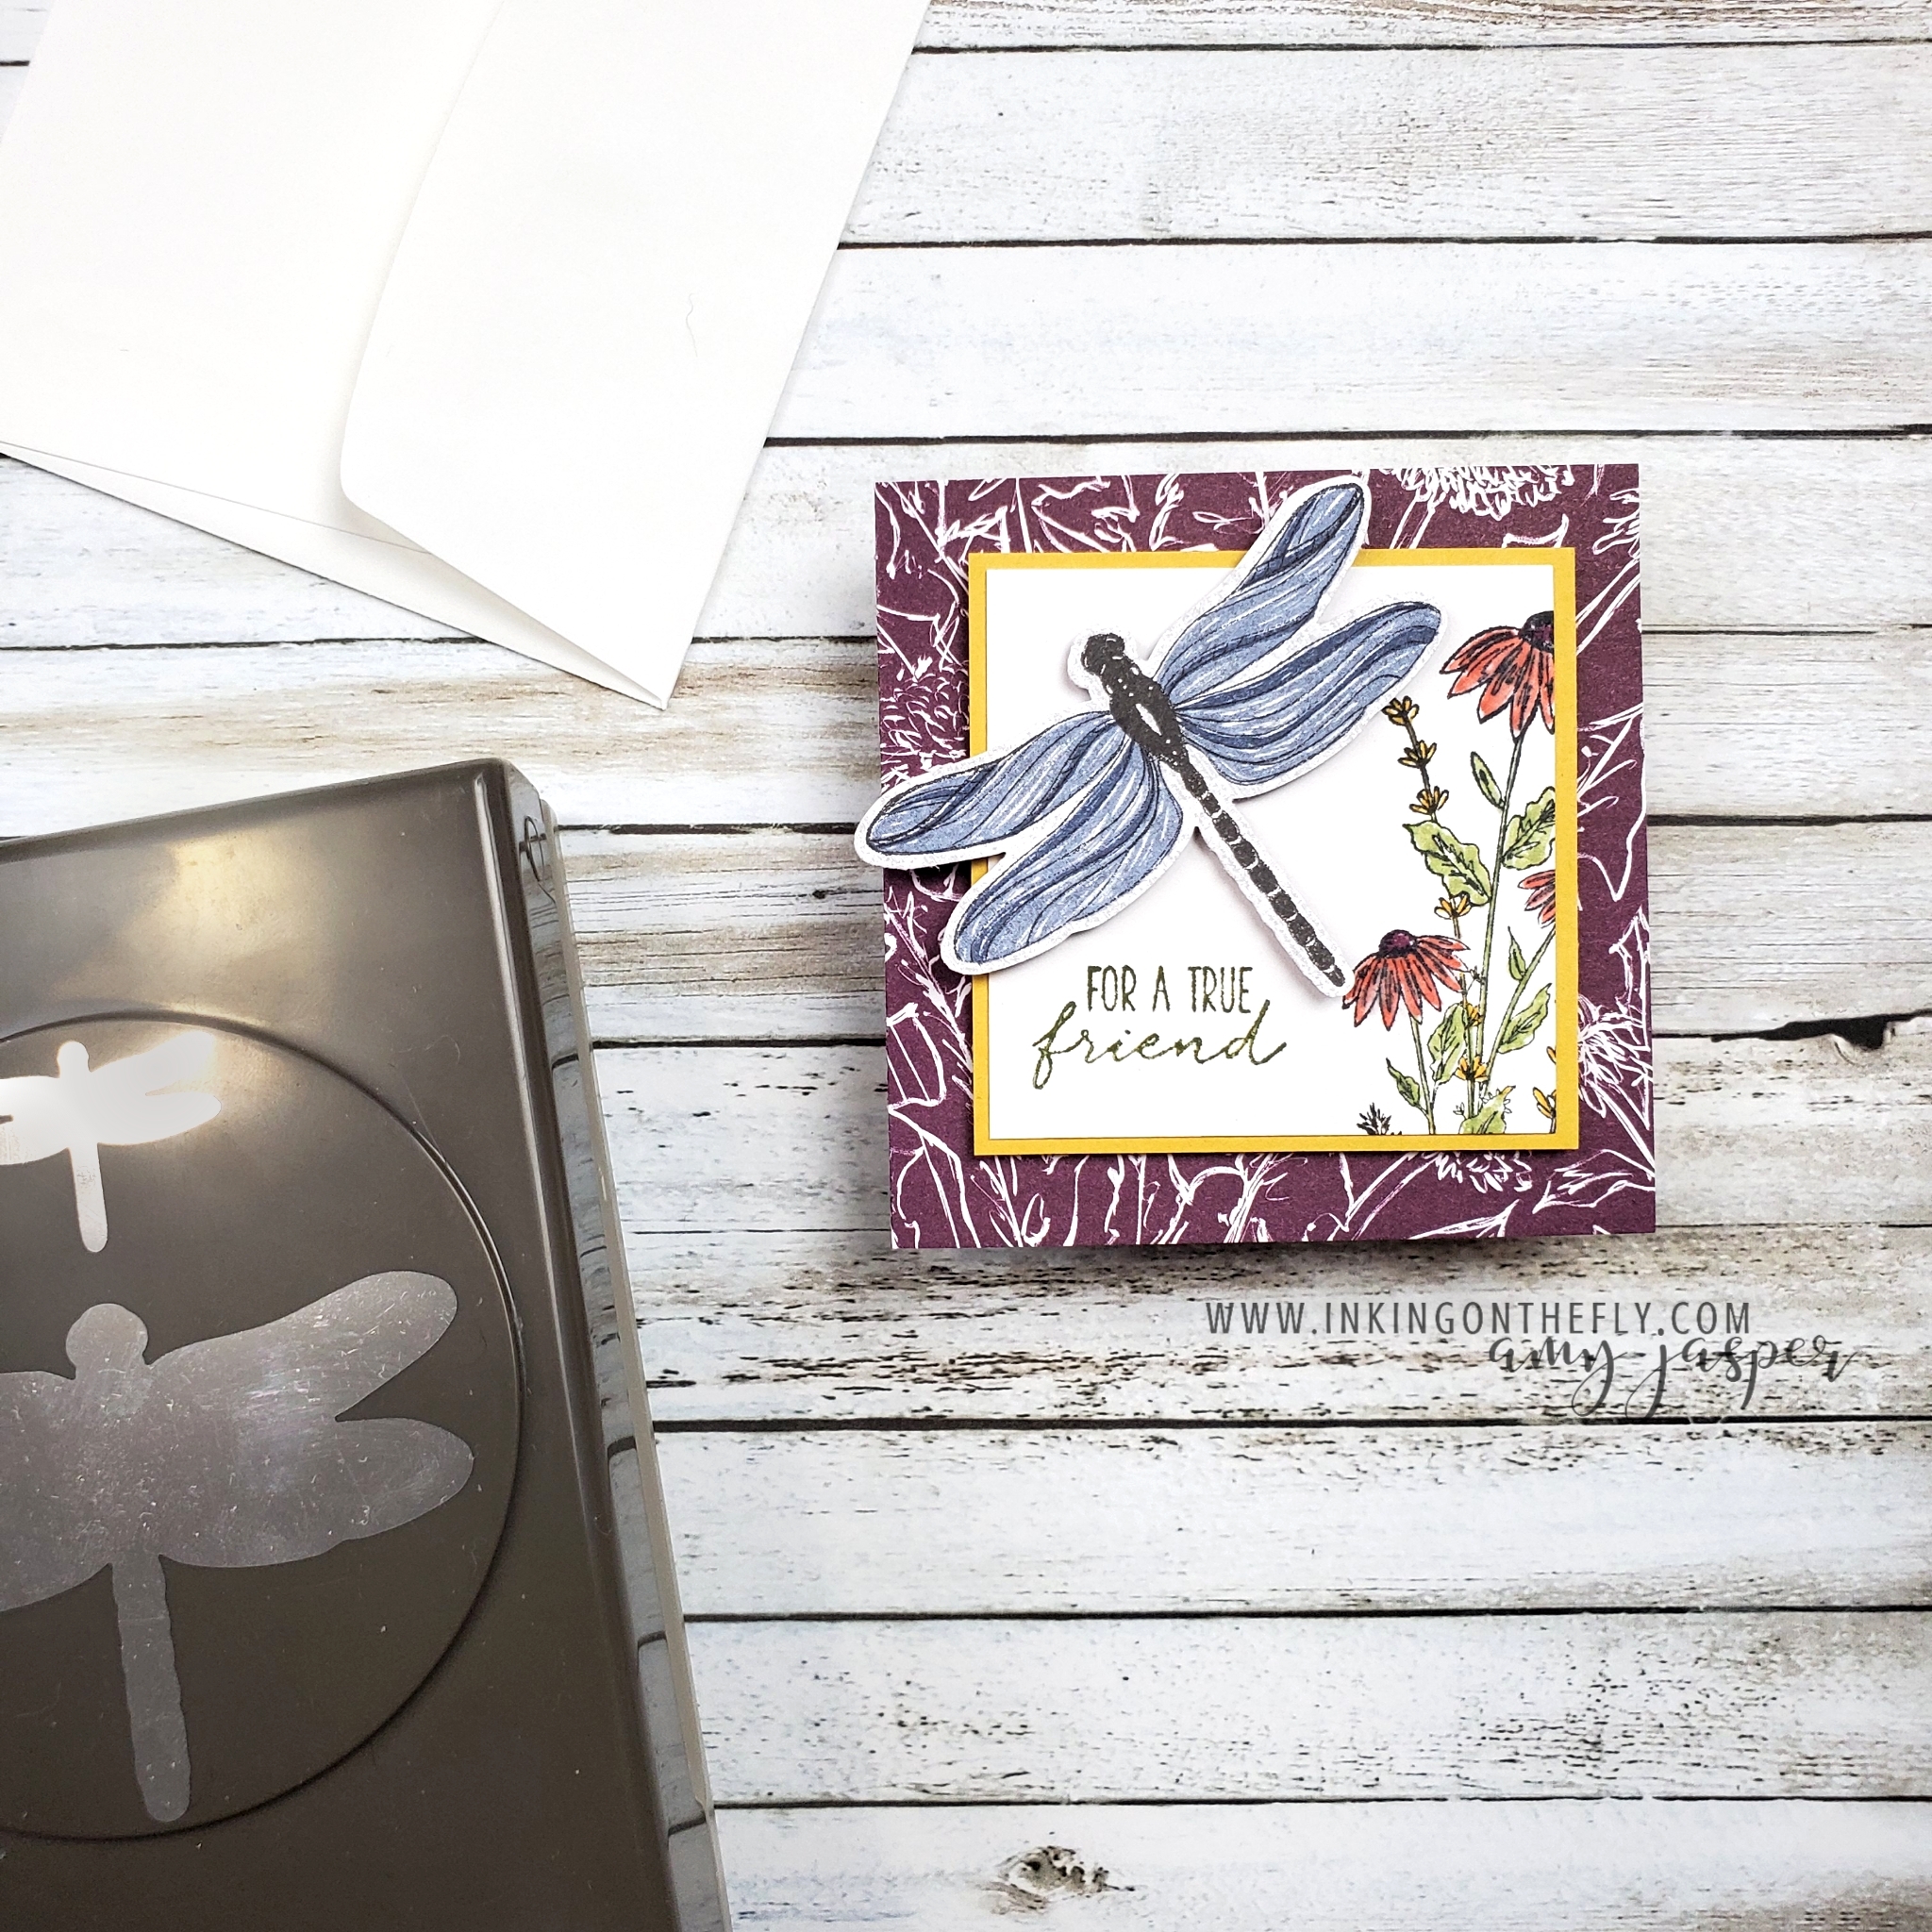
Normally, I wouldn’t use designer paper for my card base, but these cards are so little that it doesn’t matter that the paper is thin. Adding the layers on the front and inside the card add structure and make up for the designer paper being so much thinner. The cool thing about using the patterned paper for the base is that you get to show off both sides!
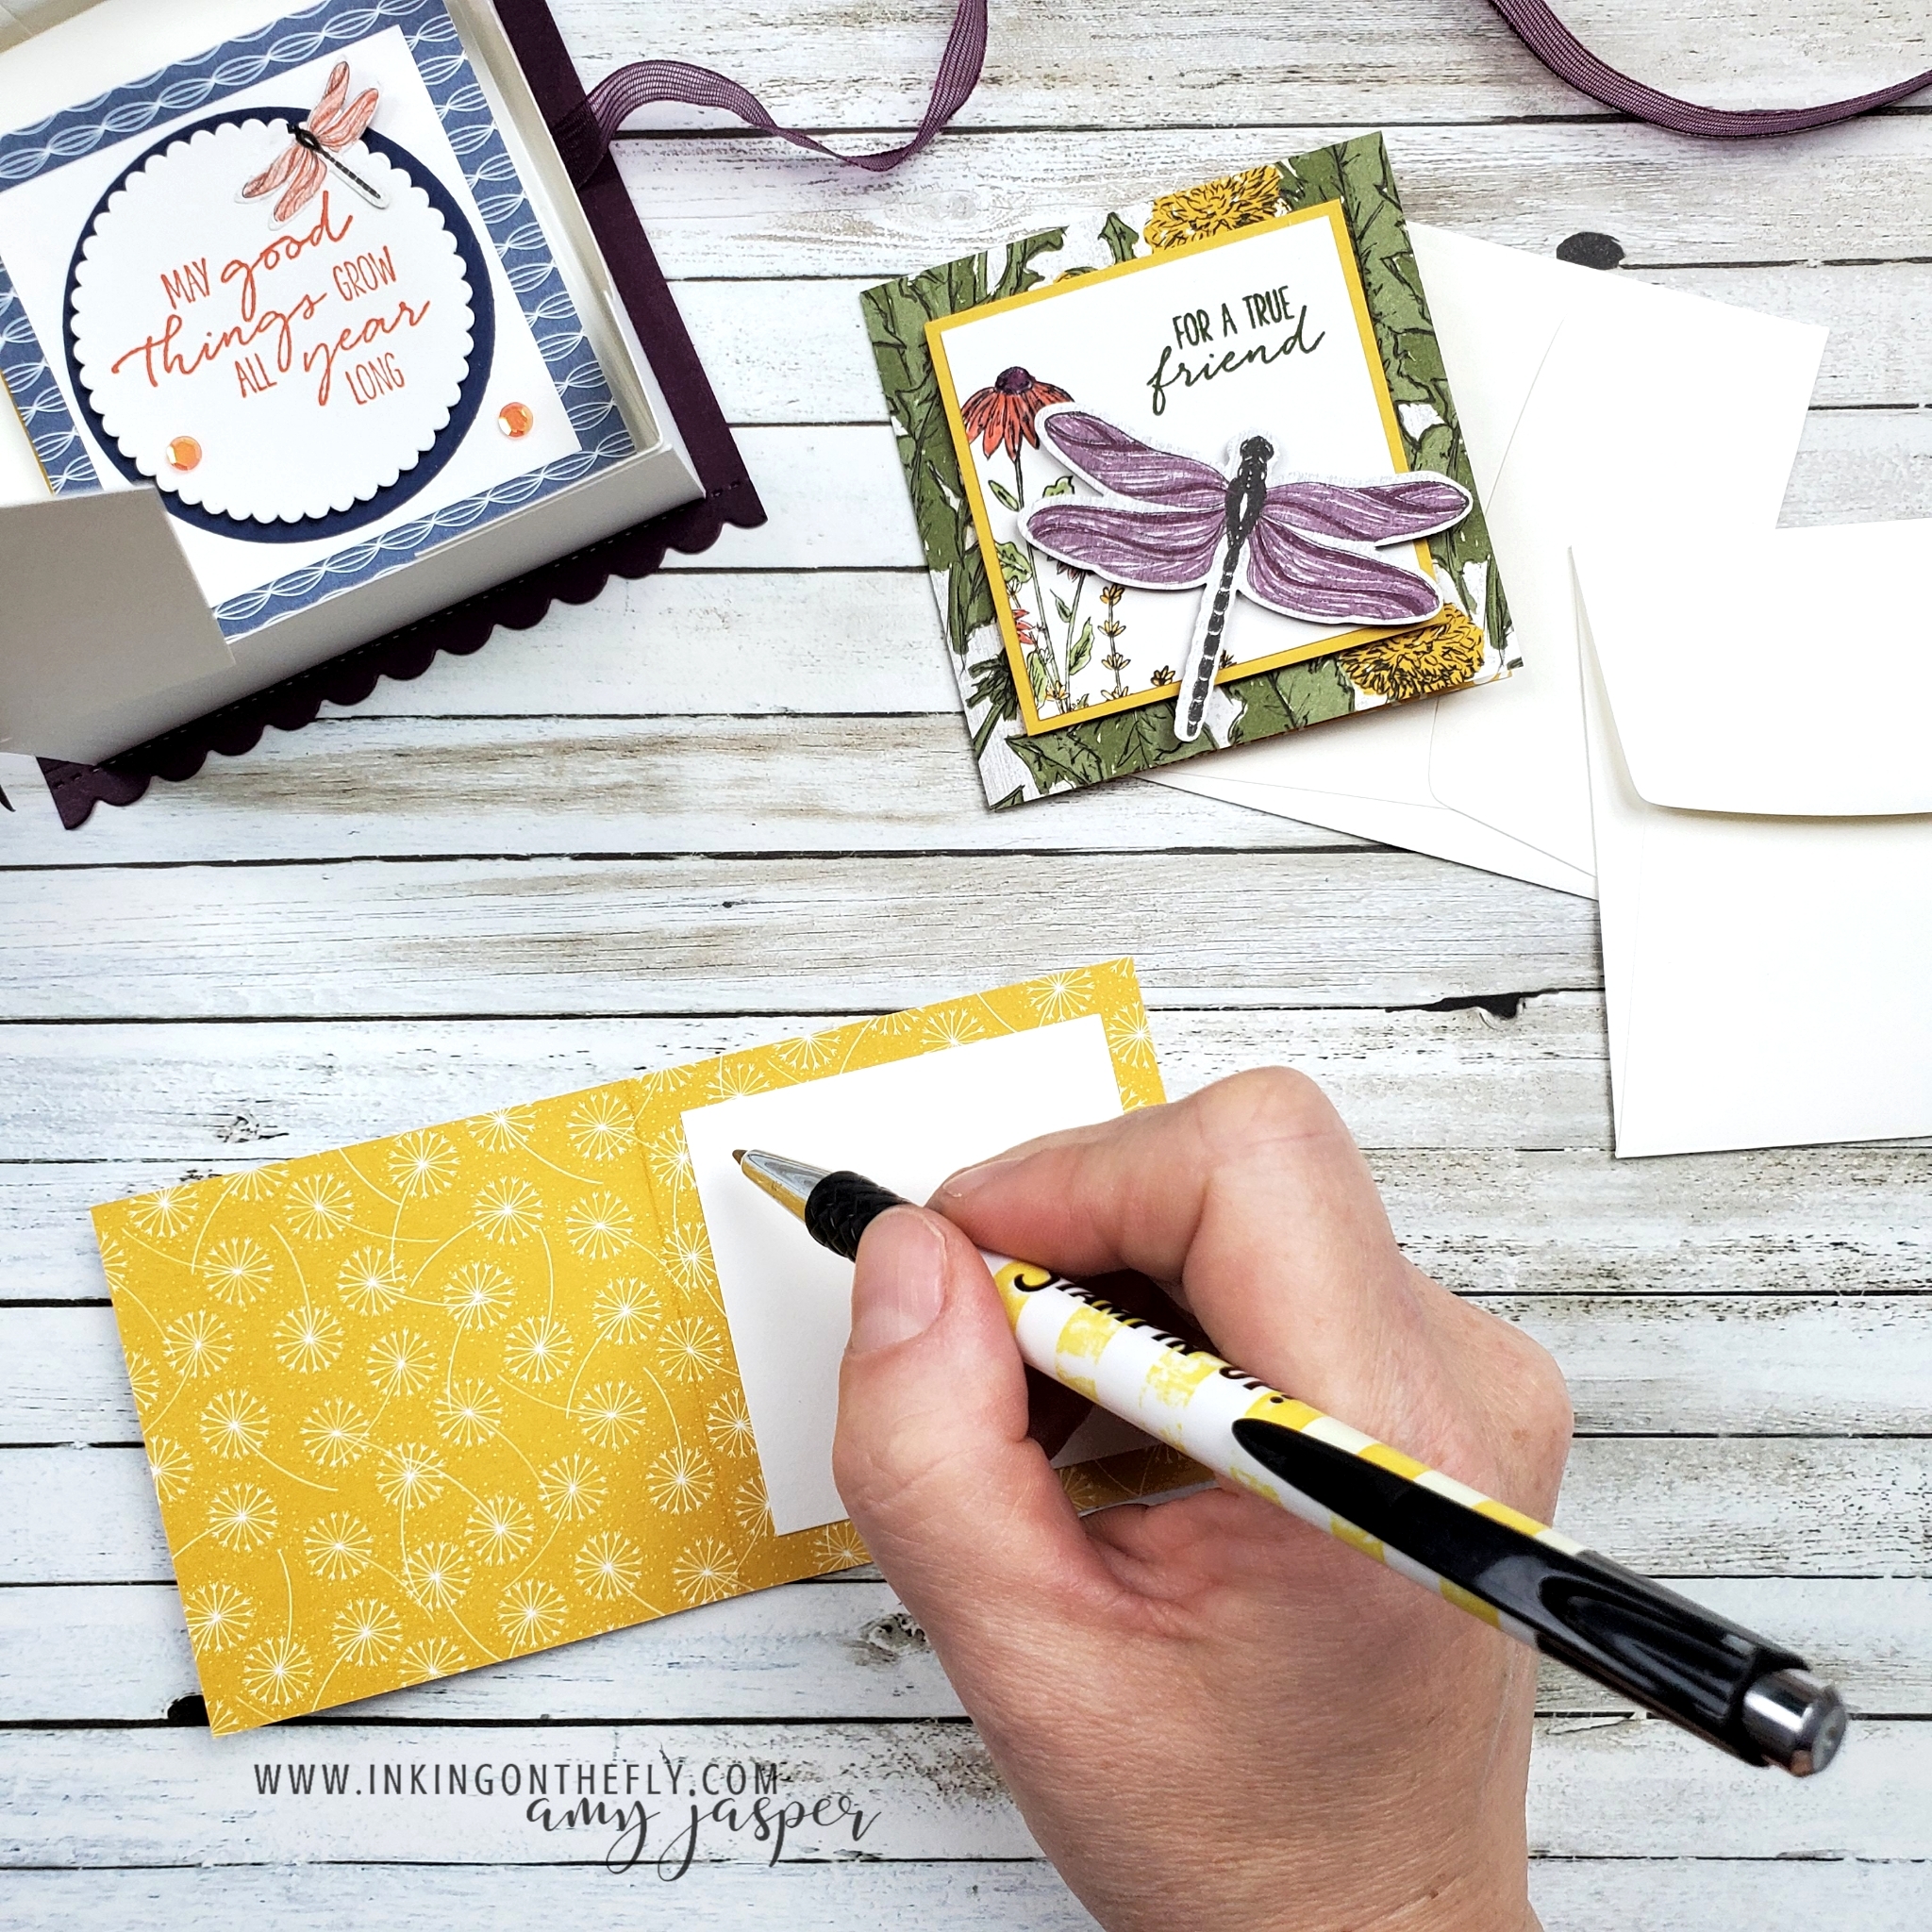
Note cards like this are great for anyone with a small business. You can write a quick thank you note and pop it in with a customer’s purchase. I also like to use note cards to attach to a little gift. A box of chocolates for a friend. Flowers for your mom. A personalized mug with some fancy tea for a teacher. These cards give that little extra something without overshadowing the modest elegance that a small gift represents.
All of the products that I used on these cards and the box are available to purchase at my Canadian online store. Let me know if you have any questions about products. I’m always happy to help if I can!