Birdies for You

This sweet Sunday design has a little bit extra with fancy score lines, some ink blending, and coloured ribbon.
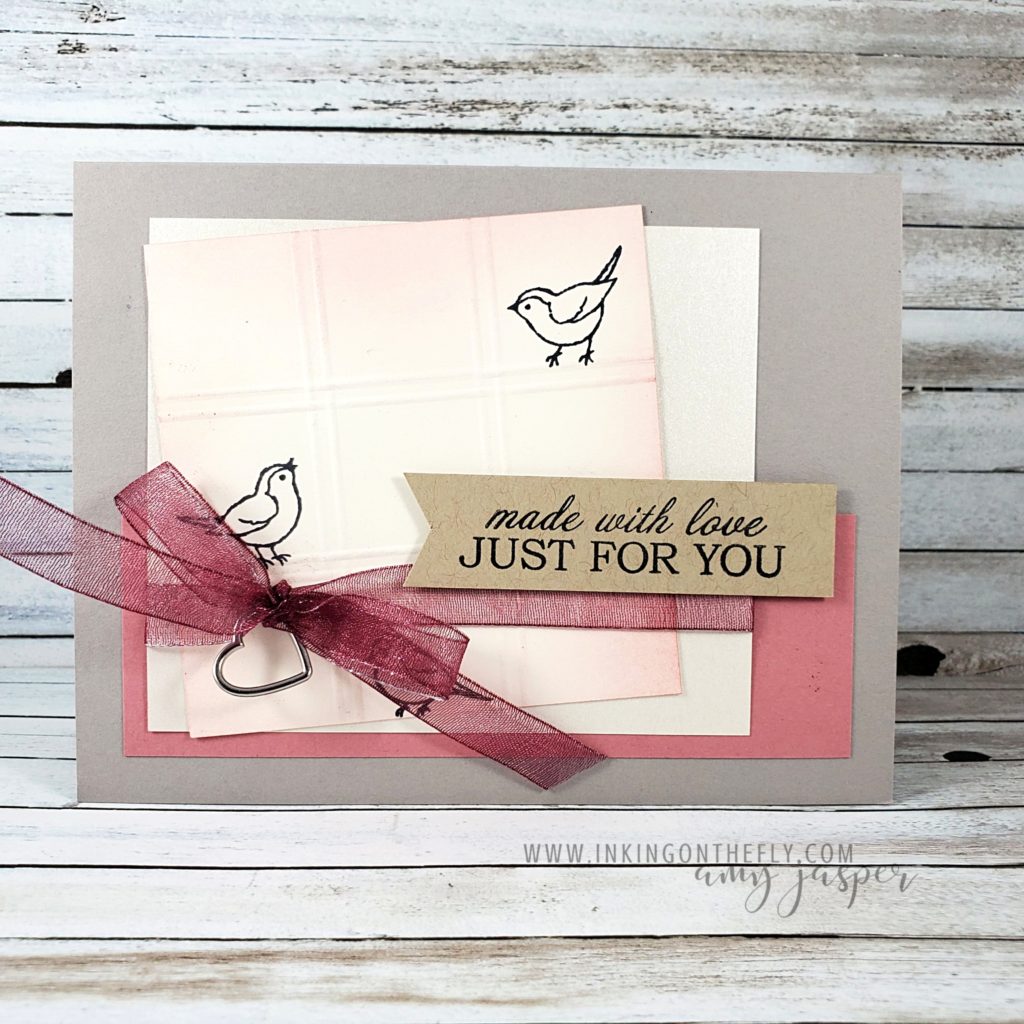
I started with a Gray Granite cardbase and layered a strip of Rococo Rose cardstock. I created the grid pattern on the square piece of Very Vanilla cardstock with my Simply Scoring Tool, then used a Blending Brush with Rococo Rose Ink to emphasize those score lines with a bit of colour. The little birdies from the Quite Curvy stamp set were stamped with Tuxedo Black Momento ink to look like they’re standing on the grid lines.
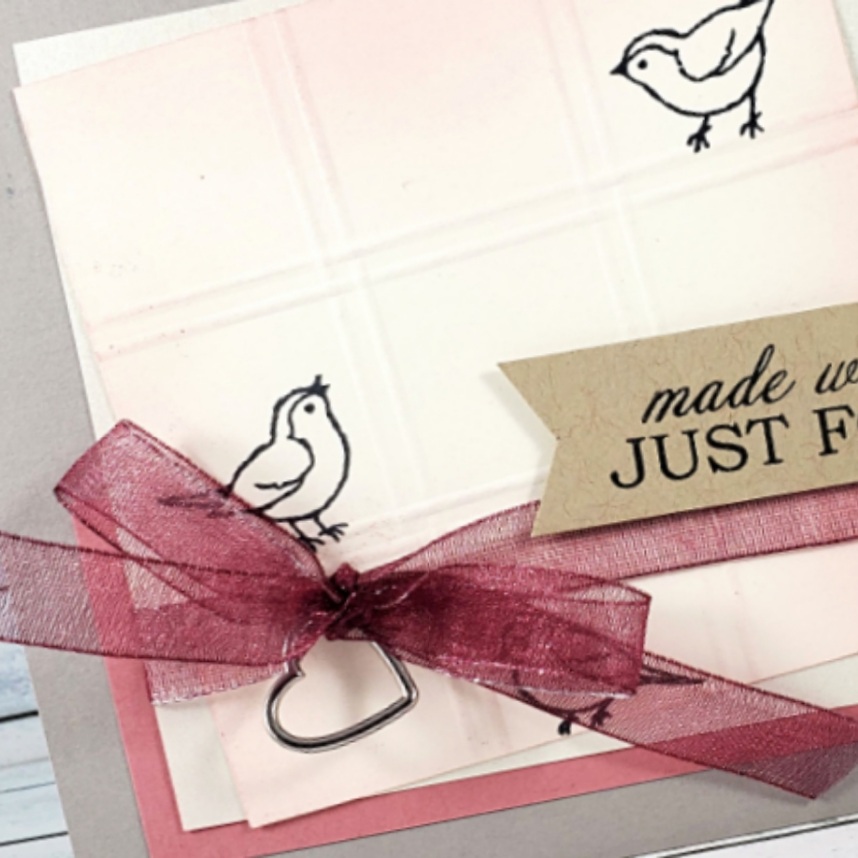
After adhering the Pearlescent Paper behind the vanilla piece, I coloured a section of the Pool Party Sheer Ribbon using the Dark Blackberry Bliss Blends Marker and wrapped it around the two layers, adding a Heart Charm into the knot before tying a bow.

The final touch was to stamp the sentiment on the strip of Crumb Cake cardstock, flag the end with my Paper Snips and adhere it to the card with Stampin’ Dimensionals.

This was one of the 10 cards offered as part of the Stamp Camp event in January. Registration for the next stamp camp (only available in Canada) ends April 30th and features the Hand-Penned stamp set from the upcoming 2021 – 2022 Annual Stampin’ Up! Catalogue. Click on Events and Classes in the menu on the top of the page to find out more.

Origami Window Frame Fun Fold

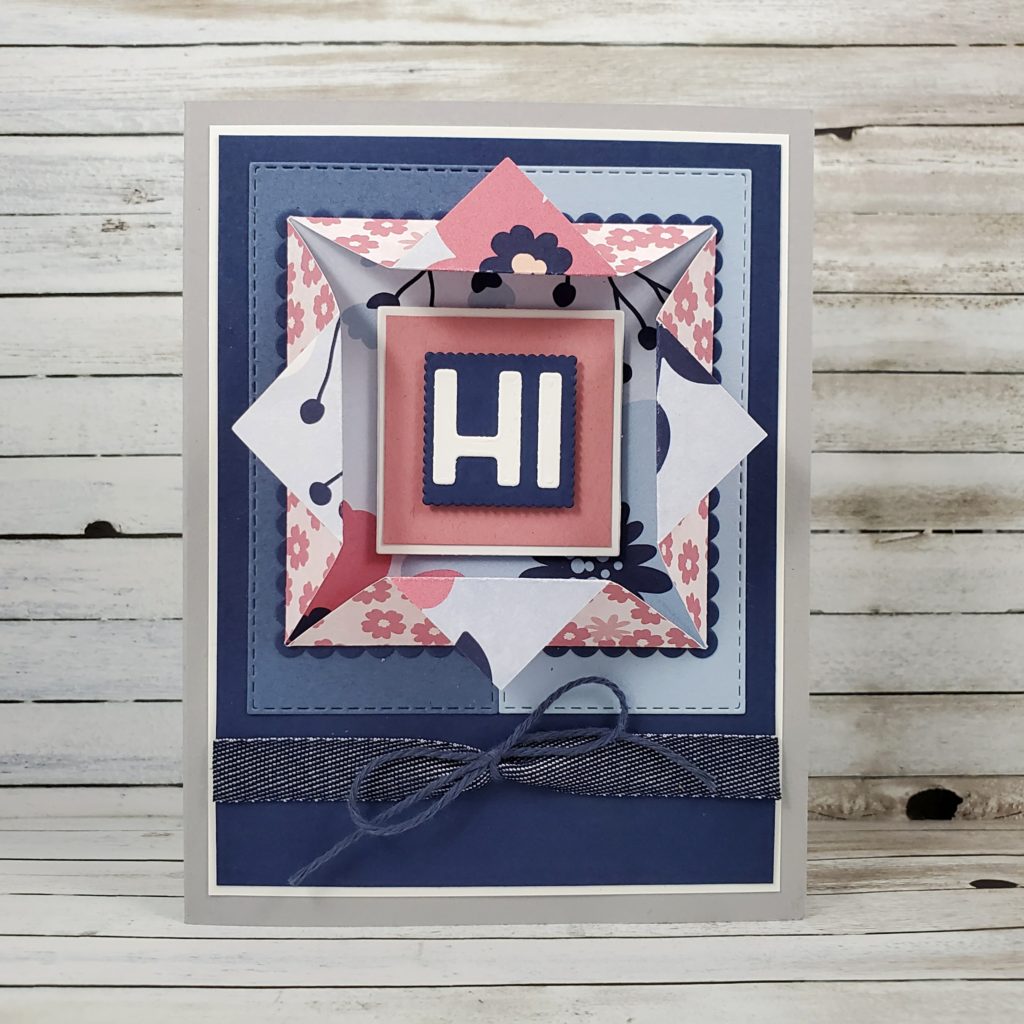
Check out this card design with a 3D folded frame — origami style!

I’m not sure where the folded frame idea originated, but this is my take on this fun fold technique.

This card was one of the designs I shared with my technique class a couple months ago. It’s such a great fun fold because it’s quick to make and is a beautiful way to feature both sides of your designer series paper.

If you’re in Canada, you can join in on my monthly technique class and receive the class packet of pre-cut card supplies so we can make the cards together virtually. Not in Canada? Ask me how you can get VIP Access to my technique video and PDF tutorials at the same time as my class participants. No need to wait!

Check out the video tutorial for this card.

Here is a list of the Stampin’ Up! products and measurements. Remember, this card was presented to my class back in February, which means that some of these products are no longer available for purchase.

8 ½” x 5 ½” Smoky Slate
3 ⅞” x 5 ⅛” Basic White (x2)
1 ⅝” Basic White square (die-cut with the Layered Squares Dies)
¾” high Basic White letters (die-cut with the Playful Alphabets Dies)
3 ¾” x 5” Night of Navy
3″ Night of Navy scallop square (die-cut with the Layered Squares Dies)
1″ Night of Navy scallop square (die-cut with the Layered Squares Dies)
3 ⅝” x 1 ⅝” Misty Moonlight (die-cut with the Stitched Rectangle Dies)
3 ⅝” x 1 ⅝” Seaside Spray (die-cut with the Stitched Rectangle Dies)
1 ½” x 1 ½” Rococo Rose
4” x 4” Paper Blooms Designer Series Paper
5 ½” Denim Ribbon
12” Night of Navy Baker’s Twine

🇨🇦 You can order any current Stampin’ Up! products with me here in Canada by clicking on the shop button. Contact me anytime to ask questions or to find out how you can become an Independent Stampin’ Up! Demonstrator, like me!

So Cool Paper Pumpkin Unboxing

Hey. Hey.

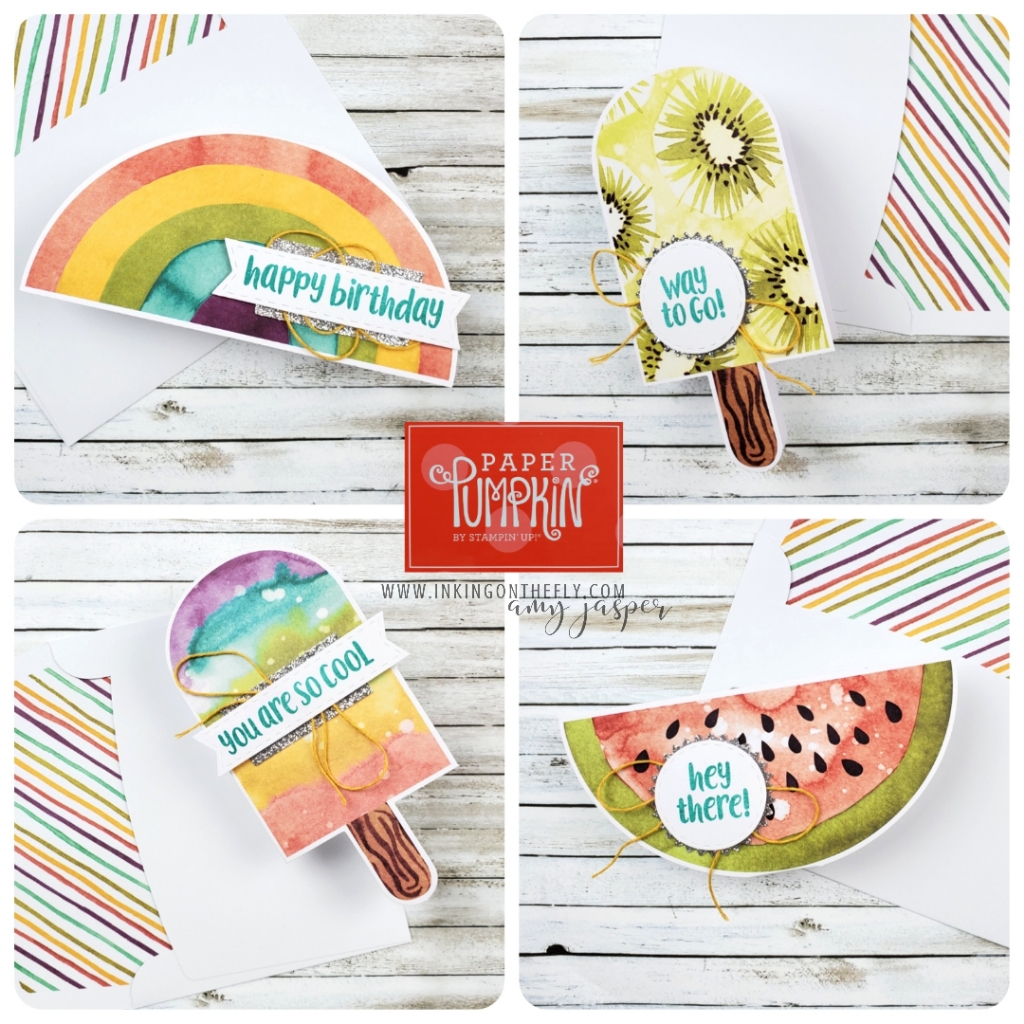
In case you missed it on my Monday Facebook Live, you can watch the replay of my unboxing video of the fun and cheerful April Paper Pumpkin kit from Stampin’ Up!. This kit coordinates with the Ice Cream Corner Suite from Stampin’ Up! and is embarrassingly easy to stamp and assemble!

I can’t wait to share some alternatives for this one next week! You can join me live at 10:30 (ish) every Monday on Facebook where I share stamping projects and Paper Pumpkin each week. If you’re not on Facebook, you can watch the replay here every Tuesday.

Click here to get your monthly Paper Pumpkin box with me here in Canada.