2018

In Color Blocks

Are you excited for the new catalogue?! I am! There are so many new colours and fun things that I wish I could get them all at once! But, alas, I must be wise with my spending and pace myself. So far, I have two of the new inks, a sampling of all the new colours, all of the In Color inks and most of the In Color cardstock. I also decided to get the early release products in the Share What You Love Suite (of course, I had to choose the “Gotta Have It All” bundle so I could get all the free gifts with it!) You can check out the bundles by clicking on my SHOP button here on my website.

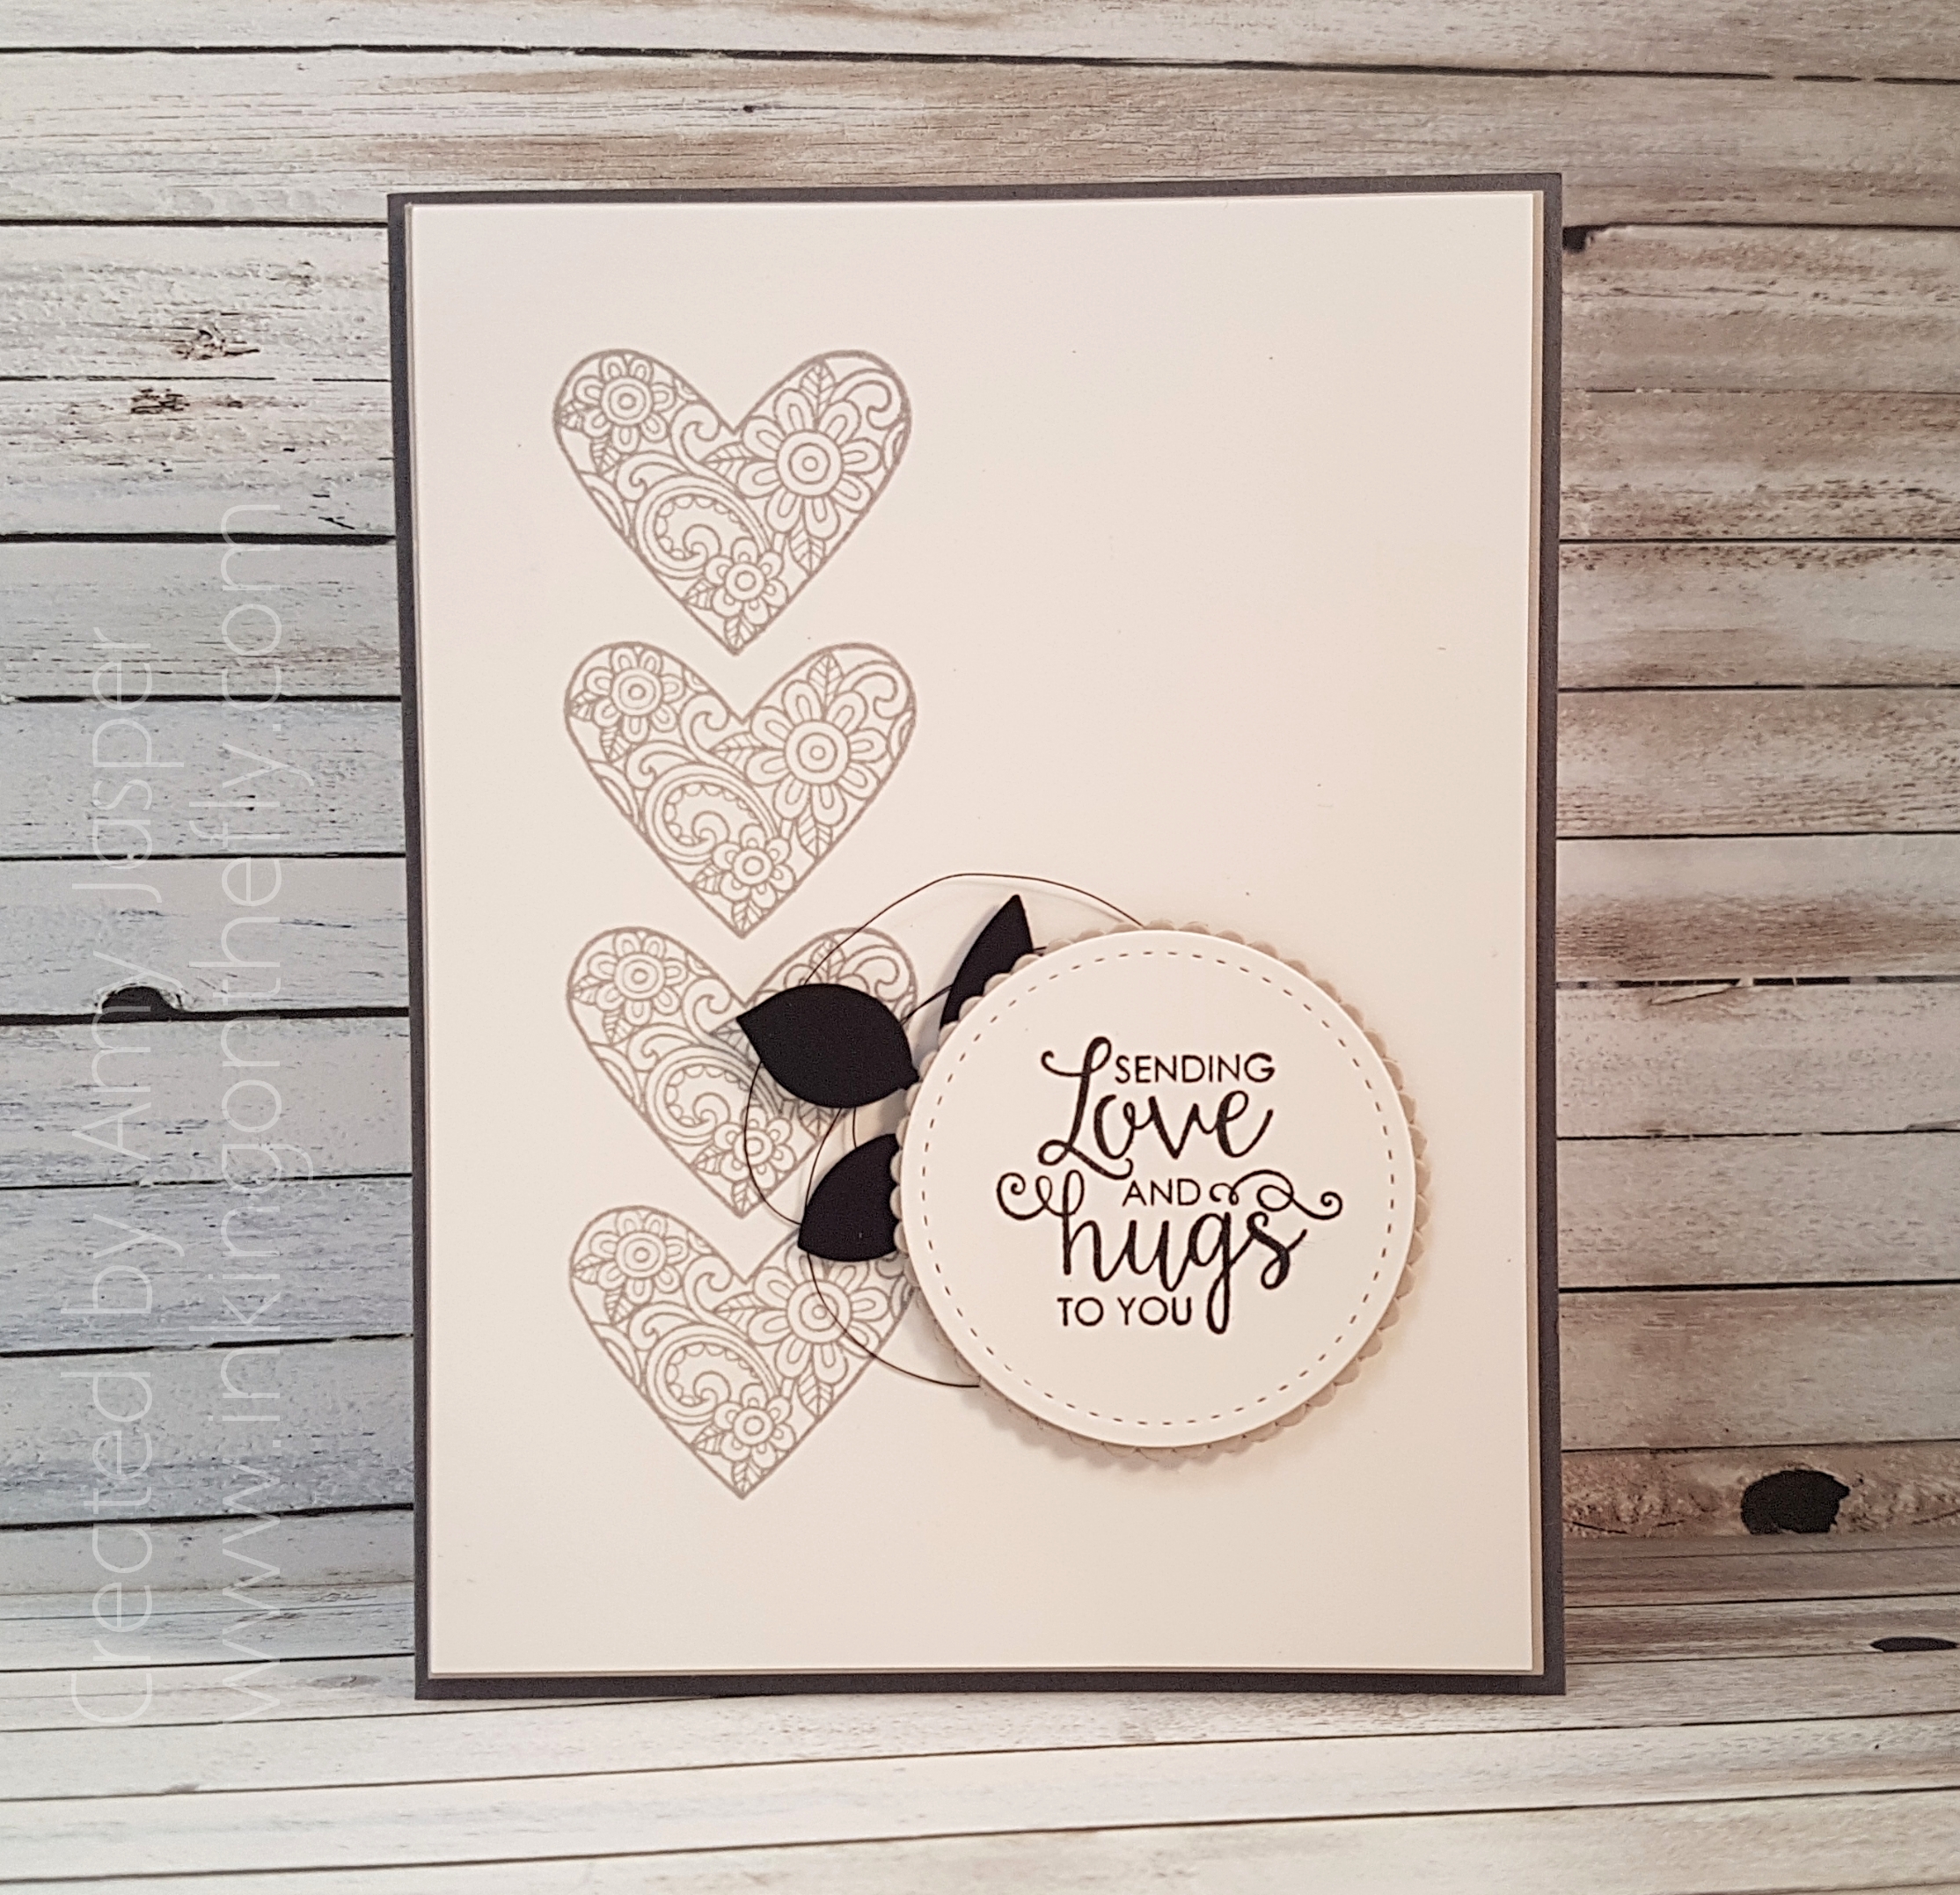
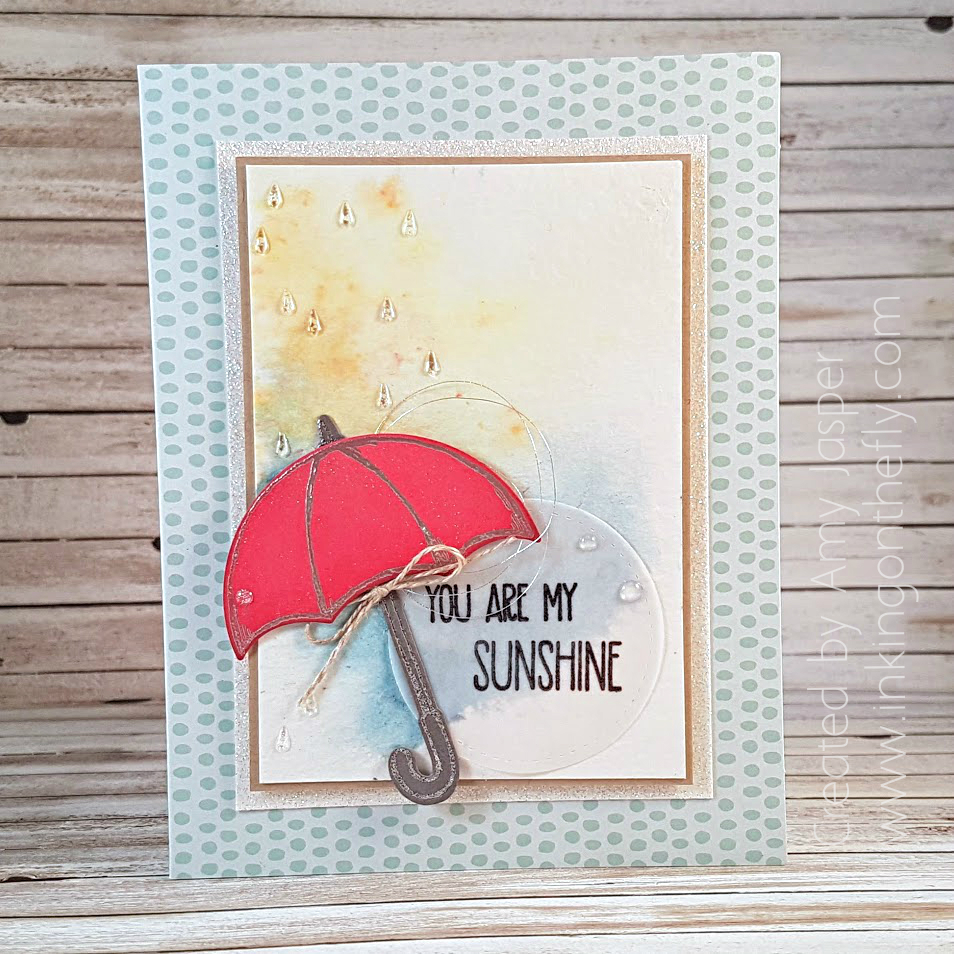
The card design today features four of the five 2018-2020 In Colors. These colours are bright and playful and full of cheer!

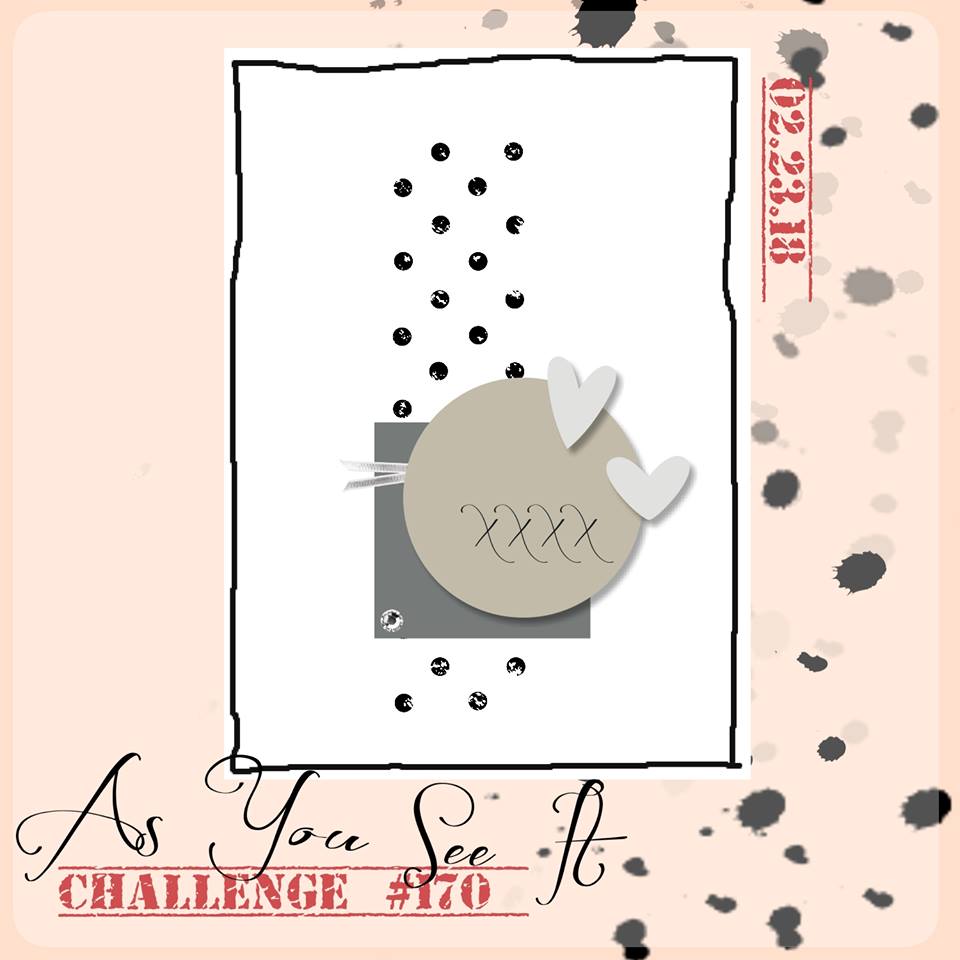
Here’s the challenge sketch that I started with:
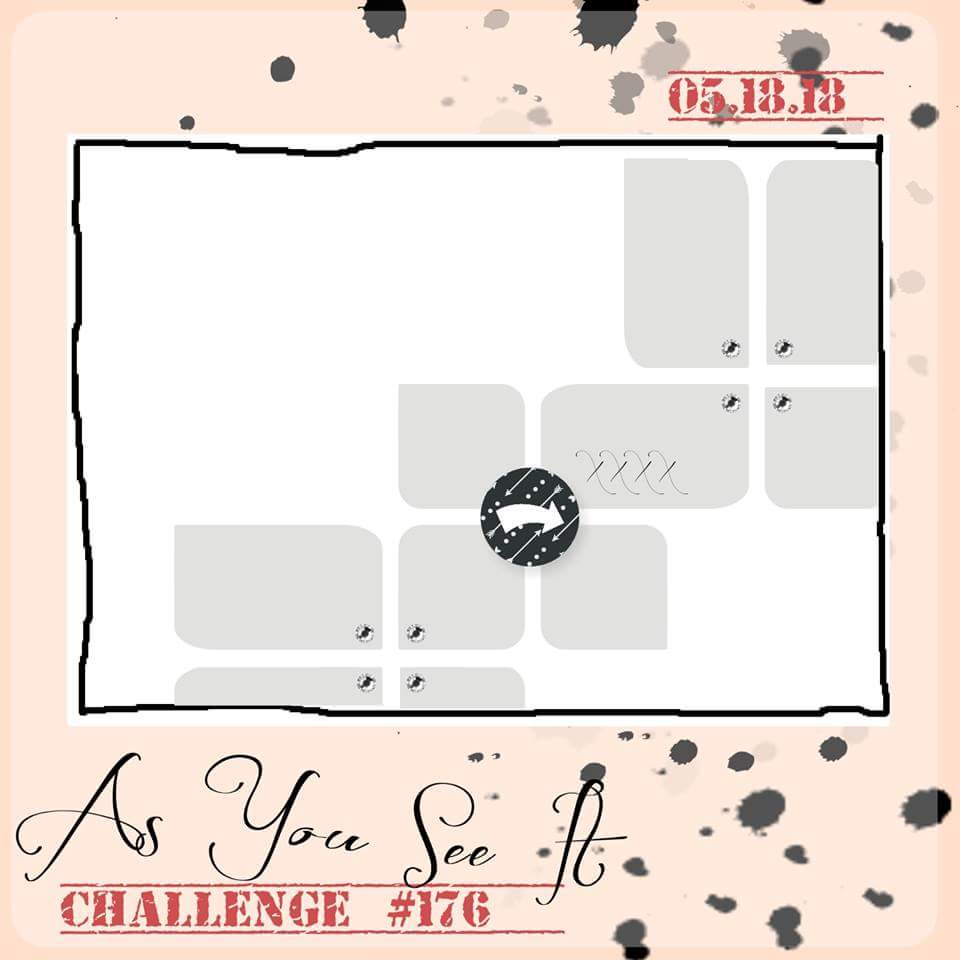
When I saw this sketch, I immediately thought of using the acrylic blocks to stamp the rectangle and square shapes and that is exactly what I did!

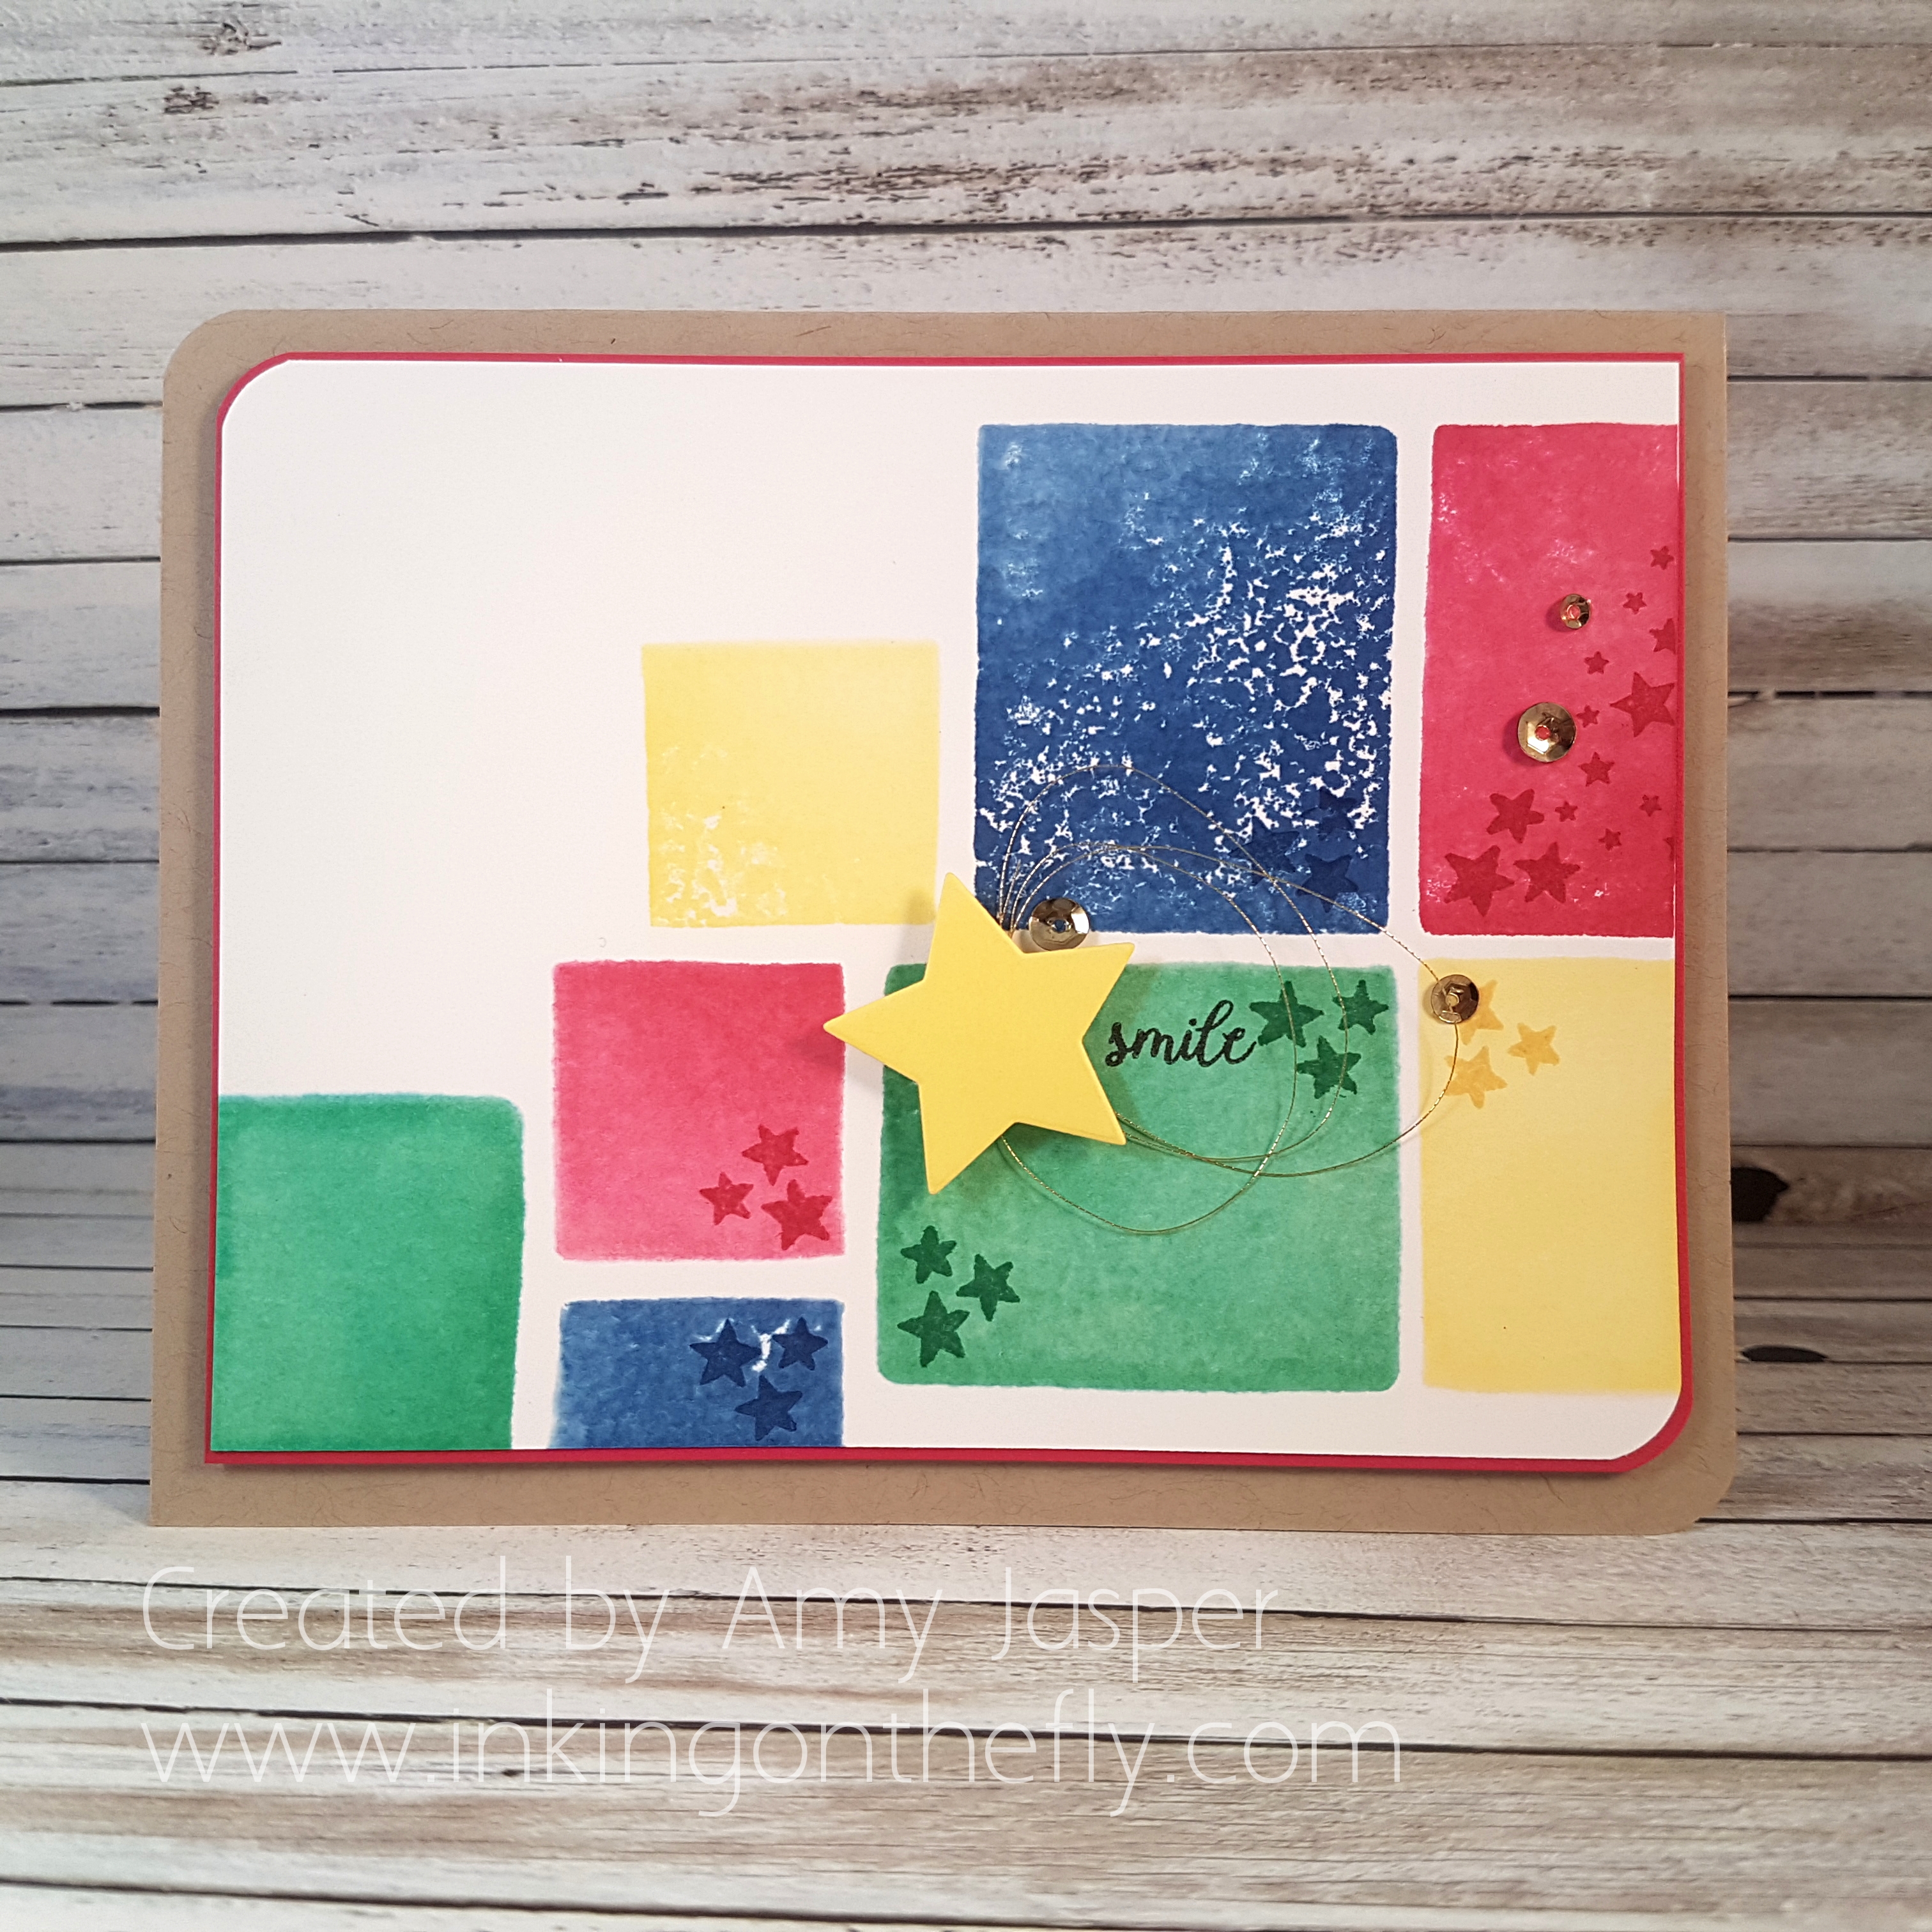
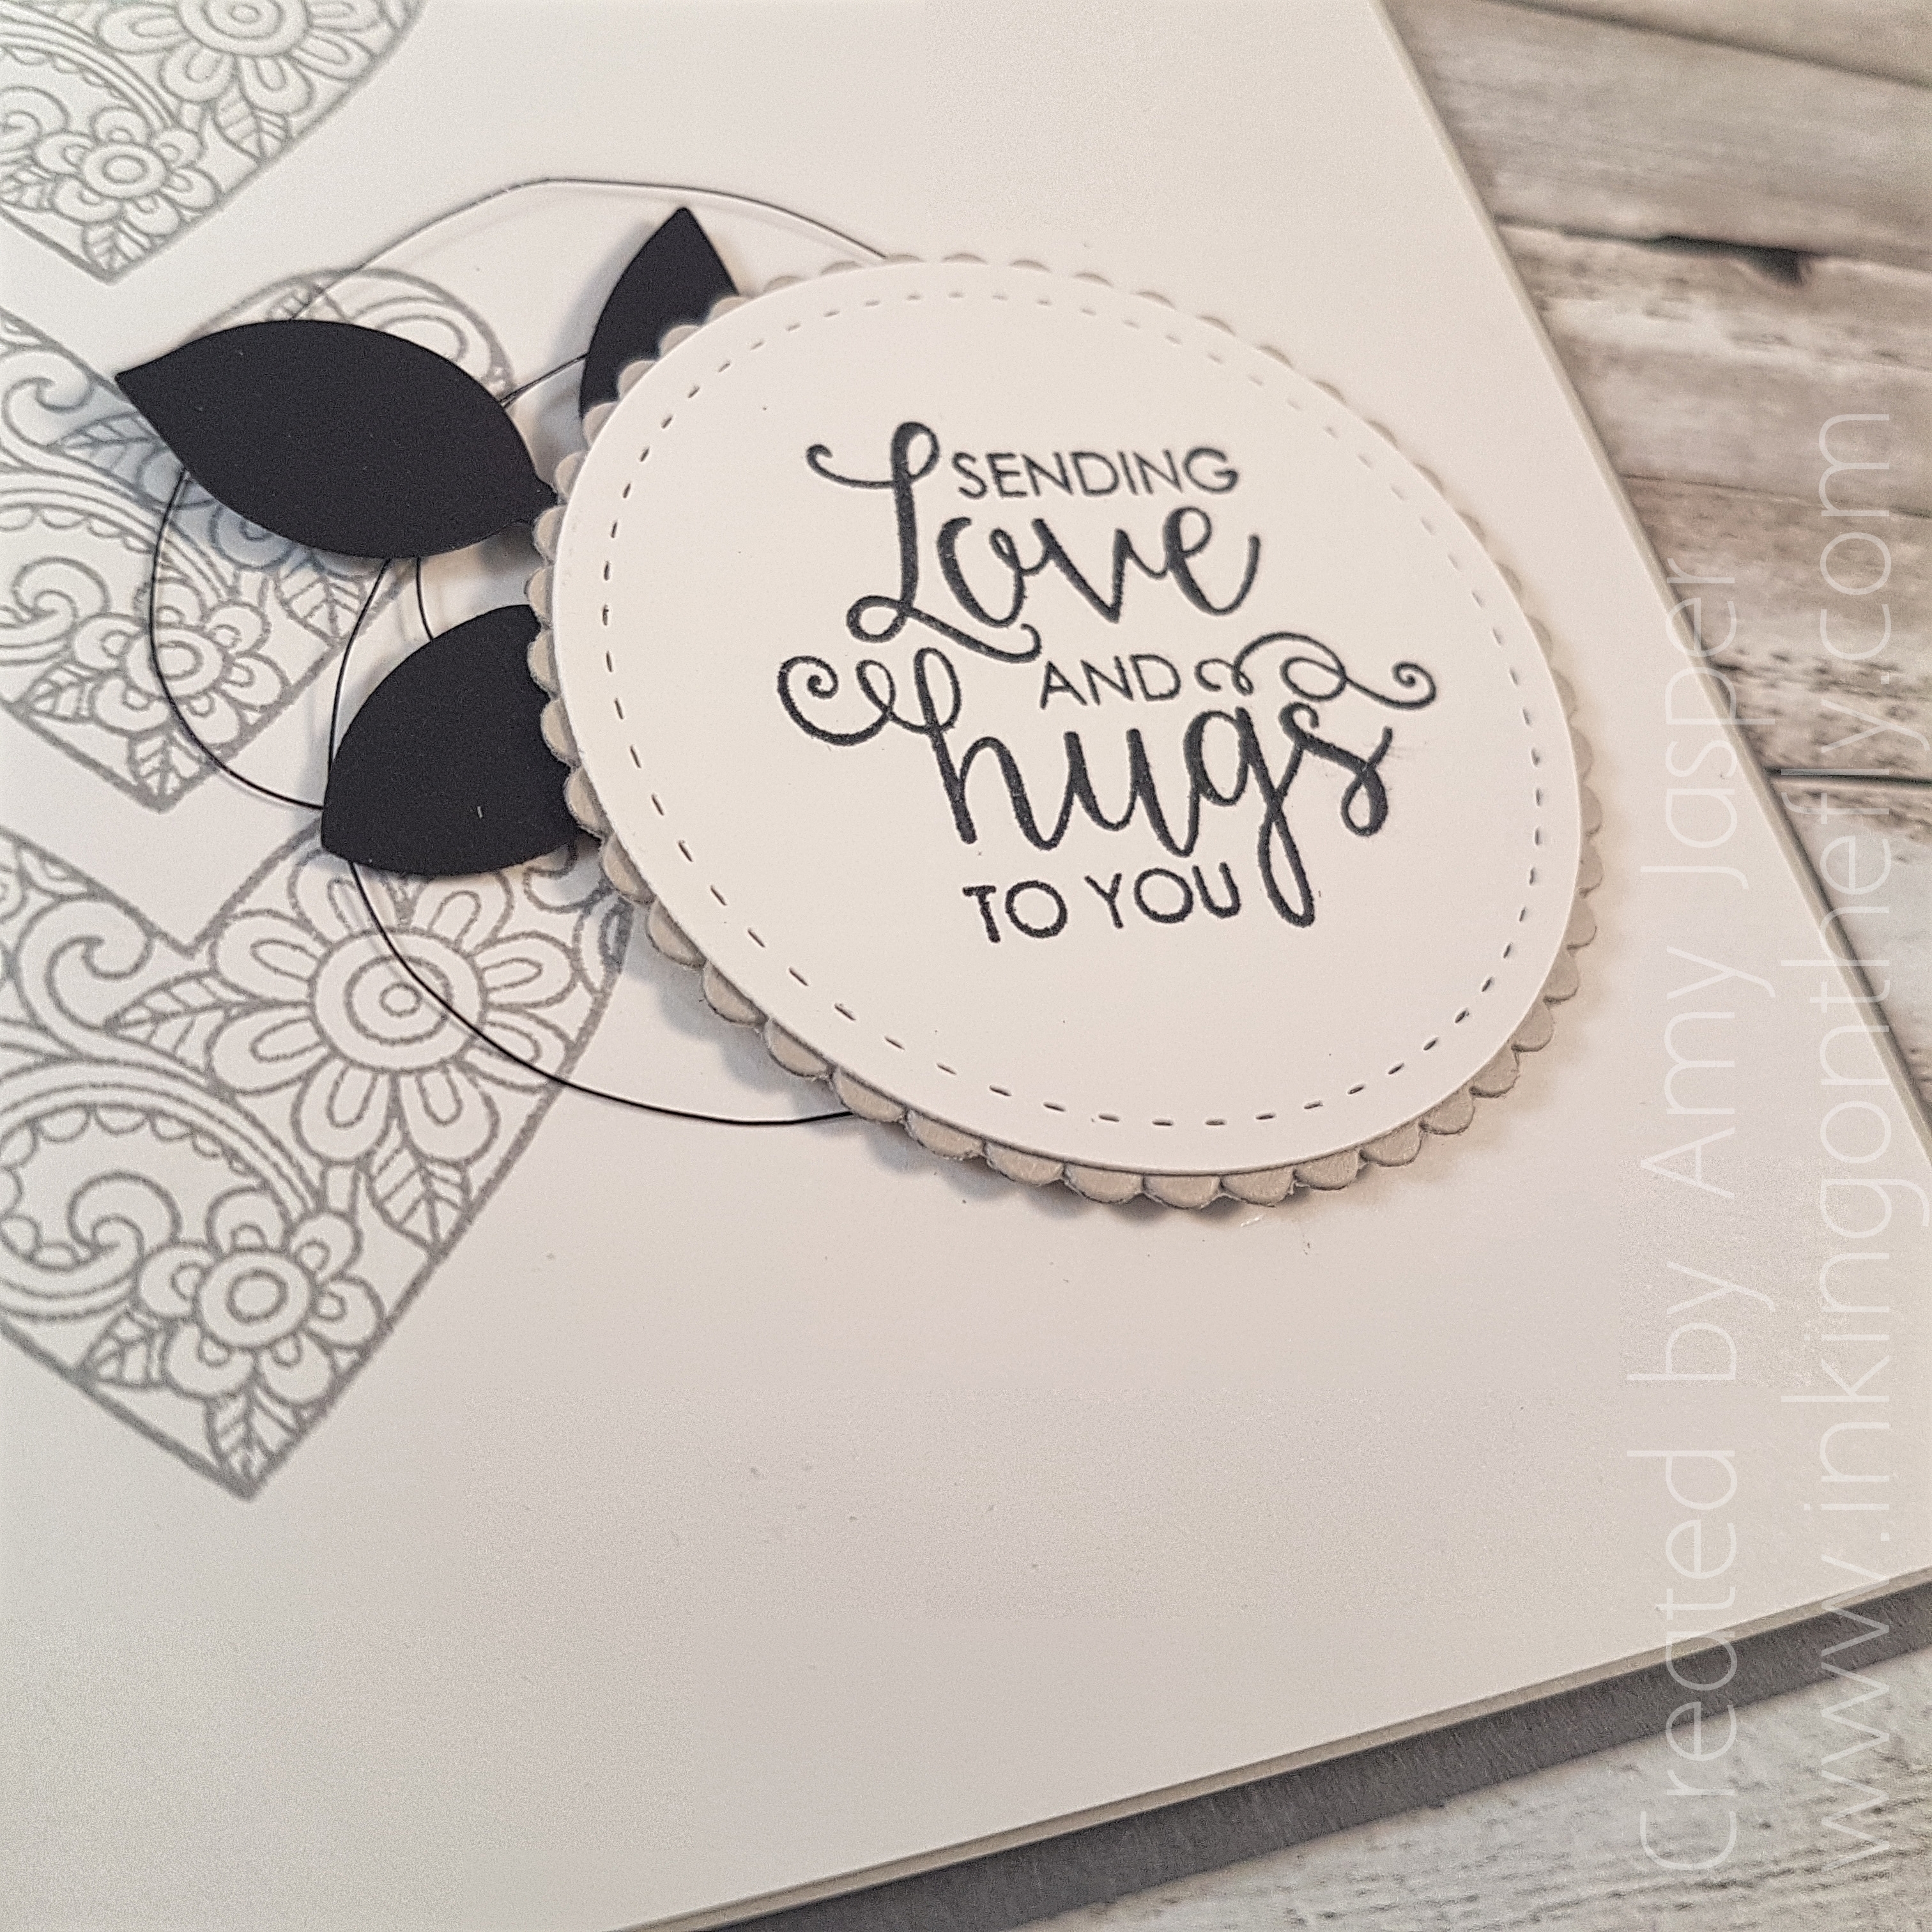
I used Clear Block C and Clear Block A from Stampin’ Up! to create this playful, colour blocked background. I simply pressed the block onto the ink pad, spritzed the ink on the block with 70% rubbing alcohol using my Stampin’ Spritzer, then pressed the block on my paper where I wanted it. I used Lovely Lipstick, Blueberry Bushel, Pineapple Punch, and Call Me Clover.The Pineapple Punch yellow die cut star is cut using the Wood Crate Framelits Dies and attached with a piece of Foam Adhesive Strips (no reason, it was just closer to me than my Stampin’ Dimensionals!). I looped some Gold Metallic Thread to stick behind the star for some extra flourish. The sentiment, “smile”, is from the Tabs for Everything stamp set and was stamped with Momento Tuxedo Black ink. The stars from the Tabs for Everything stamp set and the stars from the the Wood Words stamp set were stamped with the coordinating colours of the blocked area on which they are placed.
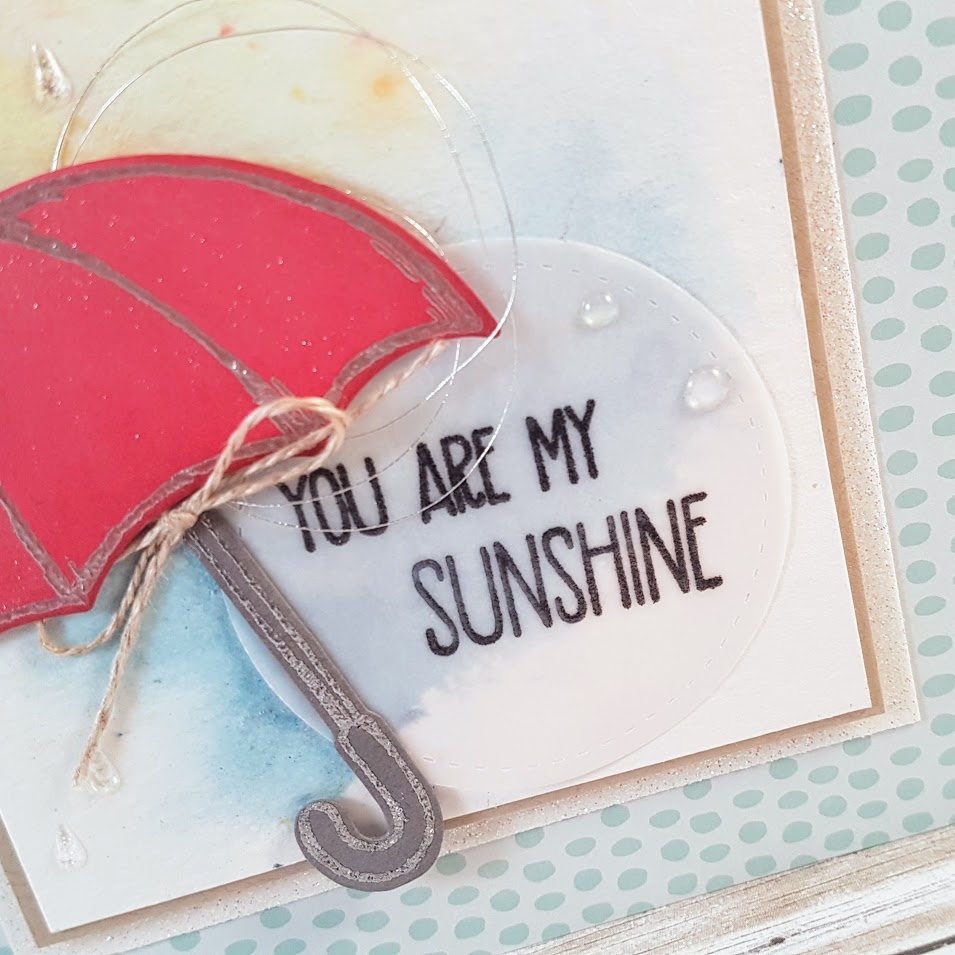
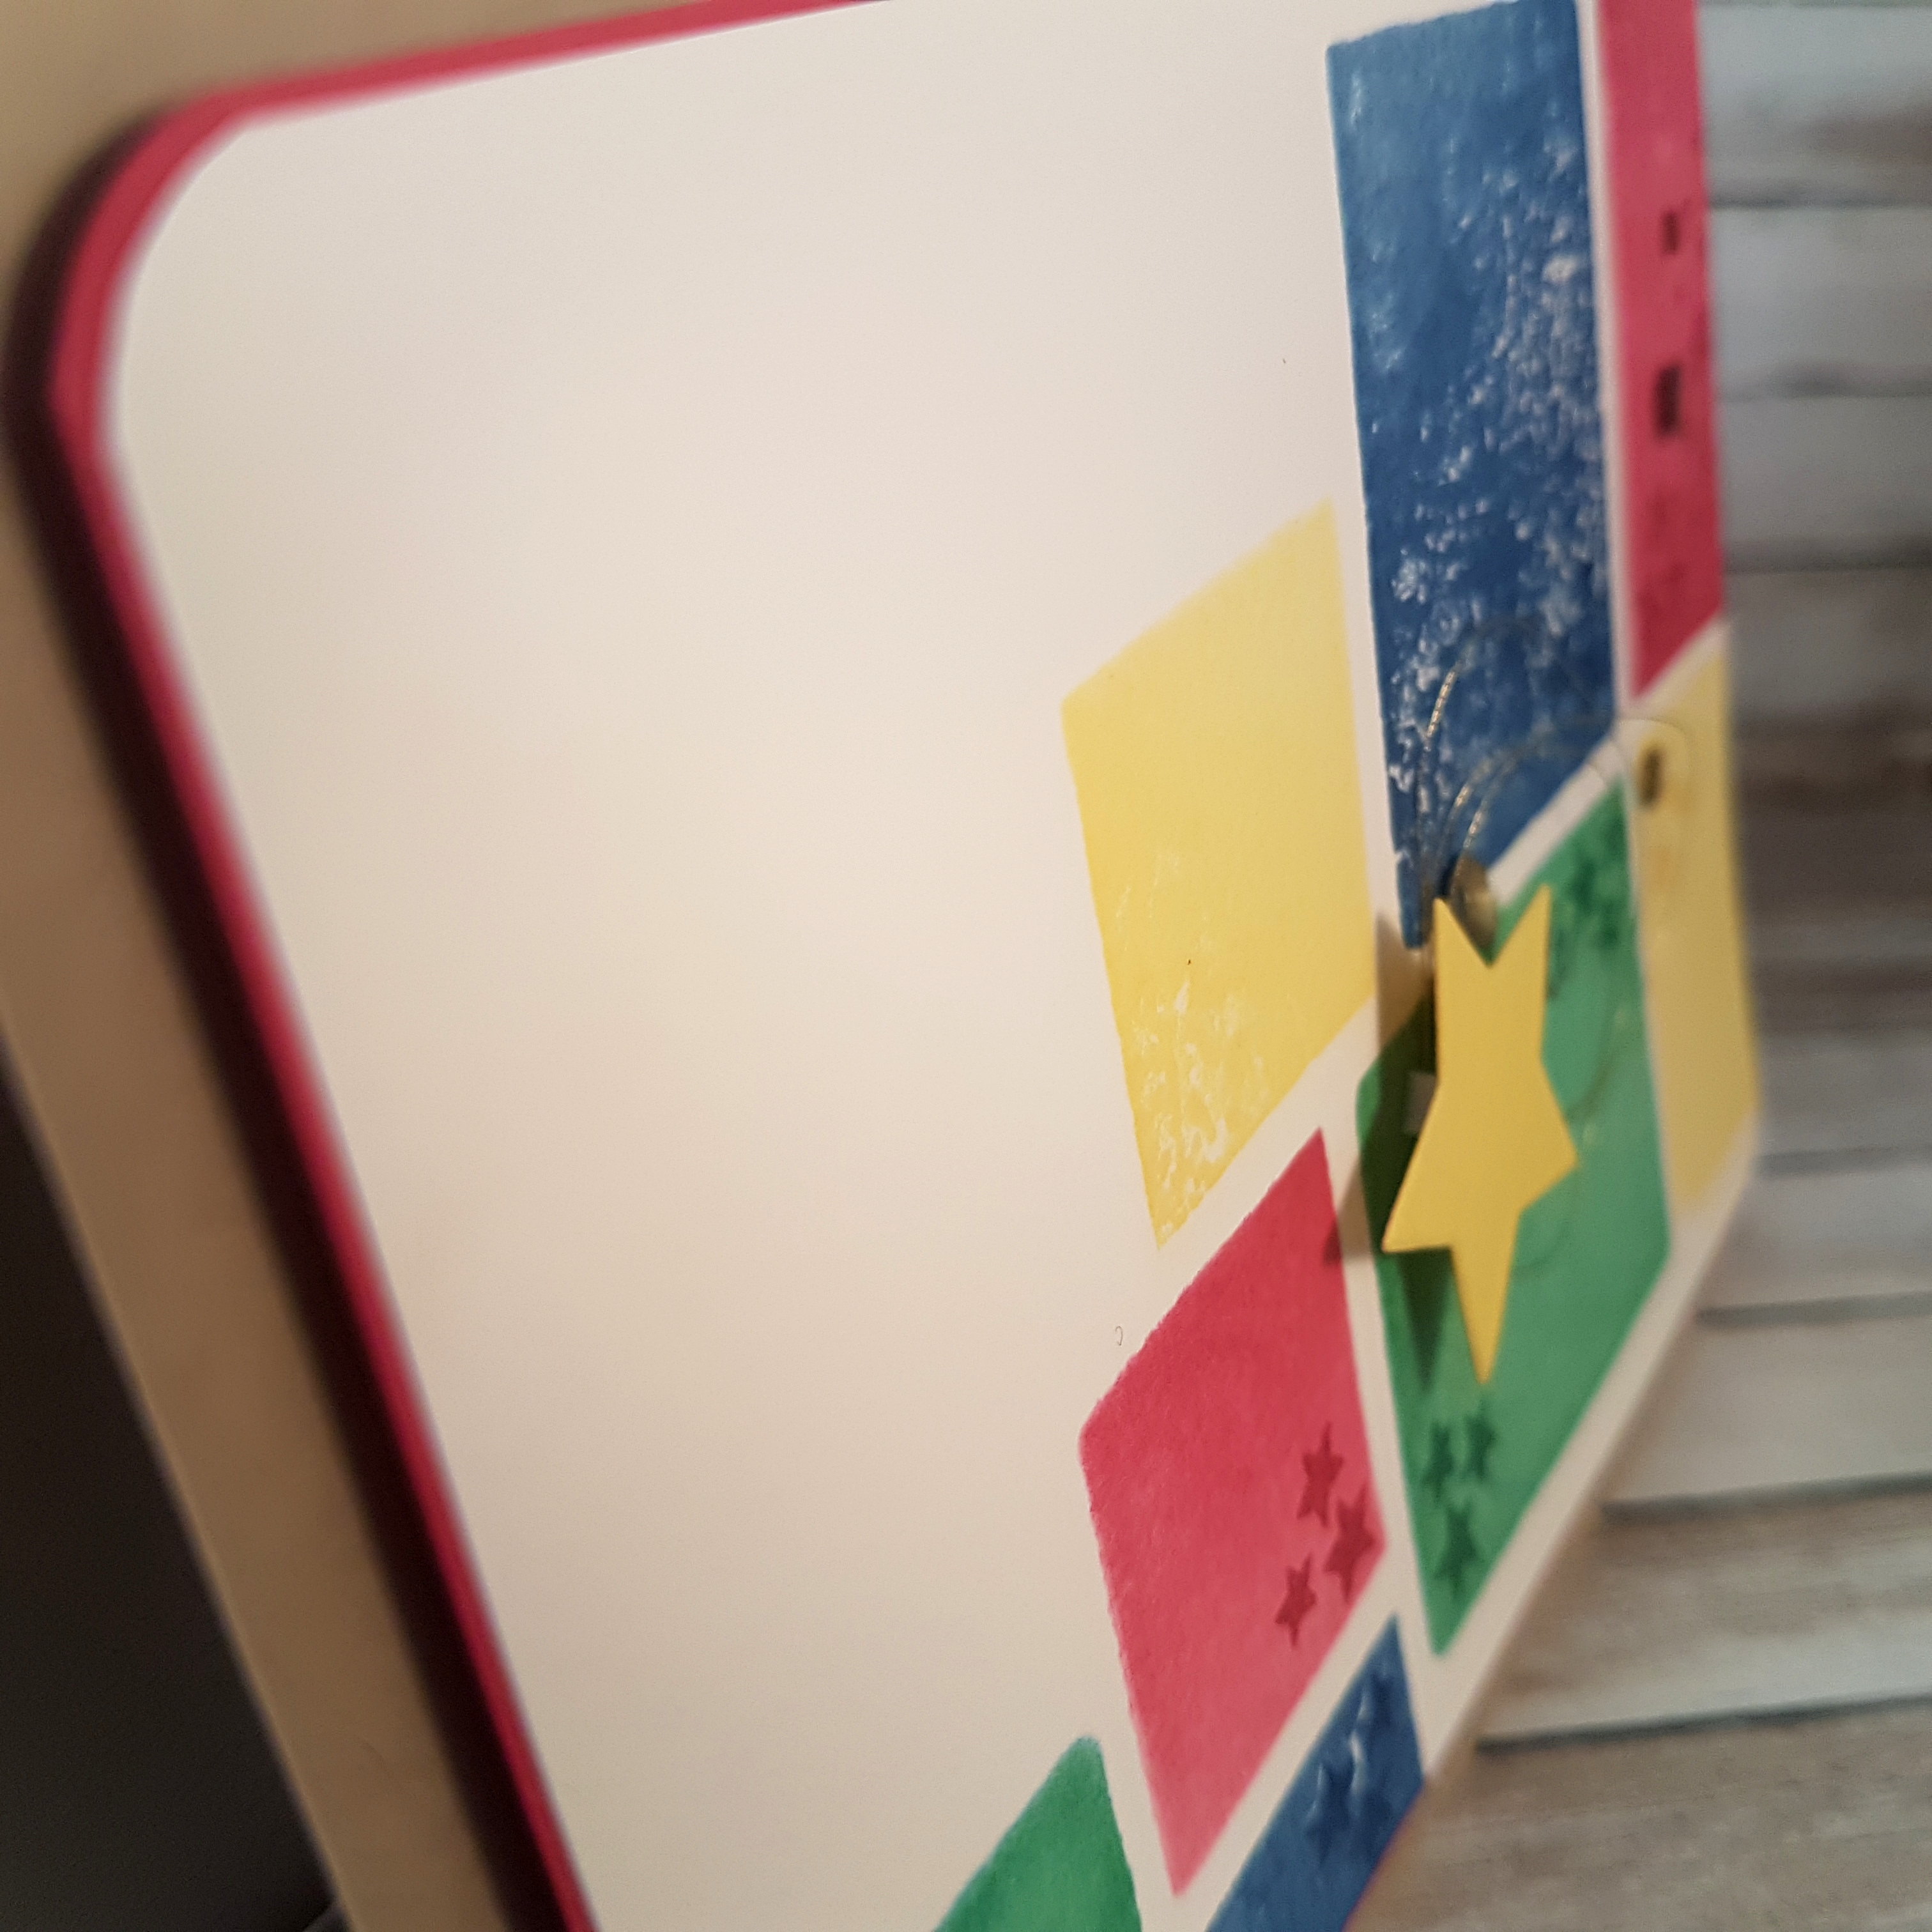
Once I was happy with my stamping and the star elements, I used the Envelope Punch Board to punch the upper left and lower right corners with the corner rounder part of the punch board. I did the same on the Lovely Lipstick matte layer and the same again with the Crumb Cake card base. Dimensionals were used to adhere the Lovely Lipstick layer and give the card some pop.
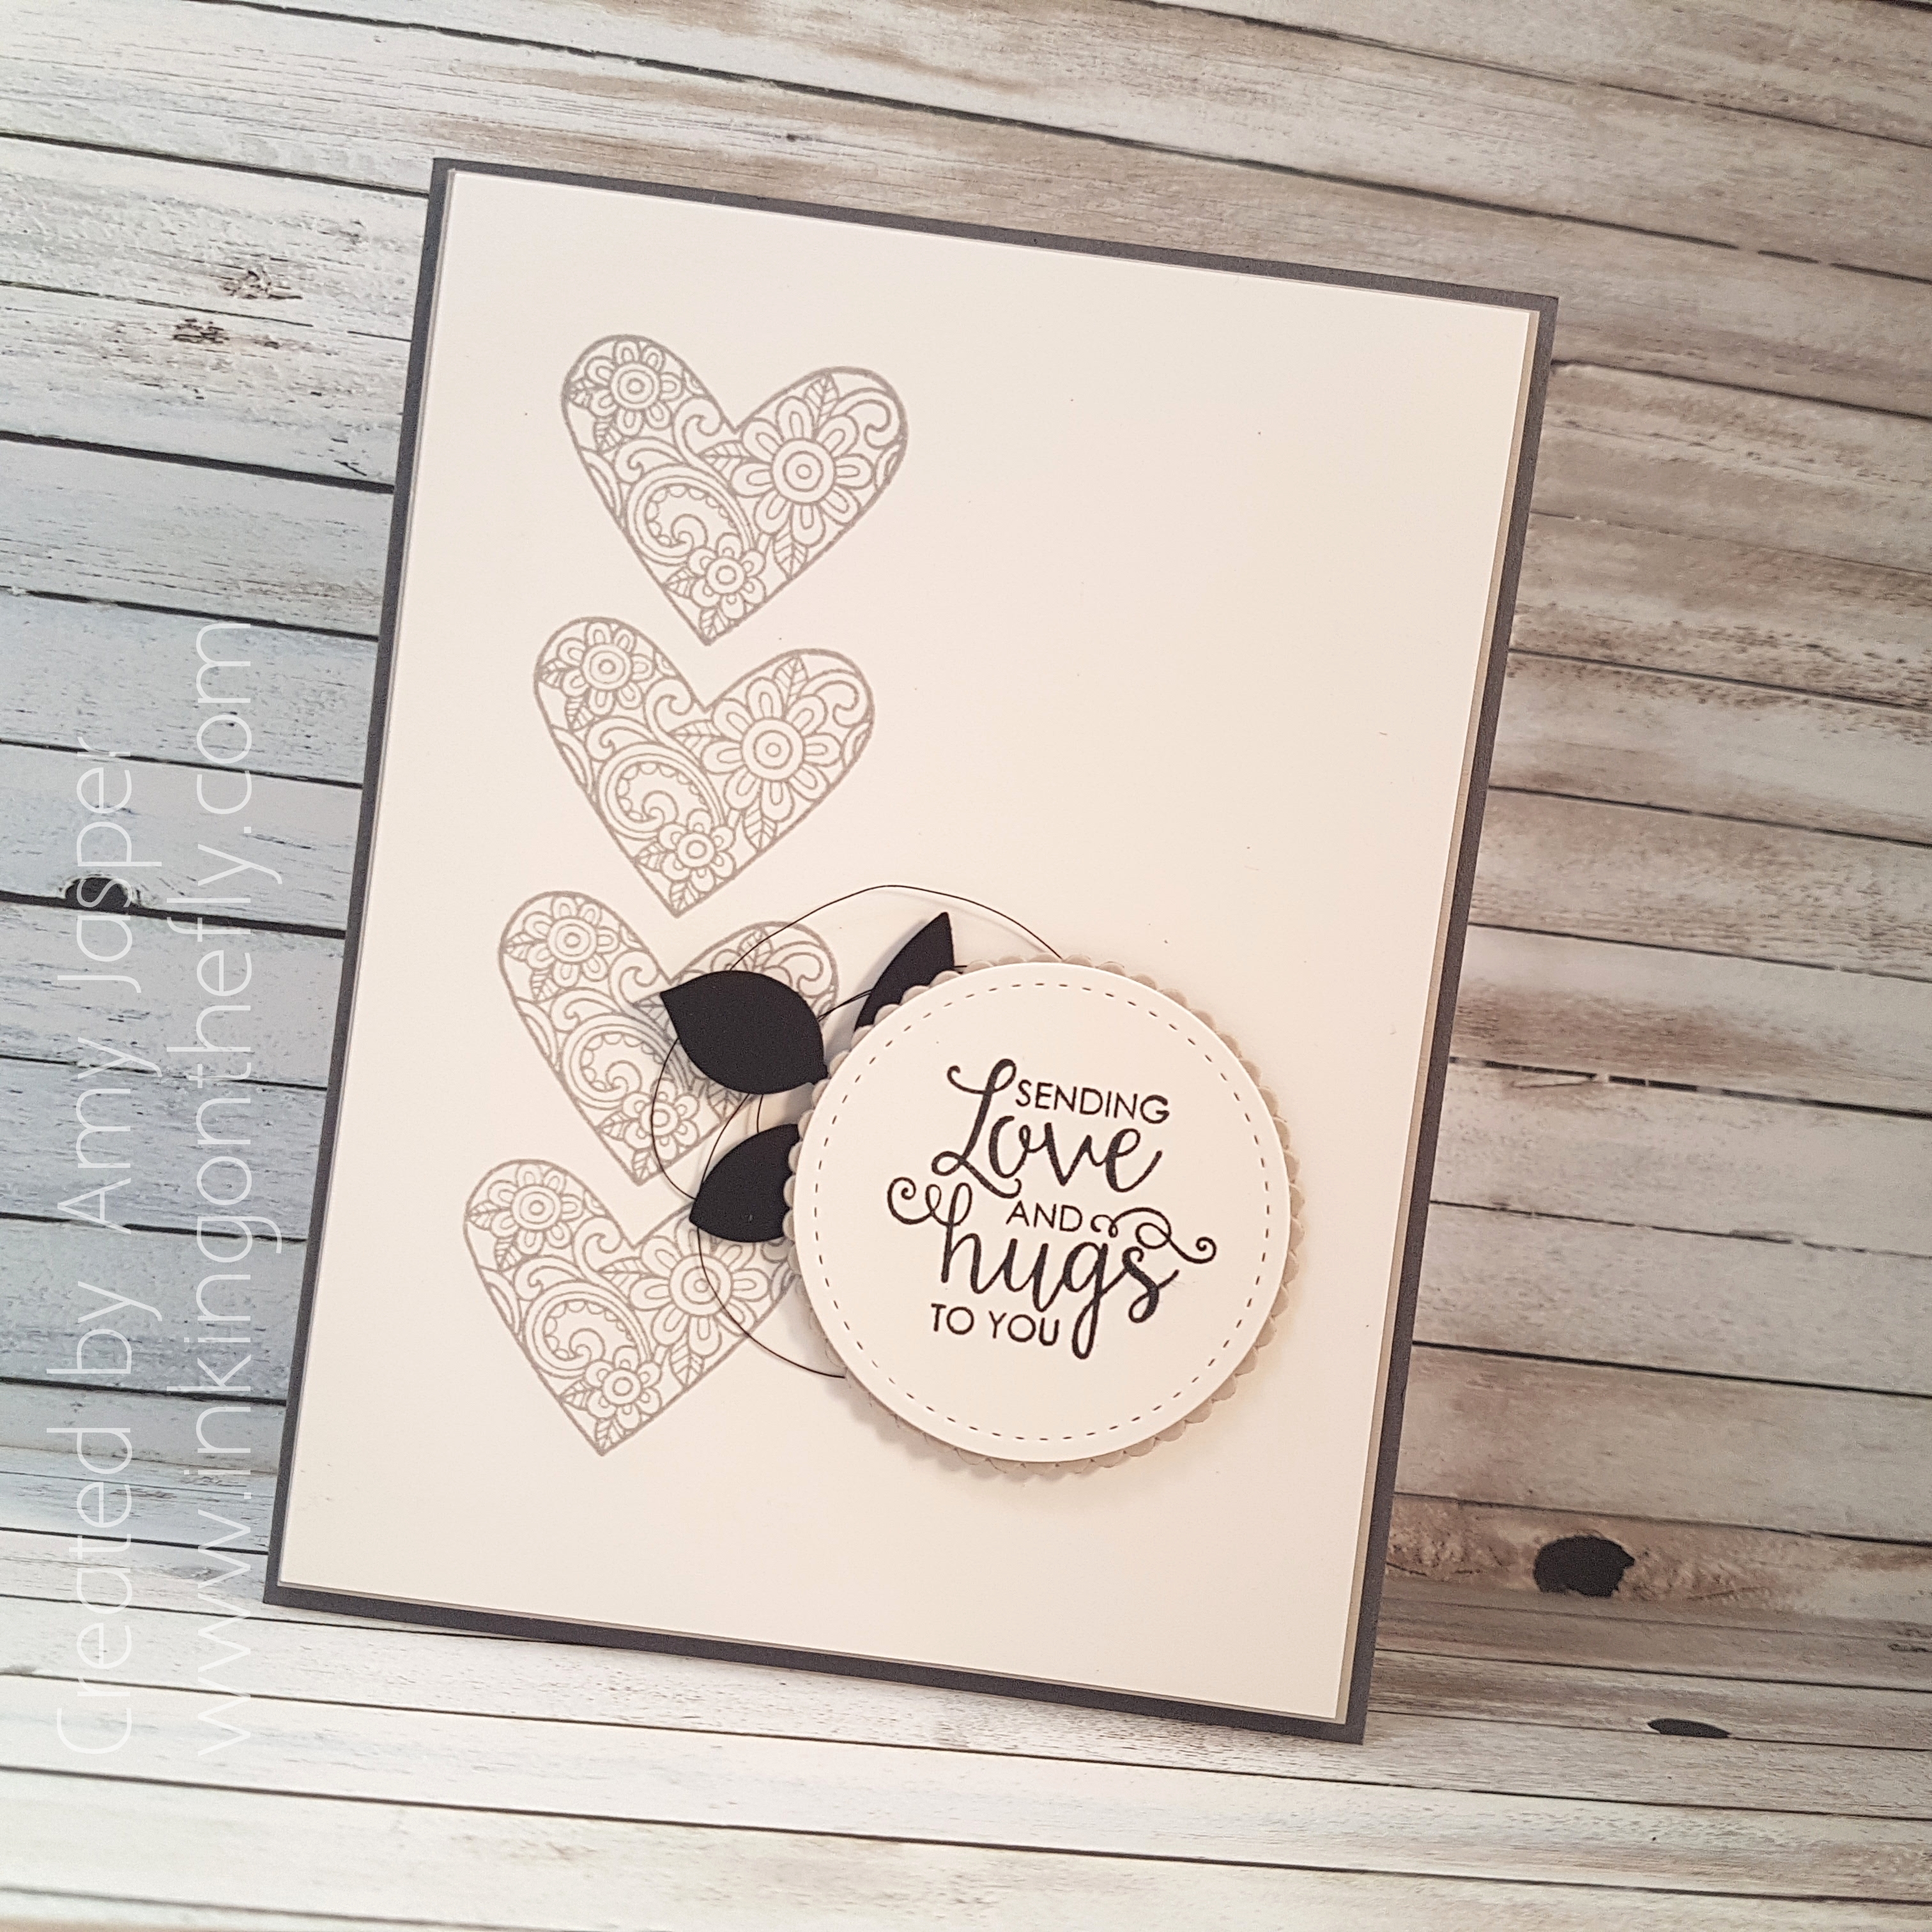
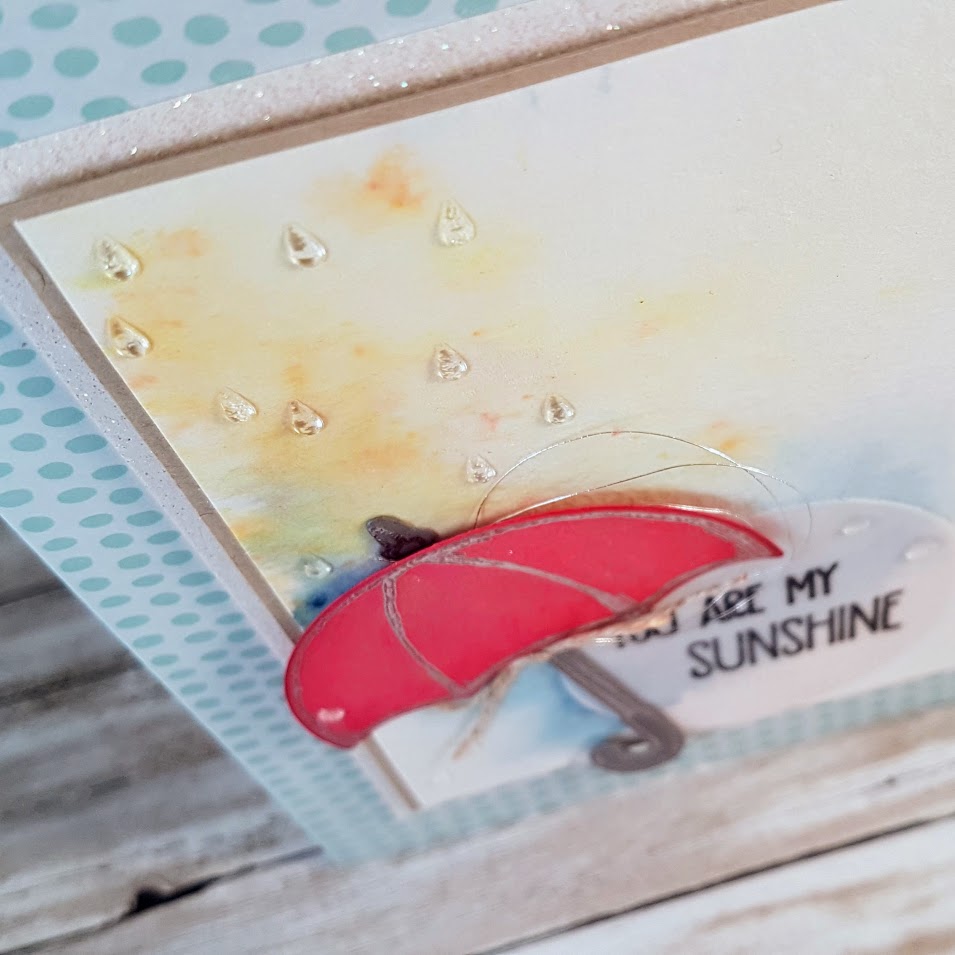
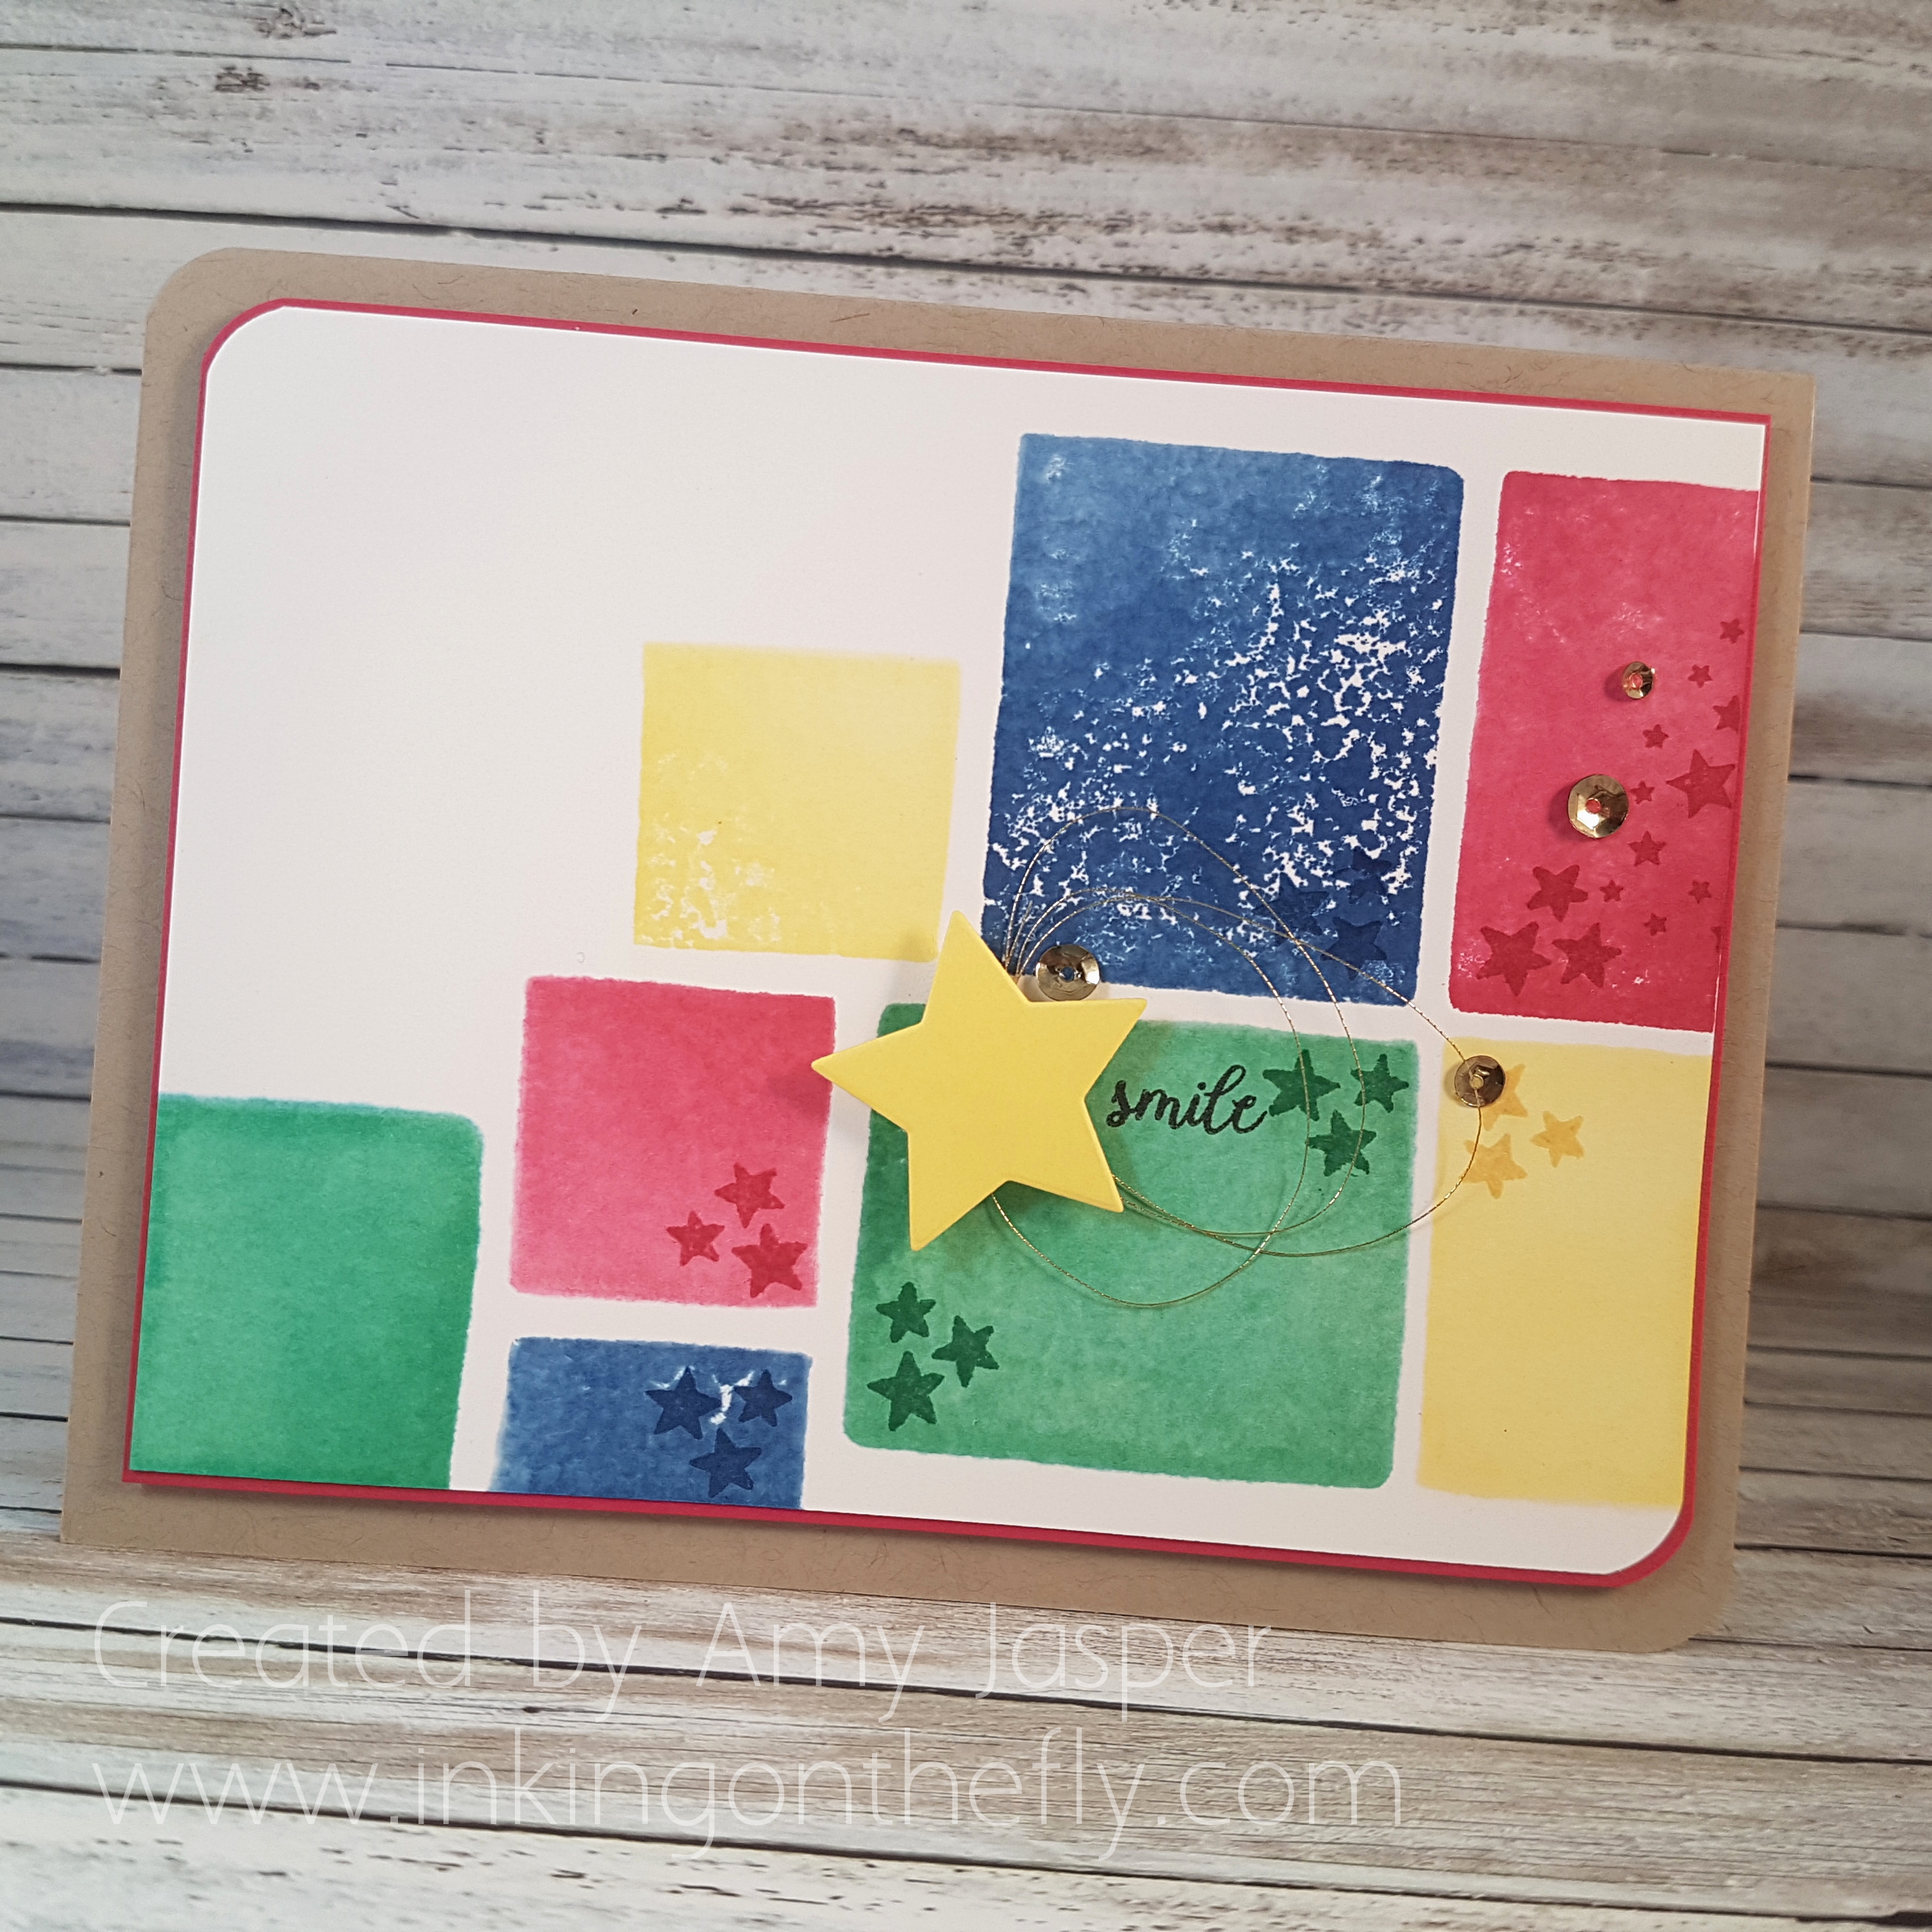
The final touch was to add the gold sequin from the Metallics Sequin Assortment pack. I used the Fine-tipped Glue Pen to adhere these to the card front.

If you want to order these ink colours and you are in Canada, you can order them from me through my online store. Just find the SHOP button on my website and it will take you to my online store. These cheerful ink colours are available on the Share What You Love link on the left side of the online store page. The coordinating cardstock and sooo many other amazing new products will be available June 1st! Whoohoo!!

Casual Grey

Grey isn’t just for old ladies and sweat pants anymore.

Grey has become one of my favourite colours to wear because it’s not as harsh as black (I look terrible in black!!) and it goes with almost anything. It has also become a very common colour for home decor – there are a lot of grey walls out there!

Grey can be elegant and classy, but I don’t think I have seen many fancy evening dresses in grey. I think of grey as a cozy, casual colour. It is a colour of river rocks, misty skies, and foggy roadways. Casual grey is a comfort colour for me – in the same way that mac and cheese for some people is a comfort food.

Today’s card is all about grey – shades of grey!

(good grief, NOT the movie!! *shudder* LOL!).We haven’t had a speed challenge for a while. I LOVE the speed challenges because they really push me to work fast and keep it simple. I don’t always love how my cards turn out, but I ALWAYS find inspiration. It’s as though the pressure to complete a card is just the right catalyst to get my creativity to flow.

I did this card in 8:28 minutes! It was a good thing, too, because when I started making it, I had 10 minutes before I had to leave my house to pick up my daughter at school. This is another reason that I love speed challenges – I can get ‘er done!!!Friends, I have a terrible time photographing my white cards lately. The white never looks right AND it just looks worse the more I fiddle with it in my photo editing program. I think I need to consider trying some different light bulbs for my light box.

I started with the heart stamp from the Ribbon of Courage Stamp set and used my Stamparatus to stamp it multiple times in a row on my Whisper White cardstock with Smoky Slate Ink.

(I am so excited for you all to be able to purchase this awesome tool in June! It is “da bomb!”)

The sentiment from the same stamp set was stamped on Whisper White cardstock using Tuxedo Black Momento ink. I die cut it using one of the circles from the Stitched Shapes Framelits. That is layered over top of a Sahara Sand (we would categorize this as “greige”, I believe) scallop circle from the Layering Circle Framelits Dies.Behind the circle are the leaves made from Basic Black cardstock punched with the Leaf Punch and adhered to the back of the circle. I attached a triple loop of the Basic Black Metallic Thread to the back of the circle/leaf combo using Stampin’ Dimensionals, then attached the entire ensemble to the card front.

Behind the “hearty” Whisper White layer of of the card, you can see a thin matte of Sahara Sand cardstock over a Basic Grey card base.All of this classy, cozy, casual grey goodness in less than 10 minutes!! 8 minutes and 28 seconds, people!! I take hours to do some cards – literally HOURS!! It is quite an accomplishment to design a card in such a short time for me.

And I actually LIKE this one!

So, now it’s your turn. I challenge YOU! You can think it through, gather your supplies (no precutting allowed!) and set your timer for 10 minutes. Show us over at the As You See It Challenge blog what you come up with and get your creative mojo flowin’ in the process!!

When Skies are Grey

Do you get the February blues? I sure do!! The socked in weather in our valley makes everything feel grey all the time – even me. We’ve actually had a couple beautiful sunny days show up in the last couple weeks and they are GLORIOUS! The brilliant blue sky is such a crisp and stunning contrast to the white snow on the ground. I love how the snow glistens when the sun shines, like someone scattered diamonds all over the ground.

Most of the time, though, we don’t have sun and I crave its warmth and bright happiness in the normally dreary days of February. I guess my card today gives me a little hope for some sunshine because when the weather isn’t taking care of me like I wish it would, I have my family, my husband, my children, my friends, and my dog – they are my sunshine when skies are grey.

Here’s the As You See It Challenge for today’s design:As soon as I looked at this sketch, my mind immediately saw raindrops falling. I love the Glitter and Clear Epoxy Shapes from Stampin’ Up! and knew they were going to be a part of my card design. Aren’t the raindrops divine!! I also love the look of the clear and glitter circles – like water droplets or dew drops. Can you imagine them on a flower petal or a leaf image? LOVE!

I enjoyed playing with the Brusho Watercolor Crystals for the background on the Watercolour Paper. I used Prussian Blue, Yellow, and a wee bit of the Gamboge. I wanted it to look splashy and sunshiny at the same time.Do you recognize the card base? I really like the versatility of the Tutti-Frutti Cards and Envelopes that you can get for free during Sale-a-bration. They have helped me tremendously in my creations by giving me instant designing superpowers! You can see that I layered some Dazzling Diamonds Glimmer paper and Crumb Cake cardstock underneath the Watercolour Paper,

The umbrella image from the Weather Together stamp set was stamped in Versamark on Melon Mambo cardstock and Basic Gray cardstock, then embossed with the Silver Embossing Powder before getting die cut with the coordinating Umbrella Weather Framelits Dies. I sponged a little bit of Melon Mambo ink around the edges of the umbrella canopy and added Clear Wink of Stella for a greater sense of rain shimmering in the sunshine. The sentiment from the Sunshine Sayings Stamp Set was stamped on the Vellum cardstock with Archival Black ink, then embossed with Clear Embossing Powder to give it some pop! I used a circle die from the Stitched Shapes Framelits to cut the vellum circle and attached it to the card front with tiny dabs of Multipurpose Liquid Glue under the letters and the epoxy dots.The final touches were the Linen Thread bow, which I attached using a rolled up glue dot, and the subtle loop of Silver Metallic Thread (oh, how I love that thread!!).

What gives you hope when you are surrounded by grey skies?