Stamparatus

Makes you feel good to be frugal

Remember my alternative projects for the June Paper Pumpkin Kit? One of those alternatives was made using strips of the various patterned and coloured paper that came in the kit. After making that card, I thought I’d create a third project, using the left-over paper-strip piece.

It so happens that every once in a while I create a project using left-overs or scraps. Whenever this is the case, I feel so good about myself, as though I conquered some big bad evil in the world! LOL! It feels like I should get to wear a little crown for the rest of the day!

Sadly, that’s probably a strong indicator that this is a rare occurrence and, in fact, leads me to realize that I should seek out more opportunities to be thrifty.

Making the card

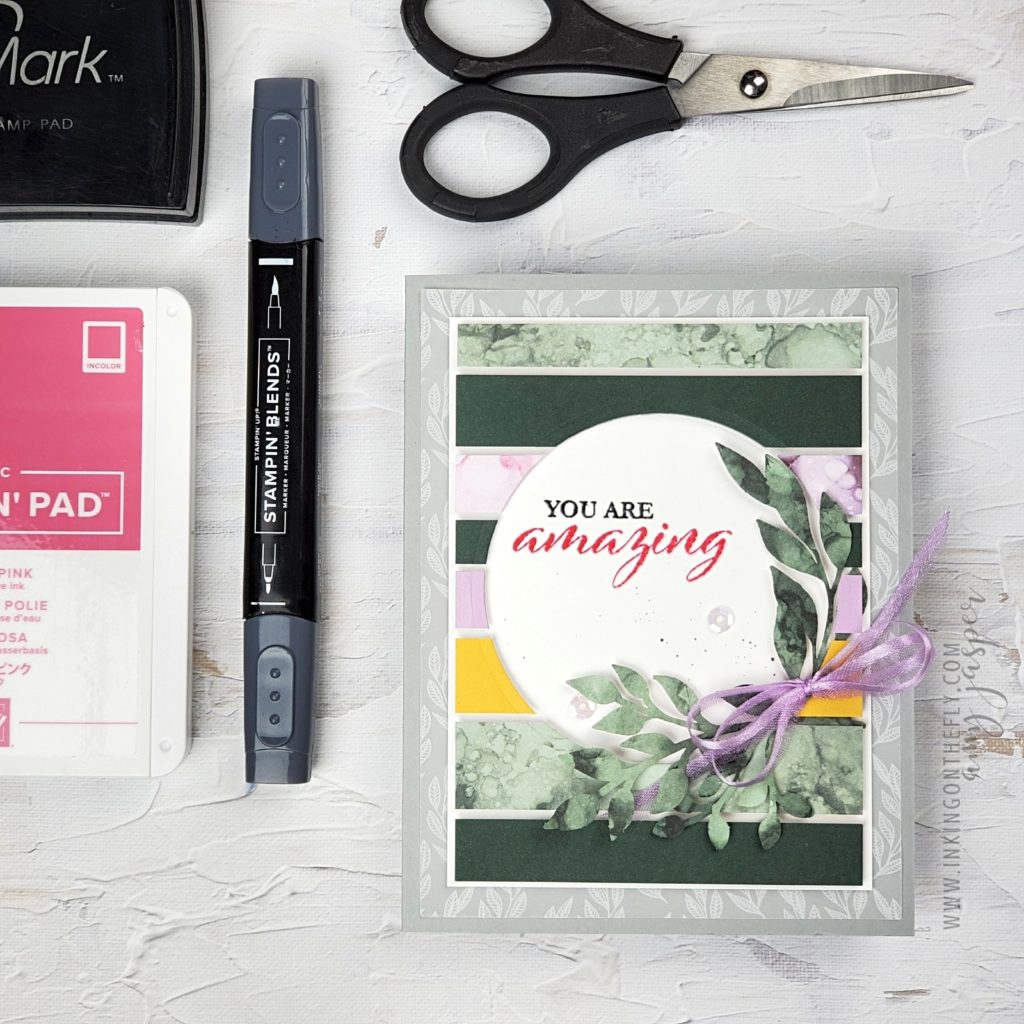
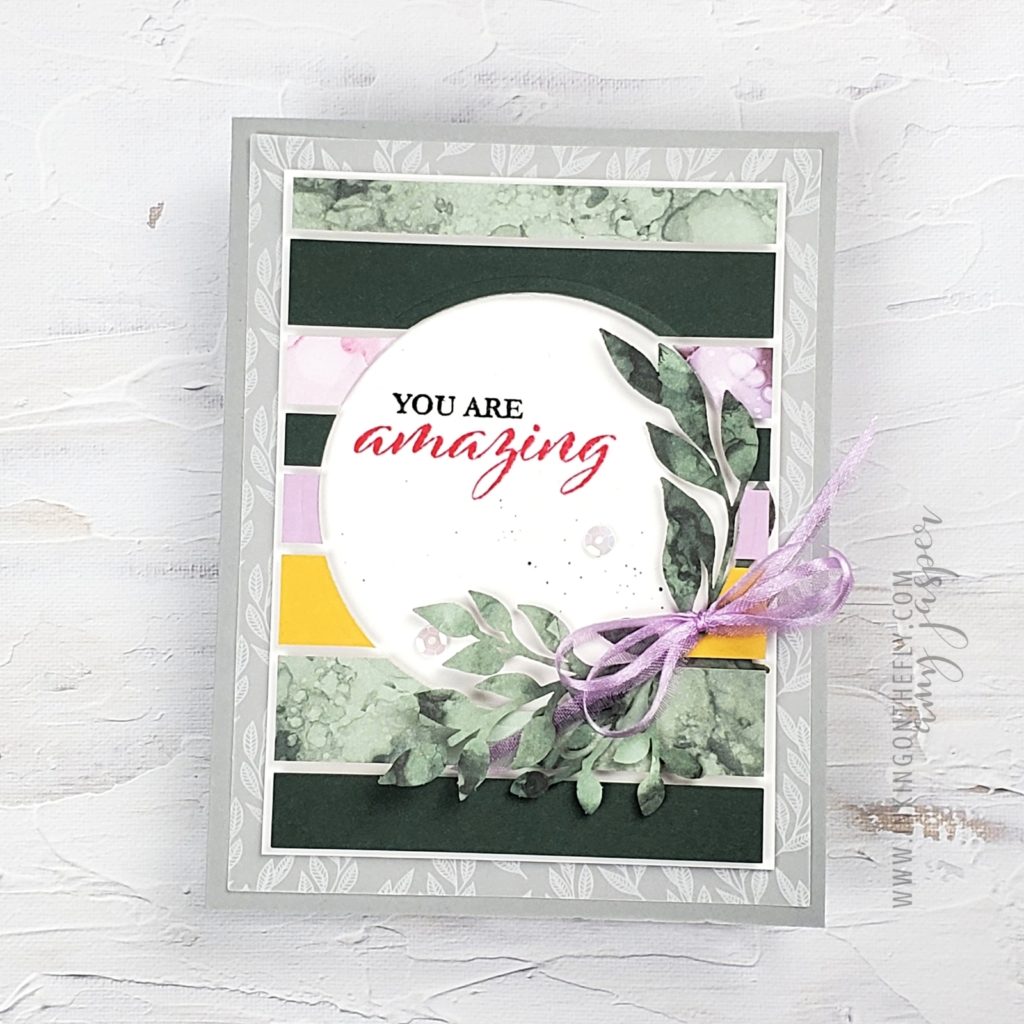
This Paper Pumpkin alternative project has multiple strips of paper adhered to a piece of Window Sheet (acetate). The stripey acetate was run through the Cut & Emboss Machine with one of the Layered Circle Dies to cut out the centre. I made my first card using the circle piece. You can see the information on that card by clicking HERE.

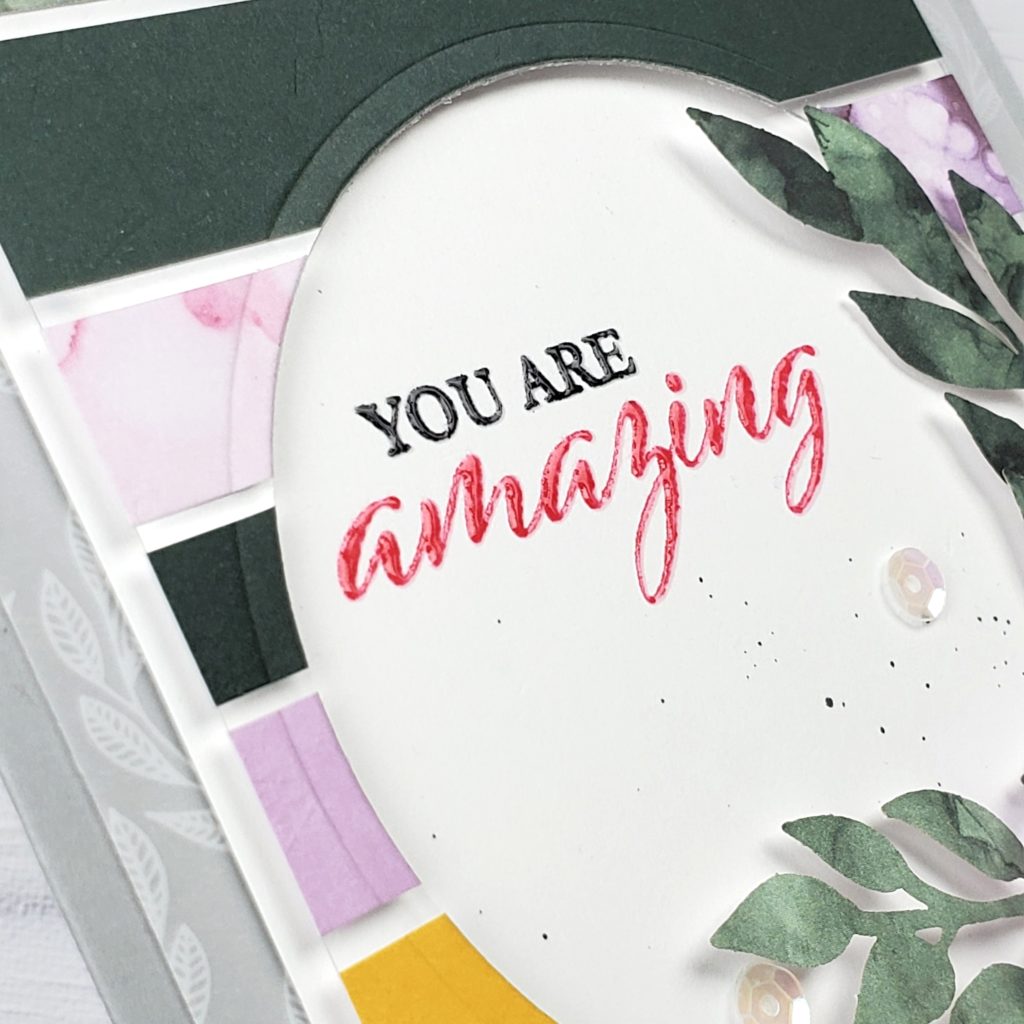
The sentiment from the Expressions in Color kit is stamped on Basic White cardstock. I used my Stamparatus so I could stamp the sentiment more than once.

Clear Embossing over stamped sentiment

Why do I want to stamp it more than once, you ask? Well, my crafty friends, there are a couple reasons: First, if it doesn’t stamp evenly, I can easily re-ink my stamp and go for it again. Second, I can clean my stamp with my Simply Shammy and use Versamark ink to stamp it again in the same spot, so I can use Clear Embossing Powder. This gives me a beautiful, glossy, coloured sentiment!

Using your Stamparatus also allows you to do a second layer of embossing powder to get an even better finish. After heat-setting your powder, place your paper back into position in the Stamparatus and ink it a second time with Versamark ink. Stamp again over your previous image (in exactly the same place, because of this amazing stamp position tool!). At this point, you’re ready to add your Clear Embossing Powder again and heat-set it for a super glossy finish! No pitting or vacant areas. Just amazing!

Basic Black Blends Marker was used to create a bit of spatter on the Basic White

The rest of the design is pretty simple.

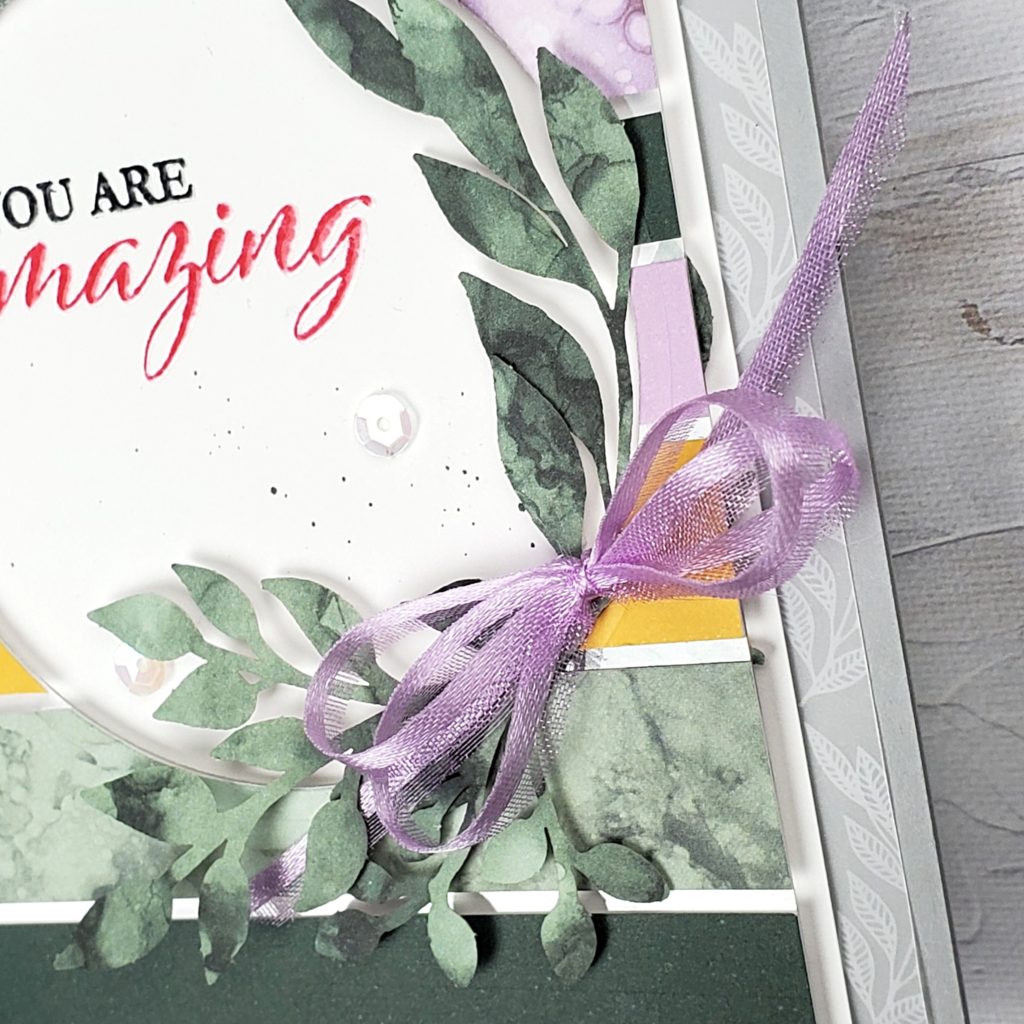
I layered the leaf patterned vellum from the kit over a Smoky Slate card base, following that with the Basic White stamped and spattered piece. The stripey acetate is adhered with Stampin’ Dimensionals to give it that cool floating paper-strips look.

Tucked in the lower right section of the circle, is a die-cut element (also from the June Paper Pumpkin kit) adorned with a delicate bow. This is a segment of Fresh Freesia Open Weave Ribbon that had been cut in half along its length before tying it into a double bow and adhering to the card with a Glue Dot.

Two adhesive-backed sequins give the final touch to this project.

How do you manage your paper scraps?

I don’t always use left-over pieces from cards that I’ve made. However, I do recycle the smaller scraps and I cut larger scraps to sizes so that I can use them more readily. Often, the remains of a card could be used with more intention, rather than being tossed aside and ending up in the recycle bin because of lack of imagination. Perhaps I could challenge myself to make a card with the scraps from the previous project every time? Then I could wear my do-good crown almost everyday! LOL!

(I guess I need to make myself a crown!)

If you have any good tips or tricks for managing your paper scraps and left-over card bits, please share your wisdom! I’m sure I’m not the only person who struggles with being frugal.
Adulting is Hard

We all know that adulting is hard and that there are a variety of ways to cope with the stress of our adult responsibilities. Reaching for cocktails, coffee, cookies and chocolate (or Haagen-Dazs ice cream) may not be the healthiest strategies, but all these things make the stress just a little bit easier to bear. Don’t you agree?

My card design for today’s post is inspired by the As You See It Challenge blog for which I am a designer. I have the privilege of sharing my take on each challenge when it’s first posted so that those who choose to participate in the challenges have some ideas and inspiration to get them started.

Speed challenges are one of my favourites!! They’re so much fun and such a great creative exercise for me. I can easily spend hours making a card as I try to make it “perfect”, but the speed challenge don’t afford me that luxury. This forces me to plan my design idea in my head, then create the card with lightening speed so that I can complete it in ten minutes or less. I can mount my stamps on blocks and pull out my cardstock, ink, ribbon, and dies that I want to use, but for this challenge, you can’t cut or stamp anything until you start the timer!

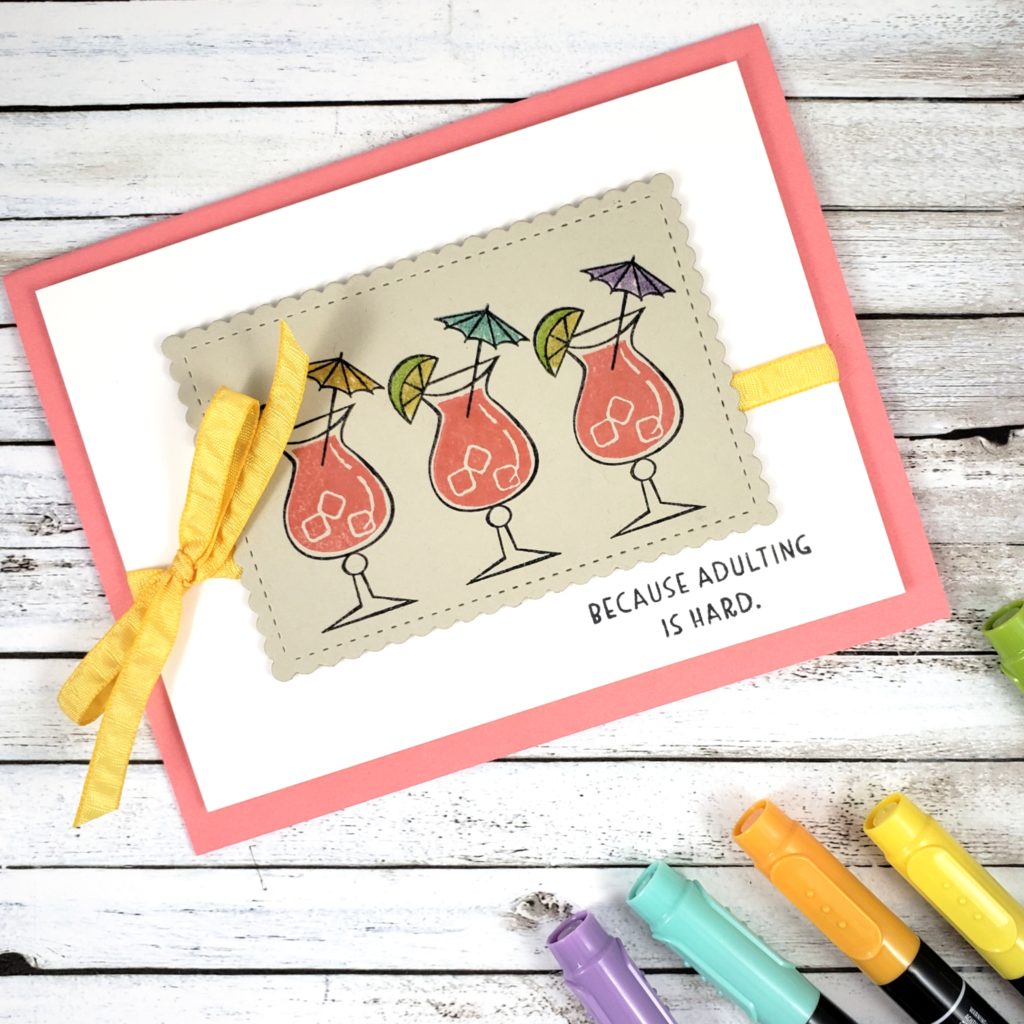
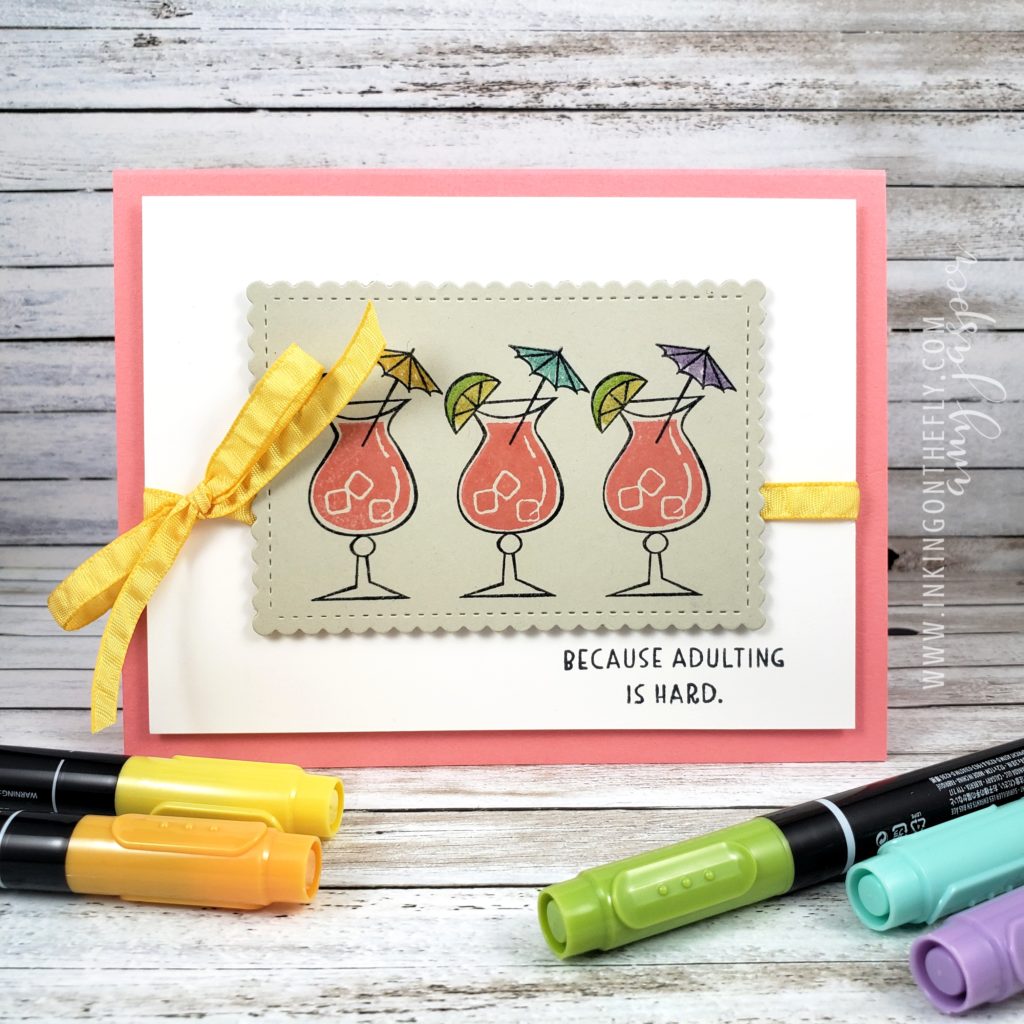
I made this card in 8 minutes and 23 seconds! I even had to tie the bow a few times before I got it how I wanted it!

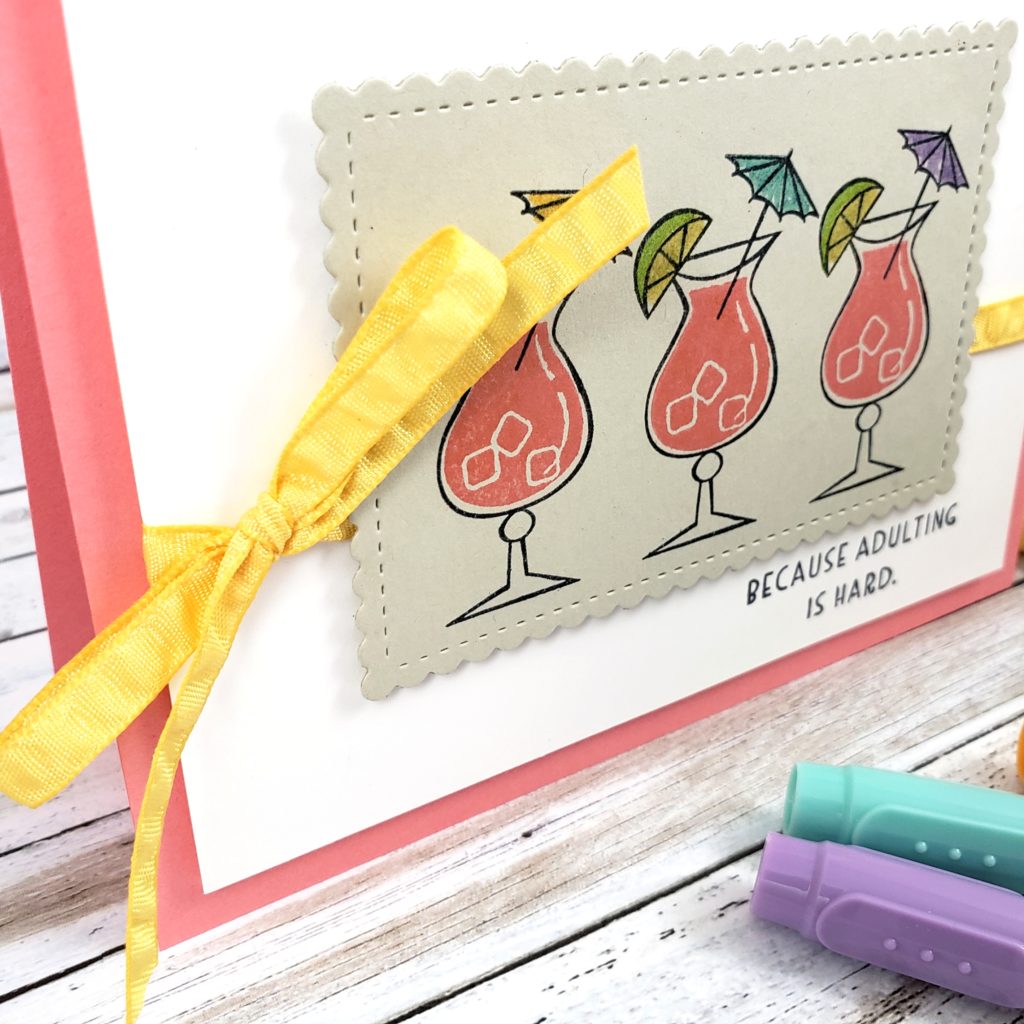
The theme for this speed challenge is “elements of three”. Do you think three cocktails is enough? LOL!

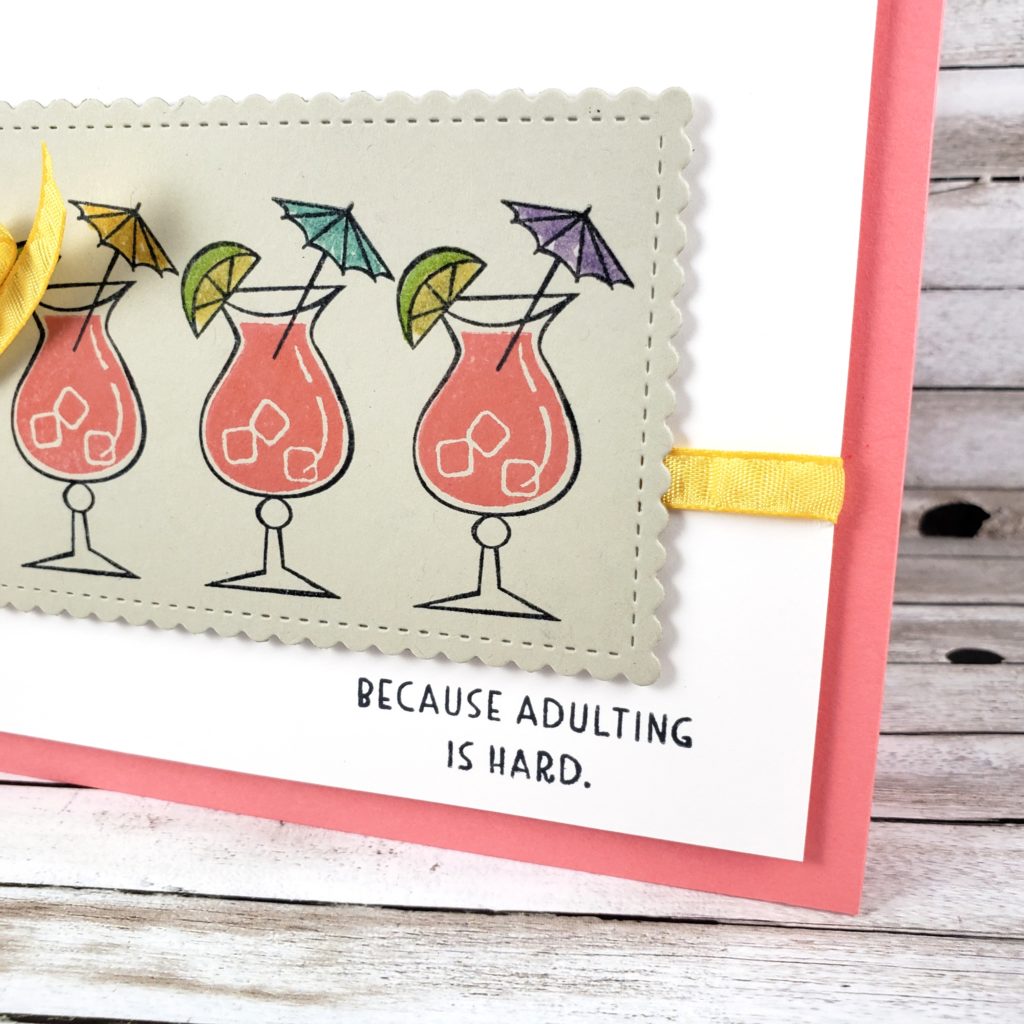
These stamps from the Nothing’s Better Than stamp set make me want to dust off my cocktail shaker and make some fancy drinks! This pink drink reminds me of the watermelon mojitos that I made a while back. So good!

The Stamparatus is what made it possible to make this card so fast. I used the hinge-technique to stamp the glass three times in a row with Tuxedo Black Momento Ink on the die cut Sahara Sand cardstock (cut with the Stitched So Sweetly dies), then did that same technique again to stamp the contents of the glass using Flirty Flamingo ink. I used my Stampin’ Write Markers to colour in the umbrellas and the limes.

I broke a few of my speed challenge rules when I made this card. I usually try to avoid die-cutting, colouring and tying bows because they can add a lot of time. I’m still kind of surprised at how quick this was to make!

You can get any of these supplies at my online store. Just click on the SHOP button on my page and it will take you where you need to go. Shop now and save in August with BONUS DAYS!

Give this challenge a try and don’t forget to share it with us over at the As You See It Challenge Blog. We love to see where you’re creativity takes you!

Casual Grey

Grey isn’t just for old ladies and sweat pants anymore.

Grey has become one of my favourite colours to wear because it’s not as harsh as black (I look terrible in black!!) and it goes with almost anything. It has also become a very common colour for home decor – there are a lot of grey walls out there!

Grey can be elegant and classy, but I don’t think I have seen many fancy evening dresses in grey. I think of grey as a cozy, casual colour. It is a colour of river rocks, misty skies, and foggy roadways. Casual grey is a comfort colour for me – in the same way that mac and cheese for some people is a comfort food.

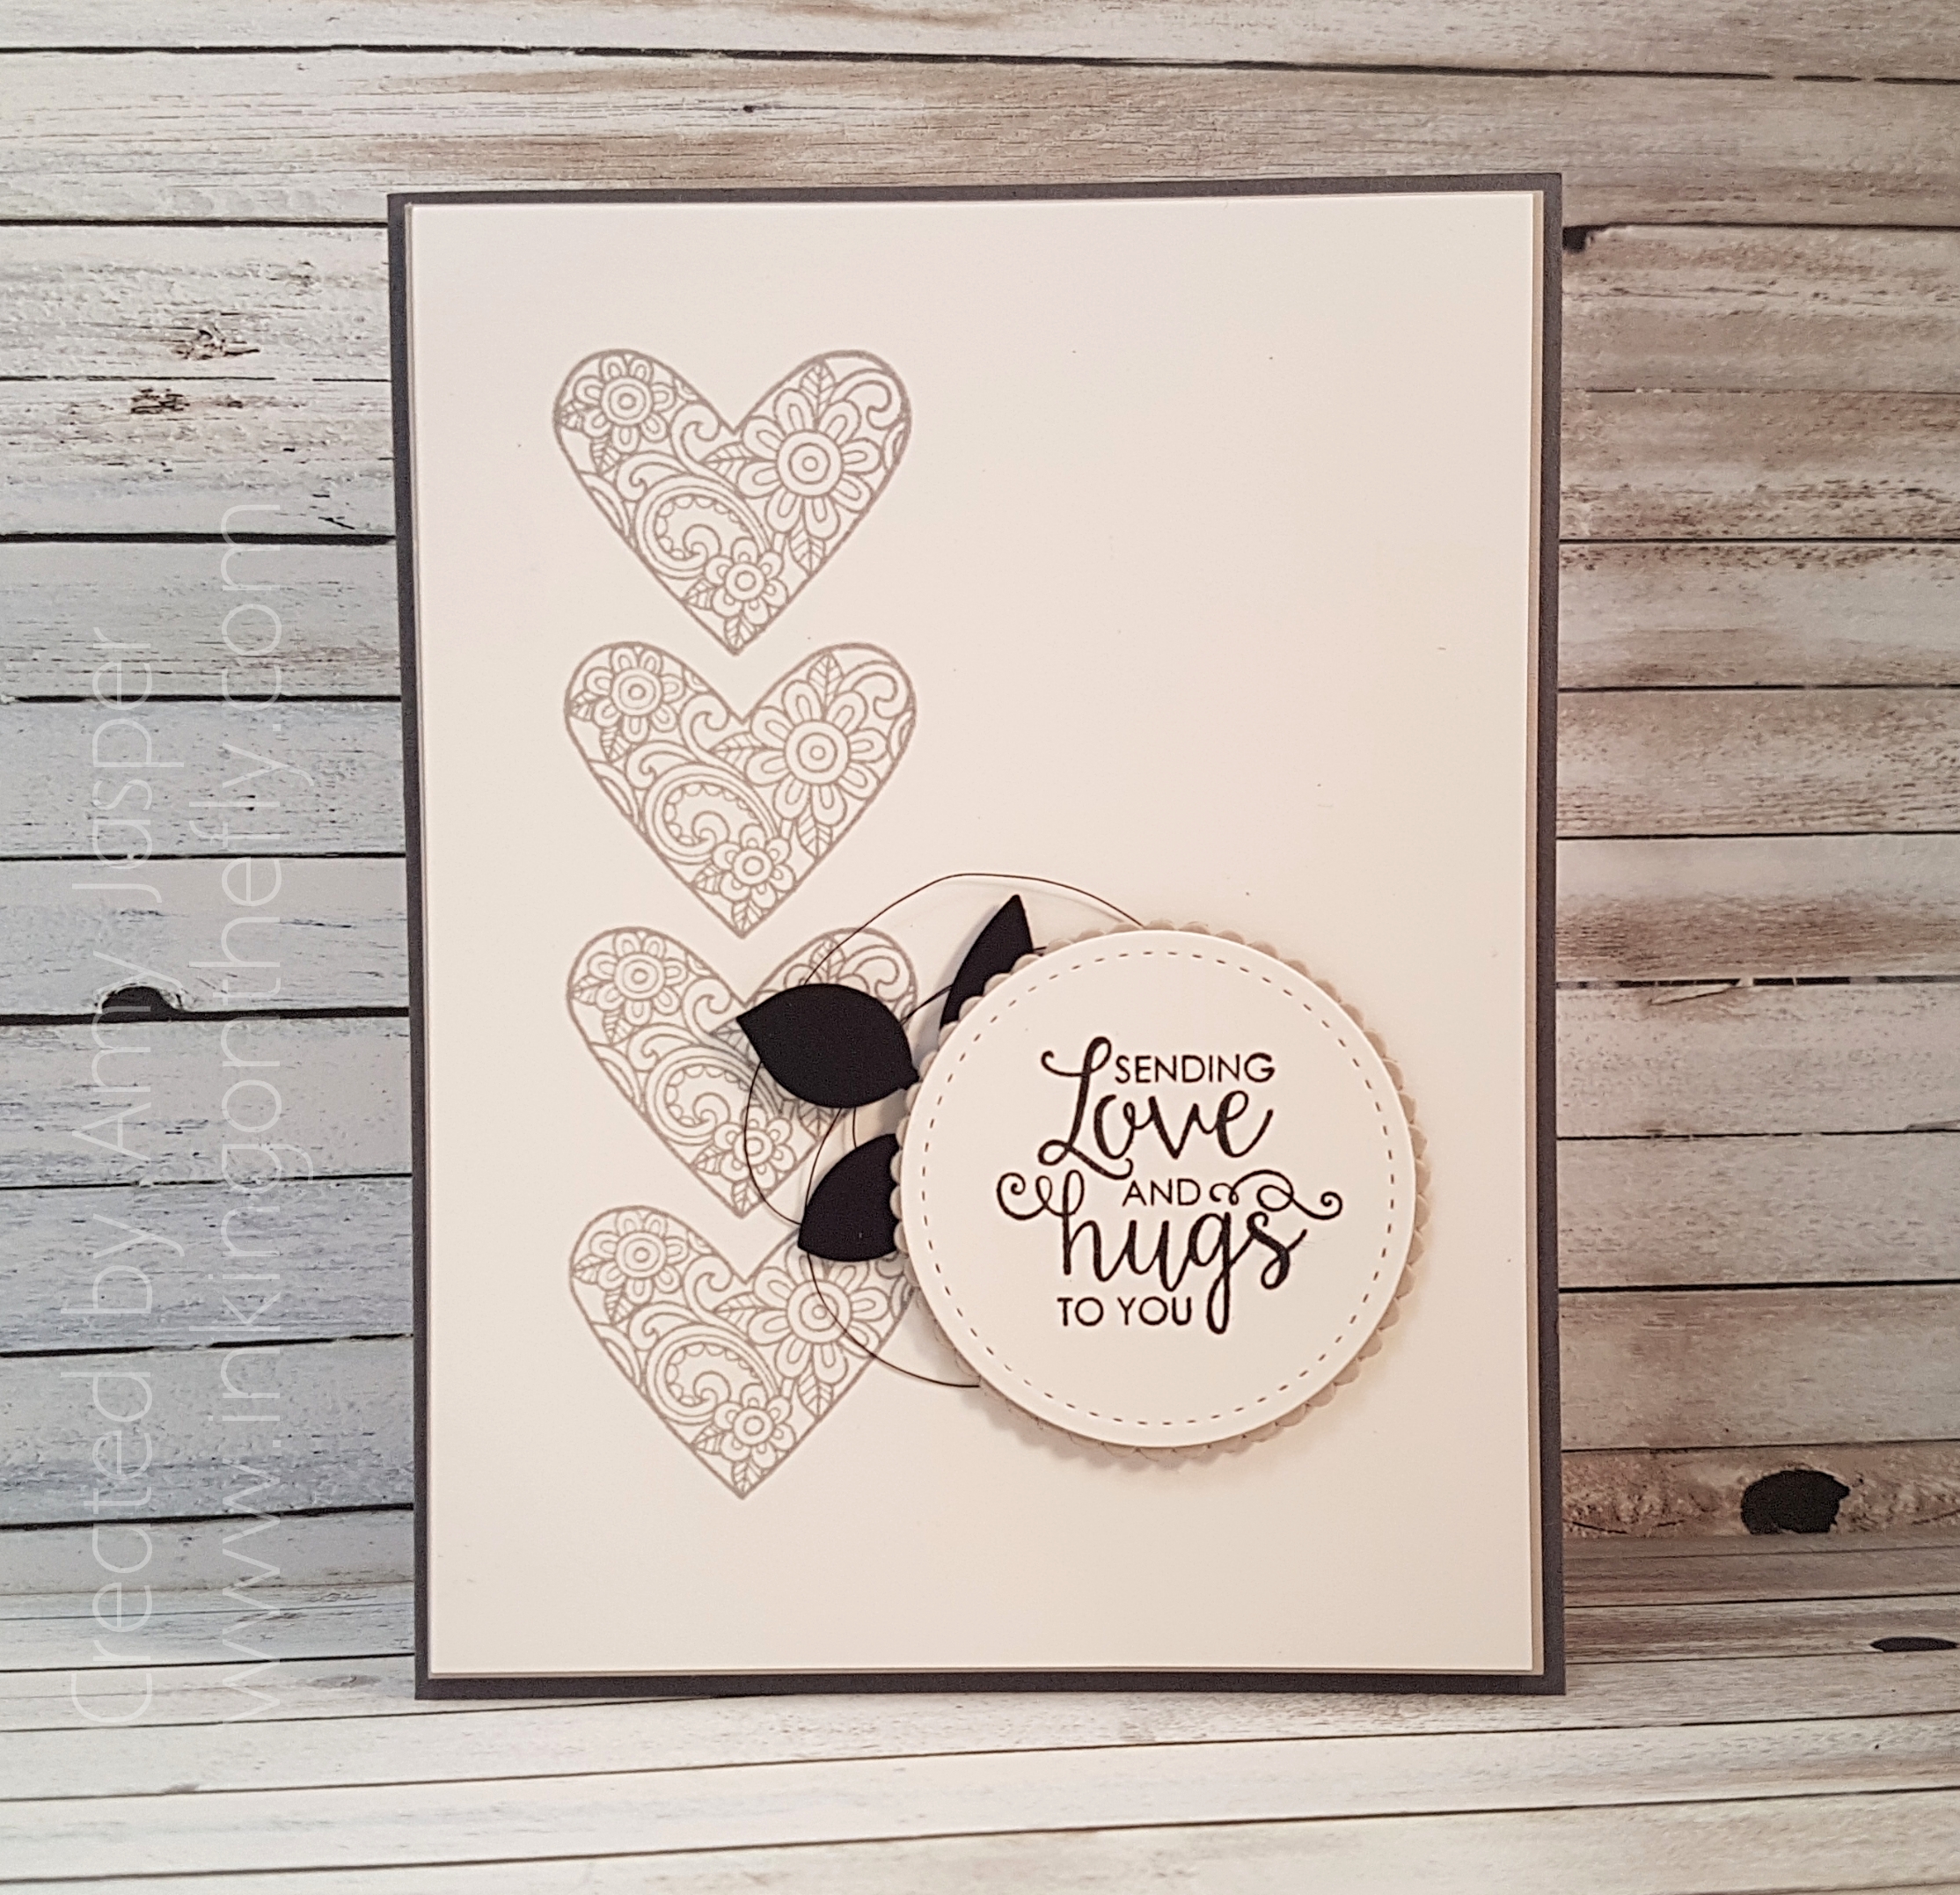
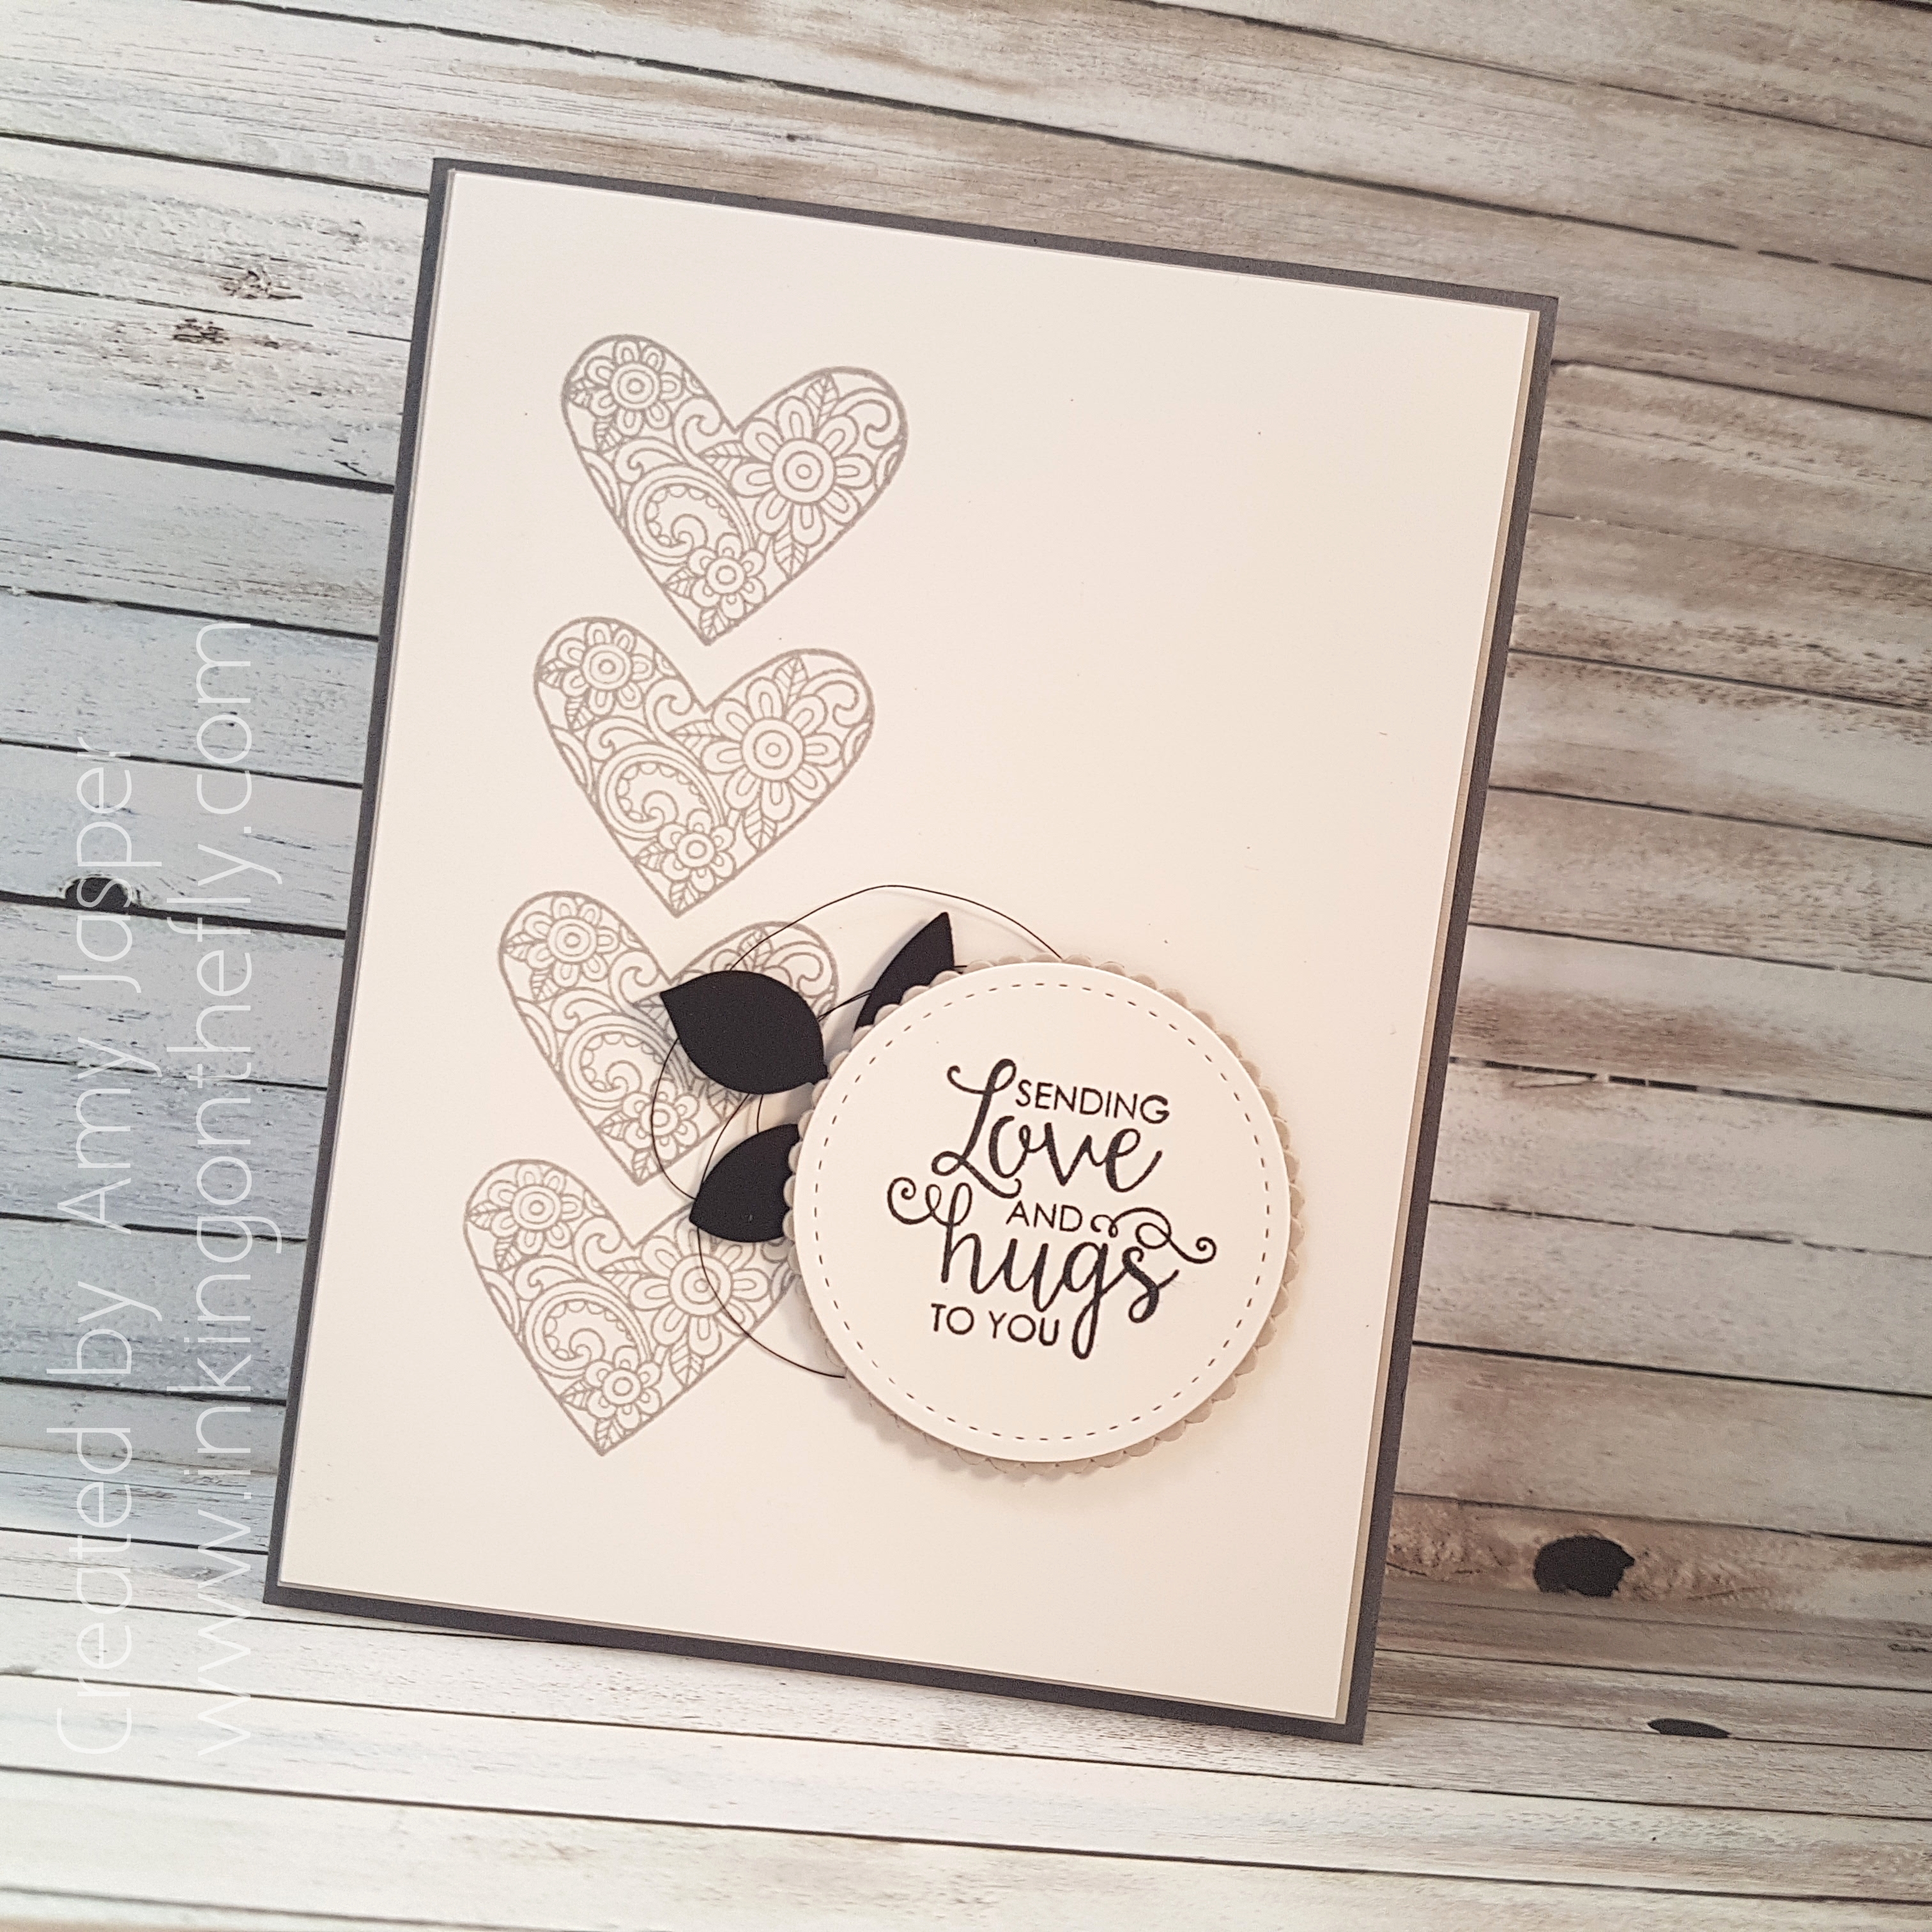
Today’s card is all about grey – shades of grey!

(good grief, NOT the movie!! *shudder* LOL!).We haven’t had a speed challenge for a while. I LOVE the speed challenges because they really push me to work fast and keep it simple. I don’t always love how my cards turn out, but I ALWAYS find inspiration. It’s as though the pressure to complete a card is just the right catalyst to get my creativity to flow.

I did this card in 8:28 minutes! It was a good thing, too, because when I started making it, I had 10 minutes before I had to leave my house to pick up my daughter at school. This is another reason that I love speed challenges – I can get ‘er done!!!Friends, I have a terrible time photographing my white cards lately. The white never looks right AND it just looks worse the more I fiddle with it in my photo editing program. I think I need to consider trying some different light bulbs for my light box.

I started with the heart stamp from the Ribbon of Courage Stamp set and used my Stamparatus to stamp it multiple times in a row on my Whisper White cardstock with Smoky Slate Ink.

(I am so excited for you all to be able to purchase this awesome tool in June! It is “da bomb!”)

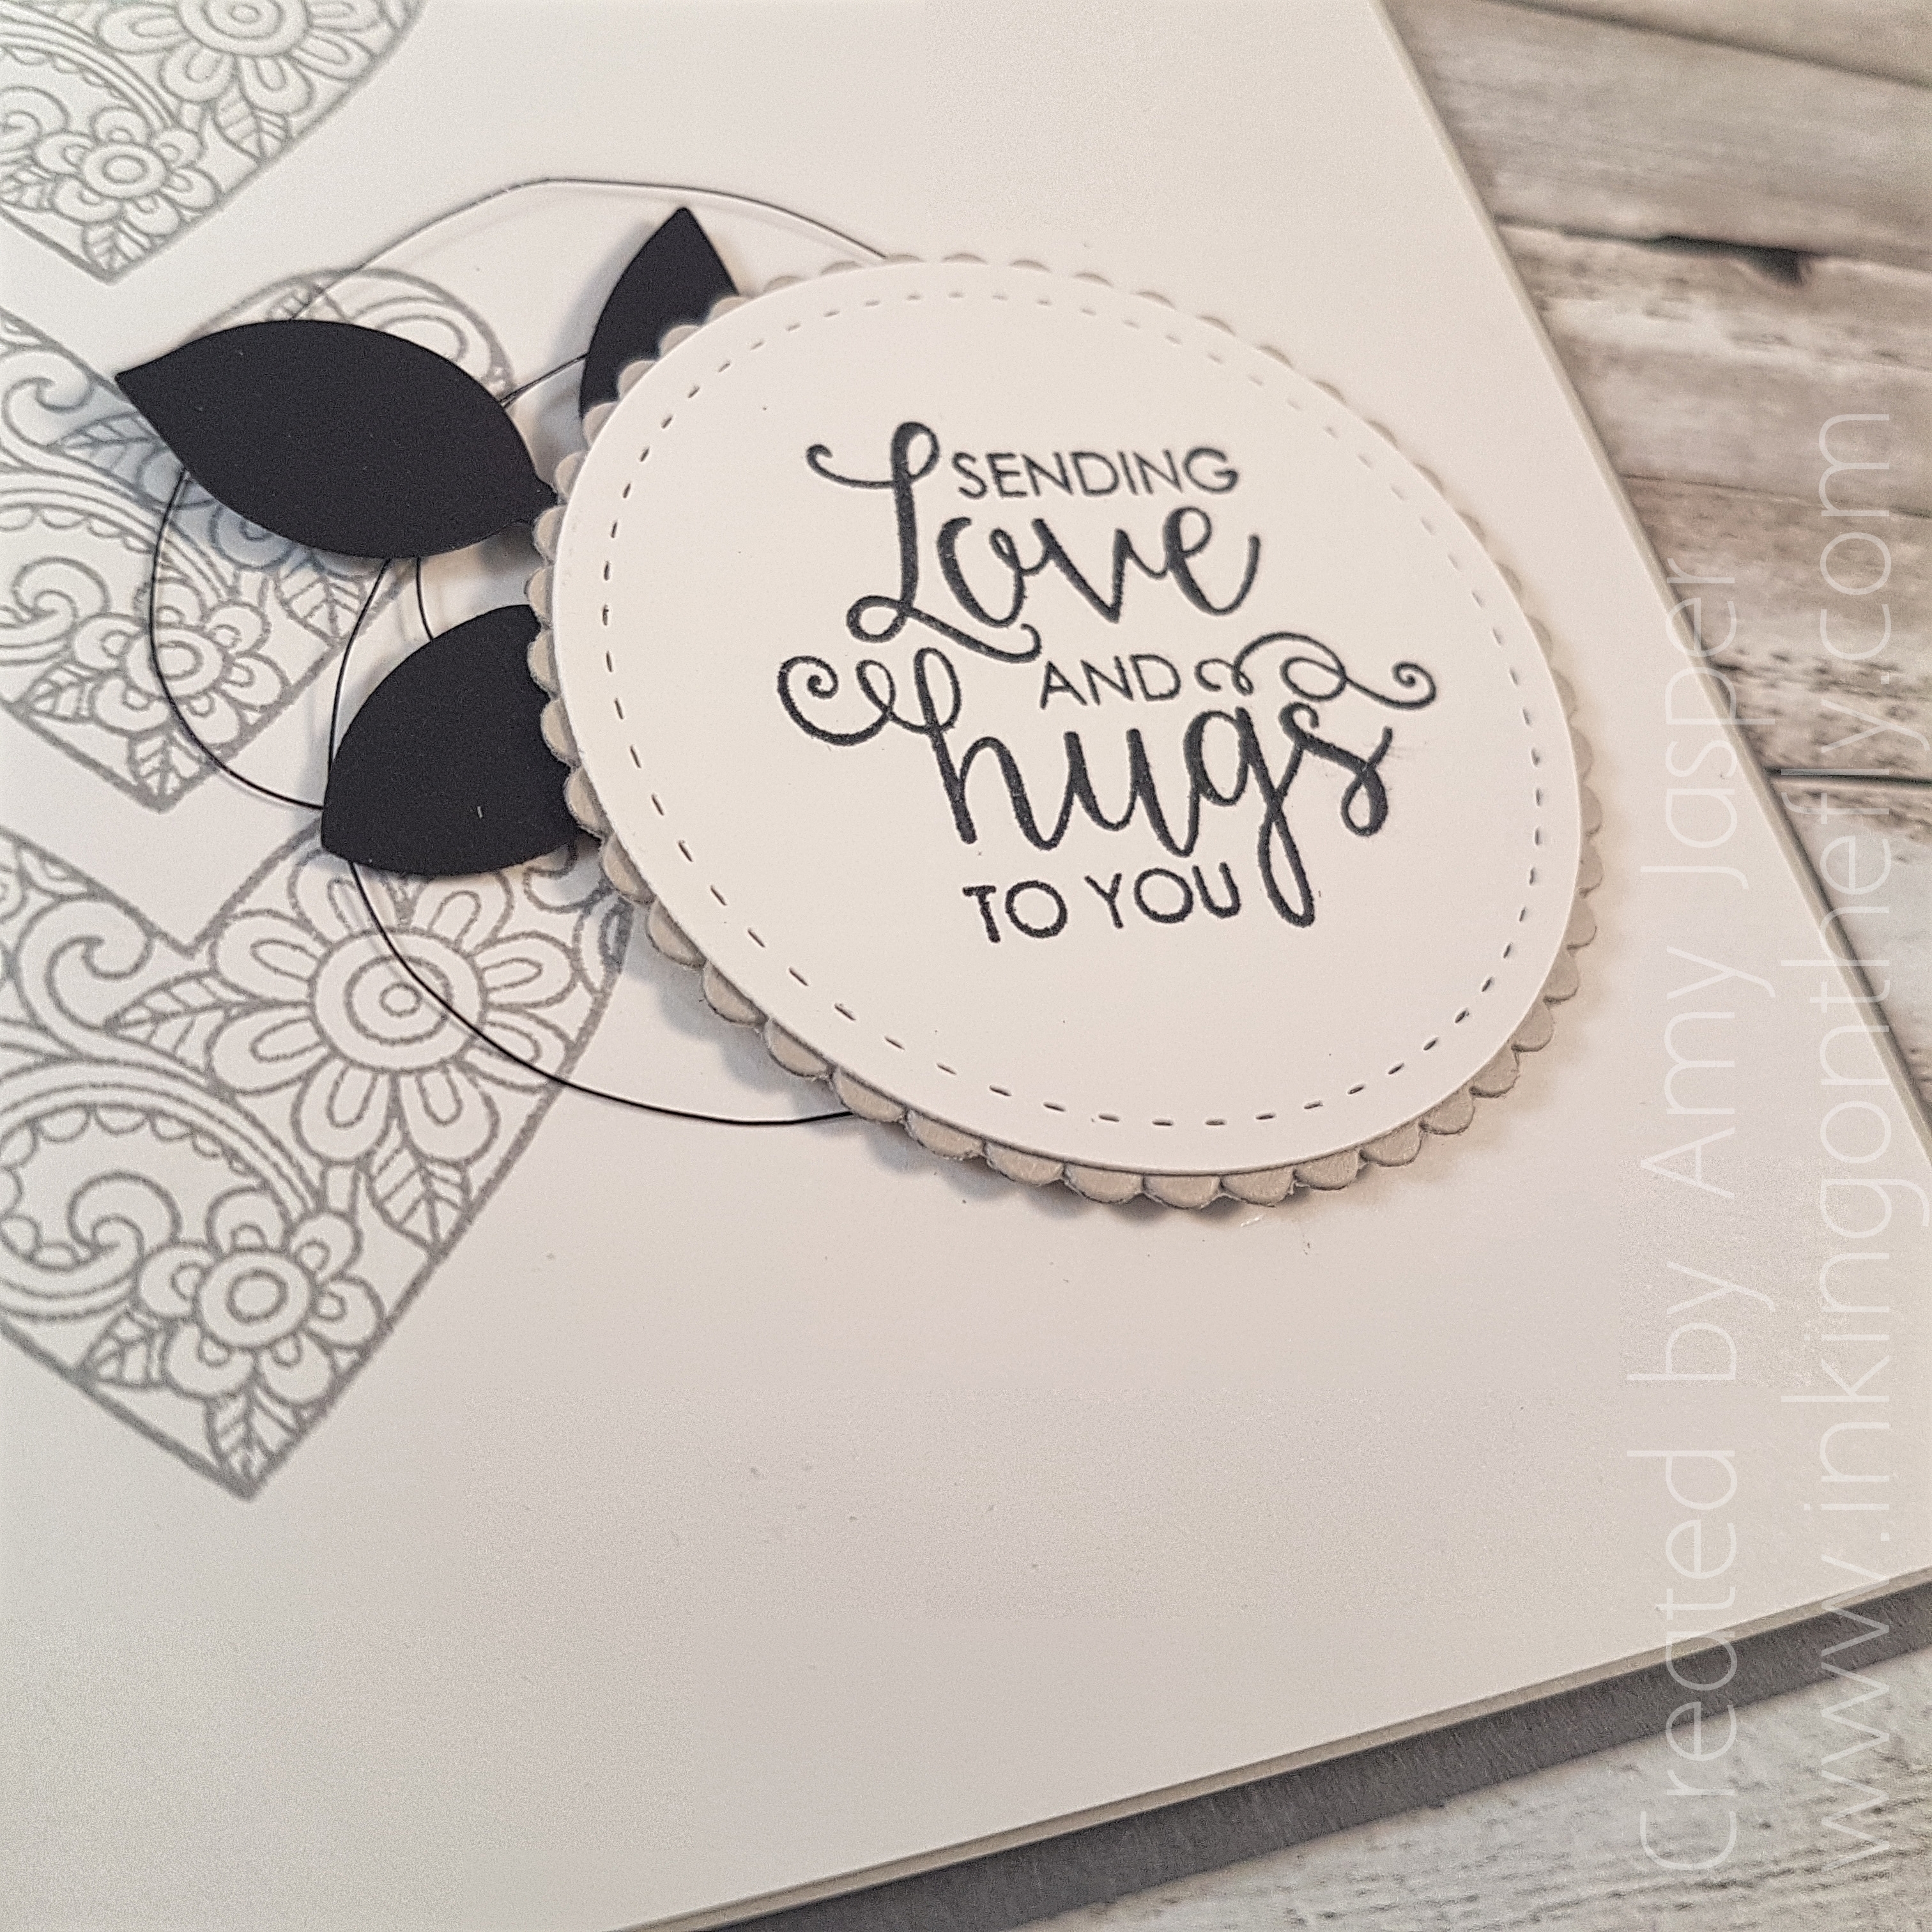
The sentiment from the same stamp set was stamped on Whisper White cardstock using Tuxedo Black Momento ink. I die cut it using one of the circles from the Stitched Shapes Framelits. That is layered over top of a Sahara Sand (we would categorize this as “greige”, I believe) scallop circle from the Layering Circle Framelits Dies.Behind the circle are the leaves made from Basic Black cardstock punched with the Leaf Punch and adhered to the back of the circle. I attached a triple loop of the Basic Black Metallic Thread to the back of the circle/leaf combo using Stampin’ Dimensionals, then attached the entire ensemble to the card front.

Behind the “hearty” Whisper White layer of of the card, you can see a thin matte of Sahara Sand cardstock over a Basic Grey card base.All of this classy, cozy, casual grey goodness in less than 10 minutes!! 8 minutes and 28 seconds, people!! I take hours to do some cards – literally HOURS!! It is quite an accomplishment to design a card in such a short time for me.

And I actually LIKE this one!

So, now it’s your turn. I challenge YOU! You can think it through, gather your supplies (no precutting allowed!) and set your timer for 10 minutes. Show us over at the As You See It Challenge blog what you come up with and get your creative mojo flowin’ in the process!!