Christmas

Glade Jul

I used to work at a care home for people with brain injuries and dementia, primarily elderly men and women who were at risk of wandering and getting lost or of being confused to the point that they could become aggressive. I was a student nurse at the time, so was often asked to simply visit with the residents and help maintain a calm environment. Sometimes, I would walk around the hall with a very very VERY tall, elderly Norwegian man and he would correct me on what little Norwegian I knew. I would count to ten with him “en, to, tre …” or sing with him.

My favourite thing would be to walk arm in arm with him and sing “Silent Night” in Norwegian. “Glade jul, hellige jul …”. Silent Night is one of my most loved Christmas carols. I think fondly of that time with that lovely man.

I never did see him act out in violence when I was there. Probably a good thing, since he was so very very tall.

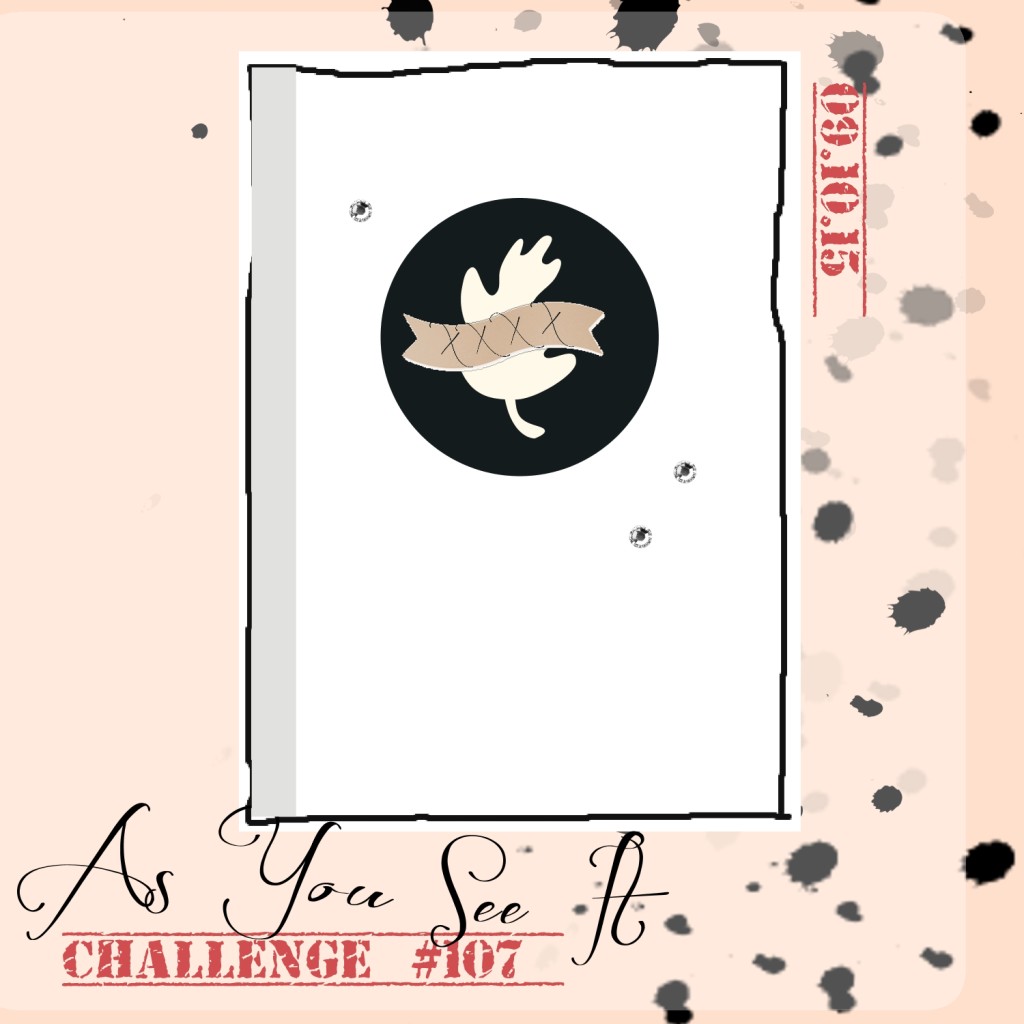
My card for you today is inspired first by this sketch from the As You See It Challenge Blog and second by my favourite Christmas carol, “Silent Night”.

107I just love the patterned paper with the notes on it in the Home for Christmas Designer Series Paper from Stampin’ Up! I wish we could by sheets and sheets of that one pattern for this time of year!

107anothertime

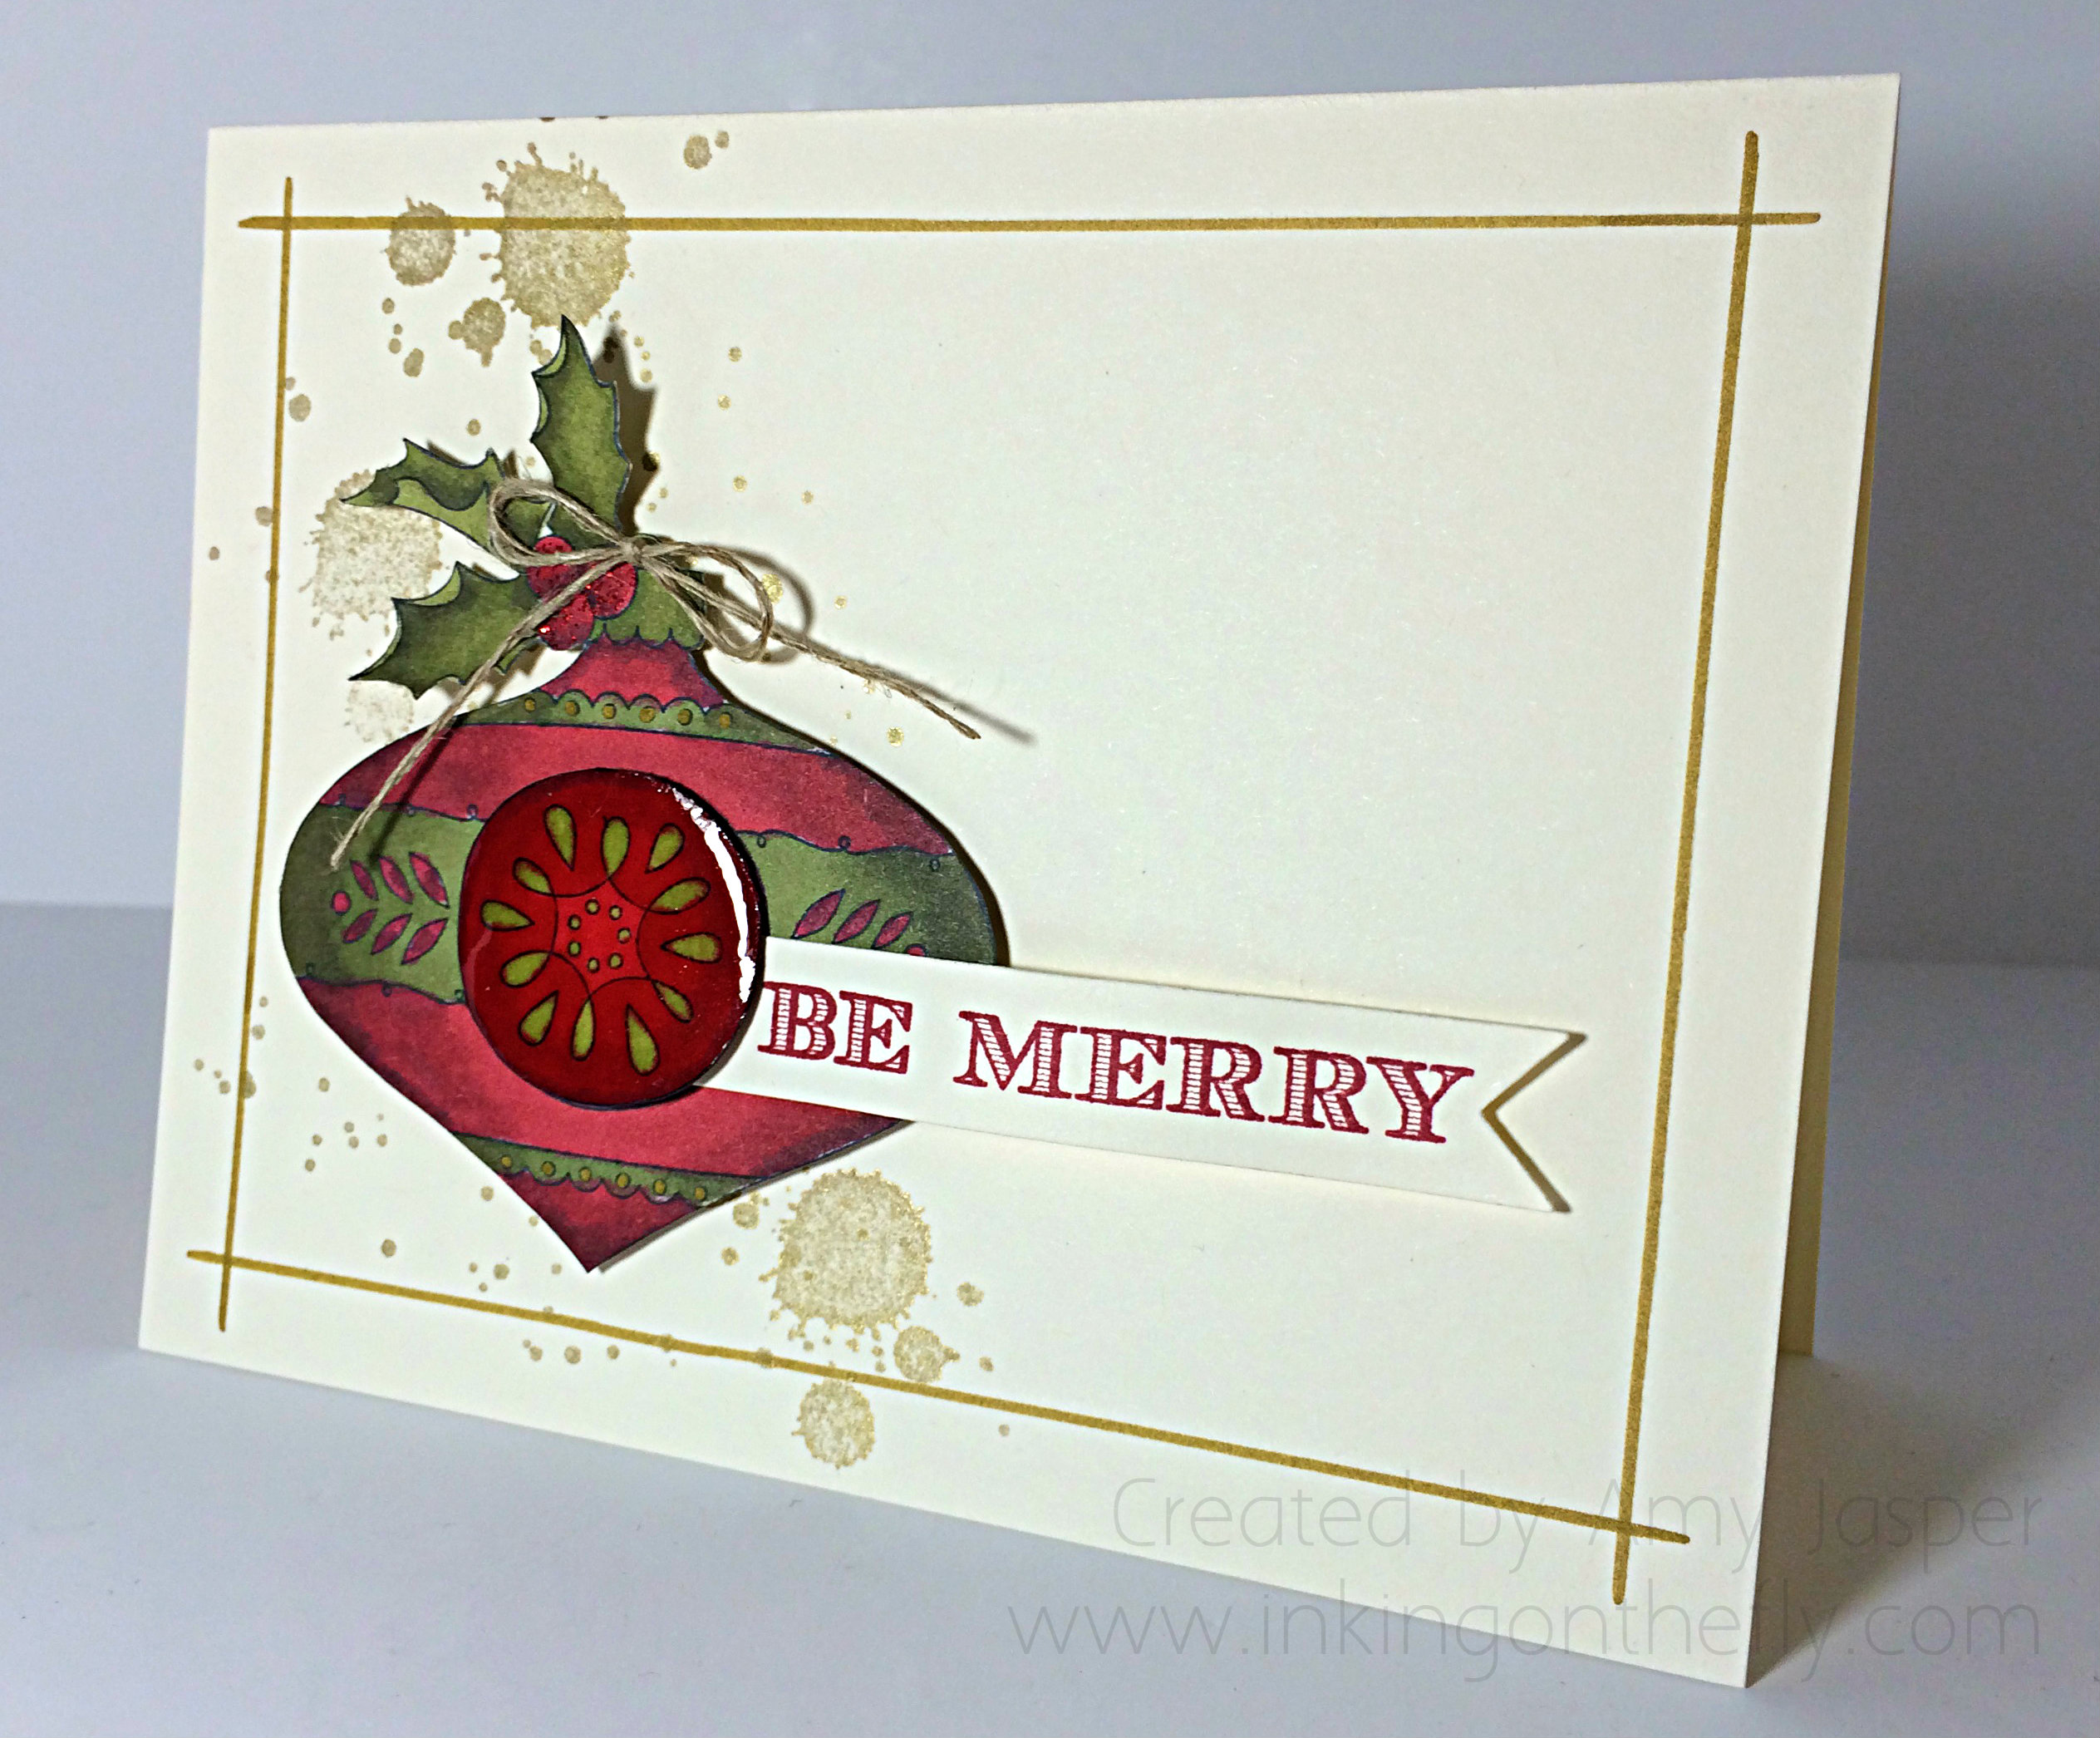
Tip Top Taupe cardstock was used for this card base with a bit of light sponging in Tip Top Taupe ink around the edges of the cardstock. I also sponged some Tip Top Taupe ink around the edges of the sheet music patterned paper from the Home for Christmas Designer Series Paper. This was adhered along side the strip of Black Glimmer paper (not just for Halloween!!) to the card base.

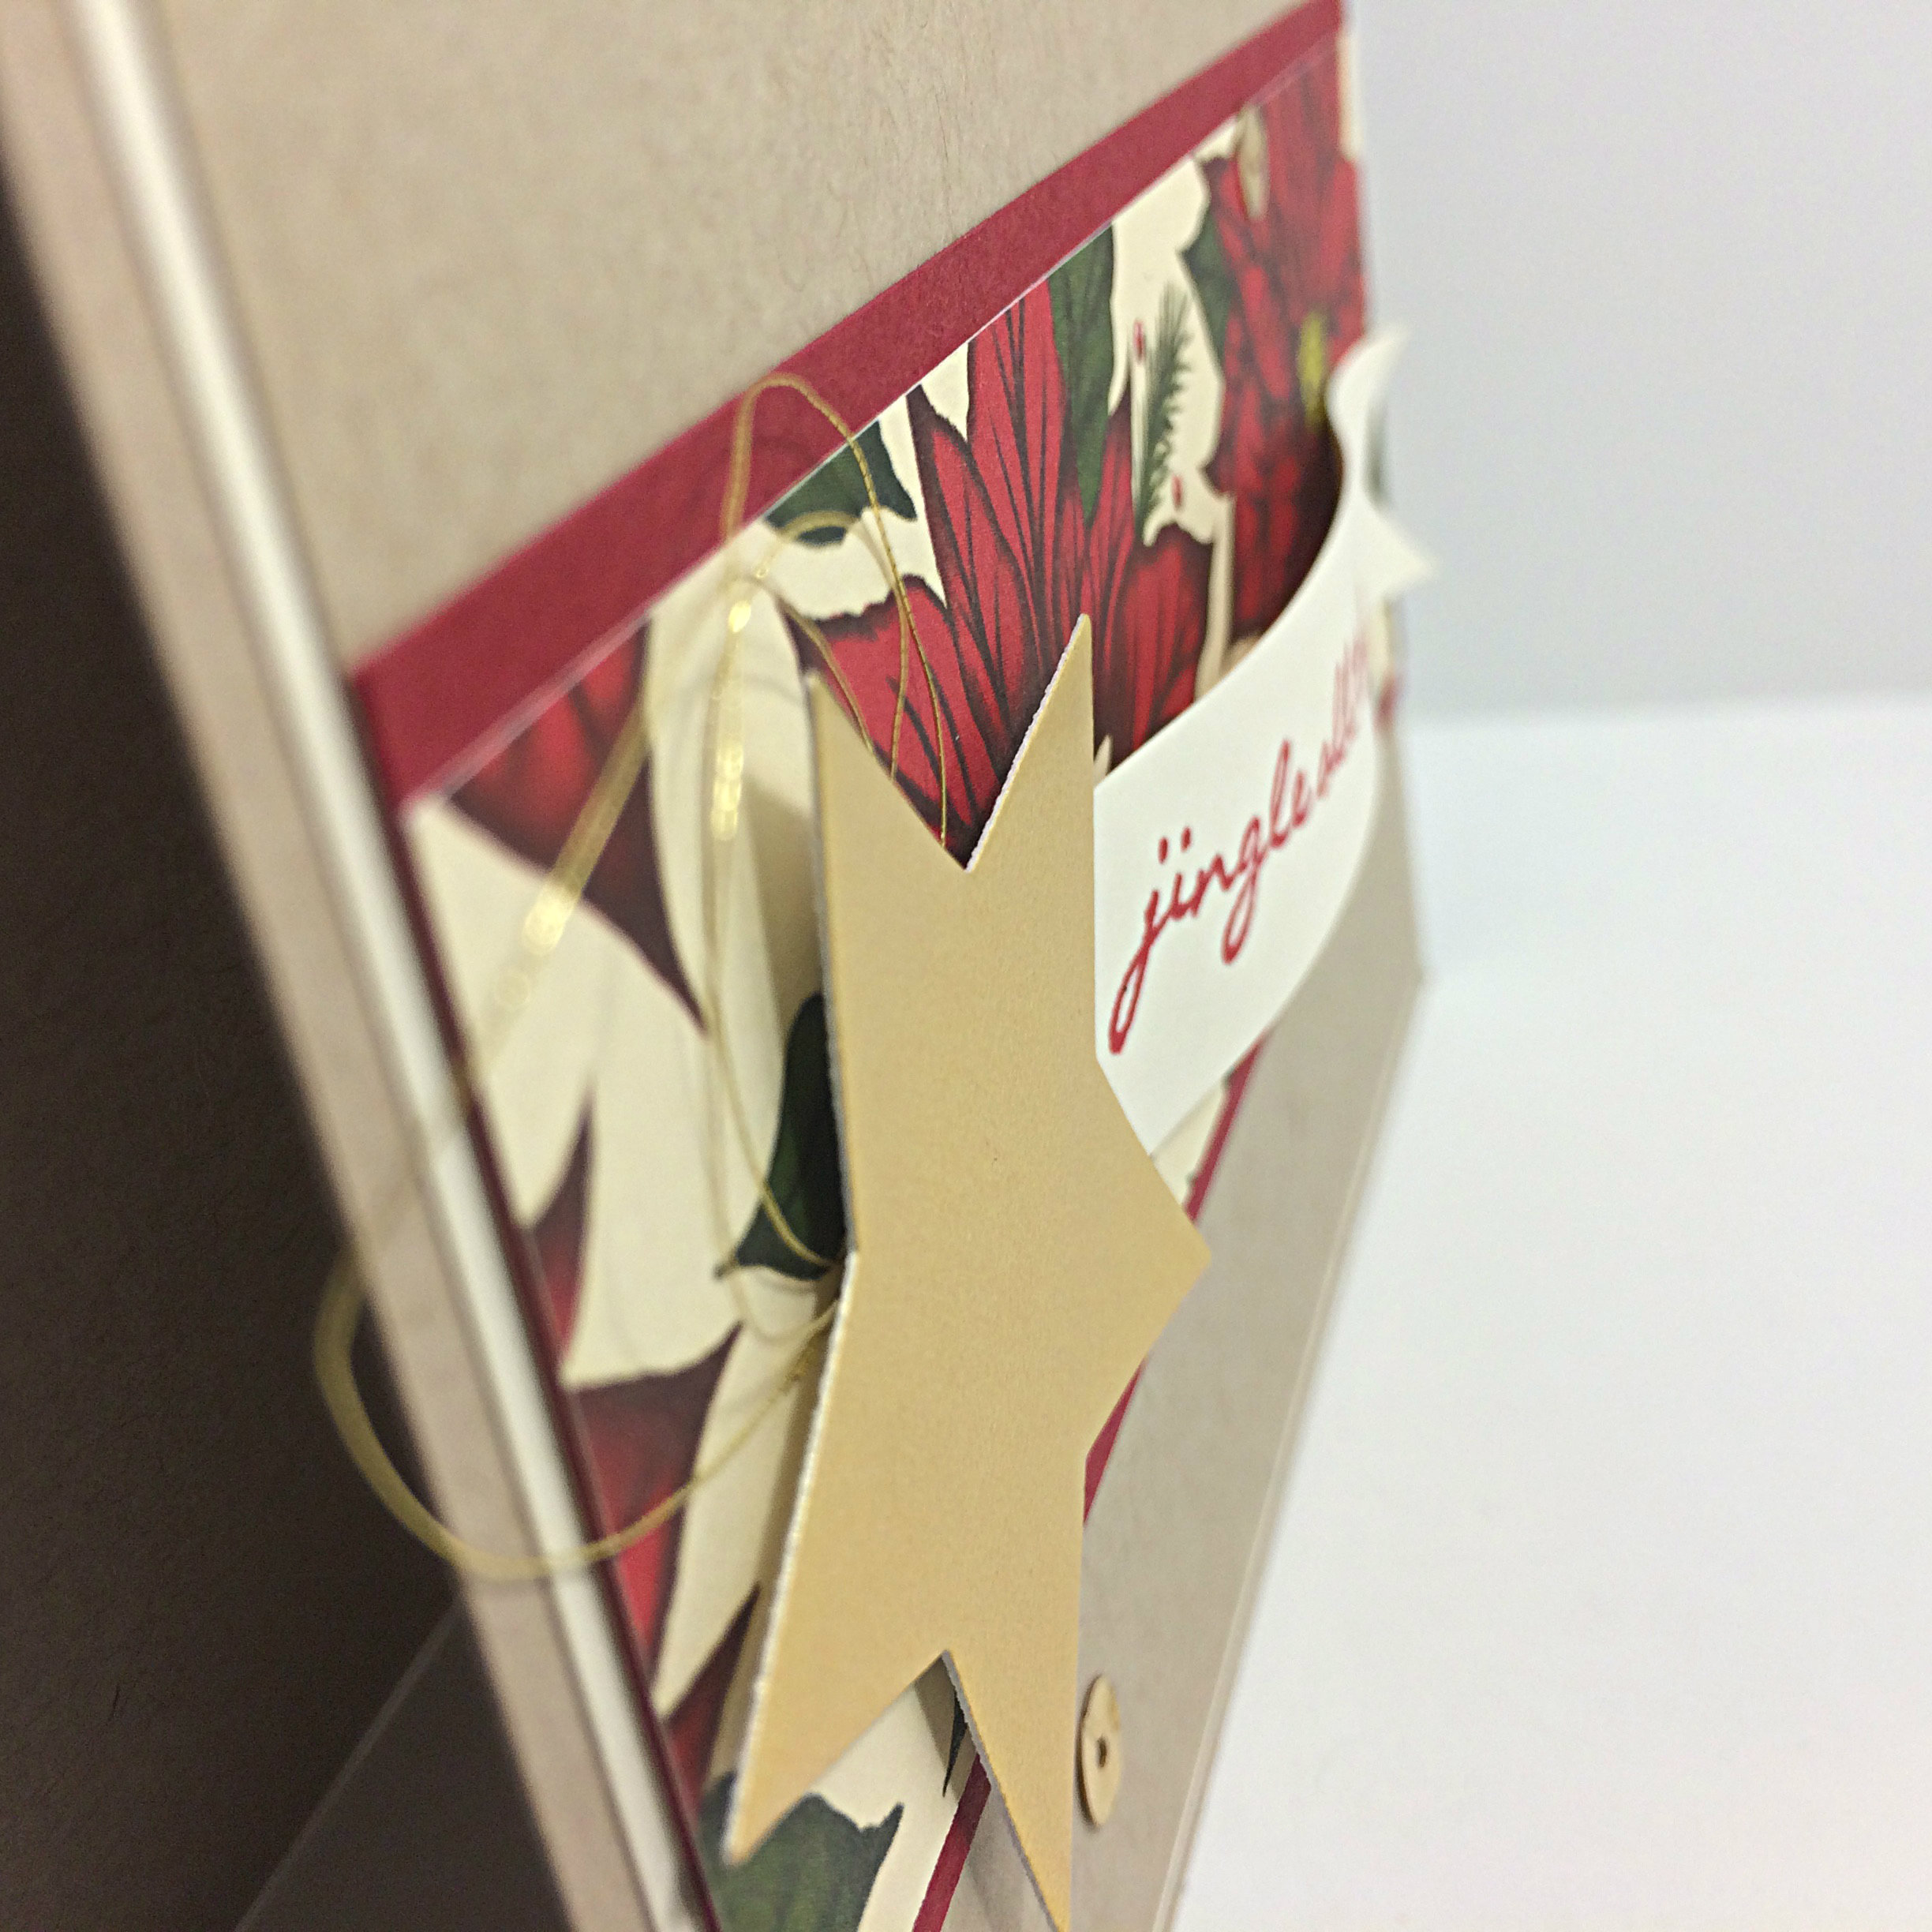
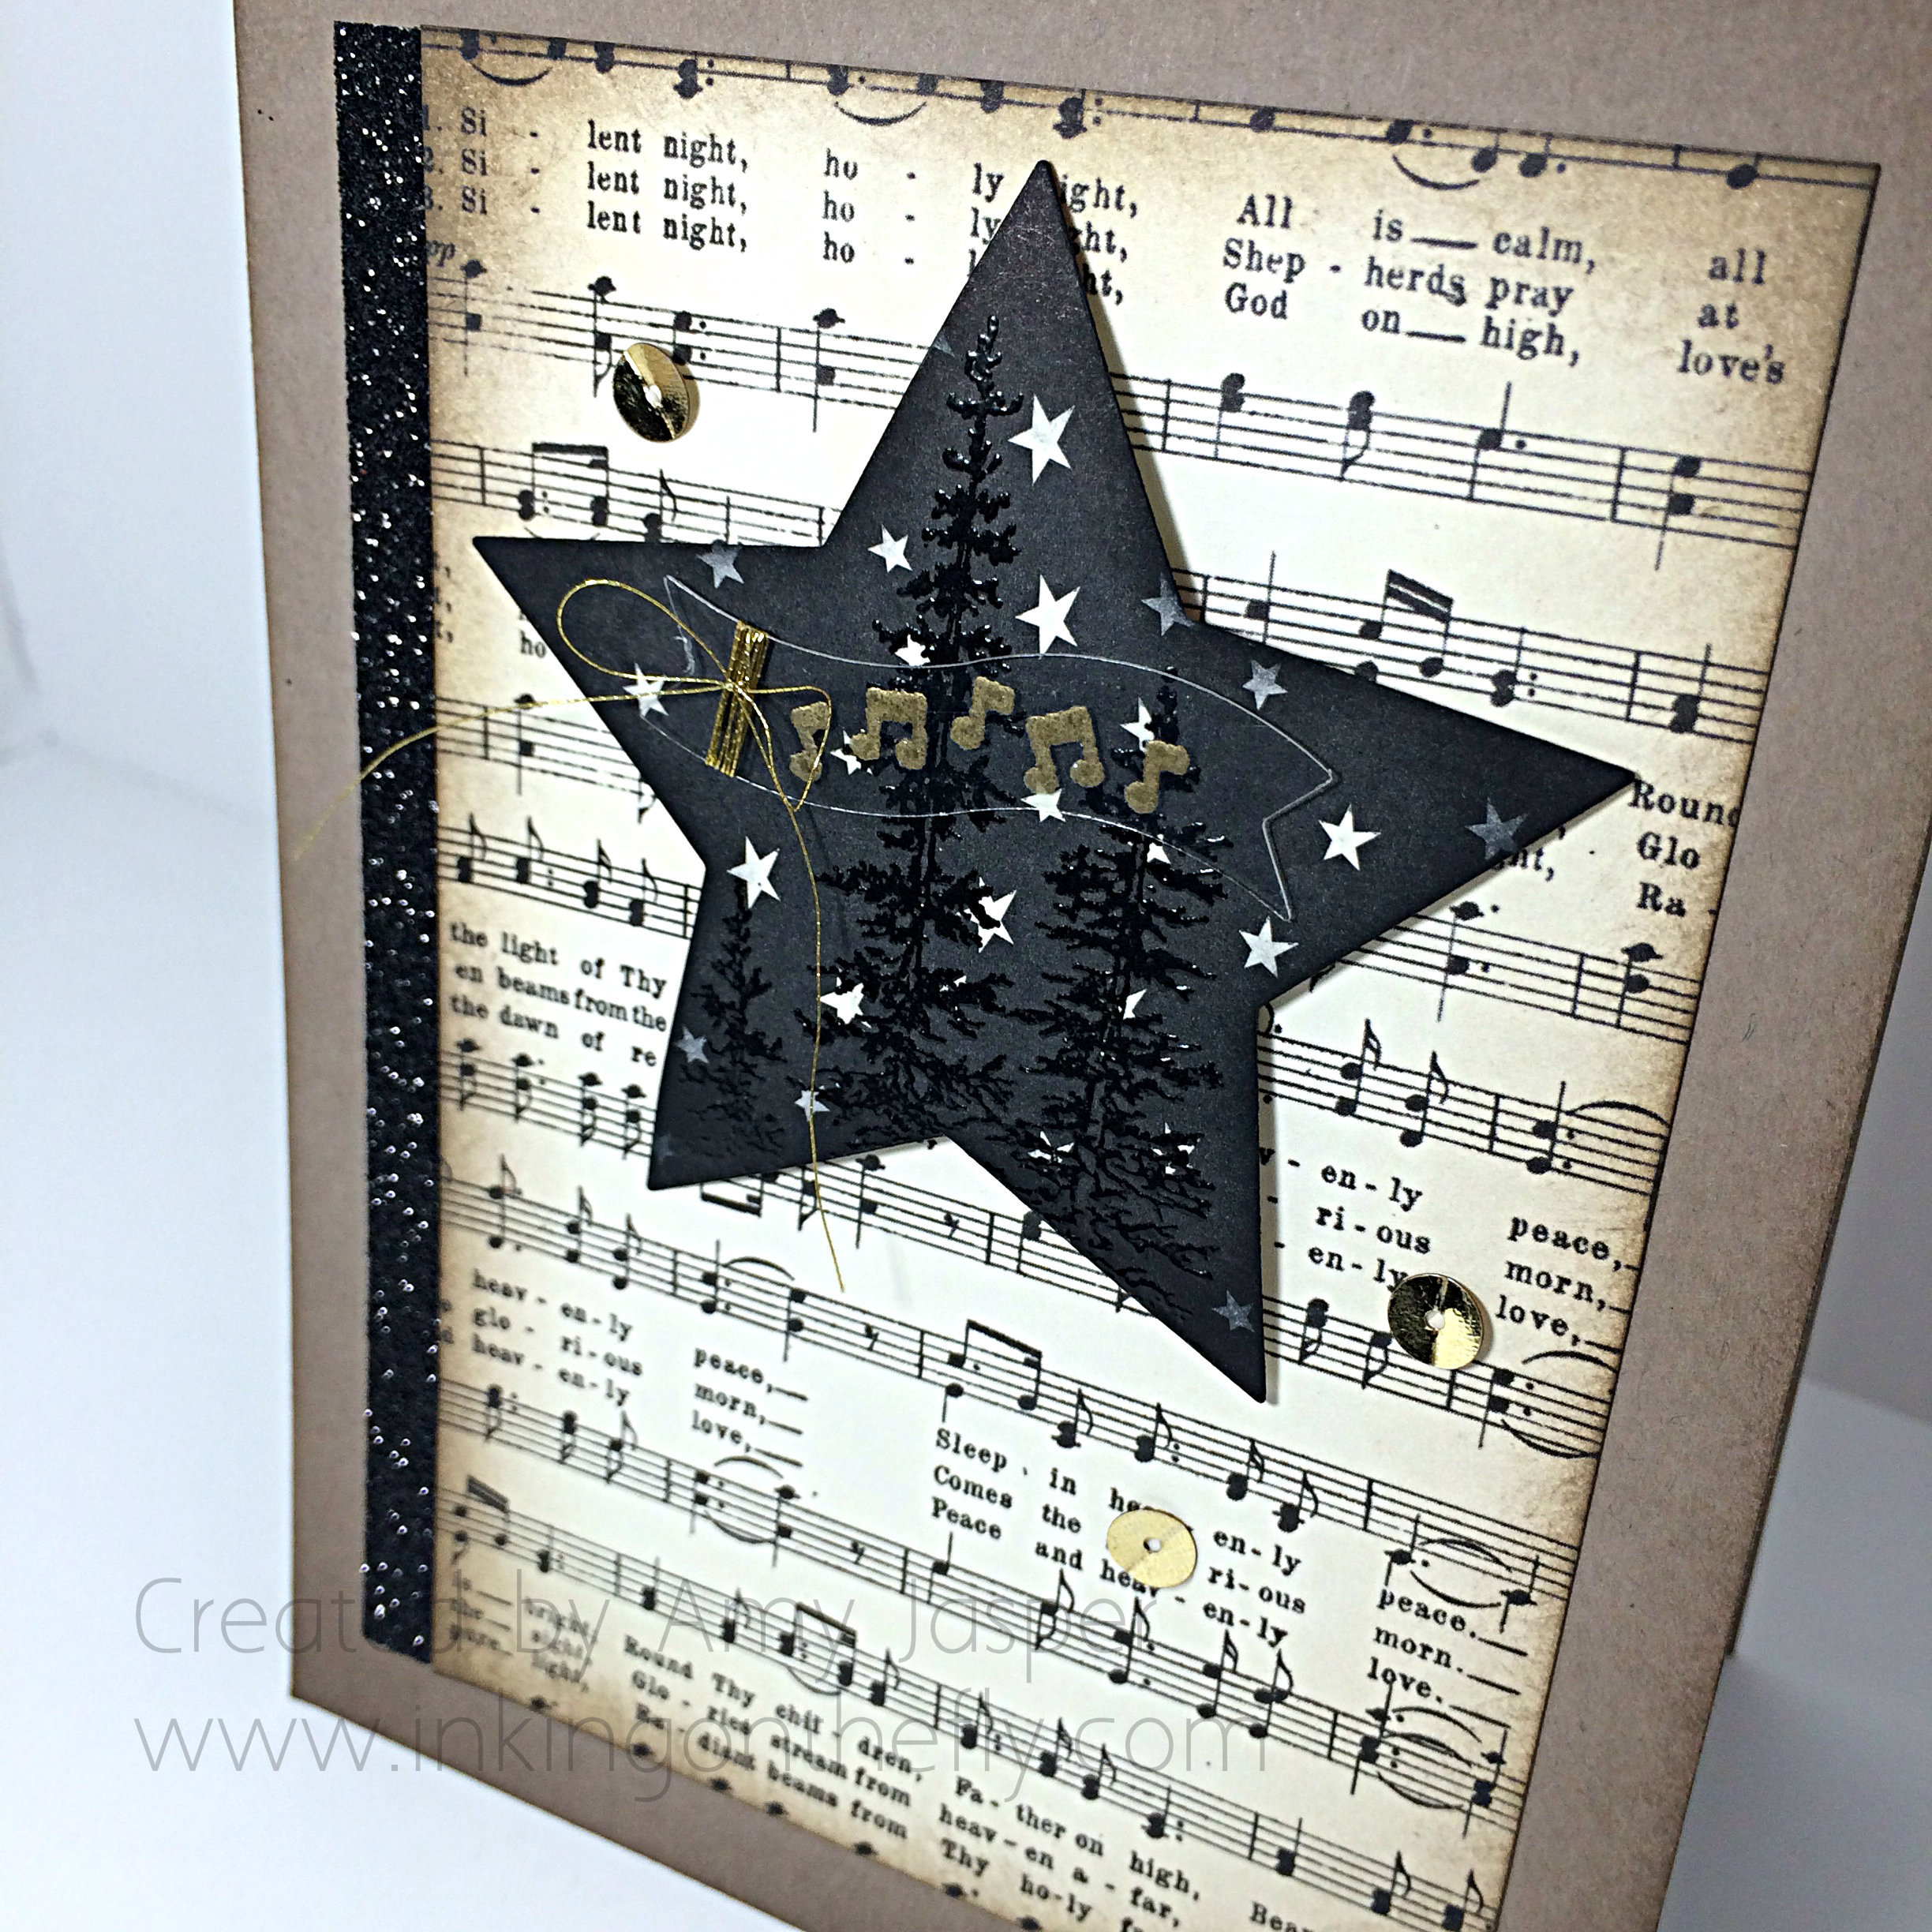
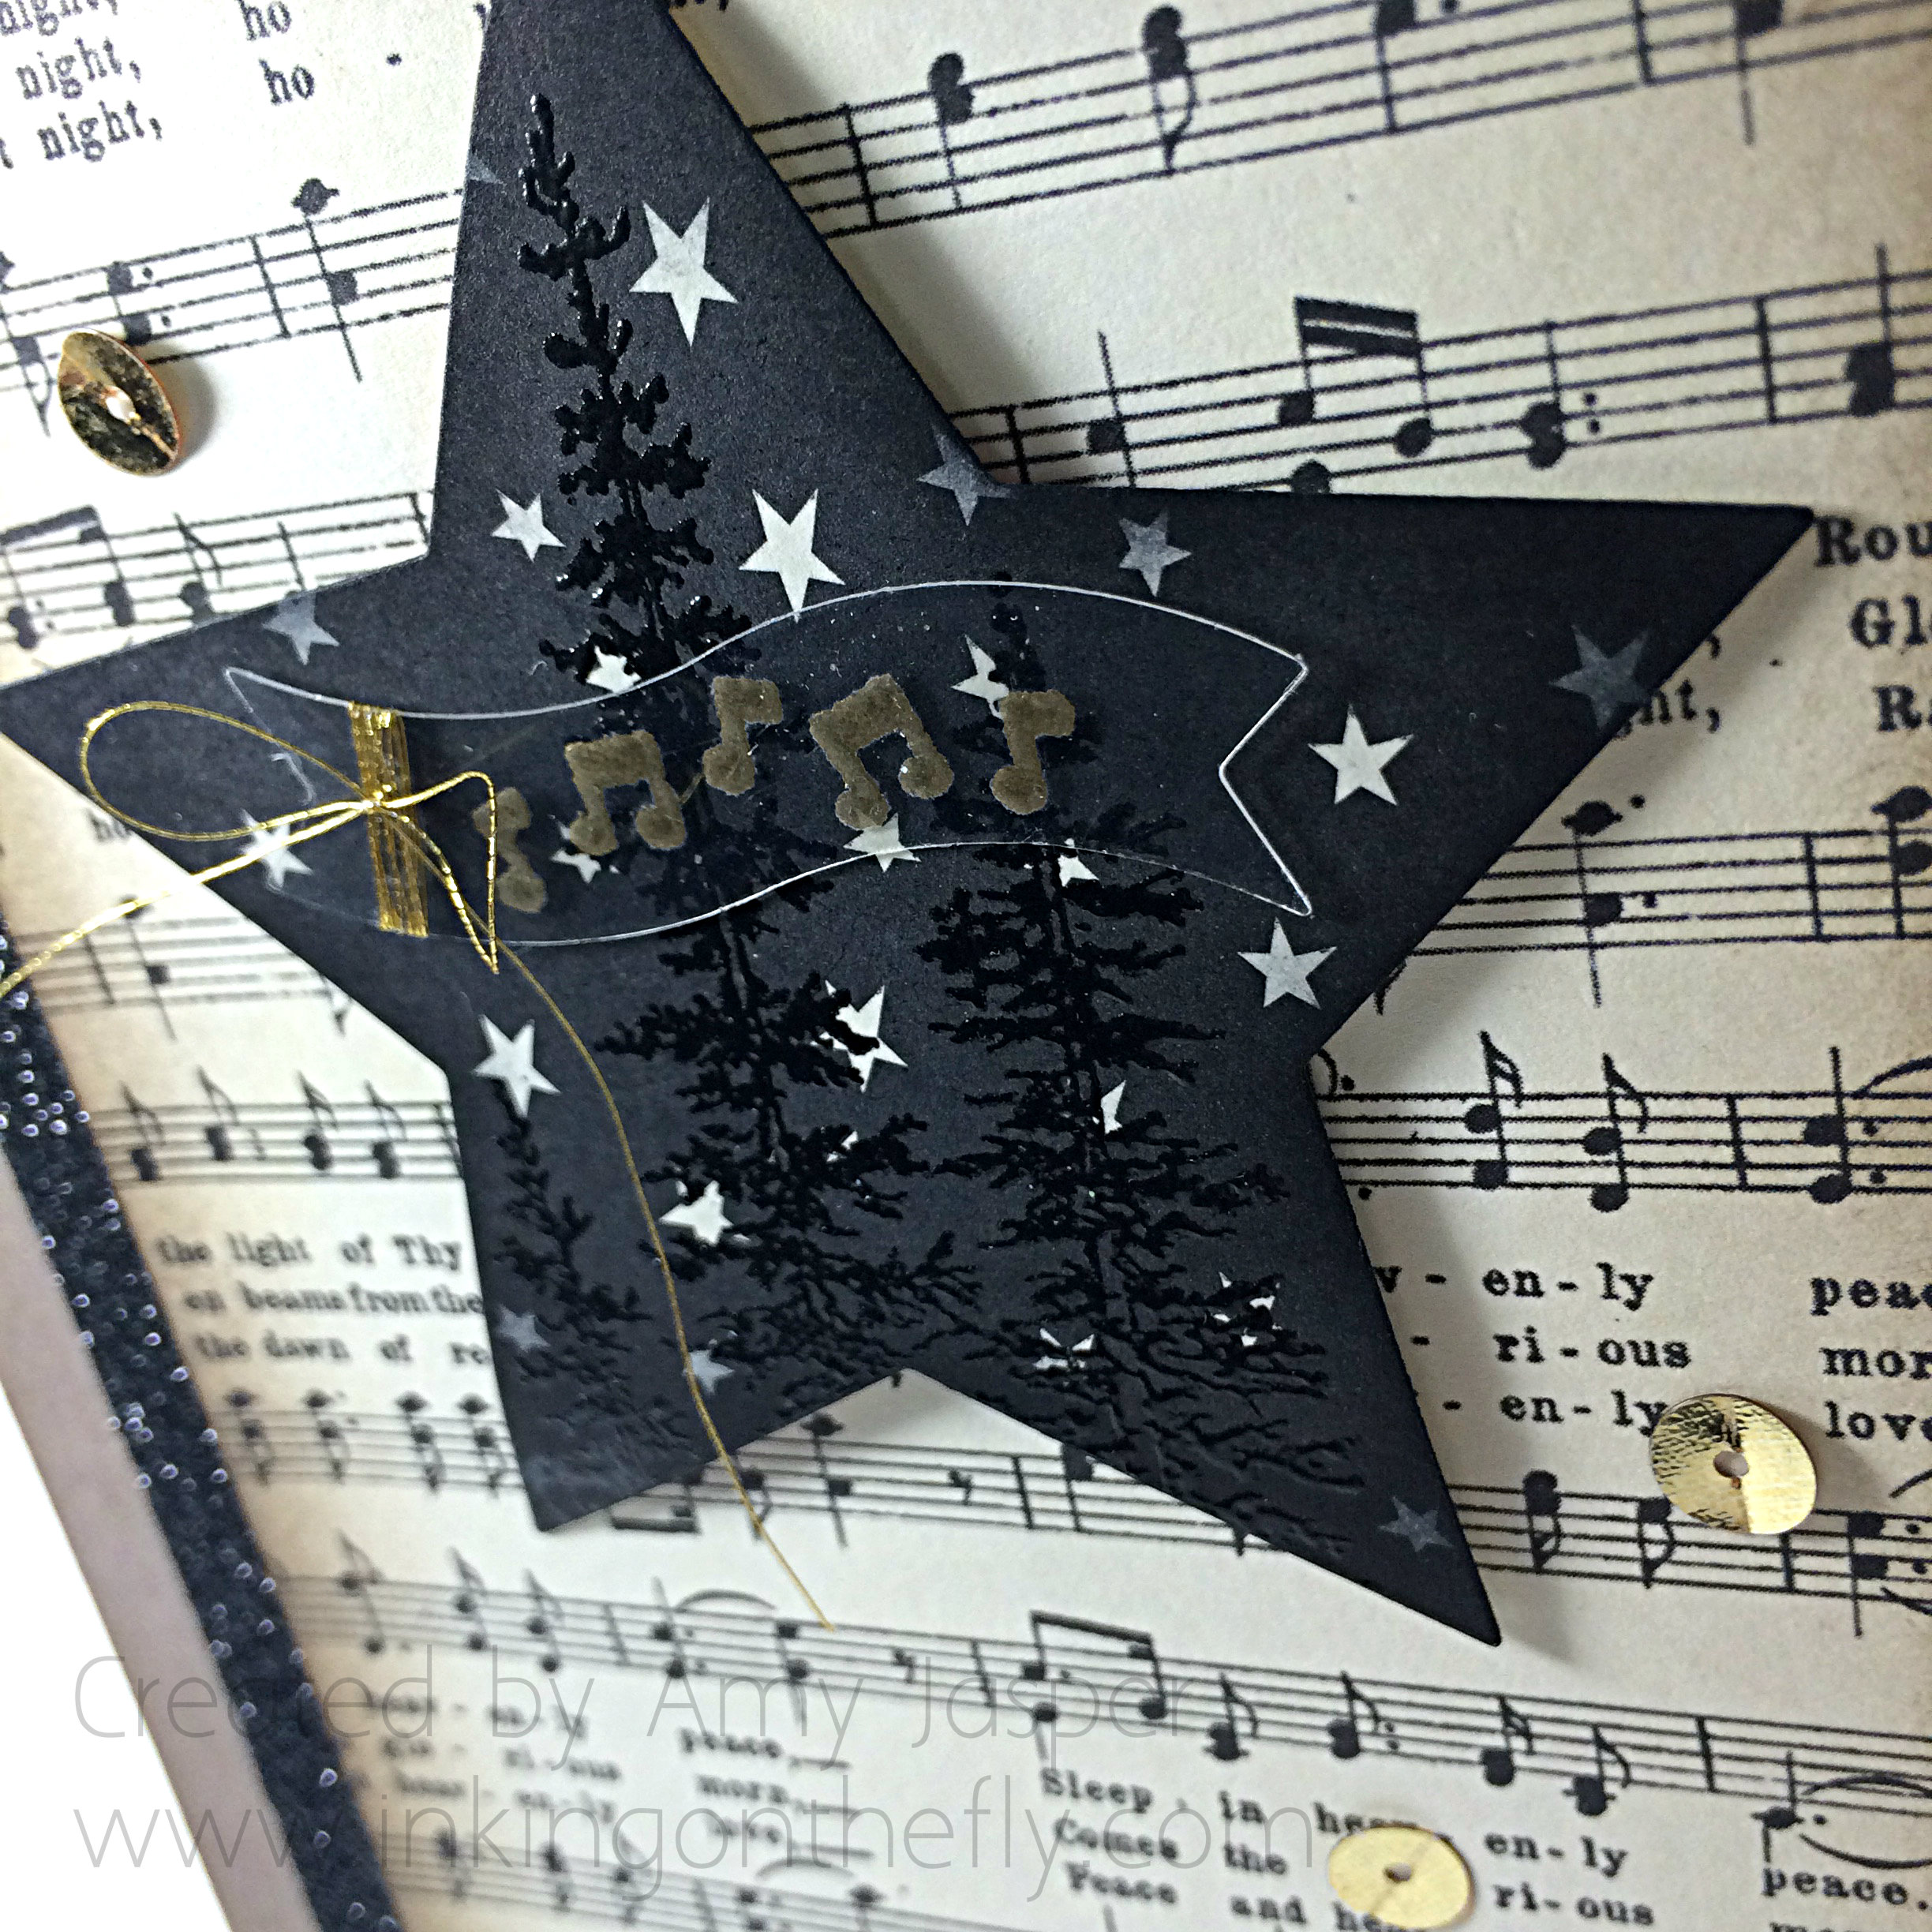
But my favourite elements on this card are all in the middle with that star! I stamped the tree image from the Wonderland Stamp Set in Versamark ink and heat embossed it with Black Embossing powder. All this on the Happy Haunting piece of Designer Series Paper. WHAT! Yes, folks, I used Halloween paper on a Christmas card! The vanilla stars on the black background represent a beautiful ‘silent night’. I sponged some Tuxedo Black Momento ink around the edges of the star and adhered it to the card with some Stampin’ Dimensionals so it could be raised off the page a wee bit.

107Close2

My friend, Stacey, was working with me in my craft room while I was designing this one and it was her suggestion to use the Window Sheet for the banner element. It was the perfect way to add a banner as per the sketch, without taking away from the image on the star.

I stamped the notes from the Jingle All the Way stamp set with Versamark ink onto the clear acetate Window Sheet, then heat set it with Gold Embossing powder. This was die cut using my Big Shot and the Bitty Banner framelit before very carefully wrapping the Gold Metallic Thread around the end and tying it into a bow. A Mini Glue Dot hides behind this cluster of gold thread to adhere the Window Sheet banner to the star.

107AmyJ

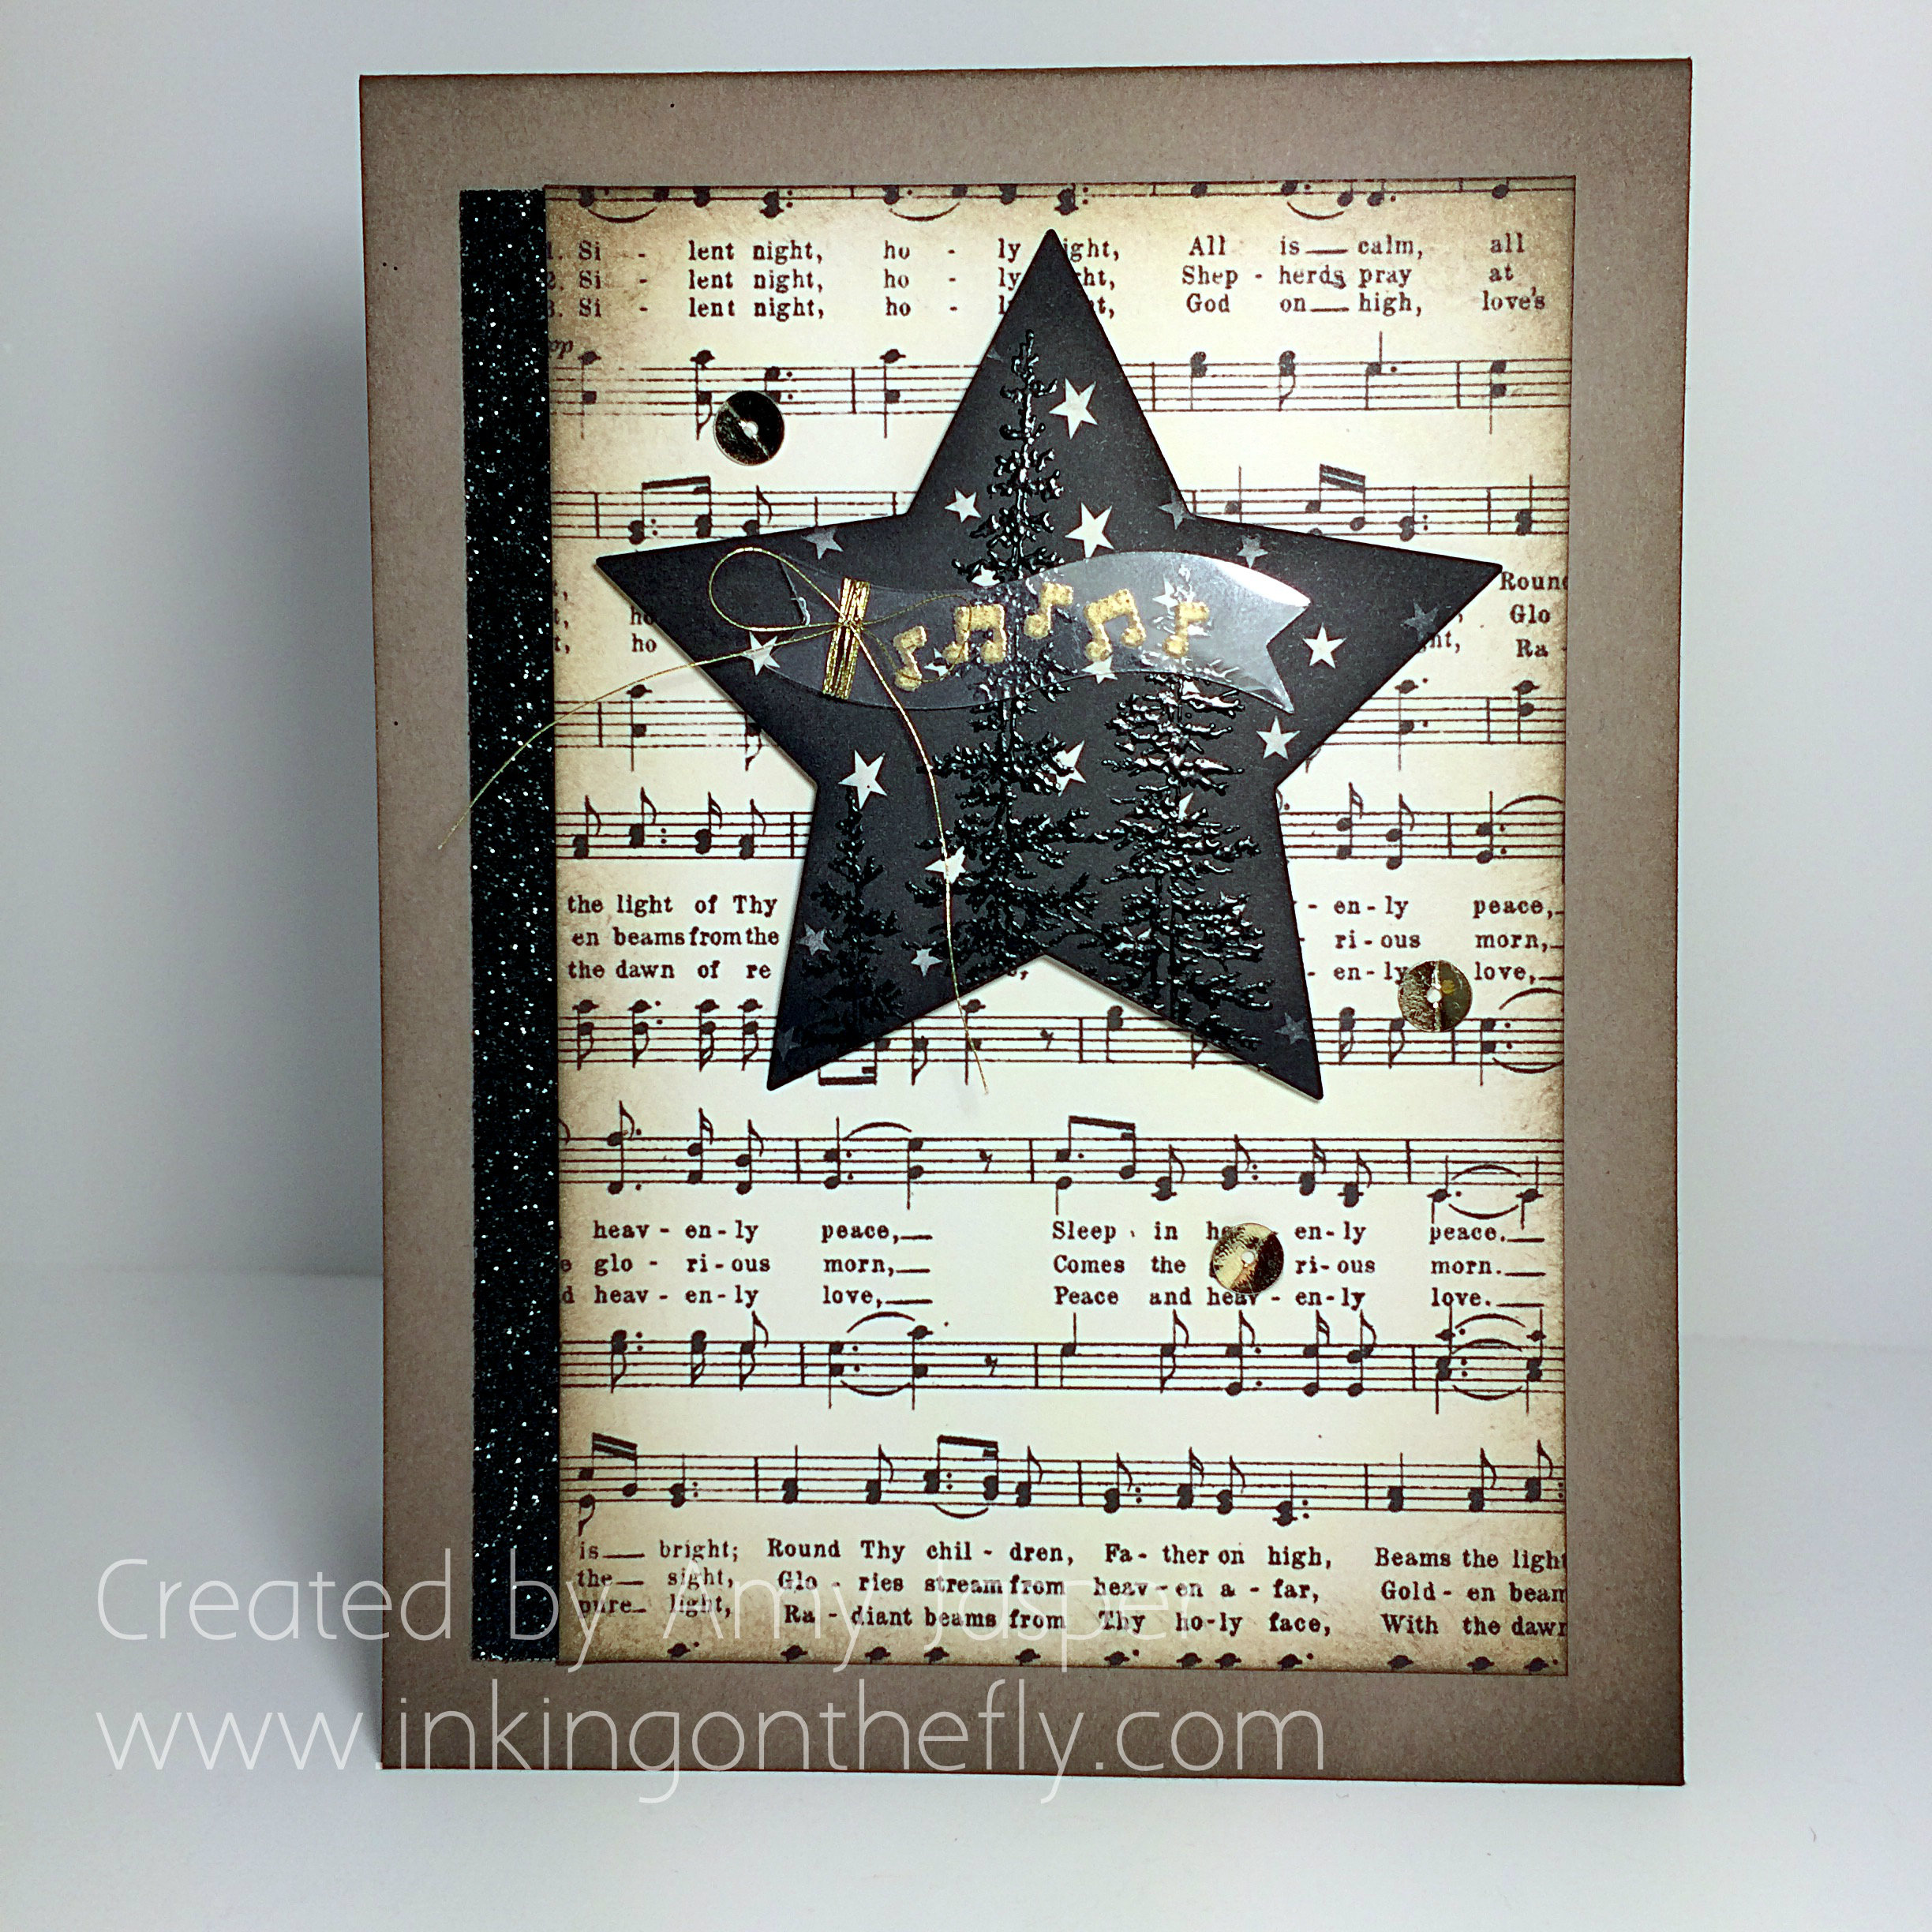
For the final touch, the three Gold Sequin pieces were added to the card using my Fine-Tipped Glue Pen.

Glad you could check out my blog today. You can purchase stamping supplies online by clicking the “shop now” button on this page. Or you can contact me by email to order or ask questions.

Don’t forget to also check out the creations from other designers on the As You See It Challenge blog. They have some lovely versions of this very same sketch.

Here are some beautiful Norwegian voices singing ‘Silent Night’ for you. Enjoy:


Jingle Jingle Little Star

My title makes me chuckle. Not that clever of a title, really, but I chuckle just the same.

It’s been a CRAAAAZY week. My family has hardly seen me. When they have, they find me completely distracted and disengaged from reality. I’ve been working on my preparations for the BC Crop for Kids event which takes place in Abbotsford this weekend.  I am sponsoring a class and hosting my own vendor table on Saturday. I haven’t participated in this particular event, making it all new to me. I also don’t do vendor shows often – maybe once per year, so it takes a lot to get organized. The class I’ve chosen to do has a TONNE of prep, but I have been incredibly blessed with friends who gave their time to cut the gazillions of pieces of paper, ribbons, and dies to help me. Not only that, but many of them also donated supplies toward the class in honour of the BC Children’s Hospital foundation, for which the event is raising funds.

So, I want to give a shout out and a HUGE THANK YOU to all of those gals who spend hours at my house cutting and embossing!

Part of my prep involved having a make and take project at my vendor table for 40-50 ladies to enjoy. The As You See It Challenge this week seemed like a good opportunity to hit two birds with one stone. Here’s the challenge sketch:

005

My make and take card will be very similar to this one, but the patterned paper will vary, of course.

106AmyJ

I used Crumb Cake cardstock for my card base, then a Very Vanilla mat under another layer of Crumb Cake cardstock. The next two layers are Cherry Cobbler and a strip of Home for Christmas Designer Series Paper.

106star

I used some Gold Foil paper with my Star Framelits and embellished it with a triple swirl of Metallic Gold Thread. I used Stampin’ Dimensionals to pop it up off the page a bit.

106bannerIn the image above, you can see how the Very Vanilla banner is curled a bit. I did this by sliding the banner between a bone folder and my thumb until the paper curved to my satisfaction. I tacked down the ends of the banner to the paper with Tombo Multipurpose Liquid Glue.

106AmyJ

The stamped images are from the Jingle All the Way stamp set. I used Real Red ink for the sentiment and Crumb Cake ink for the musical notes.

The final step was to add the Gold sequin with my Fine Tipped Glue Pen.

I think that’s the fastest post I’ve ever written! Back to prepping and planning. I have to be ready to go by one o’clock today. EEK!


Bauble and Gold

065header

Every Friday I share a card with you designed specifically for the As You See It Challenge blog. I quite like the card I have for you today created with the Christmas Bauble stamp that I received as a free gift from the Abbotsford Fall Conference, the Holiday Invitation stamp set I received from the Inspire Create Share Stampin’ Up Convention in Utah, and my favourite Gorgeous Grunge stamp set of which I happen to have an extra set that I won at the Abbotsford Fall Conference. How awesome it that!!

AYSIChallenge065I love the simplicity that this sketch offers and I decided to go with it as a simple design, but with a LOT of colouring using my Stampin’ Up! Blendability markers and a bit of fussy cutting. I chose a Very Vanilla card base, on which I stamped two of the splatter images from the Gorgeous Grunge stamp set in the Encore Gold ink. Then I used a ruler and my Gold Dazzle marker to draw a frame directly on the card base.

065AmyThen I stamped the Christmas Bauble stamp on Very Vanilla card stock twice with Momento Tuxedo Black ink – once as a full image and once just for the center circle of the image. These I  coloured with the Cherry Cobbler and Old Olive Blendability markers and hand cut the image with my Paper Snips (LOVE these scissors!). I added a touch of the Gold Dazzle marker to the tiny dots on the image as well as some Cherry Cobbler Dazzling Details to the red holly berries and set that aside to dry.

The center circle has been given a layer of Crystal Effects, which I gave ample time to dry overnight before applying it to the Christmas Bauble with Stampin’ Dimensionals. I attached the bauble itself to the card base with Stampin’ Up! Dimensionals as well, then added the Linen Thread bow with a Glue Dot which I first rolled into a smaller dot so it wouldn’t show under the thin Linen Thread.

065closeThe sentiment from the Holiday Invitation stamp set was stamped on a strip of Very Vanilla card stock in Cherry Cobbler ink. I hand cut the flagged edge of the paper strip and slipped the end under the center circle of the bauble and secured it in place with Multipurpose Liquid Glue on the bauble side and a Dimensional on the flagged end.

And I love how it turned out! Have you ever hand drawn anything directly on your stamped card? I don’t do it very often but am pleased with what it added to this card.

Why don’t you give the challenge a try? We love to receive inspiration from all the designs that come in. So link up your card or project that you do with this As You See It Challenge sketch and show us what you came up with!

Amy

Designer-Badge