free as a bird

Video: Stamping on Linen Paper is Easy

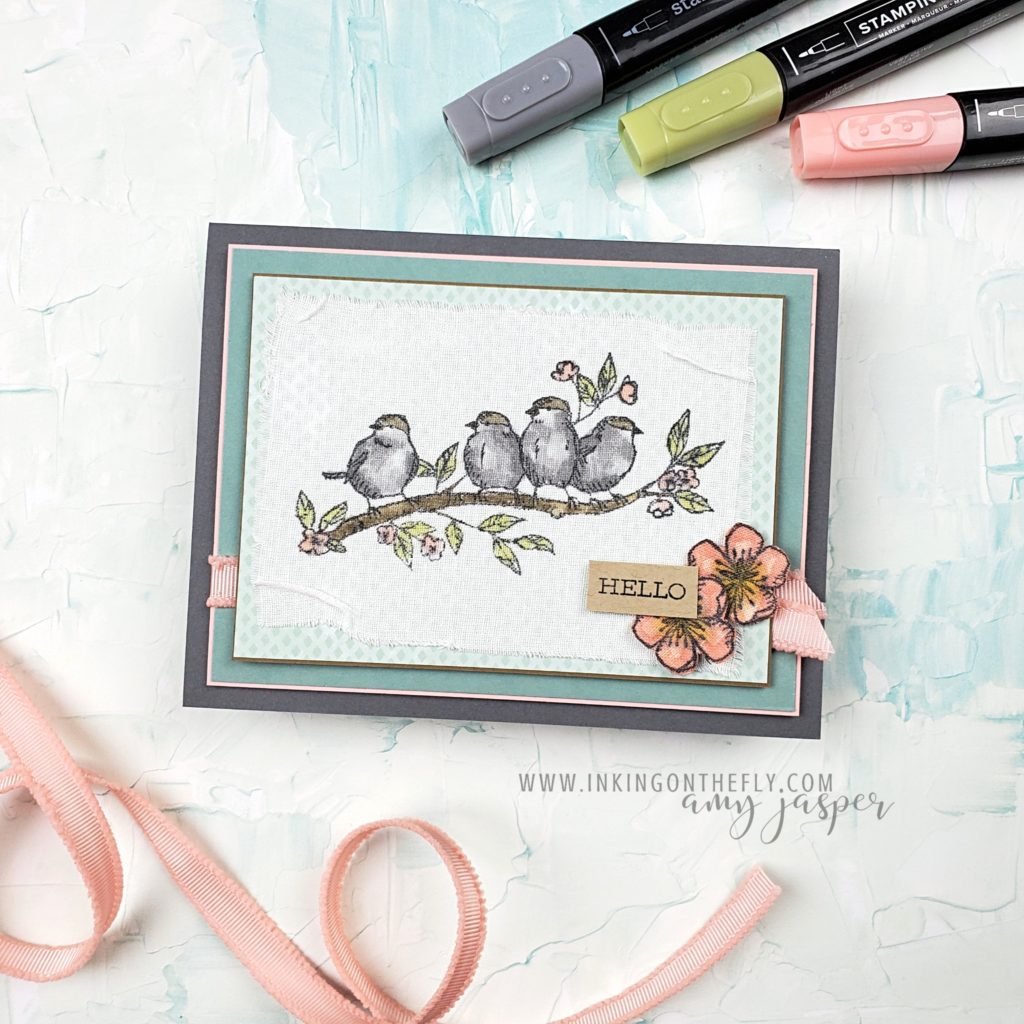
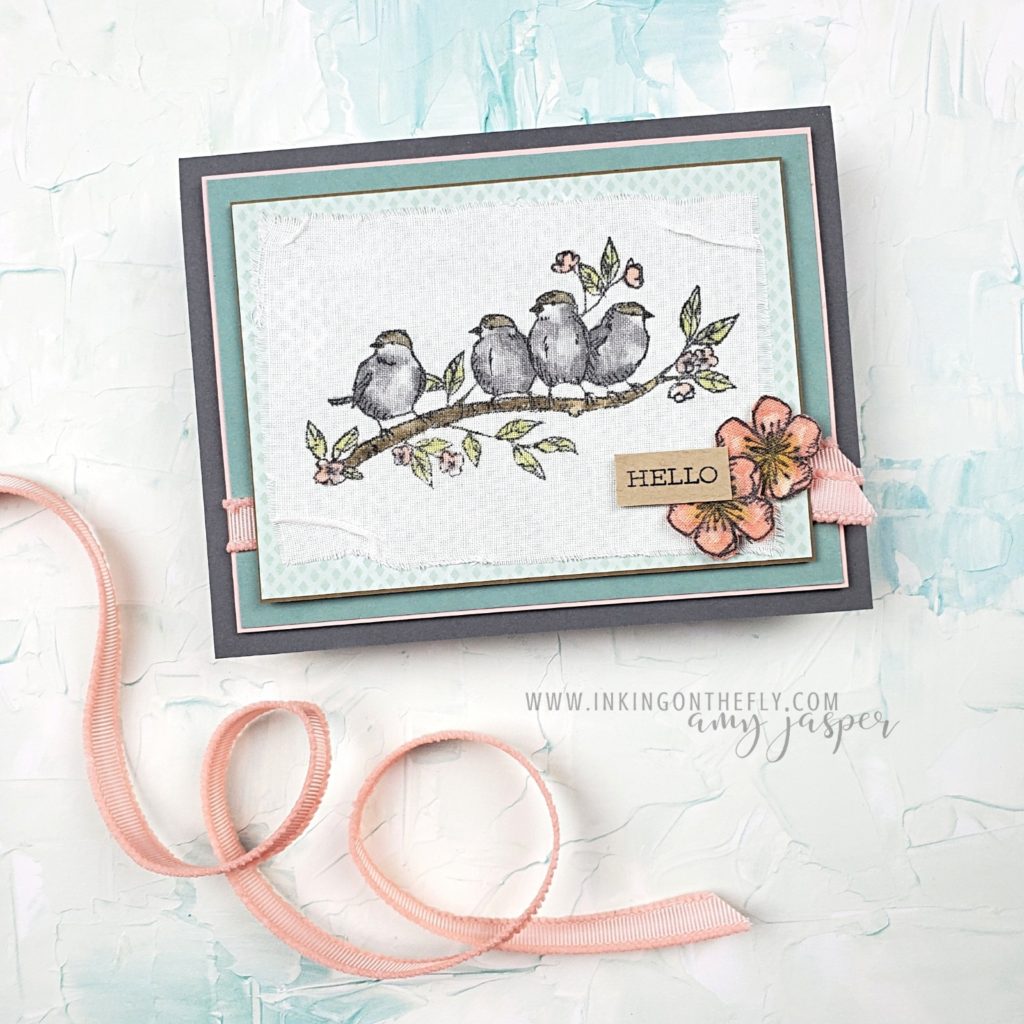
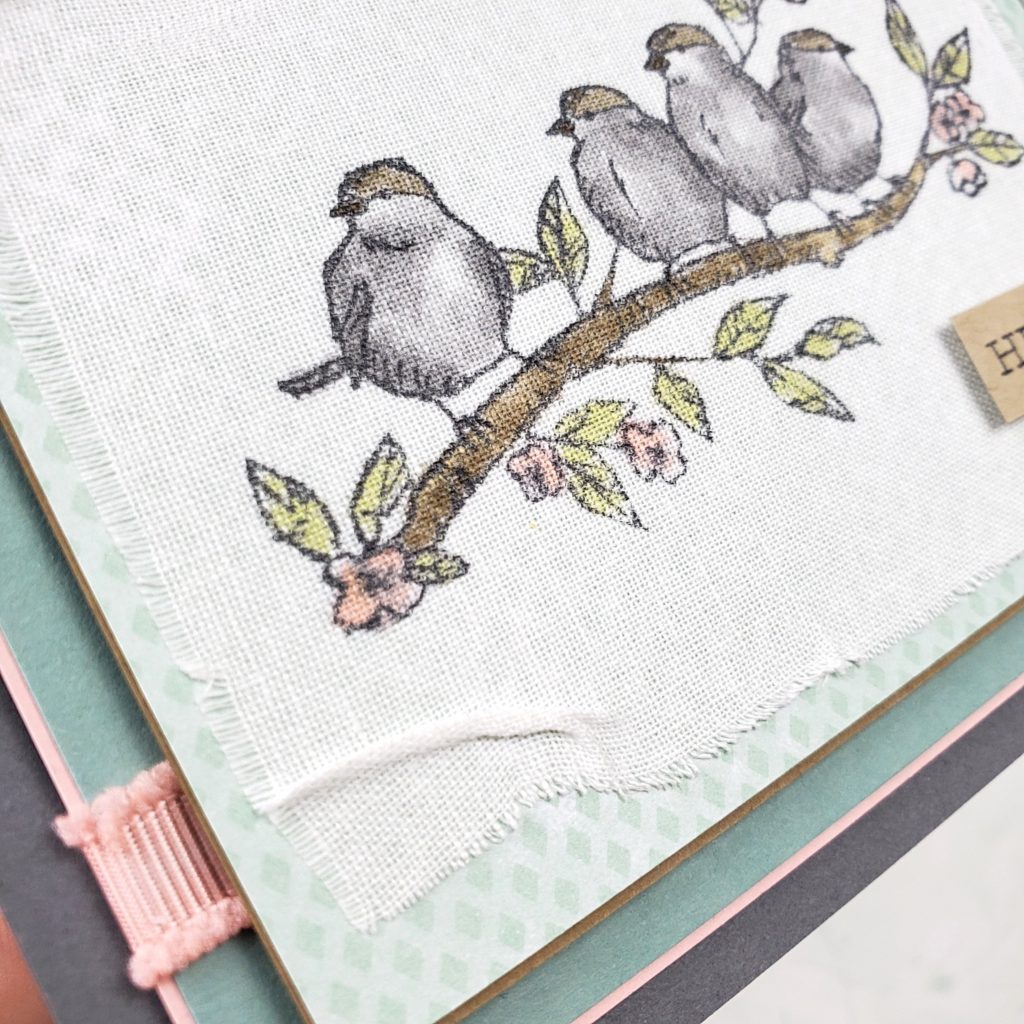
I can’t believe that I haven’t used the Linen Paper from Stampin’ Up!®️ until now! It was so much easier than I expected to use this adhesive-backed fabric. It’s fantastic!

I started by stamping the bird image on the Linen Paper with Jet Black Stazon Ink. Because this is an alcohol-based ink, I felt that it would be less likely to bleed on the fabric. As it turns out, my exploration of this unique paper showed me that the Tuxedo Black Momento ink also works great!

Colouring Tips

Stampin’ Write Markers and Stampin’ Blends Markers were both used to colour my birds. While the Stampin’ Write Markers seemed to place the ink where I wanted it to go, the ink from the Blends Markers would spread. Using a feather-light touch, I was able to control the spread of the Blends Markers ink and have it work for me instead of against me.

After using the Stazon ink and Blends Markers on the birds, I stamped the little blossoms on the Linen Paper. I coloured them with the Blends Markers, but with a heavier hand and discovered that it caused the Stazon ink to bleed and mix with my colour. This isn’t really surprising, considering that Stazon and the Blends Markers are both alcohol-based inks. However, what was surprising was that the markers didn’t cause the Stazon lines on my bird image to bleed. The lesson here is that a light touch while colouring reduced the risk of bleeding the lines, while the heavy hand increases the risk.

In the end, if you use Momento Tuxedo Black ink when colouring with the Blends, you won’t have to be concerned with this happening.

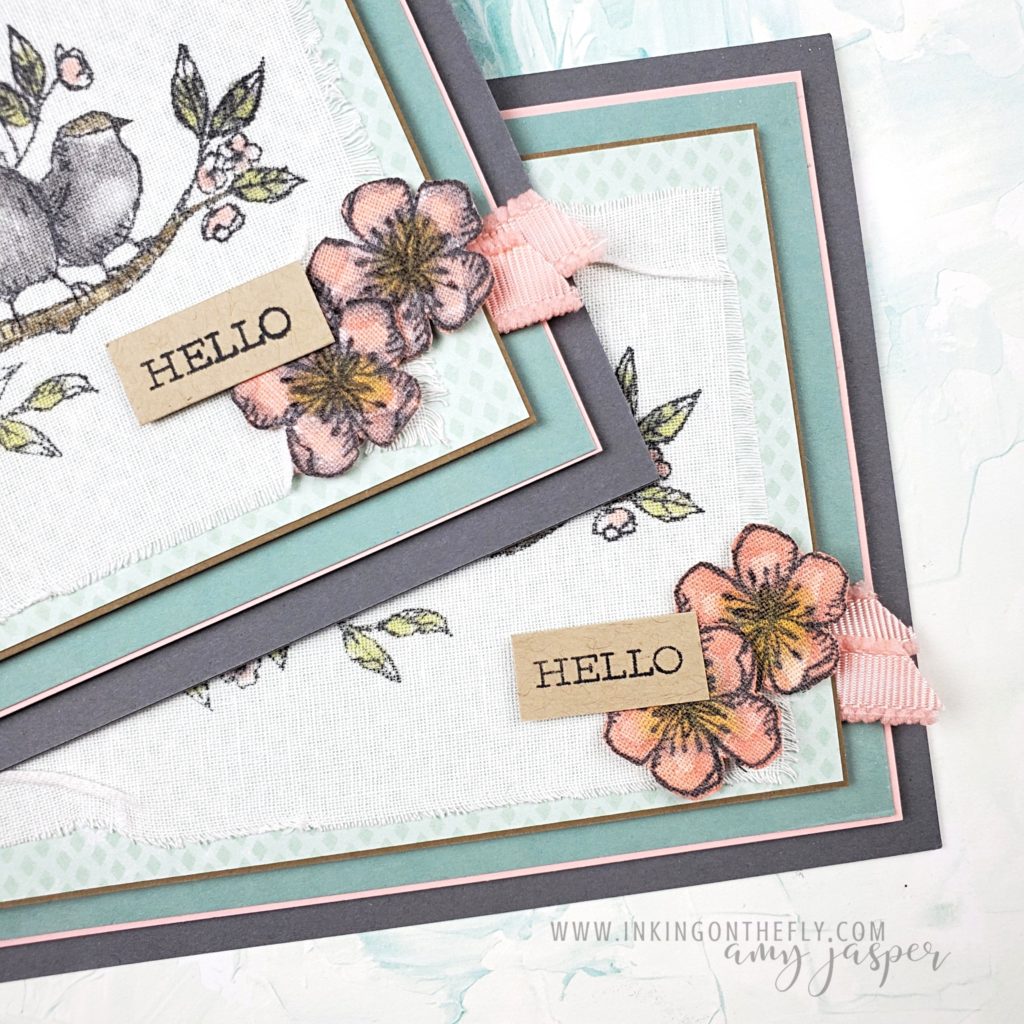
You can see in the image above, the difference in my flowers. The flowers on the left were stamped using Stazon ink and coloured with the Blends Markers. Comparatively, the flowers on the right were stamped using Momento ink (water-based ink) and coloured with the Blends markers. Voila! Crisp lines and clean colours!

New products available today!

When I made this card, the Whimsy & Wonder Designer Series Paper and the Blushing Bride Frayed Grosgrain Ribbon were not yet available. Today, they ARE!! New products and the summer Sale-a-bration are both launching today. Go to my online store to see the new products. You will also be able to order the Free As A Bird stamp set, the Linen Paper and all the inks and papers used to create this card.

Every $60 of product that you order allows you to get a FREE Sale-a-bration item. This is a great time to stock up on your favourite products and get free stuff.

Watch the video

Follow along or skip to the good parts to observe my colouring technique and how I frayed the edges of the Linen Paper. You’ll see a few more colouring tips and tricks.
Bloomin’ Fast

One of my favourite challenges that we do at the As You See It Challenge blog is the speed challenge! If you haven’t tried the speed challenge yet, I strongly encourage you to give it a whirl!

Here’s why:

  1. Forces you to think fast, exercising your creative muscles – My usual design style is to overthink it. I trial and error different colour combinations, I’m indecisive about placement of accent elements, I end up removing an entire card front just so I can try it on a different colour, and I often just change my entire plan and do something completely different! When I do a speed challenge, it helps me to learn to trust my instincts and reject my unhealthy perfectionism.
  2. Takes very little time out of your day – you need a few minutes to plan in your mind what you want to make, then gather your stamps, putting them on their acrylic blocks, have your ink pads and tools close, and have the paper (whole sheets, because cutting before you start the clock is a big no-no) and your paper trimmer ready. Then you have 10 minutes or less to actually make the card! Total time is maybe 15 or 20 minutes!
  3. Is a great jumping-off point – I’m often not completely satisfied with the cards I design during a speed challenge, but one thing that always happens, whether I like my design or not, is inspiration for a design based on my speed challenge process. I’ll like an element on my super-fast card and will use that on the next card I make. The speed challenge jump starts my creative mojo!
  4. It starts your creative engine – Do you ever feel like you’re not really “into it”? You feel blah and can’t find any inspiration on Pinterest or your favourite blogs? You scroll and scroll and scroll … and scroll. When you’re experiencing a creative slump, try a speed challenge. It will get your blood pumping again and increase the creative mojo flow into your brain. I don’t have any actual research to back me up on this, but I bet if we studied our brain before and after a speed challenge, you would find an increase in endorphins and dopamine.
  5. You get better at it – I mentioned above that I’m often not satisfied with the final result of a speed challenge, but you know what? … I’ve improved. I used to like the resulting cards about 20% of the time, but now that I’ve had more practice and completed quite a few speed challenges over the years, I find that I’m really happy with my finished cards about 80% of the time. I think that’s pretty cool!

The challenge over at the As You See It Challenge blog today is a speed challenge to make a card in less than 10 minutes with a blossom theme. Blossoms are a perfect choice for March here in beautiful BC as the crocuses and early bulbs are starting to bloom and we are so looking forward to the blossoms on the fruit trees!

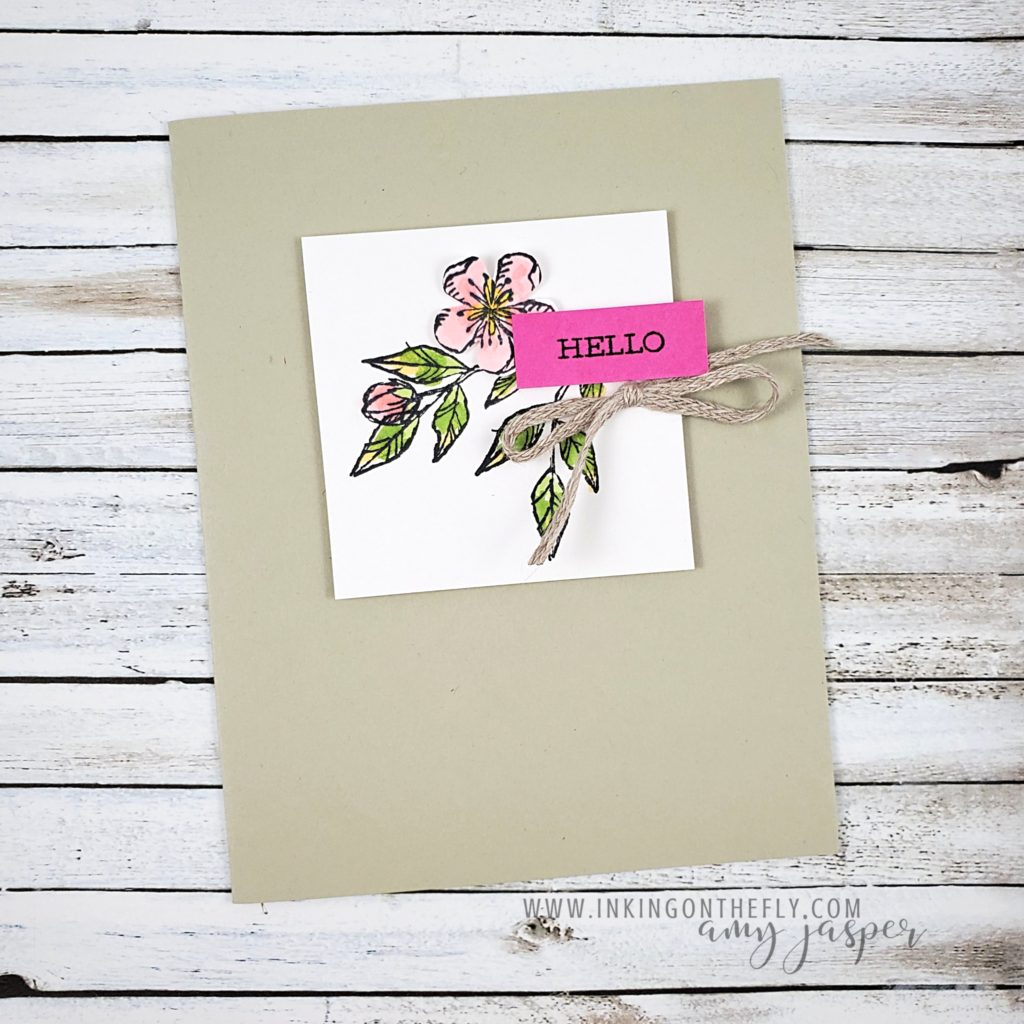
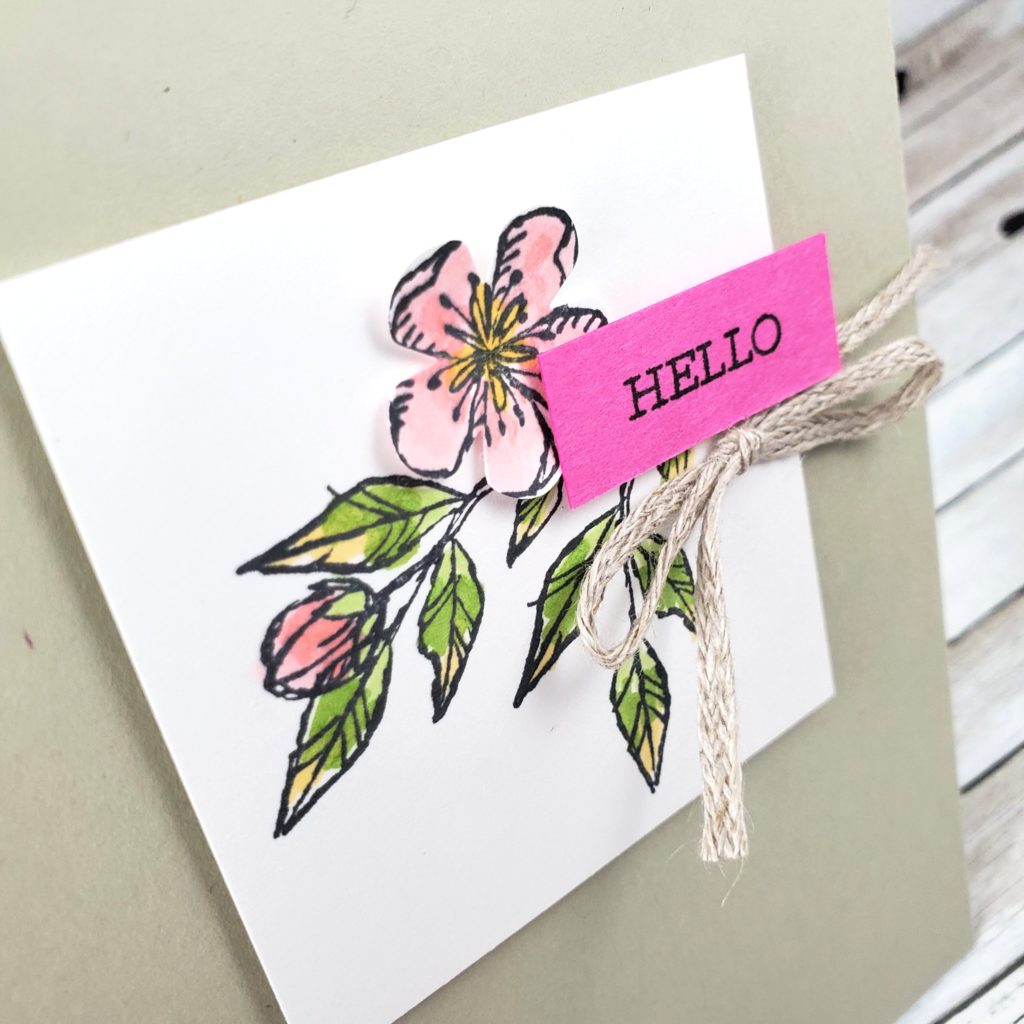
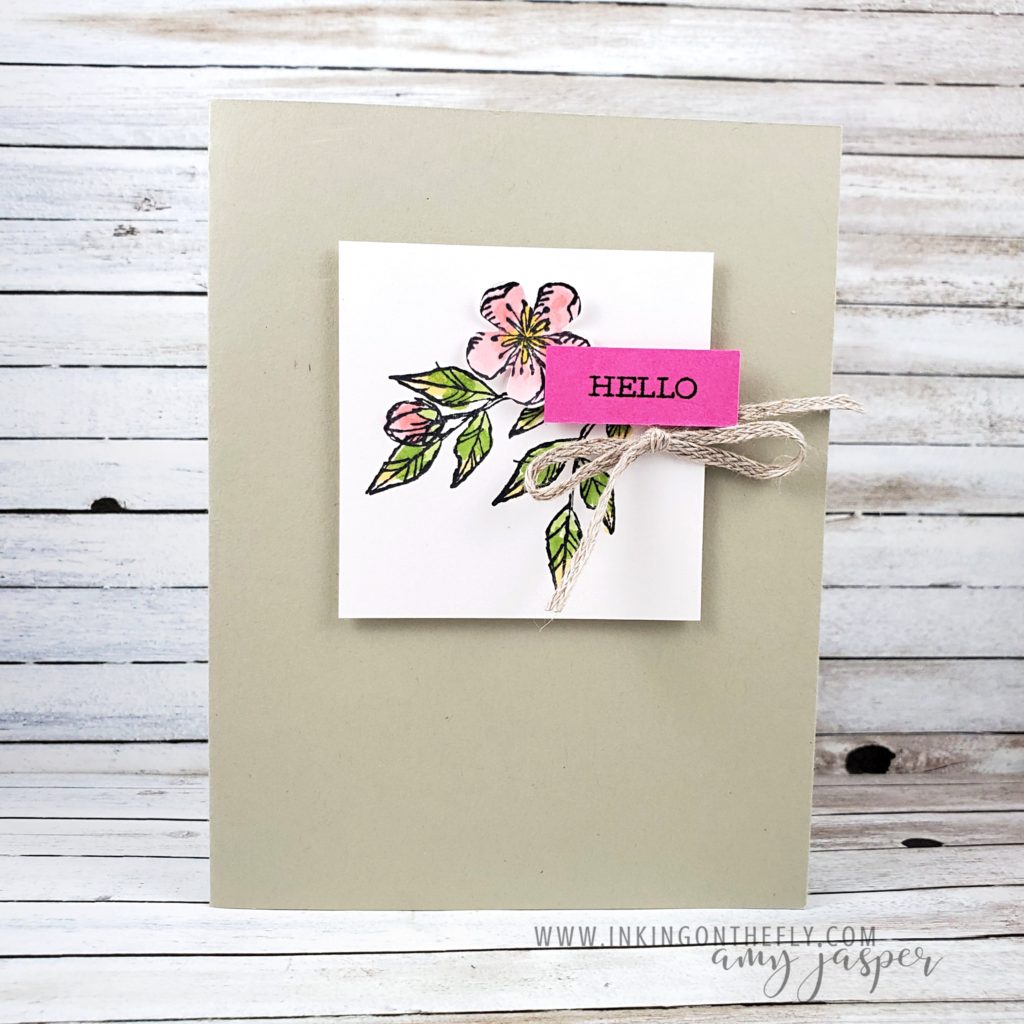
The flowers on my card are from the Free As A Bird stamp set from Stampin’ Up! I started the stopwatch on my phone and stamped the images in Tuxedo Black Momento Ink on Basic White cardstock. I used the Small Bloom Punch to punch out the larger blossom, then used my Flirty Flamingo, Mango Melody, Granny Apple Green, and Daffodil Delight Blends Markers to colour the blossoms and leaves. The Color Lifter on the larger blossom helped to soften the Flirty Flamingo a little bit.

9 minute and 44 seconds – just under the wire! Phew!


After my “bloomin’ fast” colouring, I trimmed the Basic White cardstock down to a square and used Stampin’ Dimensionals to attach it to the Sahara Sand card base. I stamped the sentiment on the Magenta Madness cardstock and cut it down to the size I wanted, attaching it to the Basic White square with more Stampin’ Dimensionals.

I tied a piece of Linen Trim into a bow and attached it and the larger punched out blossom to the card with Mini Glue Dots.

The final result is one that I can give to someone just to say hi and let them know that I’m thinking of them.

I might play around with this idea again and see if I can tweak the card base a bit. Maybe an embossing folder to add texture or maybe stamping a couple more leaves to the card base, peeking out from under the Basic White square. I’m feeling inspired with this particular jumping-off point, but I’m also happy with how this turned out. It’s a win-win!