Gorgeous Grunge

What Wood I Do?

078header

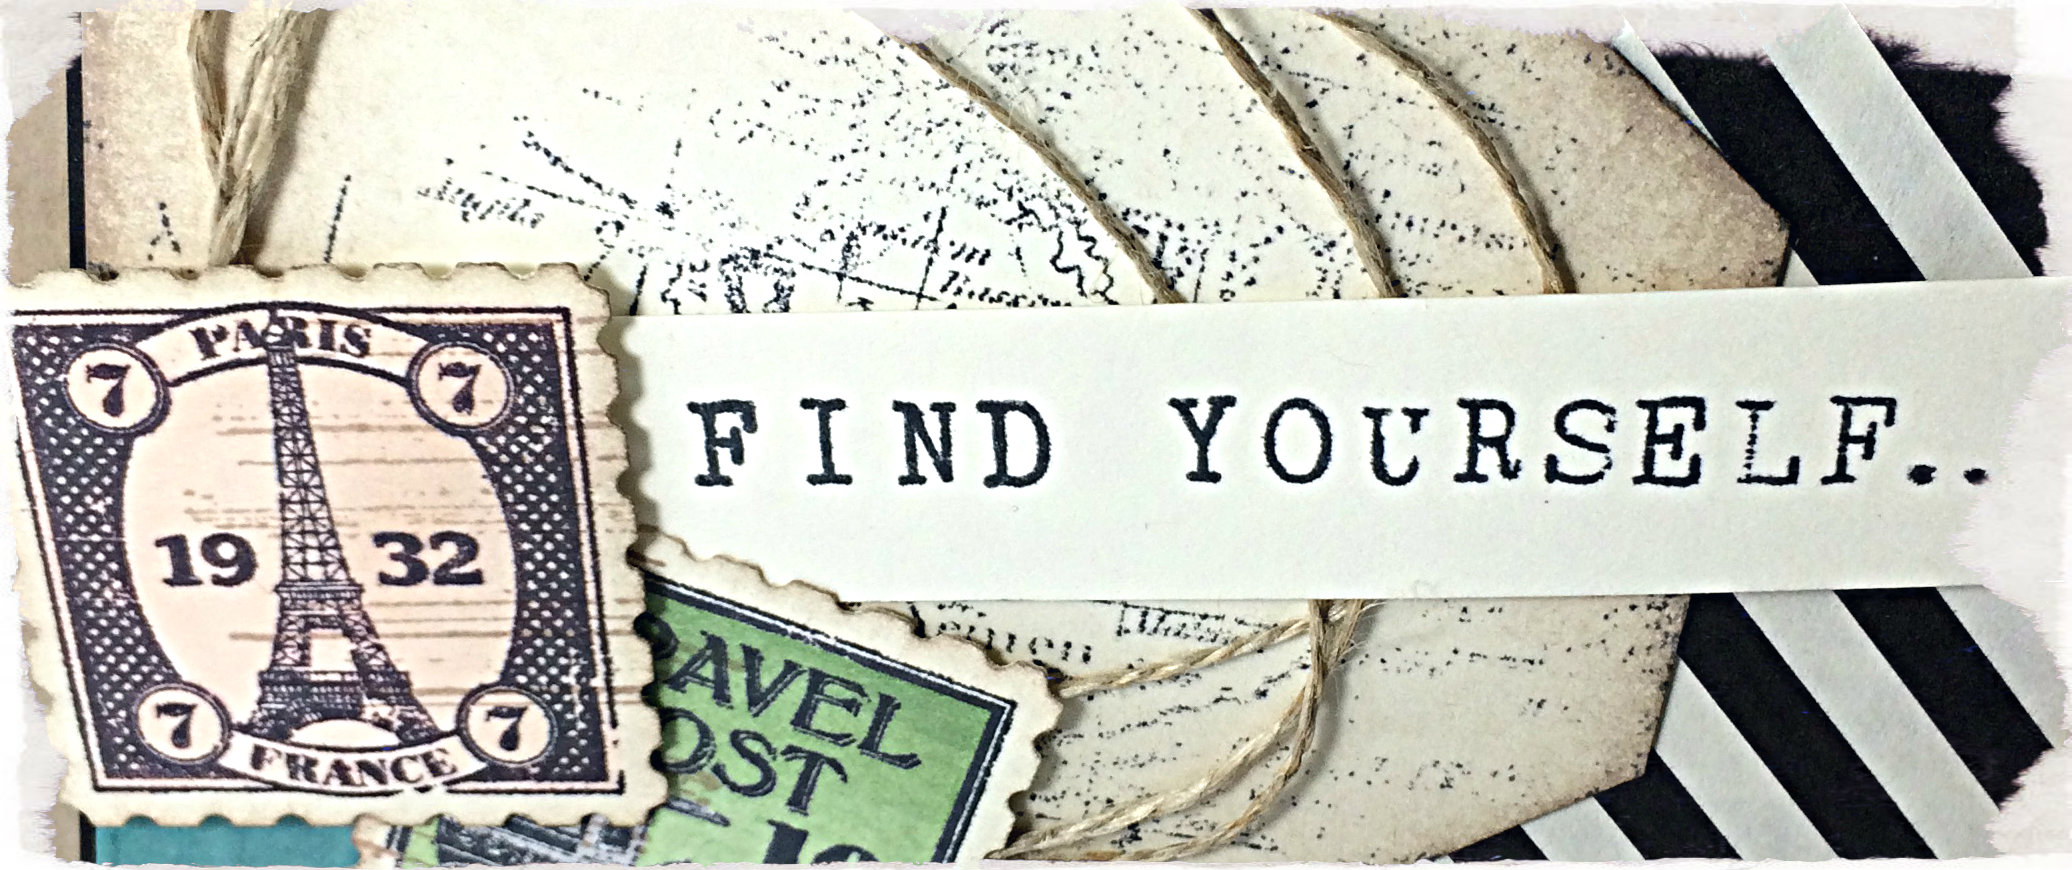
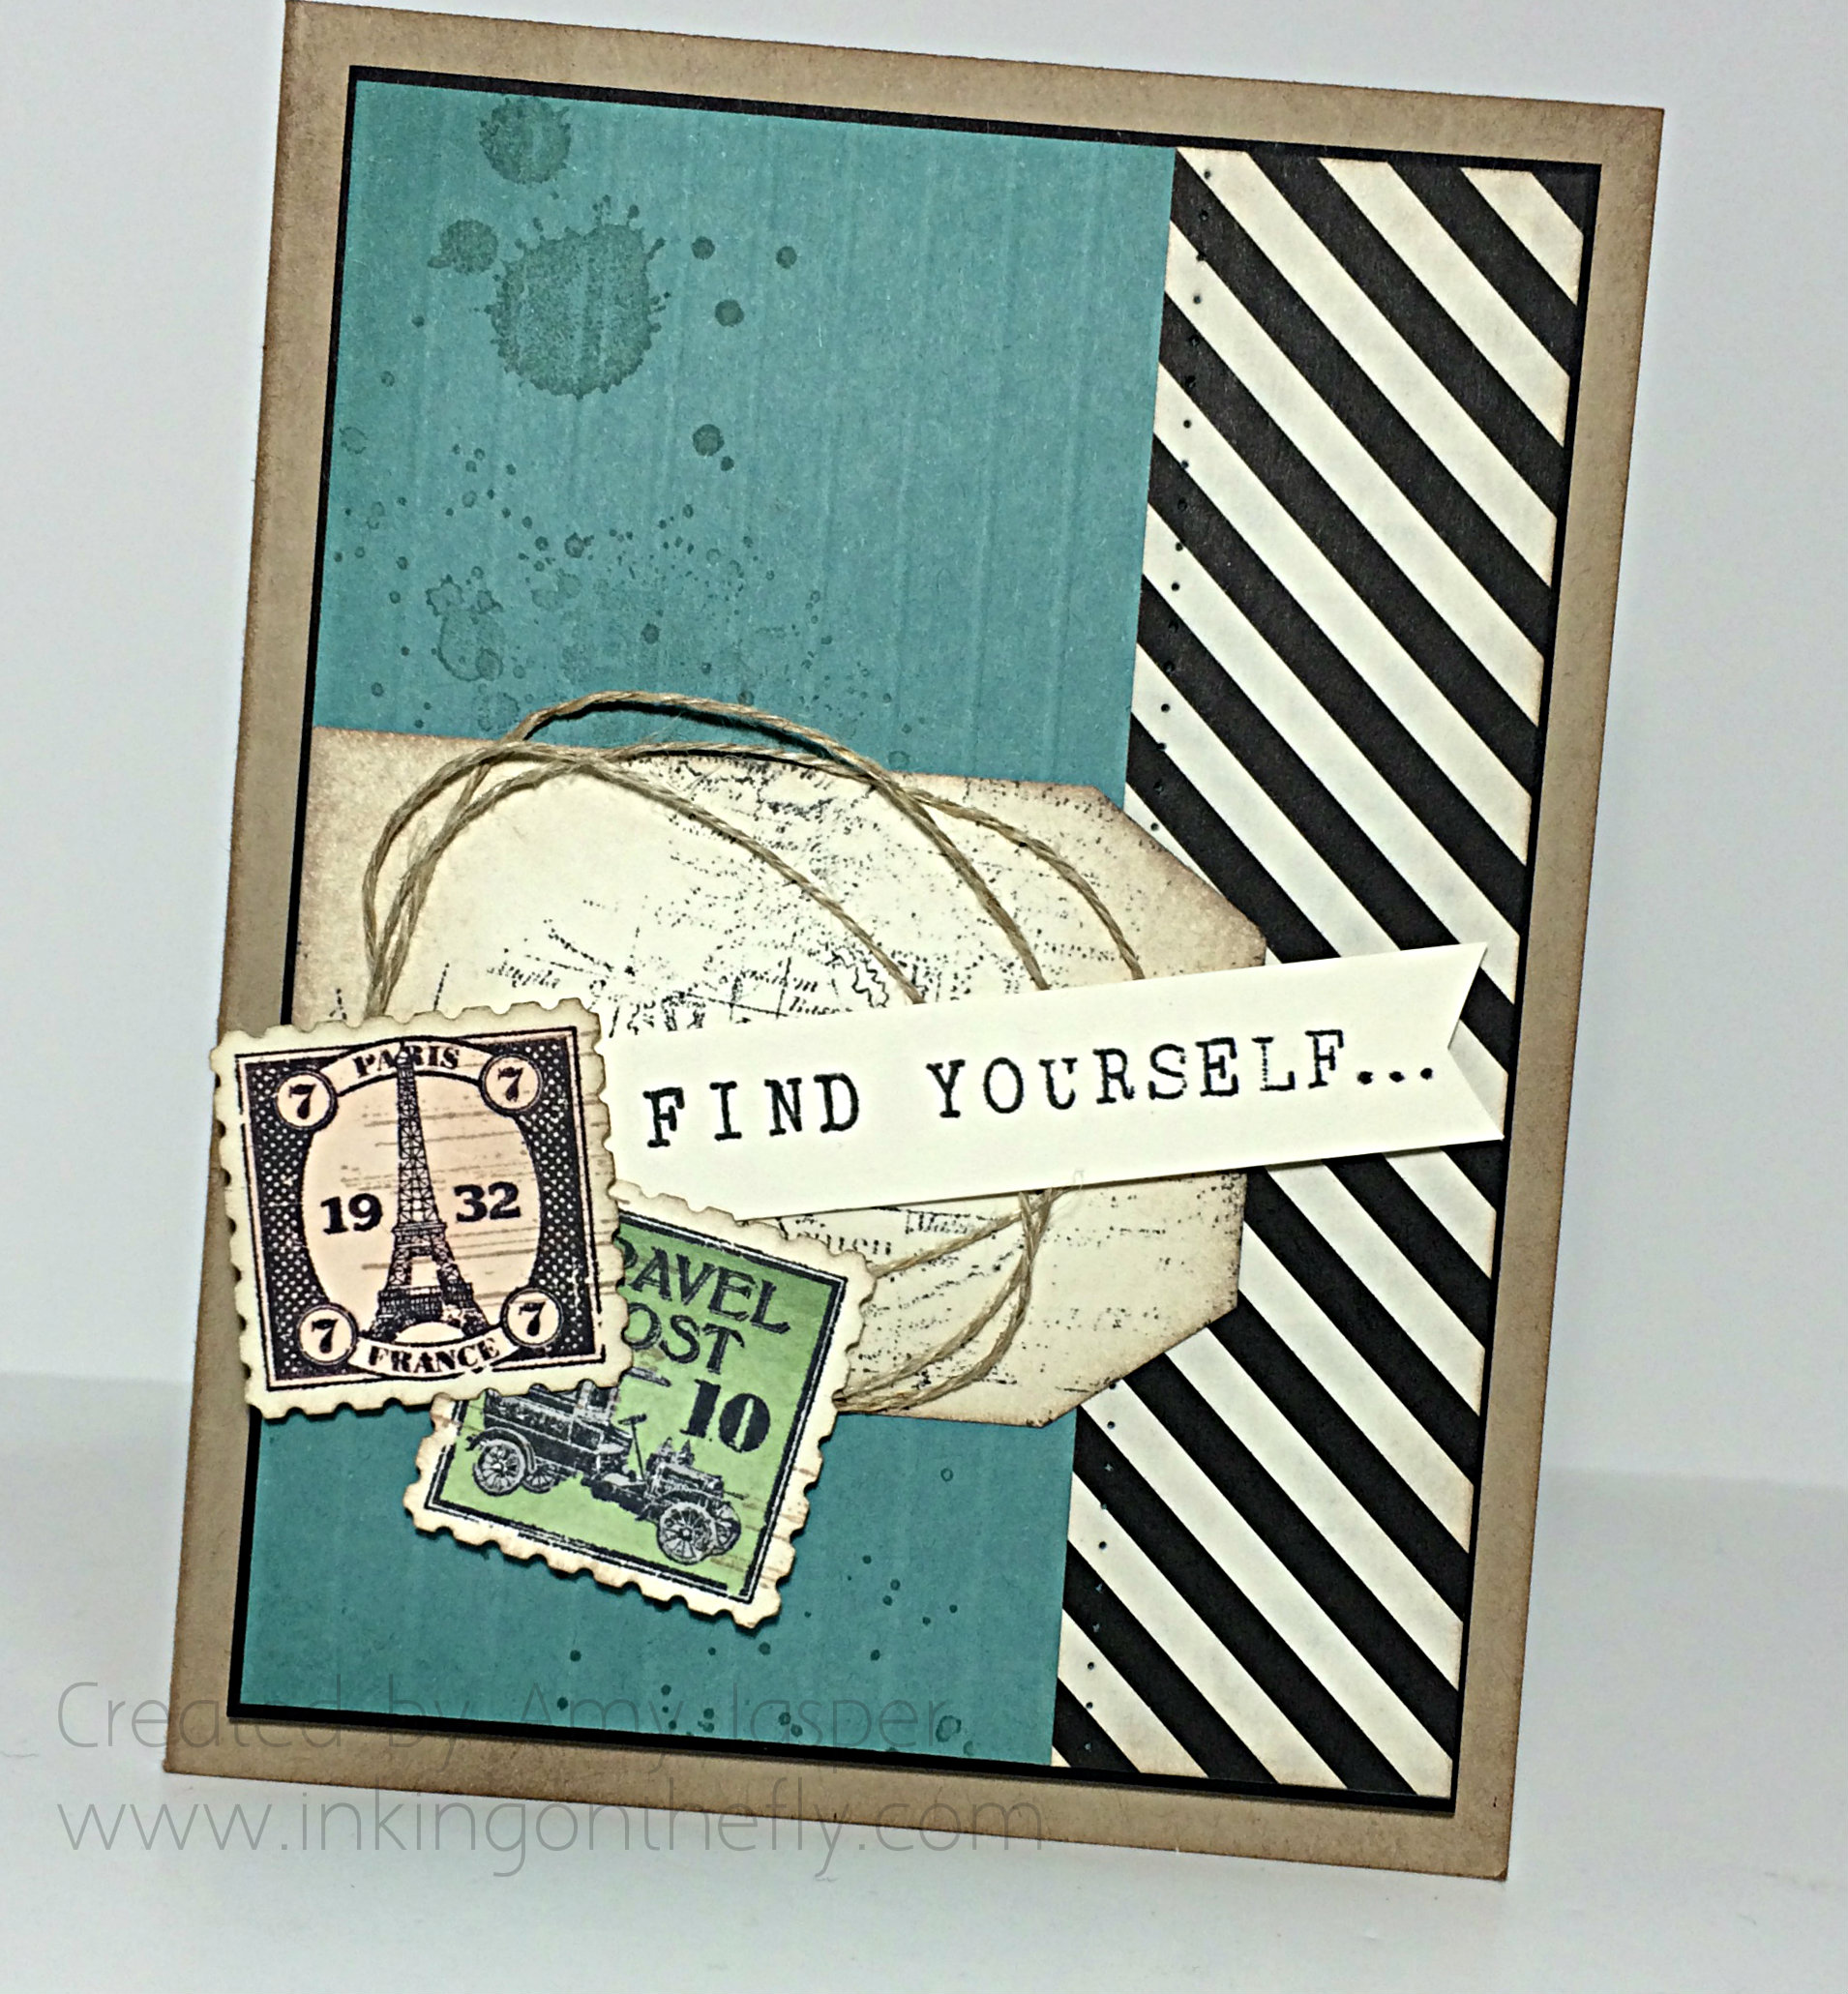
I just love the Adventure Bound paper stack. The photographic images mixed in with the simple patterns make it very versatile. Check out how I used it along with the Alphabet Rotary stamp to make a punny thank you card!

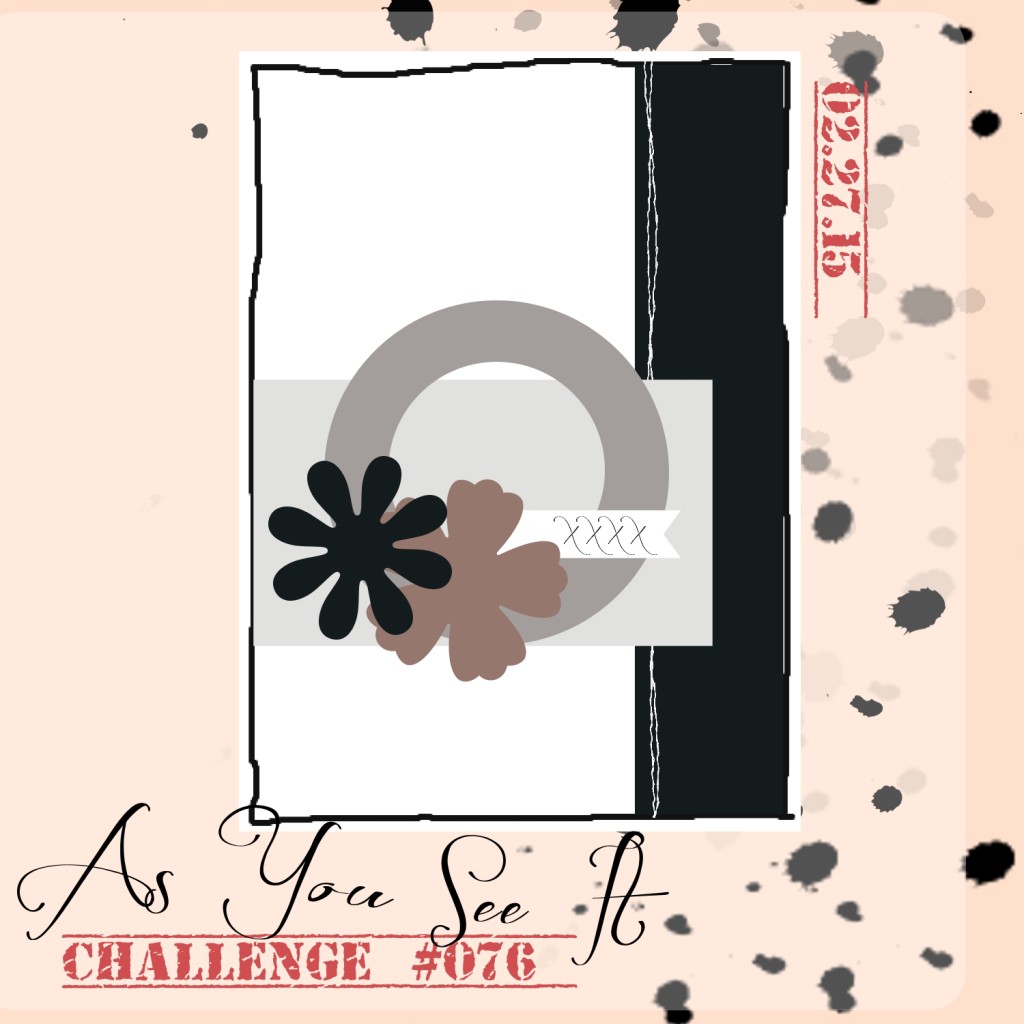
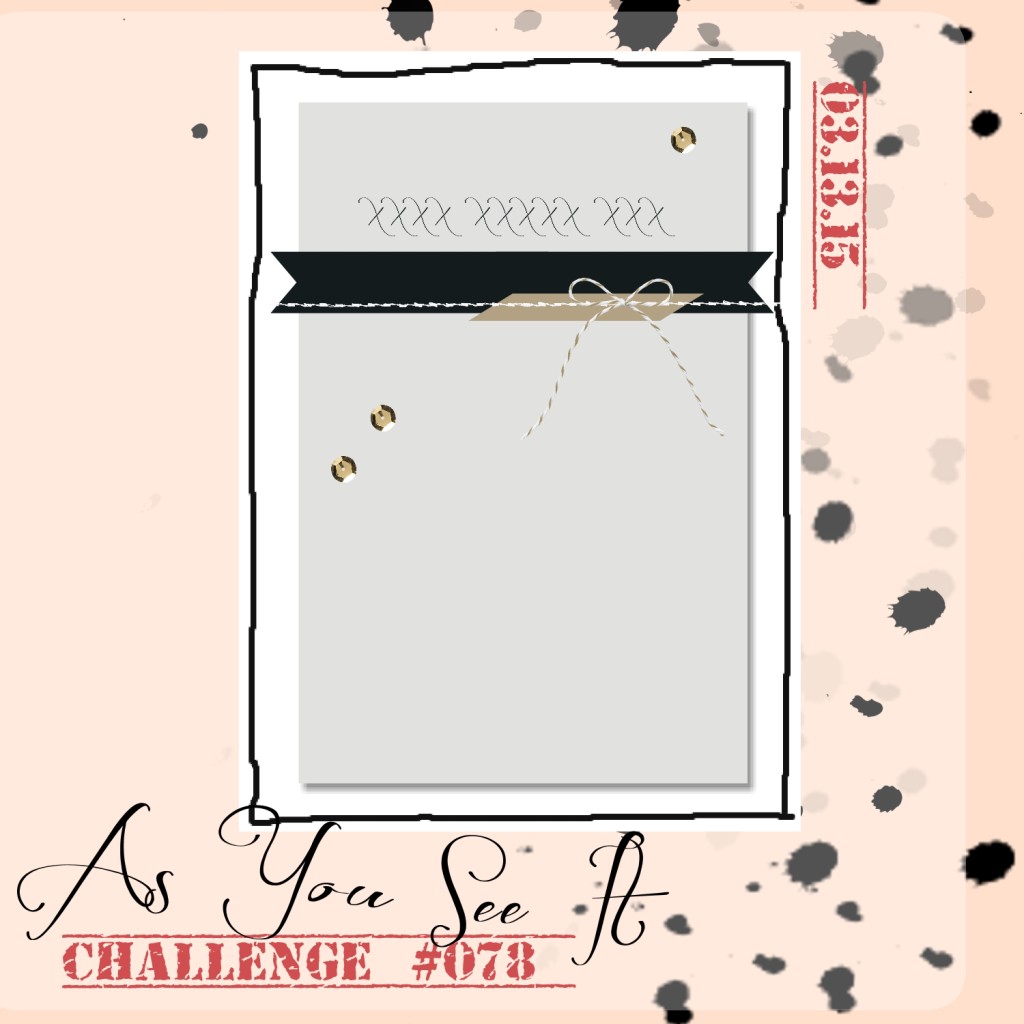
I started with this sketch from the As You See It Challenge this week:

AYSIChallenge078-1024x1024

I chose a masculine theme to create this card for the wonderful men in my life who I would be absolutely lost without – men in my family and my church who always amaze me with their willingness to help in whatever way that they can. They are moving furniture, digging holes, repairing computers, picking up groceries, putting up the trampoline, building basements, lending tools, or offering a word of encouragement.  I am frequently surprised by their willingness and even eagerness to do something out of the kindness of their heart. It overwhelms me with gratitude.

This card was created with some of these men in mind.

078Amy

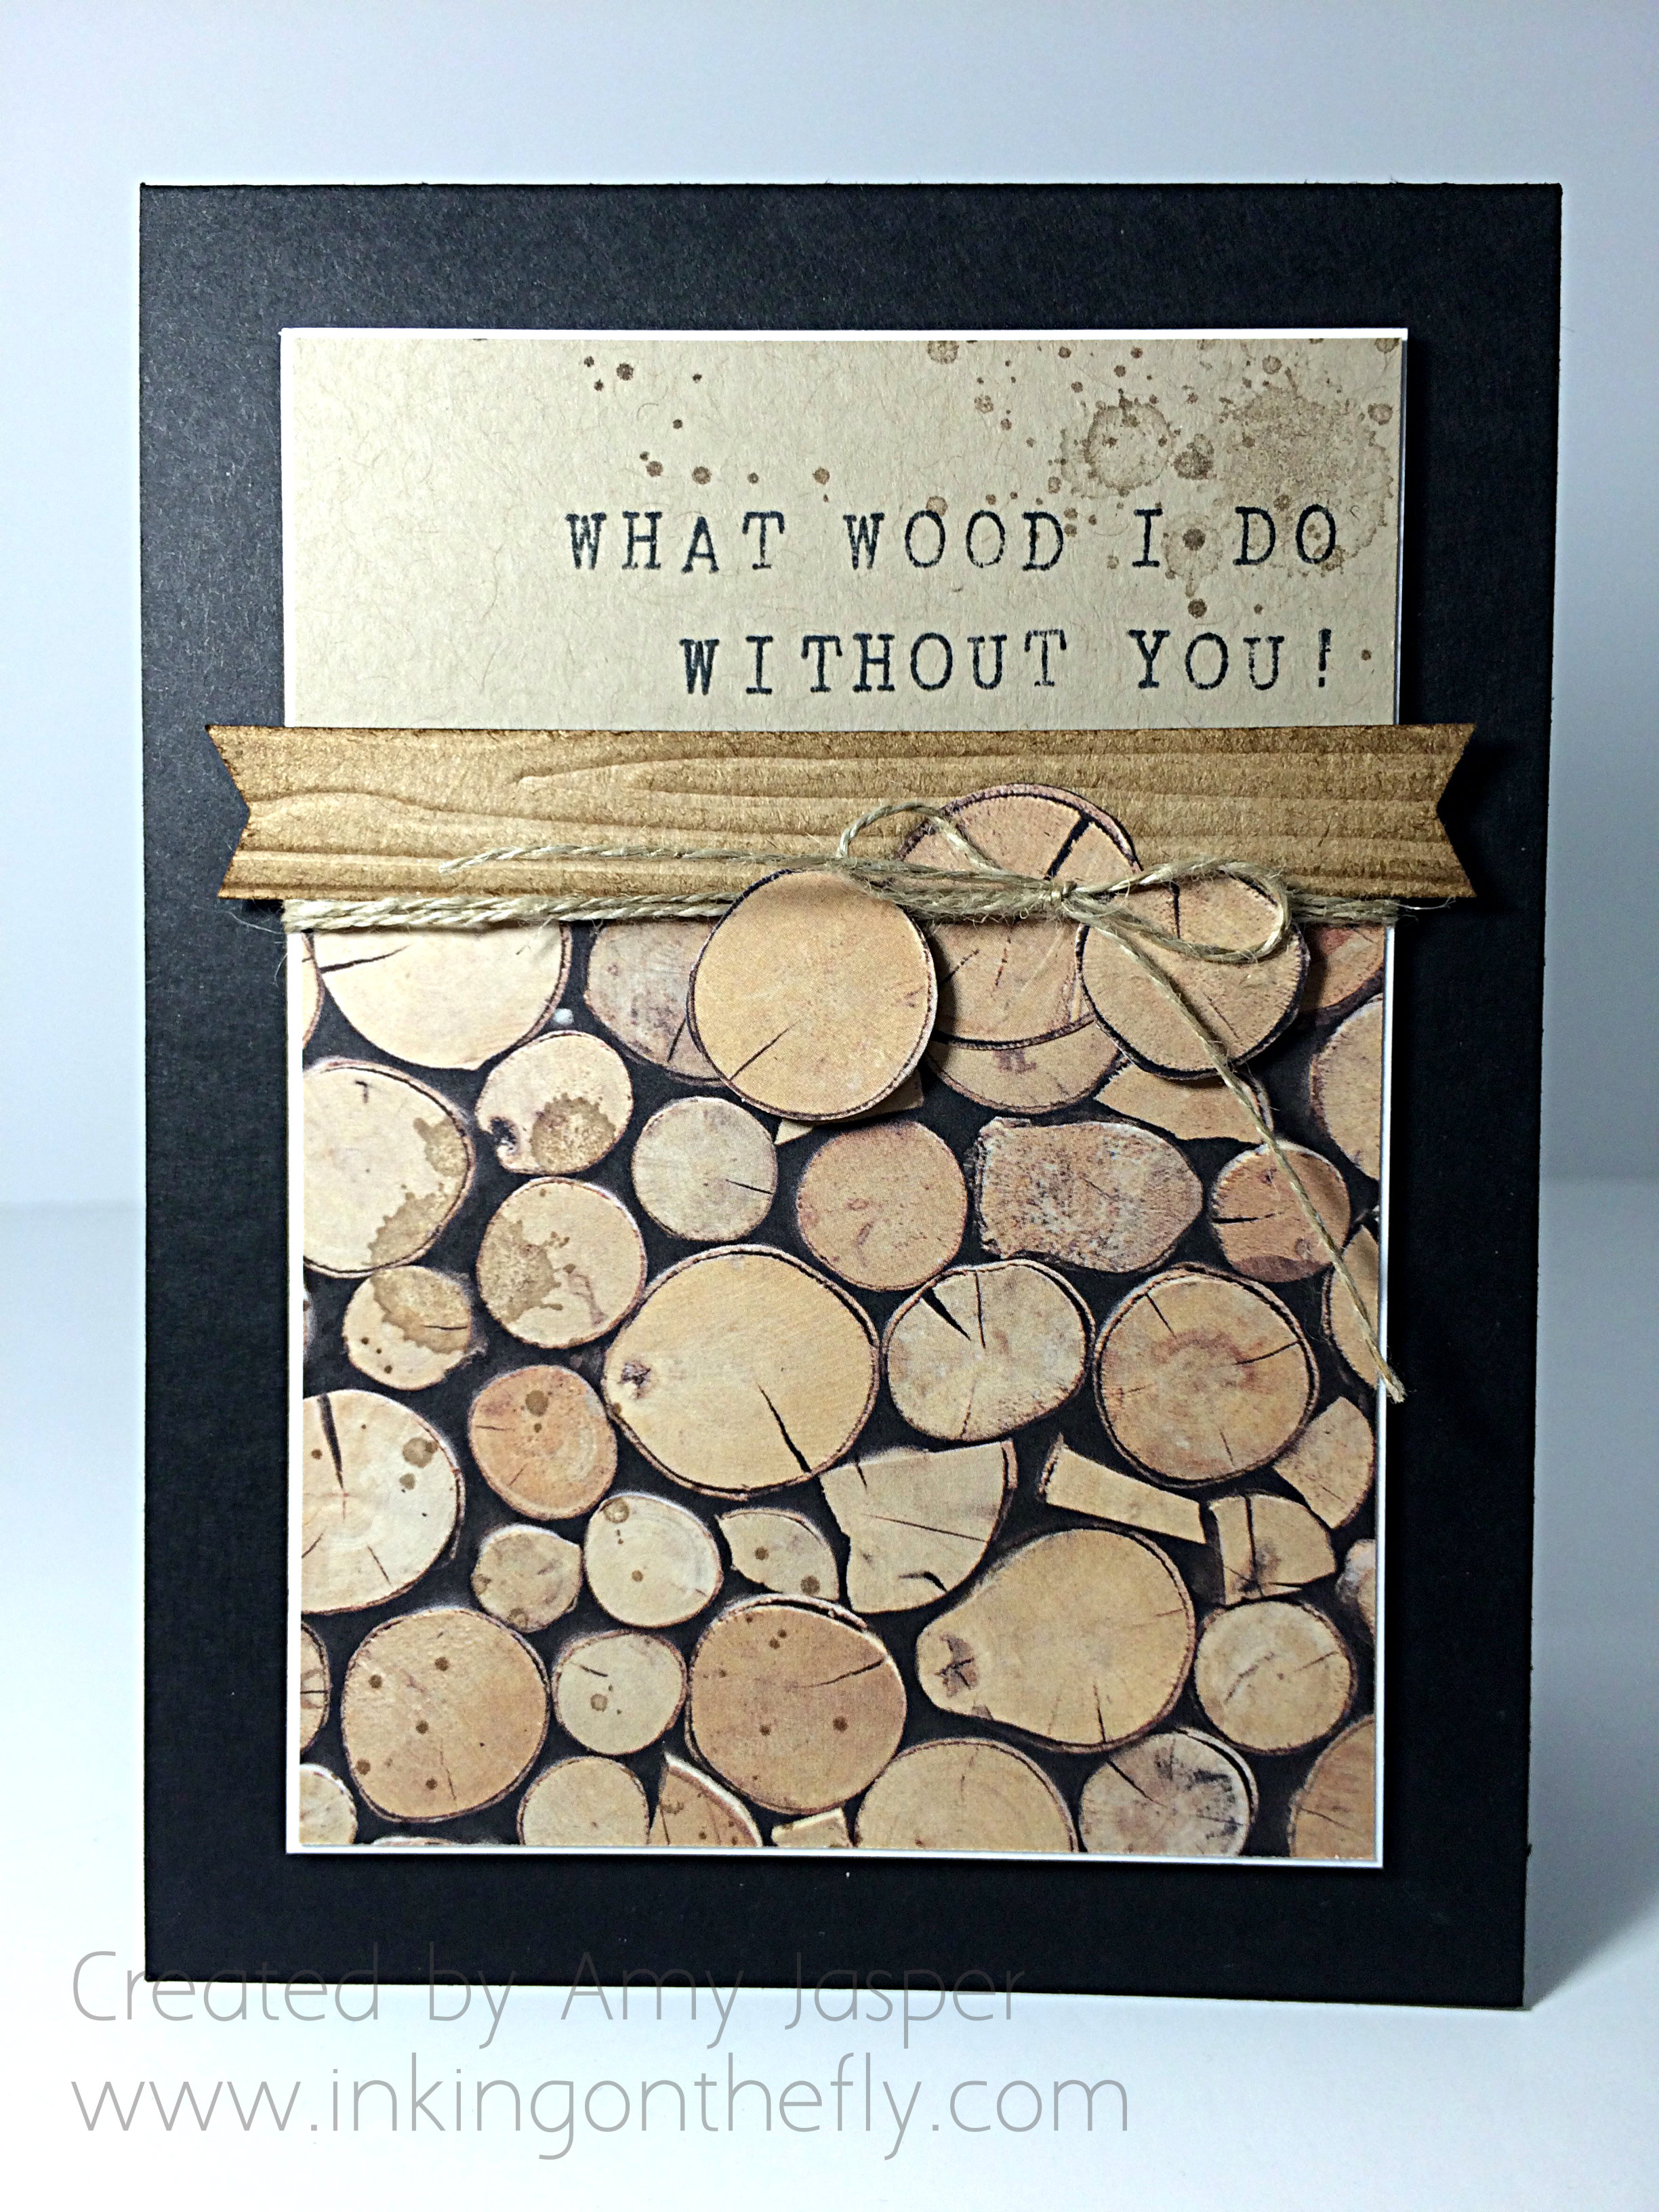
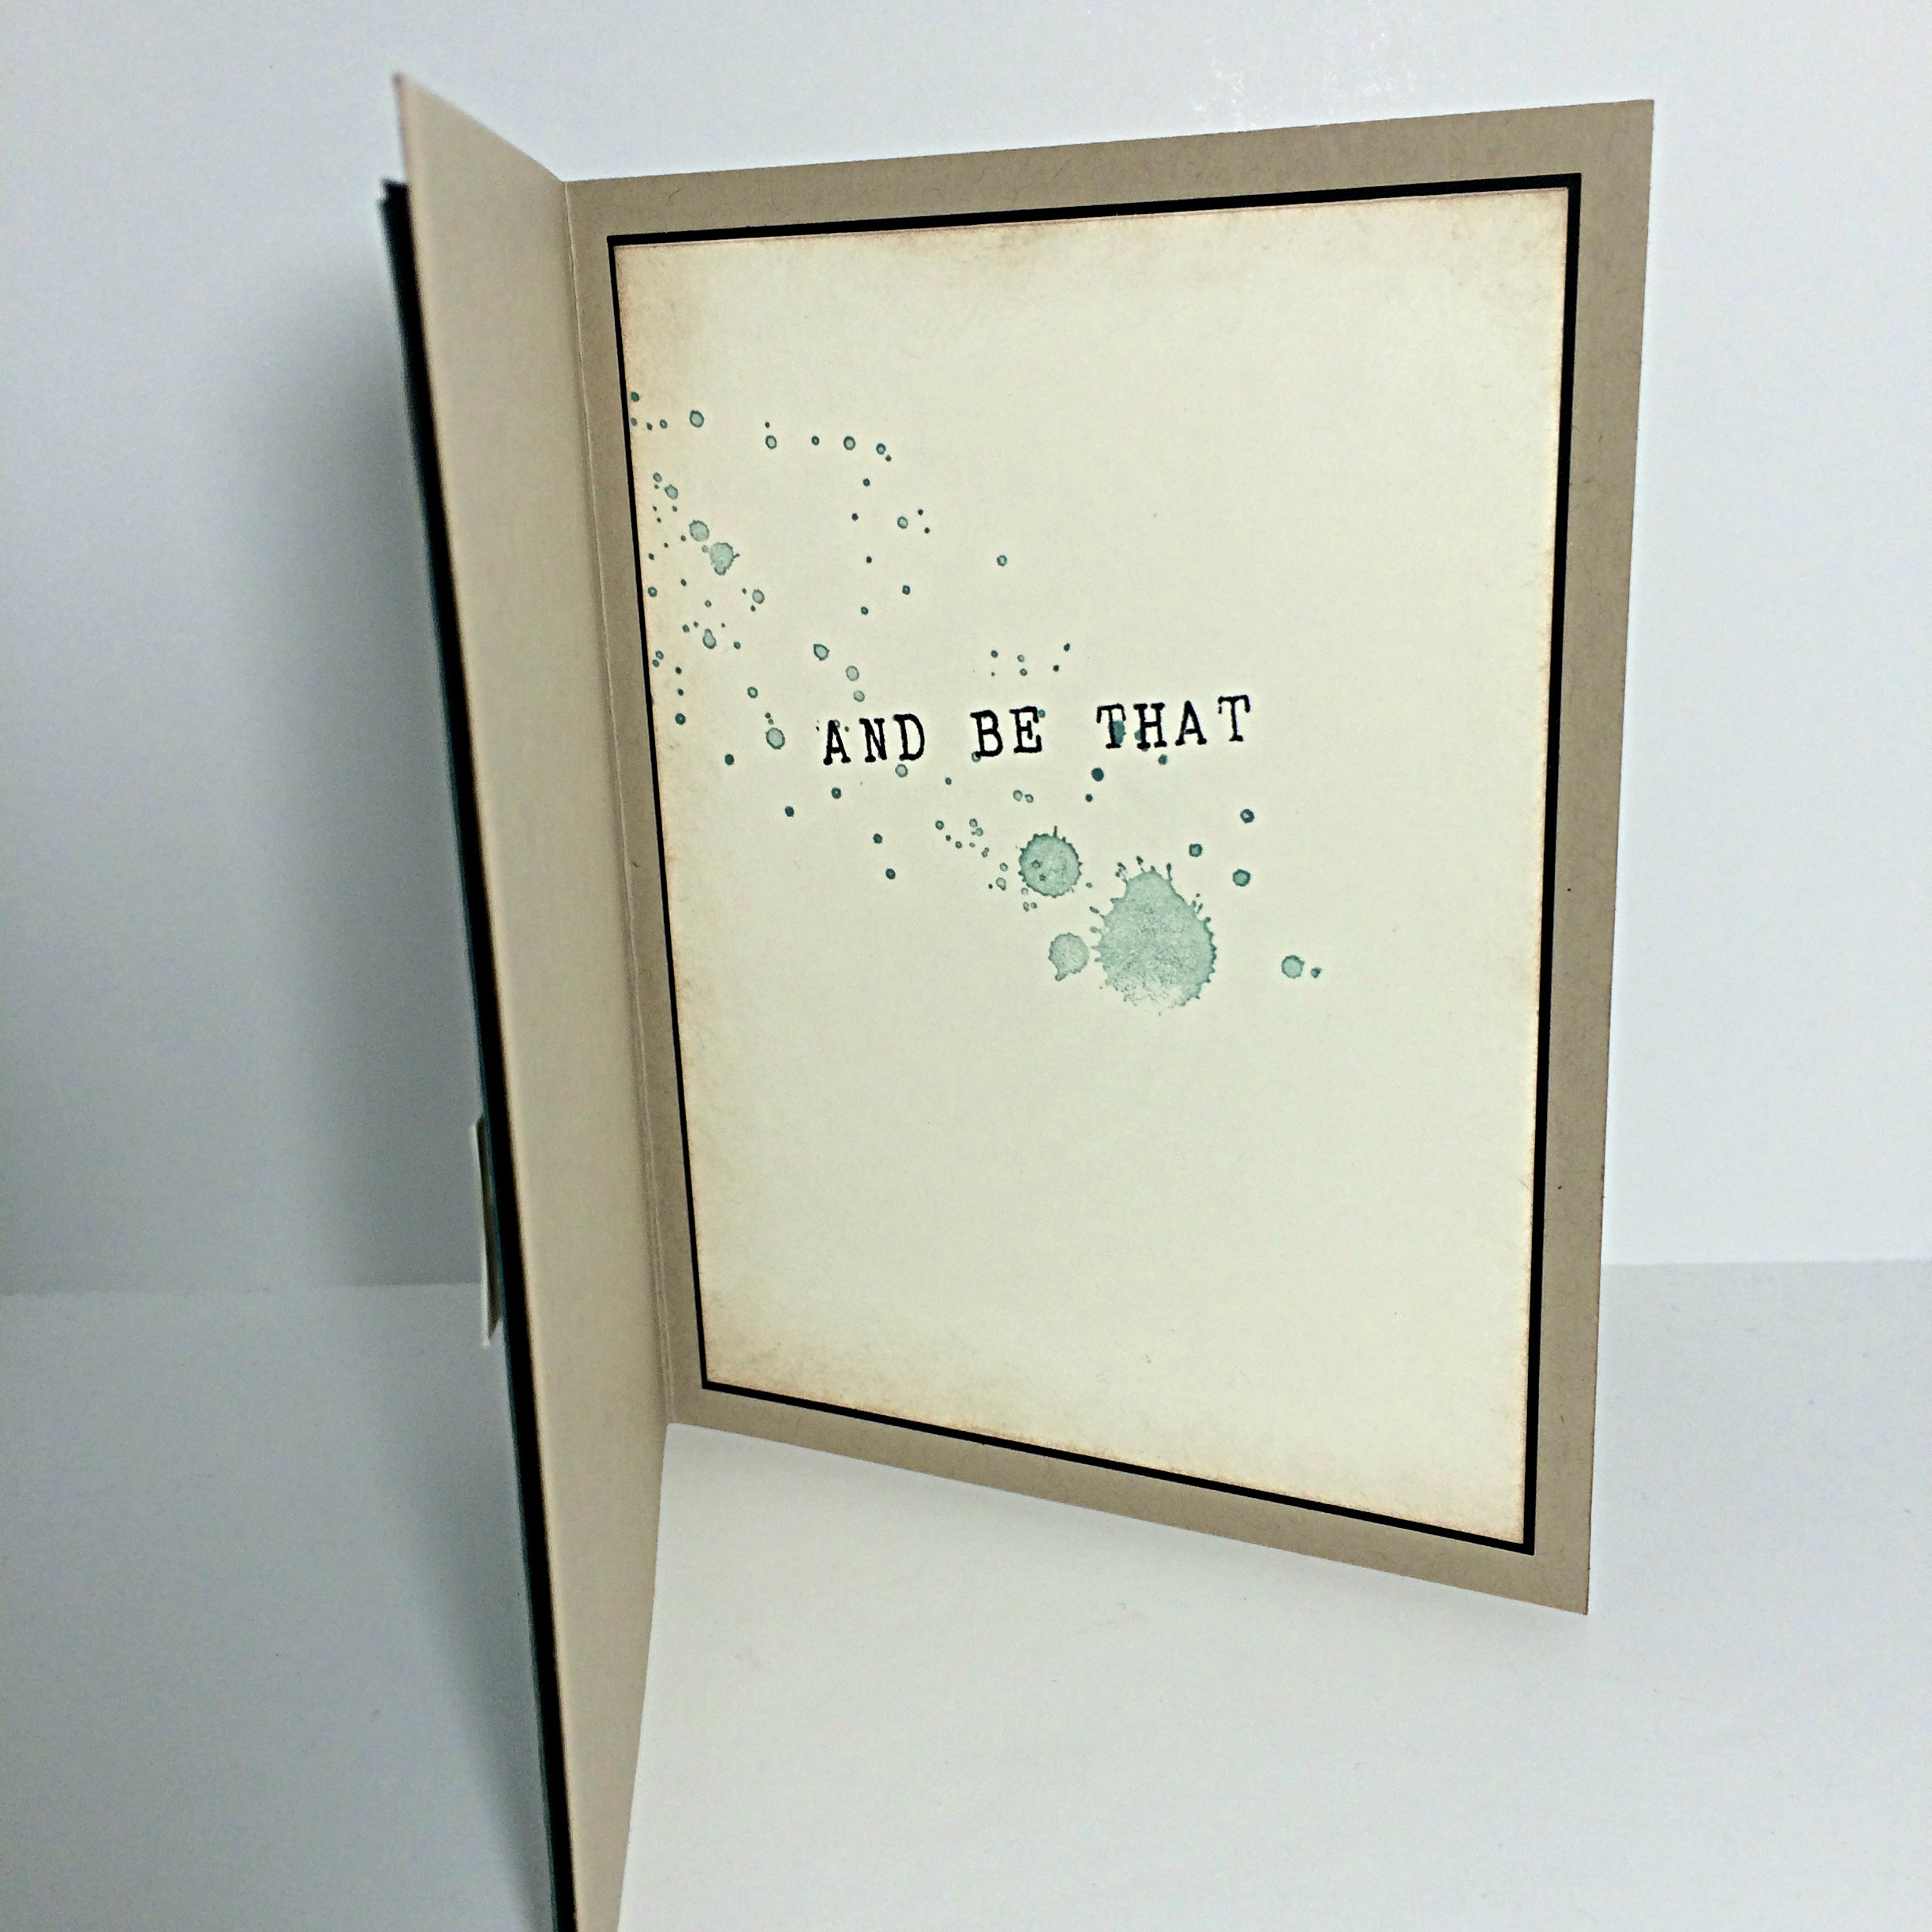
I haven’t completed the inside, but it would likely carry on the pun by saying “I don’t know, but the odds are probably stacked against me!” (ok, its a groaner, but I feel very clever right now, lol!)

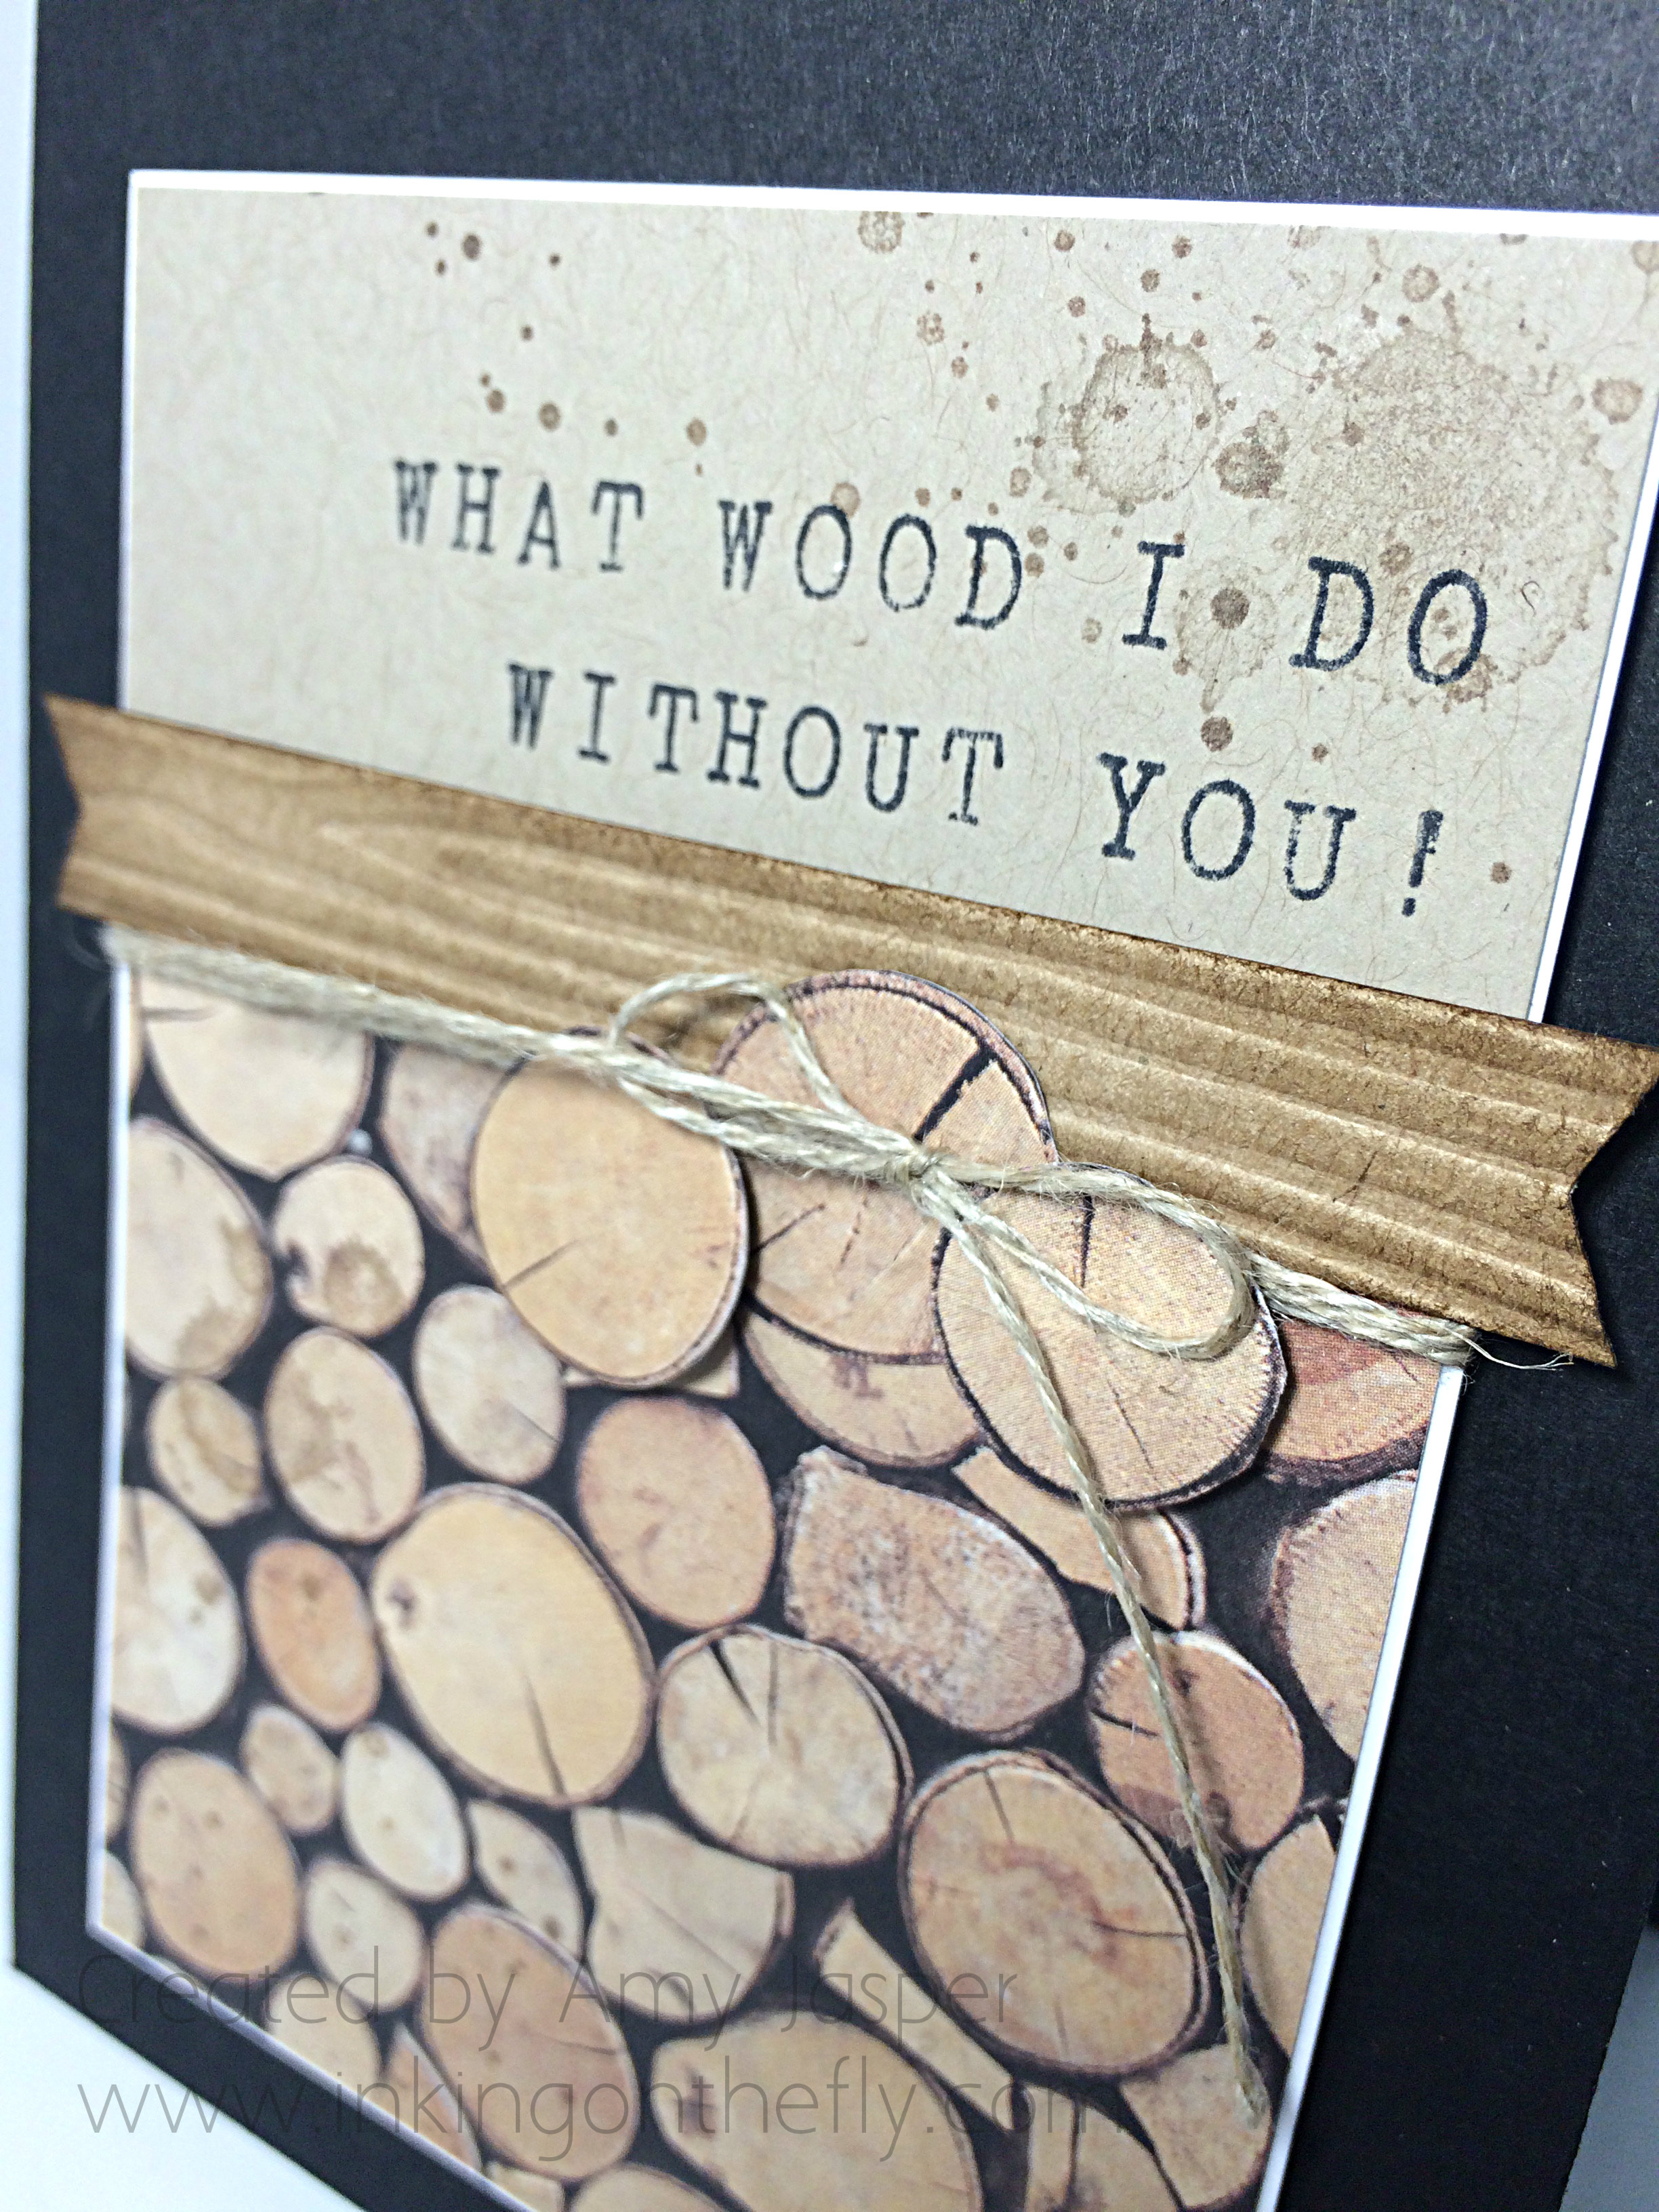
Whisper White cardstock was used to thinly matt the Adventure Bound Designer Series paper (wood pile image) and the Crumb Cake cardstock. The Alphabet Rotary Stamp was used to create the sentiment. I chose a piece of Kraft cardstock for the banner that I dry embossed with the Woodgrain Embossing folder and sponged lightly with Soft Suede ink to bring out the ‘grain’. I then hand cut some wood pieces out of another scrap of the wood pile paper from the Adventure Bound stack and added those along with the Linen Thread for embellishment. I wasn’t sure what to use to represent the 3 sequins in the sketch, but decided to simply add some splotches with the Gorgeous Grunge stamp set in Crumb Cake ink. I used Stampin’ Dimensionals under a couple of the wood cut out pieces as well as under the entire Whisper White cardstock layer to adhere it to the Basic Black card base.

078angle

I hope you’ll try this sketch from As You See It and share your project on the blog for us. We’d love to see what you come up with!

Amy

Designer-Badge

Find Yourself

076header

The Alphabet Rotary Stamp from Stampin’ Up! offers so many possibilities!! This card began with As You See It Challenge #76 with some stripes and a late start. But I think it finished well.

AYSIChallenge076-1024x1024

I did this sketch once before. I tested it out and didn’t like my results. Sometimes, an idea doesn’t come out how you intended. Many times, my designs are a journey, but to where, I don’t know until I arrive, lol!

Here’s my card this week:

076Amy

076inside

Feel free to ask questions by leaving me a reply to this post!

Be sure to give the challenge a try this week. Hope to see your card on display on the As You See It Challenge Blog!

Amy


Designer-Badge

Bauble and Gold

065header

Every Friday I share a card with you designed specifically for the As You See It Challenge blog. I quite like the card I have for you today created with the Christmas Bauble stamp that I received as a free gift from the Abbotsford Fall Conference, the Holiday Invitation stamp set I received from the Inspire Create Share Stampin’ Up Convention in Utah, and my favourite Gorgeous Grunge stamp set of which I happen to have an extra set that I won at the Abbotsford Fall Conference. How awesome it that!!

AYSIChallenge065I love the simplicity that this sketch offers and I decided to go with it as a simple design, but with a LOT of colouring using my Stampin’ Up! Blendability markers and a bit of fussy cutting. I chose a Very Vanilla card base, on which I stamped two of the splatter images from the Gorgeous Grunge stamp set in the Encore Gold ink. Then I used a ruler and my Gold Dazzle marker to draw a frame directly on the card base.

065AmyThen I stamped the Christmas Bauble stamp on Very Vanilla card stock twice with Momento Tuxedo Black ink – once as a full image and once just for the center circle of the image. These I  coloured with the Cherry Cobbler and Old Olive Blendability markers and hand cut the image with my Paper Snips (LOVE these scissors!). I added a touch of the Gold Dazzle marker to the tiny dots on the image as well as some Cherry Cobbler Dazzling Details to the red holly berries and set that aside to dry.

The center circle has been given a layer of Crystal Effects, which I gave ample time to dry overnight before applying it to the Christmas Bauble with Stampin’ Dimensionals. I attached the bauble itself to the card base with Stampin’ Up! Dimensionals as well, then added the Linen Thread bow with a Glue Dot which I first rolled into a smaller dot so it wouldn’t show under the thin Linen Thread.

065closeThe sentiment from the Holiday Invitation stamp set was stamped on a strip of Very Vanilla card stock in Cherry Cobbler ink. I hand cut the flagged edge of the paper strip and slipped the end under the center circle of the bauble and secured it in place with Multipurpose Liquid Glue on the bauble side and a Dimensional on the flagged end.

And I love how it turned out! Have you ever hand drawn anything directly on your stamped card? I don’t do it very often but am pleased with what it added to this card.

Why don’t you give the challenge a try? We love to receive inspiration from all the designs that come in. So link up your card or project that you do with this As You See It Challenge sketch and show us what you came up with!

Amy

Designer-Badge