Spring Chicken
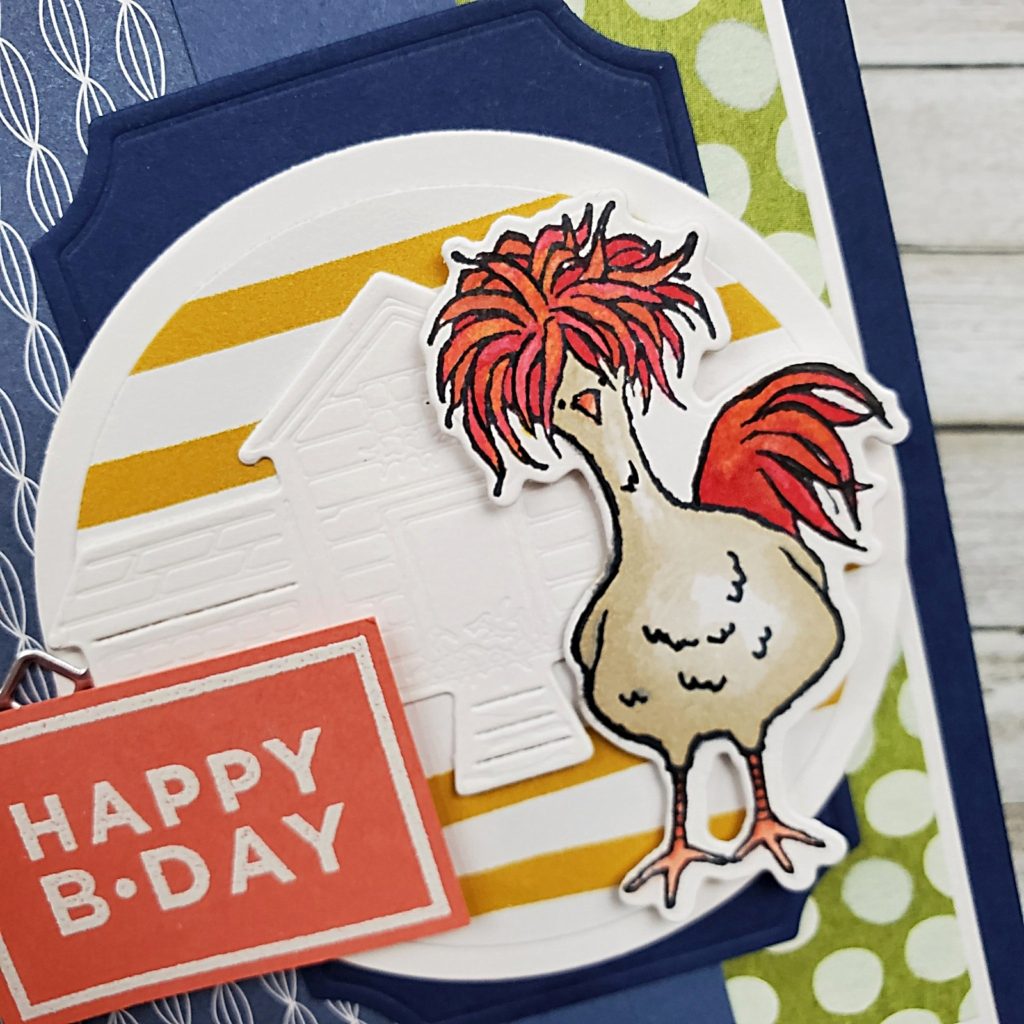
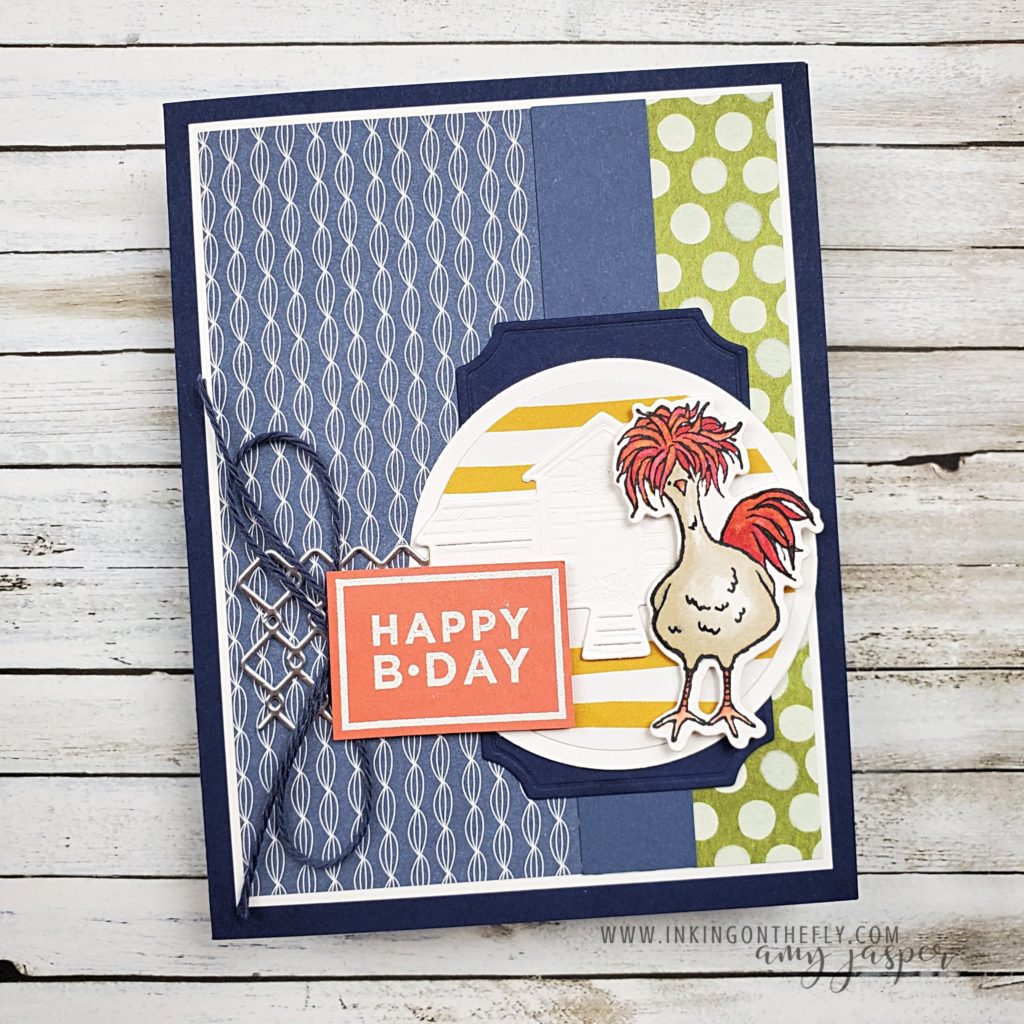
The Hey Chick Stamp set is so much fun! This chicken with the wild feathers on its head is definitely my favourite of the images in the set!
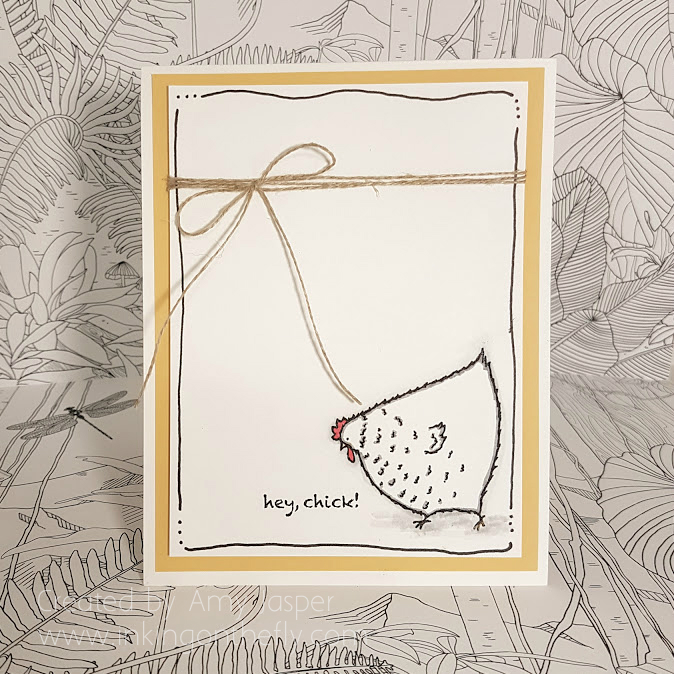
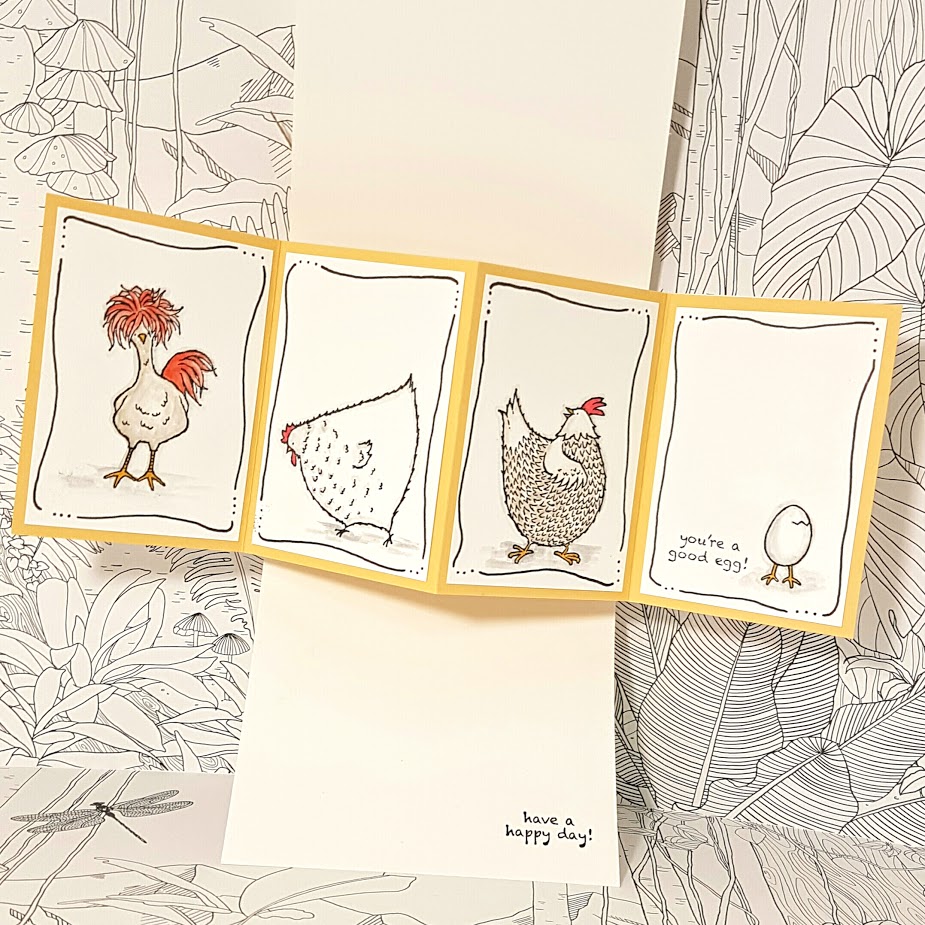
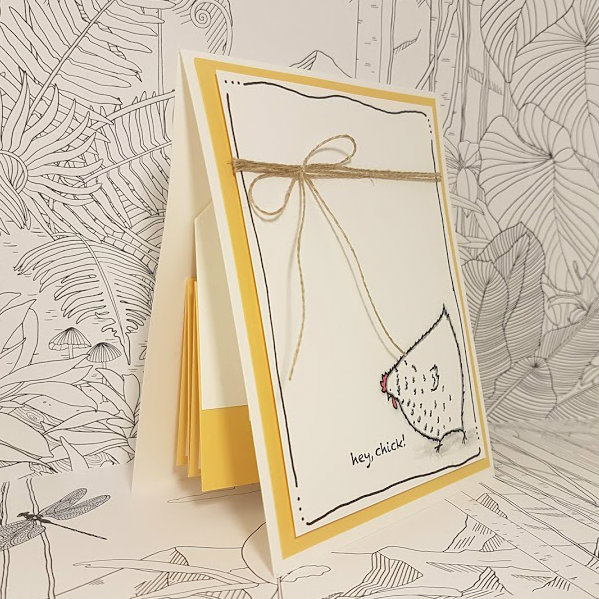
A few years ago, I made a special pop-up card with the Hey Chick stamp set. You can see that card by clicking HERE.
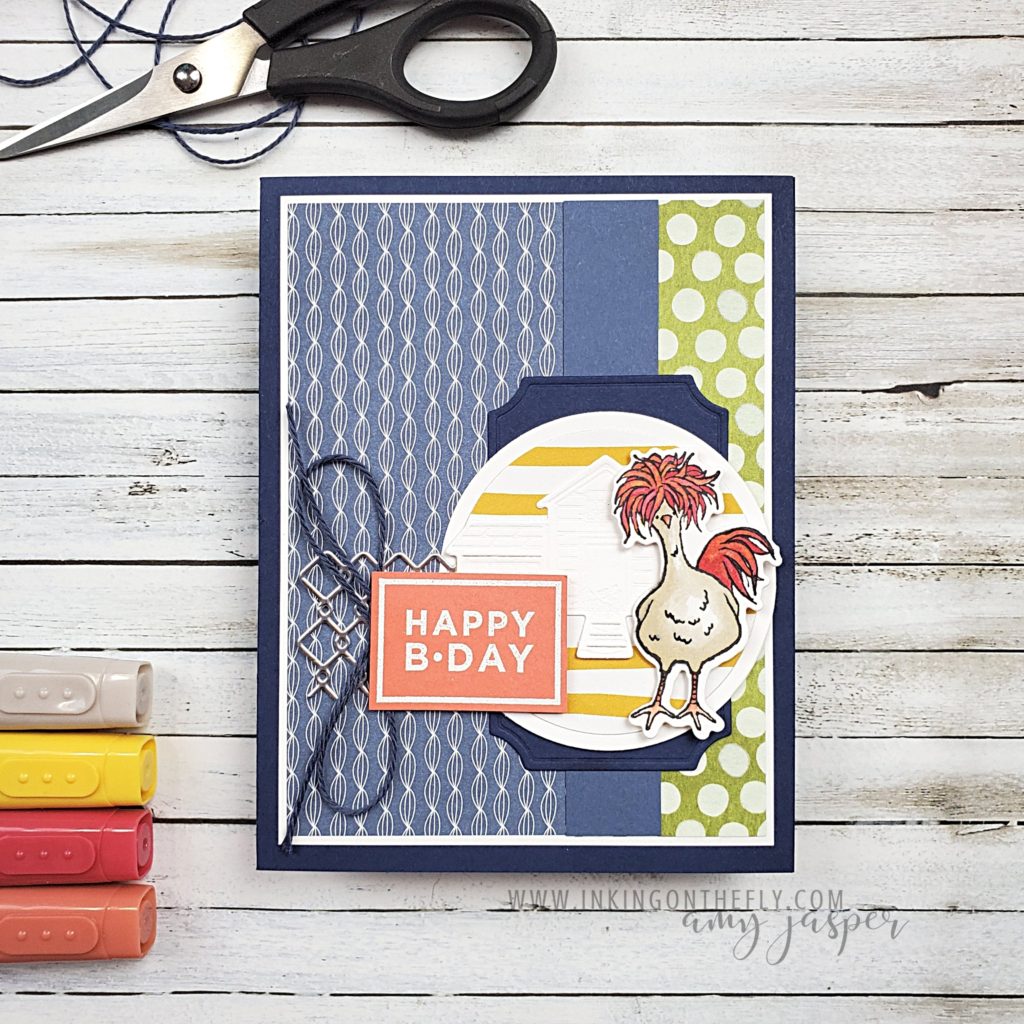
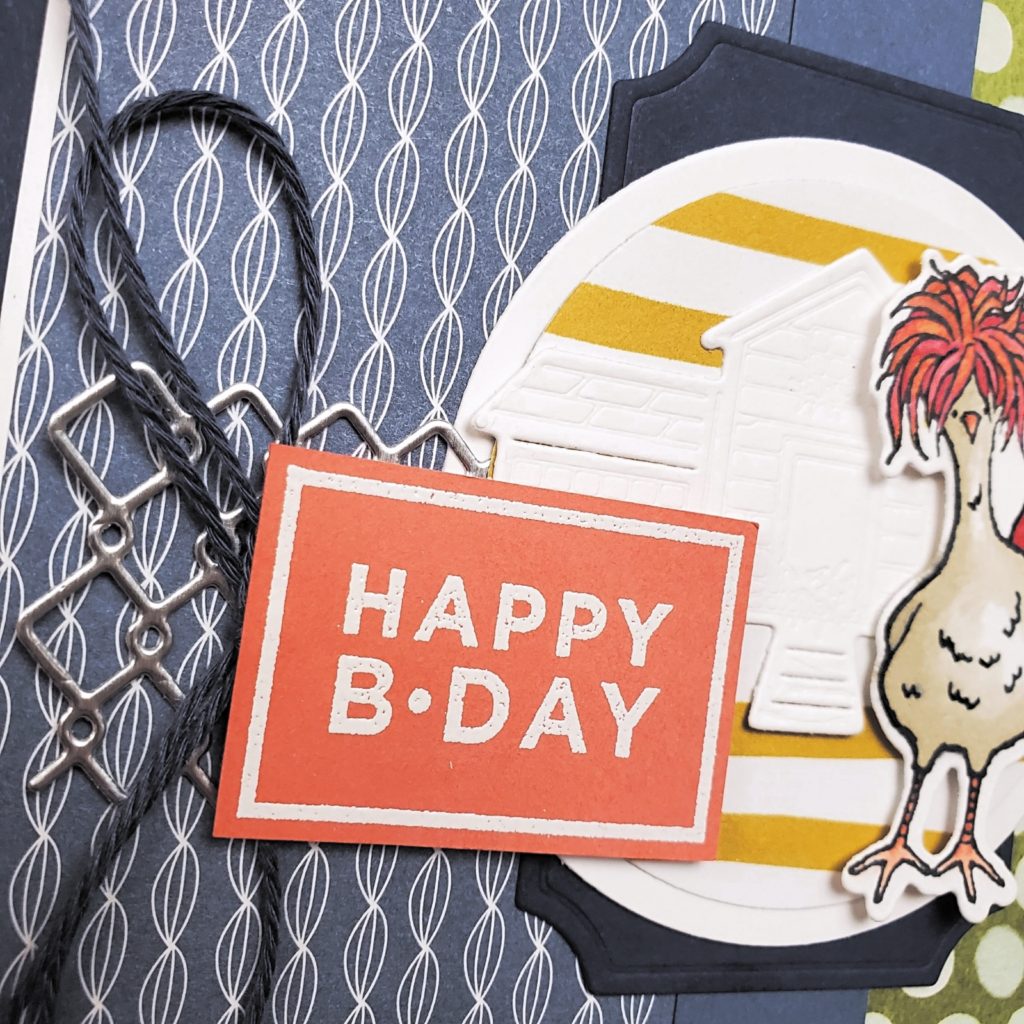
The sentiment from the Happiest of Birthdays stamp set is the perfect size and style for this card design. The Chick Dies add so much more to this card with the die-cut chicken, the Basic White chicken coop, and the Silver Foil chicken wire.
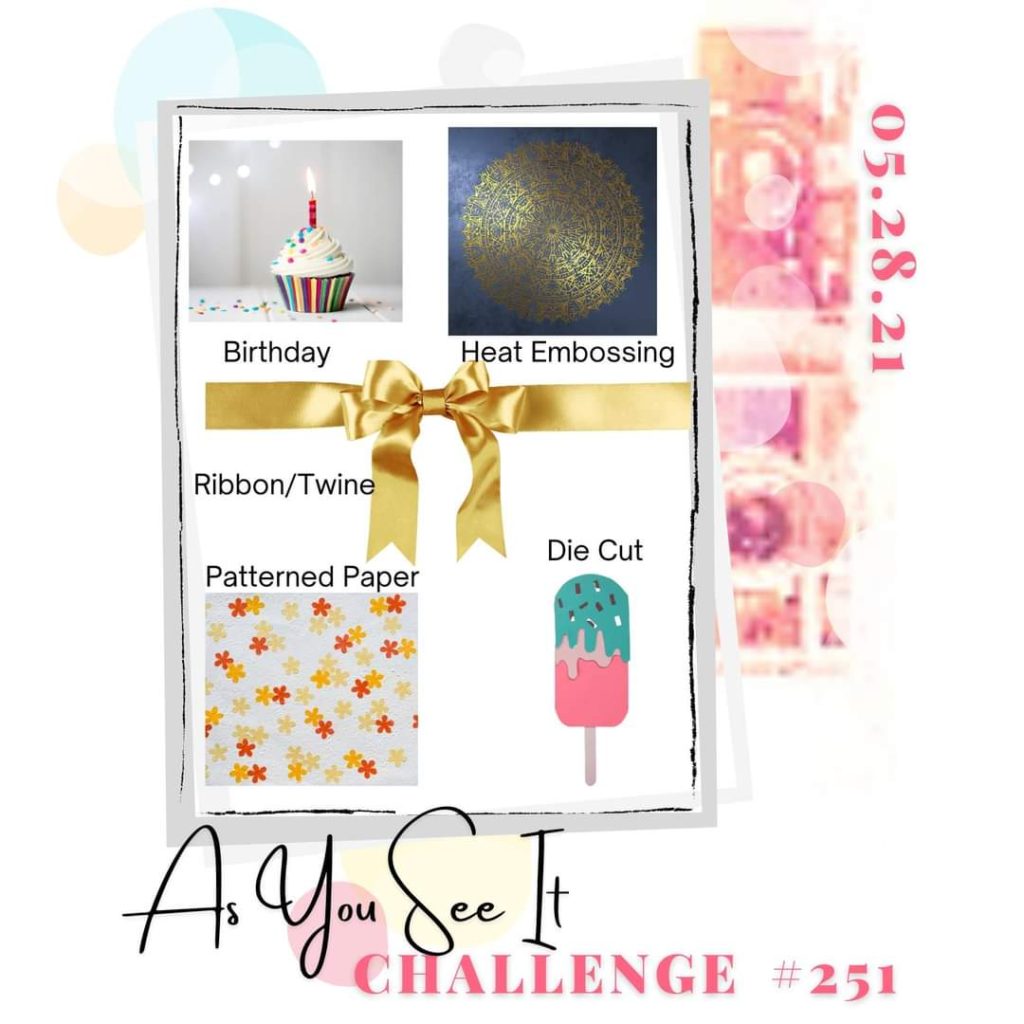
This layered card has all the elements necessary to show you how you can make a card and play along with the As You See It Challenge blog. Can you identify all five of the elements on my card?
- Birthday – The sentiment is from the Happiest of Birthdays stamp set and stamped on Calypso Coral cardstock with Versamark ink.
- Heat Embossing – White Embossing Powder is added to the sentiment and heat set with the Heat Tool.
- Ribbon/Twine – A bow of Navy Baker’s Twine from the Well Suited Twine Combo Pack is attached with a Glue Dot.
- Patterned Paper – The Misty Moonlight patterned paper and the Bumblebee striped paper are both from the Dandy Garden Designer Series Paper. The Old Olive polka-dot patterned paper is from the Ice Cream Corner Designer Series Paper.
- Die-cut – The chicken, the chicken coop, and the chicken wire are all die-cut with the Chick Dies. Both circles are cut using the Layering Circle Dies. The Night of Navy label that you see behind the circles is cut using the Painted Labels Dies. This element is more than covered, don’t you think!? LOL!
The chicken is stamped on Basic White cardstock using Tuxedo Black Momento ink, then coloured with Stampin’ Blends Markers. Real Red, Calypso Coral, Crumb Cake, and some Daffodil Delight, all play their part in making that chicken so fun! After colouring, I did some careful touch-ups with the pen end of my Basic Black Stampin’ Write Marker. I often do this to sharpen an image after it’s been coloured as the colouring process can soften the lines. Doing that is kind of the same as using the sharpening feature when editing photos.
The card base is Night of Navy cardstock, layered with Basic White. Then the patterned paper pieces are added with a 3/4″ wide strip of Misty Moonlight cardstock to separate the two patterns. Next, the Night of Navy die-cut label, the Basic White circle, the Silver Foil die-cut chicken wire, the Bumblebee striped die-cut circle, and the Basic White die-cut chicken coop are layered on the cardfront.
The only items that are attached with Stampin’ Dimensionals are the sentiment and that crazy, funky chicken.
Go to the As You See It Challenge blog to see all the designs shared by our design team. Why not give this challenge a try and share it with us on the challenge blog? It’s fun to play along and we love seeing where your creativity takes you!
