masking

Colourful Well Wishes

090headerWelcome to my blog where I share my love of designing with my Stampin’ Up paper, inks and stamps! Check out how I used the hearts mask from the Hearts and Stars Masks set for today’s card.

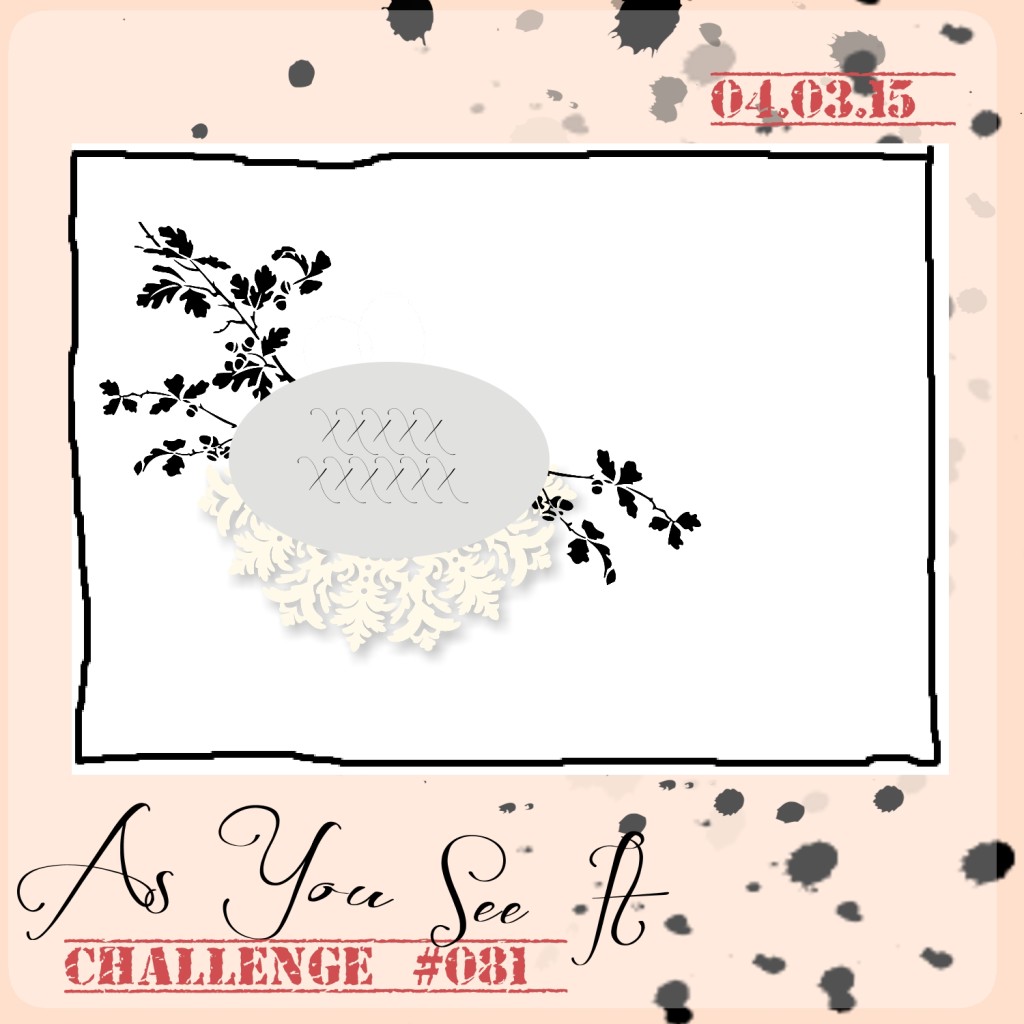
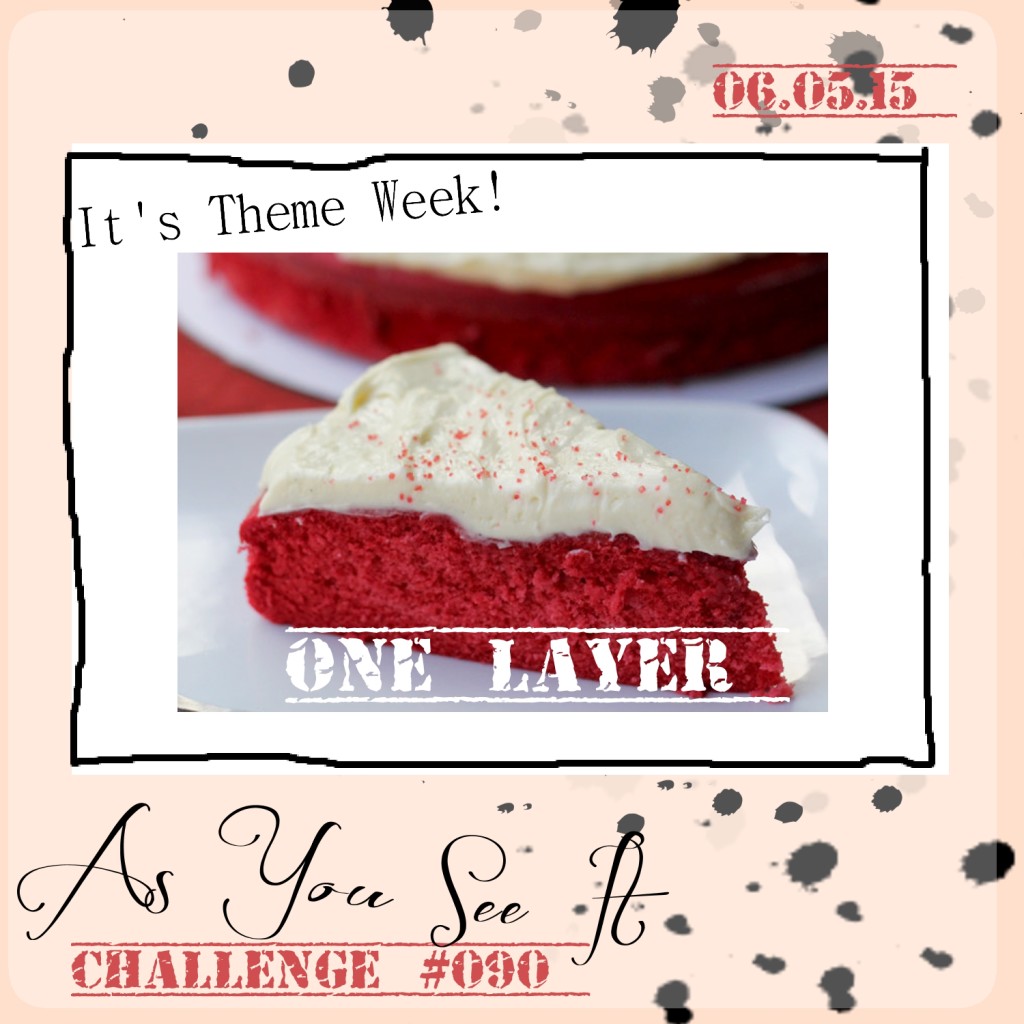
Here’s the challenge that I started with from the As You See It Challenge Blog.

#90One layer cards are a very scary thing for me. I’m sure I’ll have nightmares tonight!

Ok, they aren’t that bad (but, seriously, way more challenging than you might think!).

That’s the challenge today; a one layer card. As a lover of Stampin’ Up Dimensionals, this was so so hard. But, it’s all about being challenged so you can develop your skills and stretch your creative muscles!! So, don’t shy away from this one.

I decided to stick with a basic Whisper White card base after a few attempts with other colours and ideas (and a few smudges and crooked stamping).

090Amy
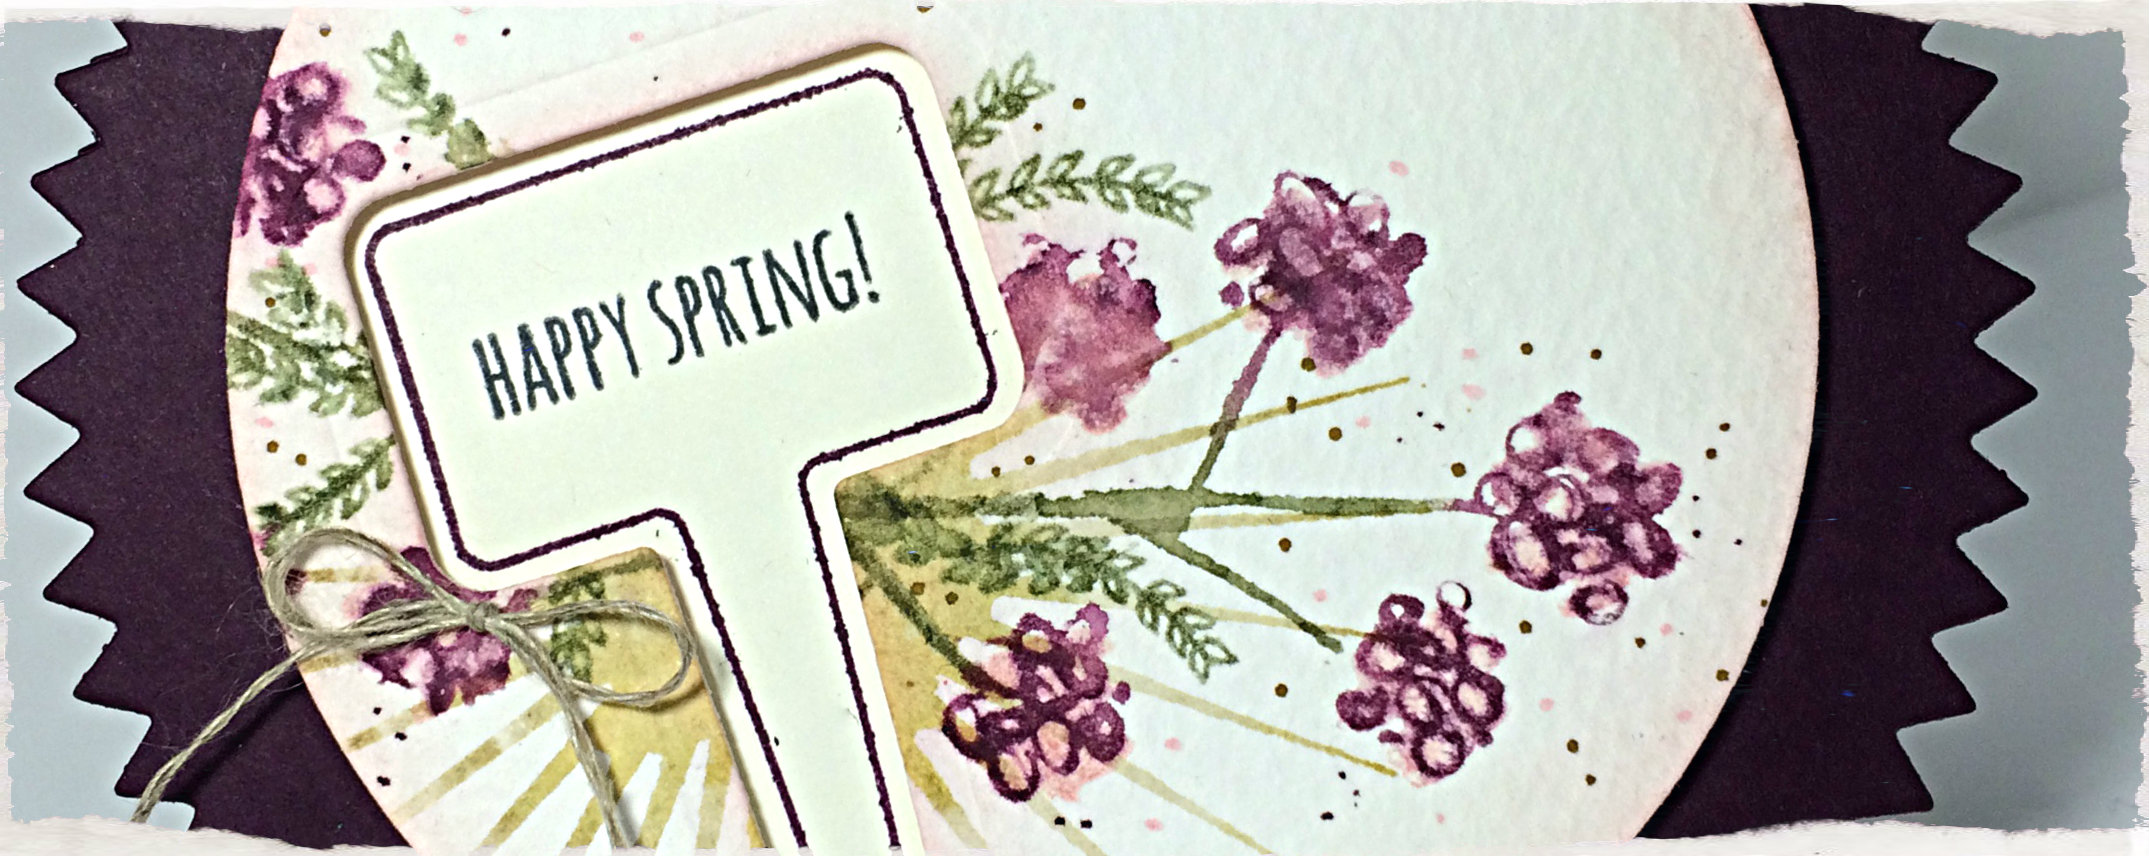
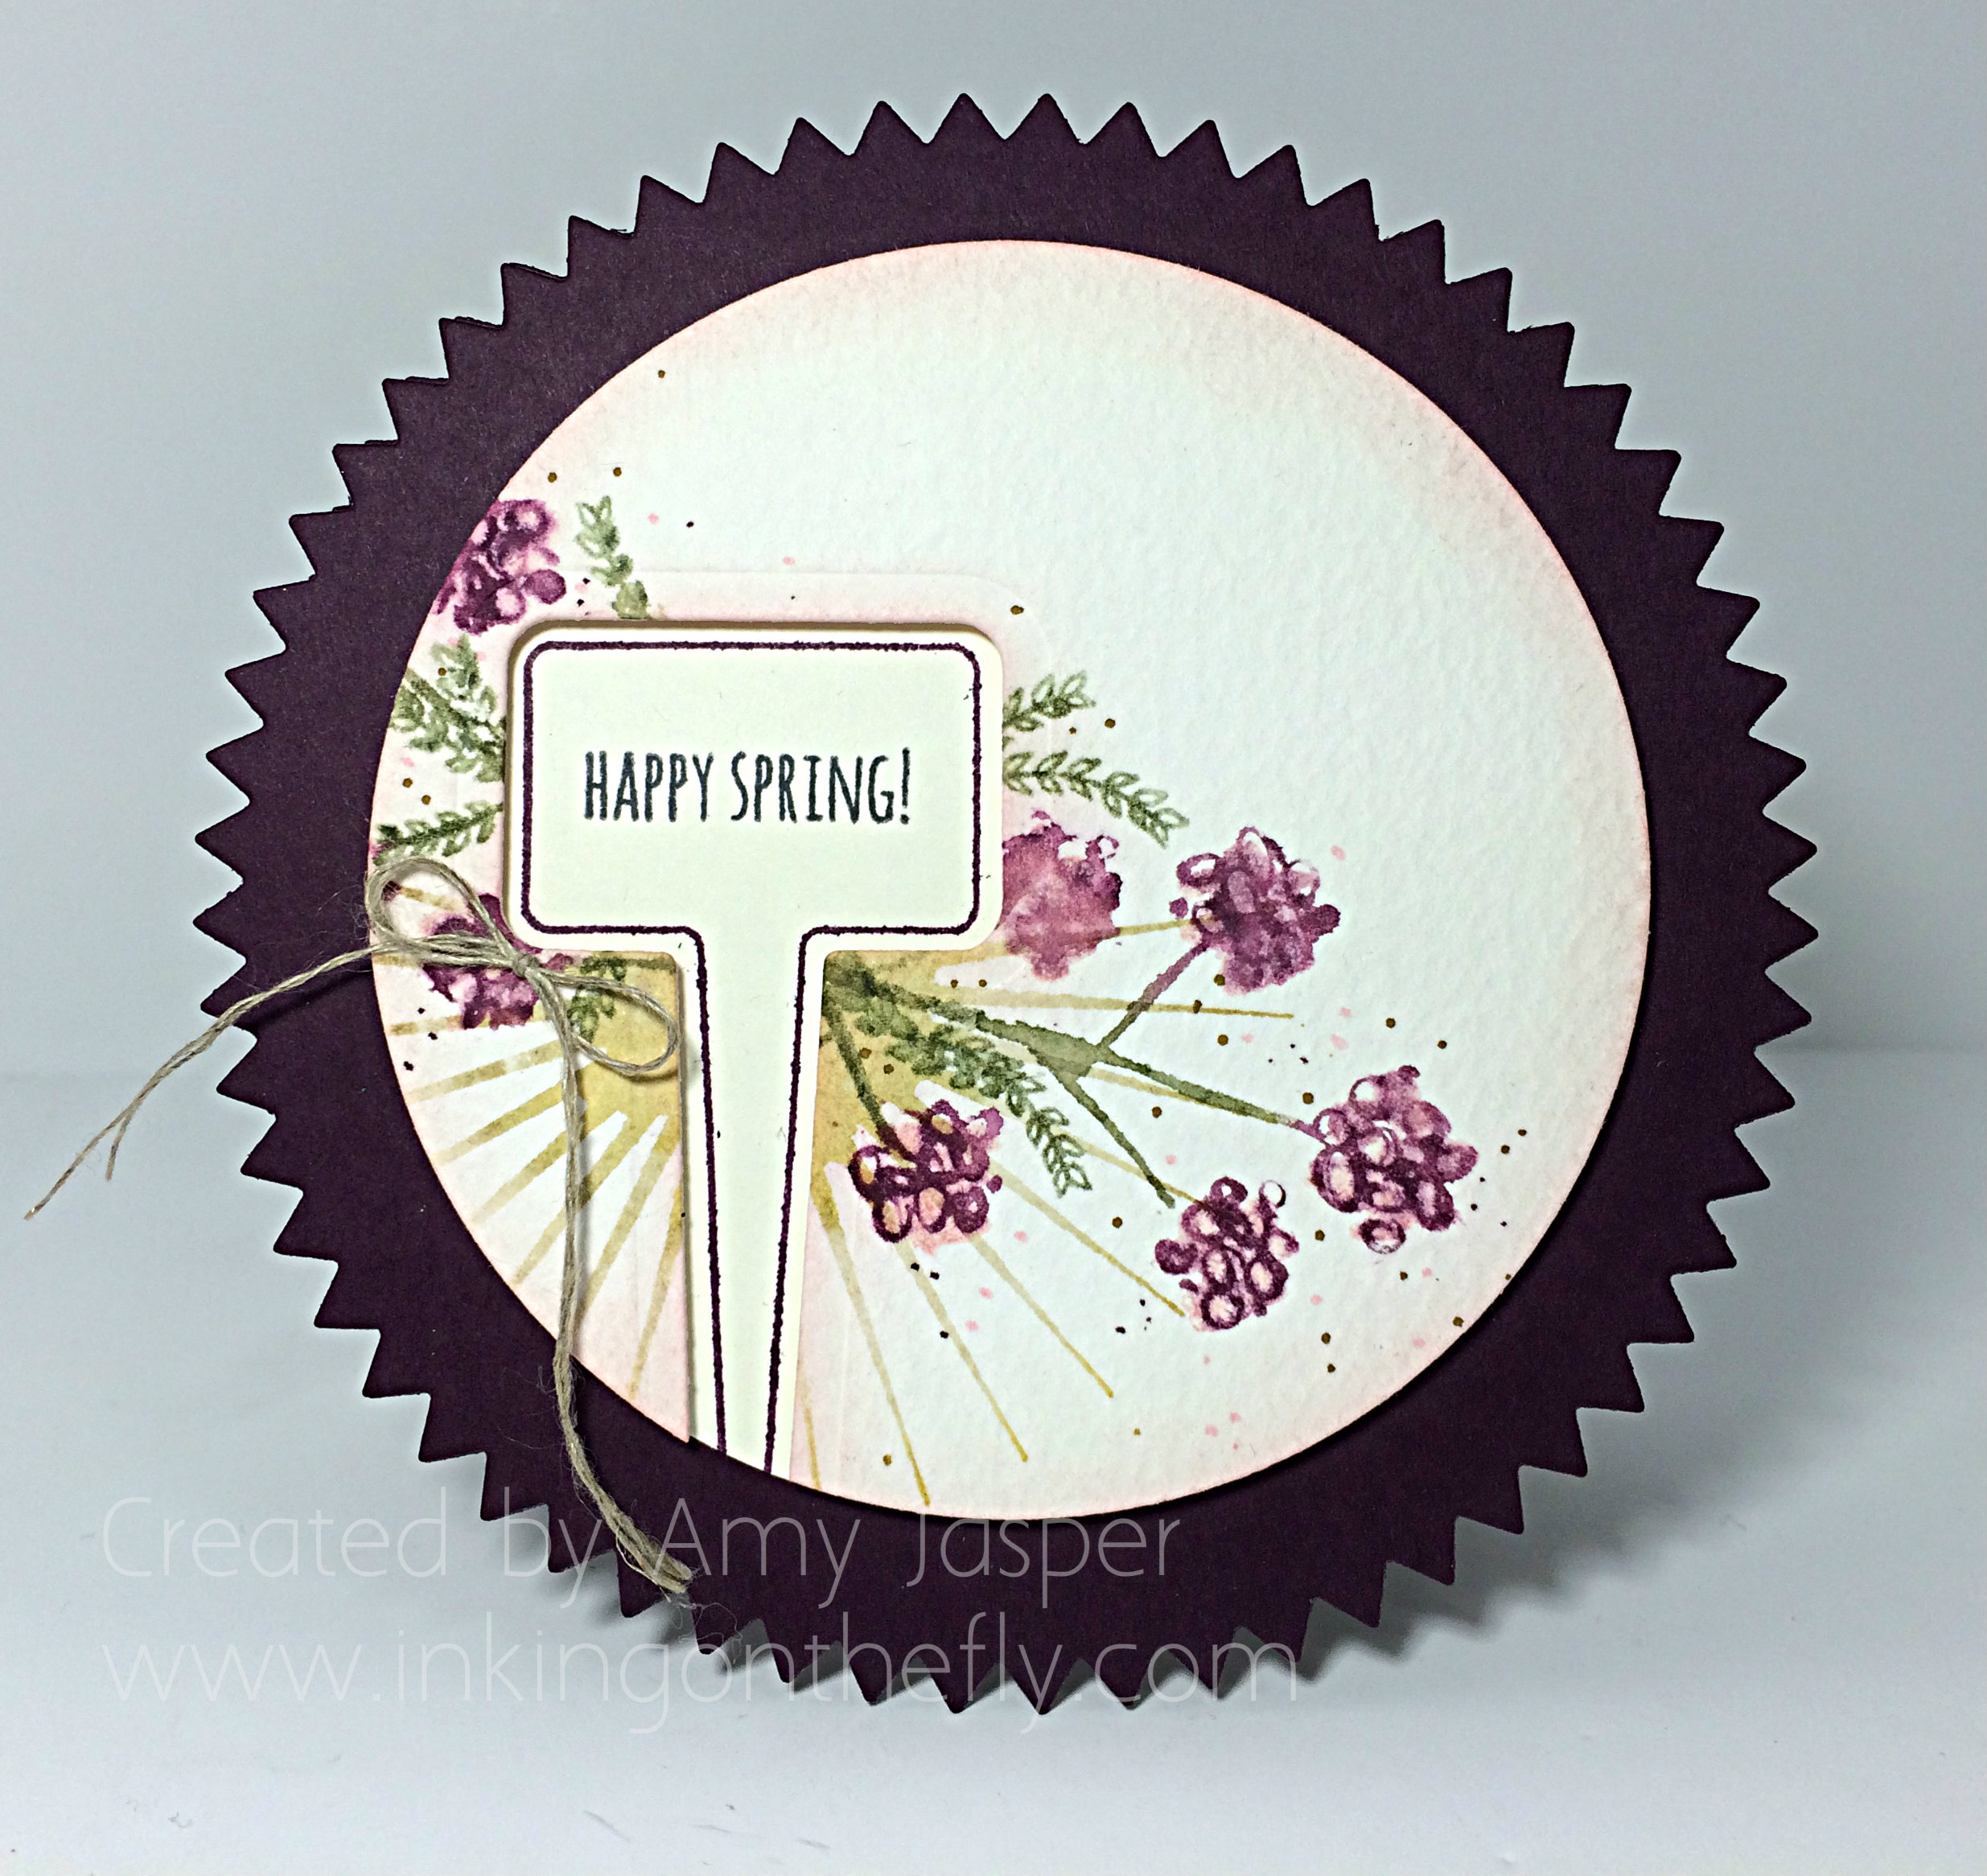
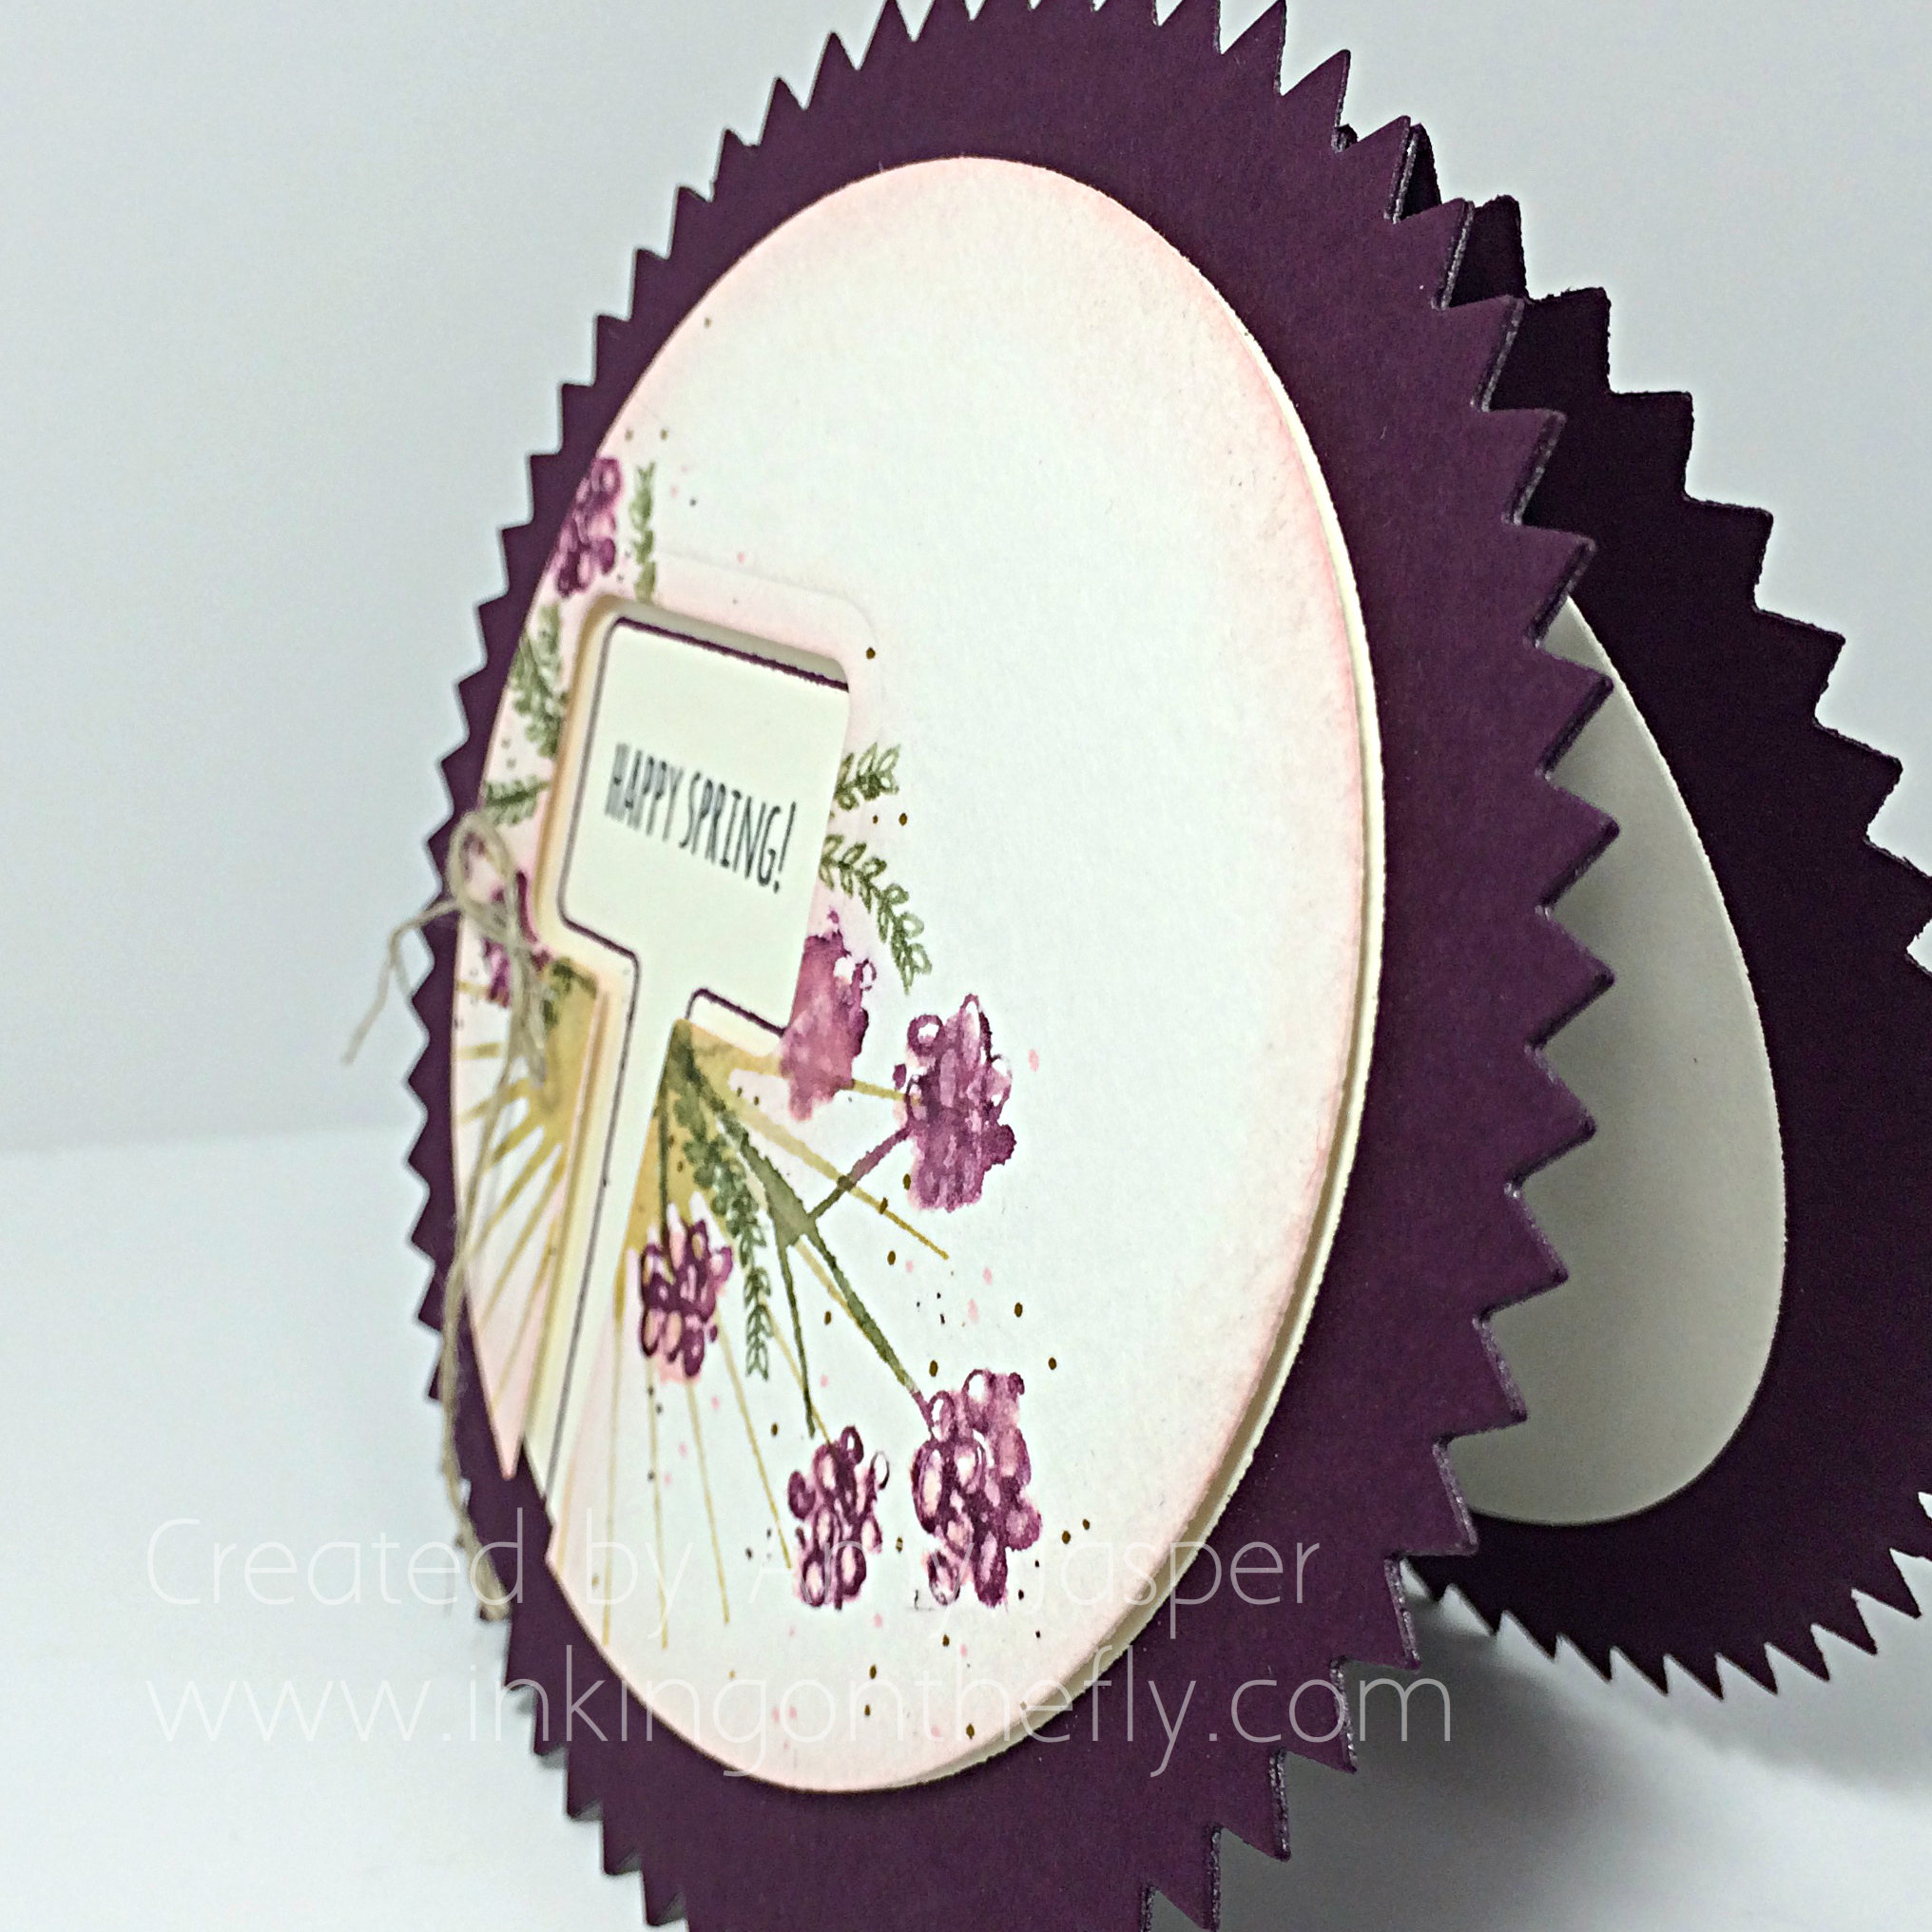
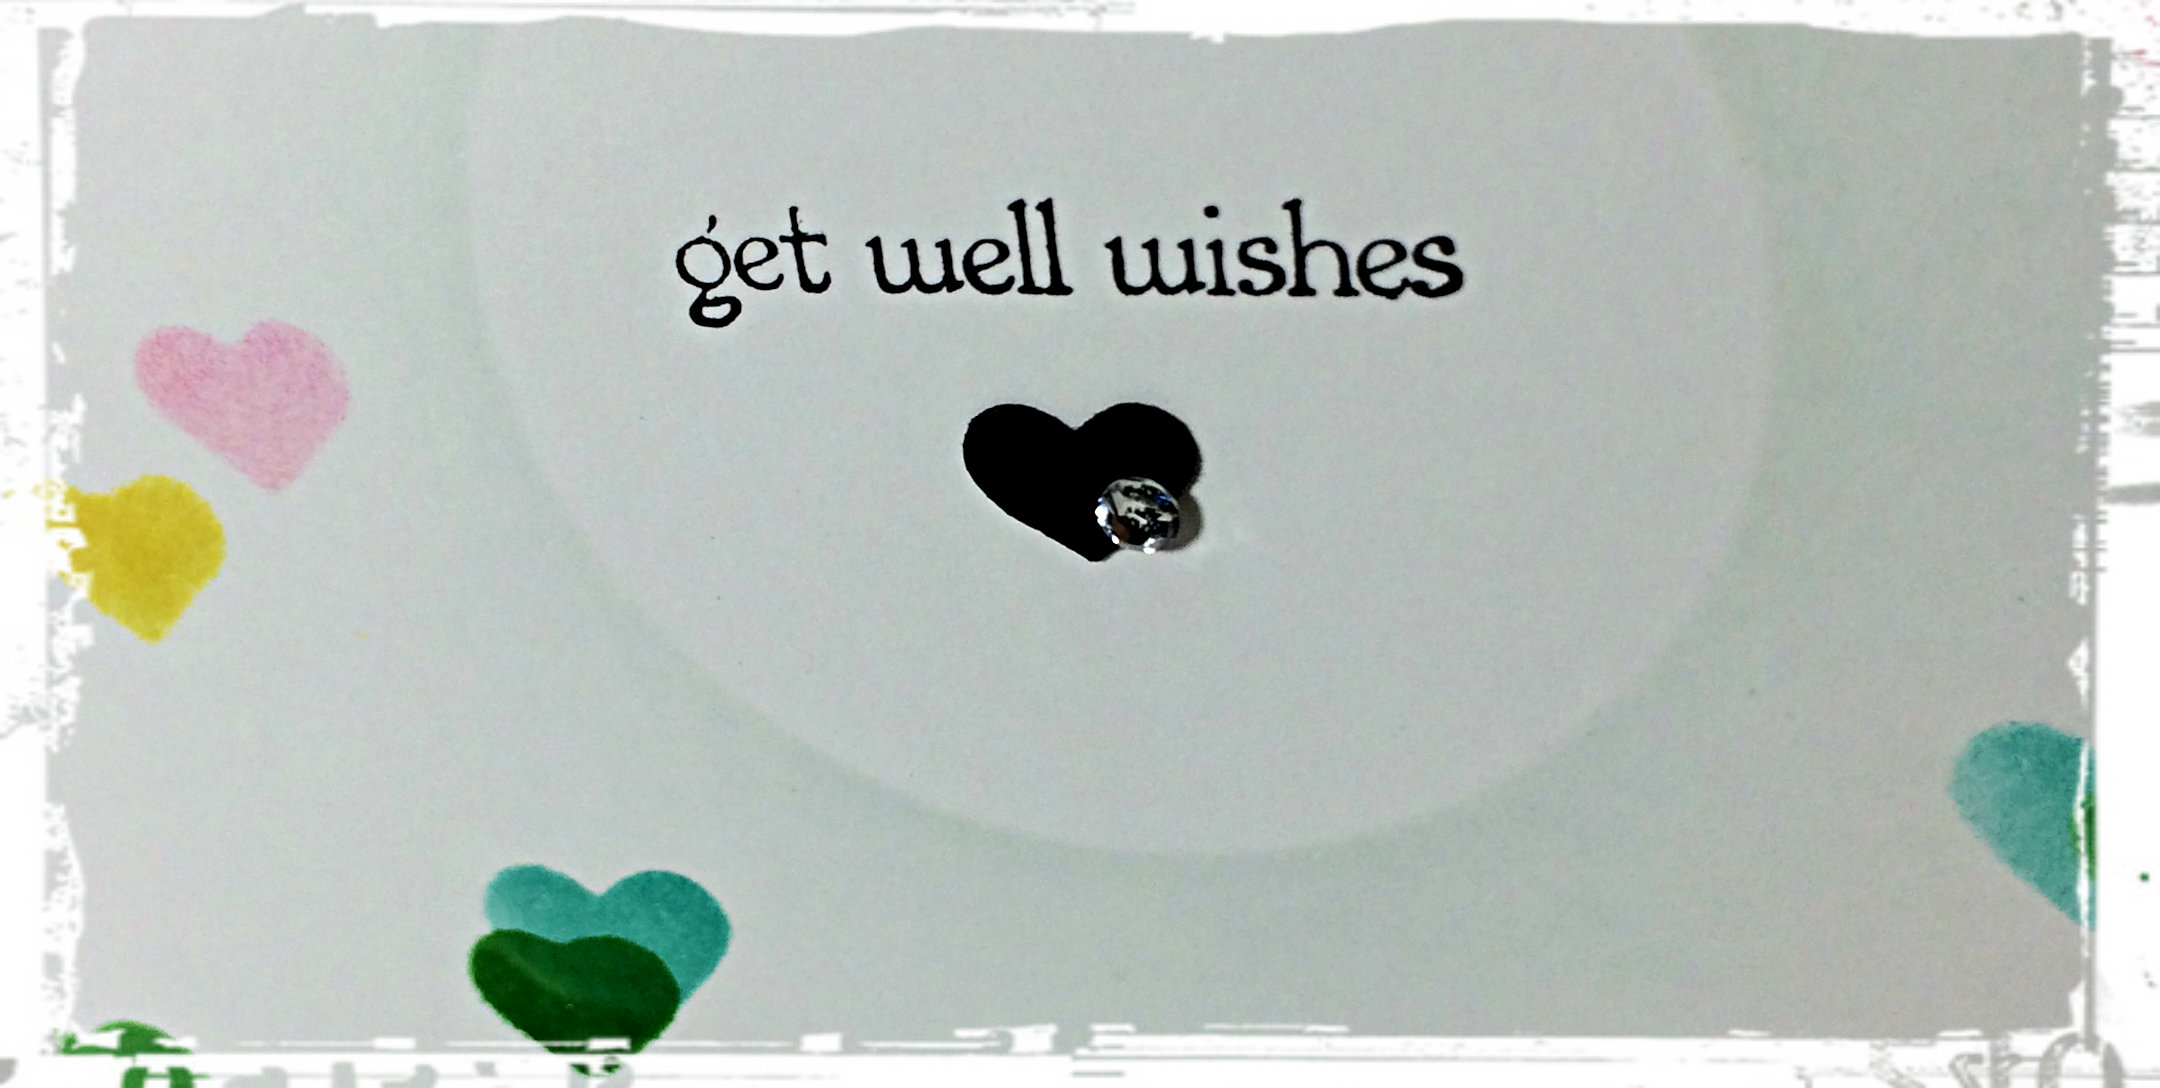
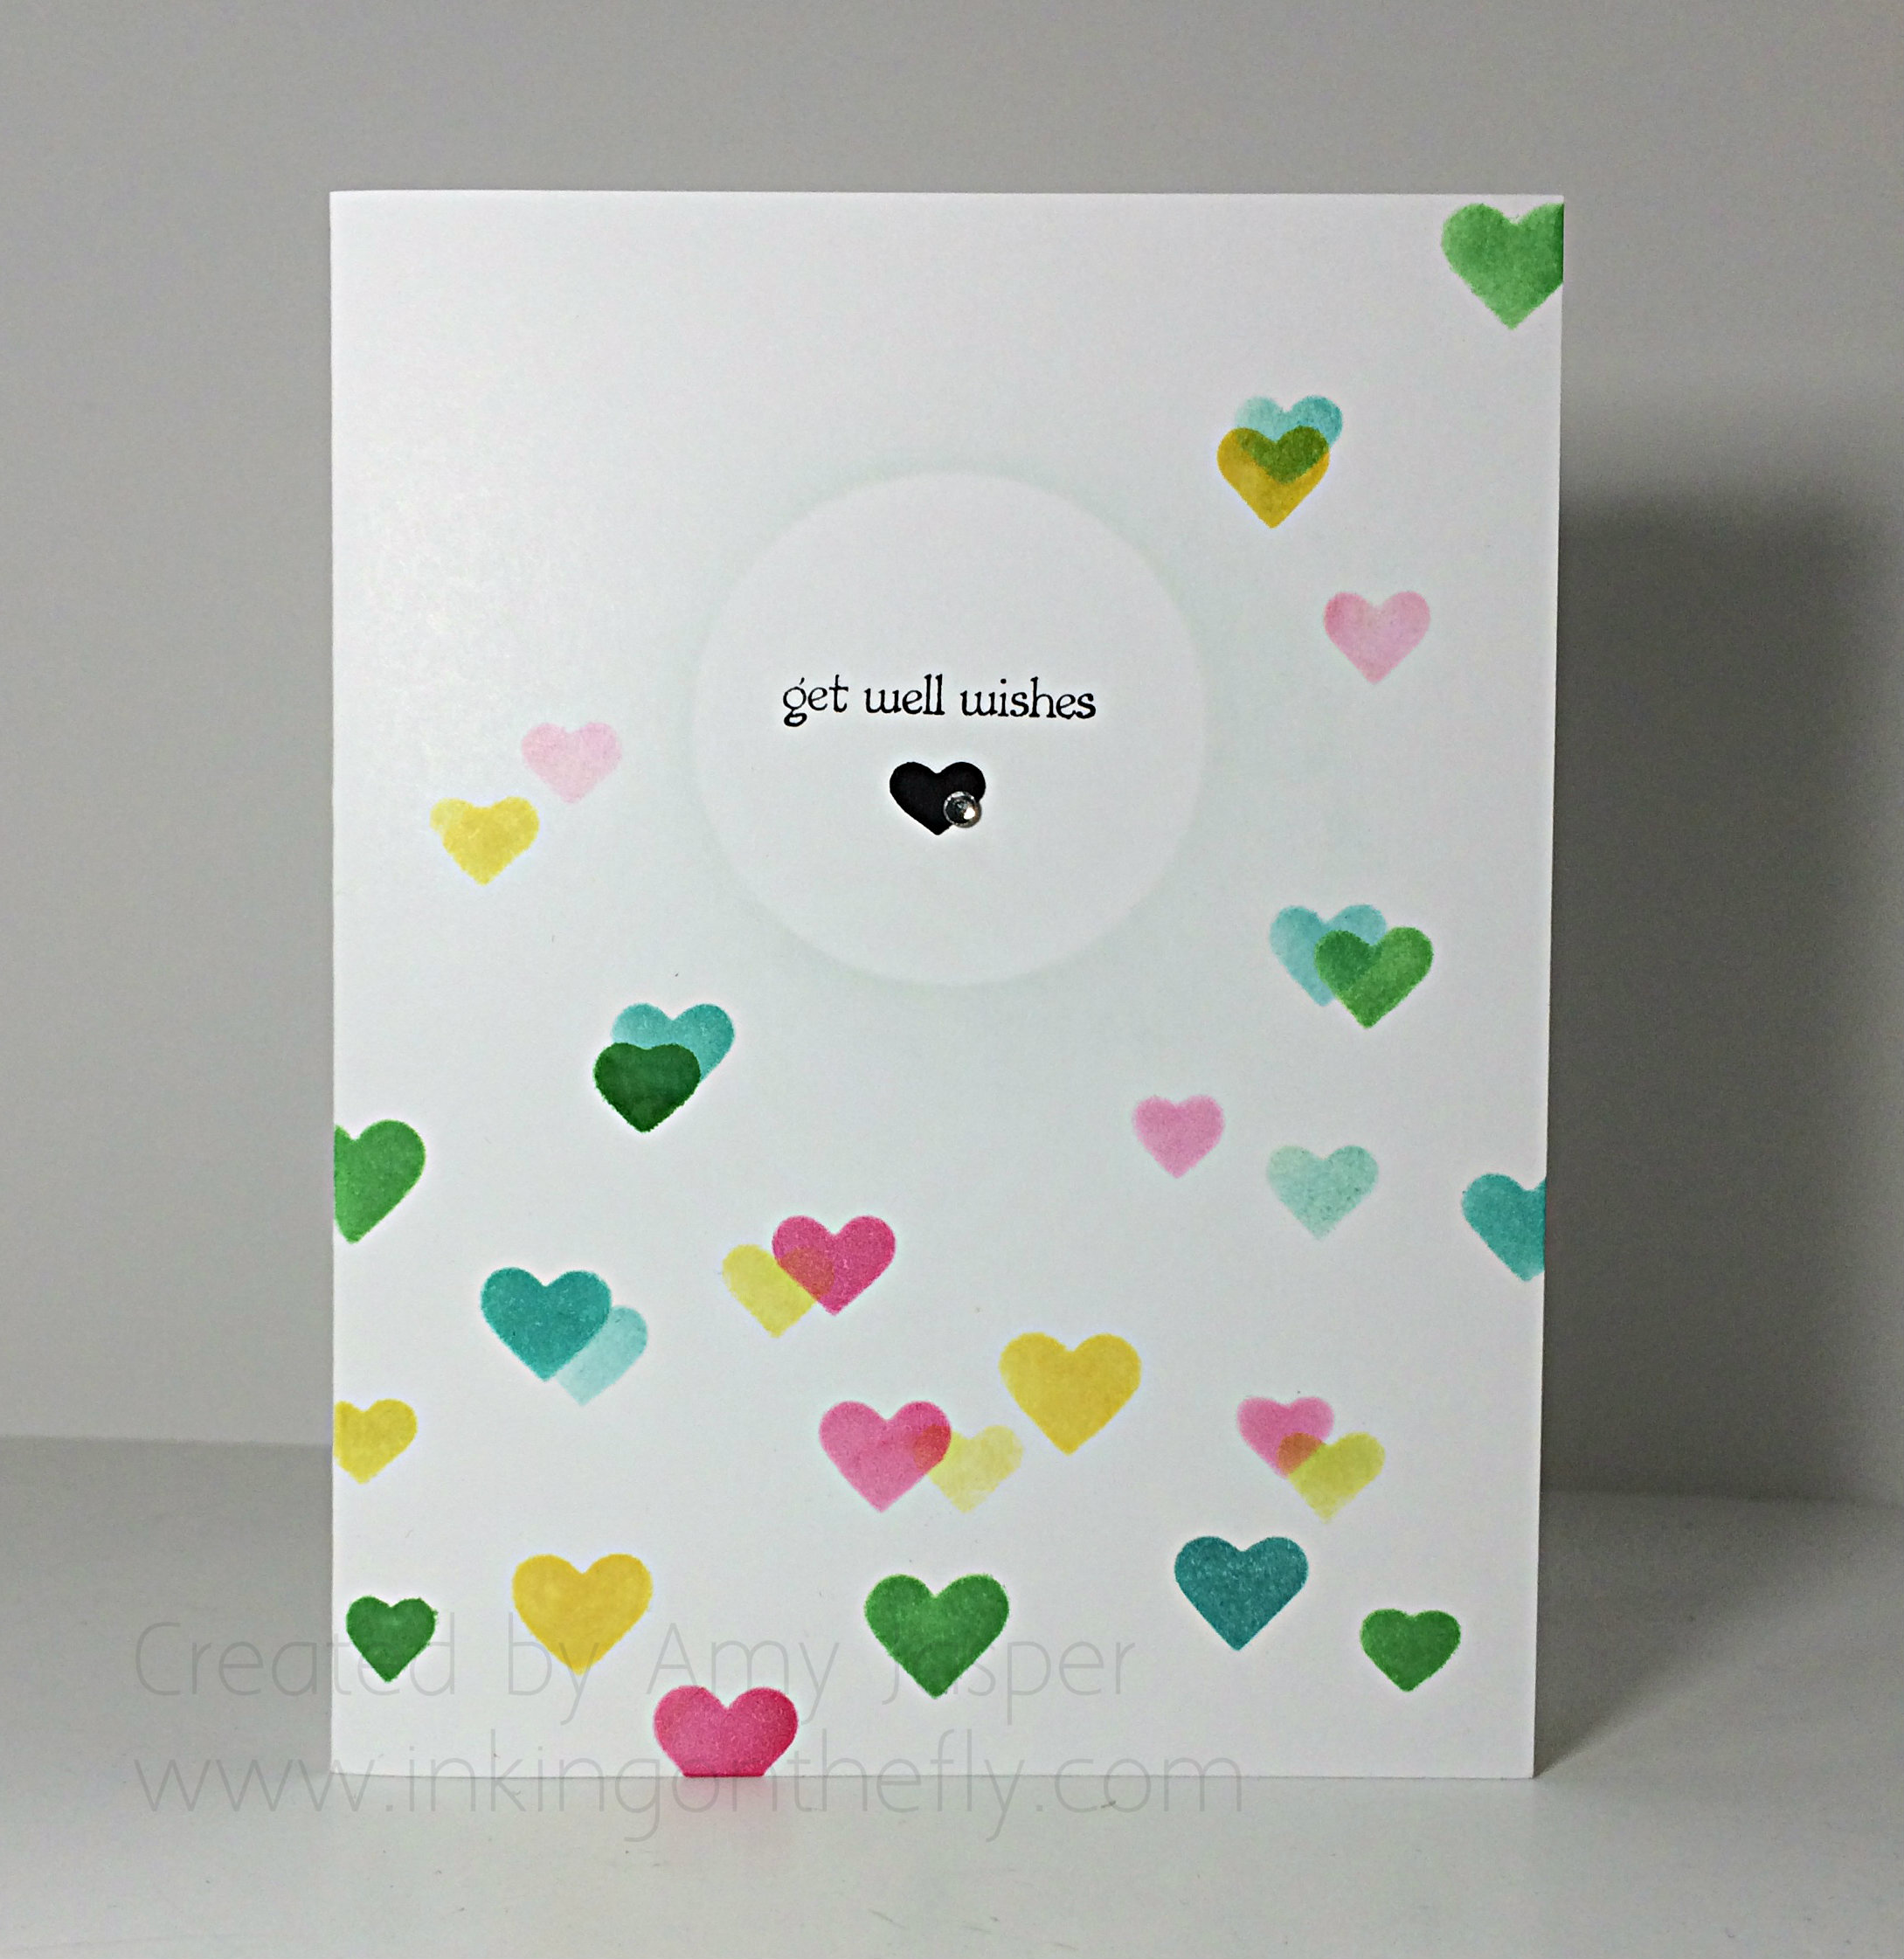
I used the hearts from the Hearts and Stars Masks and, with Sponge Daubers, applied the following inks: Daffodil Delight, Melon Mambo, Bermuda Bay, and Crushed Cucumber. Then I shifted the mask to allow me to strategically place overlapping hearts in random places to get this kind of colourful bokeh look.

I was careful to leave a vacant area in the center of the card while doing the hearts so I could have a spot for my sentiment (from the Teeny Tiny Wishes stamp set). The “get well wishes” sentiment was stamped with Jet Black Stazon ink. I wanted to try to create a focal point for the words, so I placed a 1-3/4″ punched out circle of paper over the area and lightly sponged with Soft Sky ink around it before removing it again (TIP: you can put a tiny bit of SNAIL under the mask to help it stay in place, but even then, I still hold it very firmly while I sponge around it).

090close
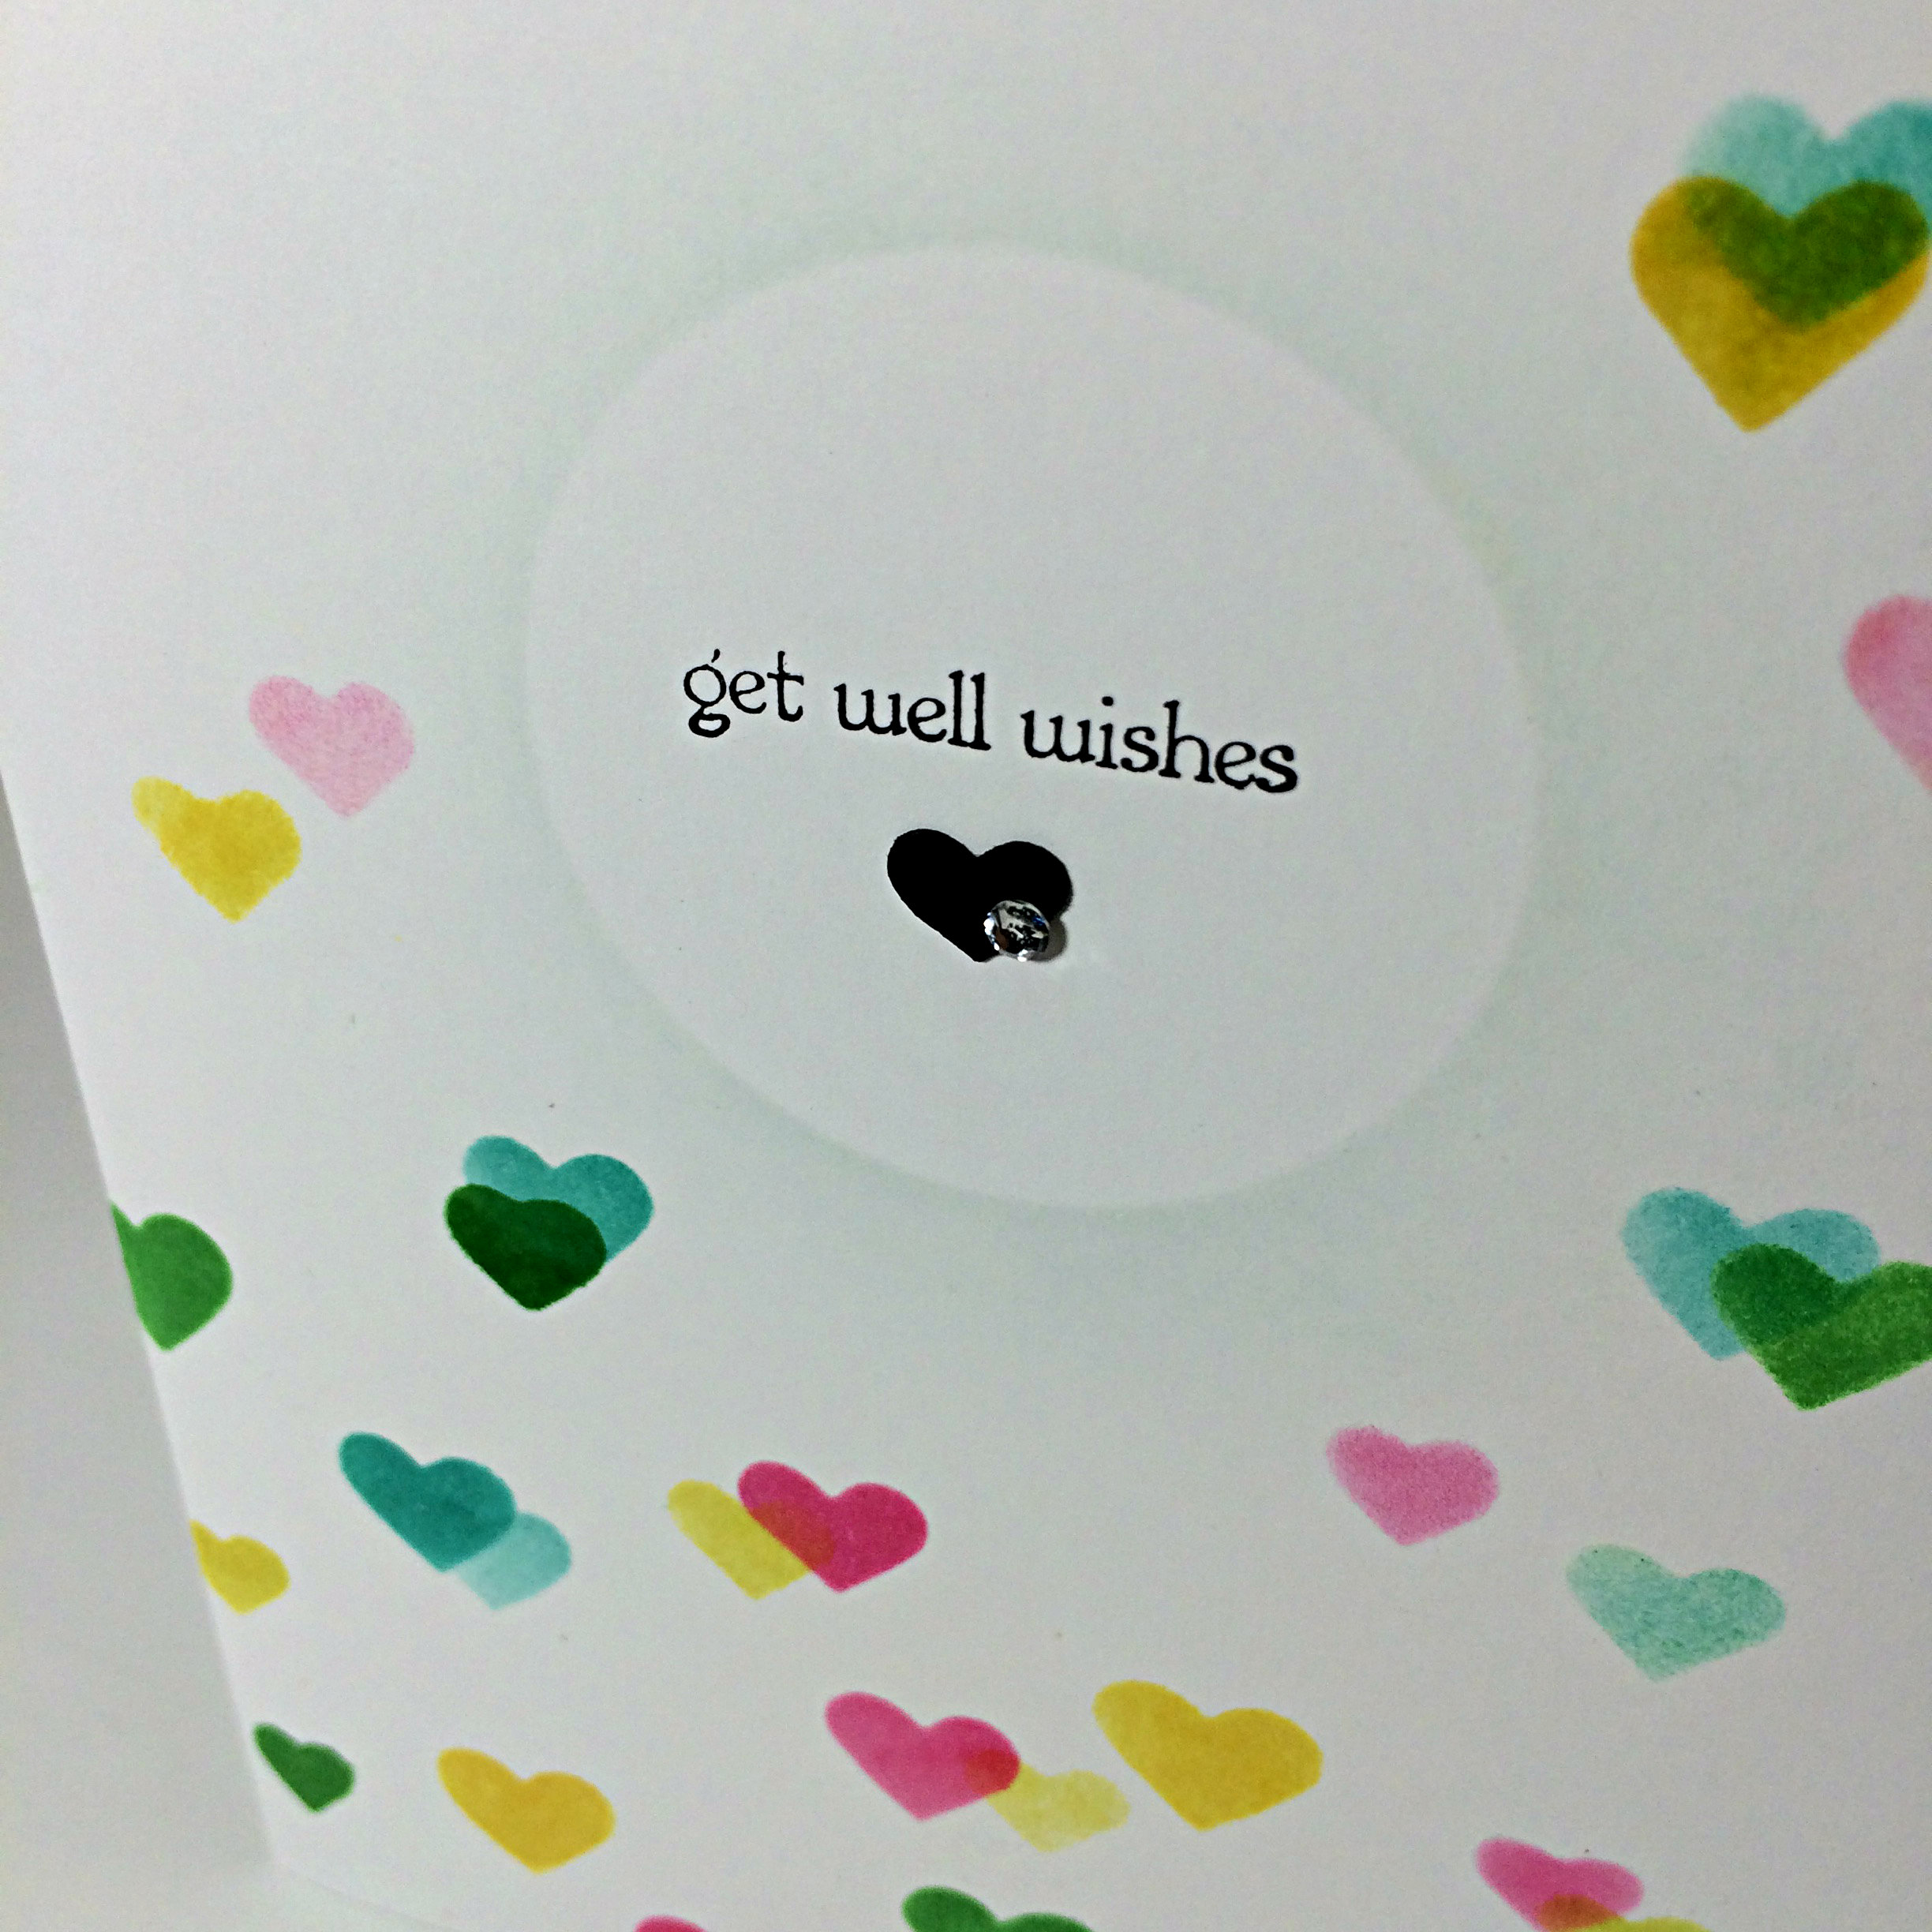
The cute little black heart is from using the Bordering Hearts punch and was attached with my beloved Multipurpose Liquid Glue (just the tiniest amount, though, so it won’t squish out around the heart and stay sticky forever and ever and ever). Over that, a single sweet little Basic Rhinestone.

The scary thing about one layer cards, is that if you make a mistake, that’s it! The gig is up! Start over! I started over with my gig, um, I think 4 times, (6, if you count my first attempts with watercolour paper). Yeesh!

You know what though. I think this would be a great card to make multiples of and have on hand. It’s sweet and simple and extremely cost effective! So, give a one layer card a try and let me know how it goes.

Don’t forget to upload your picture to a public site like Pinterest, then link it to the As You See It Challenge #90 and show off your hard work!!

Amy.

Starburst Spring Card

081headerIt’s time for another challenge card with my Stampin’ Up papercrafting supplies. I was getting tired of the usual 4 1/4″ x 5 1/2″ rectangles, so I went with circular card today using the Starbust Framelits and some faux water colouring. Gotta shake it up a bit now and then, lol!

Here’s the challenge sketch that I started with from the As You See It Challenge blog:

AYSIChallenge081-1024x1024I decided to work with my Water Colour Paper, Handpicked Framelits, the From the Garden stamp set, the Mother’s Love Stamp set and some spritzing with water!

I shared this card with my technique class just the other night. My monthly group have become some of my closest friends. They really are the main reason that I have remained a Stampin’ Up Demonstrator for so long! Don’t get me wrong, I love creating with stamps and ink; I love the coordinating colours in paper, inks, and embellishments; I adore the tools and how easy they make it to create something beautiful; but what really carries me through and holds the most meaning and significance for me as a Demonstrator, are the relationships. It’s all about the people, the smiles, the laughter, the playful banter, the excitement and joy, and, especially the silliness.

Here’s the card:

081AmyAh, Blackberry Bliss. I wish you would photograph a bit better.

I think the most challenging element of this card was to stamp the outline image inside the cut out! We tried a few different ways, but the two that seemed to work the best were to lay the Water Colour paper with the cut out (from the Handpicked Framelits) over top of the Very Vanilla circle (cut with the Big Shot and the Circle Framelits), then either outlining the inside of the cutout with pencil, then using the pencil outline as a guide for where to lay your image; or simply stamping through the cutout itself.

In hindsight, drawing the pencil line, then using the Stamp-a-majig would have probably been the best solution to the challenge (sorry, Mom, I should have thought about that!)

081sideThe images were first inked either with the ink pads as you normally would, or with markers, then the photopolymer or rubber was spritzed with water before stamping the image on the Water Colour paper. The Mother’s Love set has a very pretty two-step stamping method so that we could do the outline image of the flowers with Blackberry Bliss and Mossy Meadow ink (using the Stampin’ Write Markers), then we could fill in the flowers with the coordinating flower stamp, using Pink Pirouette ink. One important trick with layers of images like in this card, is to allow each layer to dry before stamping the next layer, otherwise you could end up with a bit of a muddy mess as the colours run into each other and lose the definition of the images. When you are impatient, you can dry it a little faster by dabbing the really wet spots with a paper towel and drying the rest with a Heat Tool before moving onto the next layer.

The starburst image is from the Kinda Eclectic Stamp set. I used a piece of paper to mask off the upper portion of the image as I wanted only the lower portion of the stamp to show on my card (to work best with the challenge sketch). I originally used Sahara Sand ink for that image, but you can see that it looks very yellow here – I think the stamp had not been cleaned after it was last used – oops. When my stampers recreated this card, they used Hello Honey, which worked quite nicely to mimic this unknown colour, lol!

081CloseOnce all the images were in place, I sponged Pink Pirouette ink all around the edges of the Water Colour paper to give it a soft finish. It still didn’t look done, so I got a hold of my Gold Glimmer pen, Blackberry Bliss marker, and my Pink Pirouette marker and added randomly placed dots around the flower clusters. Up on Dimensionals, it went over top of the Very Vanilla circle and the Linen Thread bow was added with a dab of Multipurpose Tombow Liquid Glue.

Now, who to give this card to for spring? – I think it looks like a great Mother’s Day card. What do you think?

Be sure to try out the sketch at the As You See It Challenge Blog and share it with us there. Inspiration comes from every card I see, so bring it on!

Amy

Designer-Badge


Just Mail it Already!!

073Amyheader

Oh, how I missed you last week. How’ve you been? I was away at the Leadership Conference for Stampin’ Up! down in Orlando, Florida. The time change was harder for me than ever! But I learned so much and have a lot to work on to improve my business and my home life!  I was especially touched and inspired by what our keynote speaker had to say about the power and significance of handwritten notes and letters in this world of emails, texts and Social Media updates. His words and the stories that he shared of people reading messages from loved ones who have passed on, sparked a flame in me to change my ways – just a little bit.

I love making cards. Really love it. And I love showing others how to make cards. But do you think I can get myself to send a card? To remember to send one before the birthday or event for which that card is intended? No. I am TERRIBLE at that! I have an ever-growing collection of hand-made cards that have been mailed to NO ONE!!

So, this week, I decided to share the inspiration with my Monthly Stampers group. I gave them each an envelope with a postage stamp and encouraged them to use one of the cards that we finished in our class that day to mail to a loved one. To write the address on the envelope right then and there. To write in the card, and mail it on their way home. I did this for them, yes, but I did this for me. My card will go to my Granny, whom I seldom see, and it seems as though she is a world away. I have written in my card. I have addressed the envelope. It has been mailed. My hope is that lives will be touched by our hand-written notes of love and gratitude. The notes and cards that share a bit of us. Our hand-writing is only ours. These notes are not about the words on the page so much as they are about the hand that wrote them. Hand-written notes have a personal touch, and therefore, a personal and relational connection, that typed messages will never carry.

Oh ya, and here’s the As You See It Challenge Sketch for my design this week:

#073And the card that I made:

073AmyThis card kinda makes me smile. I can’t say that it’s my favourite, but the colours are happy and fun. It’s playful.

I started with the Coastal Cabana card base and added the piece of Best Year Ever Designer Series Paper (only available for FREE through the Sale-a-bration promotion). I adhered that piece with Stampin’ Up Dimensionals simply because I have the added bulk of the Baker’s Twine around it, making it lumpy if I were to adhere it flat to the card base. I have a White Paper Doily behind the Basic Black piece of cardstock. That piece is where the real fun began!!

I used one of my free stamps from Leadership, out of the Balloon Bash stamp set, and inked it up with the clear Versamark ink, stamping it on the Basic Black cardstock and heat setting some White embossing powder on it. I stamped it multiple times over the cardstock, being careful to mask off the words under the candles on this particular image. Then I used my Blendability markers (I received 4 new colours from Prize Patrol at Leadership!) over the embossed candles. It makes them so fun and colourful! I love this technique!!

The Basic Black embossed piece was attached to the card with Stampin’ Up Dimensionals. That same stamp, from which I masked off the words, I now masked off the image and used the words with Tuxedo Black Momento ink on the Pink Pirouette banner. The HB image was inked with Melon Mambo ink, stamped on Whisper White cardstock, and hand-cut to apply (yes, with Dimensionals again!) to the 1-3/4″ circle punch of Basic Black cardstock.

The hashtag sentiment was stamped with Tuxedo Black Momento ink by masking off the HB part of that particular image, so I could just capture the word on that piece of the card. This resulted in a Melon Mambo smudge of ink just under the hashtag symbol, but, guess what, you can barely see it!! Why can’t you see it, you ask? I used my White Gel pen to colour over the pink smudge! Phew! Saved!

073pinkblurI hope you’ll try this technique with your Blendability markers. It only works with the alcohol markers as the water-based markers will wipe right off of the glossy finish. Keep in mind that if you spend too long colouring over the heat embossed areas, the alcohol in the markers will start to break down the embossed material, so keep your colouring brief!

Now, go, make a card for this sketch challenge, load it up to the As You See It Challenge blog so we can all ooh and ahh. Then … just mail it already!!! Bless someone with a hand-made, hand-written, personally to them, card. You’ll make their day better 🙂

Amy

Designer-Badge