ombre

Beautiful Hand-Penned Petals in Ombré

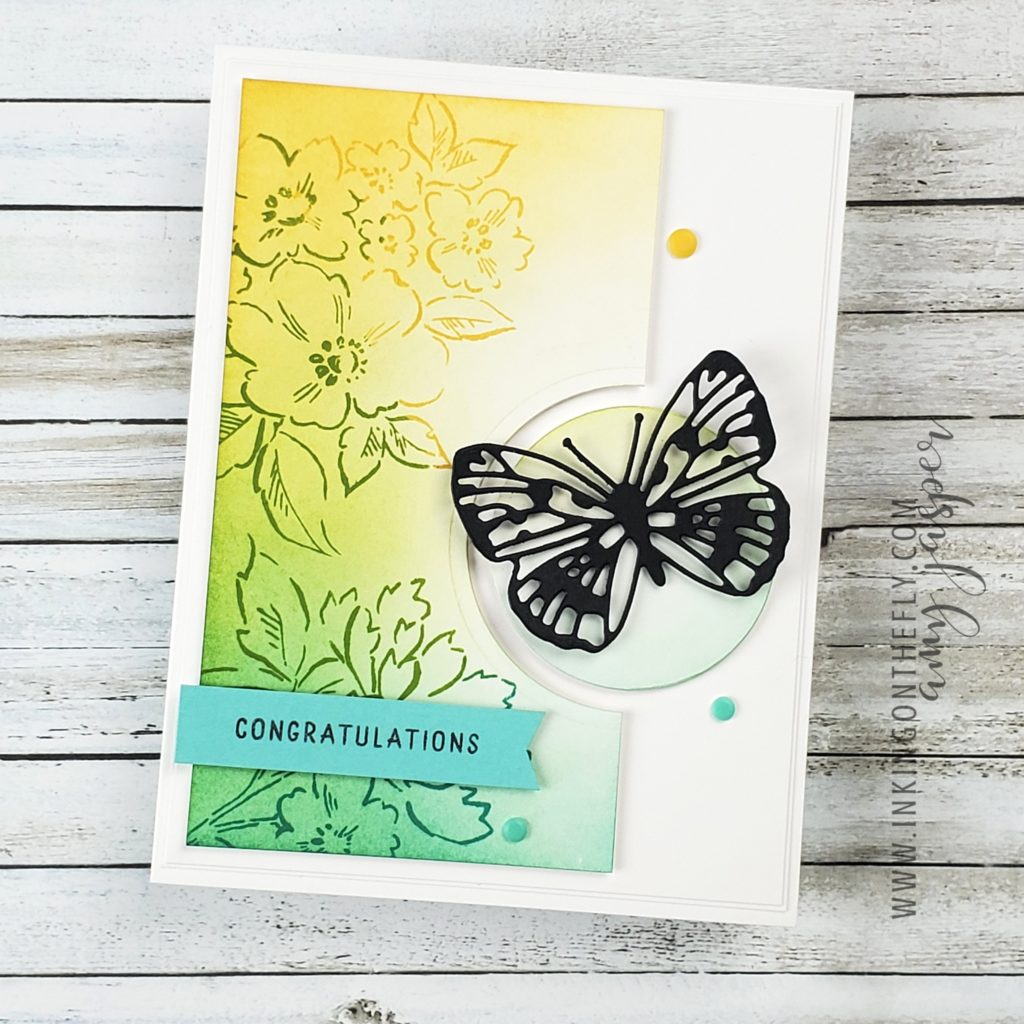
I have a sweet and simple card to share with you today featuring the Hand-Penned Petals stamp set from Stampin’ Up!® and the Brilliant Wings Dies.

The delicate lined floral images in this stamp set work so nicely with the butterfly die-cuts. I’ve combined the two a few times now and they always look great!

The card base is Thick Basic White with a double mat layer of Basic White cardstock. This is an easy way to create a soft and subtle frame around your card base without drawing the eye away from your focal point.

I used my Blending Brushes to add some colour to the card. Daffodil Delight at the top, then Granny Apple Green, and finally Bermuda Bay. This gives a wonderful ombré gradient effect. To build on that, I also inked the stamps to coordinate with the gradient.

The sentiment is stamped on a strip of Coastal Cabana cardstock. I flagged the end with my very loved Banners Pick-a-Punch (seriously my favourite punch right now!).

The Playing with Patterns Resin Dots are just the right finishing touch, don’t you agree!? I’ve had them for a while, yet haven’t had a chance to use them! I love that these dots are flat and matte. There are a lot of times when I’m looking to add interest to the card, but I don’t necessarily want “bling”. These dots are just right. Now, if they could be available in more colours, please!

I hope you’re having a great weekend. Get lots of crafting time in whenever you can and make something beautiful!

An excellent time to share a rainbow card

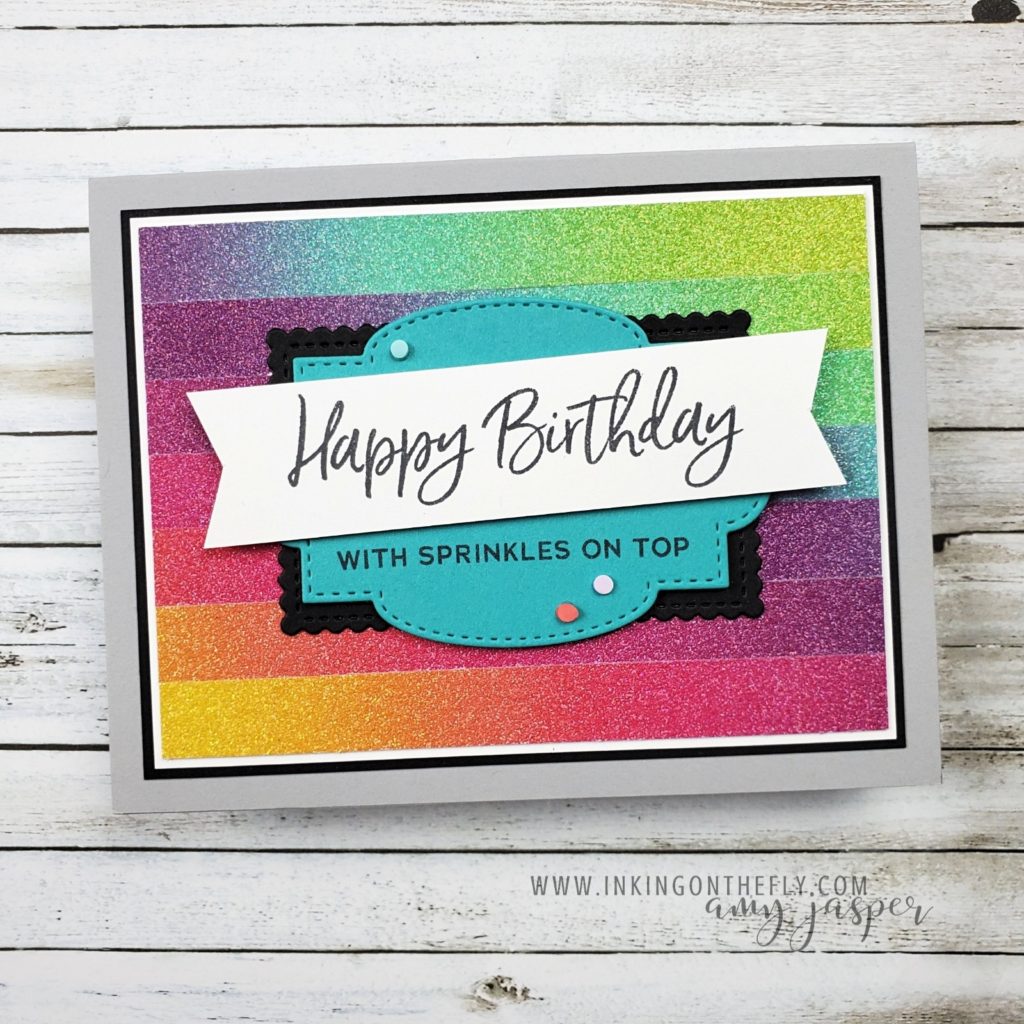
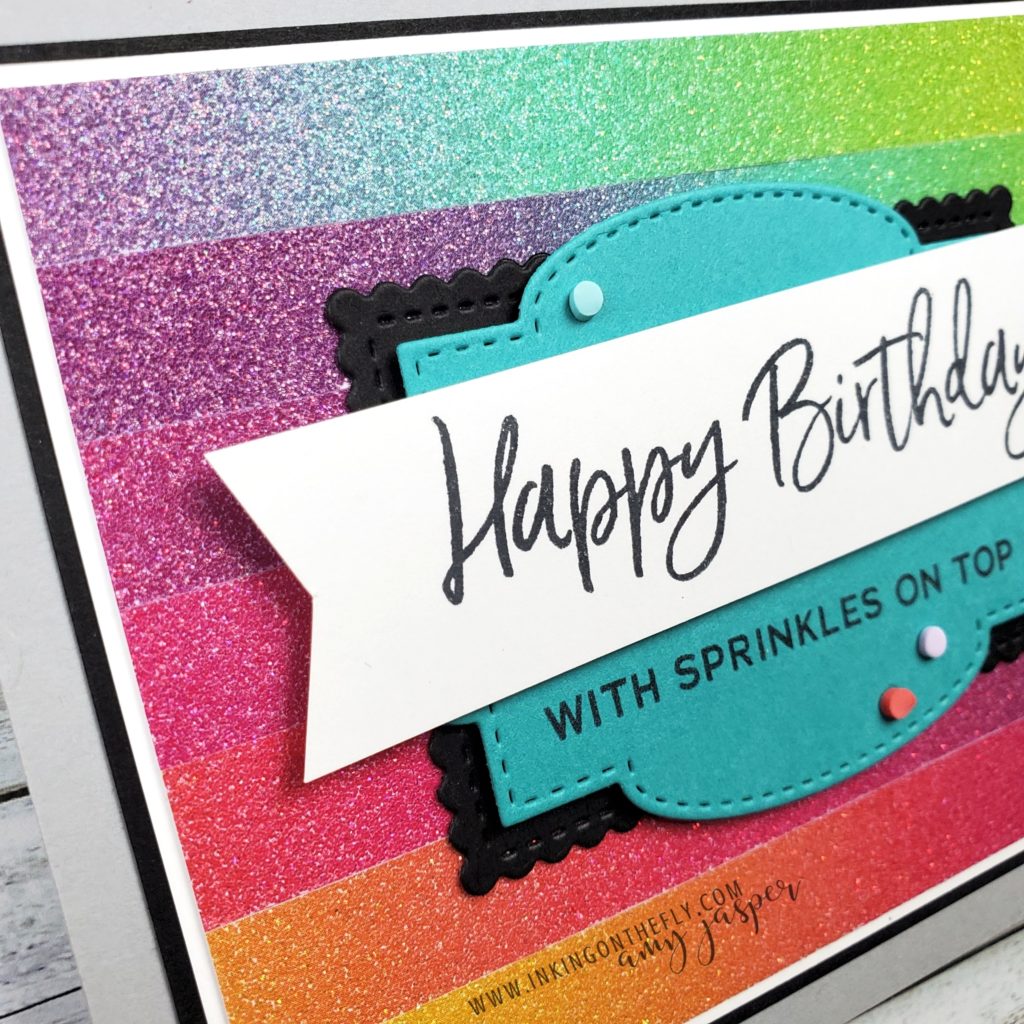
This rainbow glimmer card was inspired by a card I saw online a while back. It uses strips of the Rainbow Glimmer Paper in such a way that you get to show off the entire colour spectrum of the paper.

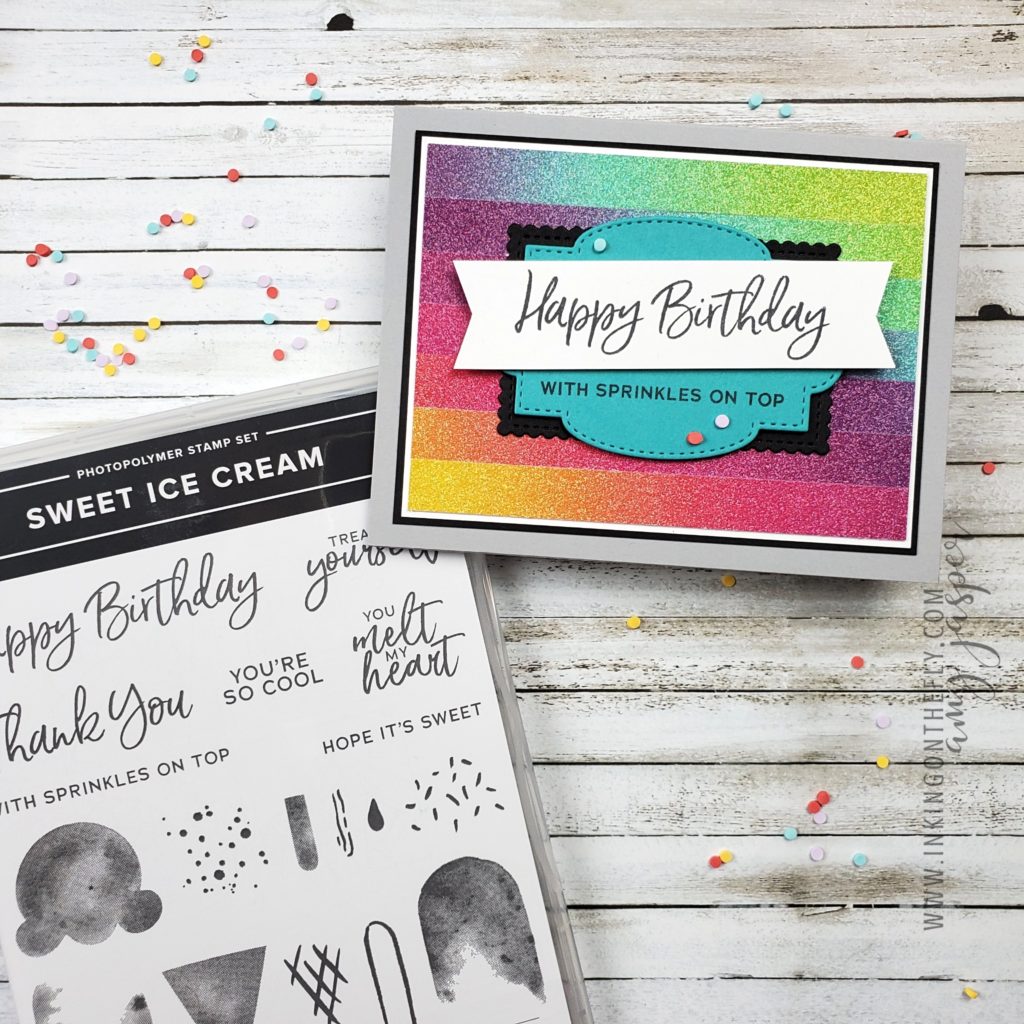
I made this card as one of the projects offered at a Stamp Camp event a few months ago. The Ice Cream Corner Sprinkles are retiring at the end of this month, so if you like those sweet little candy dots, make sure you go and grab them before their gone.

Did you know that June is Pride Month! What a perfect time to share this rainbow card!

How it’s done.

You need to cut 7 strips of the Rainbow Glimmer Paper to make this background. Each strip needs to have the full spectrum of colour and be 12″ long and ½” wide. I used my Multipurpose Liquid Glue to adhere the Rainbow Glimmer strips to a 3 ½” 4 ¾” piece of Basic White cardstock. It can be very helpful to lay out your strips how you want them before committing them to the paper with your glue.

The first strip is adhered so that the yellow end is flush with the bottom left corner of the Basic White. Don’t worry about the long section of the strip on the right that isn’t attached to your paper. You’ll trim off the excess after all the strips are applied.

The second Strip is attached so that it’s flush against the upper edge of the first strip, but the yellow end is approximately 1 ⅛” (or more) to the left of the yellow end of the first strip. Continue to adhere each strip 1 ⅛” or so to the left of the previously applied strip, until you adhere the last strip so that the green end is flush with the upper right corner of the 3 ½” x 4 ¾” Basic White piece.

The white piece of cardstock will be completely covered with Glimmer Paper with loose ends sticking out on both sides at varying lengths. Trim off the excess Rainbow Glimmer from the 3 ½” x 4 ¾” Basic White with your paper trimmer. I find it helpful to turn the paper and use the white paper as a visual edge to line up in my trimmer. Trim it down to the size of the white cardstock.

Save the removed pieces for another project!

Supplies for This Card: