rainbow

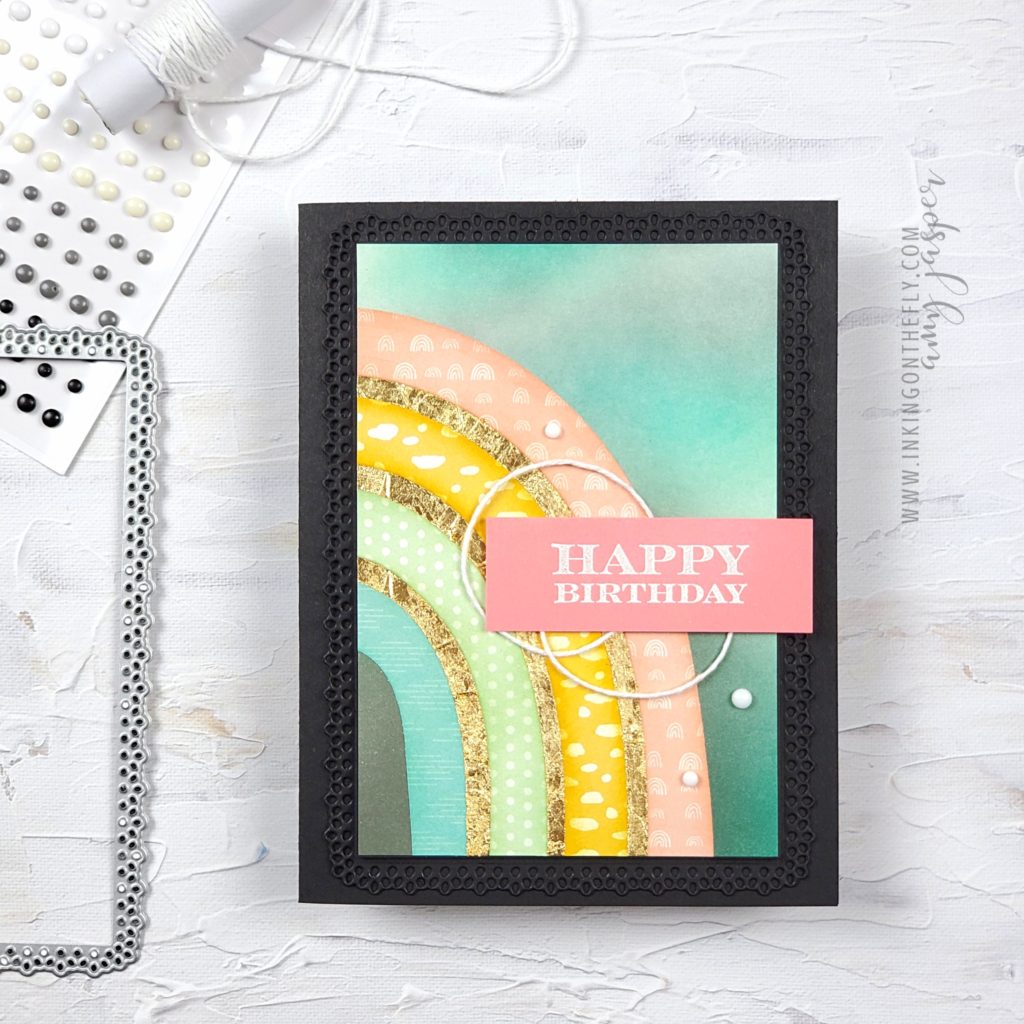
Gold in the Rainbow of Happiness

I’ve been taking a much needed break from, well … pretty much everything! My family and my personal well-being have been top priority these past couple months as I rest and reset. All consistency, planning, and organizing are to be tossed out the window! My attention and energy will be reserved for my family, their needs, schedules, and our household with the expectation of returning to my jobby (job/hobby) in the summer with a renewed work/life balance.

I miss you though, so I thought I’d take a break (from my break) to share a Rainbow of Happiness design with you!

Way back in November, I ordered some new products and only just opened them in January! The Rainbow of Happiness Bundle and the coordinating Sunshine & Rainbows Sale-a-bration exclusive patterned paper were waiting so patiently in the dark all that time. Poor things.

The Rainbow

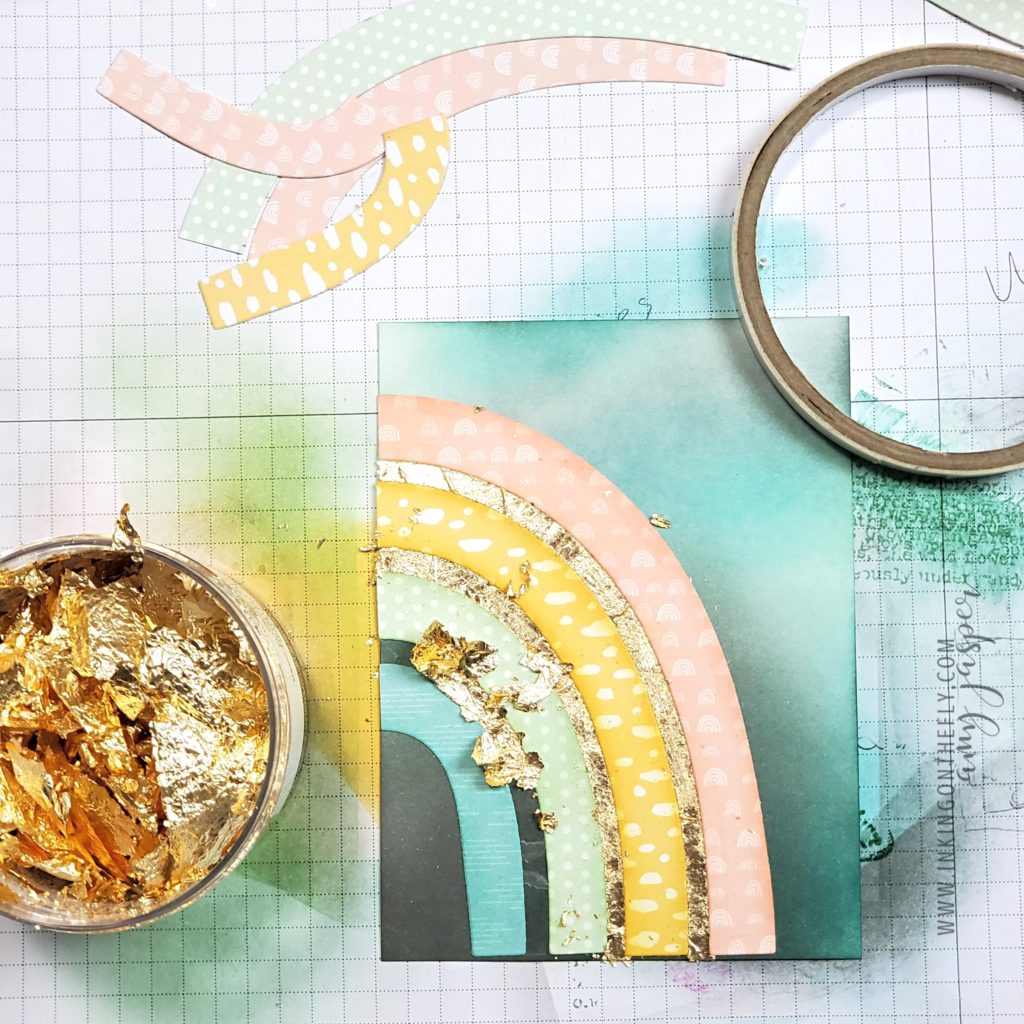
I sponged some Basic Grey, Bermuda Bay, and Pool Party ink on Basic White cardstock to create the background for my rainbow. The rainbow beams were die-cut from the Sunshine & Rainbows paper so that each beam could be a different colour and pattern. I also took the time to sponge the edges of each beam with coordinating ink to give them a bit more punch. Before adhering the beams to my background paper, I applied Tear & Tape adhesive to where the spaces in my rainbow were going to be. I adhere my rainbow beams and then applied the Gold Leafing to the exposed Tear & Tape.

I love this! So Pretty!

The Layers

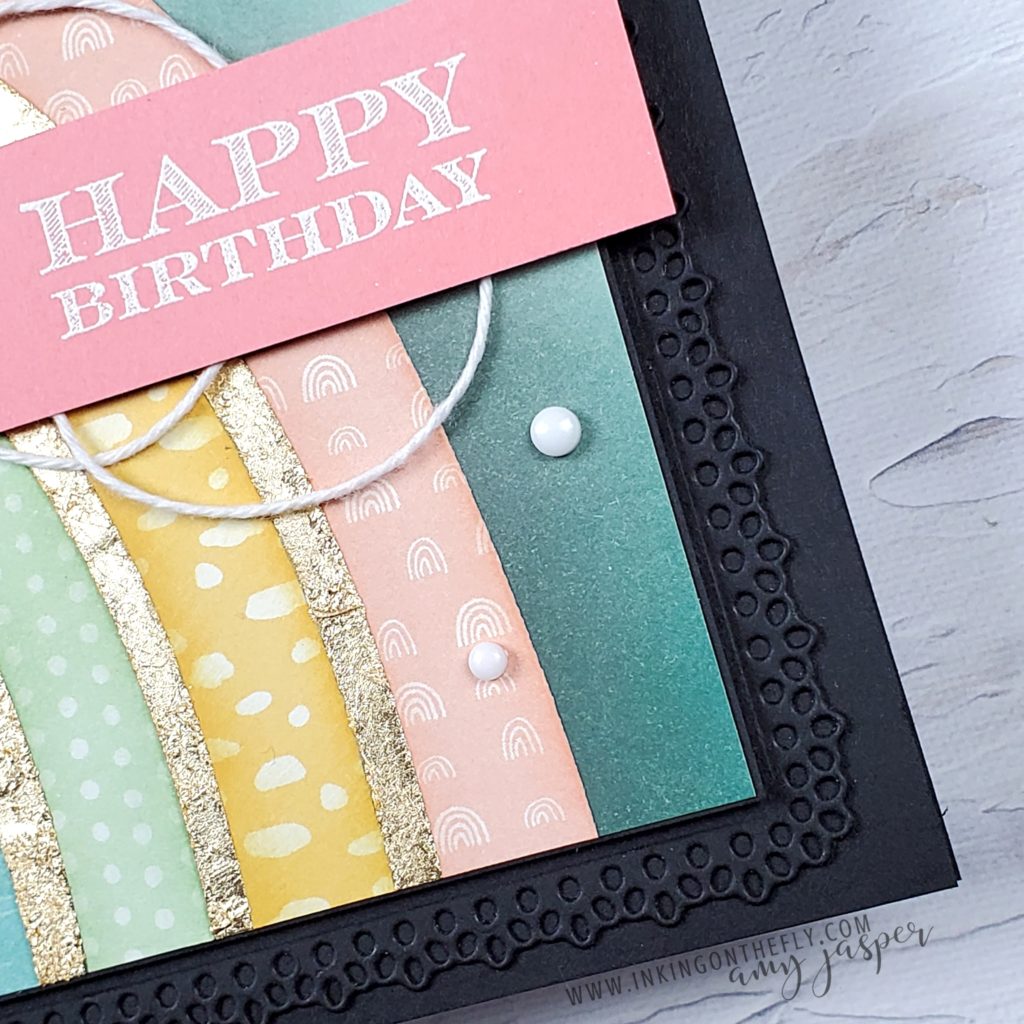
After completing the main feature of my design, I then could add my other layers and embellishments. The card base is Basic Black cardstock, over which I added a Basic Black die-cut layer, cut with my Cut & Emboss Machine and the Ornate Layers dies. I added a very thin Basic Black layer behind my inked rainbow piece and used Stampin’ Dimensionals to attach this ensemble to the center of the frame.

The sentiment from the Many Messages stamp was stamped with Versamark ink and heat embossed with White Embossing Powder on the Flirty Flamingo cardstock. I looped some white Baker’s Twine to adhere to the card before using more Stampin’ Dimensionals to apply the sentiment. The final touch was to add the three white Classic Matte Dots.

It felt good to do some stamping again and I am happy to take this moment to share it with you.

I don’t currently have a schedule for my blog posts, but when the wind blows just right and the mood strikes, I’ll be back to see you. I’m not going anywhere. I’m just taking it easy and floating on the breeze for a while.

No plans, no direction. Just going wherever the wind takes me.
Amy Jasper, Independent Stampin’ Up! Demonstrator
Kelowna, BC, Canada

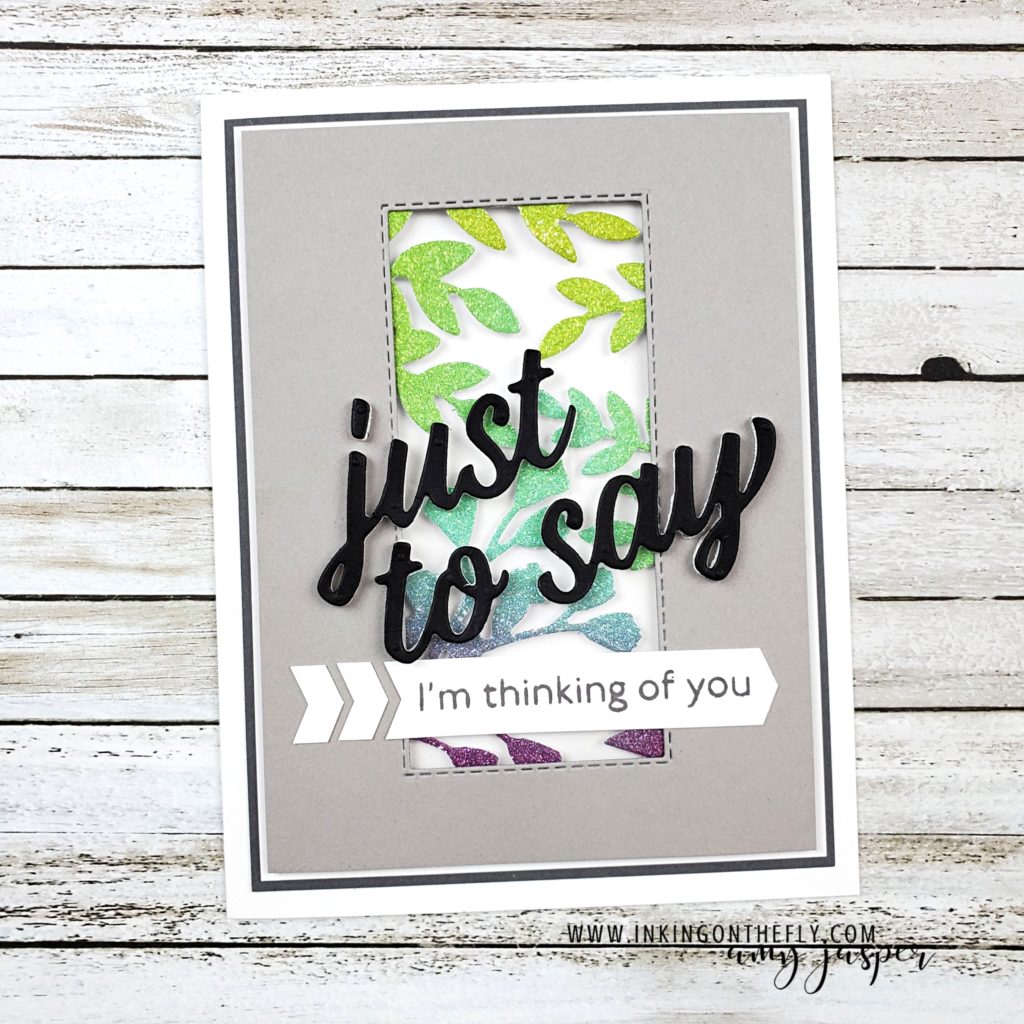
Video: Rainbow Ferns in a Stitched Rectangle Window

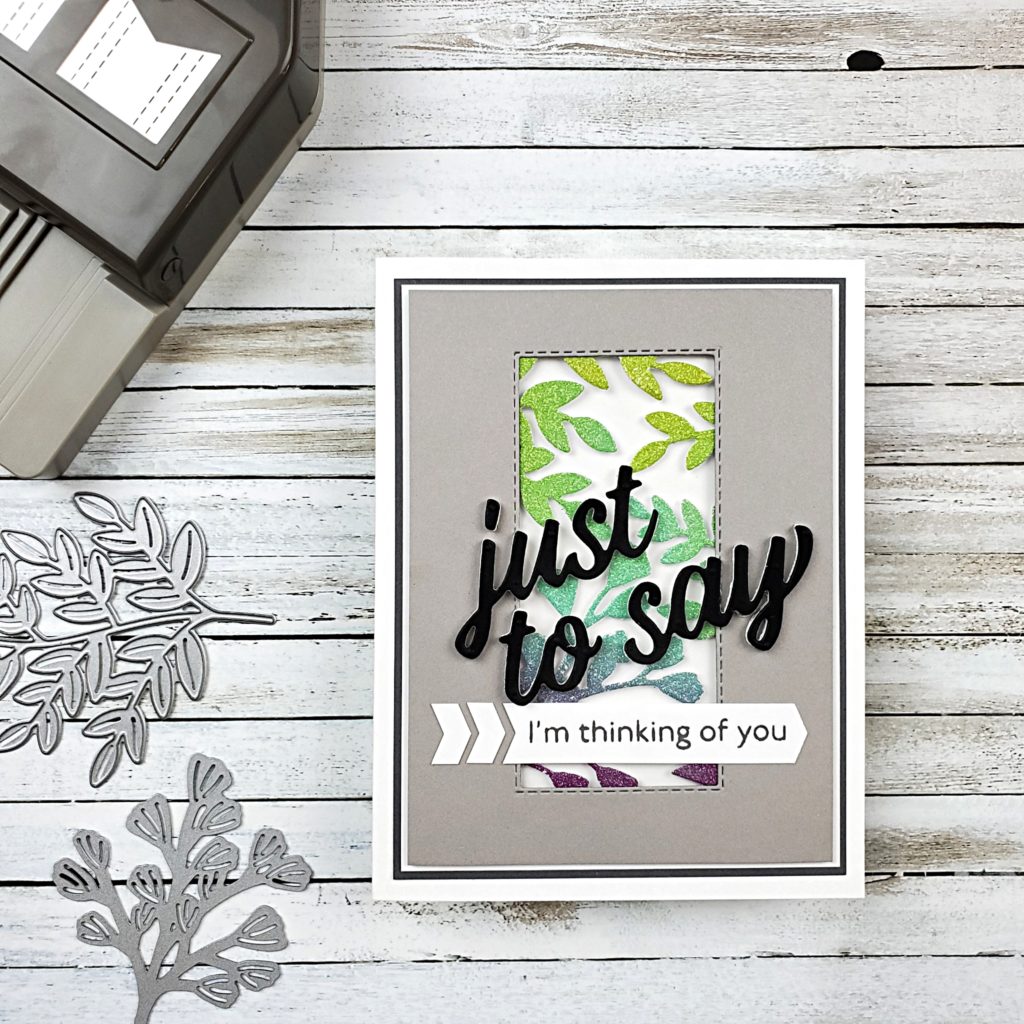
I’m all over the rainbow trend right now! I love seeing the cheerful spectrum of colour. The Rainbow Glimmer Paper from Stampin’ Up! not only give us the colours, but it also gives us some sparkle!

The card I have to share with you today shows off some of those colours nicely against the contrast of the Gray Granite cardstock.

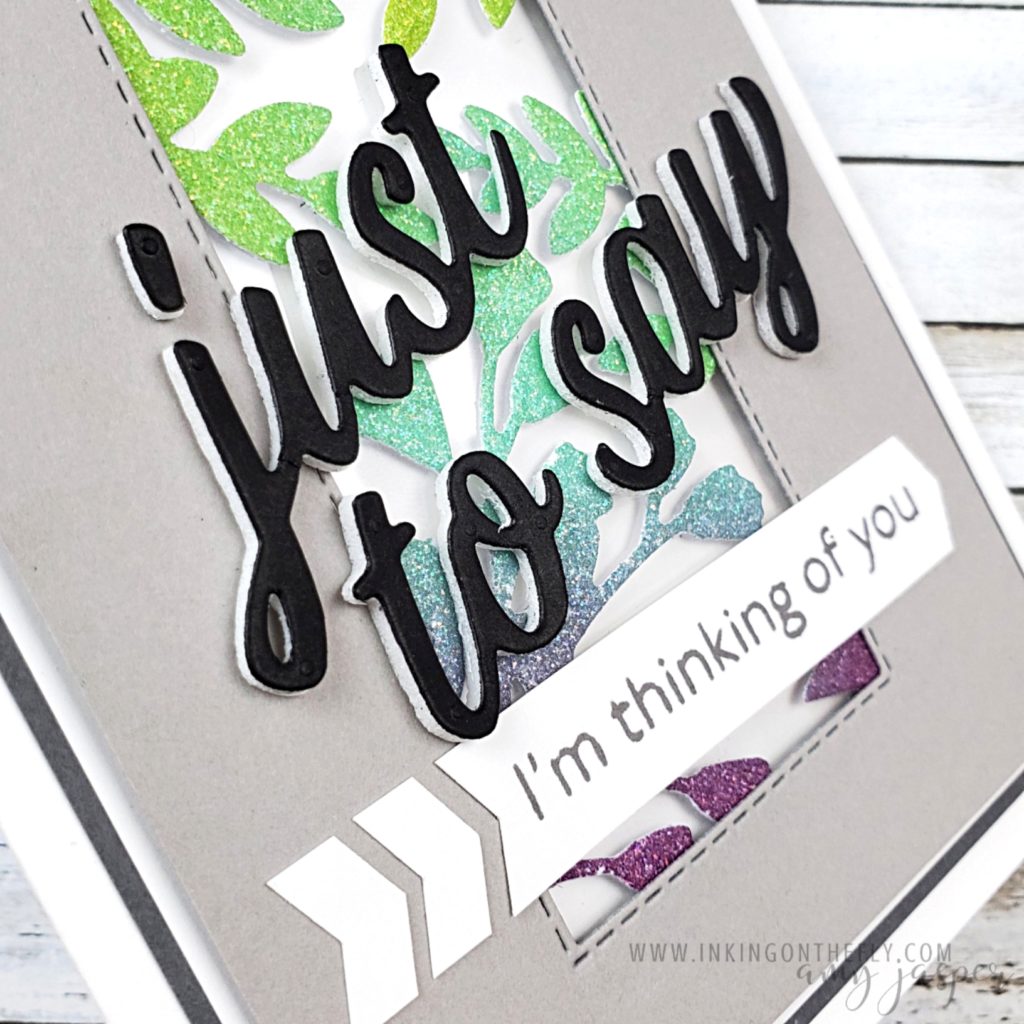
The sparkling leaves were die-cut using the Forever Flourishing Dies. They are adhered to the back of the Gray Granite so they can fill the window. A piece of Window Sheet behind them gives a little extra assurance that they’ll hold their position.

The Stitched Rectangle Dies are a major staple in my craft room. I use them for so many of my projects. That stitched edge adds texture and interest while still offering a minimalist and clean look.

Notice those fun chevron arrows on the card? You can make those with the Banners Pick a Punch!

Watch the video to see how it’s done!

I offered this video to those who attended my technique class or purchased VIP Access to the tutorial back in April. It provides detailed instructions on how to make this beautiful card.

Measurements and Supplies

If you like this project, let me know by leaving a comment and saying hello.

(Did that just rhyme? LOL!)

If you’re in Canada, like me, you can also go to my online store and order the supplies so you can make more cards just like this one!

An excellent time to share a rainbow card

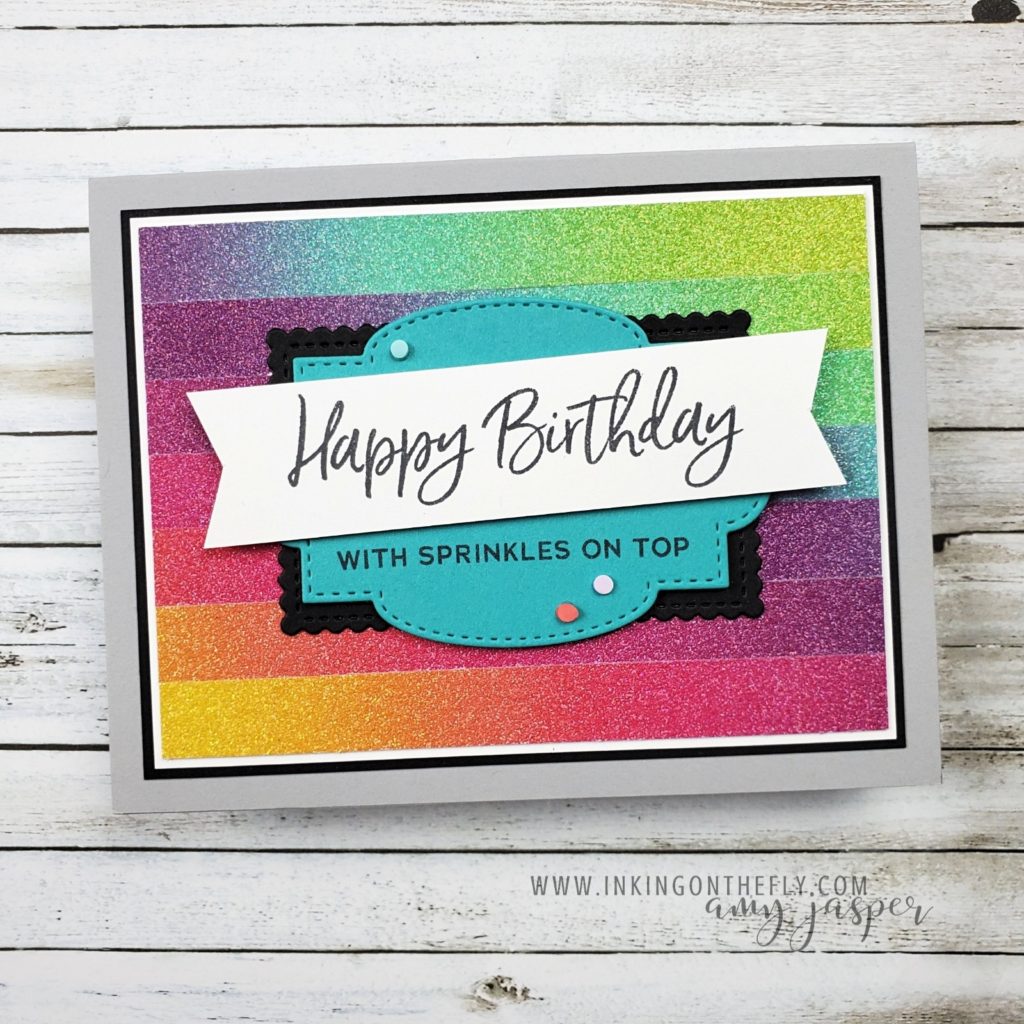
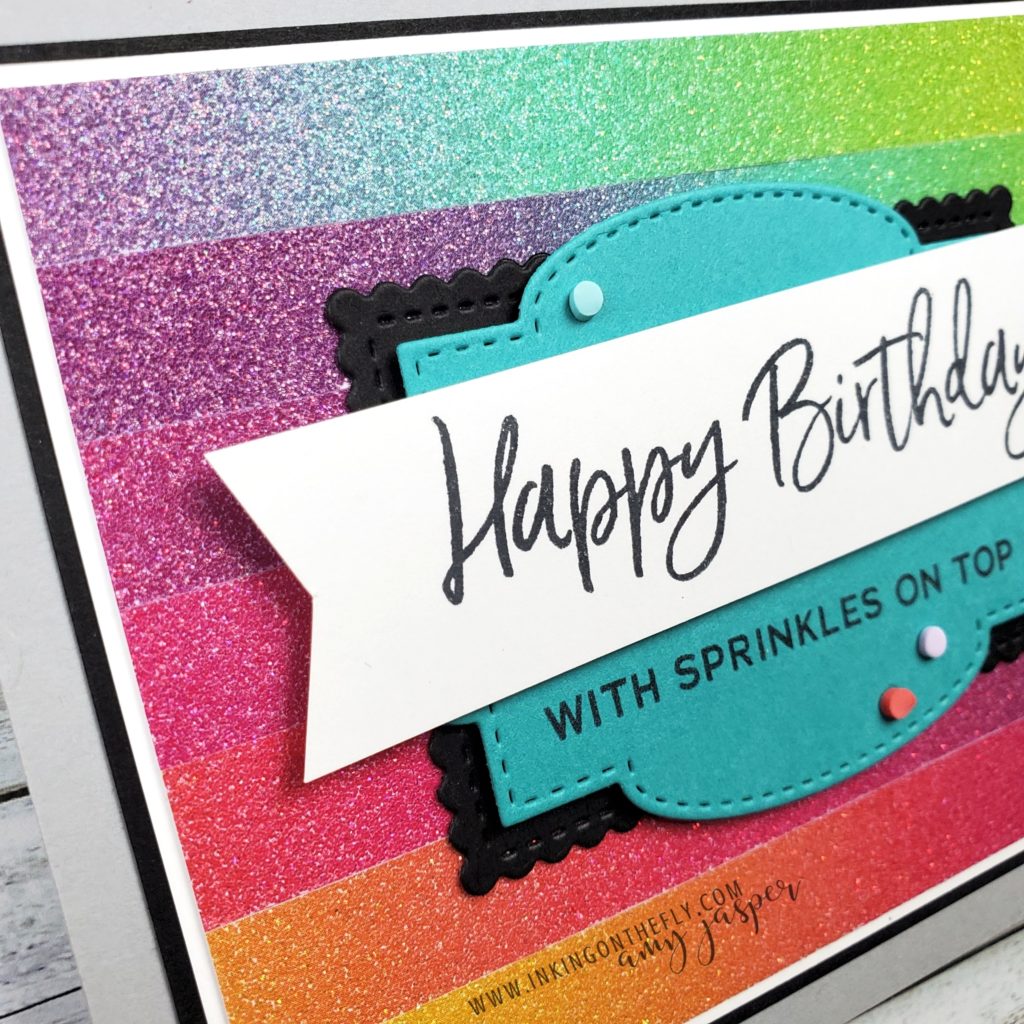
This rainbow glimmer card was inspired by a card I saw online a while back. It uses strips of the Rainbow Glimmer Paper in such a way that you get to show off the entire colour spectrum of the paper.

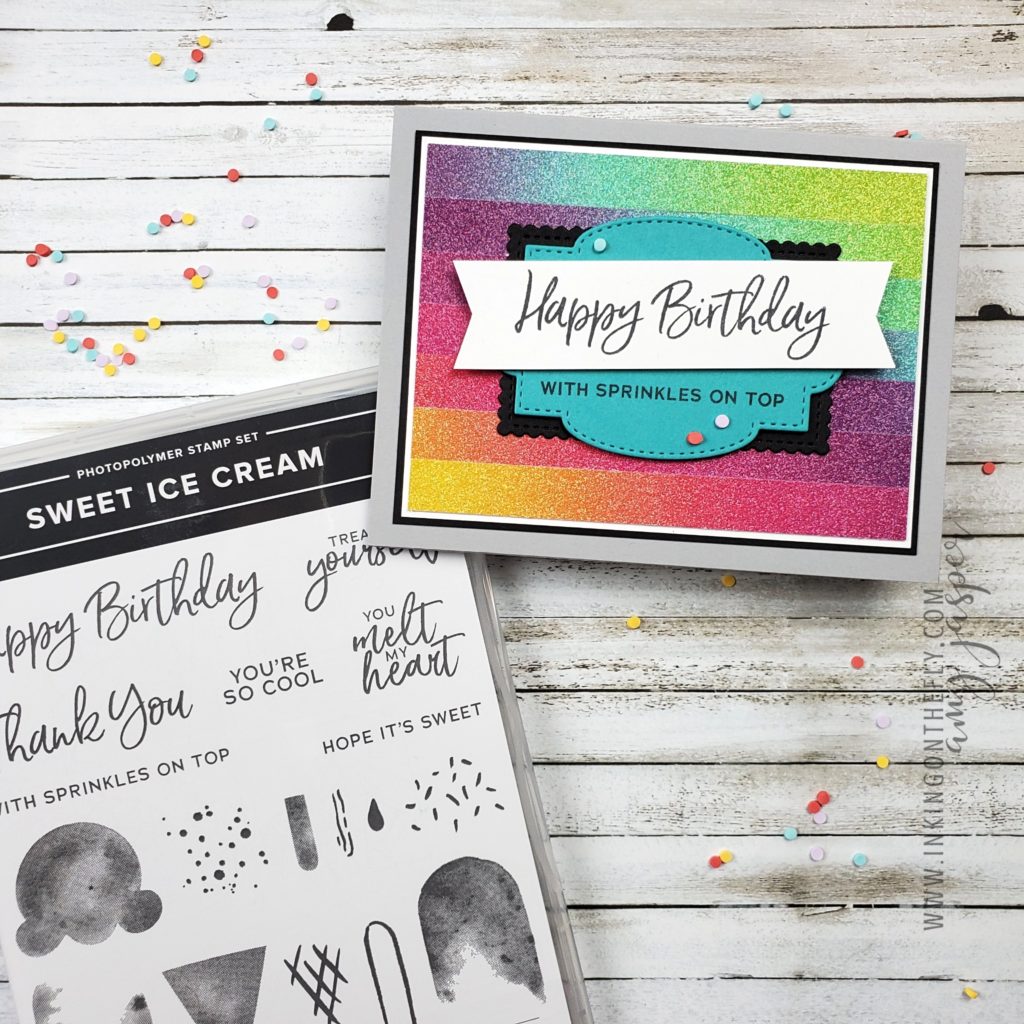
I made this card as one of the projects offered at a Stamp Camp event a few months ago. The Ice Cream Corner Sprinkles are retiring at the end of this month, so if you like those sweet little candy dots, make sure you go and grab them before their gone.

Did you know that June is Pride Month! What a perfect time to share this rainbow card!

How it’s done.

You need to cut 7 strips of the Rainbow Glimmer Paper to make this background. Each strip needs to have the full spectrum of colour and be 12″ long and ½” wide. I used my Multipurpose Liquid Glue to adhere the Rainbow Glimmer strips to a 3 ½” 4 ¾” piece of Basic White cardstock. It can be very helpful to lay out your strips how you want them before committing them to the paper with your glue.

The first strip is adhered so that the yellow end is flush with the bottom left corner of the Basic White. Don’t worry about the long section of the strip on the right that isn’t attached to your paper. You’ll trim off the excess after all the strips are applied.

The second Strip is attached so that it’s flush against the upper edge of the first strip, but the yellow end is approximately 1 ⅛” (or more) to the left of the yellow end of the first strip. Continue to adhere each strip 1 ⅛” or so to the left of the previously applied strip, until you adhere the last strip so that the green end is flush with the upper right corner of the 3 ½” x 4 ¾” Basic White piece.

The white piece of cardstock will be completely covered with Glimmer Paper with loose ends sticking out on both sides at varying lengths. Trim off the excess Rainbow Glimmer from the 3 ½” x 4 ¾” Basic White with your paper trimmer. I find it helpful to turn the paper and use the white paper as a visual edge to line up in my trimmer. Trim it down to the size of the white cardstock.

Save the removed pieces for another project!

Supplies for This Card: