hand-penned

Video: How to Make a Triple Panel Fancy Fold

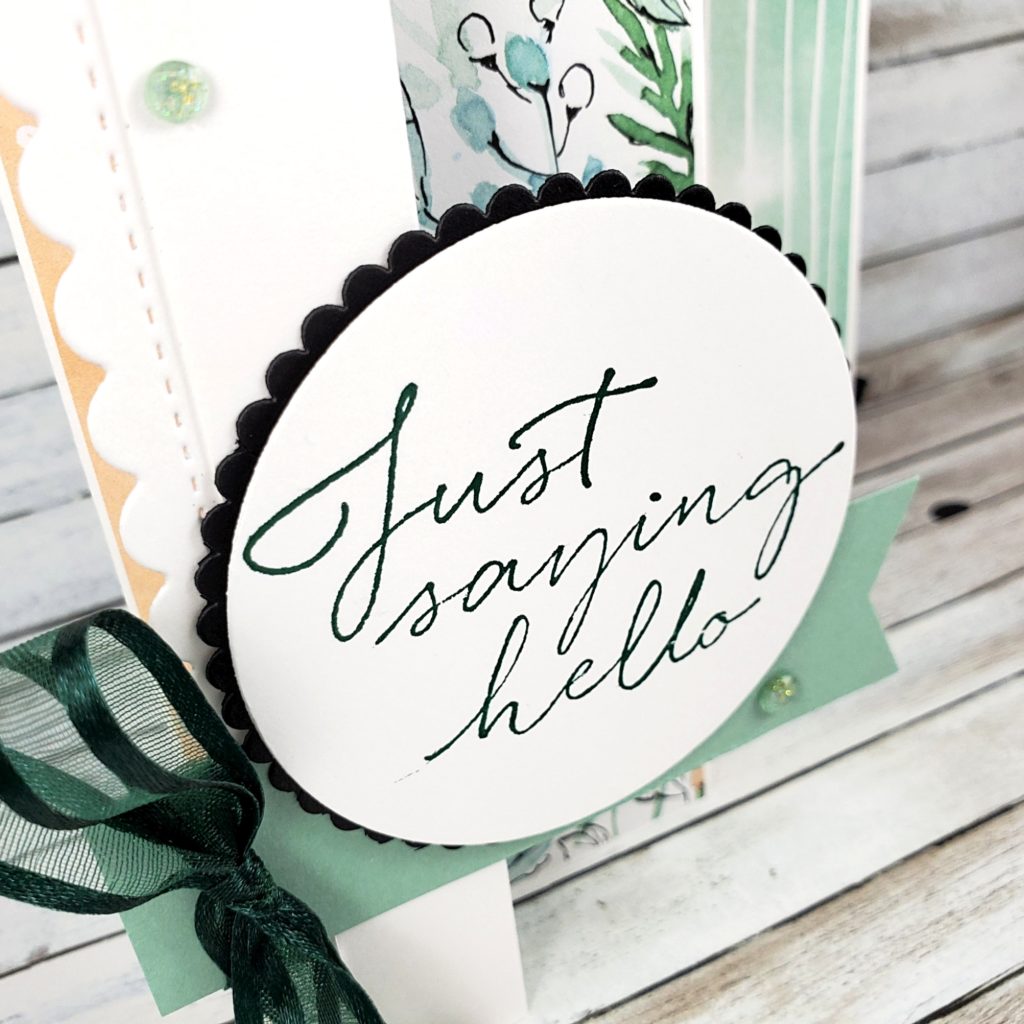
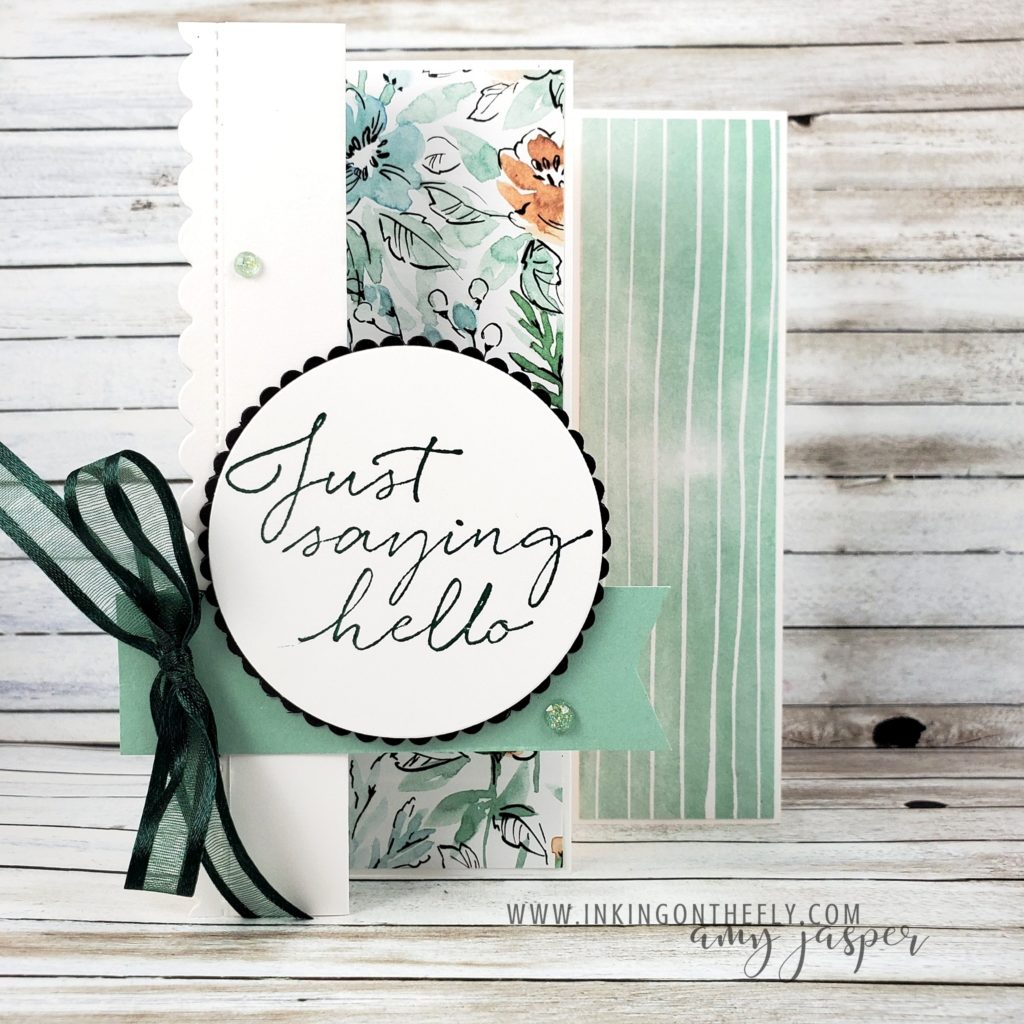
It’s time to share a Technique Class project with you! This one was offered in my May class. One of the perks of attending my class each month is to receive a written tutorial and to have exclusive access to the video tutorials.

Most people who purchase the class, attend the live, virtual, step-by-step class instruction for the designs as they follow along with the pre-cut supplies included with the class. However, some people aren’t able to attend the virtual class and some aren’t able to receive the class kit (due to out-of-country restrictions). Those people rely heavily on the tutorials to complete their projects.

The videos remain exclusive to the class participants for two months. After that, my friends, the video becomes accessible to the public. Often, that means there will be products used for the design that are no longer available for purchase. However, as I have said before, I know that you’re a very clever crafter and will be able to substitute other products as needed.

Designer Series Paper Sale

As you may have noticed, this fancy fold design features the beautiful Hand-Penned Designer Series Paper from Stampin’ Up!. I have been enjoying working with this paper so very much. In fact, I’m a little surprised that I keep reaching for it and haven’t become tired of it! I hope you haven’t either! Lucky for us, it’s included in the designer paper sale until August 2nd!

Watch the video tutorial below to get the details on this fancy fold design.

I will let the video do the explaining today. The product list and measurements can be found in the video description on YouTube.

Don’t forget to subscribe to my channel. Your support helps my videos to be seen by more people and, as a result, will help me to grow my business. Not to mention, that by subscribing you’lll be less likely to miss my videos as they’re posted!

Whether you have the products used for this card or not, give this fancy fold a try! At the risk of sounding like a broken record, you are a clever crafter. I’m more than confident you will make something beautiful!

Have fun and get creating!
How can you NOT love the Hand-Penned Suite!

The more I use it, the more I love it!

I shared a video in my last post, where I made a frame-able scrapbook page with elements from the Hand-Penned Suite. You can see that post HERE.

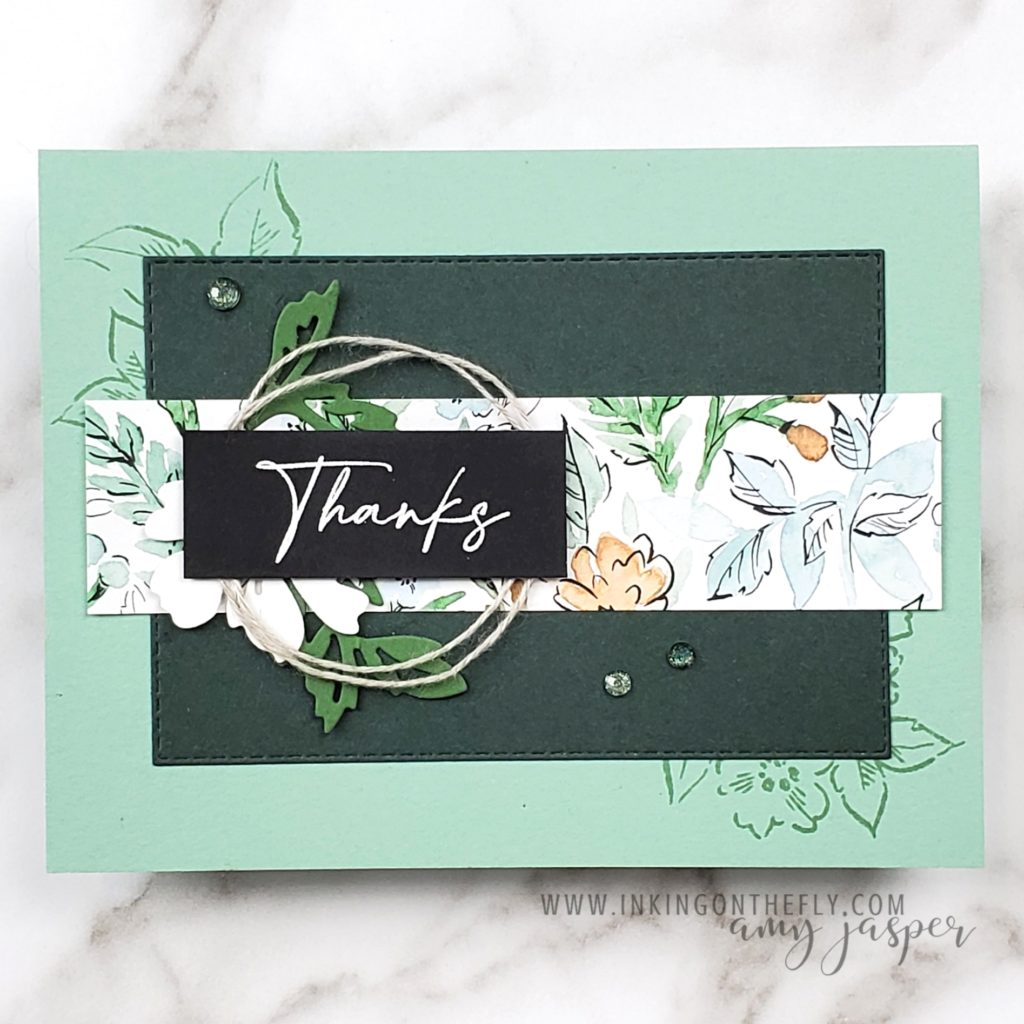
Today, I have another project featuring the gorgeous Hand-Penned Petals stamp set, coordinating dies, the Hand-Penned Designer Series Paper, and the Genial Gems. I created this card for the Virtual Stamp Camp event a couple months ago.

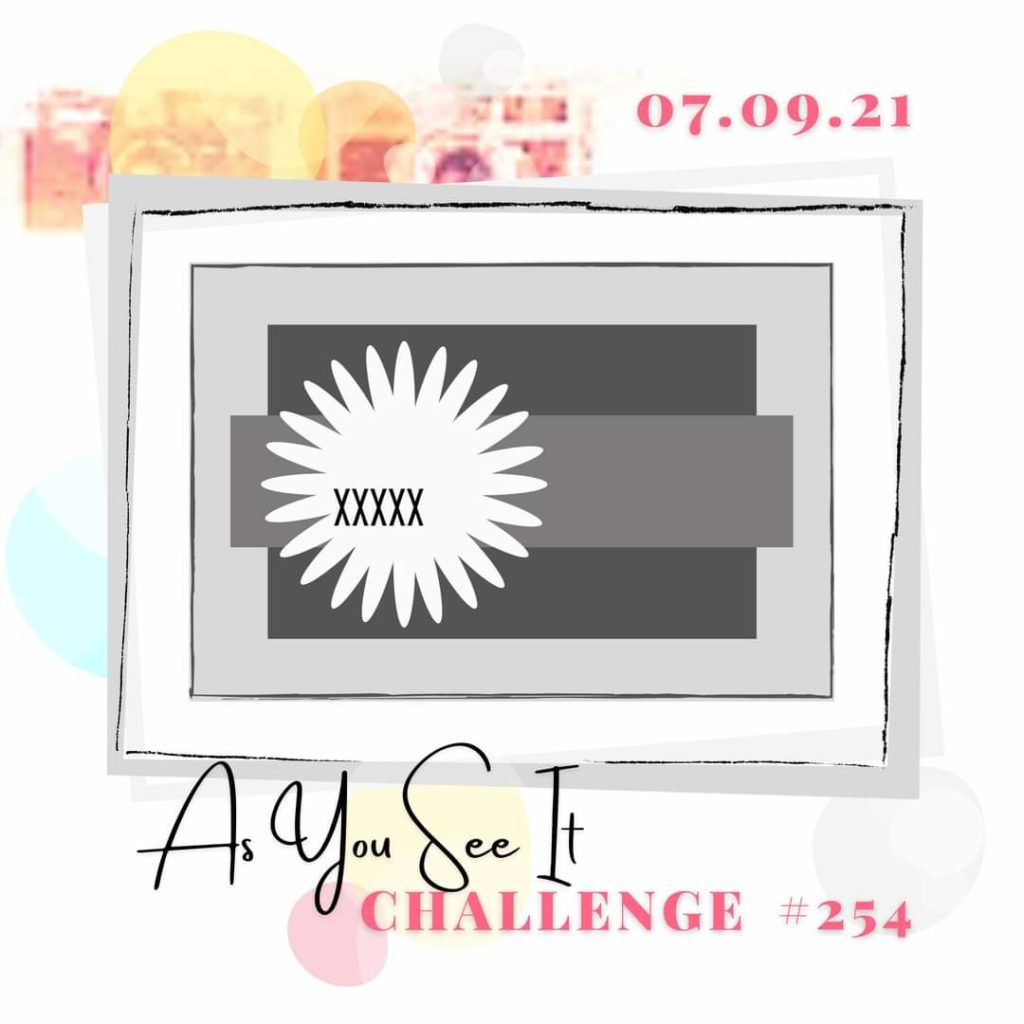
Because I loved this card so much, I used it as my inspiration for the sketch challenge over at the As You See It Challenge Blog. As designers for the challenge blog, we take turns coming up with the different ideas for the challenges, so why not create a sketch from my own card! LOL! For once, I was done my design in advance!

(okay, so I made one teeny-weensy alteration, but it was mostly done!)

Making the card

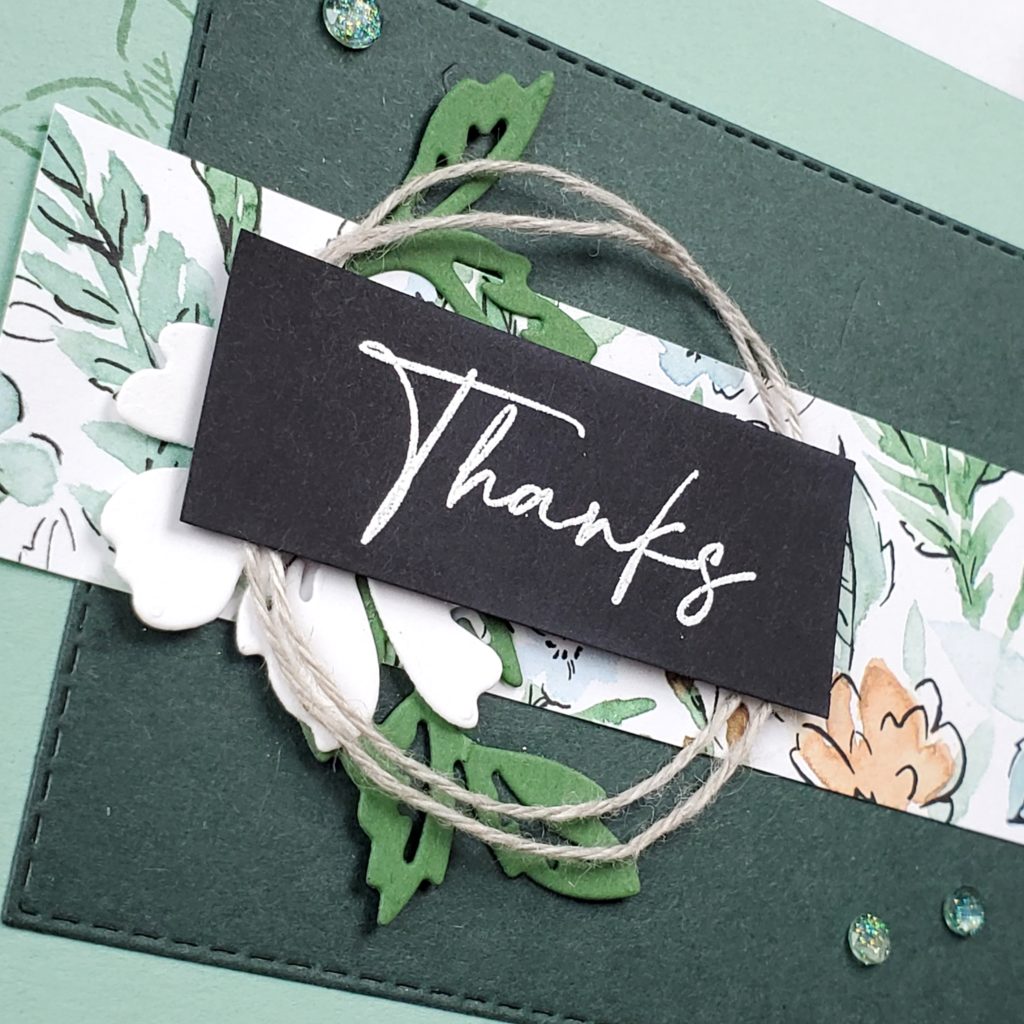
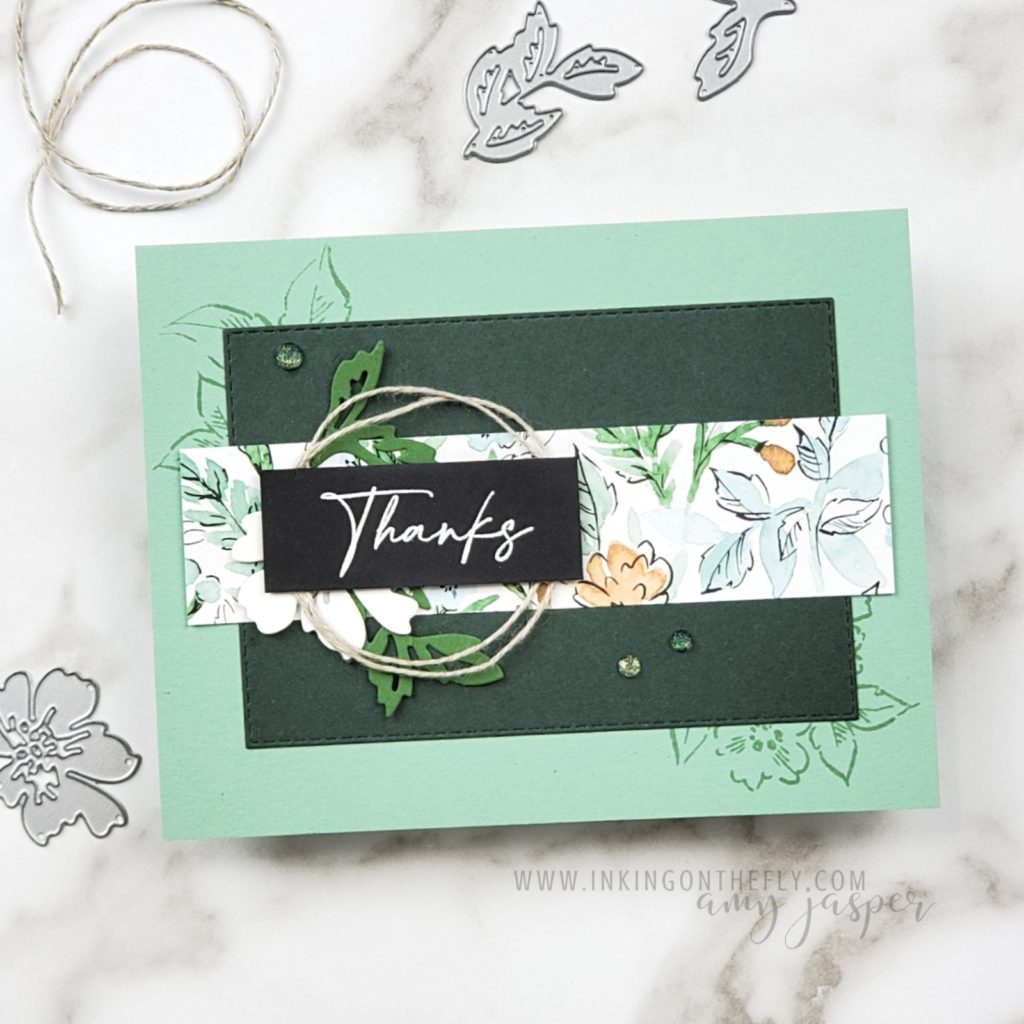
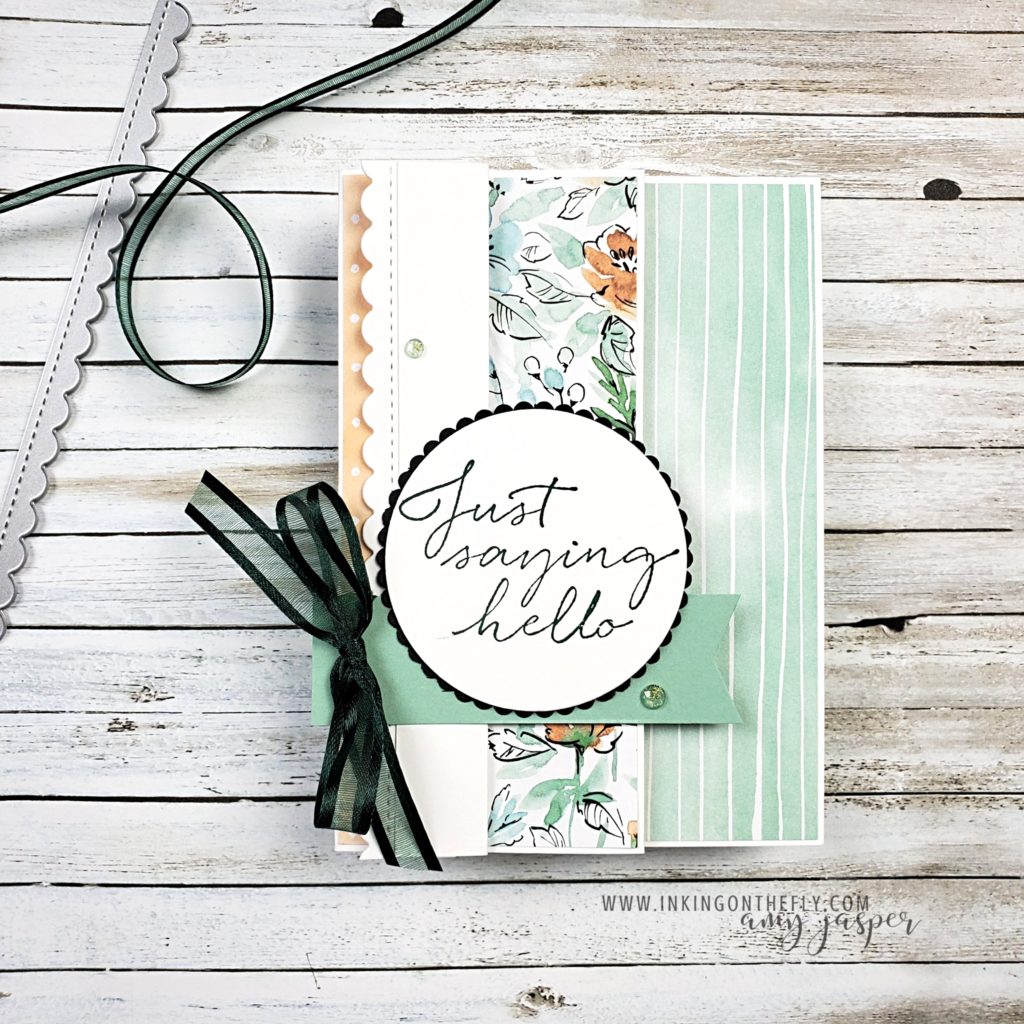
Mint Macaron looks great with the Evening Evergreen, don’t you think? I die-cut the evergreen cardstock with one of the Rectangle Stitched Dies. Those dies are a serious work-horse in my craft room! I use them A LOT!

Before adhering the stitched layer, I stamped the floral image with Mint Macaron ink on the base of the card. I love how this peek-a-boo effect can transform a plain card base into something much more interesting. Of course, the strip of Hand-Penned Designer Series Paper adds the flare, but this little bit of stamping helps pull everything together.

My favourite element on this card is the swirl of Linen Thread. This, with the die-cut flower and leaves creates a sweet little wreath for the heat embossed sentiment to nest in.

The Genial Gems are the final touch and are just as important on this card as everything else. They fill in the empty space without taking our attention off of the focal point of the design.

Now it’s your turn to give this sketch a try. Make a card and share it with us at the As You See It Challenge Blog. Your creativity is always a joy and an inspiration.

Video: Love the Hand-Penned Suite? Frame It!

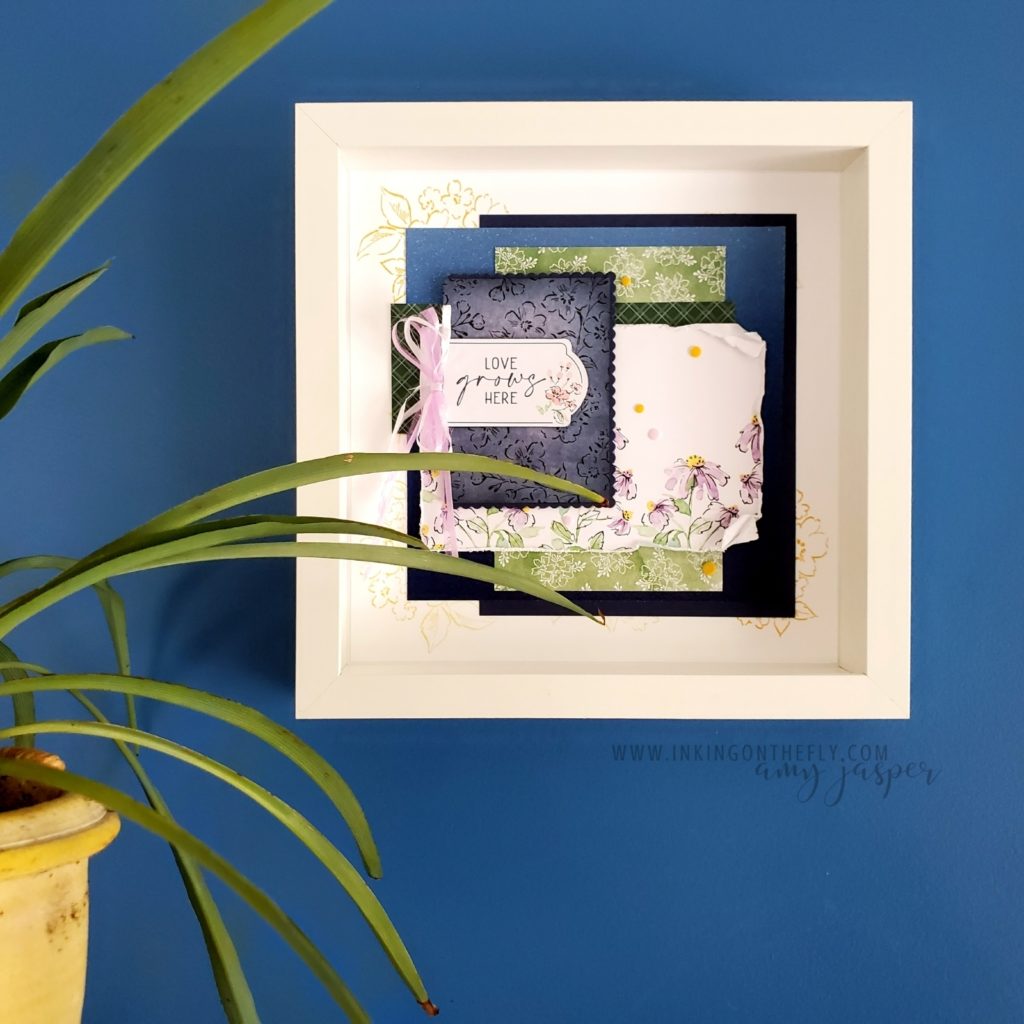
My goal was to create a home decor project using the Hand-Penned Memories & More Card Pack from Stampin’ Up!®. It did NOT disappoint! I absolutely love this art piece!

The card pack is part of the Hand-Penned Suite, which is collection of products intended to work well together. For my frameable art, I used only two of the elements in the suite: the Memories & More Pack and the Hand-Penned Petals stamp set.

This is basically a scrapbook page designed to be framed for display. You probably could even add a small photo on there somewhere.

I don’t do a lot of scrapbooking as I struggle with the extra planning and steps. When I make cards, I can sit down and make a card using the supplies in my craft room. With scrapbooking, I have to choose my photos and print them in the size I want. That’s two extra steps in my process! My brain just doesn’t work well with that. Kind of crazy, right?

I also find scrapbooking takes sooo much more time. It feels like forever to finish a book and I end up loosing focus and moving onto something else. I’m the kind of gal that is often moving on the the next “shiny” thing that grabs my interest.

In my 15 years as a demonstrator with Stampin’ Up!, I’ve probably completed two scrapbooks. One was digital and one was an 8″ x 8″ book with only about 10 pages. I love looking at the gorgeous ideas on Pinterest, so perhaps I will try again someday. Some of you preserve your memories so beautifully. Maybe you can share some of your tips to help me give it another go?

Making this project

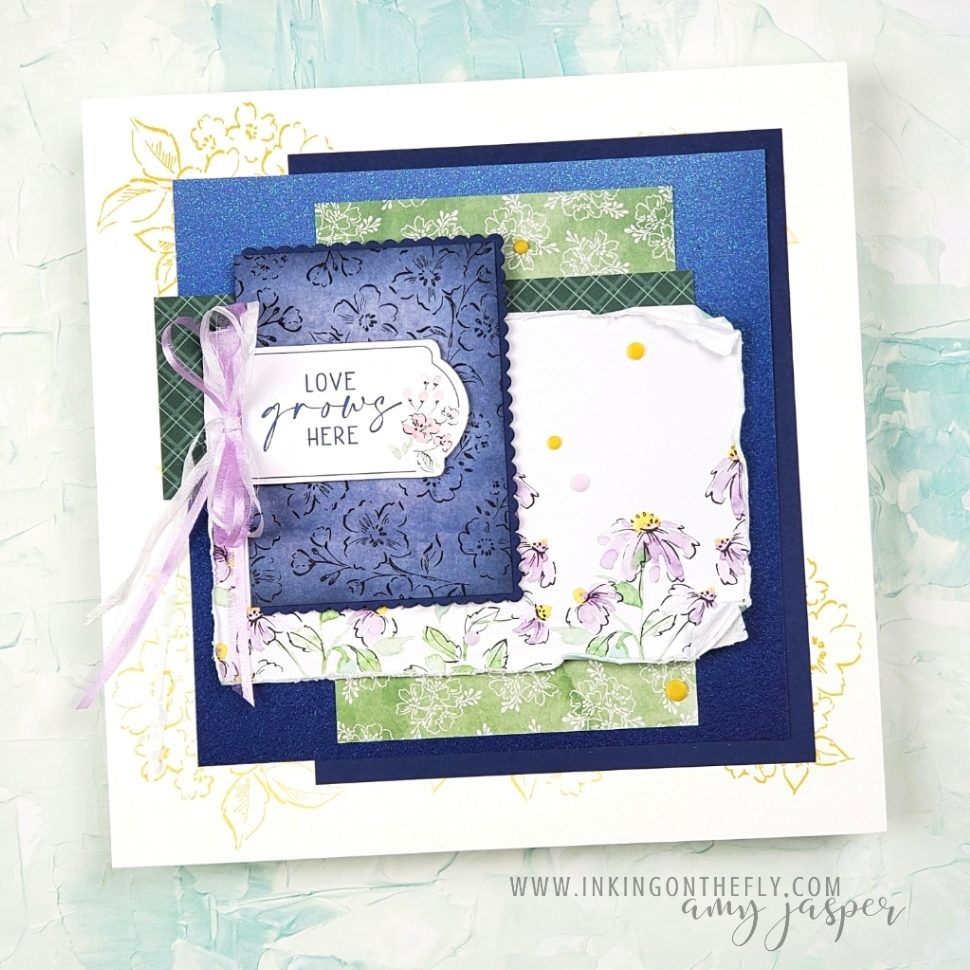
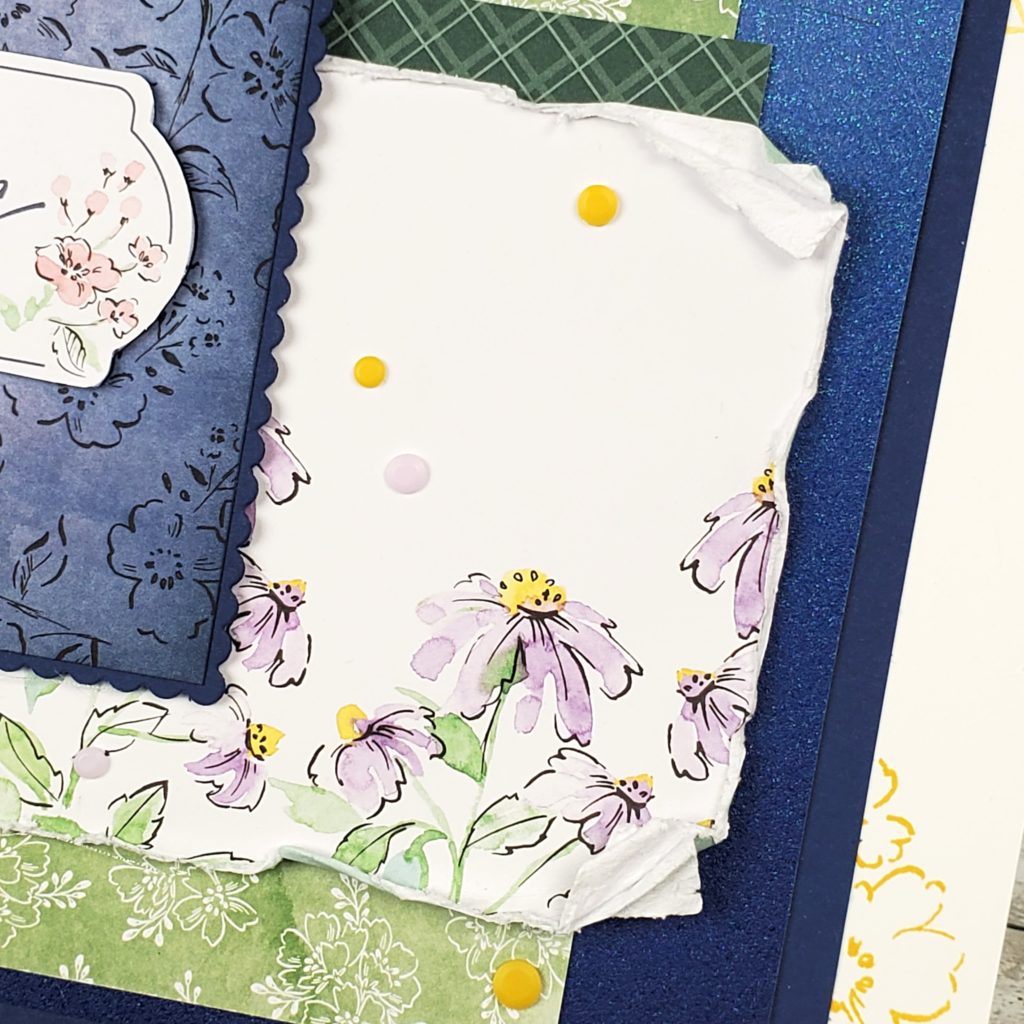
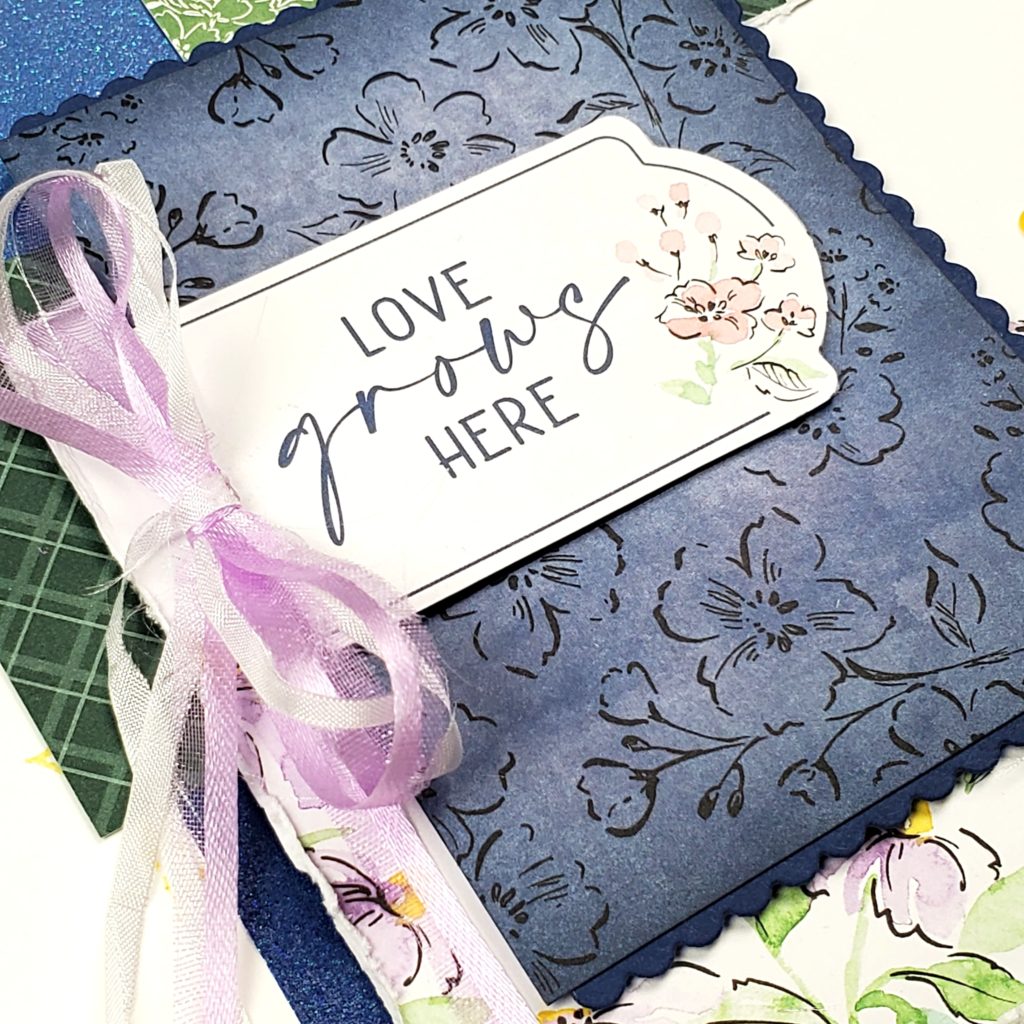
I used a variety of patterned papers for this design and used my Paper Snips to add a bit of a distressed look. The Ombré Specialty Paper adds a nice glimmer in the background for interest and texture.

The label in the 3″ x 4″ card in the photo below was carefully cut with my Paper Snips to separate it from the blue patterned background. Cutting it out allowed me to put the label on Stampin’ Dimensionals. My Blending Brush with Misty Moonlight ink added some extra colour on the edges, deepening the colour and drawing the eye to the white label.

You can see that I stamped on the Basic White layer with Daffodil Delight ink using the coordinating Hand-Penned Petals Stamp Set. The yellow ink balances well with the yellow accents in the patterned design on the Memories & More cards.

Other supplies used

Oh, Stampin’ Up!, how I love that you make it so easy for us to coordinate the colours and patterns in our artwork! Ribbon, accents, paper, and ink! They are designed to work together so beautifully!

Watch the video for more!

If you’re interested in learning more about the elements and techniques used to make this project, watch the video below. Don’t forget to support my YouTube Channel by clicking that subscribe button!

https://youtu.be/KfGZec0XuXg