It’s time for another challenge! For this happy card, I used the Large Letters Framelits and the Festive Birthday Designer Series Paper from Stampin’ Up!
So fun and simple, don’t you think!? At first glance, I liked how the dots on the sketch went light to dark across the page and tried to think of how I could use that in my own design. But my final result rarely goes as planned and I found myself inspired by a deep desire for bright colours to pull me out of the winter blues.
Here’s what I came up with:
I used the Large Letters Framelits from Stampin’ Up! to cut the letters ‘P’, ‘R’, and ‘Y’ from a piece of Whisper White cardstock and stamped the sentiment from the Endless Birthday Wishes stamp set above the ‘Y’ with Melon Mambo ink. I then adhered a piece of the Festive Birthday Designer Series Paper (DSP) to my Thick Whisper White cardstock base before adhering the stamped and die cut Whisper White layer over the DSP with Stampin’ Up Dimensionals.
I added the inside of the letter ‘P’ and ‘R’ using Dimensionals cut in half because those pieces are so narrow. The letter ‘A’ is die cut from Emerald Envy cardstock, while the letter ‘T’ is cut from Tempting Turquoise cardstock. These letters were added to the front of the card using Stampin’ Up! Dimensionals.
For a festive confetti-like flare, I added some Brights Candy Dots. Sadly, these are no longer available, but the current Brights Enamel Dots would be perfect for this card. In fact, if I had them, I would have used the star shapes to make this card even more fun!
I like how this card is appropriate for anyone, male or female and of any age. This one will be for my son, who’s turning 13 this month!
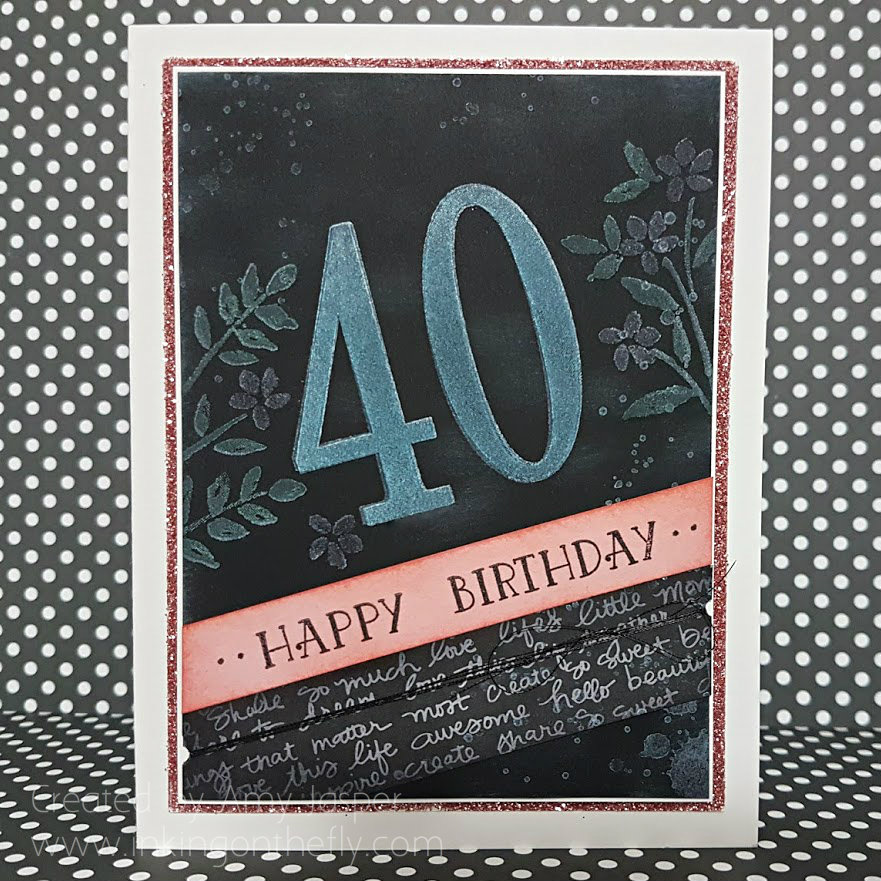
This faux coloured chalk 40th birthday card was created using Whisper White Craft ink from Stampin’ Up along with their regular Classic ink colours. It’s so easy to create this effect with the see through photopolymer stamps!
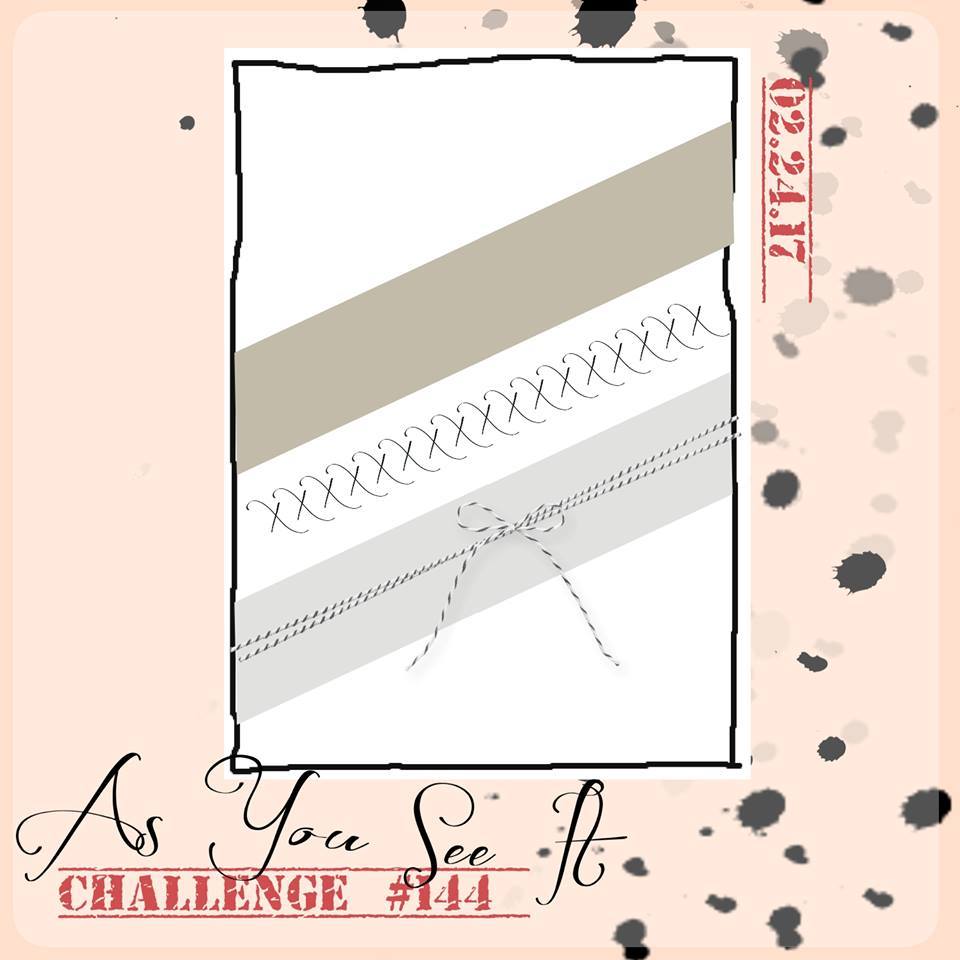
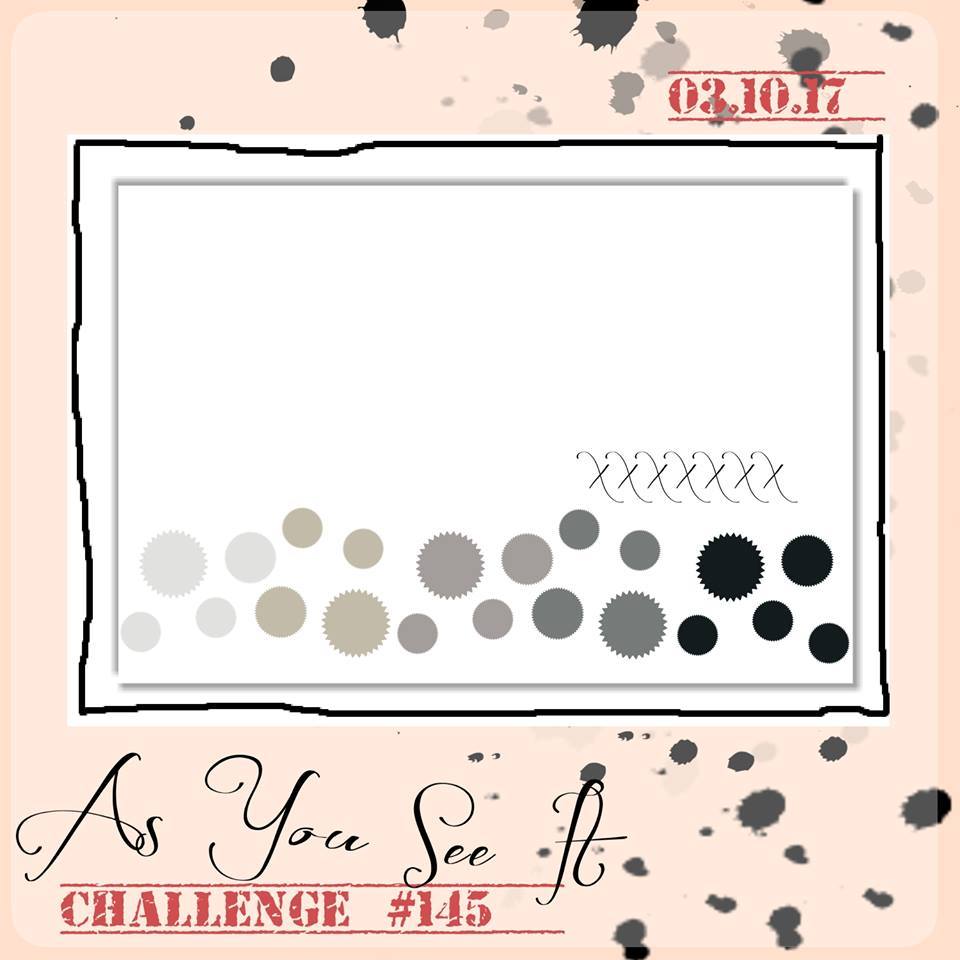
The layout of the card is inspired directly from the As You See It Challenge blog. This one is challenge #144.
I finally purchased the Number of Years photopolymer stamp set from Stampin’ Up and was so excited to be able to use it to create this card for my friend’s 40th birthday celebration. I felt inspired to try a technique that I’ve never really seen done before, though I’m sure it has been done by someone, somewhere!
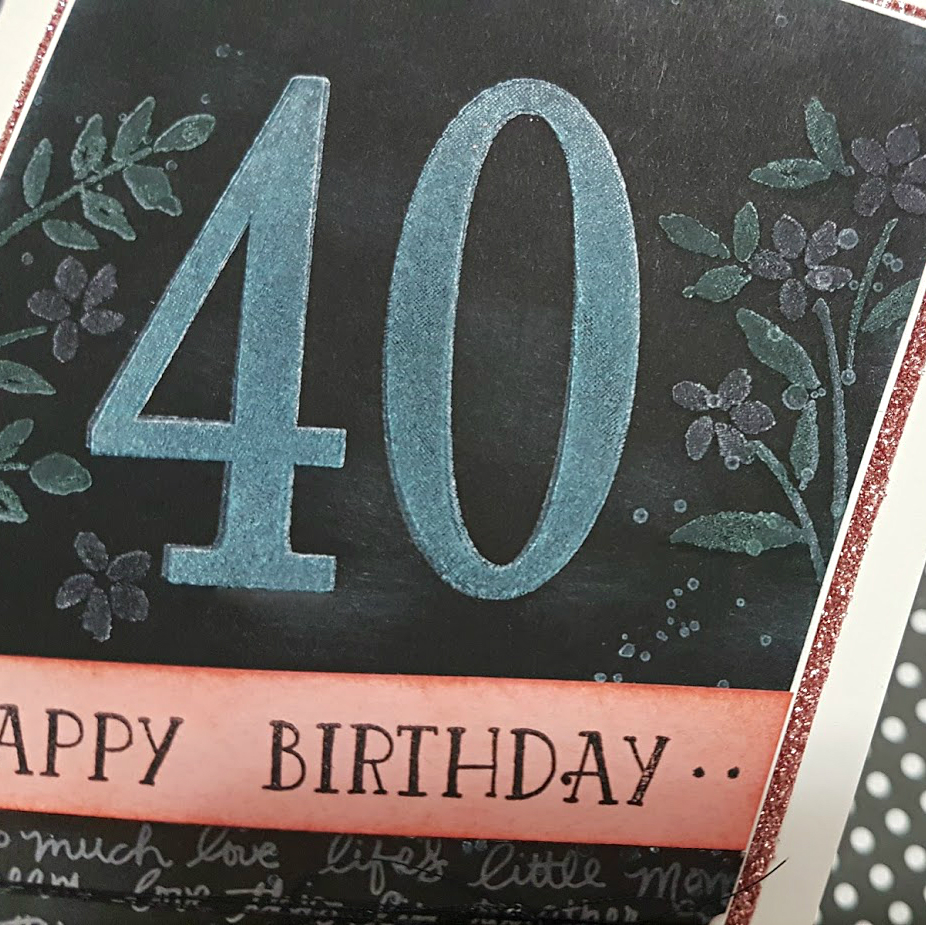
I created a faux coloured chalk by first stamping the numbers and the flower images with Craft Whisper White ink on my Basic Black cardstock. This ink is thick and takes a while to dry, so after stamping, I heat set it with my Stampin’ Up Heat Tool. Once dry, I thoroughly cleaned my stamps and chose bright coloured inks: Tempting Turquoise for the numbers, Cucumber Crush for the leaves, and Flirty Flamingo for the flowers. Since you can see through the photopolymer stamps, I could stamp my coloured ink right over the dry craft ink on top of the previously stamped images. This added a soft shade of colour to the white ink. I found that I could even stamp with the coloured ink a second time to get a bit more colour added to the look.
If you choose to use the Stamp-a-majig positioning tool, you could be even more precise with placement, but I think it turned out quite well with my crazy-eye-balling-it skills.
After everything was stamped, I added some strategically placed smudges of the Whisper White Craft ink over the Basic Black cardstock using a Sponge Dauber and a very light touch. The Gorgeous Grunge stamp set from Stampin’ Up also added some detail to my faux chalkboard.
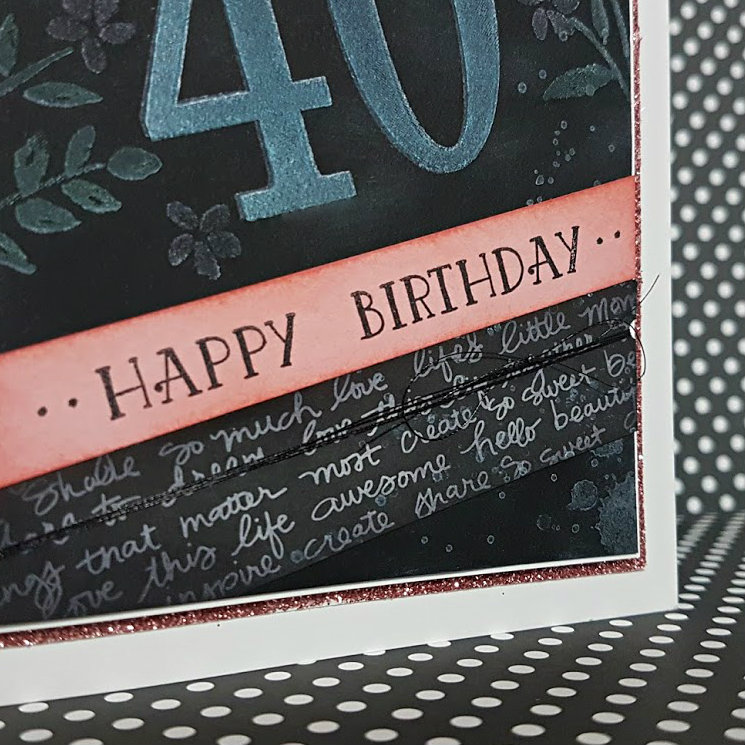
The lower portion of the card has two diagonally placed pieces of cardstock: Blushing Bride and a strip of the black patterned paper from the Neutrals Designer Series Paper Stack. The Blushing Bride strip of cardstock was stamped with the sentiment using Momento Tuxedo Black ink, then sponged around the edges with Blushing Bride ink. A couple of hand drawn dots were added with my Project Life pen for a bit of detail. The patterned paper was a bit too crisp for my liking, so I sponged all over it, with a heavier hand around the edges, using the Momento Tuxedo Black ink. I adhered these strips to the Basic Black “chalkboard”. I wanted to add a subtle detail using the Black Metallic Thread, so I punched notches into the edges of the layer with my hand held 1/8″ Circle Punch. This allowed me to easily wrap the thread and have it hook into the notches and hold it into place.
The Basic Black cardstock layer was then adhered directly to a layer of Whisper White cardstock. This was then adhered to the Blushing Bride Glimmer paper layer (which was adhered directly to the Thick Whisper White card base) with Stampin’ Dimensionals. I was quite liberal with my dimensionals and was sure to press them firmly to the glimmer paper as sometimes the glitter resists good adhesion.
And the result is this fun faux coloured chalk 40th birthday card!
If you haven’t already seen the other projects that the design team created using this fun layout, be sure to head on over to the As You See It Challenge blog and have a look. Give the challenge a go yourself and be sure to share it with us on the challenge blog using the link on the page. We love seeing what you do with the challenges!!
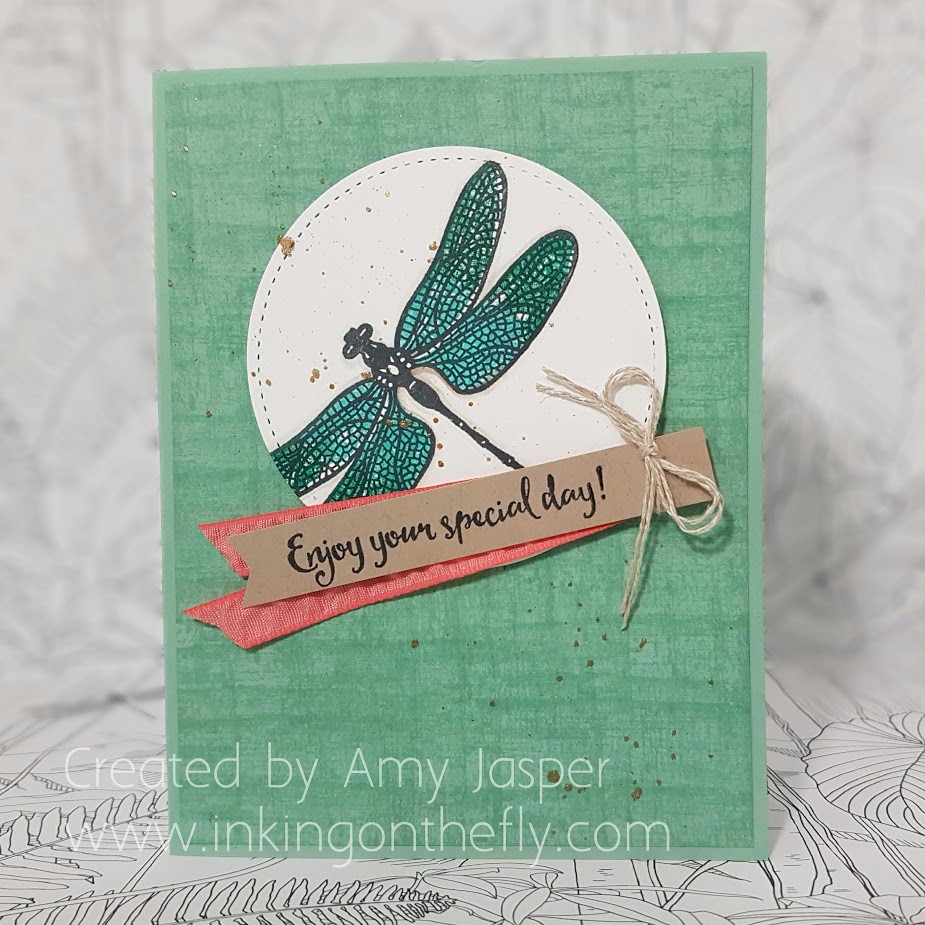
Today I want to share a card with you that I CASEd from the very talented Teneale Williams. If you don’t know her artwork, you definitely should have a look. This gal makes beautiful things!! Her original card used a different stamp and a different colour combination, but the layout and the background technique is pretty close.
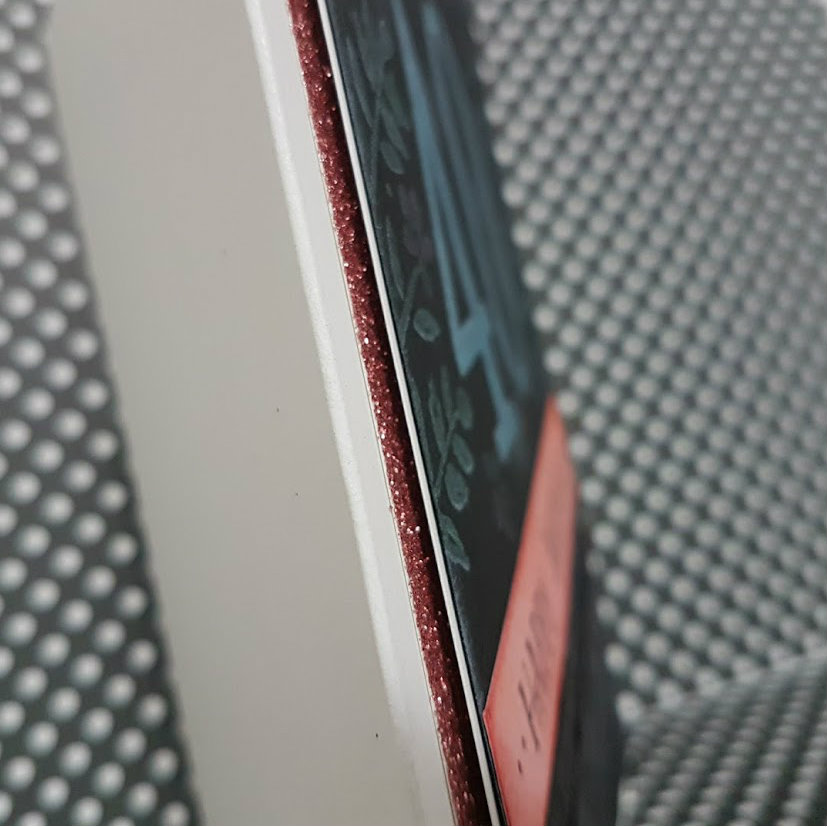
I think the background technique is the most interesting part of this card. This is created using the small woodgrain stamp from the Timeless Textures stamp set and Versamark ink. The image is stamped repeatedly over the page first horizontally, then again vertically, overlapping the images over and over. So easy!
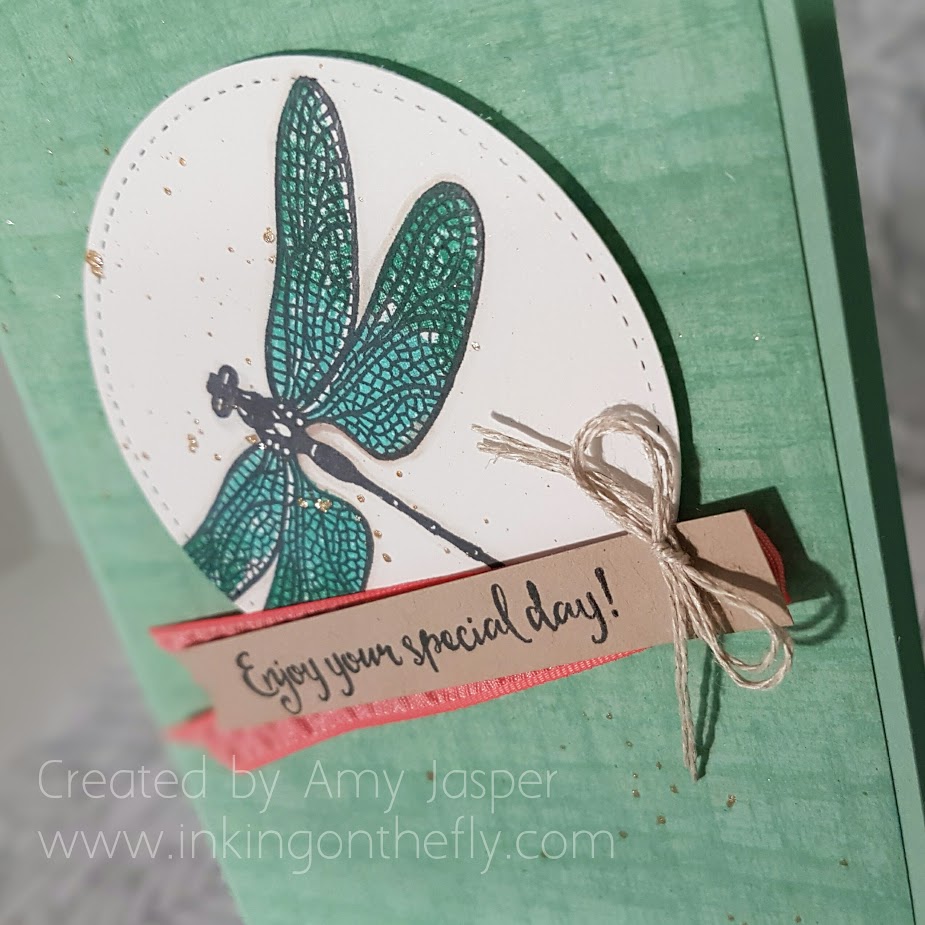
The dragonfly image from the Dragonfly Dreams stamp set was stamped with Tuxedo Momento Black ink, then the solid wings image was stamped over top after applying ink to the stamp itself with markers – Emerald Envy on the tips and Bermuda Bay closer where the wings would connect with the body. I also added some shading around the dragonfly using a Blender Pen and some Crumb Cake ink. After stamping the images, I die cut the circle using the largest circle of the Stitched Shapes Framelits. This I adhered to the textured backgound layer with Stampin’ Up Dimensionals.
After adhering the circle, I used the Gold Wink of Stella brush and tapped it on my finger over the two layers to create the splash of gold flecks. The layers were then adhered to the card base.
The sentiment was stamped on a strip of Crumb Cake cardstock, of which I flagged the one end with my paper snips. I folded a strip of the Flirty Flamingo and tied it to the back of the Crumb Cake cardstock with a doubled up piece of Linen Thread. This was all attached to the front of the card with one Stampin’ Up Dimensional and a few well placed Glue Dots.
I’m happy to report that this card is pretty enough that I would be happy to show it off, but easy enough that my 8 year old was able to make one as well. I’d show you a picture of her perfect stamping, but she already wrote inside and stuck it in an envelope to give to her sister for her birthday.
 So fun and simple, don’t you think!? At first glance, I liked how the dots on the sketch went light to dark across the page and tried to think of how I could use that in my own design. But my final result rarely goes as planned and I found myself inspired by a deep desire for bright colours to pull me out of the winter blues.
 I used the Large Letters Framelits from Stampin’ Up! to cut the letters ‘P’, ‘R’, and ‘Y’ from a piece of Whisper White cardstock and stamped the sentiment from the Endless Birthday Wishes stamp set above the ‘Y’ with Melon Mambo ink. I then adhered a piece of the Festive Birthday Designer Series Paper (DSP) to my Thick Whisper White cardstock base before adhering the stamped and die cut Whisper White layer over the DSP with Stampin’ Up Dimensionals.
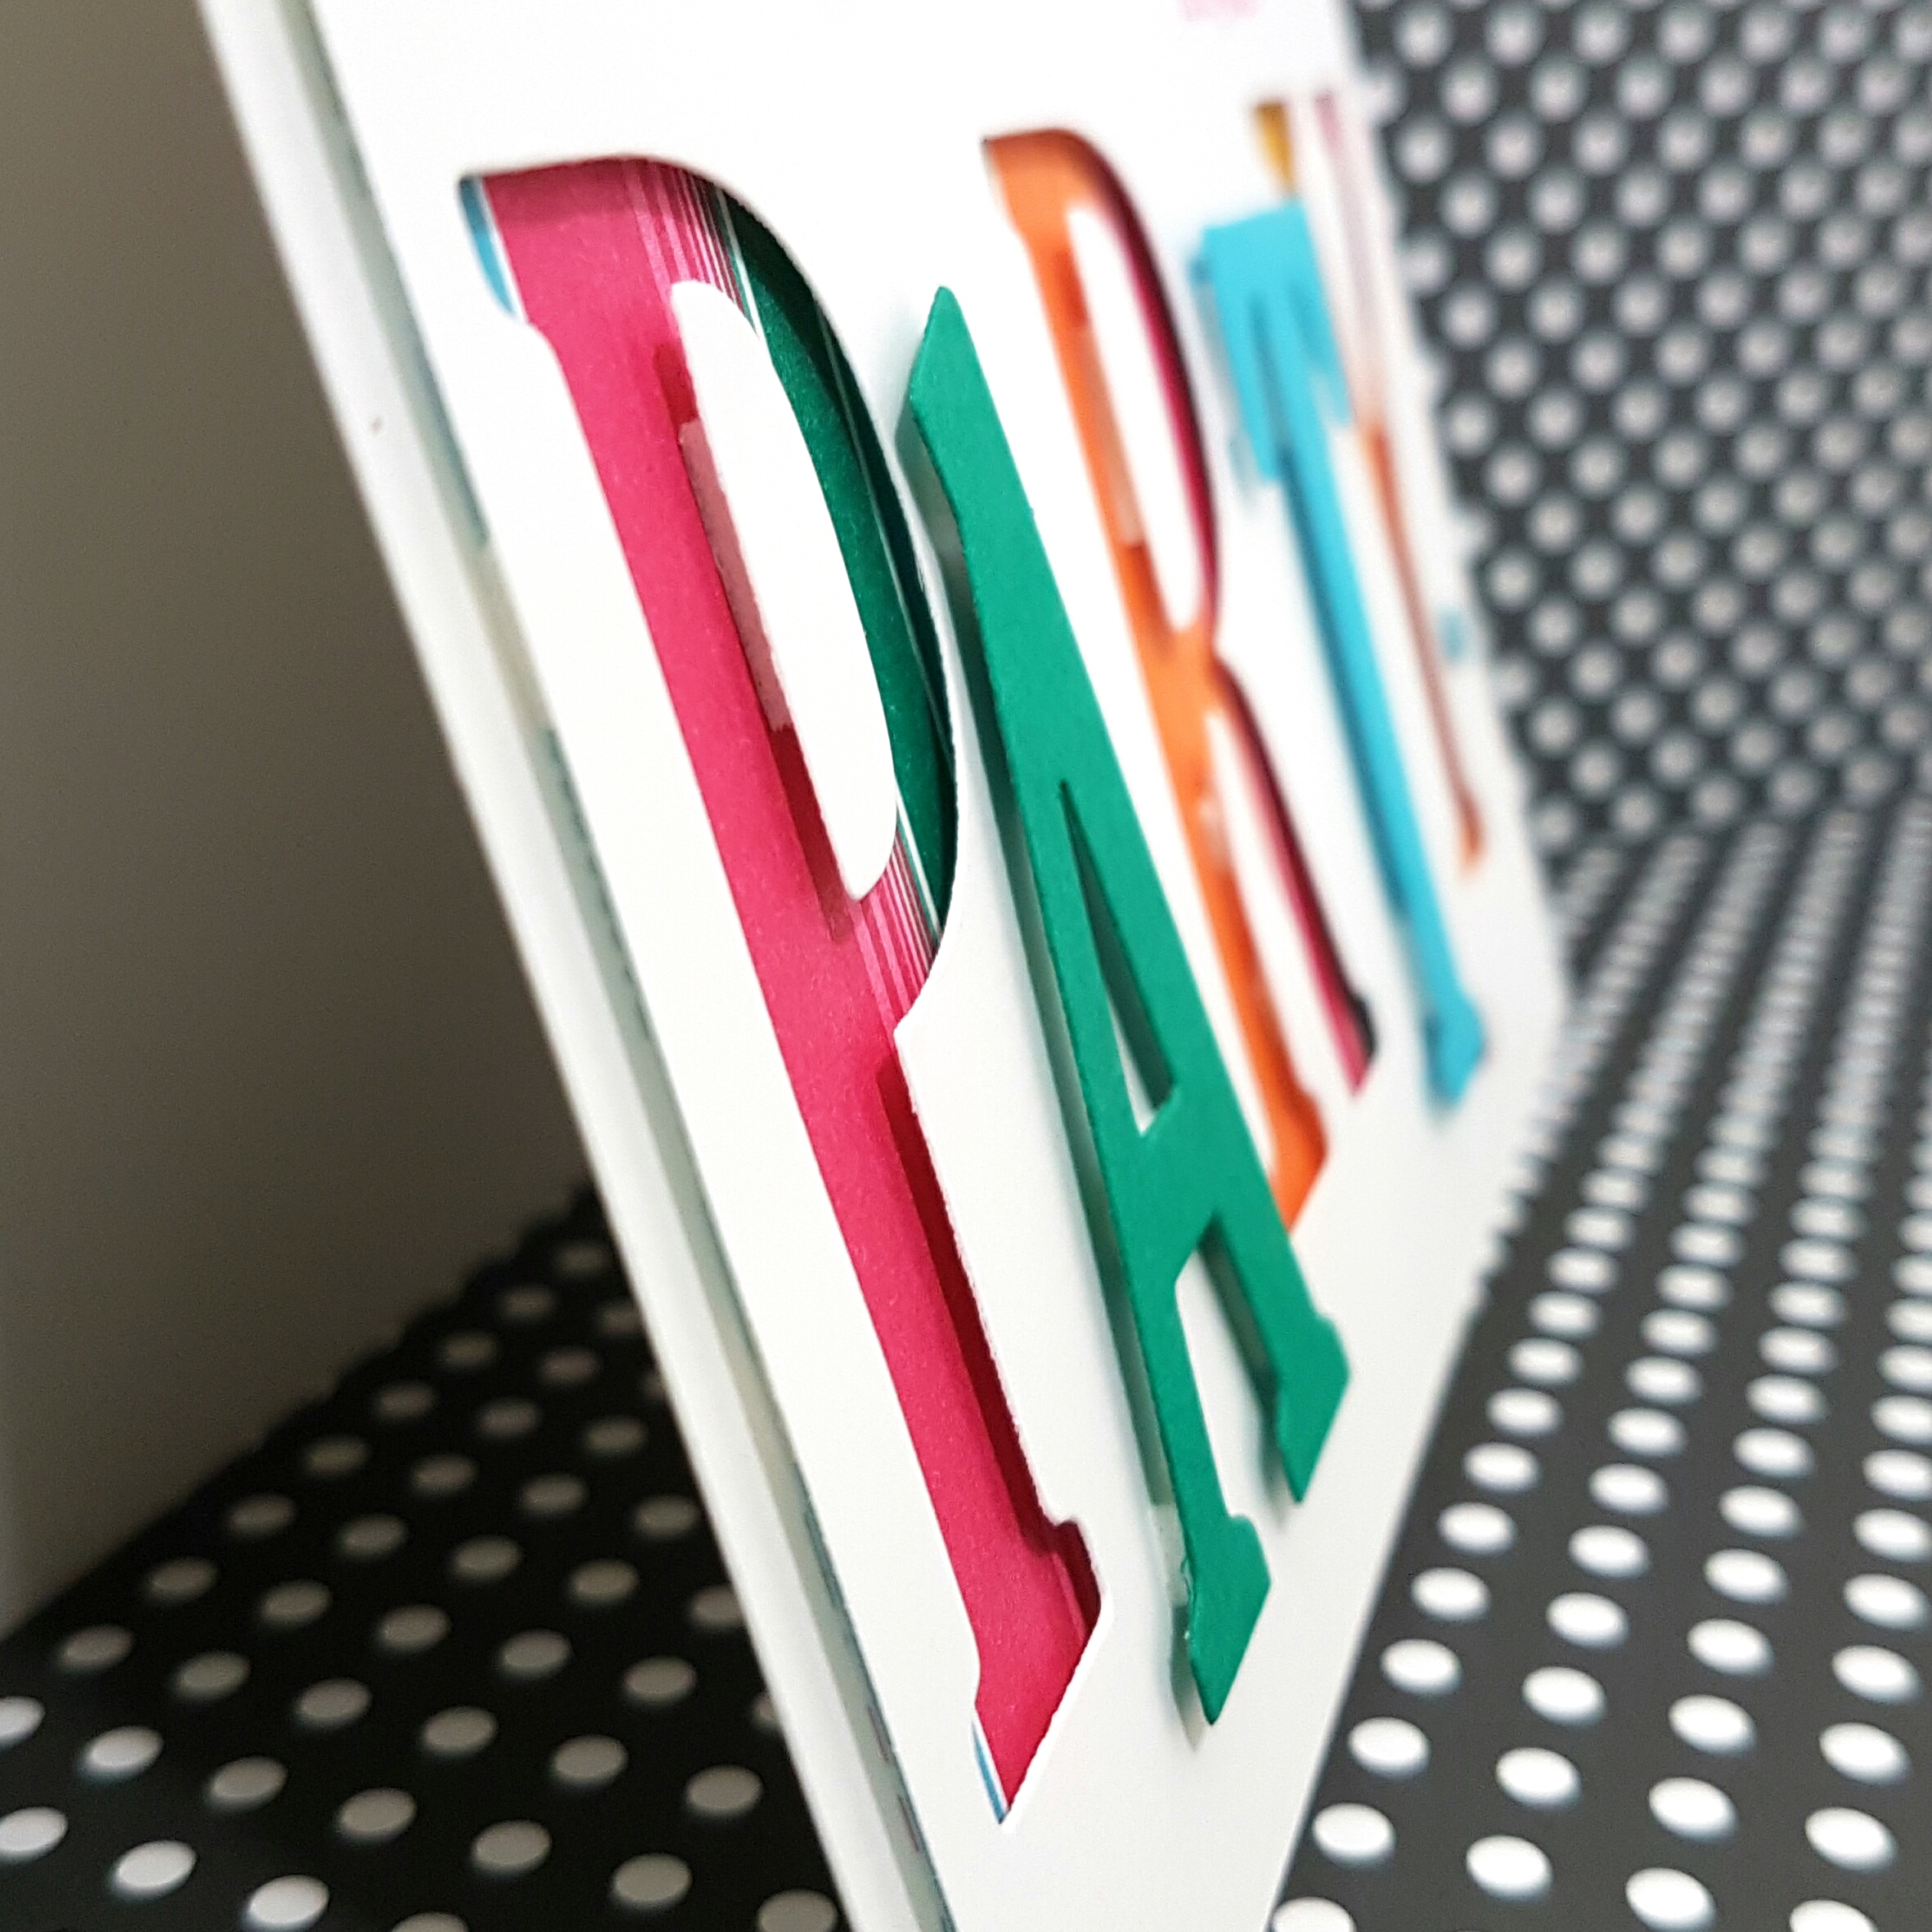 I added the inside of the letter ‘P’ and ‘R’ using Dimensionals cut in half because those pieces are so narrow. The letter ‘A’ is die cut from Emerald Envy cardstock, while the letter ‘T’ is cut from Tempting Turquoise cardstock. These letters were added to the front of the card using Stampin’ Up! Dimensionals.
 For a festive confetti-like flare, I added some Brights Candy Dots. Sadly, these are no longer available, but the current Brights Enamel Dots would be perfect for this card. In fact, if I had them, I would have used the star shapes to make this card even more fun!