photopolymer

Orange Watercolour Wash

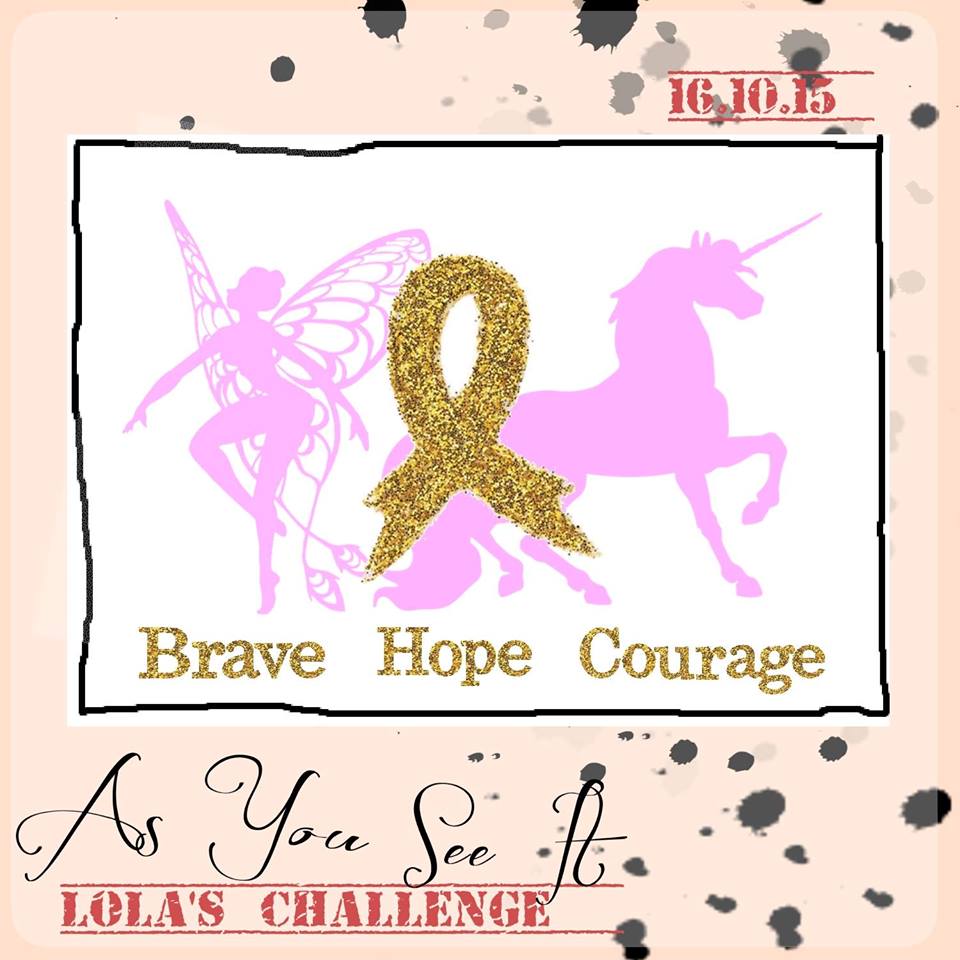
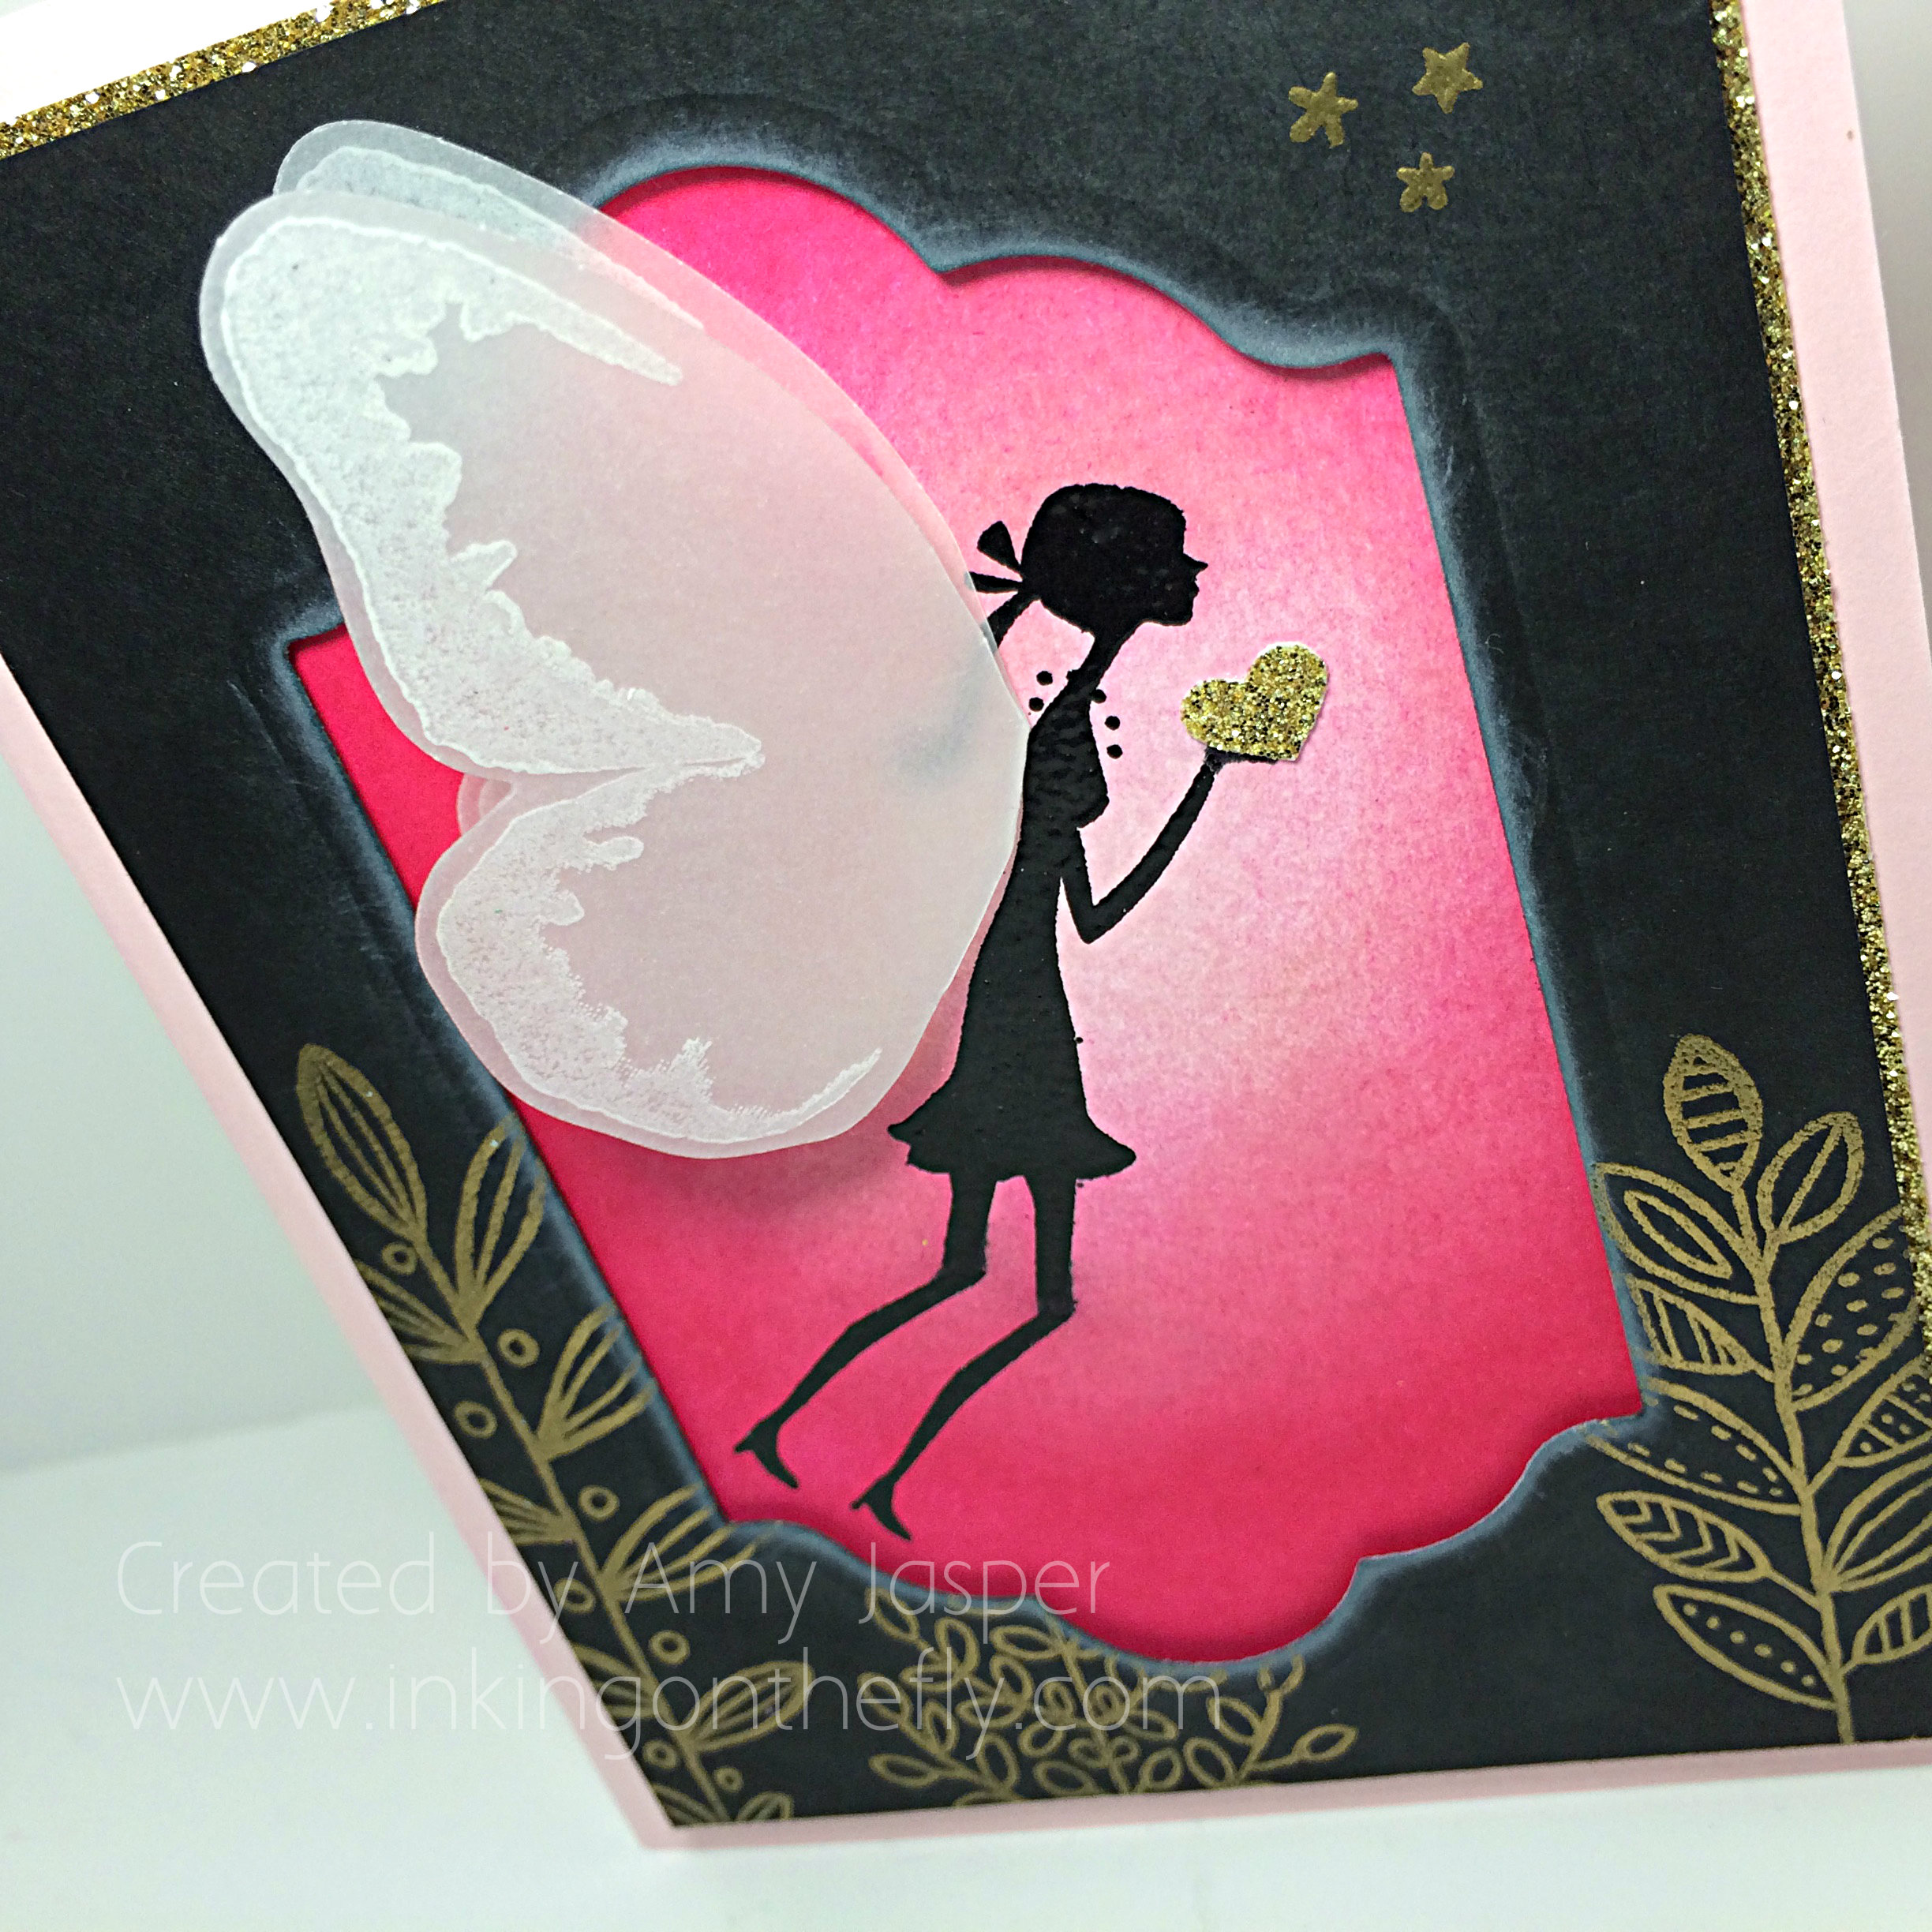
Last week, the As You See It Design team honoured Lola, a little girl in the midst of her 5 year battle with Leukemia. We asked that you would create cards with fairies, unicorns, pink, gold, or glitter so that she could view them digitally and enjoy the love and best wishes that they represent. The challenge itself is complete, but the link to load your cards is still active on the website until November 16th. If you haven’t posted a card yet, there’s more time available to shower Lola with kindness. I hope you will take the time to make a card for her and upload it to the As You See It page HERE. She will get to view all of the cards. I know it will put a big smile on her face to see how many people are cheering her on!

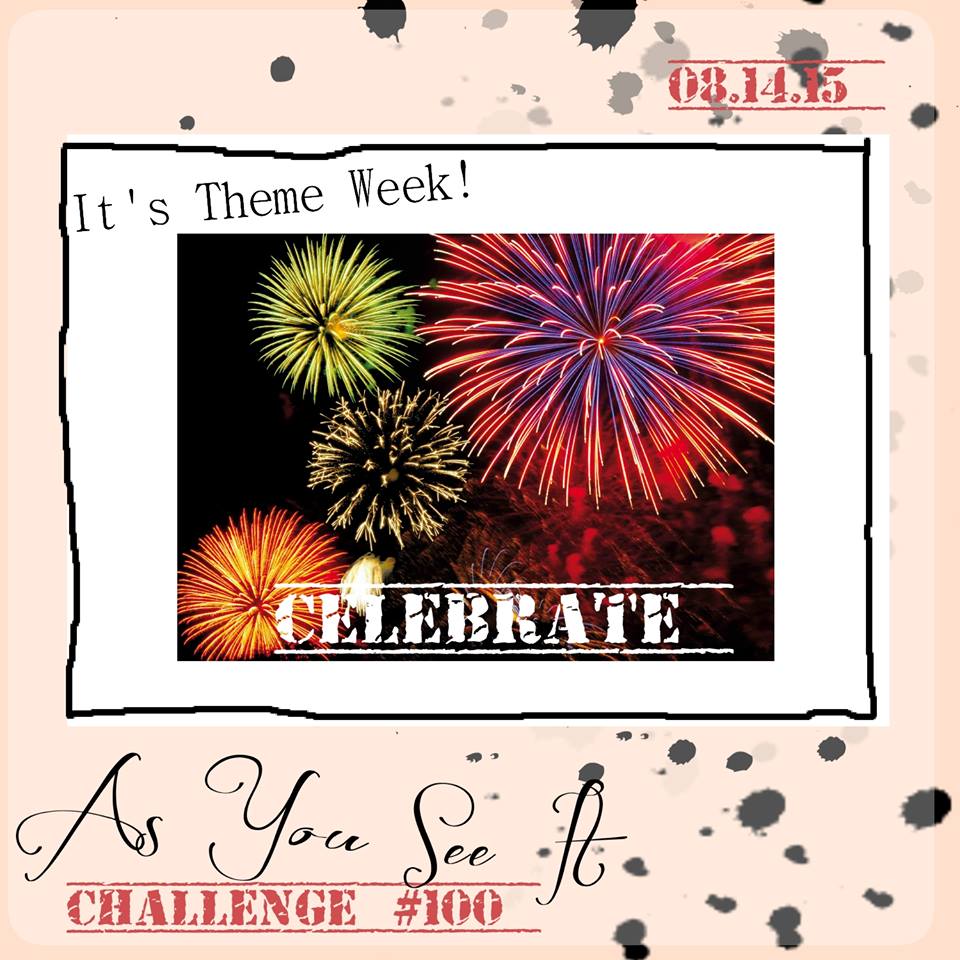
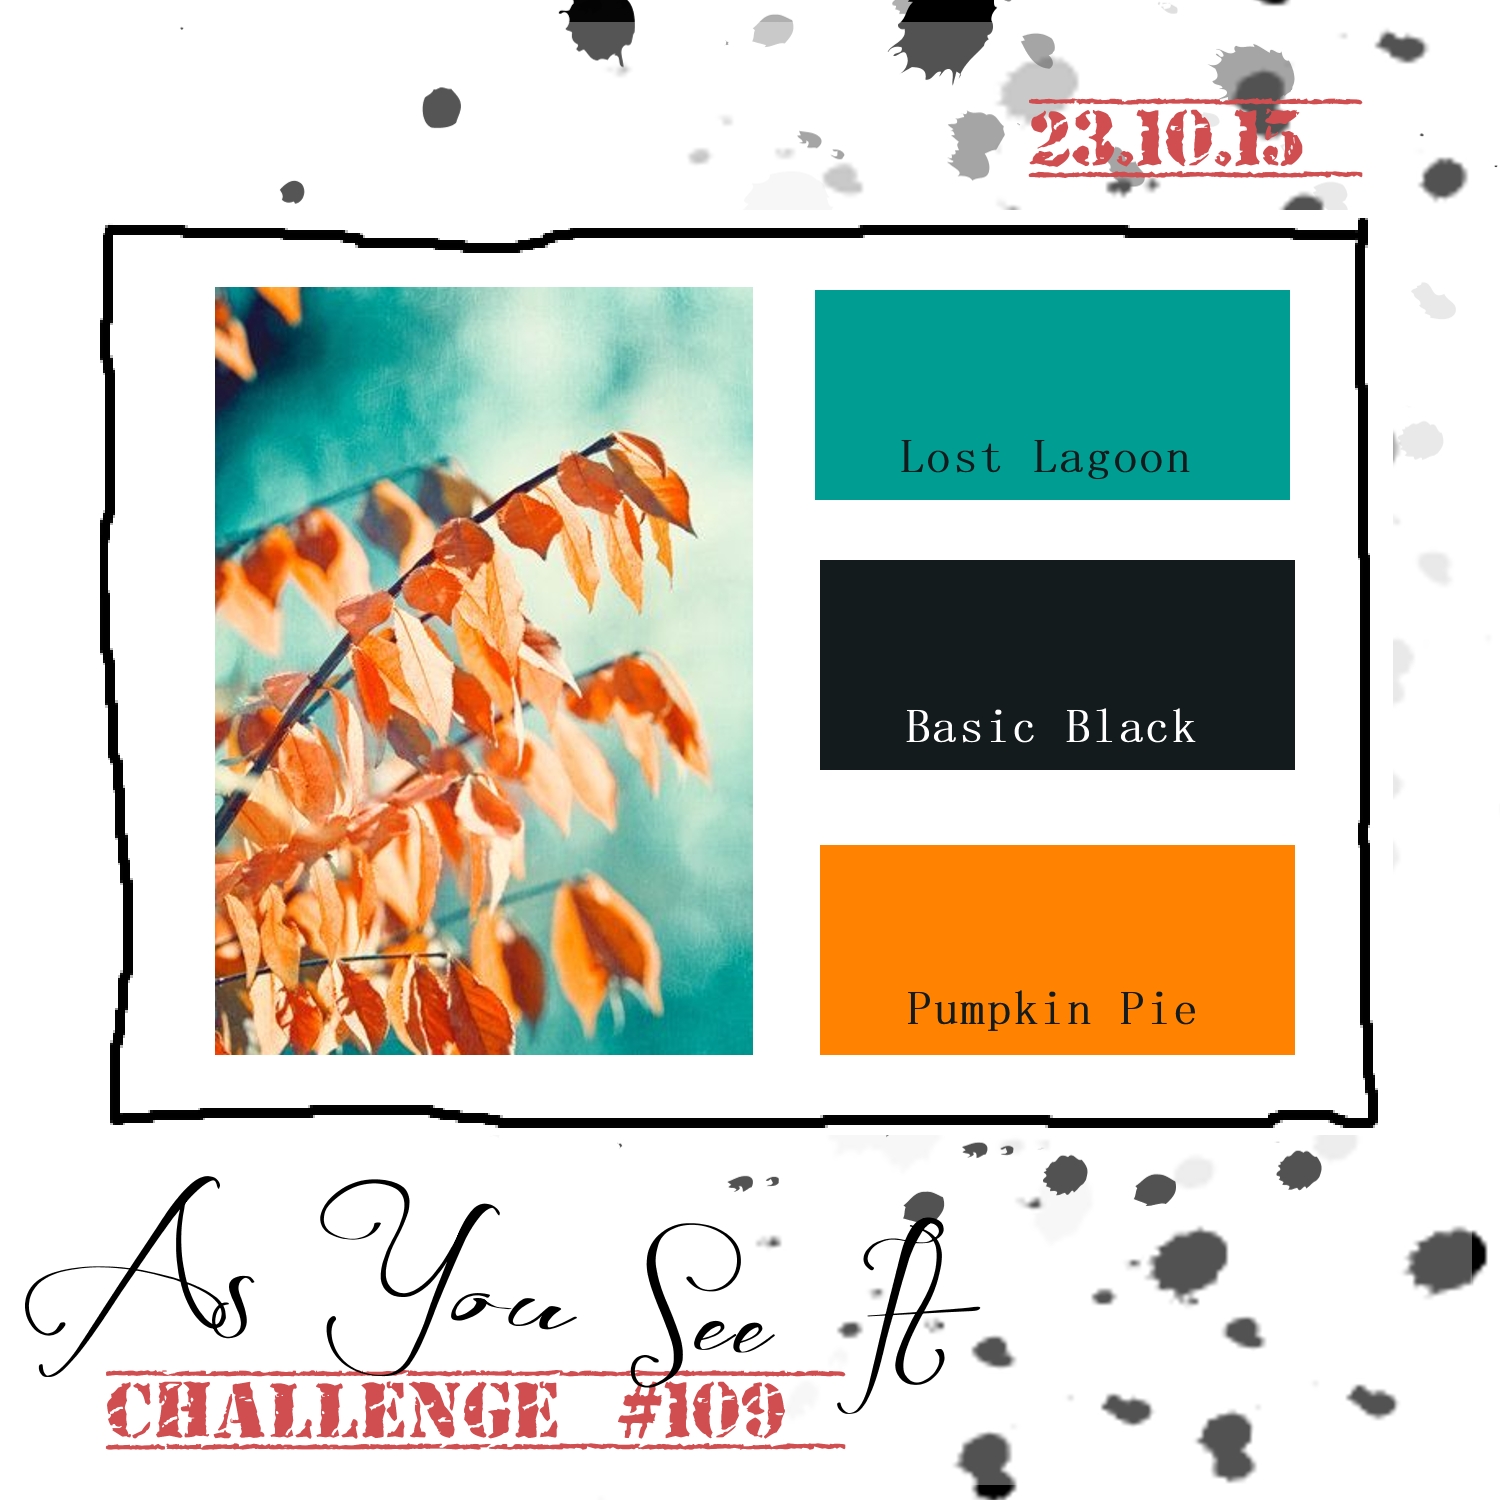
For today’s challenge, we have a colour combination.

AYSIChallenge109

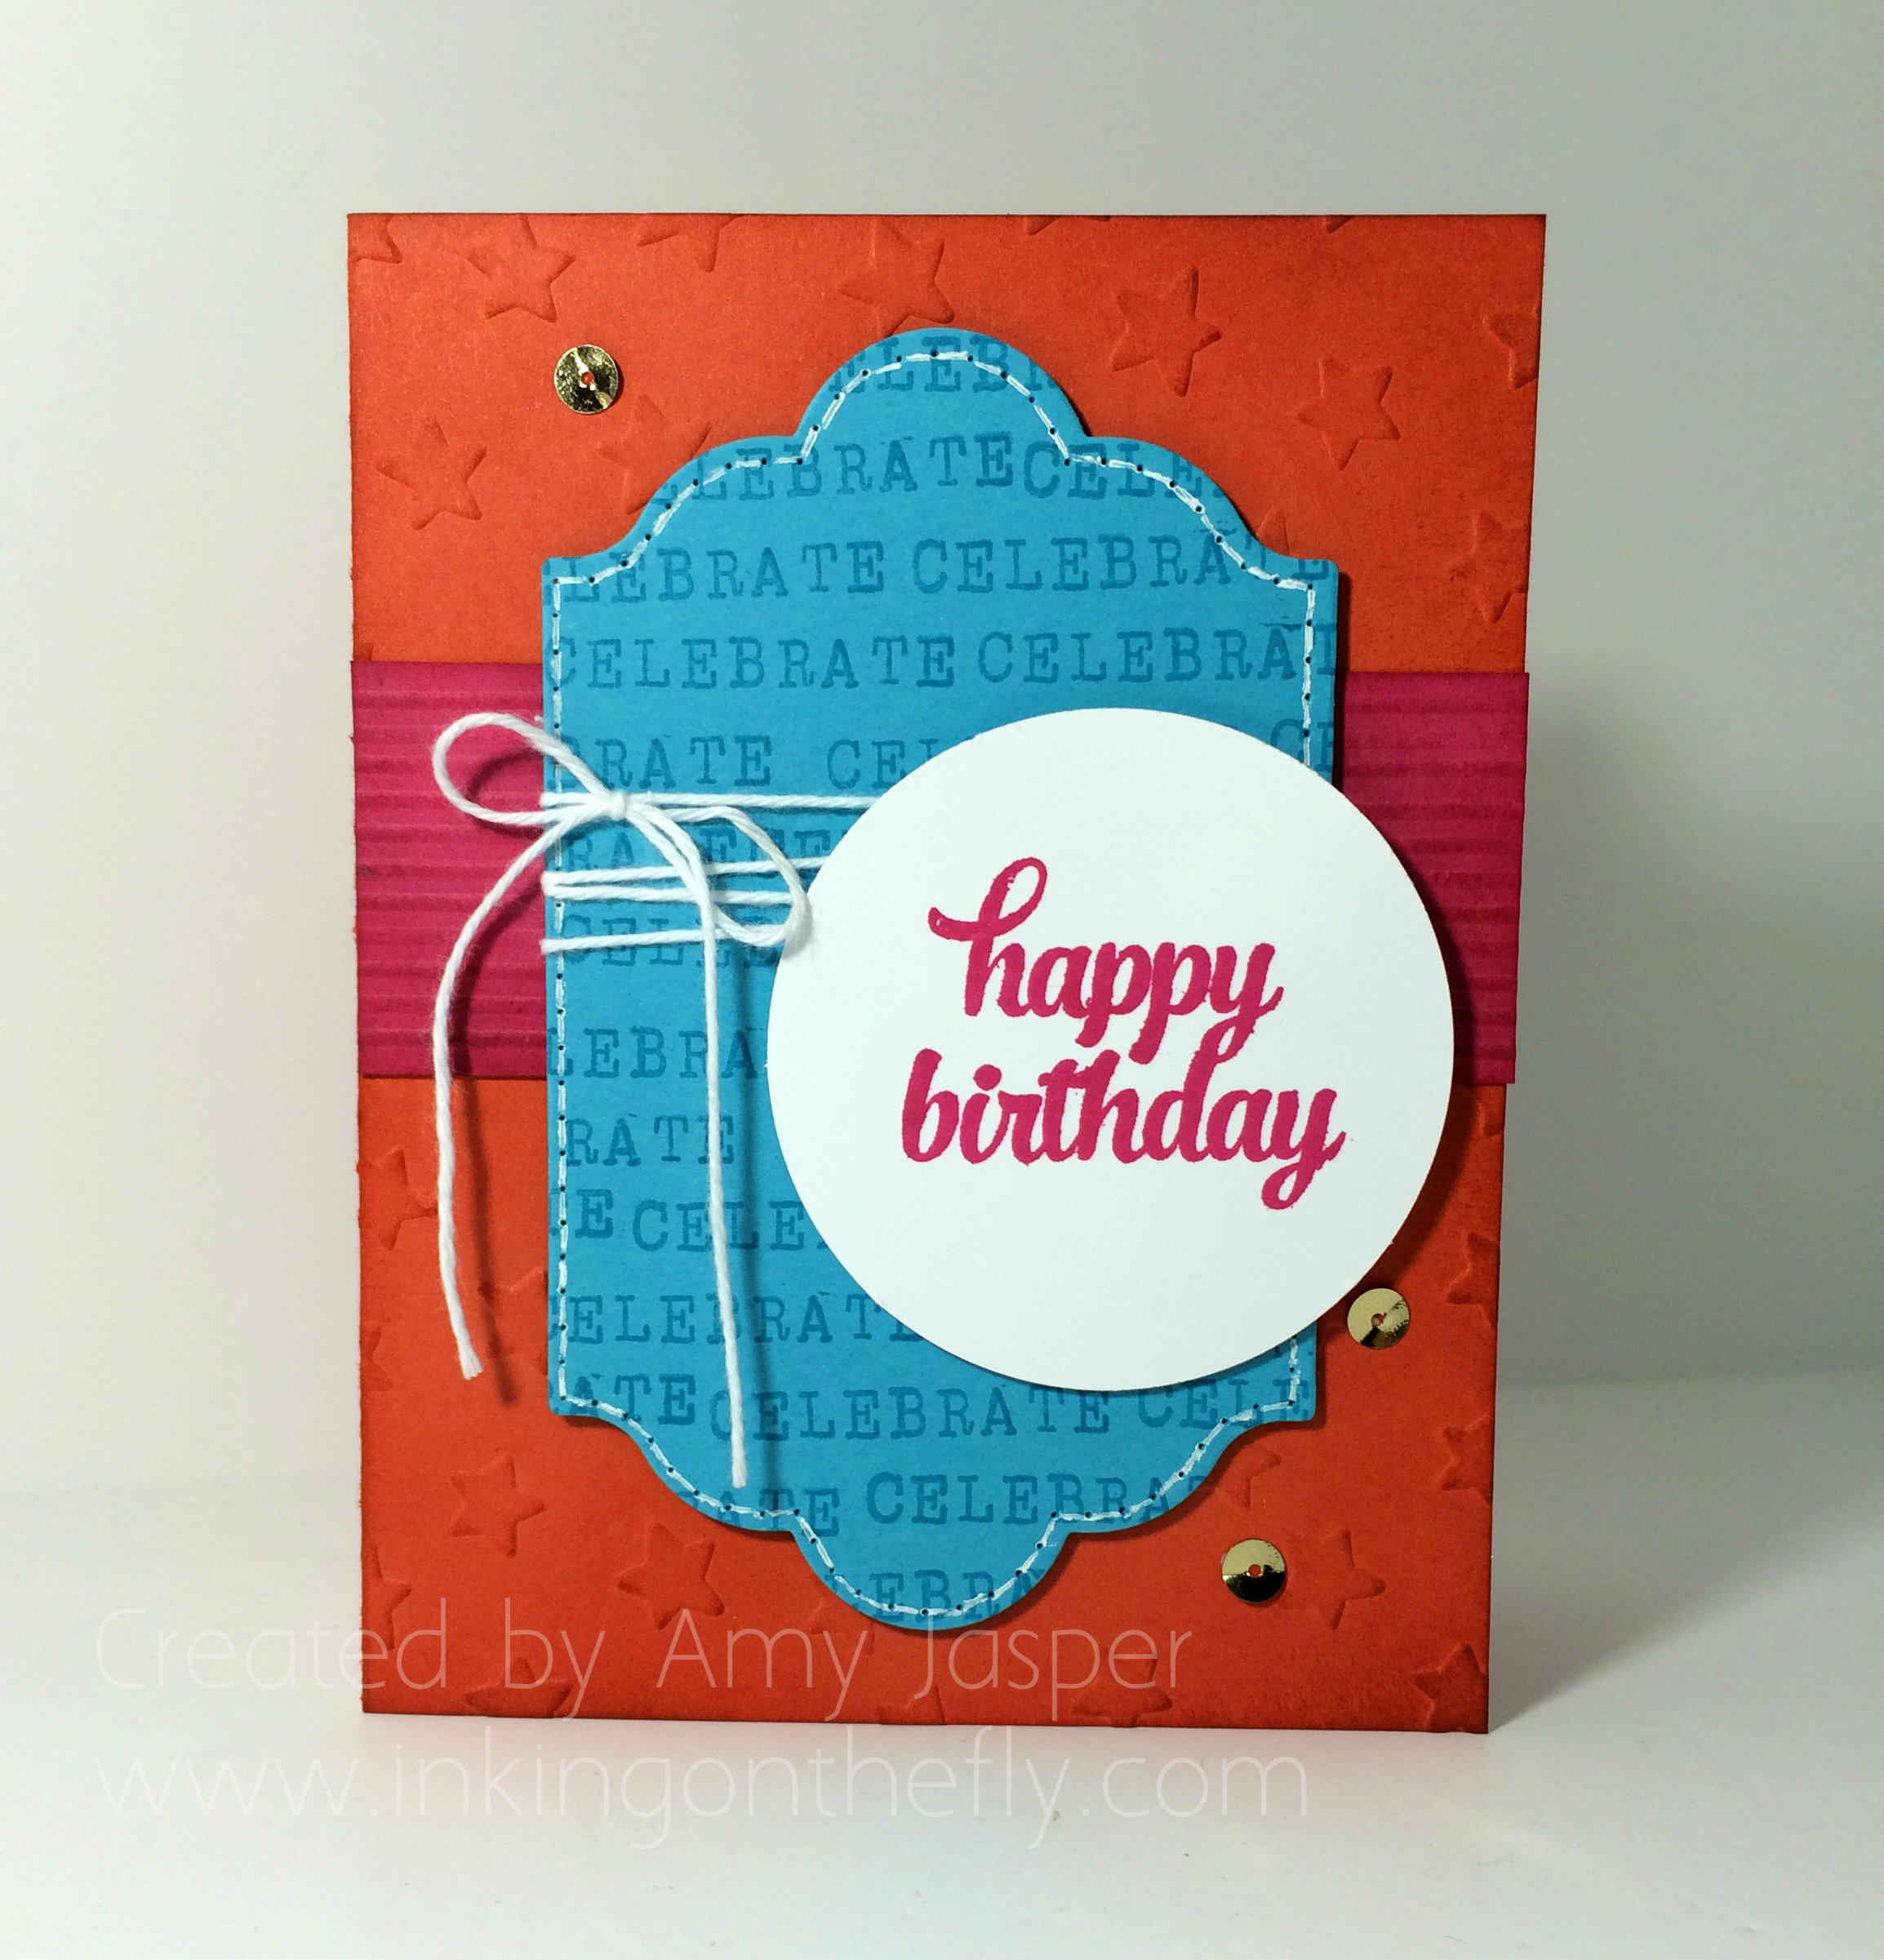
I chose to use these colours to make a birthday card. One might call it a masculine birthday card, but I don’t like to generalize. This card could be used for anyone who appreciates these colours or this style of card.

Orange Watercolour Wash birthday card
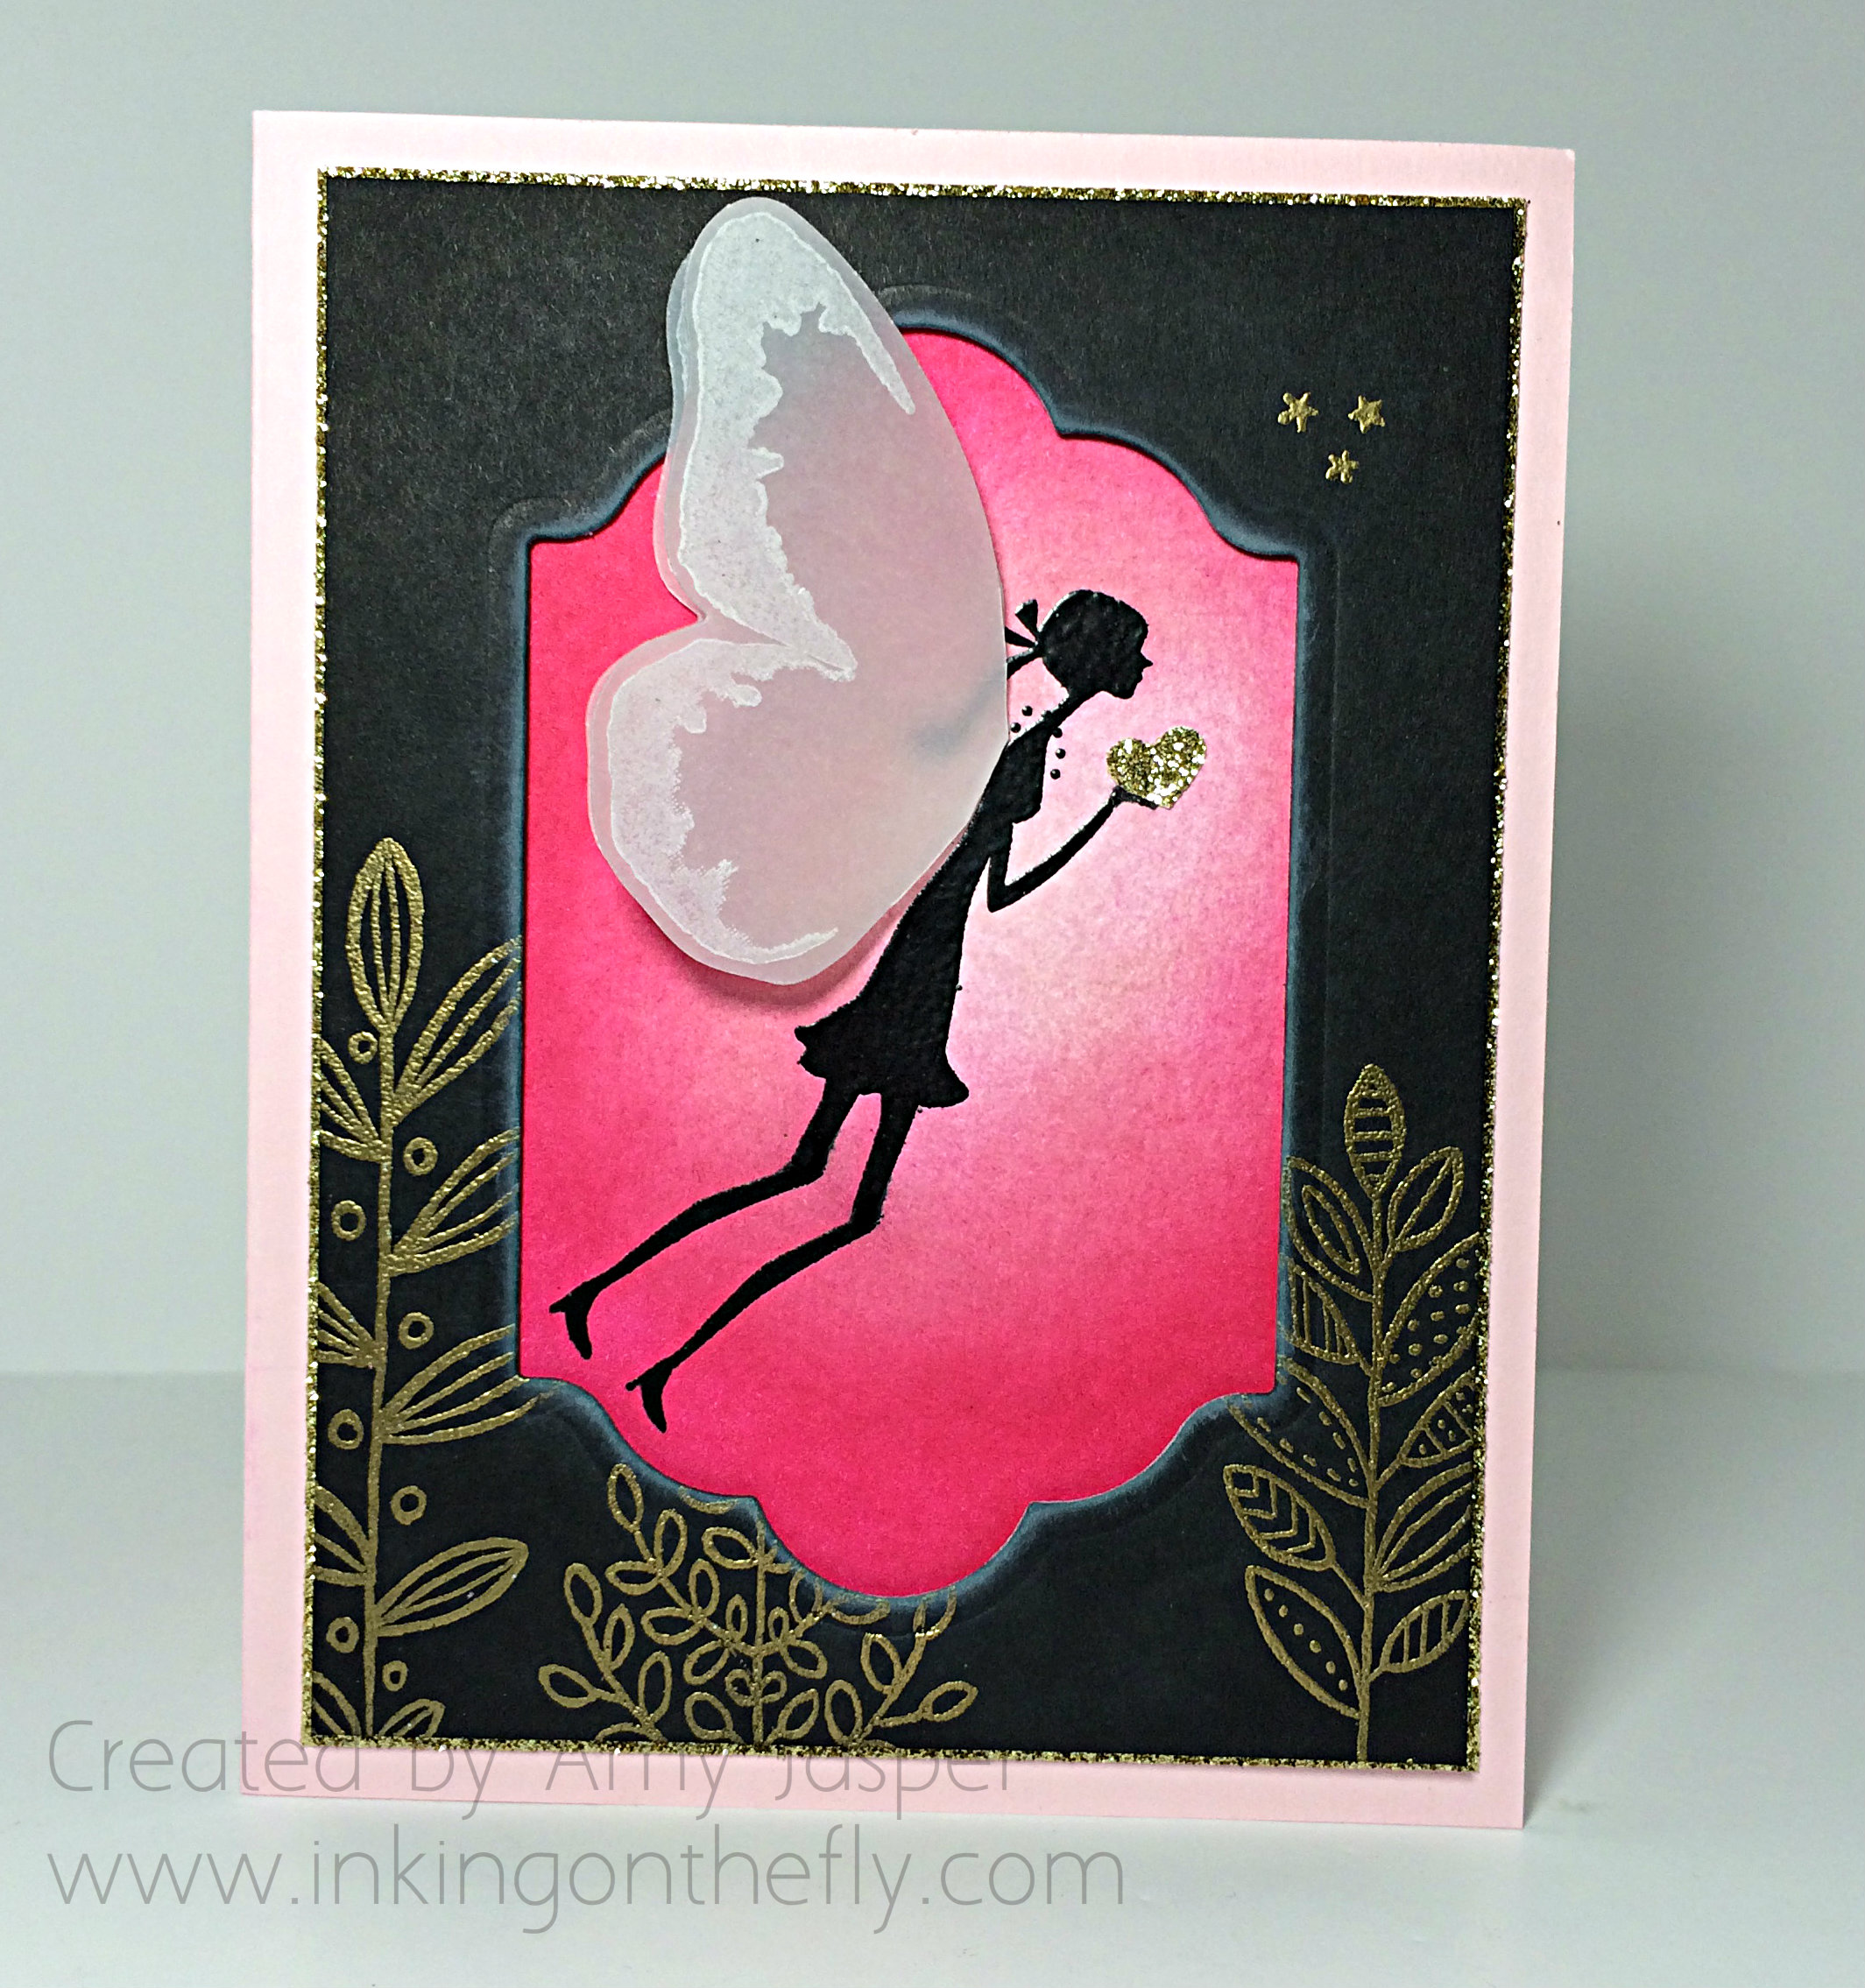
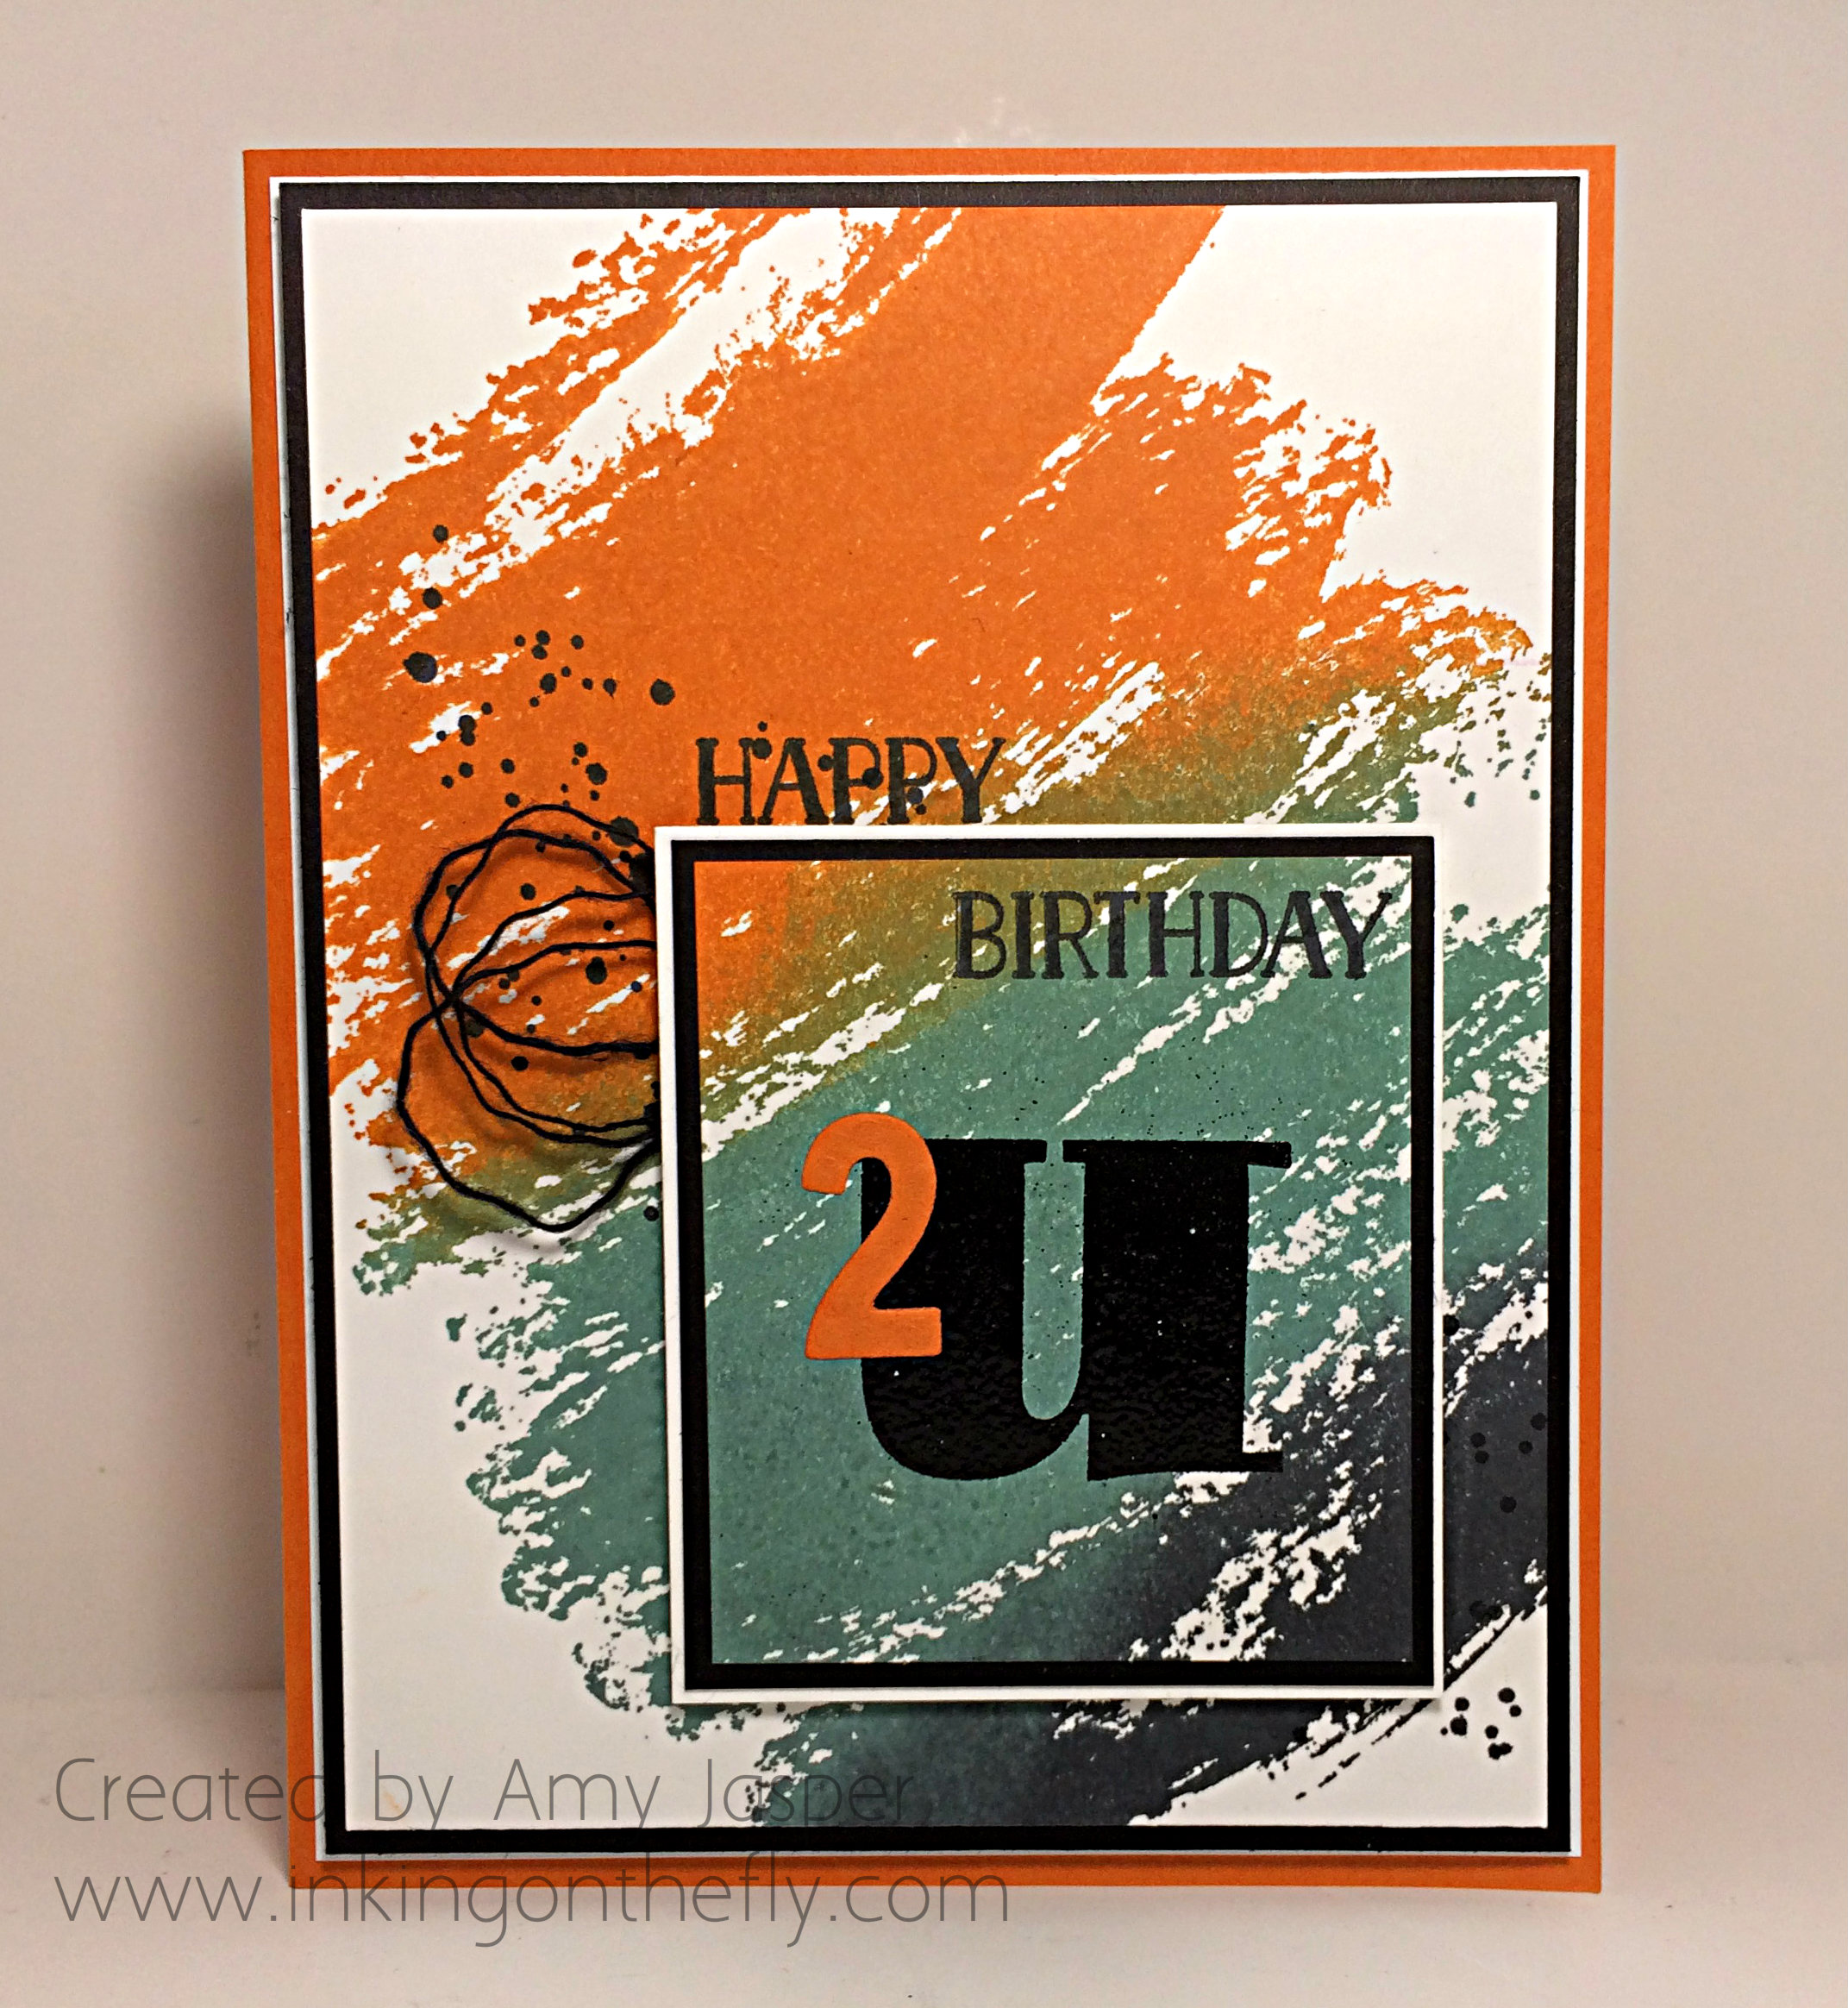
Ever since I discovered, while doing the card for a previous post, how much I like this Watercolour Wash background stamp on an angle, I keep wanting to use it! This time I inked it up with my Pumpkin Pie, Lost Lagoon, and Tuxedo Black Momento ink pads. I sponged on the stamp to soften the edges between colours, then stamped it on two layers of Whisper White cardstock at the same time. This allowed me to use the smaller piece for the 2 U sentiment as a layer while still maintaining the continuity of the colour wash over the entire card front.

Orange Watercolour Wash Birthday Card up close
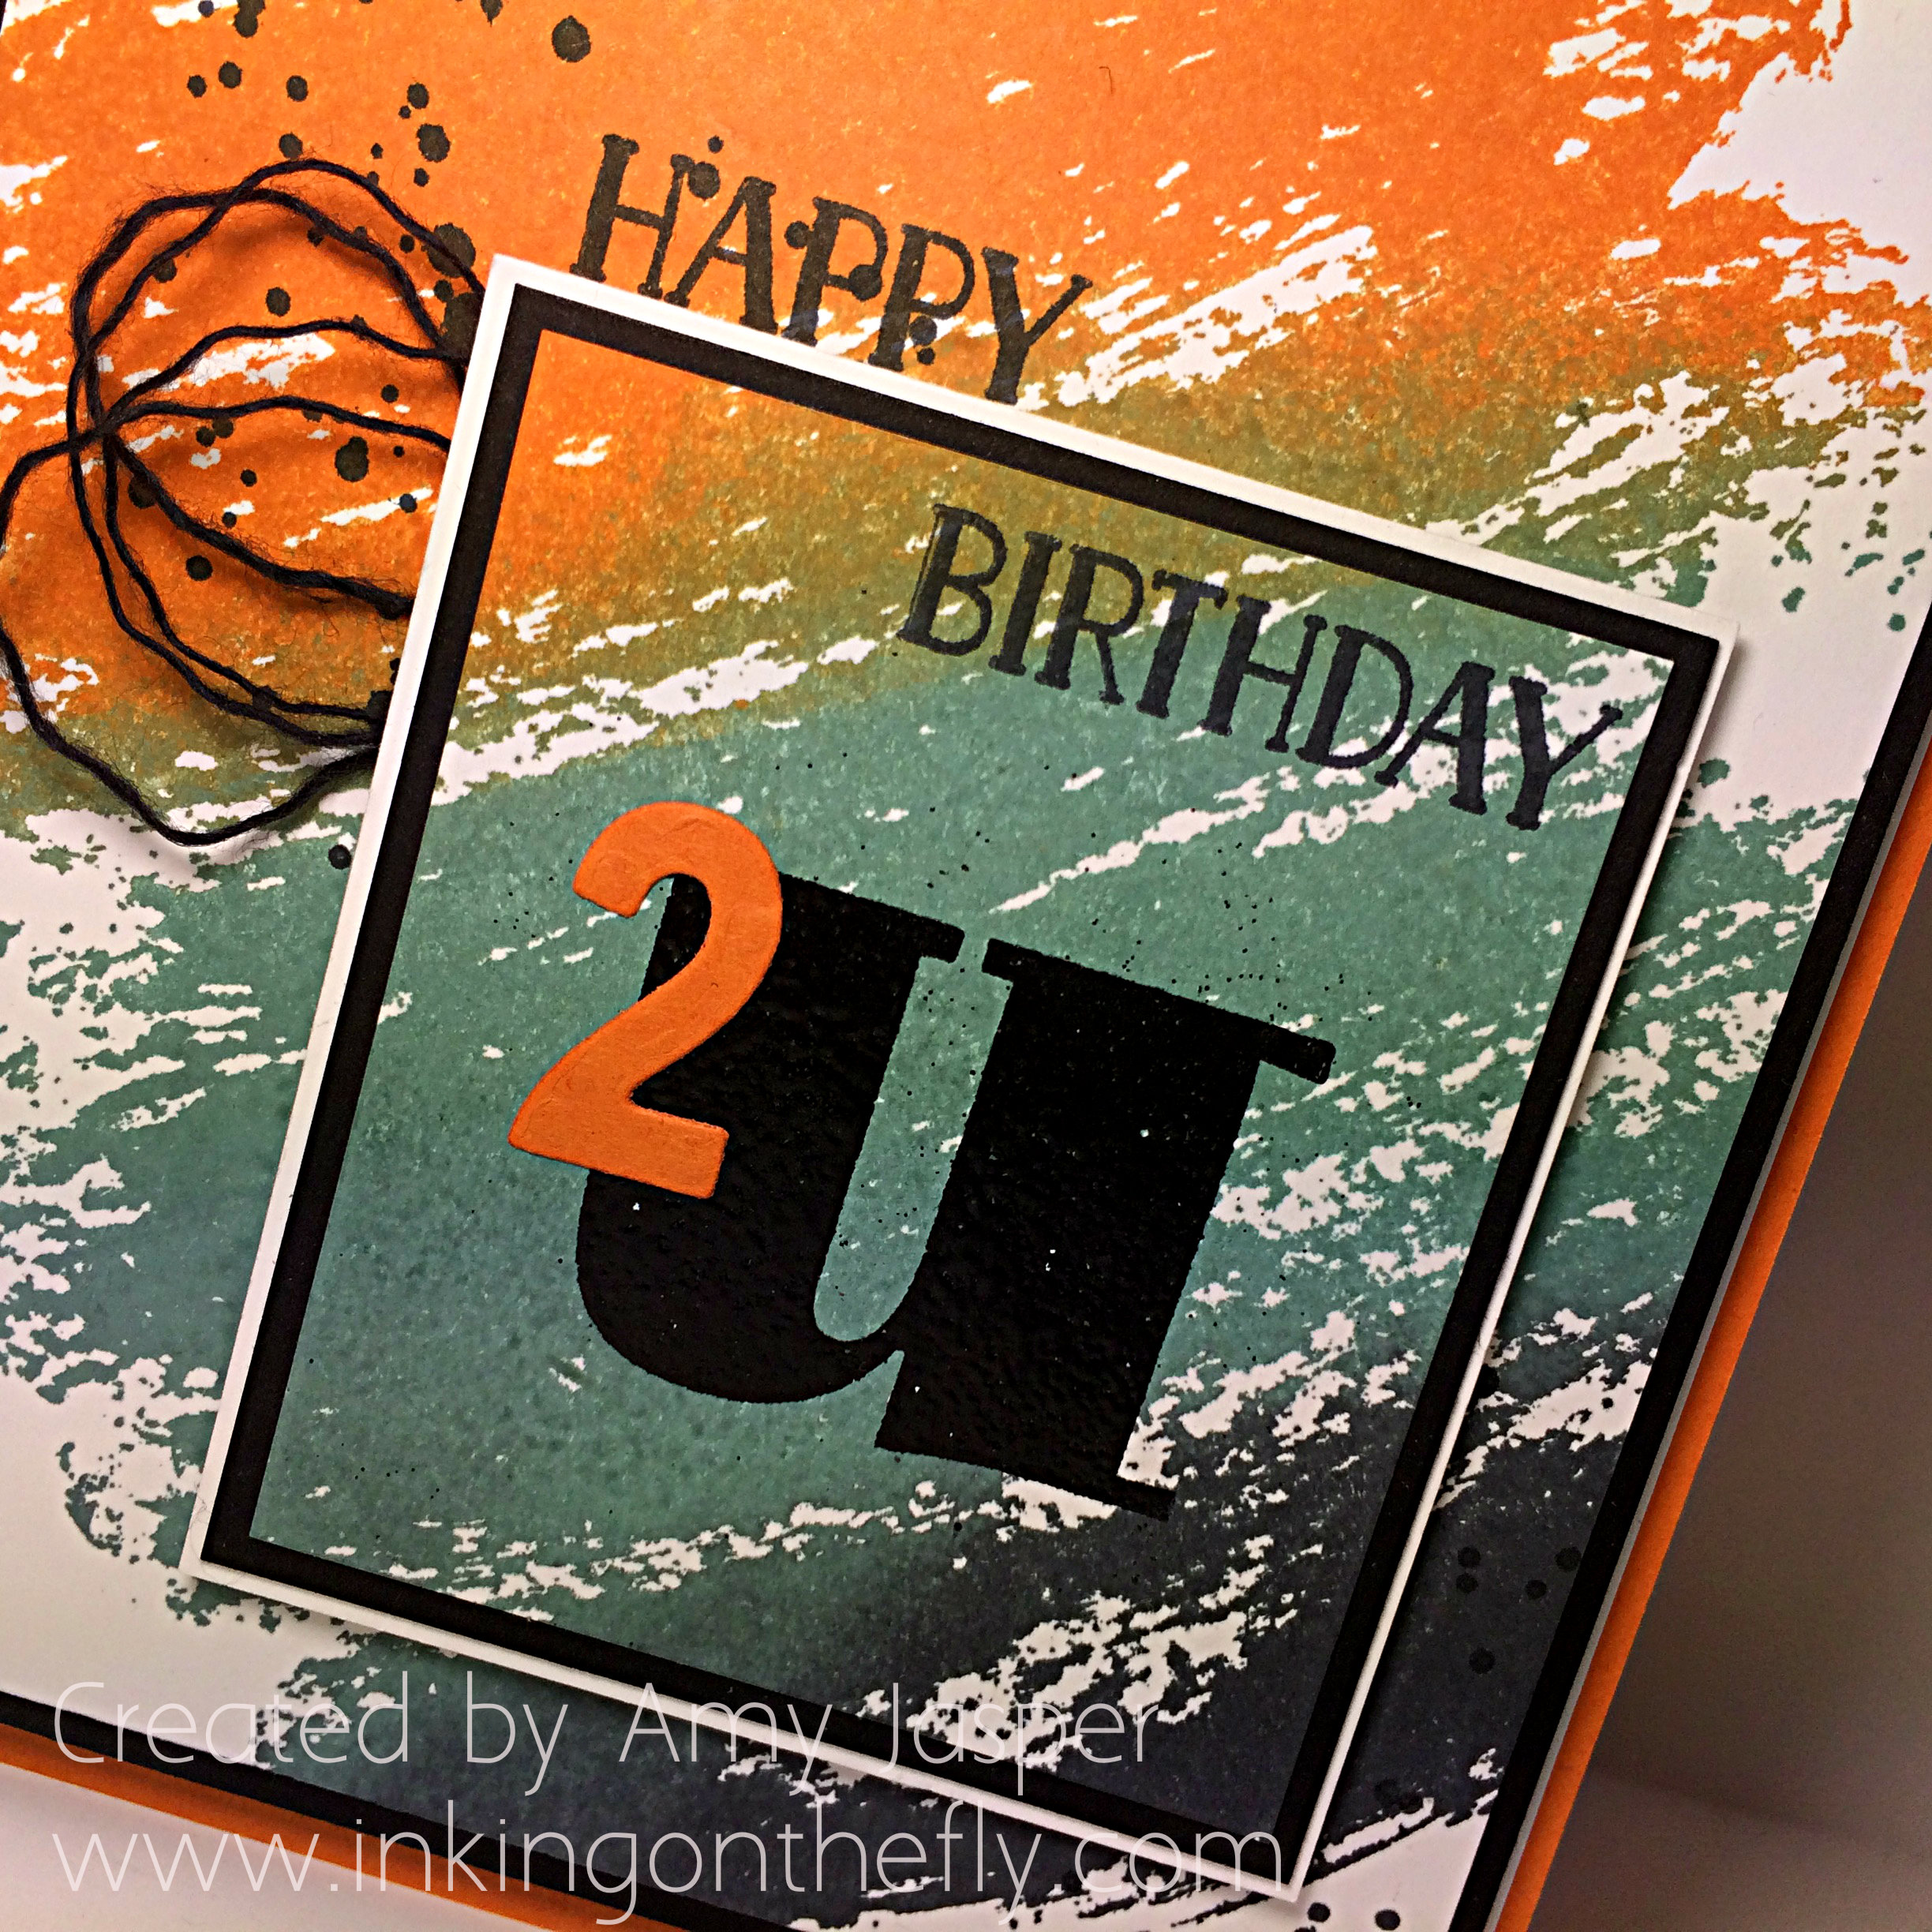
The letter ‘U’ is from the Larger than Life photopolymer stamp set, which was stamped with Versamark ink and heat embossed with Basic Black embossing powder. I die cut the ‘2’ with my Big Shot and Little Numbers Thinlits and adhered it with my Fine-Tip Glue Pen. The Happy Birthday sentiment is from the Tin of Cards stamp set.

The splatter image from the Gorgeous Grunge stamp set was added in Tuxedo Black Momento ink to the background before adding my layers.

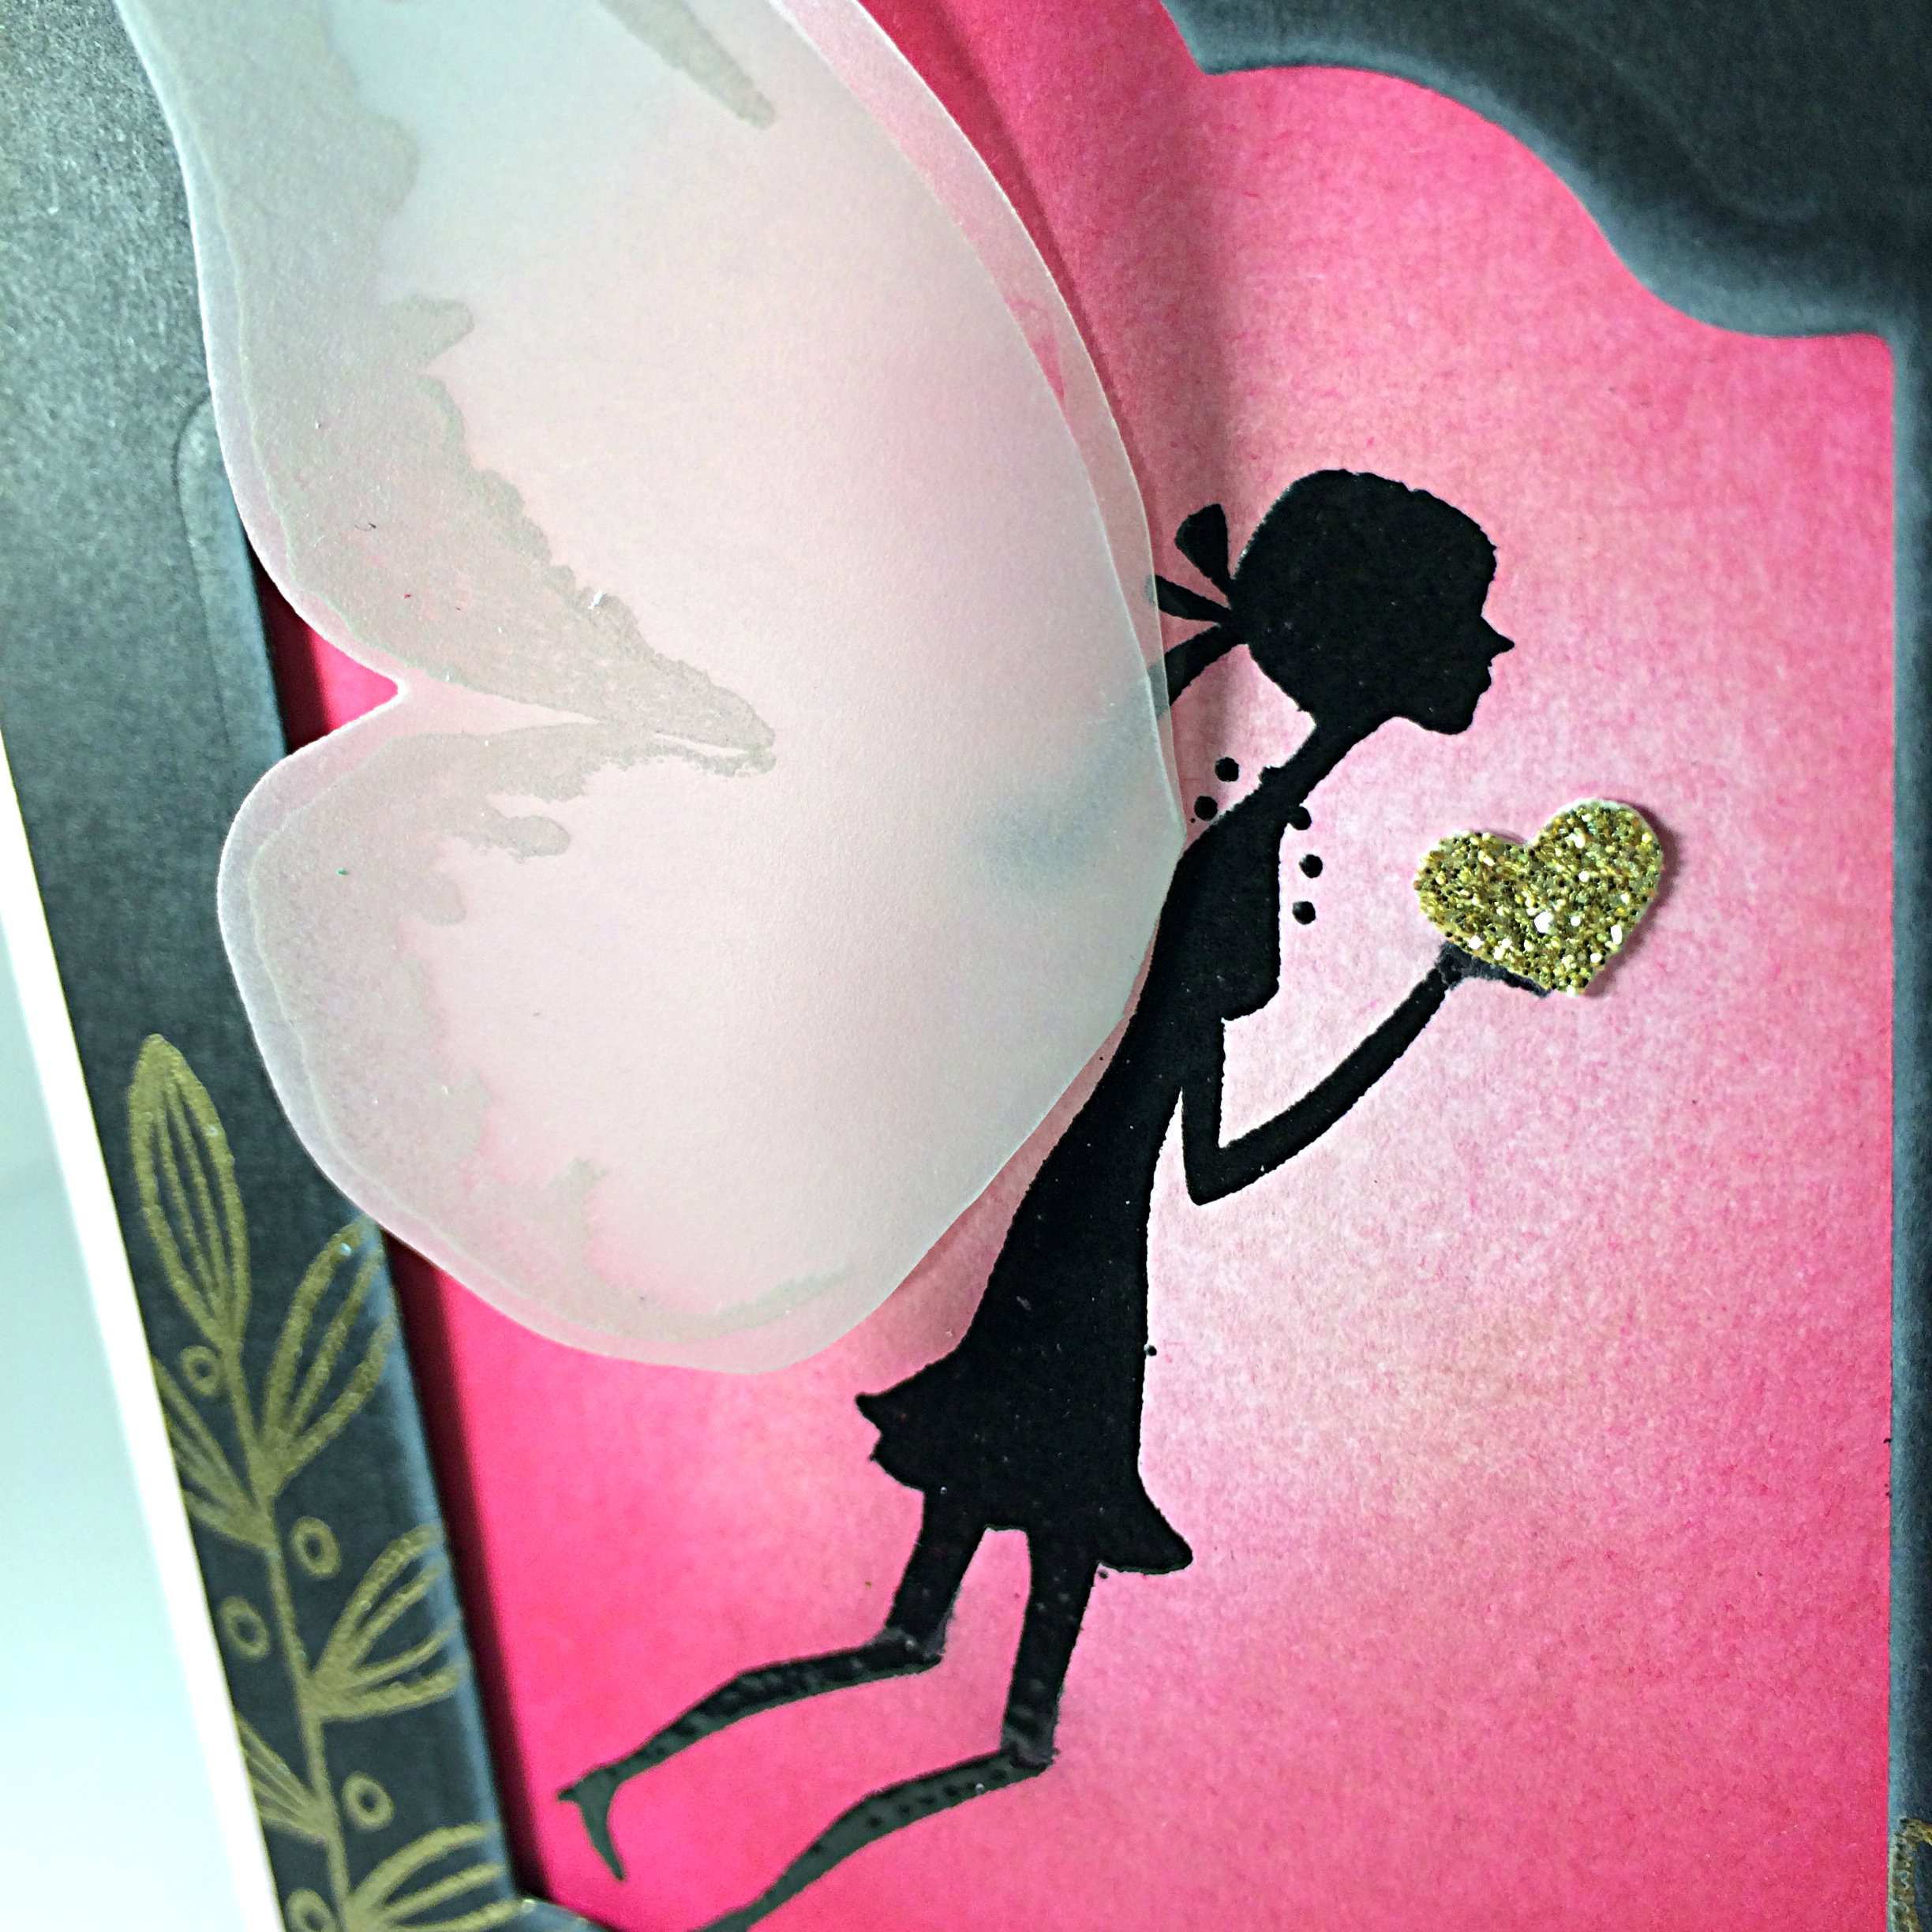
I’m in love with the simple looping of thread and twine on my cards, so I took the black thread out of my Basic Black Baker’s Twine and looped it to add some needed texture to this one.

This card will be added to my Tin of Cards tin as one to save for my family. My nephew and my brother both have birthdays coming up in December. One down, one to go!

Be sure to upload your take on this colour challenge to the As You See It Challenge page. It doesn’t have to be a card, either!!

A Fairy for Lola

I’m so excited to share my card with you today. Because today, I get to show my support for a brave 9 year old girl whom I’ve never met. Lola has been battling Leukemia since 2011. You can learn more about her on the Team Lola Facebook Page.

The As you See It Blog has dedicated the card challenge to Lola this week. I hope you will show your support to her and her family by making a card for her, too. Just imagine the smile on that beautiful face as she sees all of the cards and projects created just for her!

Lola, I chose to use pink and to put a fairy on my card for you. Not everyone knows that Gold is the colour to represent childhood cancer, so I have lots of gold on my card for you, too. I hope you like it!

Lola's challengeI love fairies, so of the images for this challenge, I decided to do a fairy card.

Only problem was that I didn’t have any fairy stamps – I have butterflies (lots of butterflies), I have dragonflies, I have dinosaurs, I have robots and I even have gnomes, but no fairies and no unicorns anywhere. But I did have a retired stamp set that I’ve loved forever that had images of people – specifically, of the girl variety of people.

Shes all thatThe set is called “She’s All That” and, though it’s not available from Stampin’ Up anymore, you can actually purchase it on Ebay.

Now, the image wasn’t perfect for my needs; as you can see, she was originally walking upright and holding a cake! However, I was able to do a bit of crafty work to stamp the image without her cake and with her legs bent to give a bit of the impression that she was not touching the ground. All I’m going to say is that it involved some scotch tape and the Stamp-a-ma-jig from Stampin’ Up.

Amy Jasper www.inkingonthefly.com

If I had the Confetti Hearts border punch, I would have had multiple little hearts blowing off her hand like kisses in the wind.

I don’t have that punch.

Instead, I used the Hearts Border Punch and took one of the little hearts from that for my fairy to hold.

Amy Jasper www.inkingonthefly.comThere are a lot of artistic elements to this card (which means I was having a lot of fun!). I first stamped the girl on Whisper White cardstock with Versamark ink so I could heat set Black Embossing Powder over the image so she could be very black and shiny. Then I got to work with a sponge and three pink inks (Pink Pirouette, Blushing Bride, and Melon Mambo) to sponge my background.

The fairy wings are created with Vellum Cardstock, White Stazon ink, the Watercolour Wings stamp set and my Big Shot with the Bold Butterfly framelits. The butterfly die cut image was then folded in half and the body of the butterfly was trimmed away before adhering the wings to my wee lassie. I used Fast Fuse, but you can totally see it if you lift that top wing out of the way.

My black frame was created with Basic Black cardstock, the Big Shot, and the largest of the Lots of Labels framelits. After cutting out the center of the cardstock, I used my Lighthearted Leaves stamp set with Versamark ink (by the way, I always use my Embossing Buddy before I stamp for heat embossing!) and stamped them on the card, heat setting them with Gold Embossing Powder. I also added the three wee stars from the Jingle All the Way stamp set and embossed them with gold.

Amy Jasper www.inkingonthefly.comWhisper White Craft ink was lightly sponged around the inside edge of the frame, which was then adhered over the fairy image using Stampin’ Dimensionals. All of this was matted with Gold Glimmer paper before adhering it to the Pink Pirouette cardstock card base.

LolainsideOn the inside of this card, I stamped the ‘believe’ sentiment and added another Gold Glimmer heart to embellish it.

I do believe in fairies, I do, I do!

Hang in there, Lola. We’re all rootin’ for you, praying for you, and sending love your way.

And, dear readers, don’t pass on the opportunity to bless a brave girl with digital cards of support and encouragement. Do the challenge this week and share your finished project on the As You See It Challenge blog so Lola can enjoy your gift to her!

Amy Jasper www.inkingonthefly.com

Celebrate Good Times

Welcome to the place where I get to share my love of stamping and creating with the wonderful people of the internet. Yes, that’s you fine folks! lol!

My 11 year old son gave me the inspiration for the card today. I was short on time and told him the theme of the challenge for this week on the As You See It Challenge blog. He said, “stamp a bunch of the word, ‘celebrate’, lots of times in lots of colours on a square piece of paper (like you often do) and stick it on a card. Then add balloons and confetti.” BRILLIANT!

Here’s the challenge today:

11666021_10155855868785085_4590987697493321045_nSo, I didn’t do all of those things, but he definitely had a great idea and got my mojo going! I started with my Alphabet Rotary Stamp and stamped the word ‘celebrate’ all over a Tempting Turquoise piece of cardstock and the design for today’s challenge card just pulled together from there. Thanks, bud! Love that kid!

Here’s our finished card:

100AmyI decided to go with a set of bright colours and am trying to move away from my white card bases that I have been leaning toward so often lately. I just love that look! But I’m realizing I need to branch away from that and work with some different colours. Here, I chose to start with a Tangelo Twist card base, which I ran through the Big Shot with the Lucky Stars embossing folder. I sponged the edges with Tangelo Twist ink, just to add some richness to the card base.

100angleThere is a strip of Melon Mambo that I scored parallel lines on with my Simply Scored tool, then sponged around the edges with Melon Mambo ink.

I chose to do some paper-piercing with my new Updated Essentials Paper Piercing Pack as it has the coordinating shapes to go with the Lots of Labels framelit that I used to cut the Tempting Turquoise cardstock. My White Signo Gel pen allowed me to create the faux stitching. Love it!

Of course, the Tin of Cards stamp set came in handy for the Happy Birthday sentiment, which is stamped in Melon Mambo ink (though I think I stamped it a little too quickly and made the image a bit smooshy – mental note: don’t stamp quite so vigorously next time).

And with my son’s confetti in mind, I added the sparklies: the gold sequin pieces for an added celebratory feel.

You might not have my fabulous son to give you inspiration, but you do have this great theme idea from the As You See It Challenge this week. Try this one and load it up on the challenge blog to share it with us!

Amy