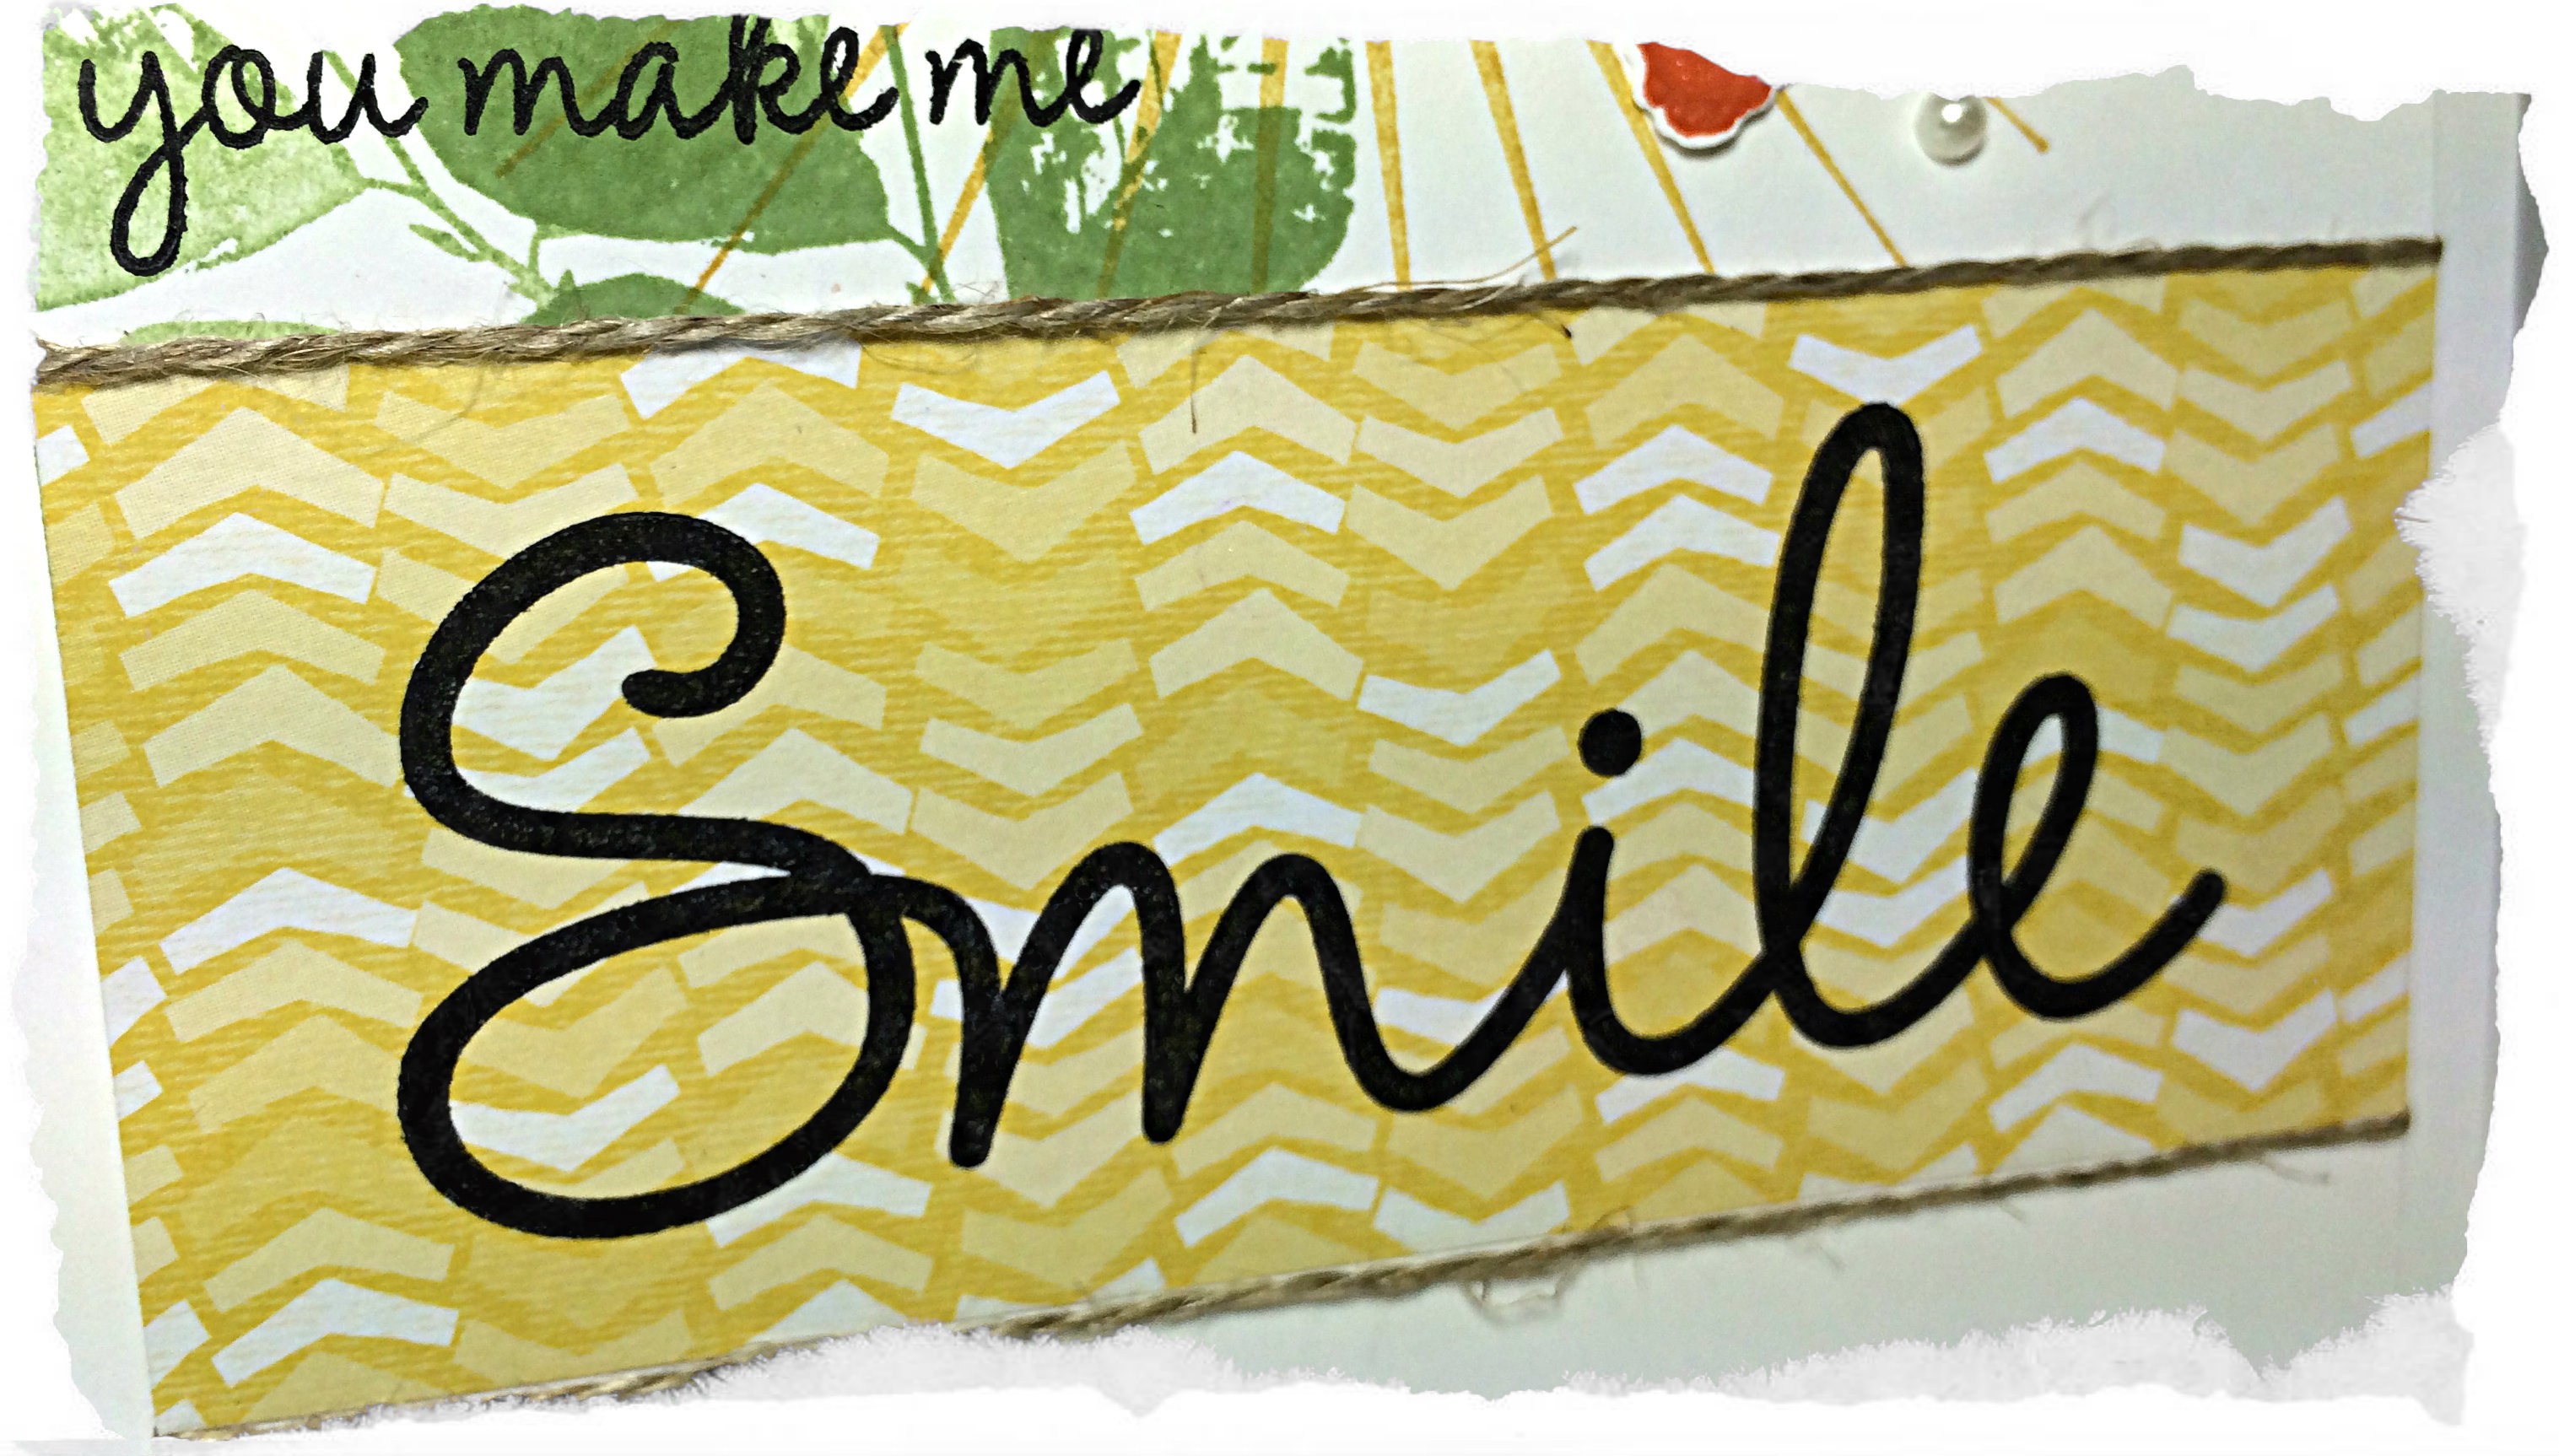
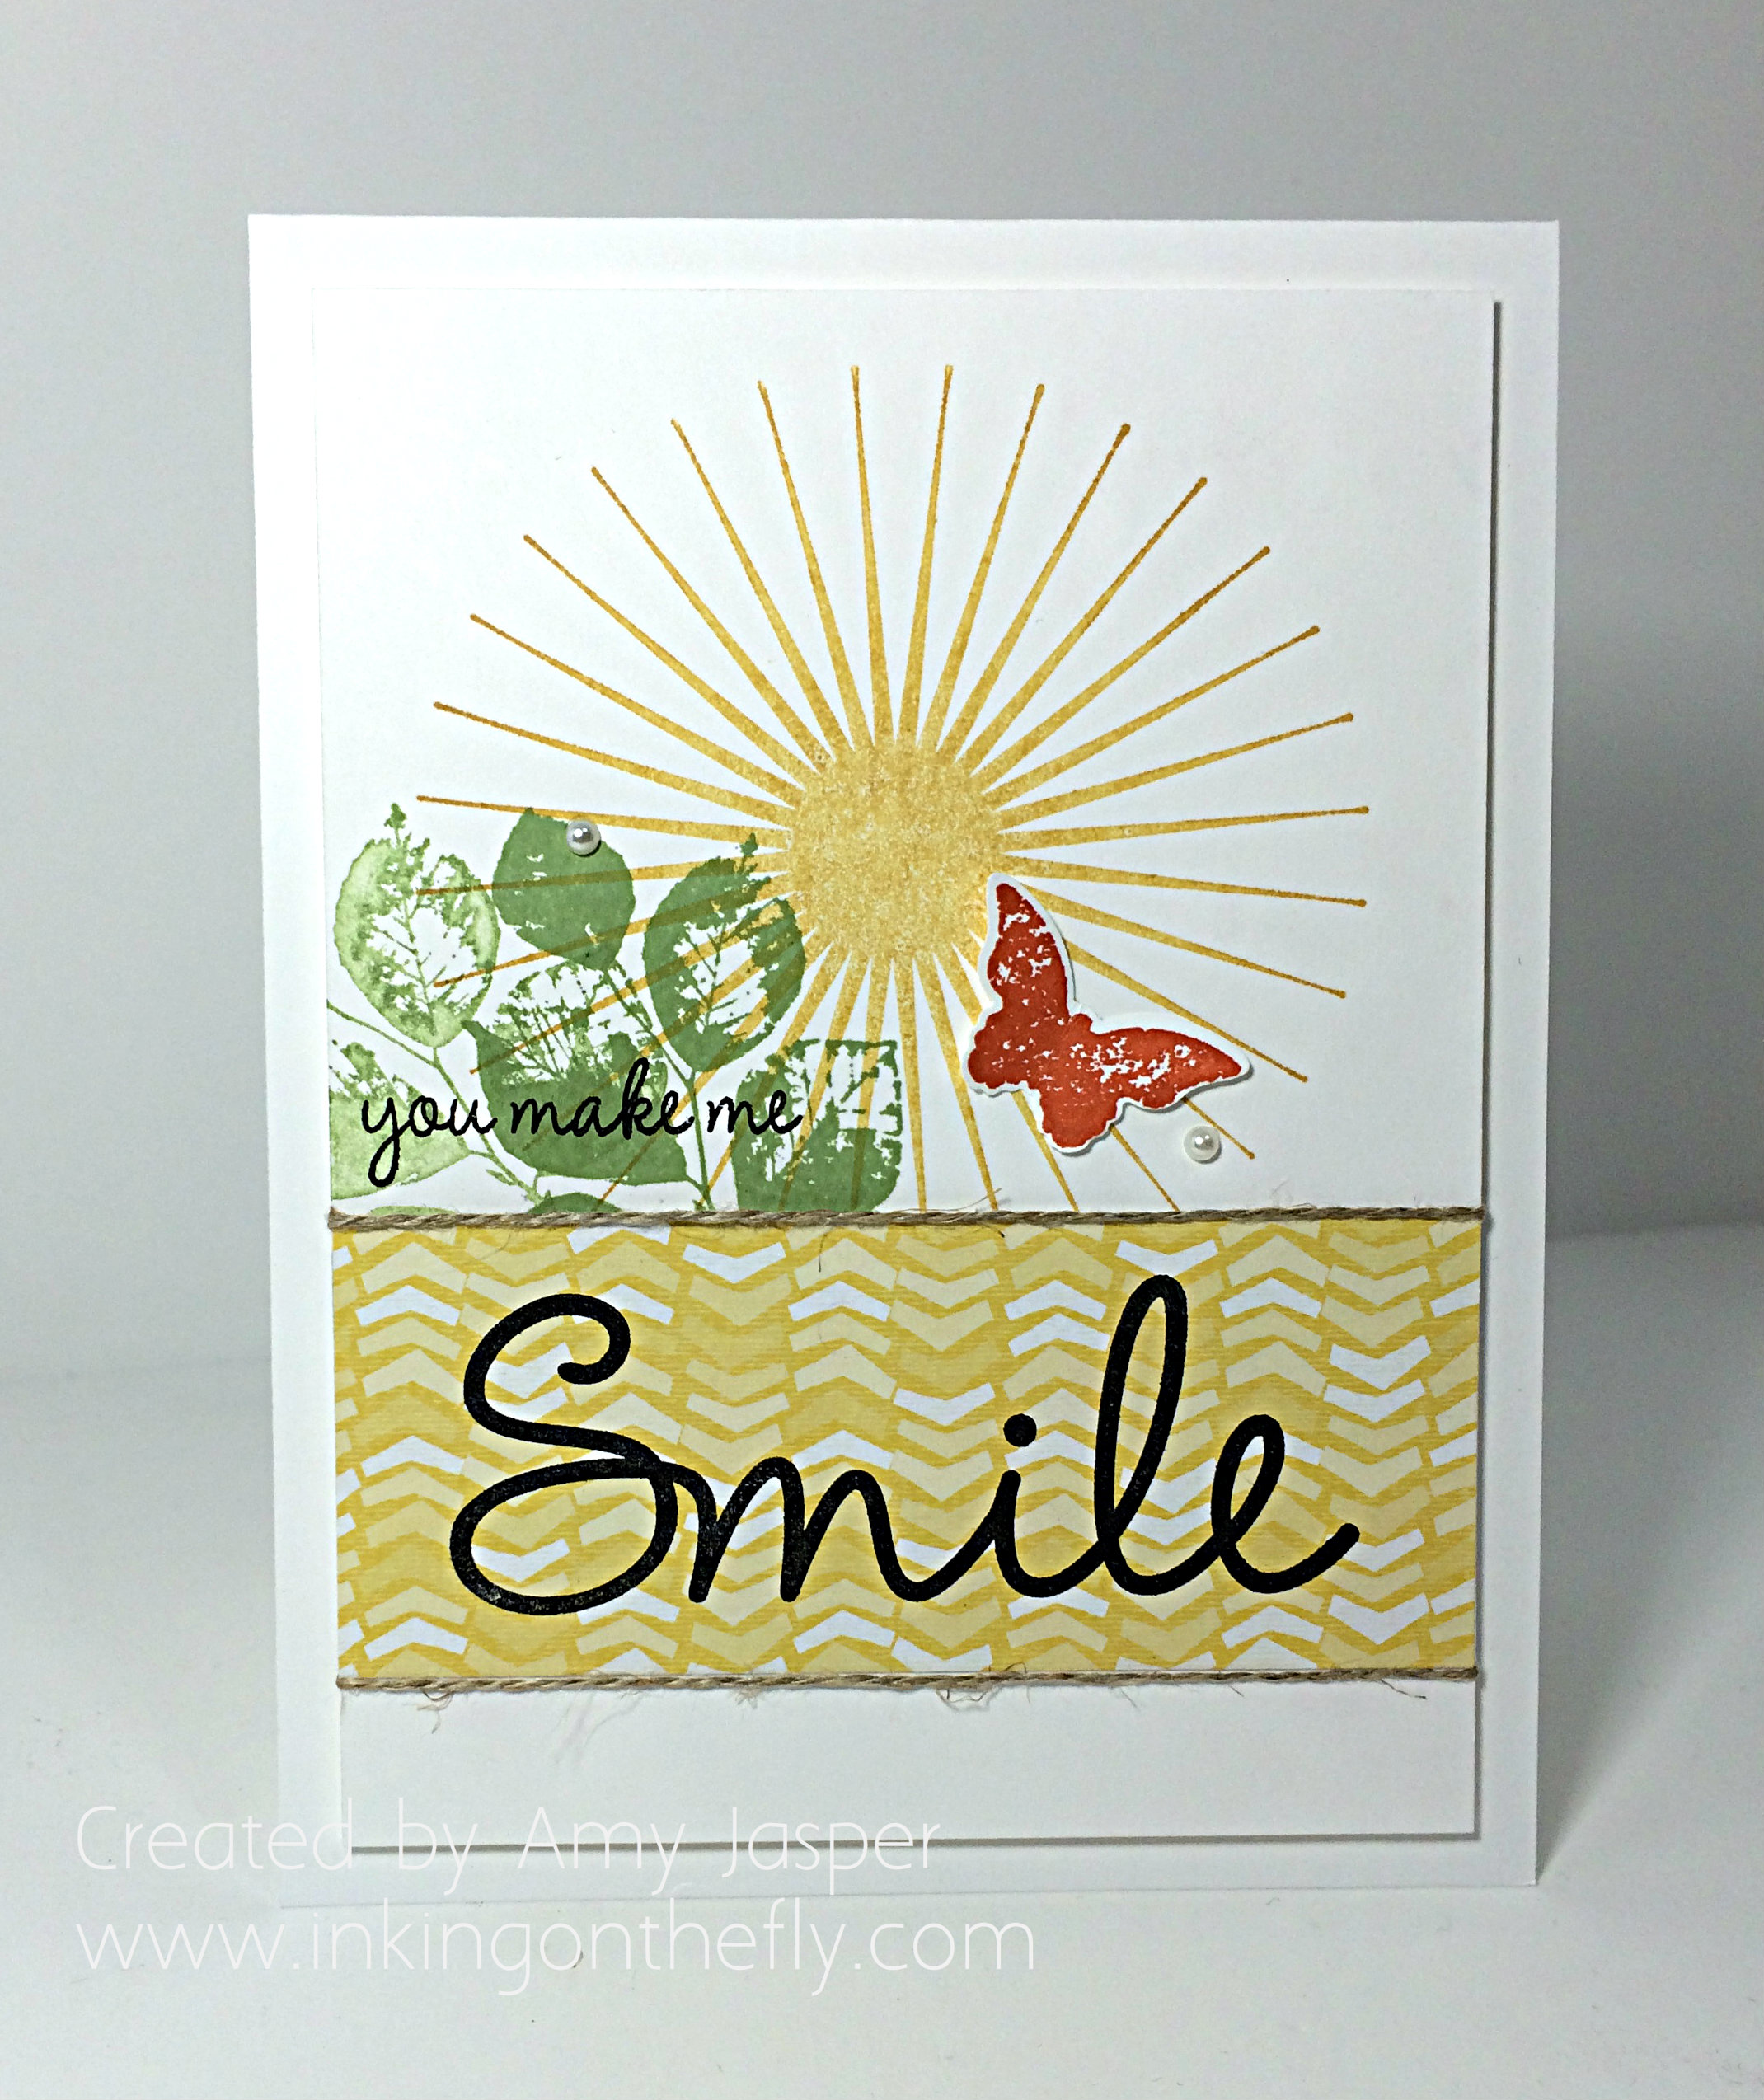
And here’s my design using the Kinda Eclectic stamp set and the So You stamp set with Hello Honey, Wild Wasabi, Tangelo Twist and Jet Black Stazon ink. I used a clean Whisper White base with a Whisper White cardstock layer and a strip of the Best Year Ever designer series paper (only available with the Sale-a-bration promotion). I added some Linen Thread, Basic Pearls and used the small butterfly punch to cut out the butterfly.
Sorry for the brevity. I’m just inking on the fly, as I often do, lol!
Check out what the other designers created with this sketch and share your own creations on the As You See It Challenge blog. I love how your creativity spurs on my own!
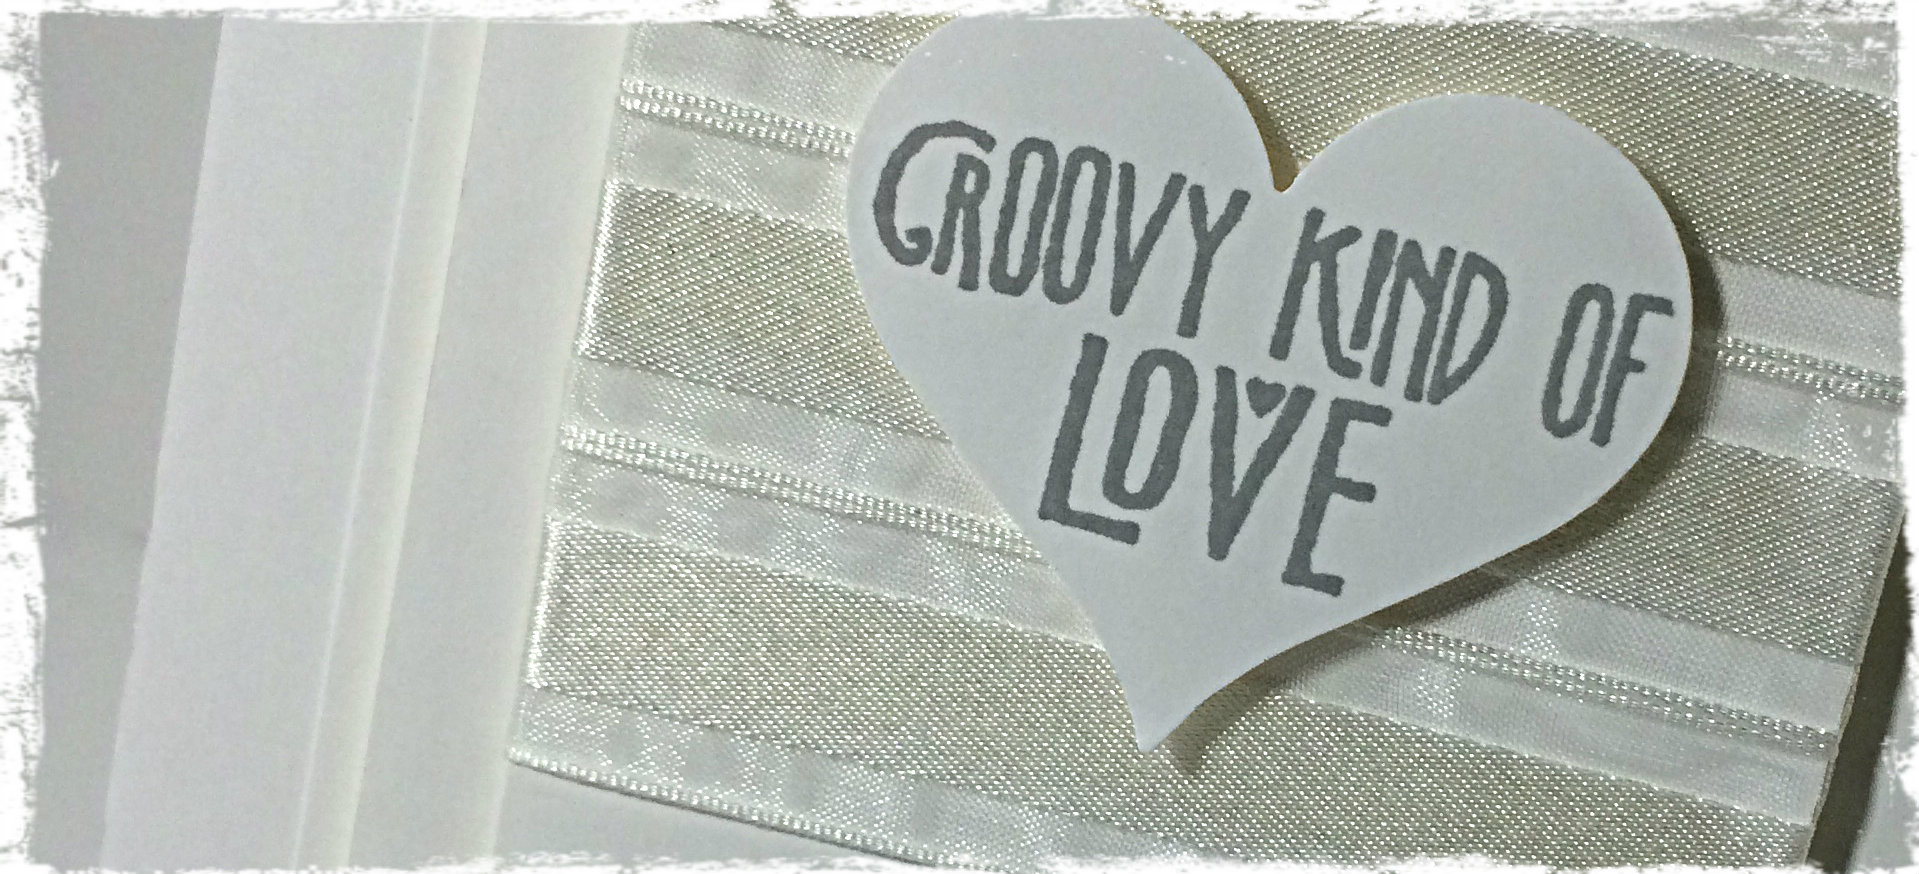
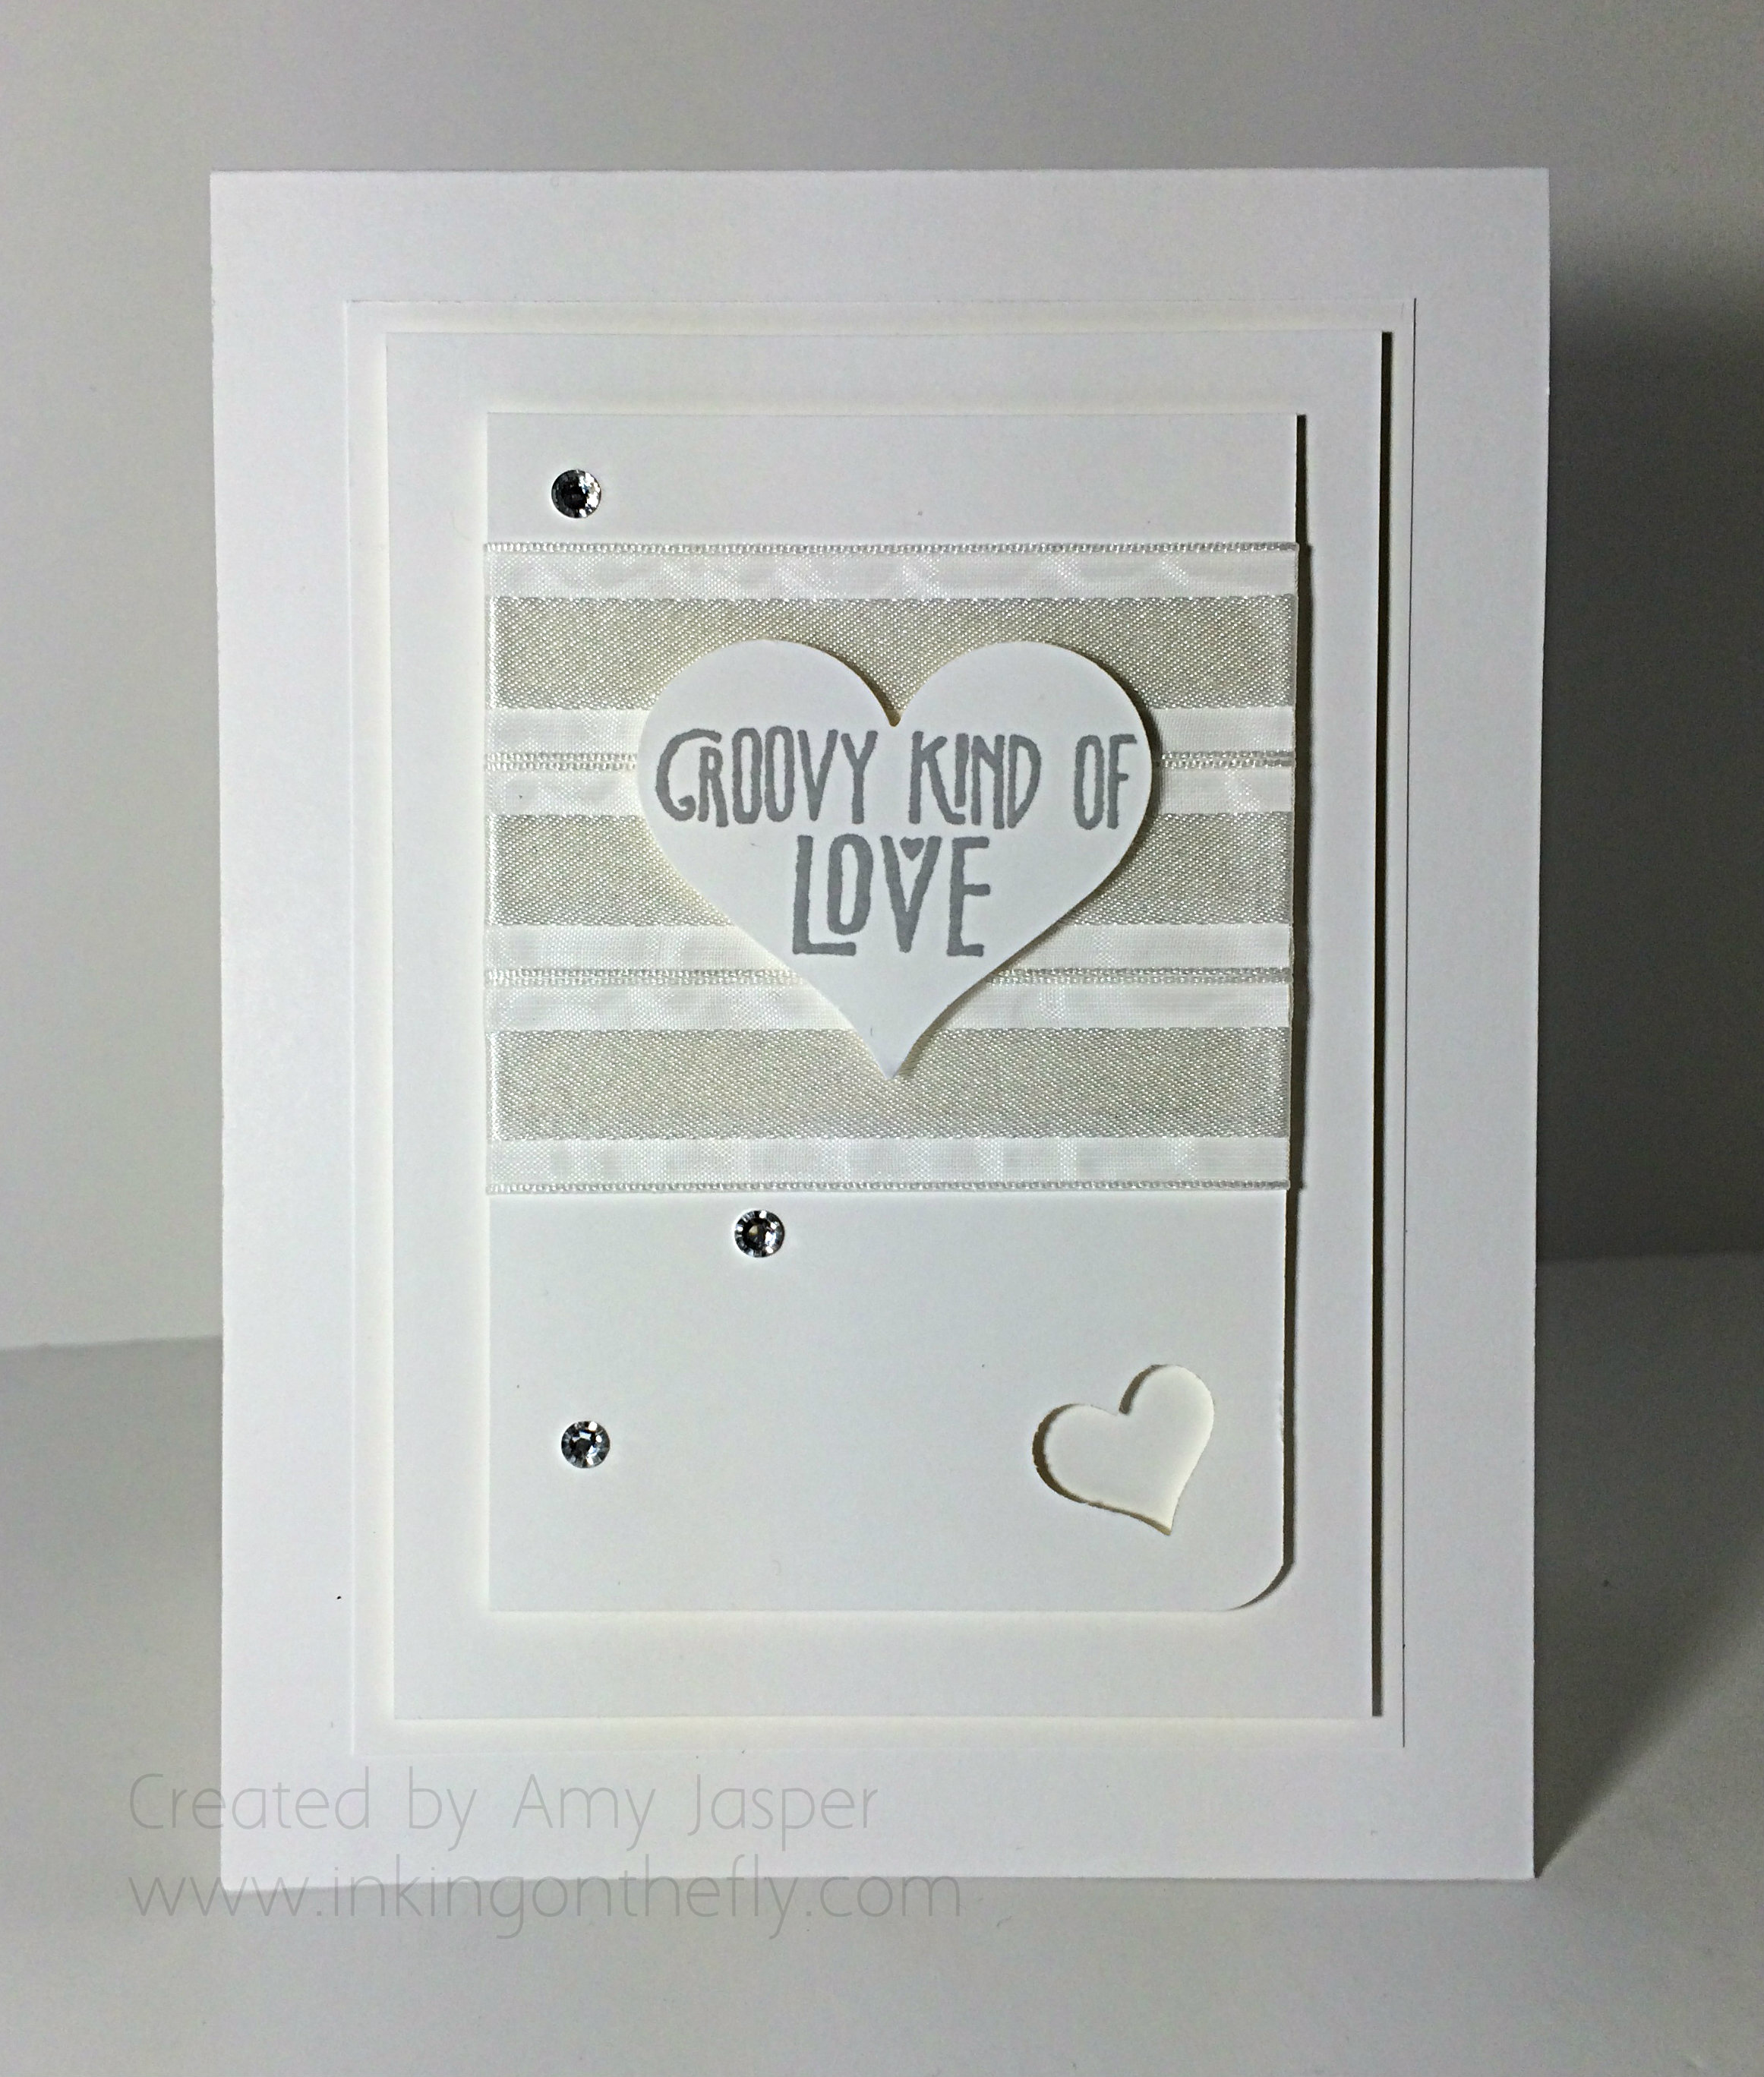
An all white card designed for the As You See It Challenge blog. I used the Groovy Love stamp set with the coordinating Sweetheart Punch from Stampin’ Up!
Gotta love the strain of a speed challenge. It’s a good exercise to stretch your creativity and push yourself. These 10 minute challenges are probably the toughest for me. Having to use all white definitely added another creative stretch. Technically, you could add vanilla or grey for this challenge, since they would be considered “shades” of white, but I opted for primarily white.
I managed to finish this card in 9 minutes and 53 seconds. Not too bad, considering the state of my craft room and that I made the mistake of cutting my nails nice and short. (Peeling off the backing of sticky strip with no fingernails and with a time limit can be very frustrating)
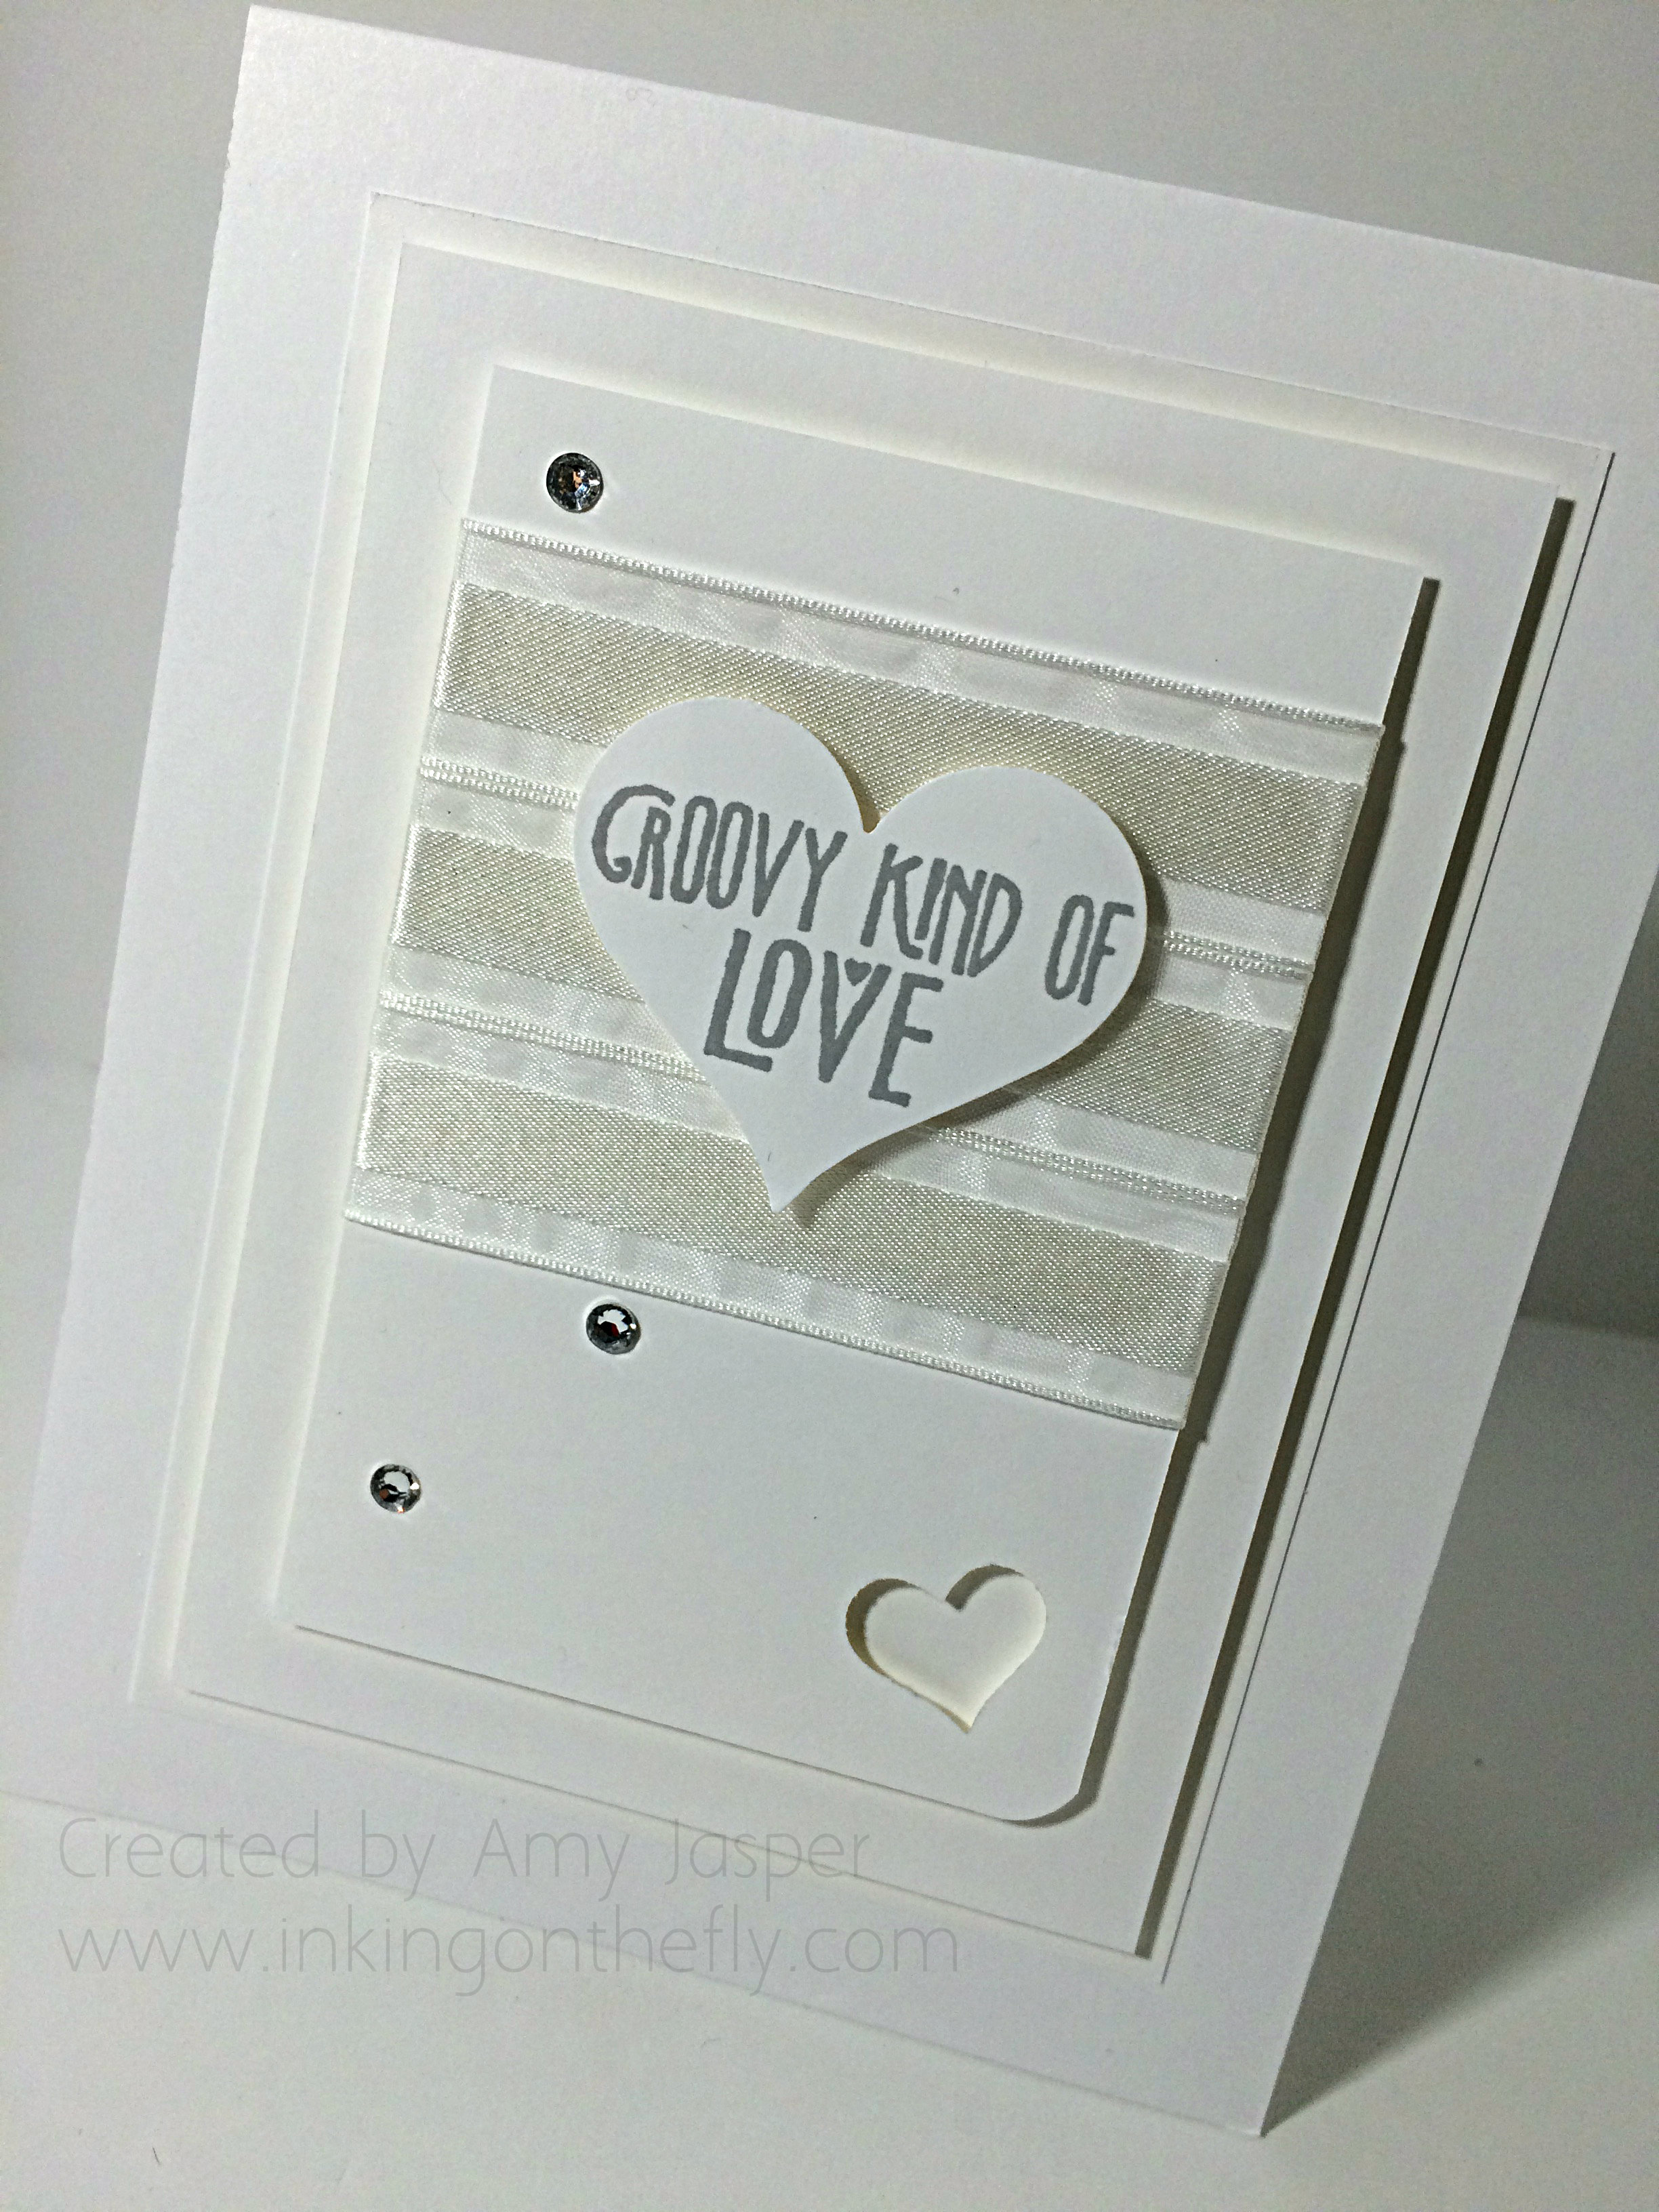
The card is nice, but needed a bit of a refining, so I did a second one. See if you can spot the subtle differences and tell me which one you like better.
You can see that I have fewer of the Basic Rhinestones on the second card. I also only rounded one corner with my Corner Rounder punch and lowered the placement of my ribbon. I added the small heart punch from the Itty Bitty Accents Punch Pack. The biggest improvement for me was how I attached the strips of White Organza Ribbon. On the first card, I only put Sticky Strip on the back of the Whisper White Cardstock. This caused the ribbon to float a bit on the front of the card. I tried to anchor it after the fact by slipping a couple pieces of Sticky Strip underneath, but it just got more untidy. The second card used full strips of Sticky Strip across the front of the cardstock to anchor the entire length of the Organza ribbon, then a couple pieces on the back of the cardstock to secure the ends of the ribbon on the back. A much smoother and tidier finish on the second card.
Both cards have the sentiment from the Groovy Love stamp set stamped in Smoky Slate ink. Both cards have Stampin’ Up! Dimensionals under the heart, the first rectangle layer and the second rectangle layer. After all, an all-white card demands layers and texture!!
By the way, did you miss me last week? With the Christmas season upon us, I just couldn’t find the time to share a project with you. Each of my 3 kids had Christmas concerts that week (separate nights), and I was shopping all week to find something to wear to my husband’s staff Christmas party.
(Me + shopping for clothes = forever!!)
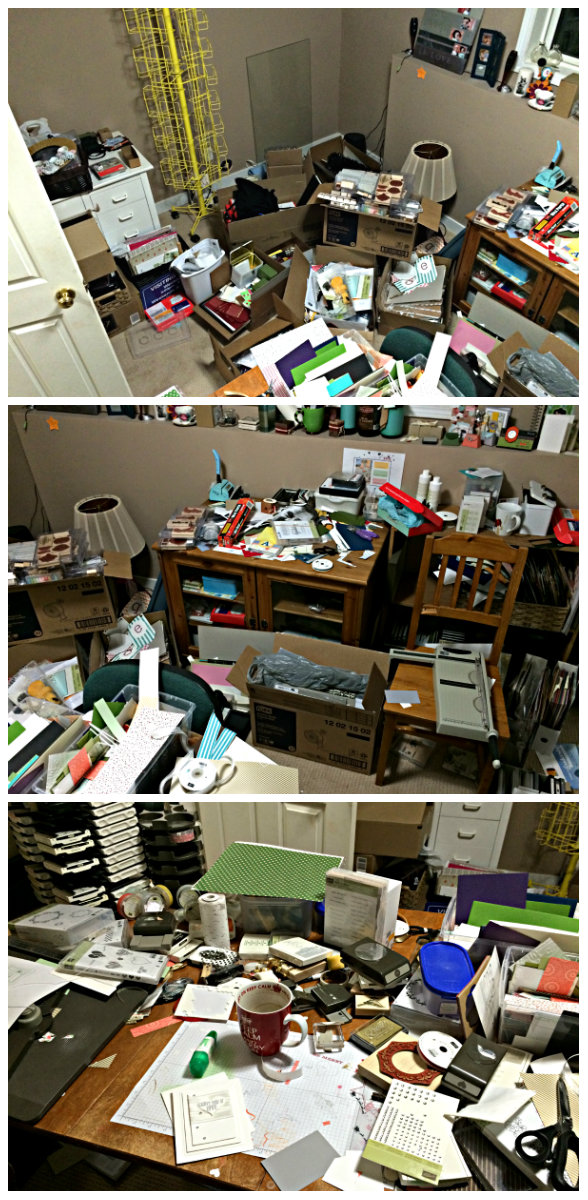
Life has been very busy. Take a look at the current state of my craft room. Consider it a representation of my head these days.
I suppose you can guess what I’ll be working on the next week or two. Gotta get this room functional again before the new year!
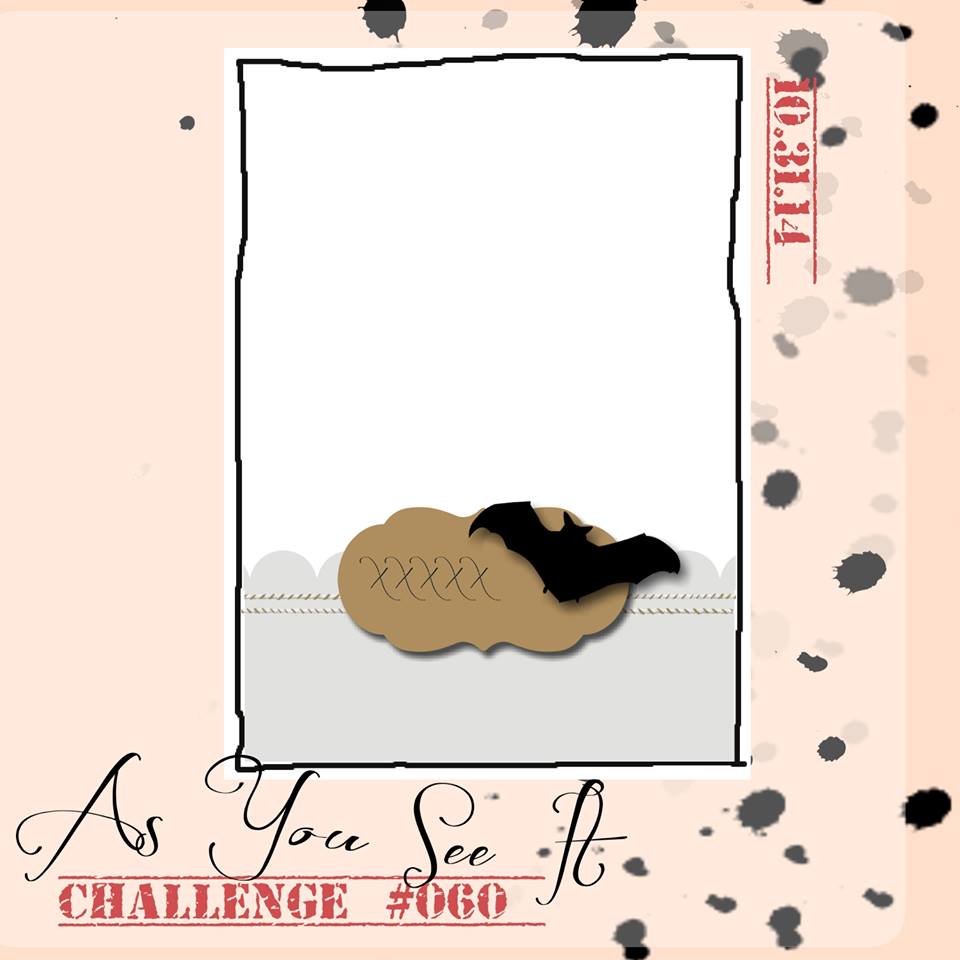
I know how busy the season can be, but why not take a 10 minute time out from it all and make a card? Load it up to the As You See It Challenge #67 and tell us how long it took. Even if your a little bit over, that’s okay. Stretch your creative brain!
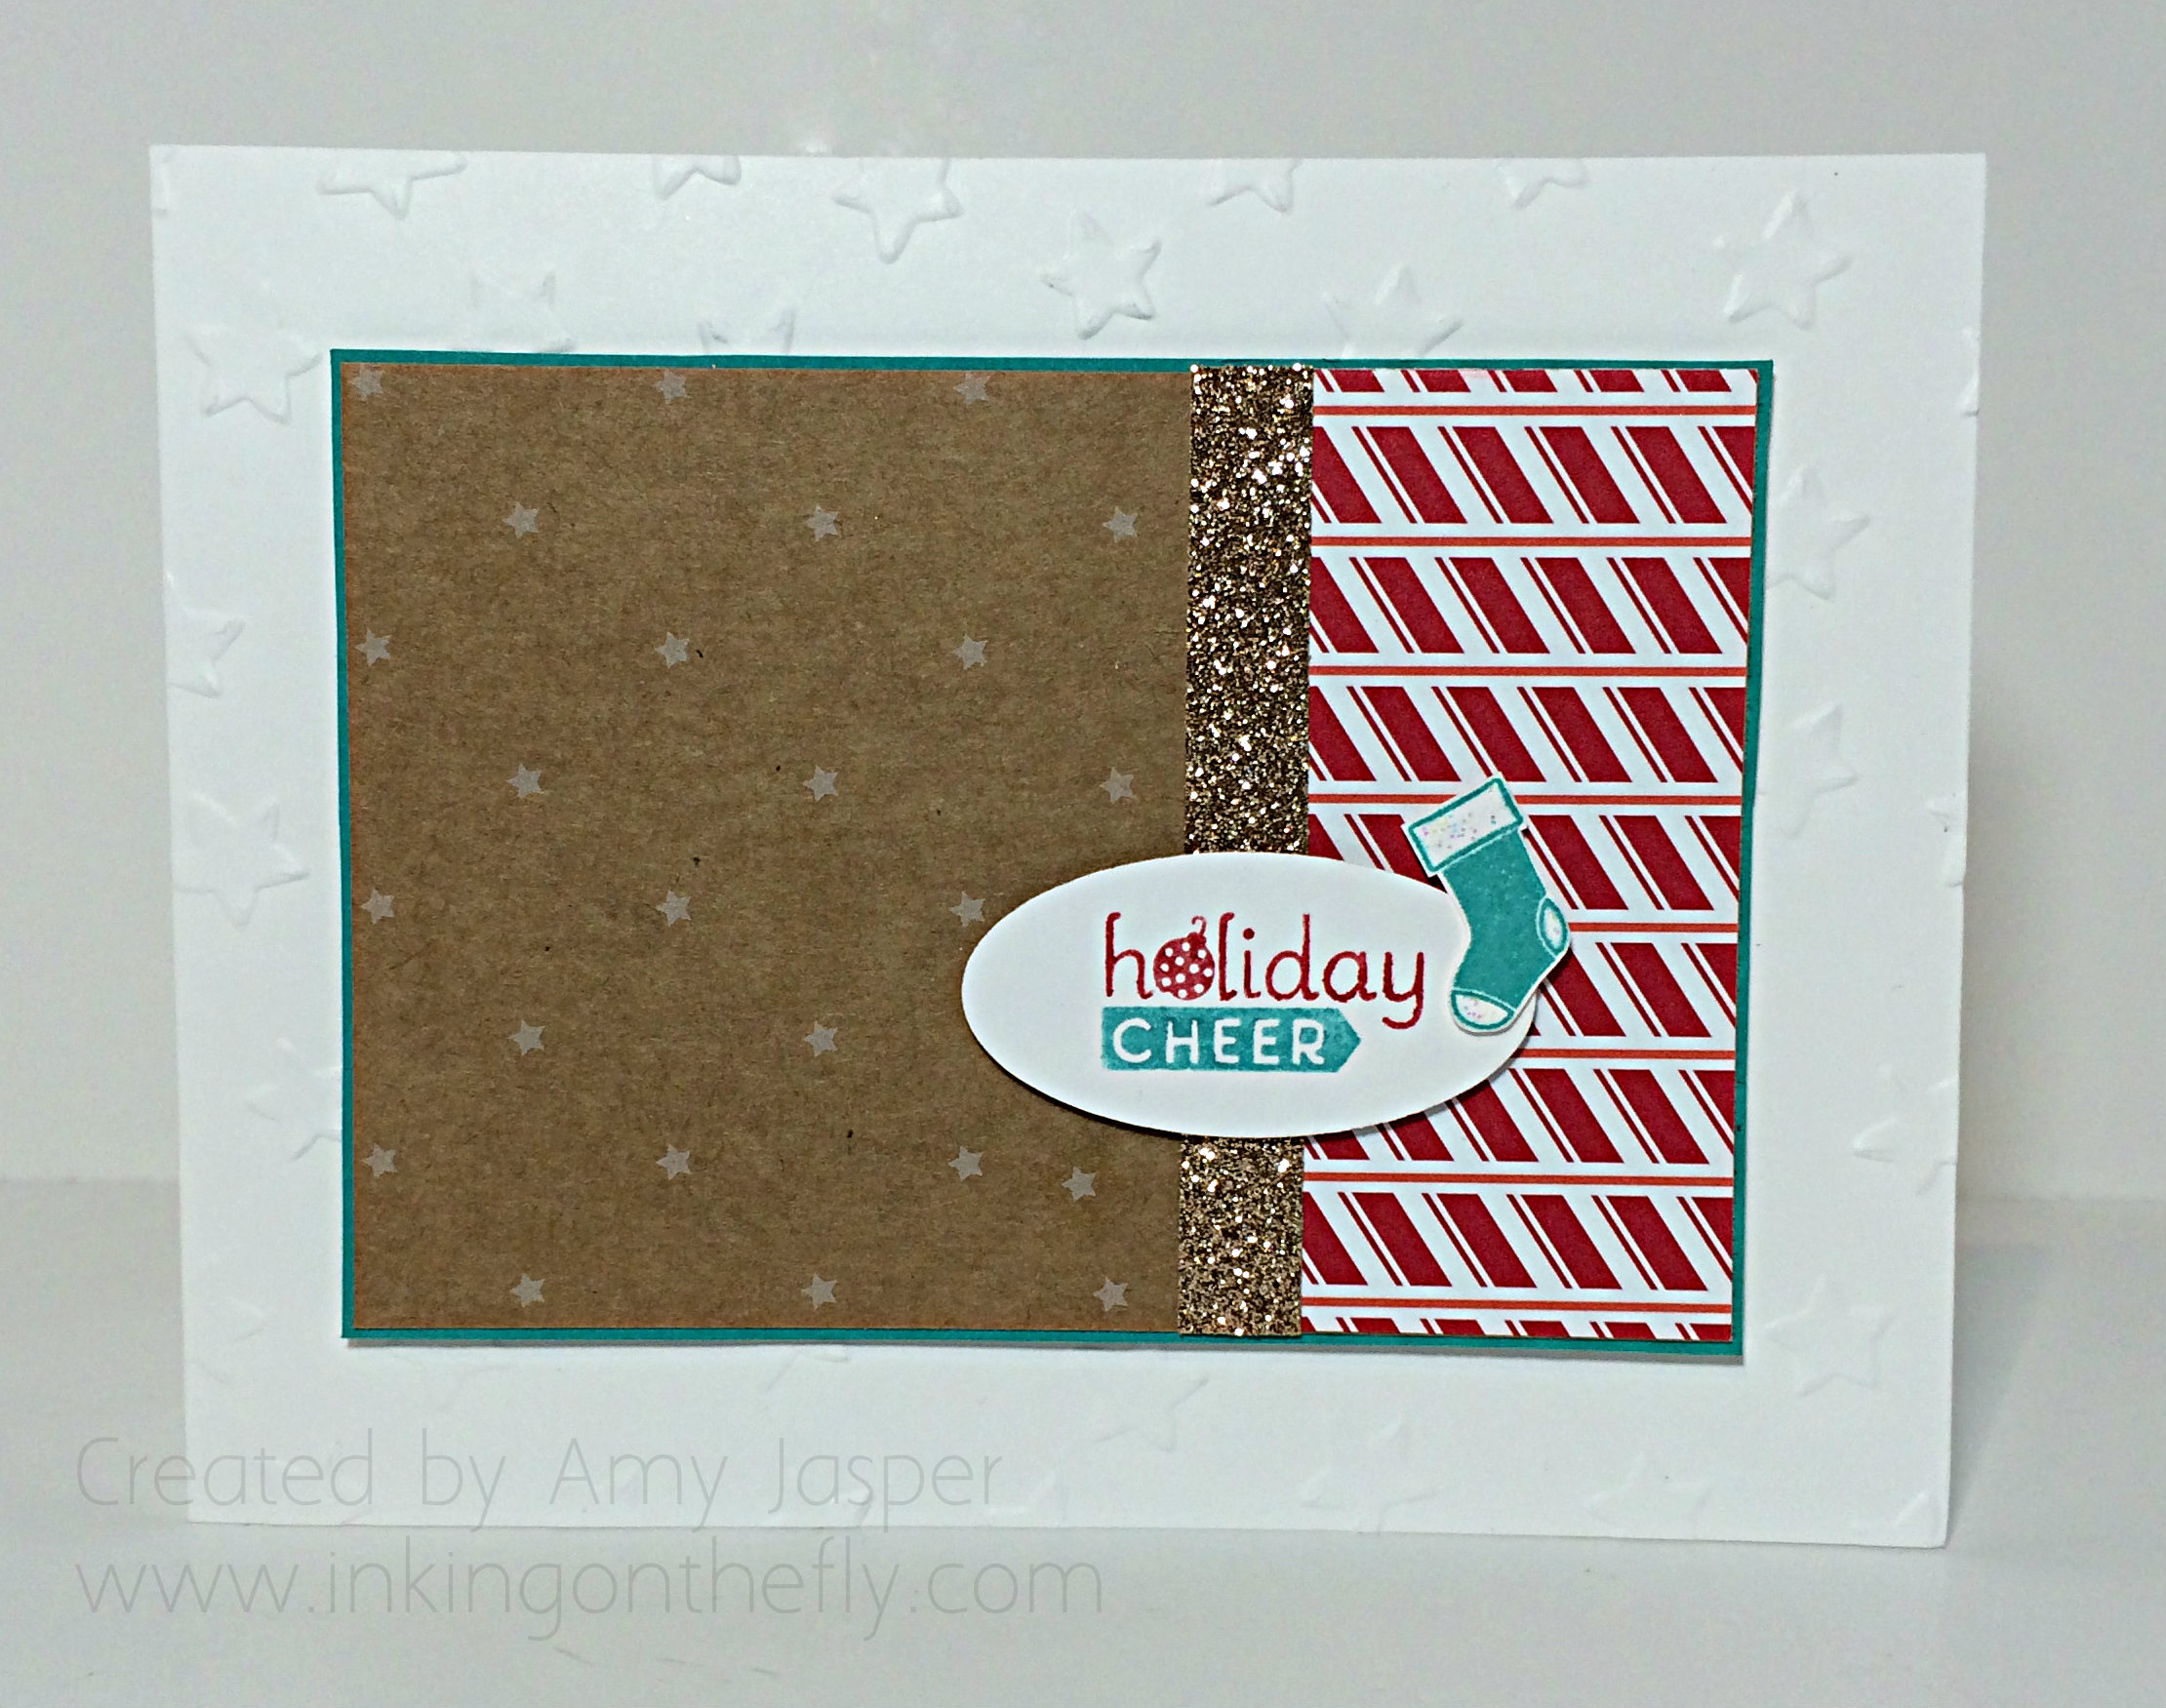
Here we are again with another card for the As You See It Challenge Blog. Oh how I struggled with this sketch, but I loved using the little saying from the Project Life by Stampin’ Up Holiday Cheer stamp set.
Though the sketch is Halloween inspired, I am geared into Christmas already. So a Christmas card is what I did. I’m not very happy with it, but it’s better than how it looked before I decided to turn it on it’s side!!
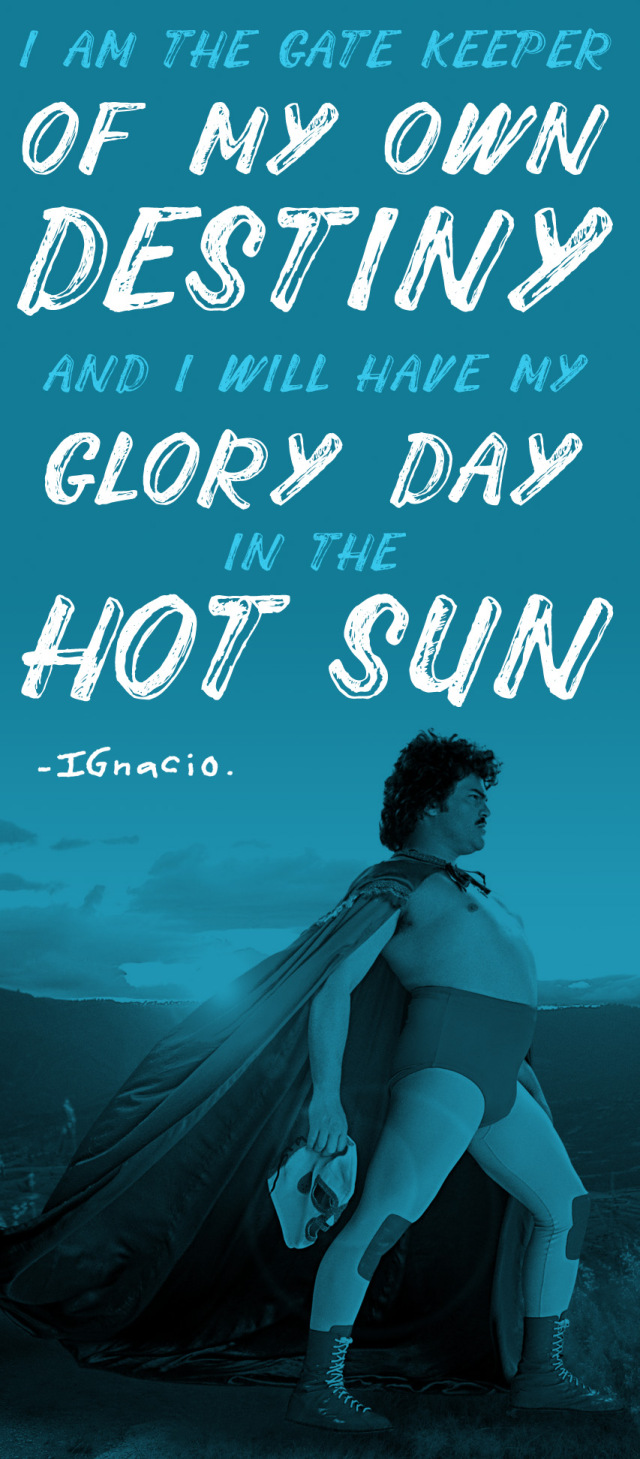
Do you remember the movie Nacho Libre with Jack Black. I found it very funny! That sort of humour suits me just fine.
Before I turned my card design on its side, I found that with all of those stars in combination with the Real Red and the Bermuda Bay colours, it became very American, but in a Nacho Libre sort of way (though, I’m pretty sure he was not American, lol!). The strip of Champagne Glimmer Paper looked like a belt with the oval sentiment in the centre; and the flashy red patterned paper from the Nordic Noel Designer Series paper looked like fancy wrestler pants! So I absolutely HAD to turn it sideways to avoid the confusion!
Tilt your head to the left and see if you can imagine what I saw!!
Even though it’s better than my Nacho Libre version, this is not my favourite card. Maybe it just needs some loopy thread like in my card a couple weeks ago. Yes, I might go back and add that!
This card used the Lucky Stars embossing folder on Whisper White cardstock. I used Bermuda Bay to mat the Under the Tree Specialty Designer paper (with those cute tiny stars on it) along with the strip of Nordic Noel Designer Series Paper and the strip of Champagne Glimmer paper.
The Holiday Cheer sentiment is from the Project Life “Holiday Cheer” stamp set. I used my Stampin’ Write markers to ink the “holiday” in Real Red and the “cheer” in Bermuda Bay ink and (after huffing on it with my breath to re-moisten the ink) stamped it on Whisper White cardstock, which I then punched out with the Large Oval punch. The cute stocking is also from the Project Life Holiday Cheer stamp set, stamped with Bermuda Bay ink and hand-cut. I added a bit of Dazzling Detail glitter to the stocking as well.
Of course I used Stampin’ Up Dimensionals as well. They are under the Bermuda Bay layer and under the oval and the stocking.
Now I want to watch Nacho Libre again!
I hope you’ll play along this week and show me how to make this sketch amazing!! Upload your designs to the As You See it Challenge blog and give me some inspiration!