Sale-a-bration

Heirlooms and Blooms

During this Covid-19 crisis and the challenge of social distancing (aka physical distancing), we need our creativity more than ever! I am a better person because of it. I am a calmer person doing it. I can bring smiles to others through it.

Schedule some creative time for yourself, put on some music if you want, and use the time to get busy with your hands and de-stress. Creating is therapeutic for the mind and the soul.

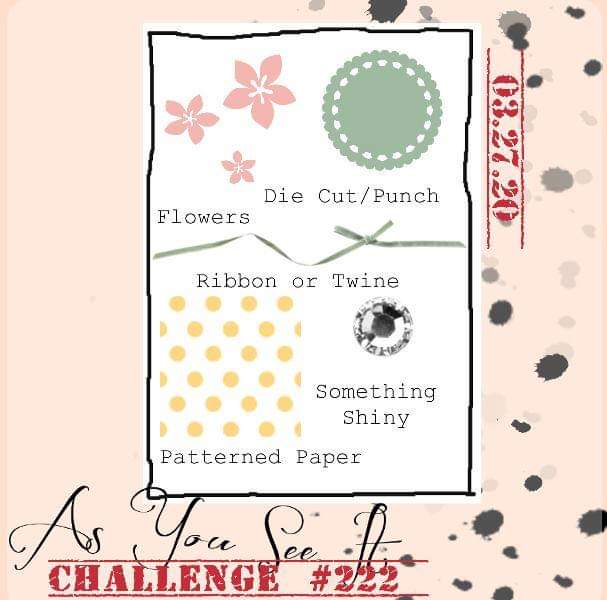
If you need something to get you started, try today’s As You See It Challenge. You can create a card, a scrapbook page, a 3D item, a decor item or anything else you can imagine. The challenge is to use all of the elements listed.
 

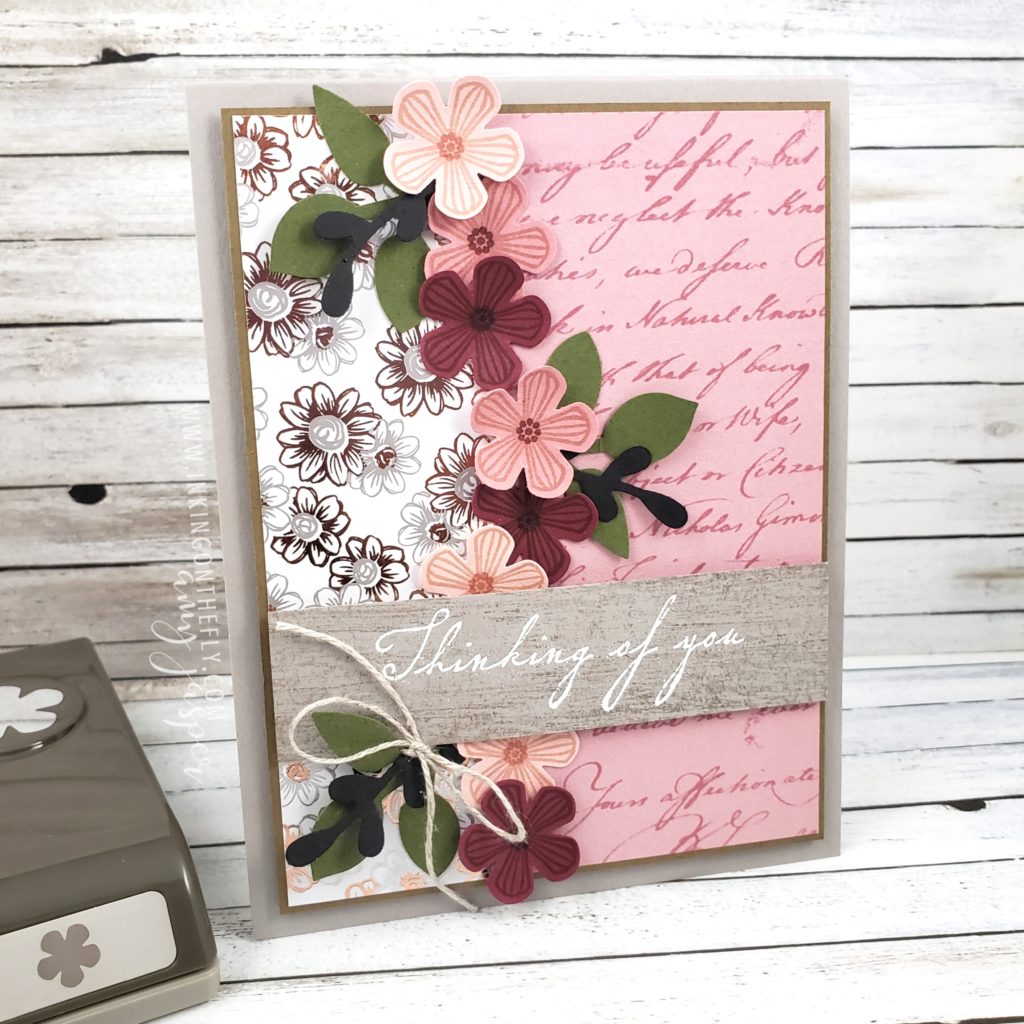
I was inspired to use the Flowering Foils Designer Series Paper that’s available for FREE from Stampin’ Up! with any $60 order. Actually, my card design also uses two other Sale-a-bration items: the Small Bloom Punch (free with a $120 order) and the coordinating Thoughtful Blooms photopolymer stamp set (also available in french).
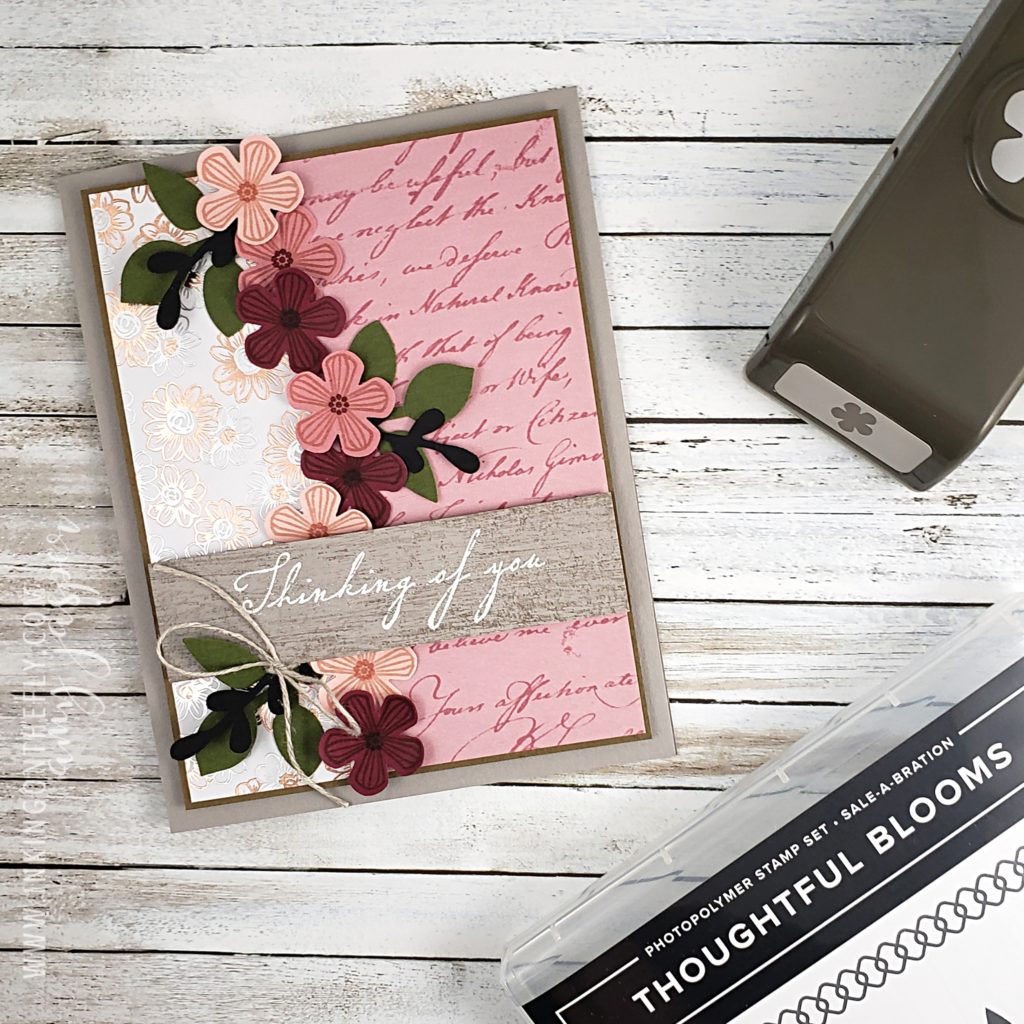
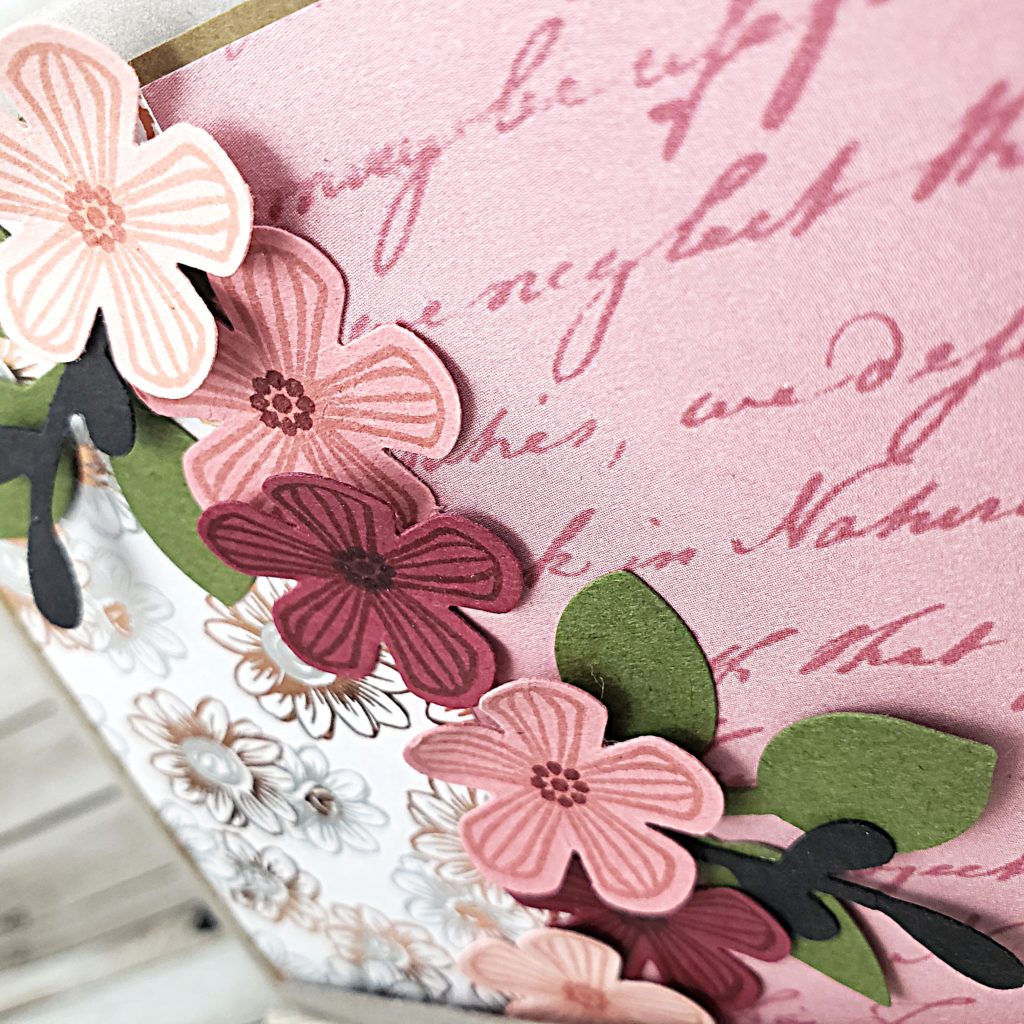
I stamped three flower images each on Blushing Bride, Rococo Rose, and Merry Merlot cardstock in their coordinating colours of ink. The center of each flower was stamped with one shade darker of those same colours (center of the Merry Merlot flower was stamped in Tuxedo Black Momento Ink). I used the Small Bloom Punch to punch out each flower and adhere them over the Flowering Foils Designer Series Paper and Pressed Petals Specialty Designer Series paper. A couple of the flowers are raised up on Stampin’ Dimensionals.
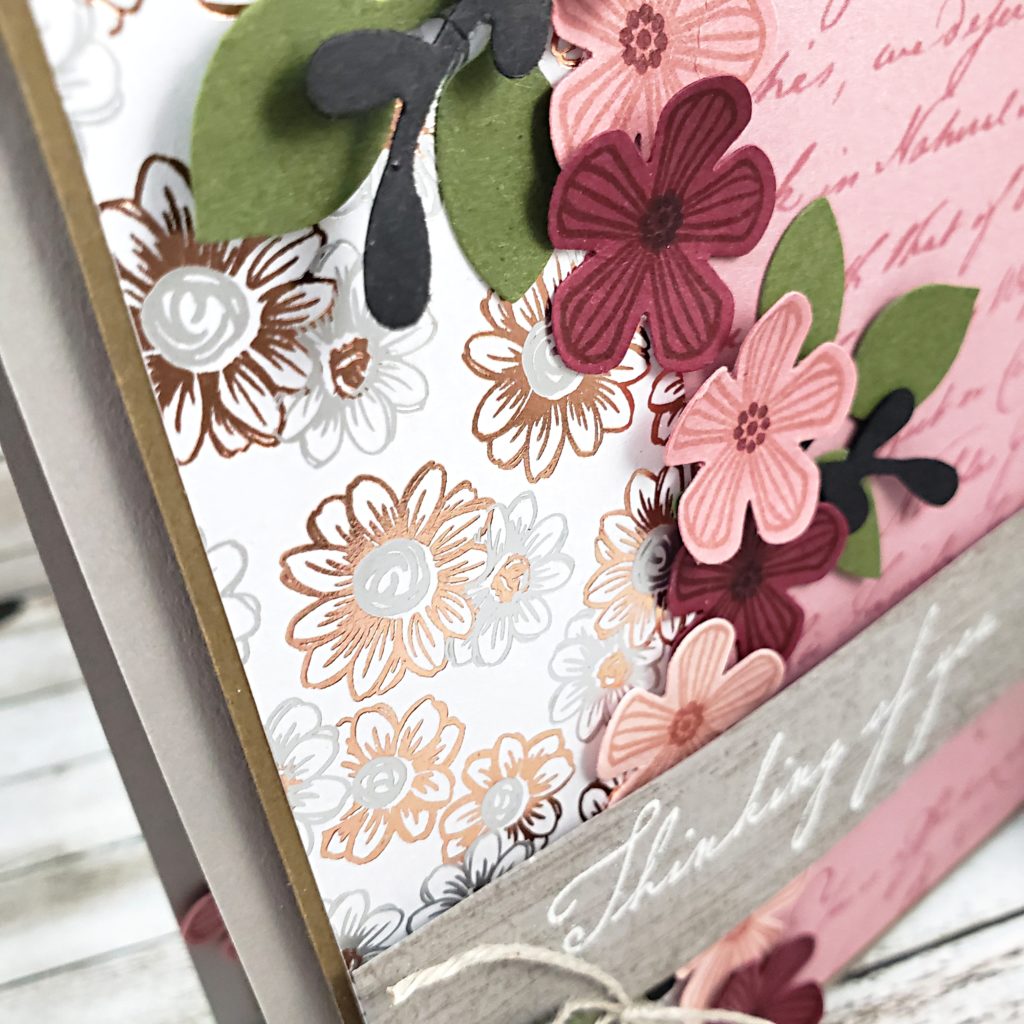
You can see the shiny copper foiling on the patterned paper in the above photo. It’s so pretty!

The Leaf Punch and the Sprig Punch from Stampin’ Up! create the Mossy Meadow and Basic Black leaf elements on the card. I didn’t use the entire Sprig Punch shape, but actually separated the two parts of the sprig to attach them to the card.
The strip of Gray Granite cardstock was stamped with the large textured image from the Woven Heirlooms Stamp set. I used Gray Granite ink, but stamped off first for a softer colour. I think it ended up looking a bit like woodgrain, which suits me quite nicely! I rubbed my Embossing Buddy over this stamped strip of cardstock to make sure my next steps would give me a nice clean look.
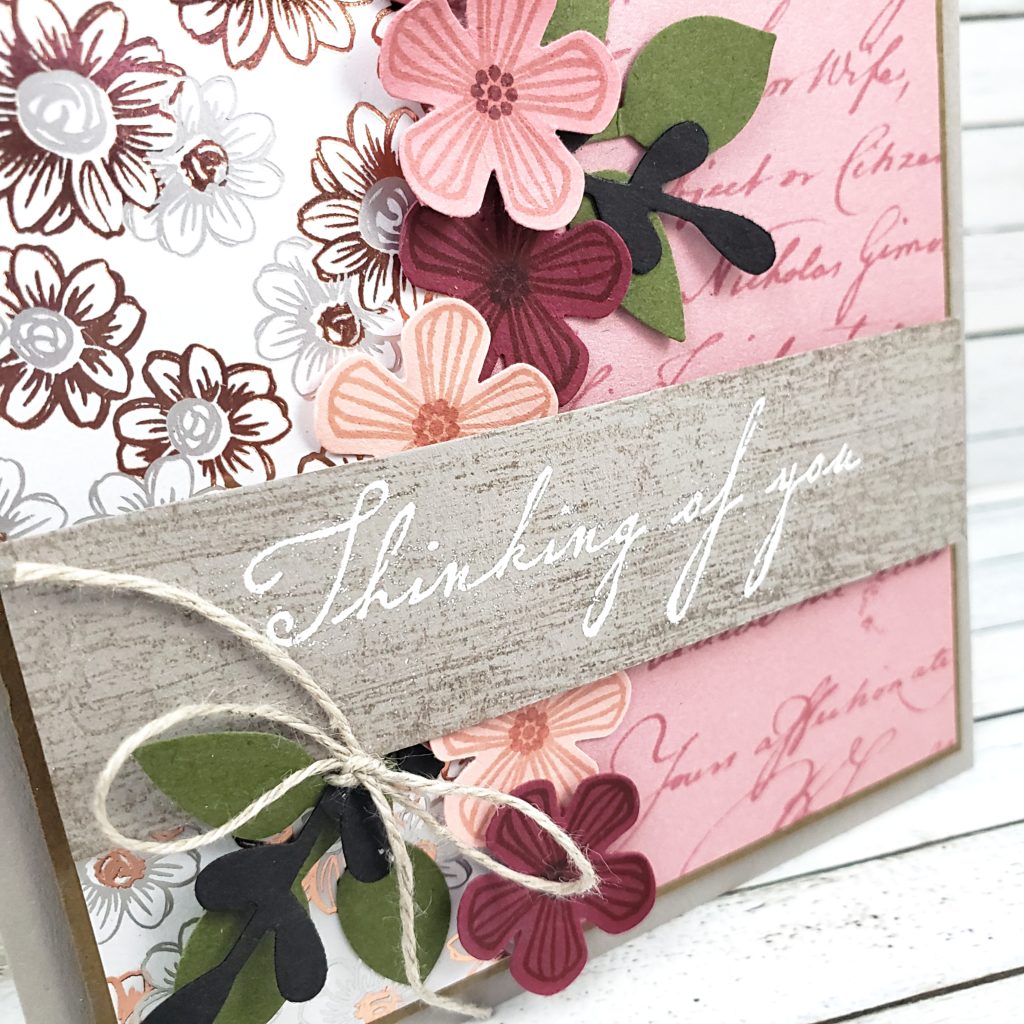
I stamped the sentiment from the Woven Heirlooms Stamp Set (also available in french) with Versamark Ink, covered it with White Embossing Powder, and tapped off the excess. This is when I realised that I overestimated the power of the Embossing Buddy and underestimated the drying time of my ink, because my embossing powder decided to stick where it didn’t belong. I was in a “that’s good enough” mood, though, so I simply brushed off some to the excess with a dry paint brush and heated the rest with my Heat Tool. I attached the completed strip of Gray Granite to my card with Stampin’ Dimensionals and tied a Linen Thread bow around the leaf stems.
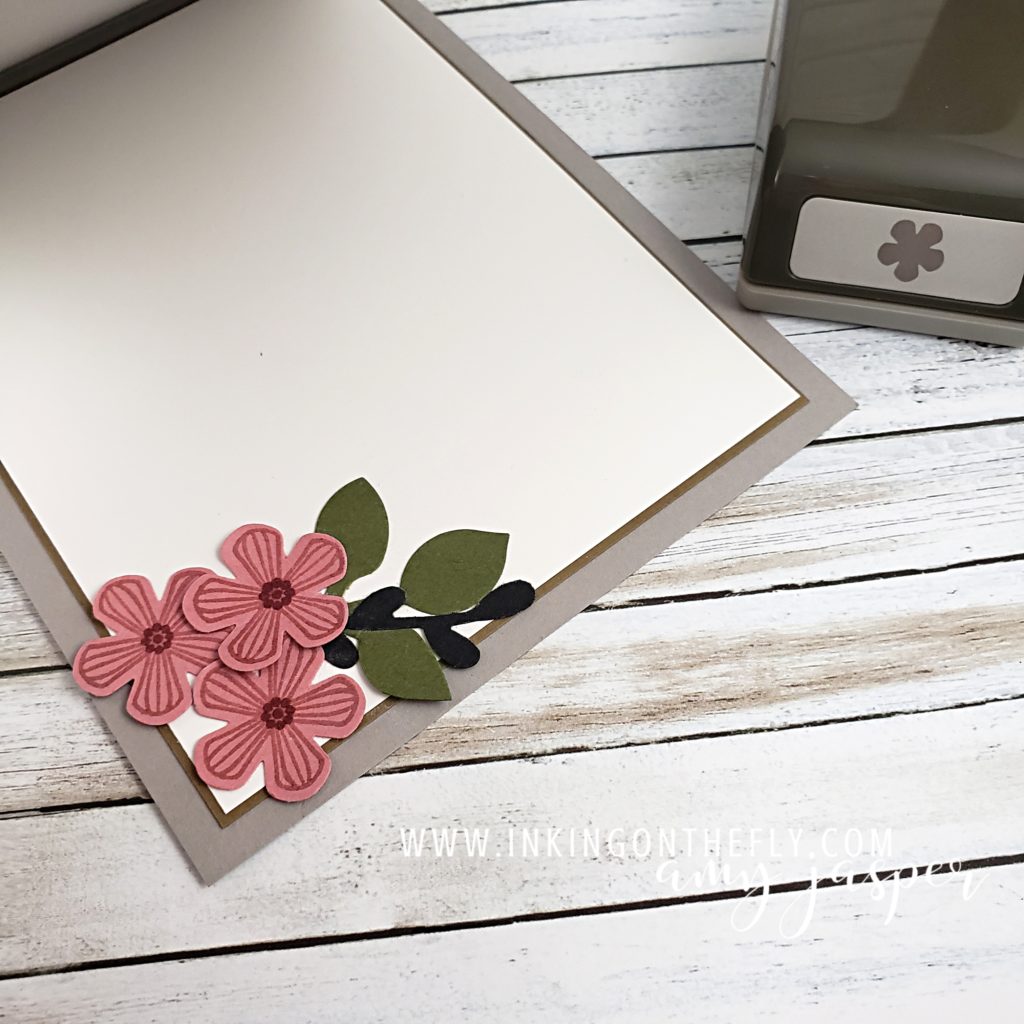
I used to be satisfied with just a Whisper White or Very Vanilla insert as a writing surface in my cards, but lately I’ve been more into some simple additions to the inside of my cards. I chose to use some more Rococo Rose flowers and some leaves for the inside of the card. I also added a matte of Soft Suede cardstock behind the Whisper White writing surface. That same matte of Soft Suede cardstock is also on the front of the card, framing the patterned paper, and adhered to the Grey Granite card base.
As always, if you like any of the Stampin’ Up! products used on my blog, you can purchase them from me on my ONLINE STORE. During Sale-a-bration is a great time to stock up on supplies because you can choose a free item with every $60 or $120 of purchased product. Sale-a-bration ends March 31st, so act fast to avoid disappointment. Some of the items have already sold out!

Stampin’ Up! just added a third release of Sale-a-bration products for you to choose from. You can see all the Sale-a-bration items by clicking HERE.

Thanks for taking some time out of your busy day.

Wash your hands and stay healthy!
You Make My Life Better

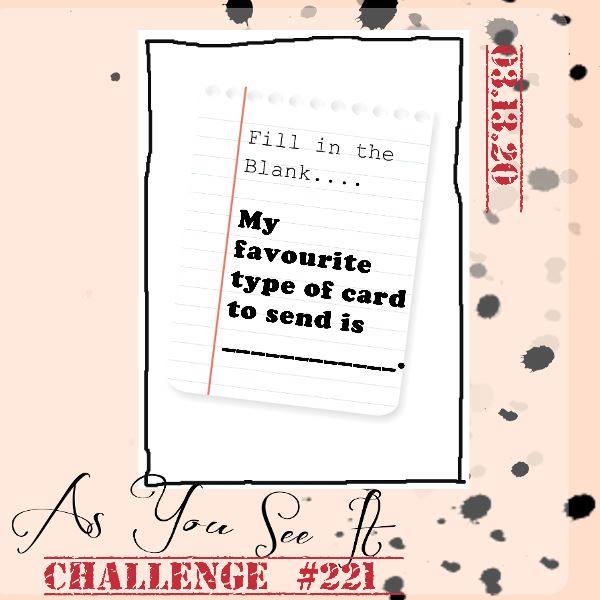
When I saw this “fill in the blank” challenge, I wasn’t sure what my answer would be. I have to be honest and admit that I don’t send cards nearly enough and I fall behind very easily. I still have a graduation card to send from June 2019!! (oh my gosh, that’s so embarrassing!!). Basically, my real answer to this fill in the blank question is “My favourite card to send is any card that I actually get in the mail!”

But I thought I should be more specific, because how can I make a card that represents THAT?

… okay, I just got an idea …

… but that’s beside the point!! LOL!

Here’s the As You See It Challenge that inspired my card today.

So, to be more specific, when I do remember to send a card, the type of card that is my favourite to send is a “just because” card. They’re my favourite because they’re unexpected and can only be considered a direct-from-the-heart card. A card for no reason except to let the person know that they were on your mind is probably the most genuine and meaningful to me.

I chose to create a card with a sentiment from the Well Said stamp set from Stampin’ Up!. I was thrilled to win this stamp set at a Stampin’ Up! event in Vancouver. I love that it has so many sentiments for all sorts of occasions and that it has a coordination set of dies, the Well Written Dies, that are also words! I love the power of words, so please excuse me as I take a moment to express a little squeal of delight!

EEP!

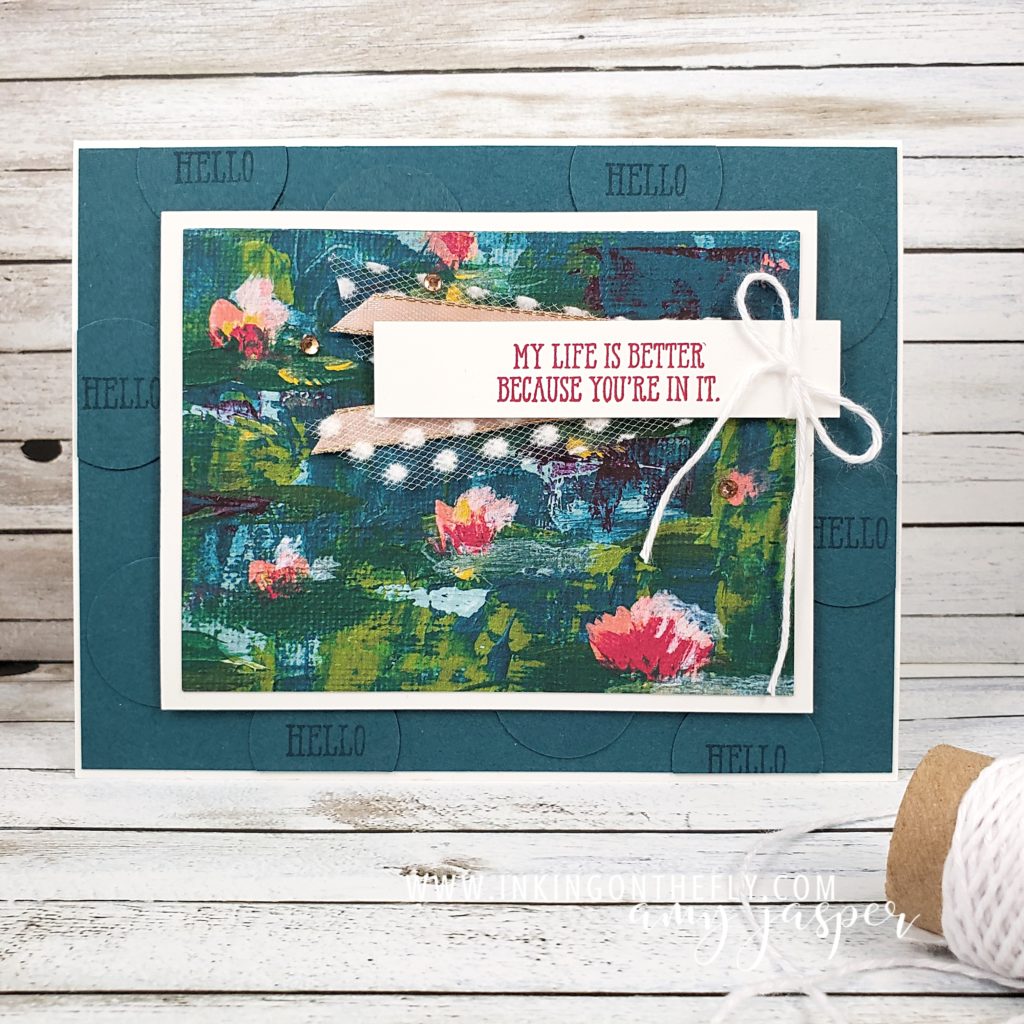
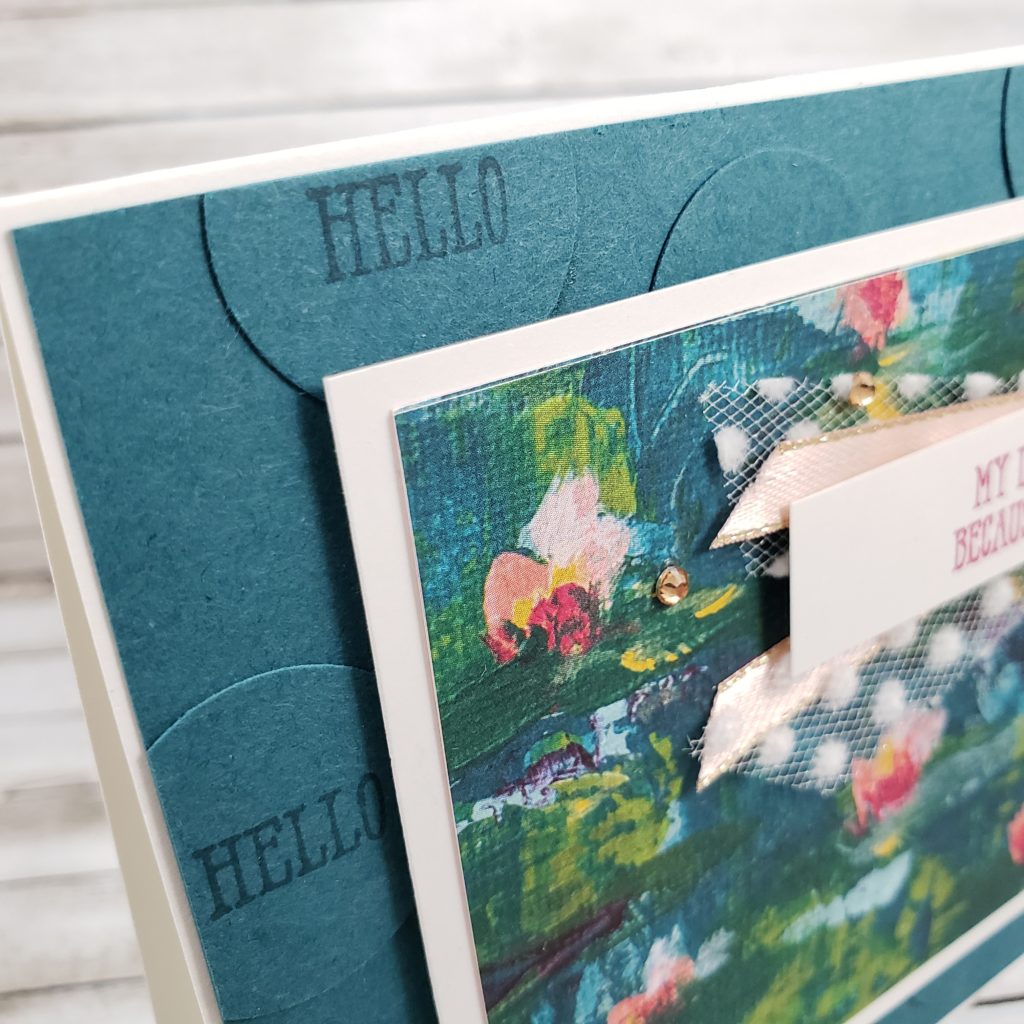
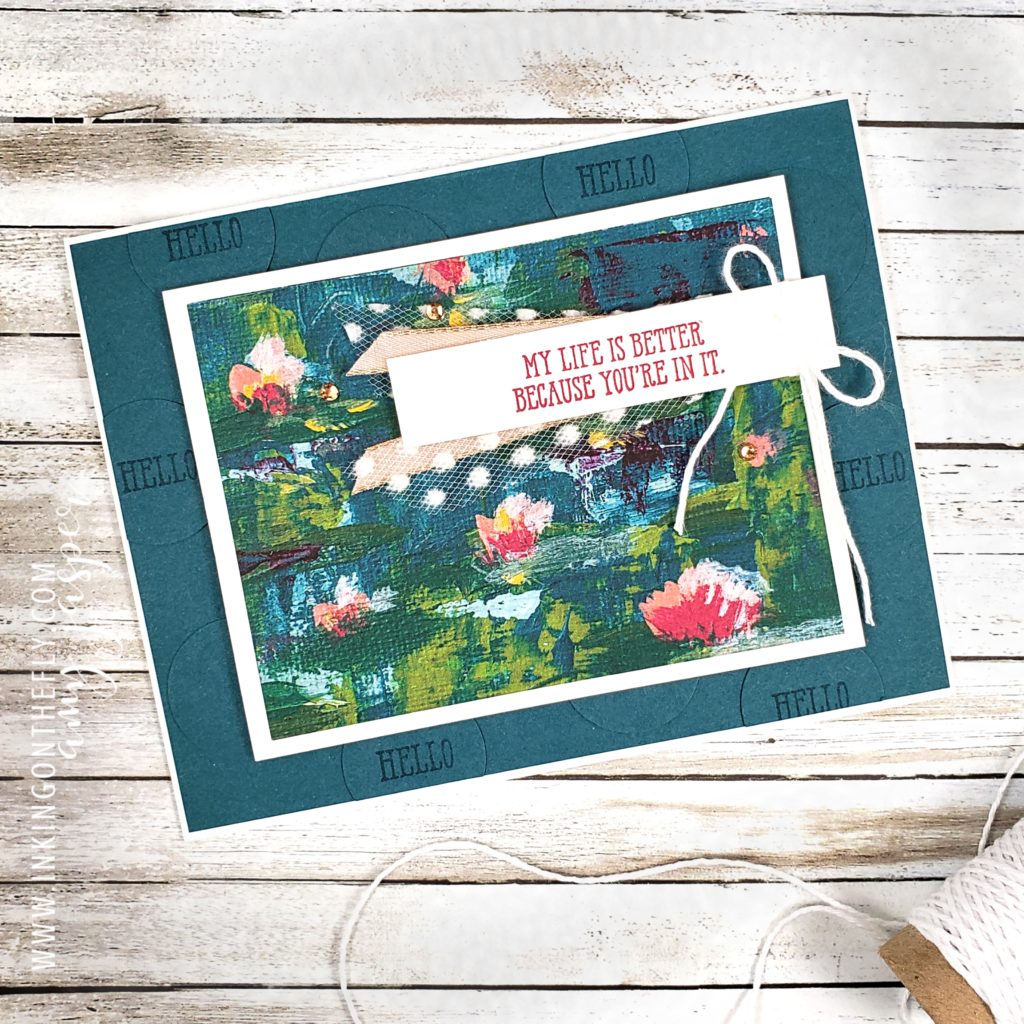
I used the standard Thick Whisper White cardstock for my card base. The next layer is Pretty Peacock cardstock, but I fancied it up with some texture by adding Pretty Peacock circles to that layer using my 1″ Circle Punch. Some of the circles have HELLO in them, another sentiment from that Well Said stamp set, stamped with Pretty Peacock ink. It’s a simple add, but one that creates so much more interest on the card.

The next layer is attached with Stampin’ Dimensionals and is the basic Whisper White cardstock as a matte to the Lilly Impressions Designer Series Paper. This paper is only available as a FREE item with a $60 purchase during Sale-a-bration. That amazing Well Said stamp set just so happens to be $61, so if you choose to purchase that stamp set before the end of March, you’d be able to also get that beautiful paper or another Sale-a-bration item as well! How cool would that be!

The sentiment (from the Well Said stamp set, in case you missed that, LOL!) is stamped on a piece of Whisper White cardstock with Lovely Lipstick ink. I tied a bow of the Whisper White Baker’s Twine on the end of this strip of Whisper White and attached it to my card with more Stampin’ Dimensionals. Before adhering it, I tucked two different ribbons under the banner piece: the Whisper White 5/8″ Polka Dot Tulle and the Petal Pink 1/4″ Metallic-Edge Ribbon. Three Champagne Rhinestone Basic Jewels add a great final touch of sparkle to the design.

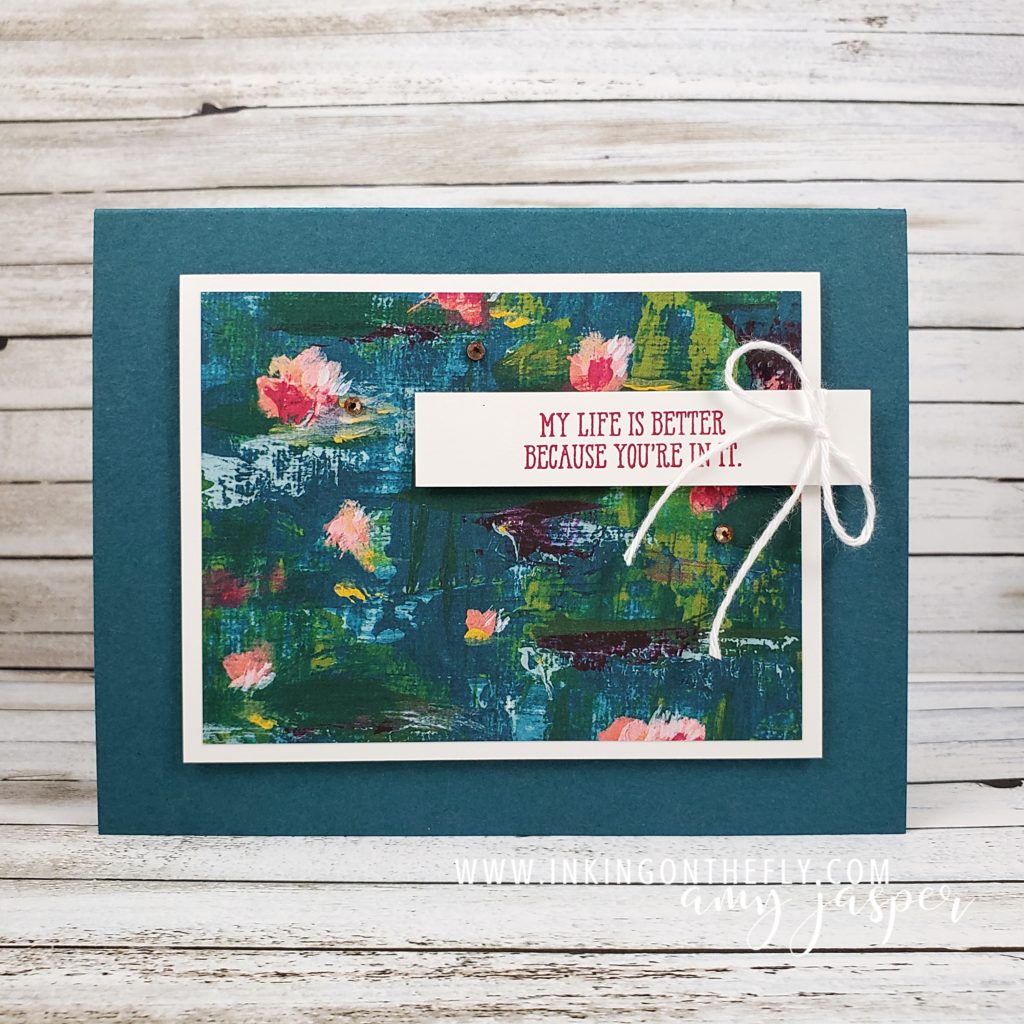
One of the many great things about making your own cards, is that you can make them as simple or as involved as you like. Here is a version of this very same card design using fewer steps and fewer products.

Give the challenge a go and share it with us at the As You See It Challenge Blog. We love to see your creations!

As always, all of the products used to make these cards are available for you to purchase at my Online Store. Head on over there to browse Stampin’ Up! products and order your favourites! (if you live outside of Canada, you will need to order from a demonstrator in your country, but thank you so much for supporting me by visiting my blog!)

Christmas is Family

What brings you joy during the holidays? For me, it’s spending time with my family. I love the time together playing games, opening gifts, sitting by the fireplace, and just existing together.

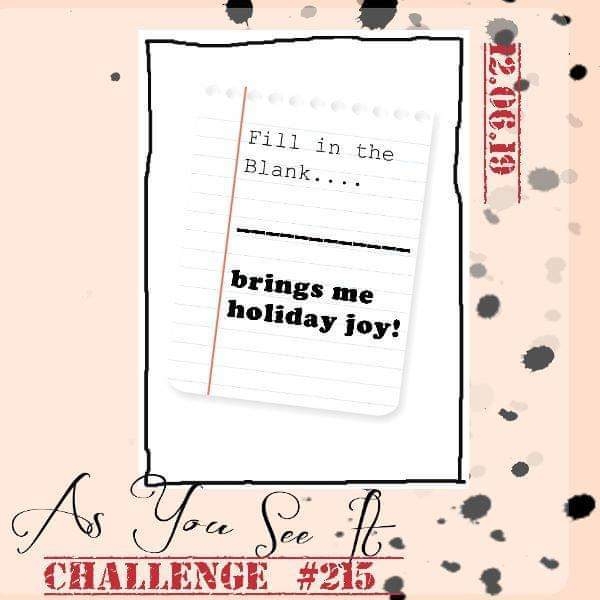
My card today is inspired by the As You See It Challenge: it’s a fill in the blank!

At first, I wasn’t sure what I would do on a card for this one. How would I depict family on a holiday card?

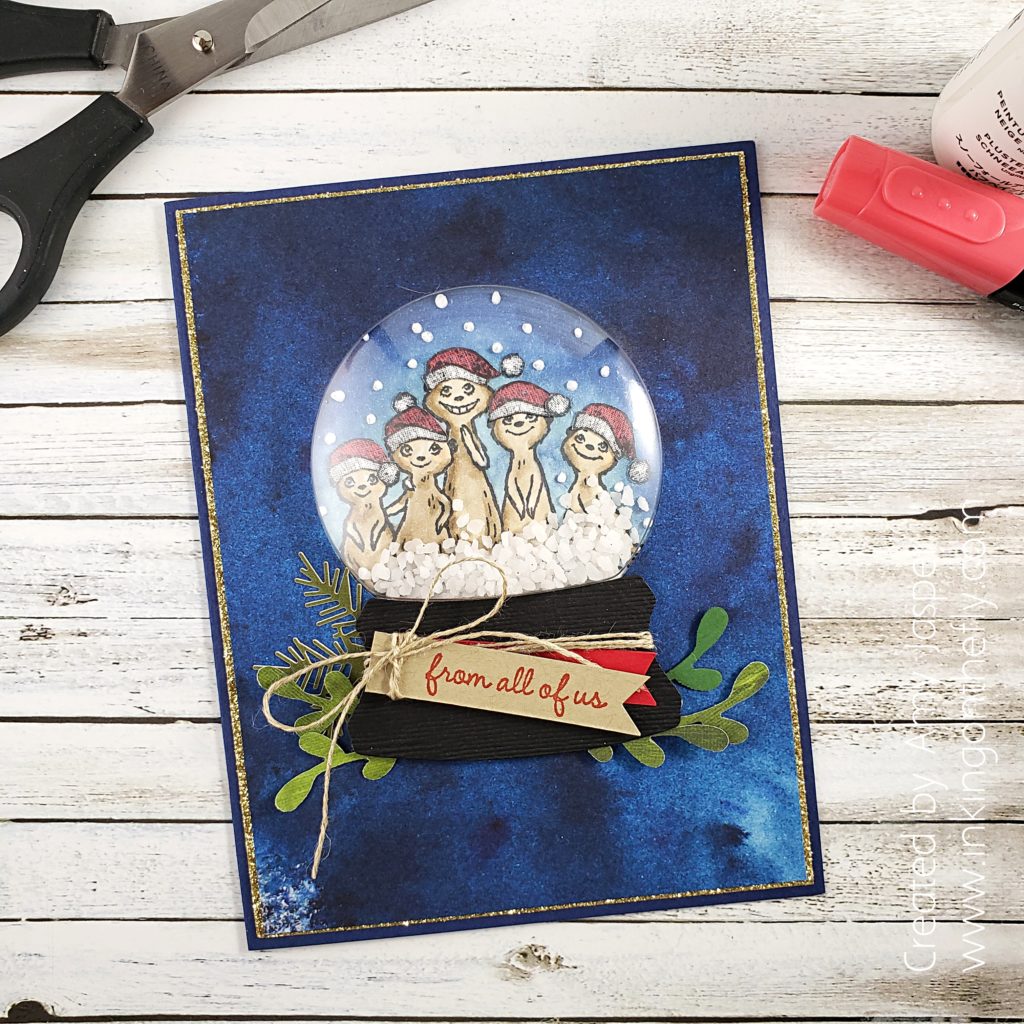
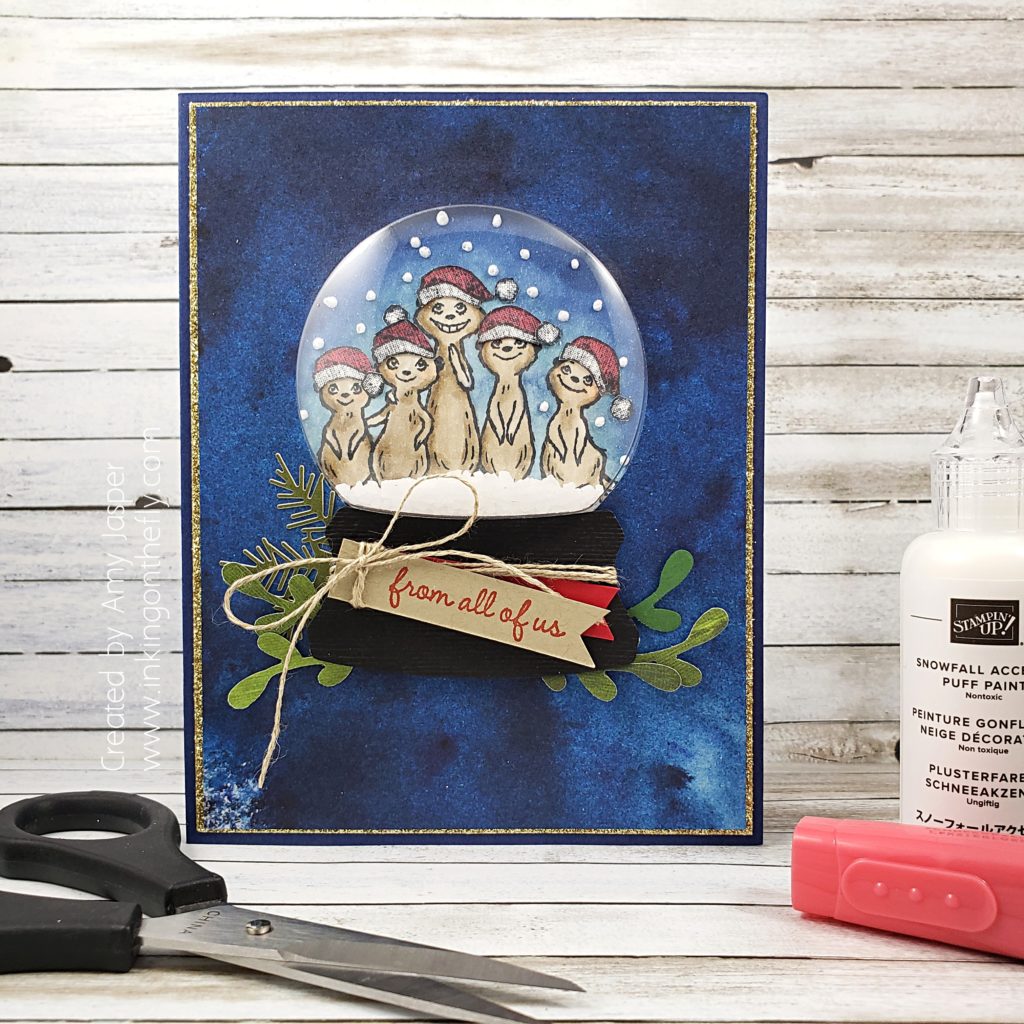
Then I remembered a stamp set that I got in my pre-order for the upcoming Stampin’ Up! catalogues! “The Gang’s All Meer” stamp set will be available from the Sale-a-bration Brochure in January.

I realized that there are five people in my immediate family and this image has five meerkats!! I saw someone put Santa hats on the critters for a card, so I decided to give it a go!

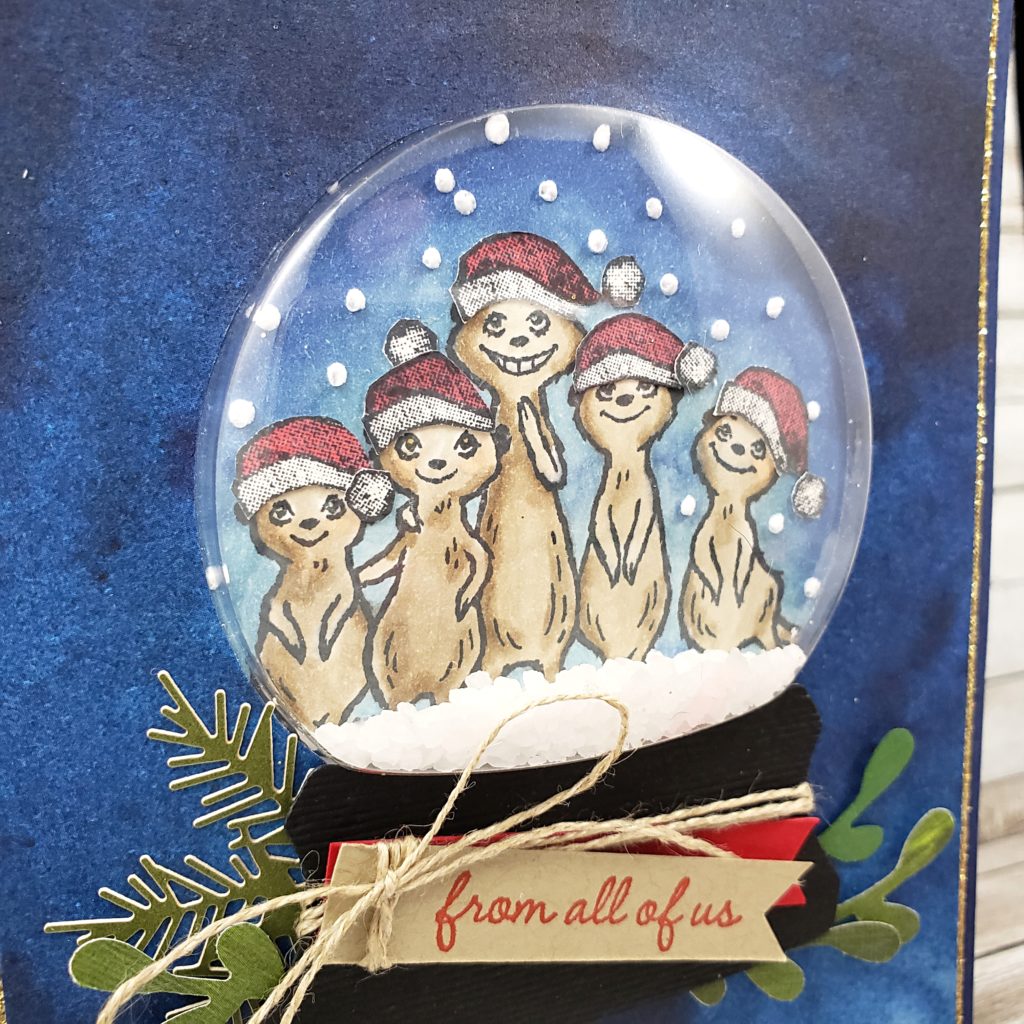
I stamped the meer cat family on some Whisper White cardstock with Tuxedo Black Momento ink. I used my Stampin’ Blends to colour the image: Light and Dark Crumbcake for the cheerful crew, Dark Balmy Blue, Light Night if Navy, and Dark Night of Navy for the background, and Poppy Parade for the Santa hats.

The Santa hat image is from the Playful Penguins stamp set from Stampin’ Up! I stamped them on Whisper White cardstock, coloured them, then fussy cut them and adhered them to the little heads. The pompom on the end of the hat was cut separately, so I could attach it in different ways to the hats. That way, I could make the hats all a little bit different.

I used the Snowfall Accents Puff Paint to create the falling snow on the background, heat setting it to make that puff paint puff!!

Then I had another thought! Would the meerkats fit in the Stampin’ Up! Shaker Domes? YES, they do!!

Now, I was REALLY excited!!

I used the Snowglobe Scenes dies to cut the hole in the piece of the See a Sillhouette Designer Series Paper by Stampin’ Up!. I used about a teaspoon of pickling salt as snow in my dome and layered my pieces together over the Night of Navy card base and a matte of Gold Glimmer Paper.

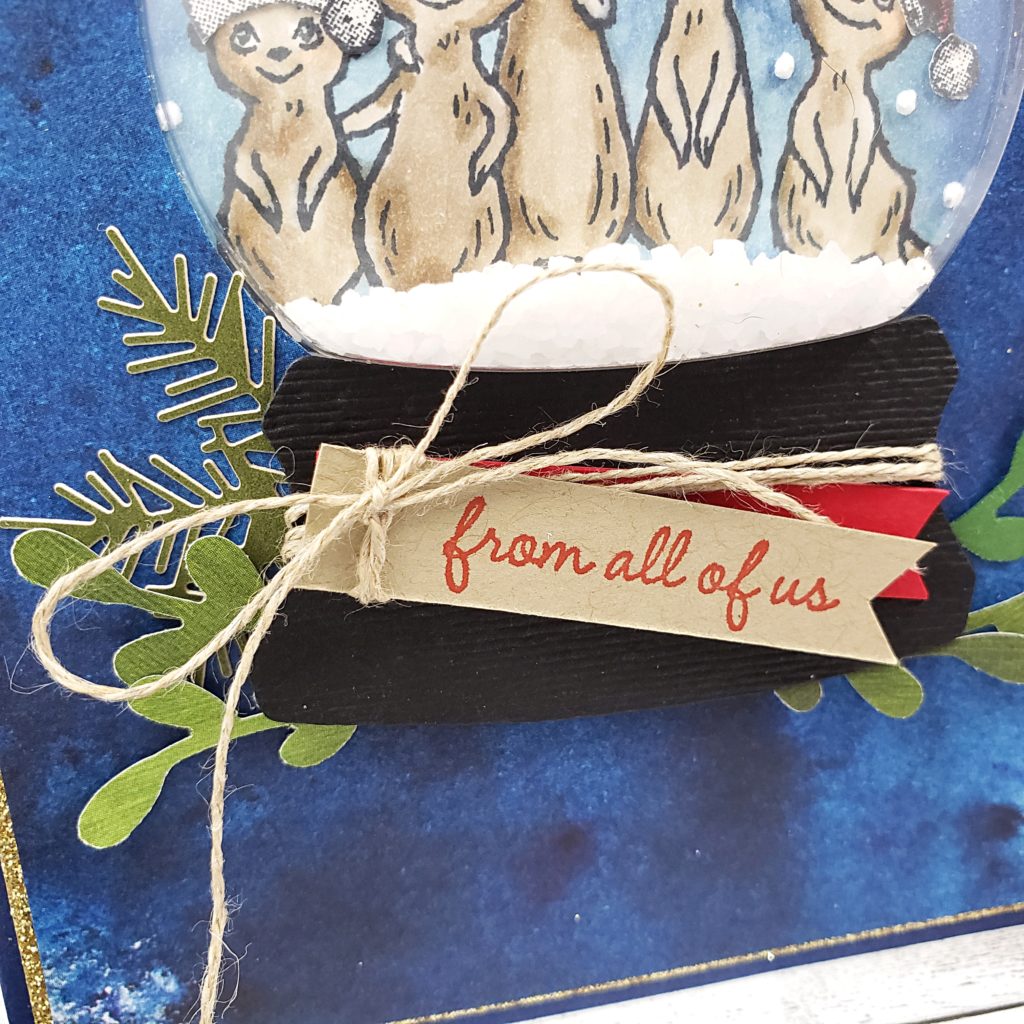
The base of the shaker globe is created with Basic Black cardstock, cut with the same die set and my die cutting machine. I also used the Subtle embossing folder to give it some texture. I wrapped a piece of Linen Thread around the base of the globe and secured it on the backside before adhering the globe base to the card with Stampin’ Dimensionals. I tucked some leaves under the globe base that I punched out of Garden Green cardstock and a random scrap of Perennial Essence Designer Series Paper. You might also notice the pine bough on the left side, which is a sticker left over from my Christmas Countdown Calendar kit.

Finally, I stamped the sentiment from “The Gang’s All Meer” stamp set in Poppy Parade ink on Crumb Cake cardstock. I flagged the end and tied a Linen Thread bow on it and adhered it over a strip of Real Red cardstock, also flagged on the end.

If you like these products, you can click on the SHOP option in the top menu of this page and seek them out on my online store. If you are visiting my page from anywhere other than Canada, you won’t be able to shop with me, but you can look for demonstrators in your area. I know they would be happy to help you!

“The Gangs All Meer” stamp set is not yet available. Watch for it in January when the new catalogues come out!

Now get Stamping!