sketch

Gold and Green

I’m thinking of the ice cream in the freezer. I should probably go get it and eat it while I write my blog. You don’t mind, do you?

. . .

Okay. I’m back with my coffee Haagen-Dazs. Yum. Though, honestly, I really shouldn’t be eating it after all of the Halloween candy I’ve been consuming. Maybe, I’m just getting ready to hibernate.

That’s a thing, right?

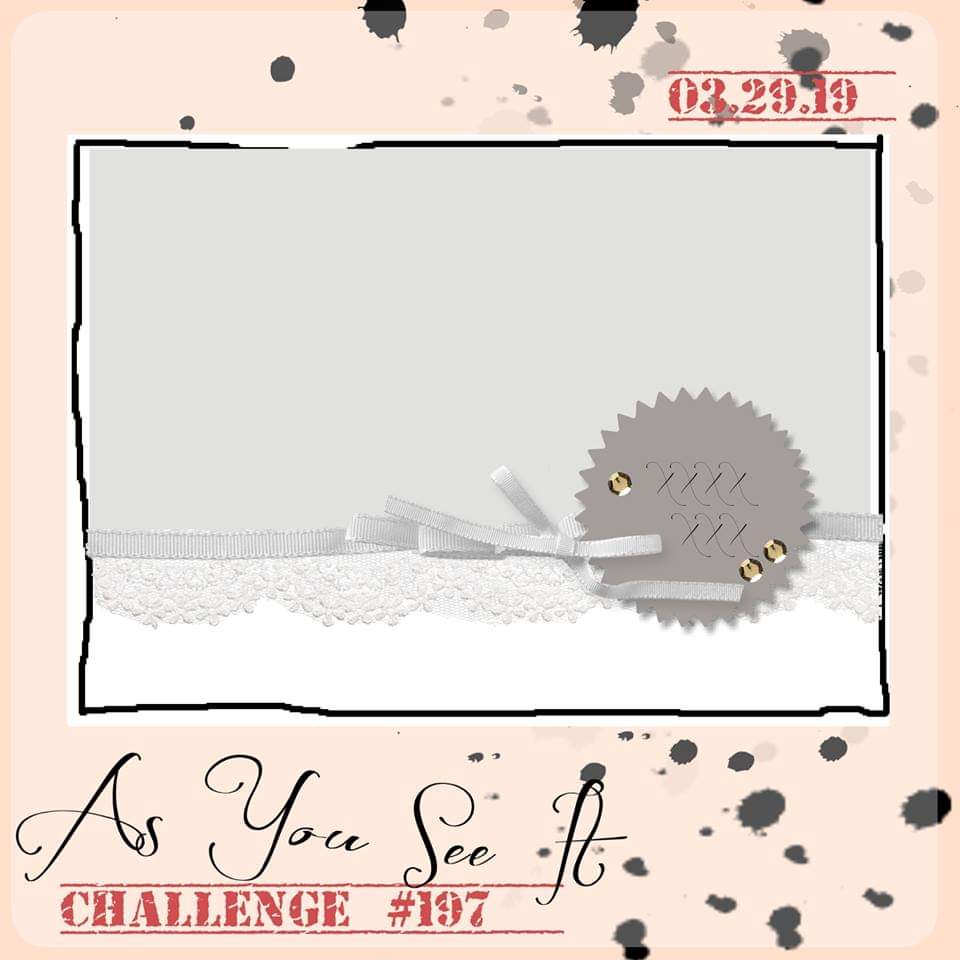
Once again, I have a card for you and once again it is inspired by the As You See It Challenge for which I am a designer.

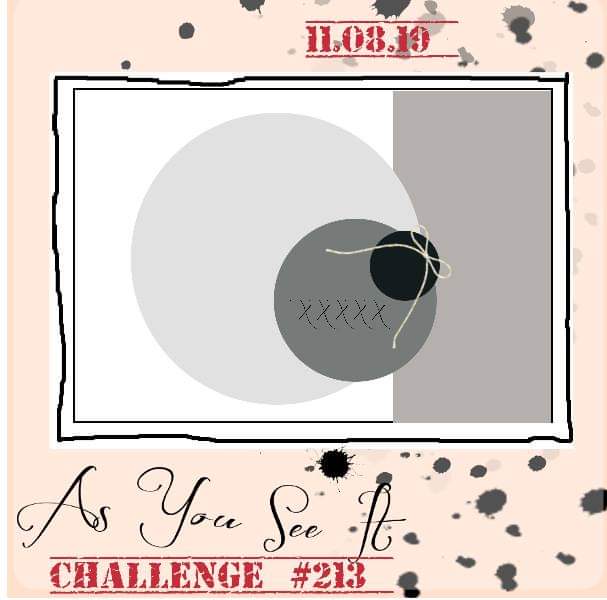
Sketch challenges are pretty great because they provide some clear parameters, but still offer so much opportunity for your own creative spin. I decided to take this sketch and create a square card, rather than the more common 4-1/4″ x 5-1/2″ size.

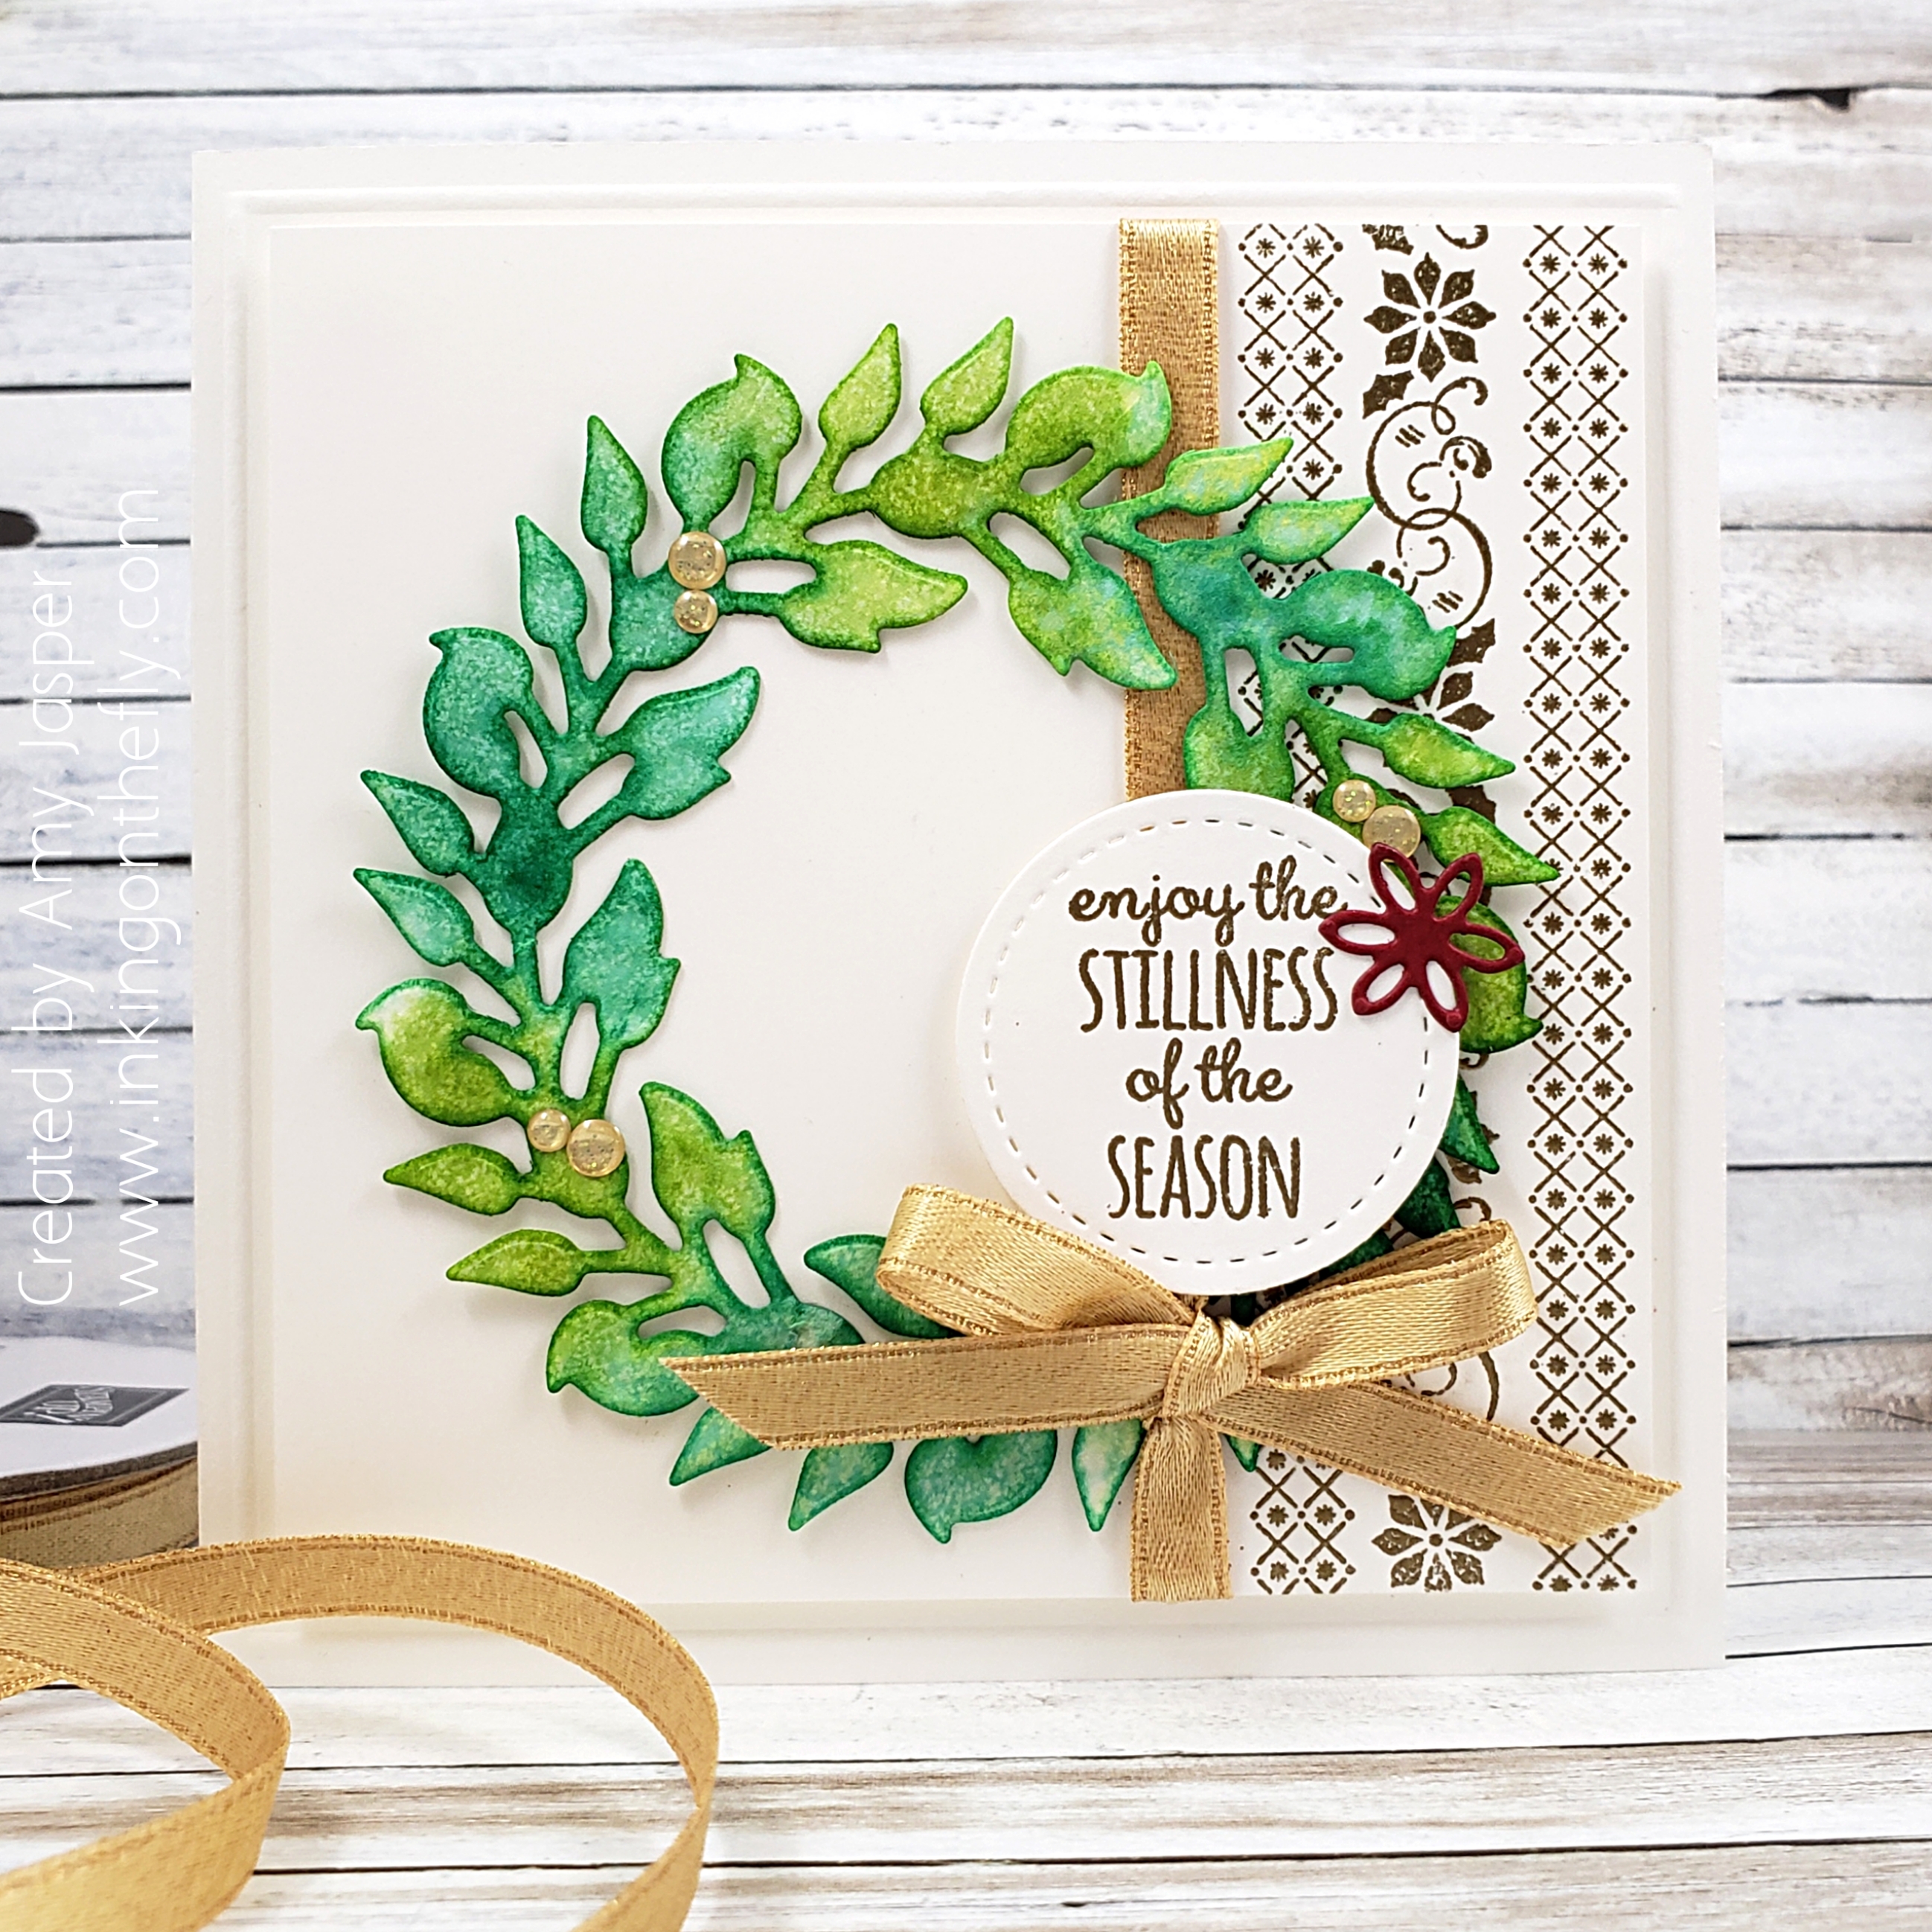
I have seen some beautiful watercolour wreaths created from the All Around Wreath Dies from Stampin’ Up!, so I thought I should give it a try. I cut the wreath from a piece of Watercolor Paper and placed it onto one of the clear plates of my Stamparatus. I then used an Aqua Painter to saturate the Watercolor Paper with plain water. Next, I applied ink using the Aqua Painter and Ink Refills. I used Call Me Clover, Granny Apple Green, and Coastal Cabana. As I applied each colour, I enjoyed watching it spread quickly over the paper because of the water that already prepared the way. Once I was happy with the saturation of colour, I used my Heat Tool to speed up the drying time so I could carry on with the rest of my card.

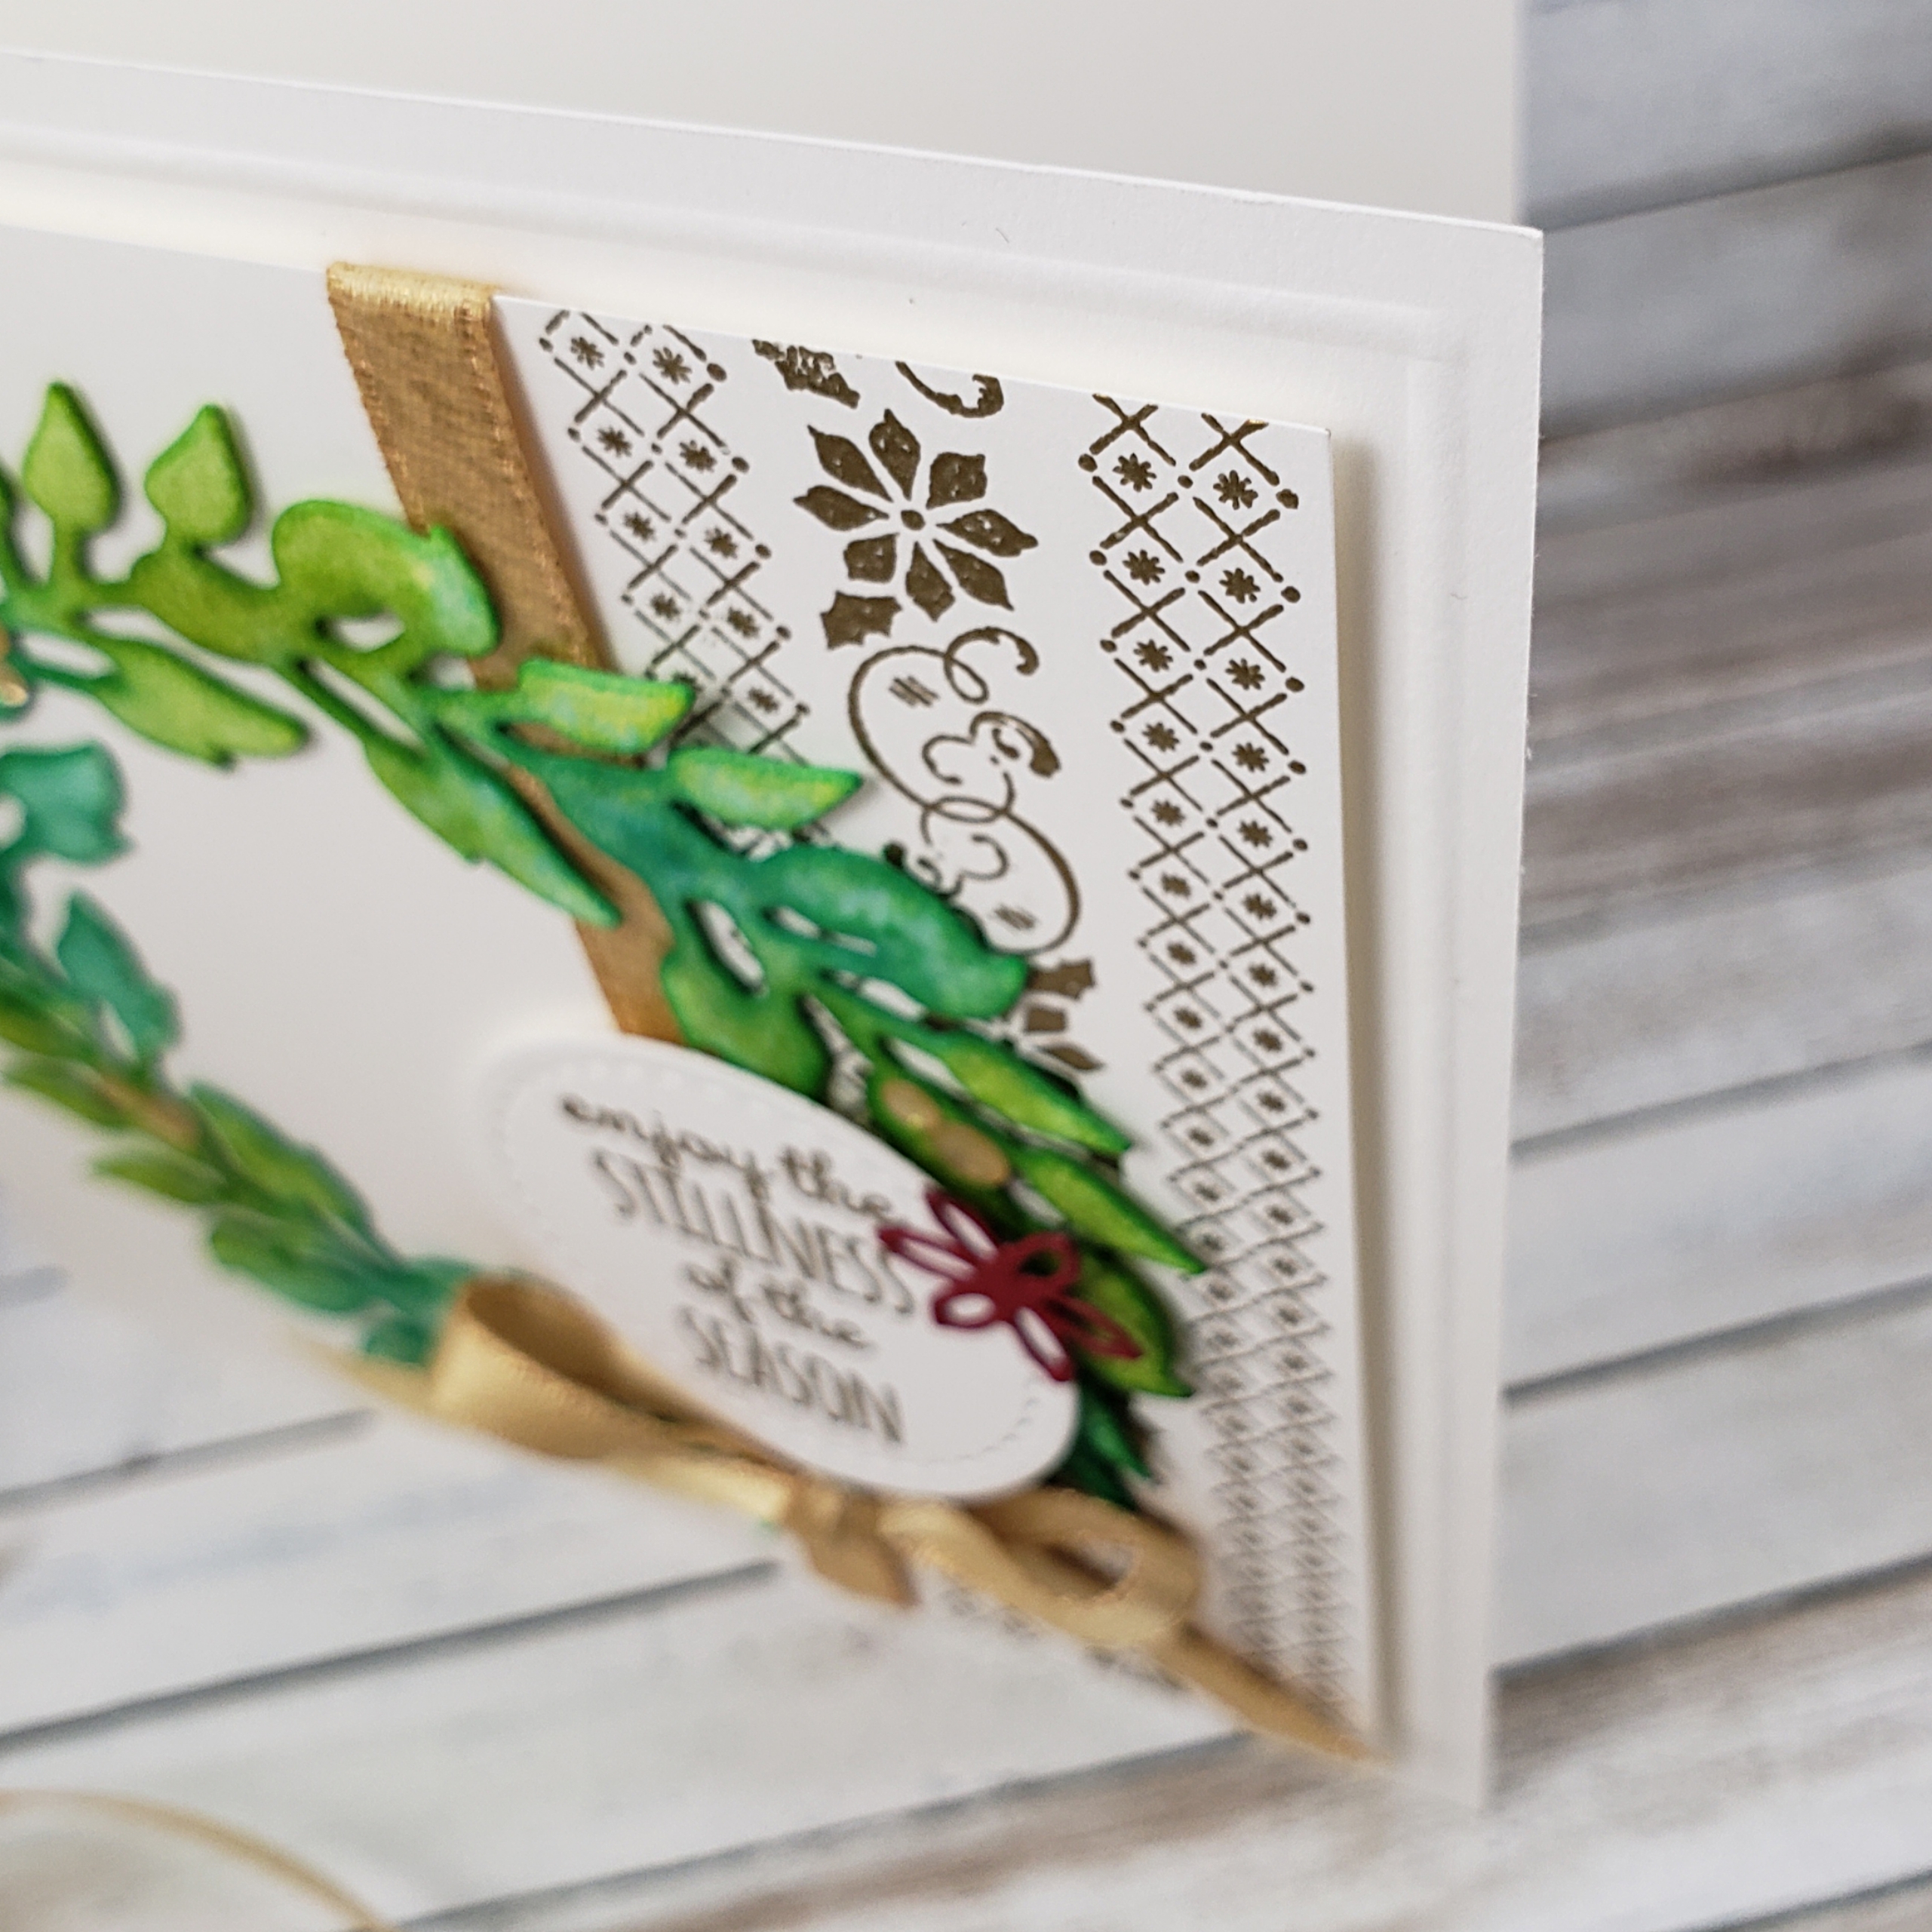
The card base is Thick Whisper White, which I cut to 8-1/2″ x 4-1/4″ so that I could have a completed 4-1/4″ x 4-1/4″ square card. This is a good size for a square, because it will still fit in Stampin’ Up! envelopes. I used the Simply Scored Tool to create an embossed outline around the card base. I like how that simple step somehow instantly makes a card more elegant.

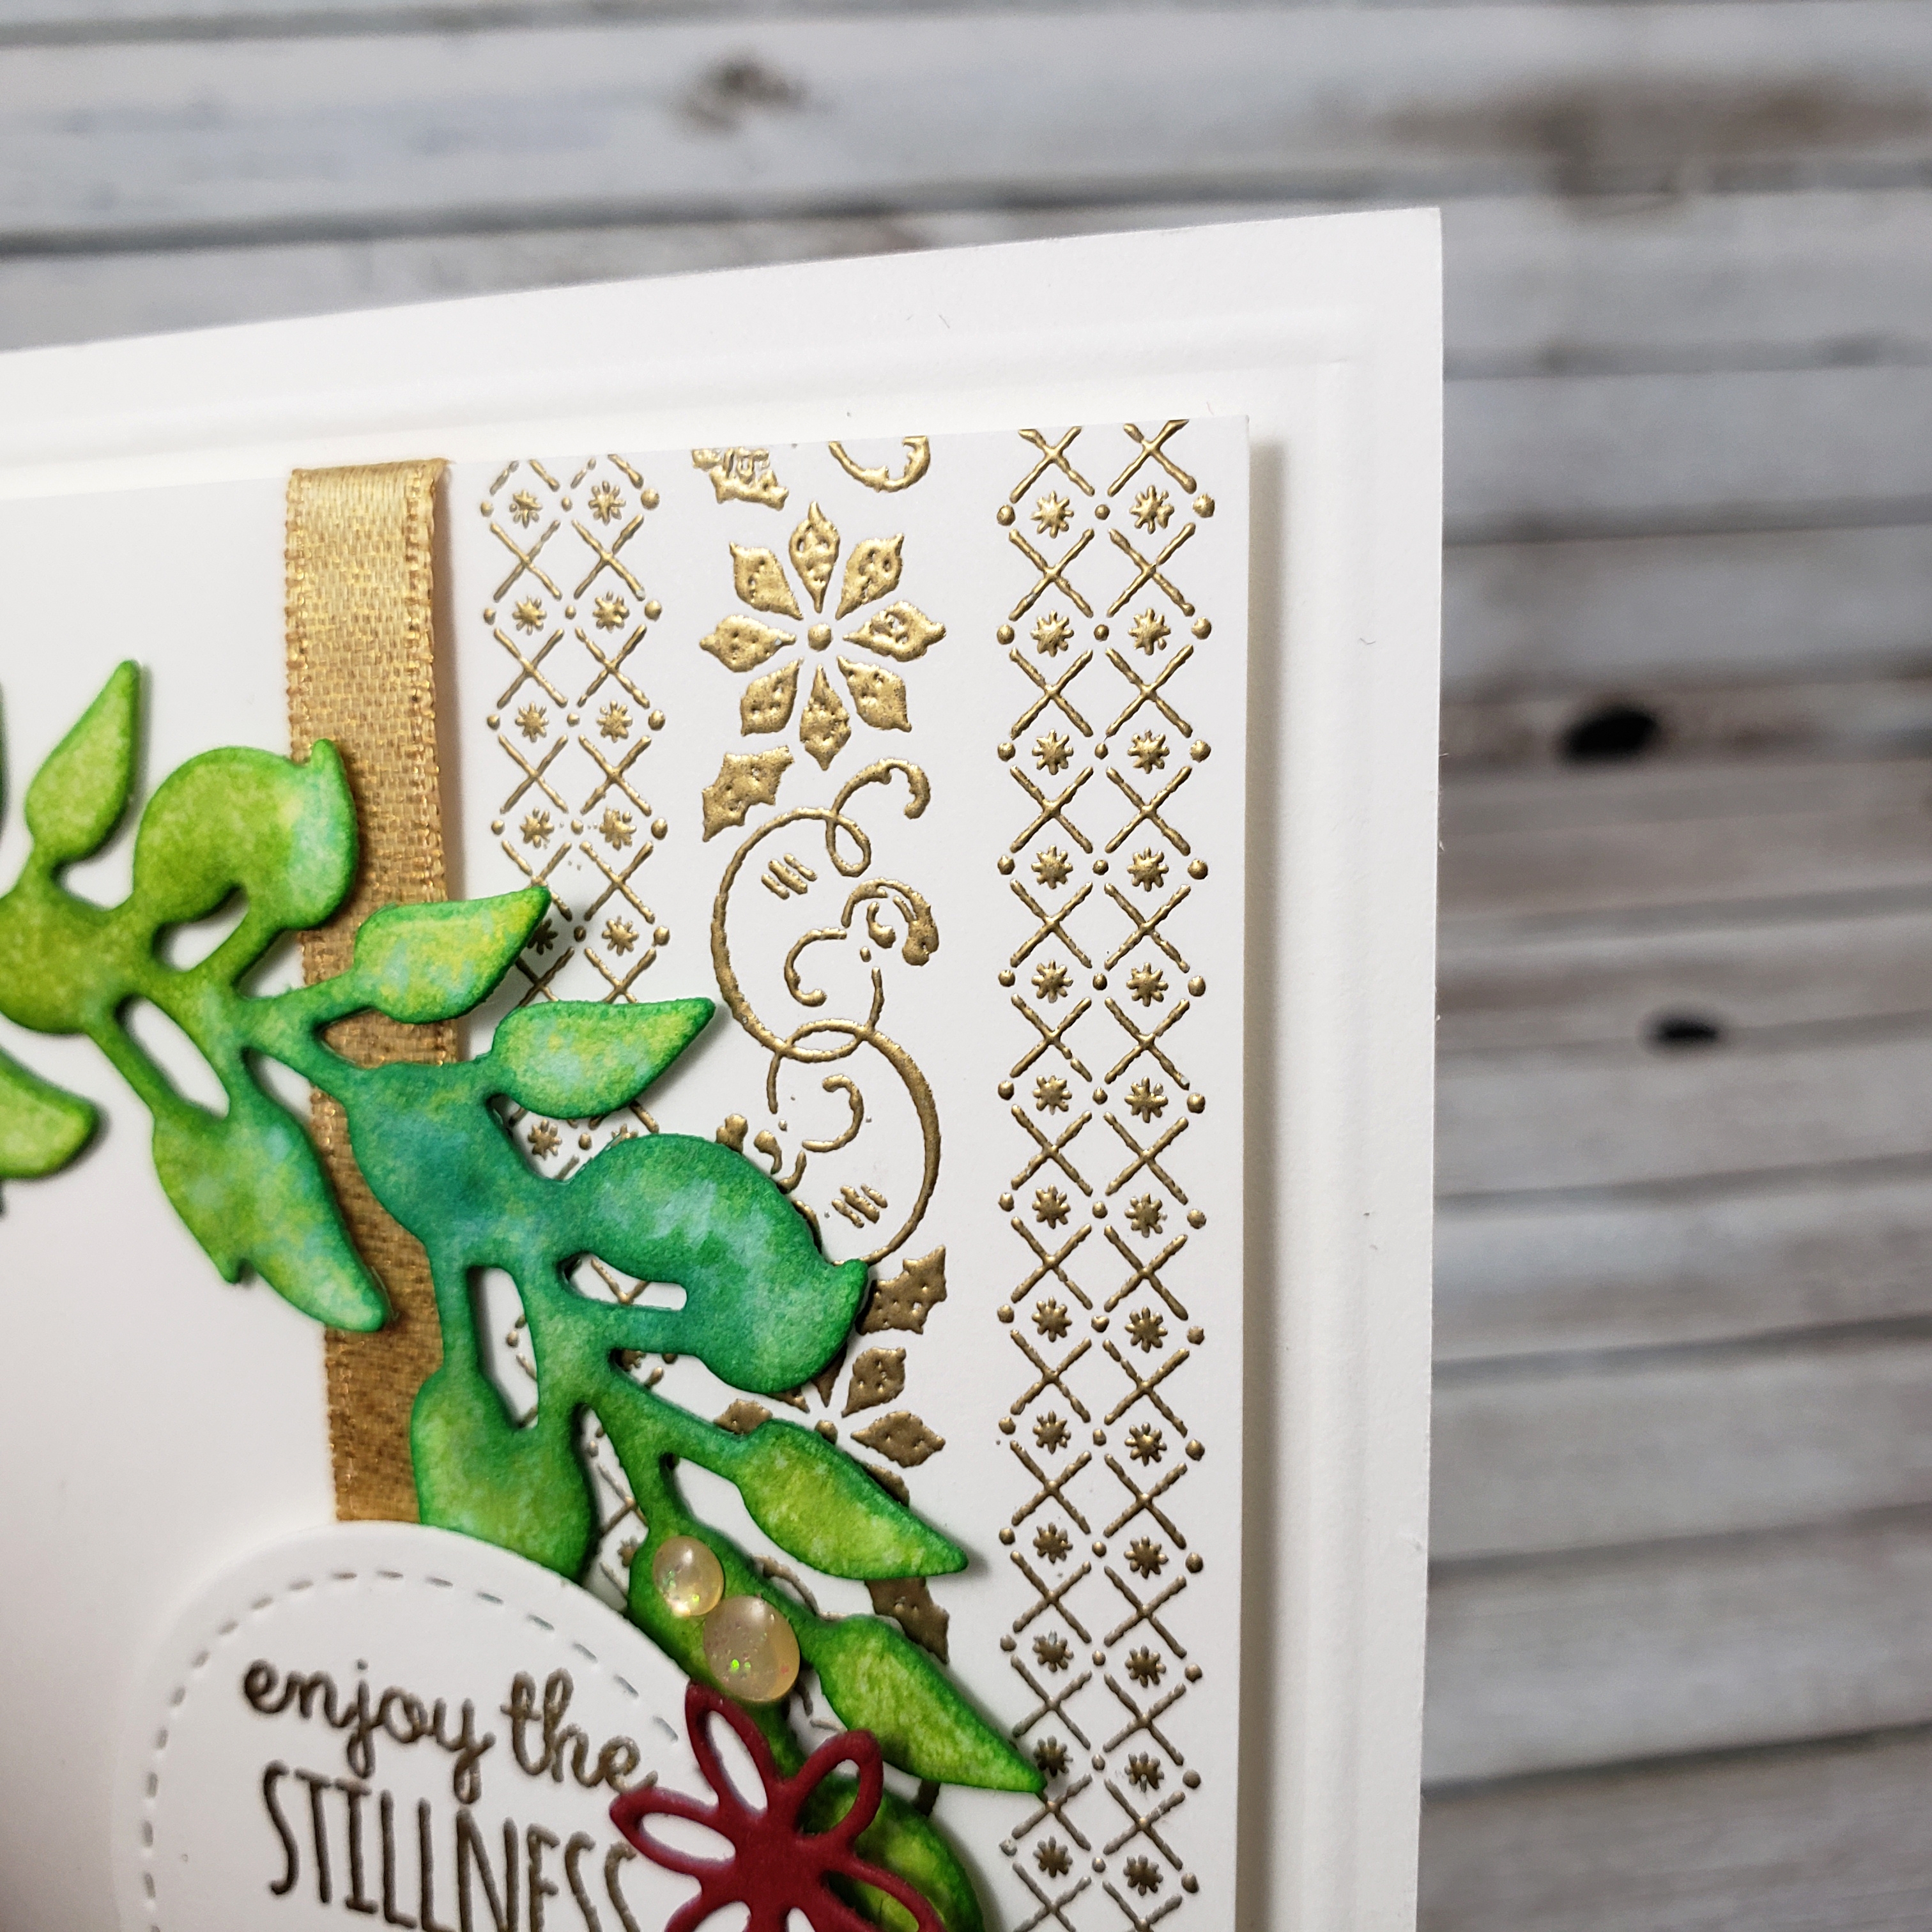
The next layer is a Whisper White square on which I stamped the line stamps from the Christmas Countdown Cling Stamp Set from Stampin’ Up!. I stamped these in Versamark ink and applied the Gold Embossing Powder, melting it to a beautiful shine with my Heat Tool. I wrapped the Gold 1/4″ Shimmer Ribbon (from the new and only available while supplies last, Christmastime is Here Suite!) around this piece and tied it in a bow. This was attached to the card base with Stampin’ Dimensionals.

The dry watercoloured wreath was attached to the front of the card with glue dots, but I had to cut it to be able to tuck it under the bow of my ribbon. Pretty sneaky, right!

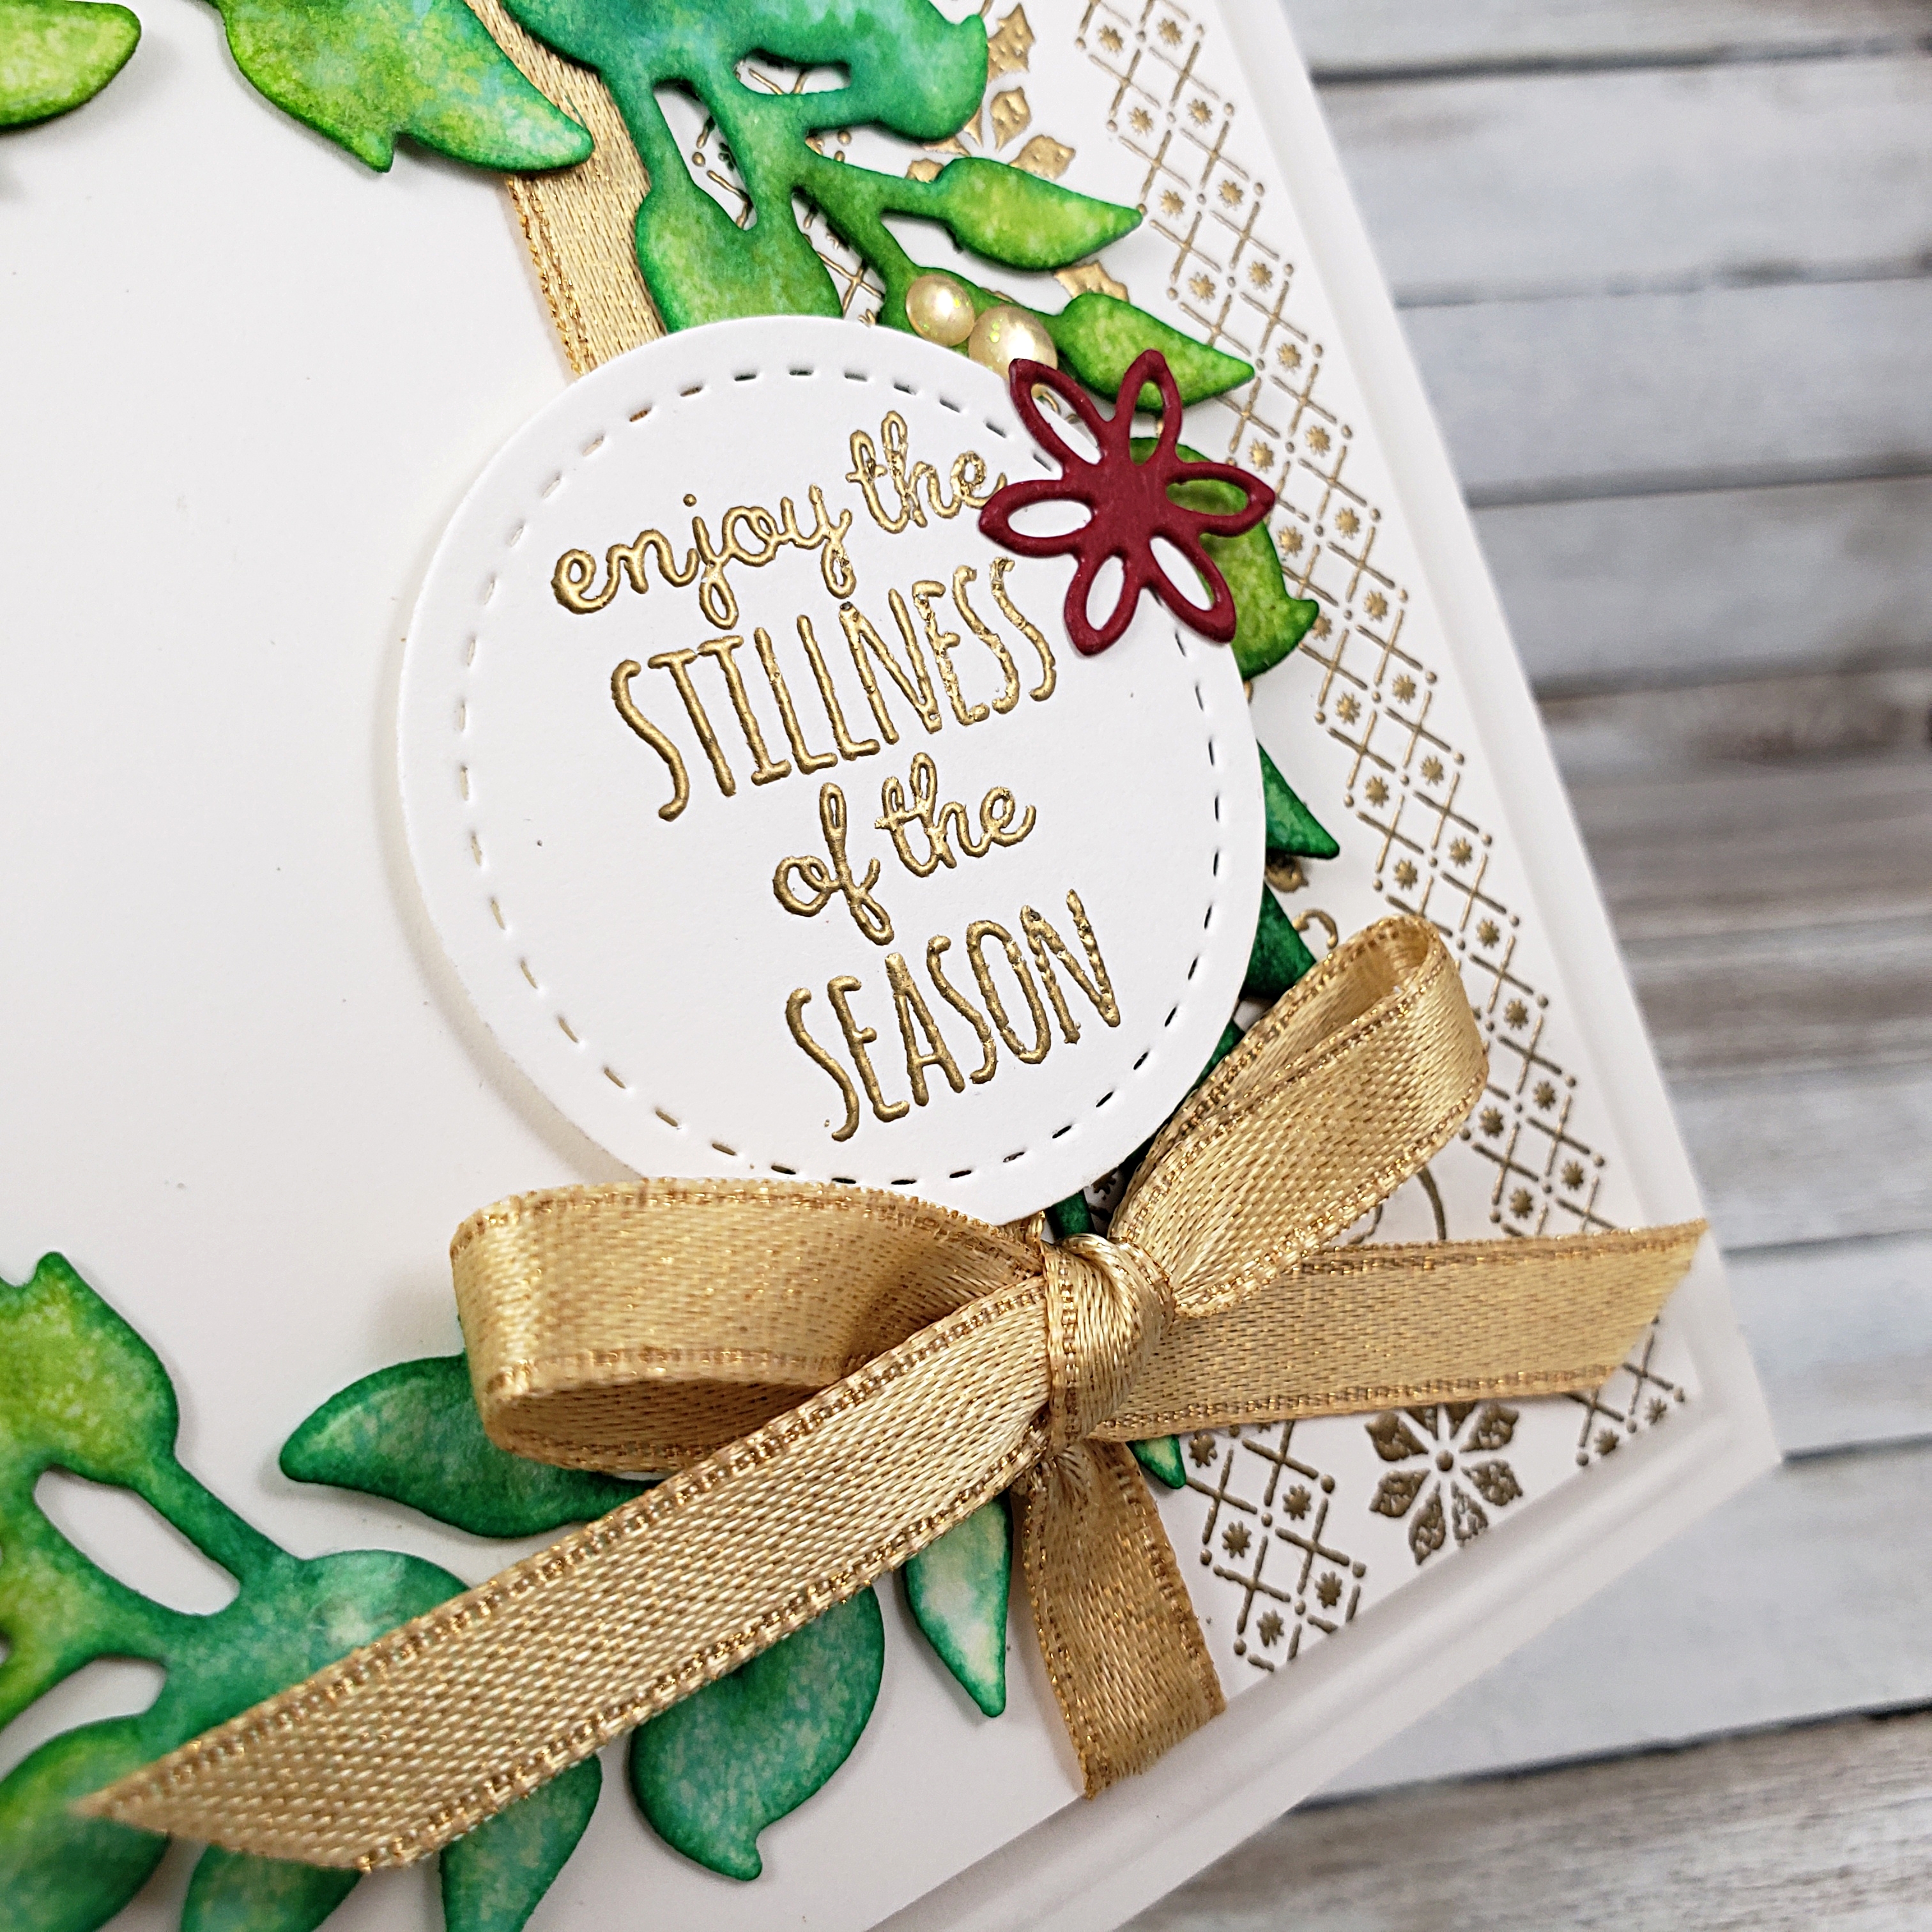
The sentiment is from the Merry Moose stamp set and was stamped with Versamark ink on Whisper White cardstock. Once again, I applied the Embossing Powder and heat it with my Heat Tool, before cutting it in my die cutting machine with one of the circle dies from the Stitched Shapes Dies. This was applied to the card with Stampin’ Dimensionals.

The last few things to add were the gorgeous Gold Glitter Enamel Dots (from the Christmastime is Here Suite), and the Cherry Cobbler flower, which I die cut with my die cutting machine and the Detailed Deer Dies from Stampin’ Up!.

I followed the perimeters of the sketch challenge. I would say that I moved the location of my bow, but the basic sketch is still apparent, don’t you agree?

If you like the products I used on this card, you might want to go to my ONLINE STORE and see what else there is to get excited about! Have you seen the products in the Christmastime is Here Suite? Just beautiful! Definitely have a look.

… and don’t forget to try this sketch and play along with us at the As You See It Challenge Blog!

Okay, my ice cream is done. It was yummy.

Artfully Inspired

Another great challenge by the As You See It Challenge blog has influenced my card design.

This week is a sketch challenge:

I decided to use the Artfully Aware stamp set for this card and I used a sentiment from the Sale-a-bration stamp set called, Part of My Story.  This stamp set is available for free for only a few more days as the Sale-a-bration promotion is coming to a close at the end of this month. With every $60 purchase, you can choose from multiple items in the promotion. Most of the products available for free will never be available again.

Have a look at my online store and order before March 31 so you don’t miss out on free product!

I love how the Heart Epoxy Droplets add just a little more to the look of this card. They come clear on a package, but you can colour them, like I did here, to customize them for your card.

Do you see the textured Gray Granite cardstock on this card? This subtle texture is created with the Subtle Textured Embossing folder with the Big Shot die cutting machine from Stampin’ Up! I love how much this texture adds to a card without taking your eye away from the main elements of the design.

Other elements on this card include Wood Textures Designer Series Paper, the oval from the Stitched Shapes Framelits Dies, White Baker’s Twine, Gray Granite 1/2″ Textured Weave Ribbon, and many different colours of the Stampin’ Blends Markers. If you want to see more details of how I made this card, check out the video below.

Love it? Let me know with a comment. I enjoy hearing from you!


In Color Blocks

Are you excited for the new catalogue?! I am! There are so many new colours and fun things that I wish I could get them all at once! But, alas, I must be wise with my spending and pace myself. So far, I have two of the new inks, a sampling of all the new colours, all of the In Color inks and most of the In Color cardstock. I also decided to get the early release products in the Share What You Love Suite (of course, I had to choose the “Gotta Have It All” bundle so I could get all the free gifts with it!) You can check out the bundles by clicking on my SHOP button here on my website.

The card design today features four of the five 2018-2020 In Colors. These colours are bright and playful and full of cheer!

Here’s the challenge sketch that I started with:When I saw this sketch, I immediately thought of using the acrylic blocks to stamp the rectangle and square shapes and that is exactly what I did!

I used Clear Block C and Clear Block A from Stampin’ Up! to create this playful, colour blocked background. I simply pressed the block onto the ink pad, spritzed the ink on the block with 70% rubbing alcohol using my Stampin’ Spritzer, then pressed the block on my paper where I wanted it. I used Lovely Lipstick, Blueberry Bushel, Pineapple Punch, and Call Me Clover.The Pineapple Punch yellow die cut star is cut using the Wood Crate Framelits Dies and attached with a piece of Foam Adhesive Strips (no reason, it was just closer to me than my Stampin’ Dimensionals!). I looped some Gold Metallic Thread to stick behind the star for some extra flourish. The sentiment, “smile”, is from the Tabs for Everything stamp set and was stamped with Momento Tuxedo Black ink. The stars from the Tabs for Everything stamp set and the stars from the the Wood Words stamp set were stamped with the coordinating colours of the blocked area on which they are placed.Once I was happy with my stamping and the star elements, I used the Envelope Punch Board to punch the upper left and lower right corners with the corner rounder part of the punch board. I did the same on the Lovely Lipstick matte layer and the same again with the Crumb Cake card base. Dimensionals were used to adhere the Lovely Lipstick layer and give the card some pop.The final touch was to add the gold sequin from the Metallics Sequin Assortment pack. I used the Fine-tipped Glue Pen to adhere these to the card front.

If you want to order these ink colours and you are in Canada, you can order them from me through my online store. Just find the SHOP button on my website and it will take you to my online store. These cheerful ink colours are available on the Share What You Love link on the left side of the online store page. The coordinating cardstock and sooo many other amazing new products will be available June 1st! Whoohoo!!