It’s time for another challenge! For this happy card, I used the Large Letters Framelits and the Festive Birthday Designer Series Paper from Stampin’ Up!
So fun and simple, don’t you think!? At first glance, I liked how the dots on the sketch went light to dark across the page and tried to think of how I could use that in my own design. But my final result rarely goes as planned and I found myself inspired by a deep desire for bright colours to pull me out of the winter blues.
Here’s what I came up with:
I used the Large Letters Framelits from Stampin’ Up! to cut the letters ‘P’, ‘R’, and ‘Y’ from a piece of Whisper White cardstock and stamped the sentiment from the Endless Birthday Wishes stamp set above the ‘Y’ with Melon Mambo ink. I then adhered a piece of the Festive Birthday Designer Series Paper (DSP) to my Thick Whisper White cardstock base before adhering the stamped and die cut Whisper White layer over the DSP with Stampin’ Up Dimensionals.
I added the inside of the letter ‘P’ and ‘R’ using Dimensionals cut in half because those pieces are so narrow. The letter ‘A’ is die cut from Emerald Envy cardstock, while the letter ‘T’ is cut from Tempting Turquoise cardstock. These letters were added to the front of the card using Stampin’ Up! Dimensionals.
For a festive confetti-like flare, I added some Brights Candy Dots. Sadly, these are no longer available, but the current Brights Enamel Dots would be perfect for this card. In fact, if I had them, I would have used the star shapes to make this card even more fun!
I like how this card is appropriate for anyone, male or female and of any age. This one will be for my son, who’s turning 13 this month!
I thought it was time to give my Floral Phrases Bundle a test ride!
Of course, I started with a challenge from the As You See It Challenge Blog. I design a sample card for this challenge blog once every two weeks, so that crafty stampin’ folks like yourselves can see some different ways to work with the challenge. Our hope is that you will want to try the challenge and share what you made with us by linking it to the challenge blog site. It’s fun! And it gets your creative mojo going!
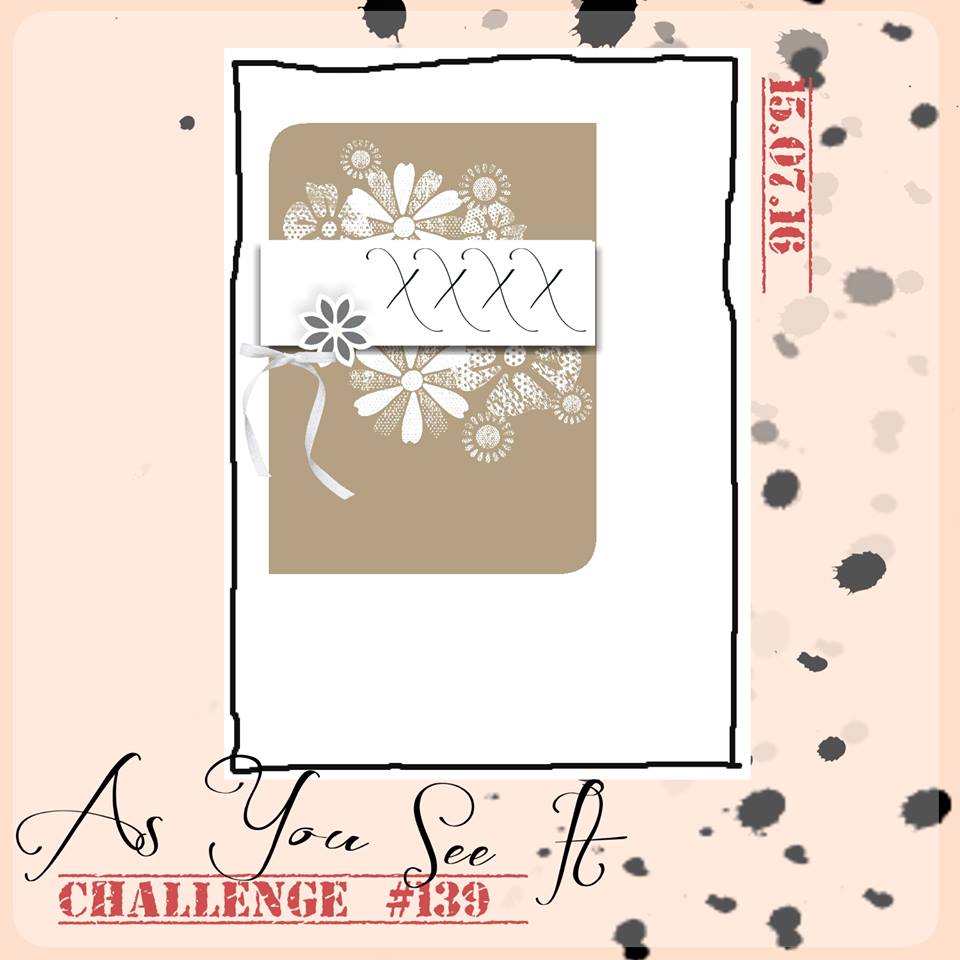
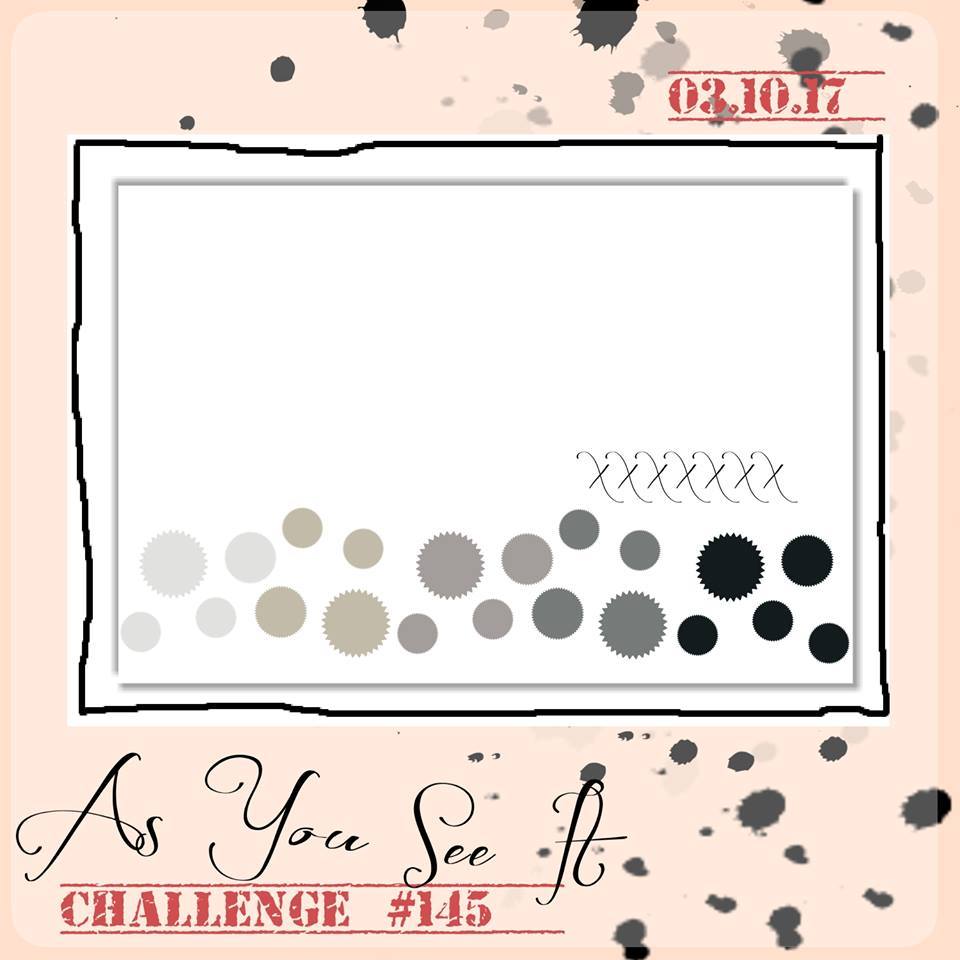
Here’s the challenge sketch:
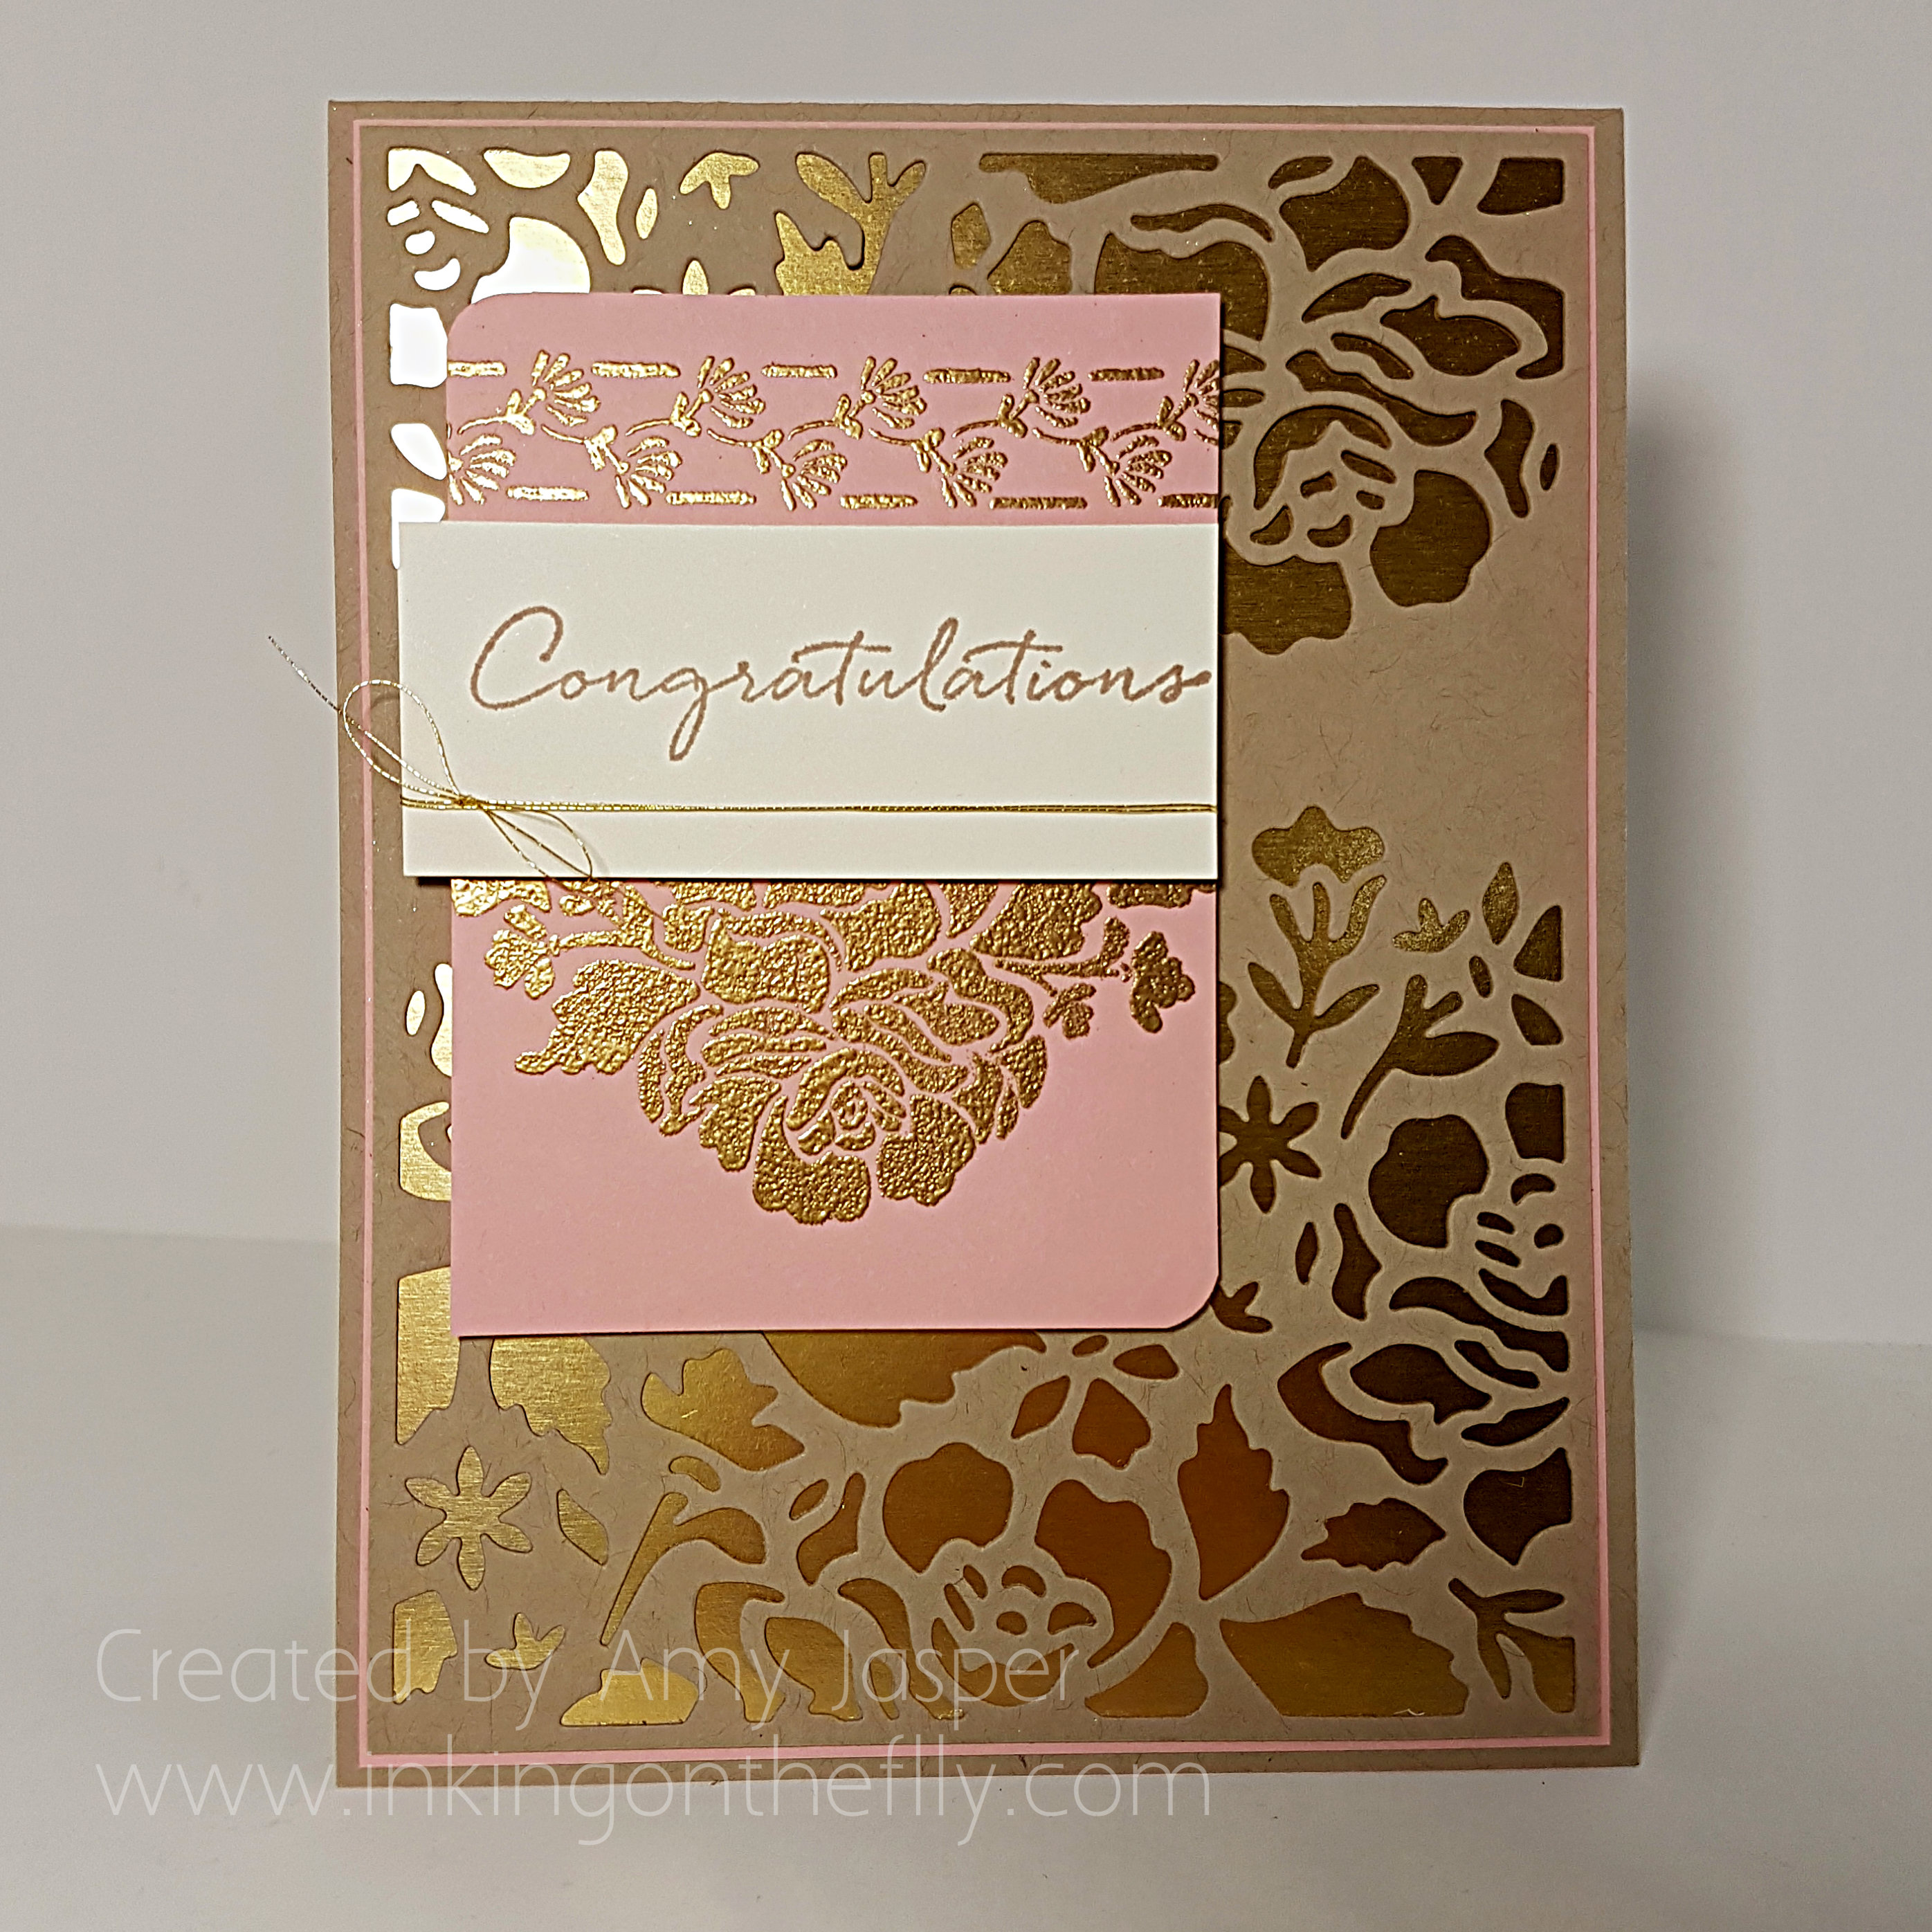
Here’s my take on the challenge:
I used Crumb Cake Cardstock for the card base, then a thin layer of Blushing Bride cardstock under the Gold Foil layer. The die cut Crumb Cake layer was cut using the Detailed Floral Thinlit Die with the Big Shot. I used my Precision Plate with this thinlit to ensure that all of the beautiful detailing would be easy to remove. The Big Shot Die Brush with the foam pad are extremely handy for getting all of the little bits out of the thinlit after running it and the paper through the Big Shot. I think I’d go quite nutty without it!!
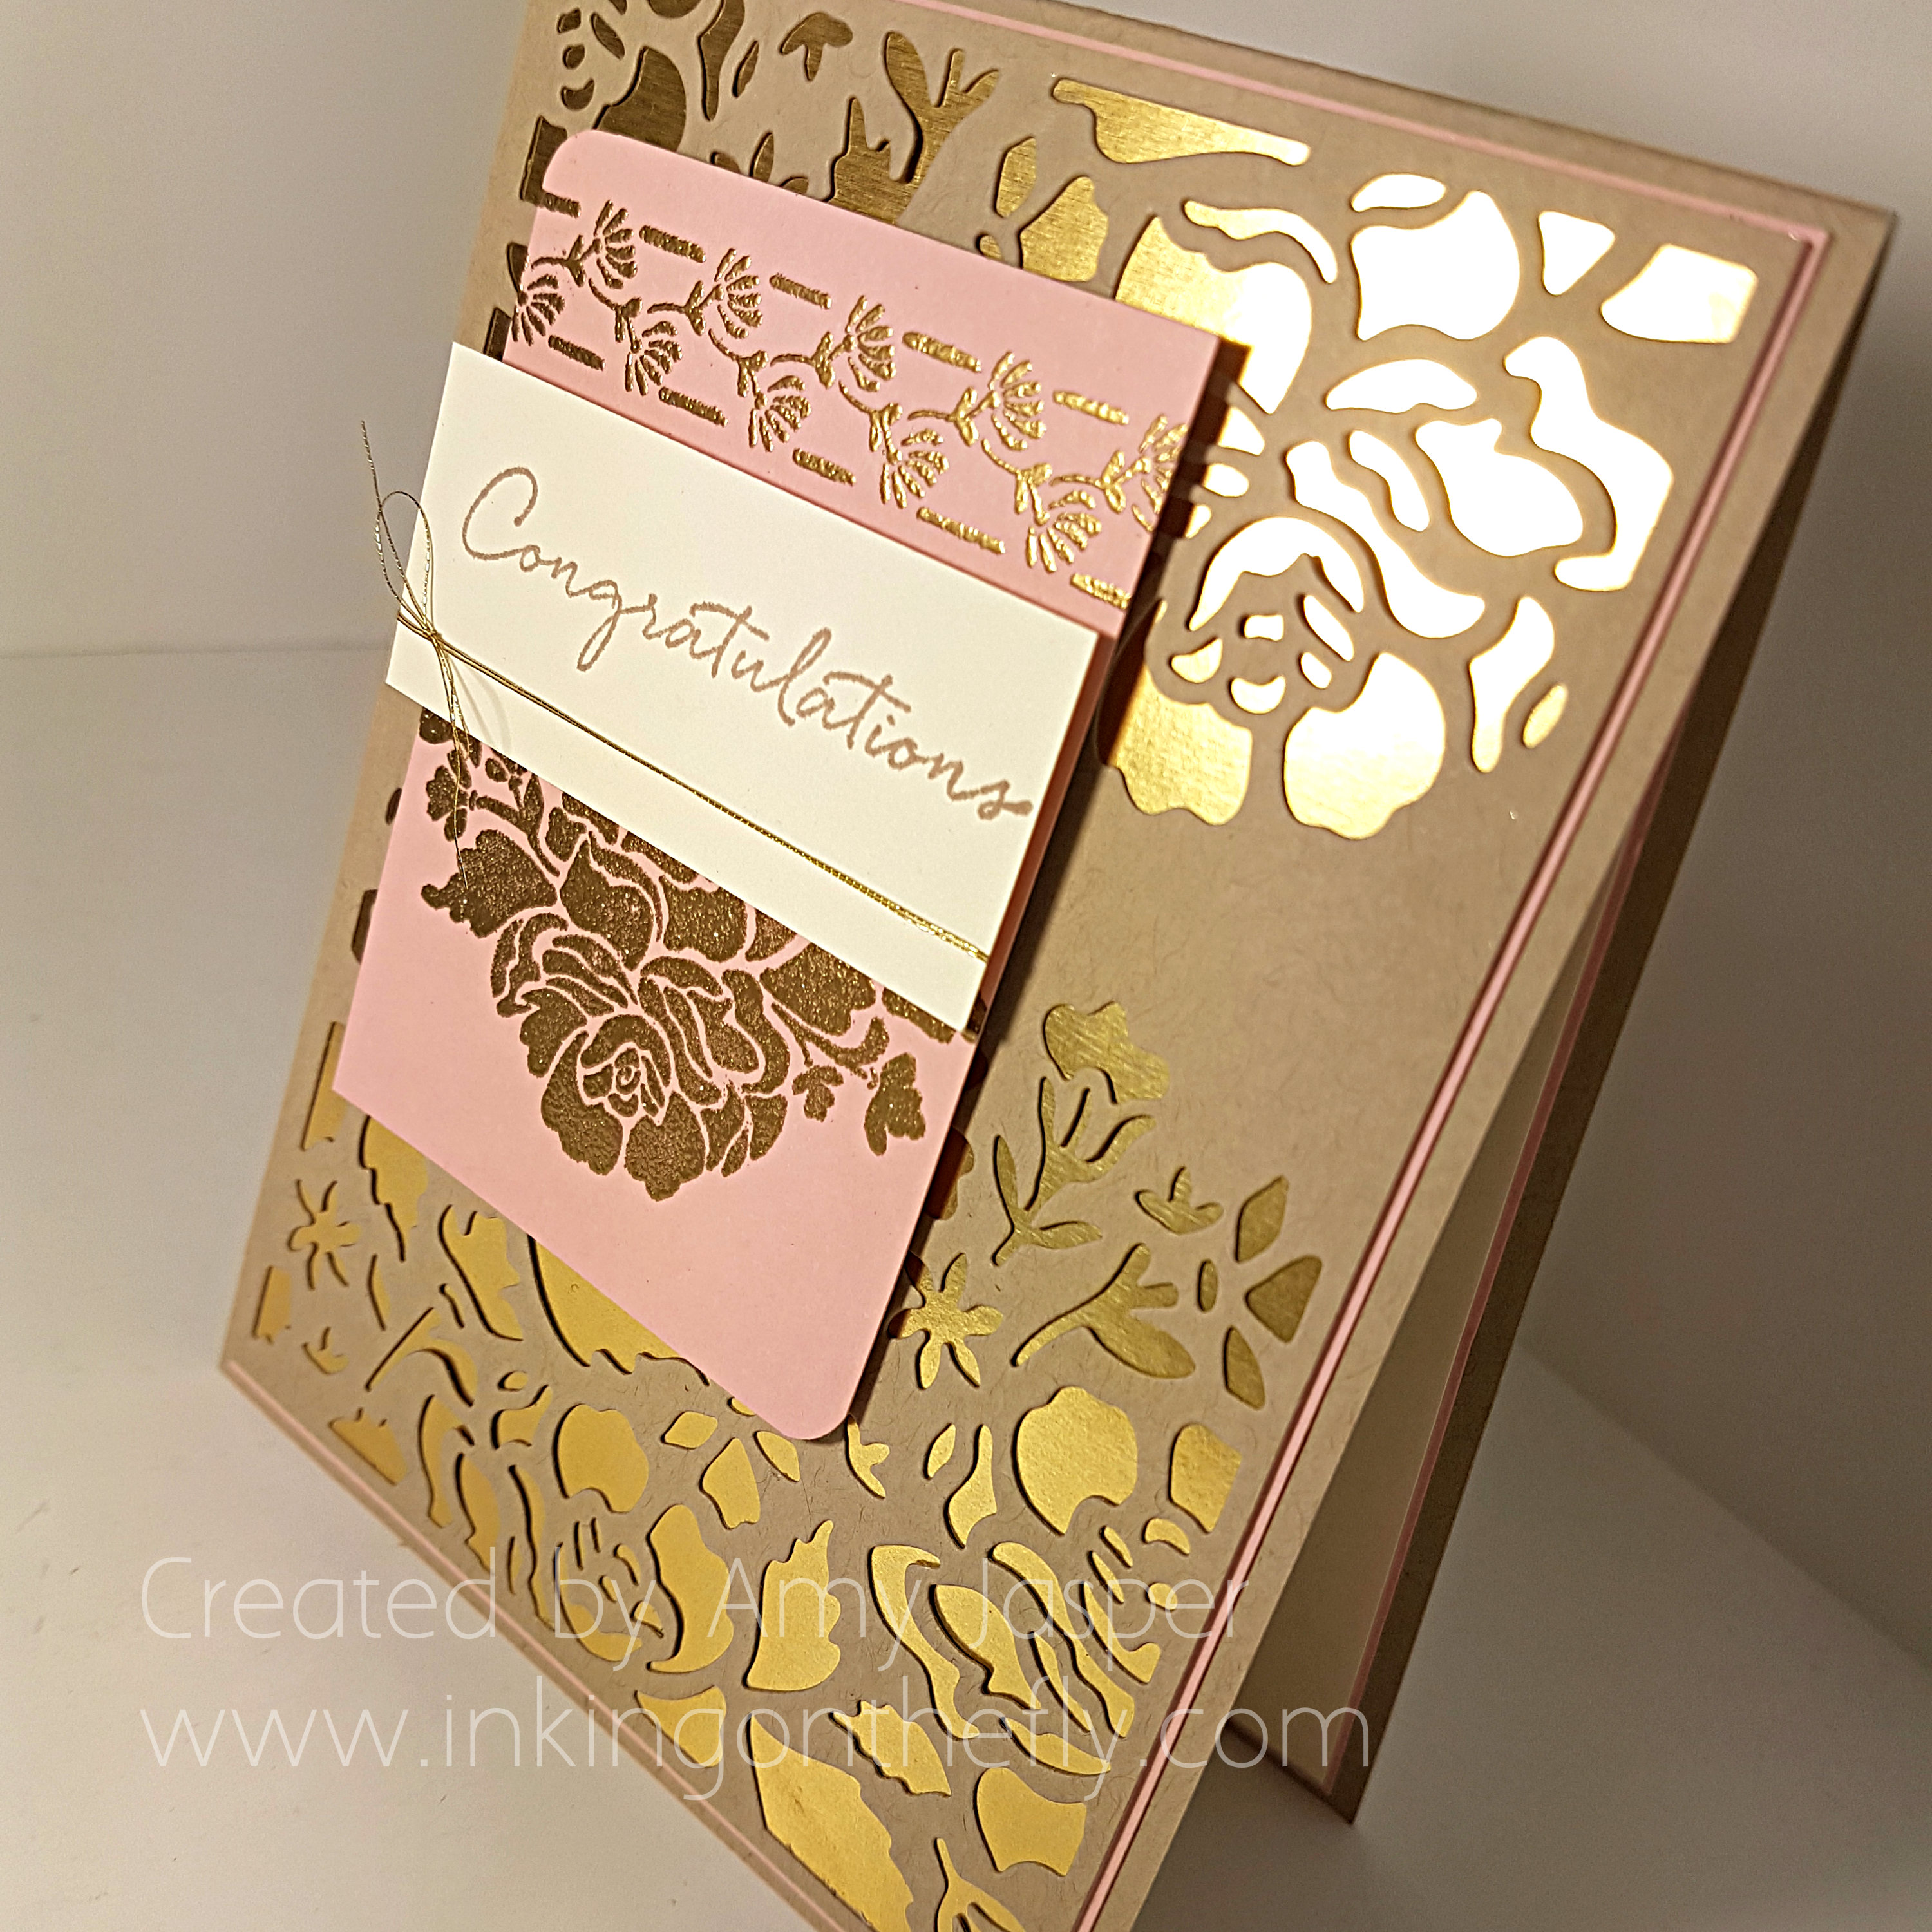
I stamped my smaller piece of Blushing Bride Cardstock with images from the Floral Phrases stamp set with Versamark Ink (after using my handy Embossing Buddy on the paper first, of course), then applied and heated the Gold Embossing Powder. The Project Life Corner Rounder Punch finished a couple corners on that same layer before I adhered it to my card front with Stampin’ Dimensionals.
I used Crumb Cake ink with the sentiment from the Floral Phrases stamp set on the Very Vanilla cardstock, wrapped some Gold Metallic Thread around the cardstock, tied a bow (easier said than done, with this thin thread! yikes!) and adhered it all to the card front with Stampin’ Dimensionals.
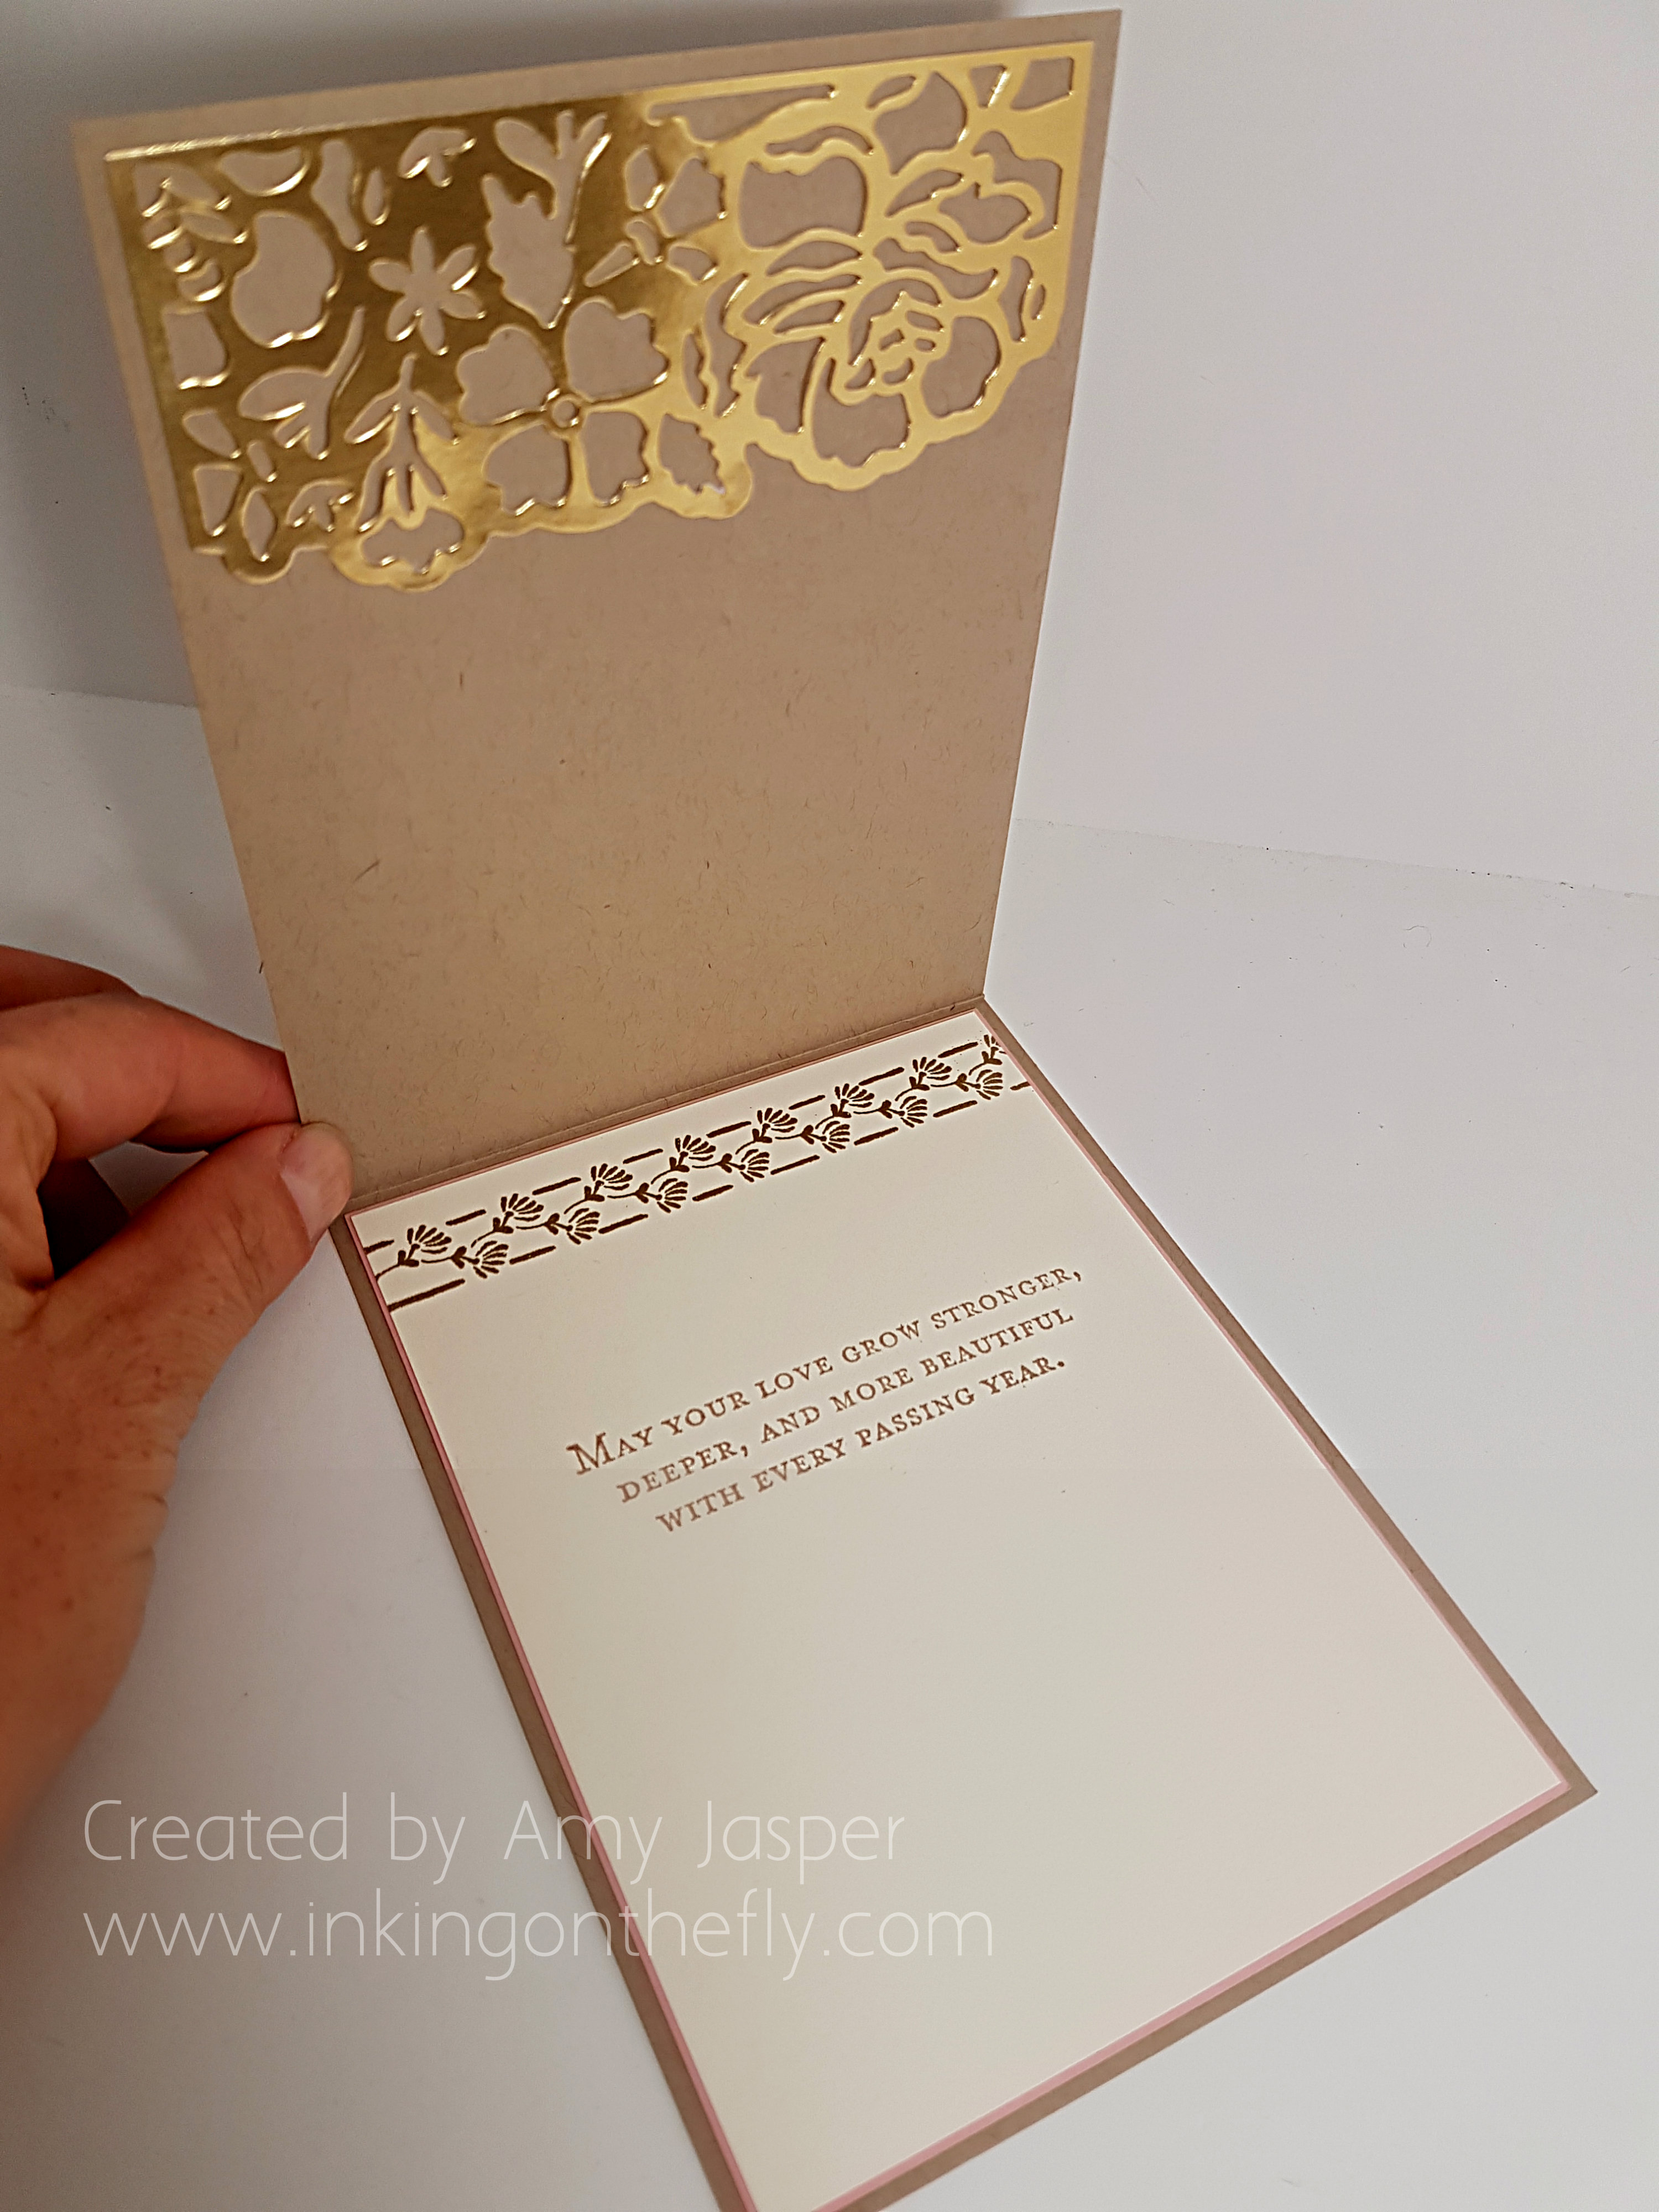
Because this is intended to be a wedding card, I added a few touches to the inside as well.
A thin matting layer of Blushing Bride cardstock frames the Very Vanilla layer where the sentiment and decoration is stamped. The sentiment is stamped with Crumb Cake ink, while the linear decorative stamp is stamped in Versamark ink, then embossed with Gold Embossing Powder.
The lovely flourish at the top inside of the card is cut from Gold Foil paper using the Detailed Floral Thinlit and the Big Shot.
I used Tombo Multipurpose Liquid Glue to adhere the detailed die cuts to this card, but the Fine-Tip Glue Pen would be a much better choice to ensure that you don’t end up with any accidental sticky residue. The trick with either of these adhesives is to use as little as possible to avoid having it ooze out from under the paper, making an unsightly mess.
You can order any of these supplies online from me be clicking on the SHOP button on this website. Stampin’ Up has a great promotion this month to earn bonus dollars toward purchases in August. Make sure you take advantage of this opportunity to get FREE STUFF!!!
“I HATE FREE STUFF!!” (said no respectable person, ever!!)
My favourite thing about a song, especially Christmas songs, is when someone says something in normal conversation and it sparks a song in your mind that you absolutely MUST sing out loud. As it was said in the movie, ELF, “The best way to spread Christmas cheer is singing loud for all to hear.”
My hope is that my card today will cause a Christmas song to be placed in your mind when you read the words. (Basically, I’m working on developing my talents in mind-control.)
Don’t forget to check out my previous post, Fleecy Caribou and Blog Candy, for a chance to win a stamp set! Winner will be announced on Tuesday!
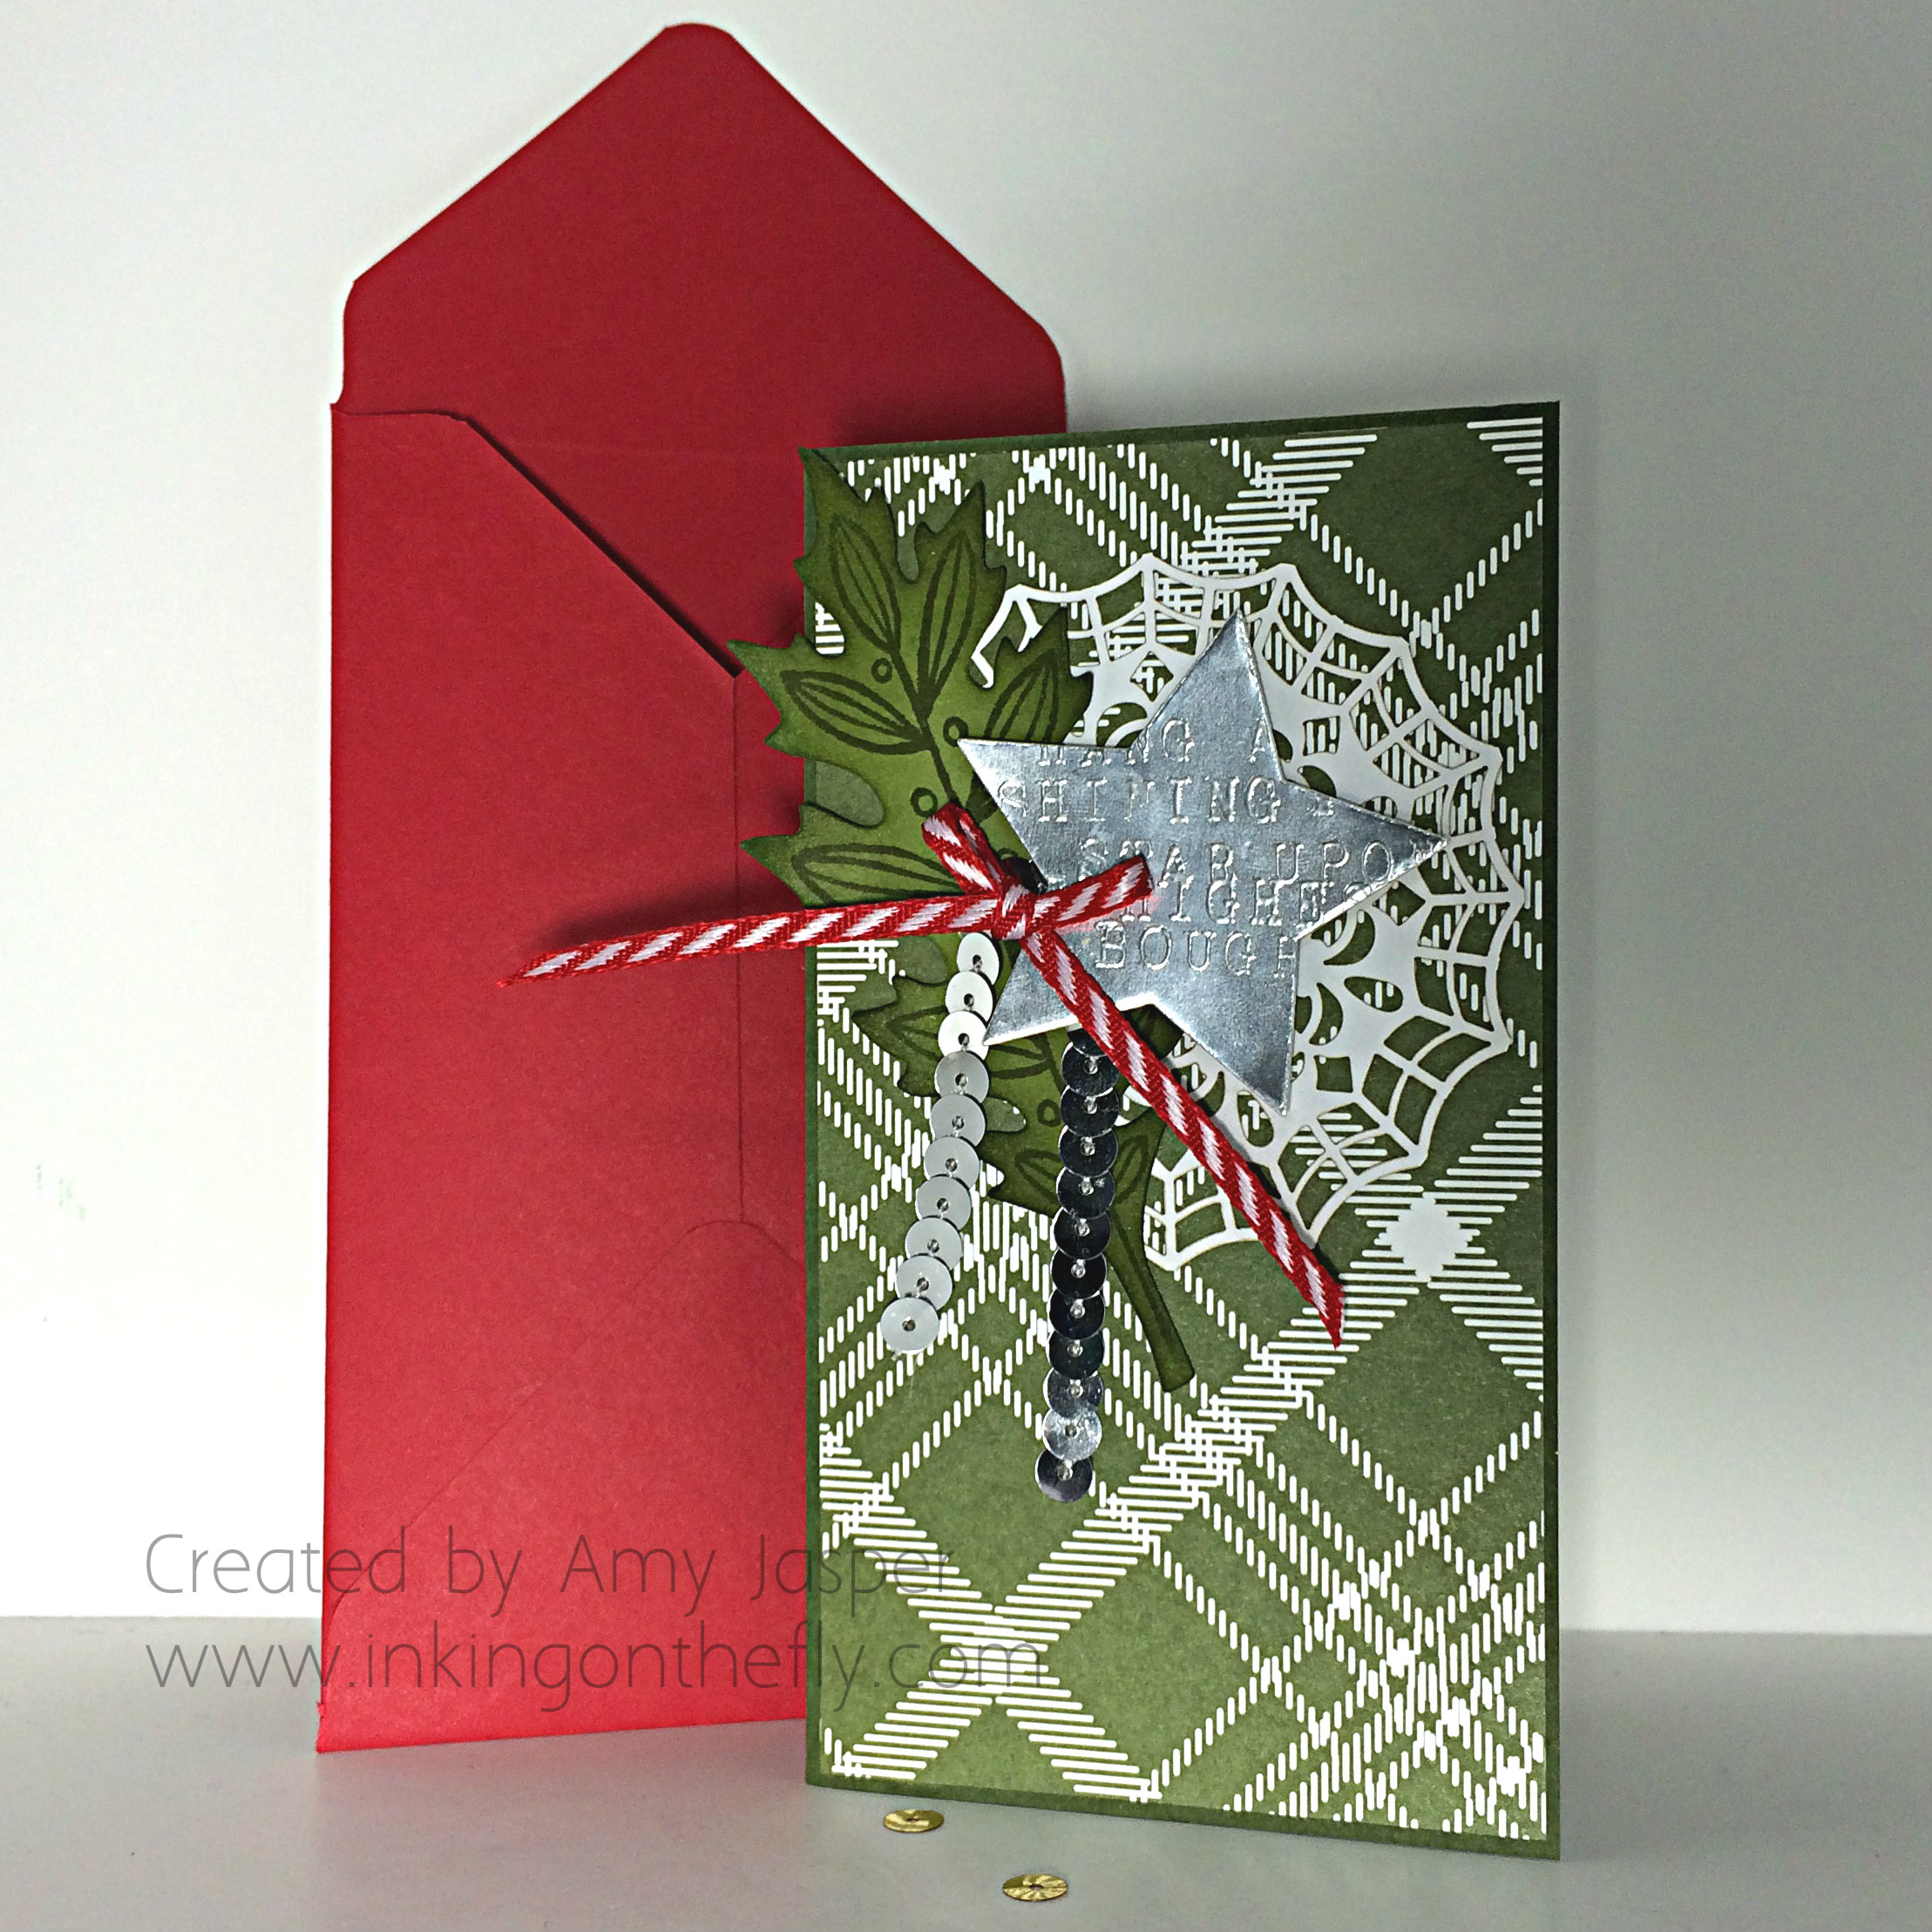
The card I have to share with you today is a 3″ x 5.5″ card. The elements that I chose simply demanded to be on a narrow card design. Seriously, the cards should just make themselves if they’re going to be so demanding!!
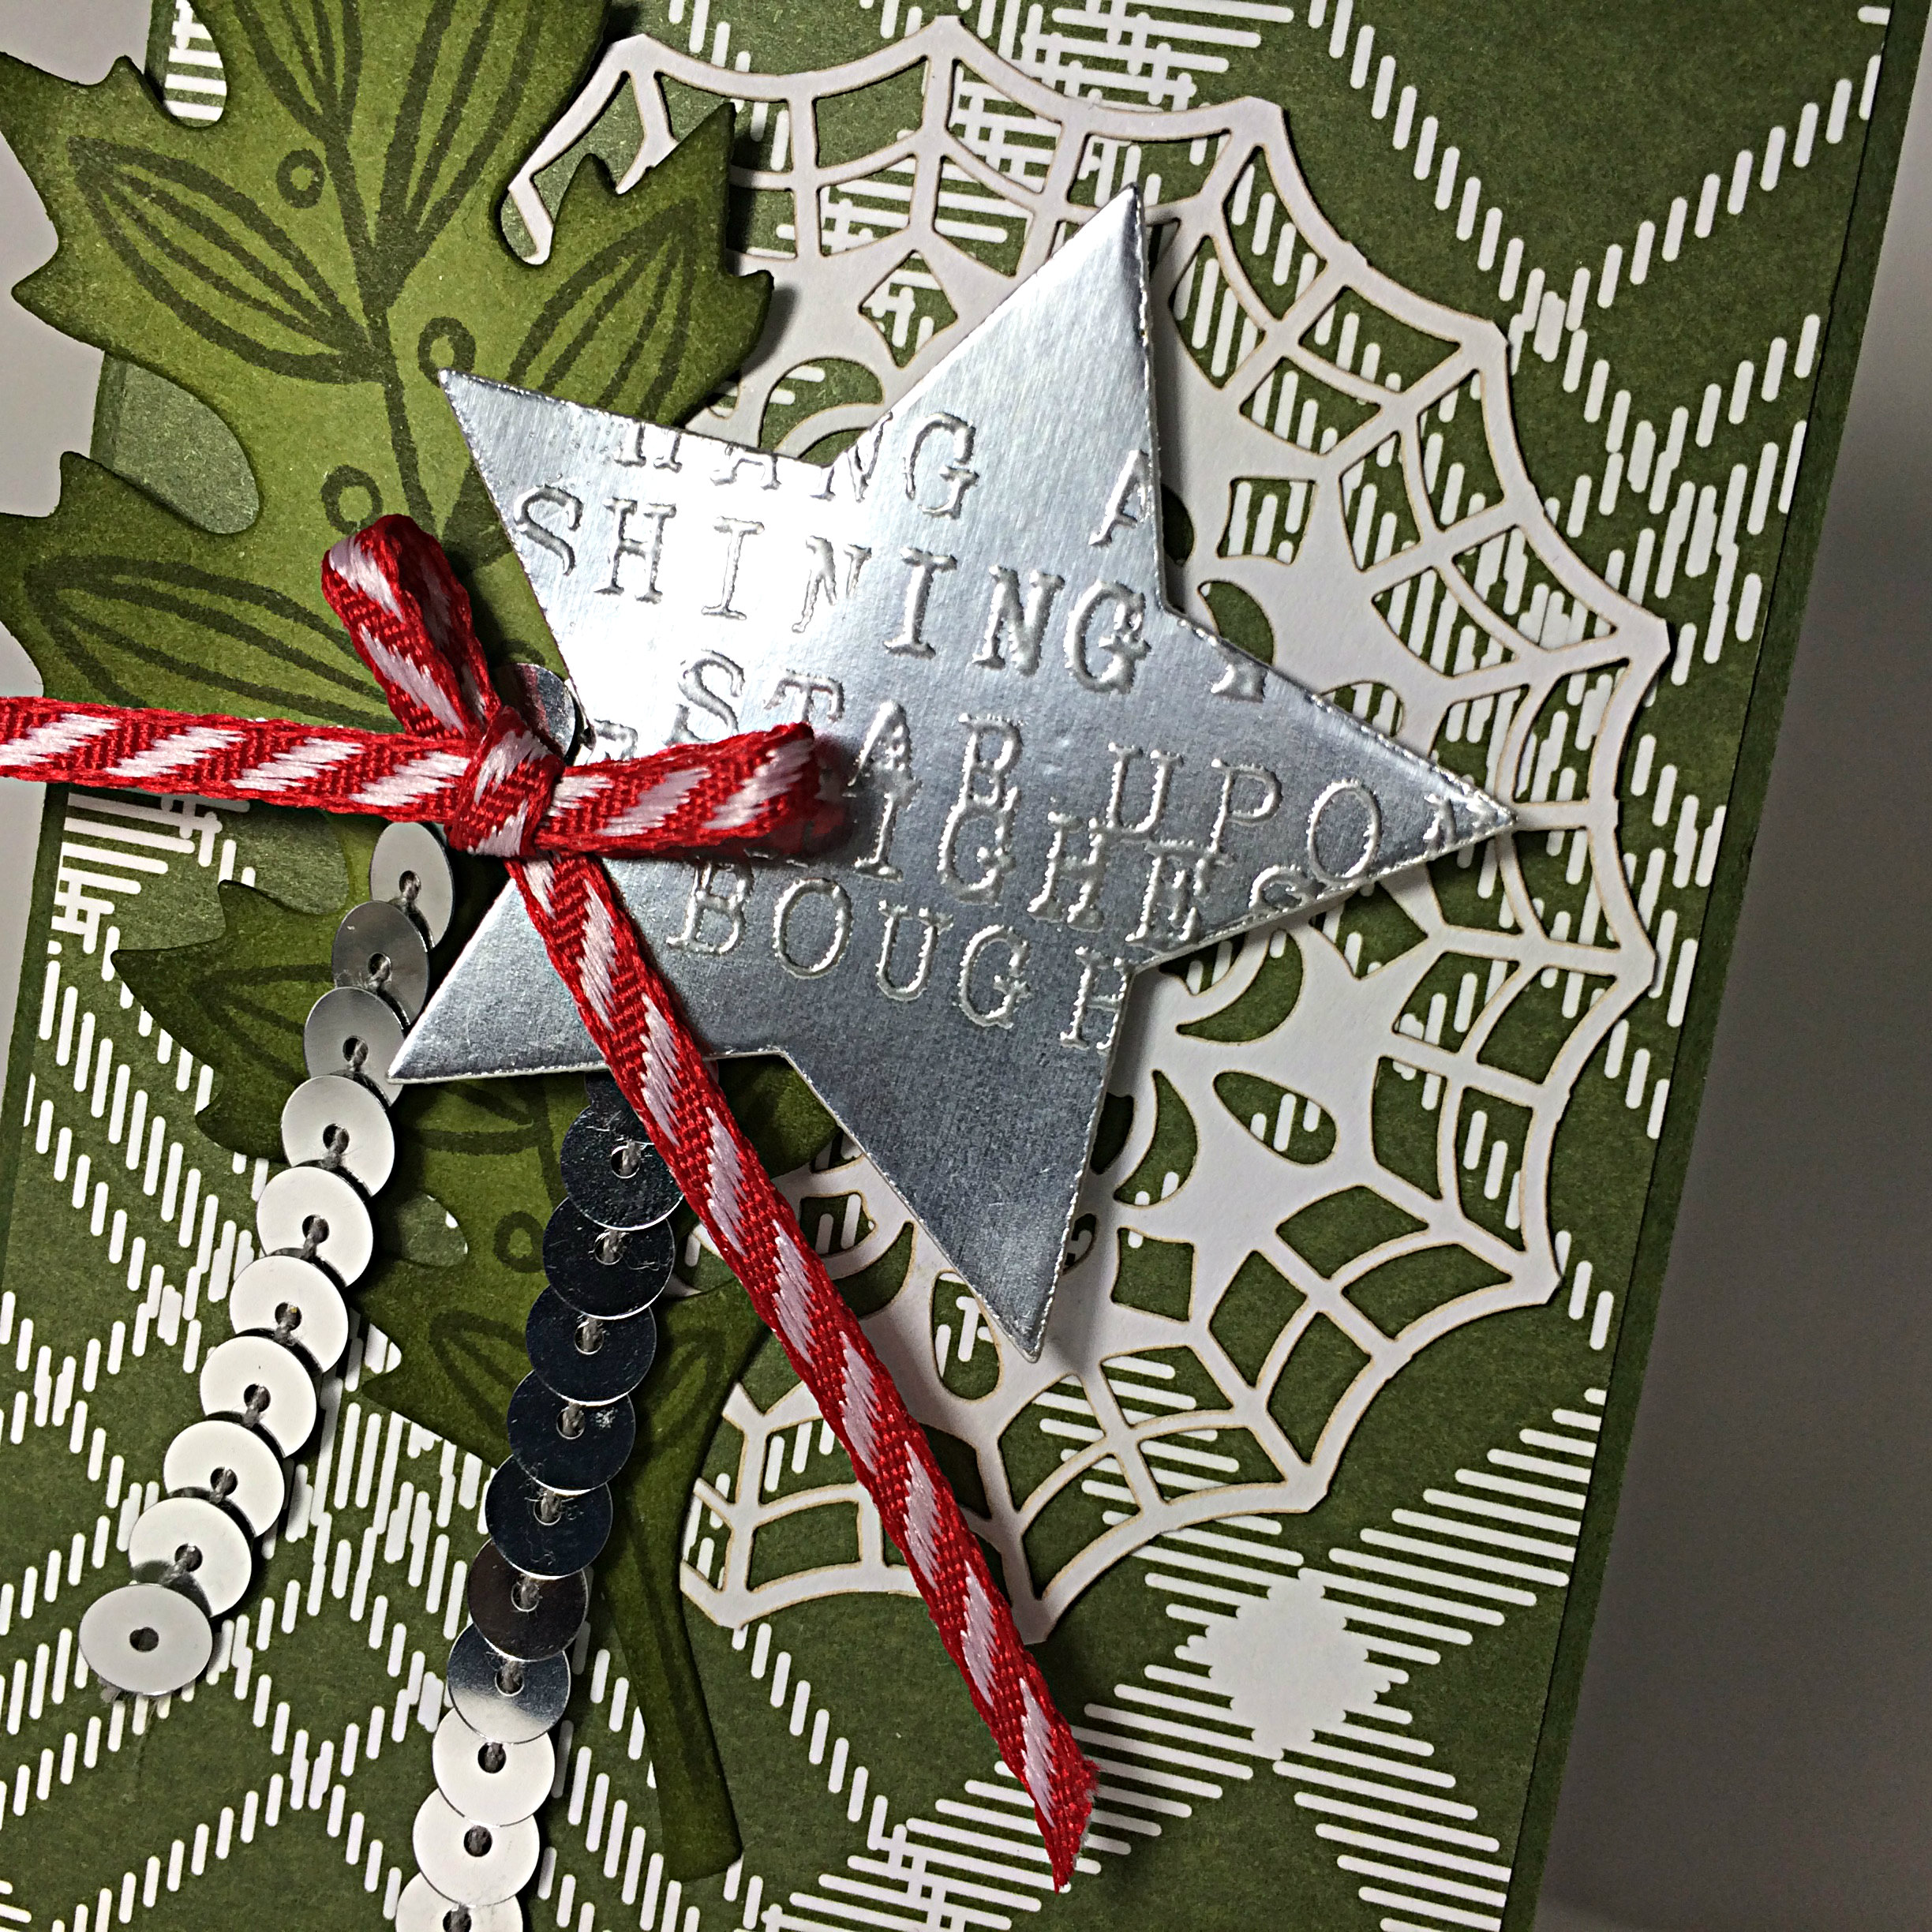
It begins with a 3″ x 5.5″ Mossy Meadow card base and the layer of patterned paper from the Merry Moments Designer Series Paper. The next layer is a Spider Web Doily that has been trimmed and turned around to show the white side rather than the black side of the doily. This, of course, was adhered with the Fine-Tip Glue Pen.
Next, the leaf image from the Lighthearted Leaves stamp set was stamped with Old Olive Ink onto Old Olive cardstock. This was then die cut on the Big Shot, using the Leaflets Framelits. I happily sponged away on the edges of my newly cut leaf using Stampin’ Up Sponges and Old Olive ink. Before adhering the leaf, I took a moment to gently curl and shape its edges.
The star on this card is die cut from Silver Foil paper, using the Star Framelits. After using my Embossing Buddy to remove static, dust, and finger prints from the Silver Foil paper, I used the Alphabet Rotary stamp to create the words and stamped them on the star with Versamark Ink. Then they were heat embossed with Silver Embossing Powder and a Heat Tool.
I saw my crooked words and decided to go for it anyway. I think it adds an authentic, kind of, stamped metal look.
The star is adhered with Stampin’ Dimensionals to pop it up off the page. The Silver Sequin Trim and the Real Red 1/8″ Striped Ribbon were attached using a Mini Glue Dot.
Because I had an unusually-sized card, I needed to make a custom envelope to go with it. The Envelope Punch Board is the perfect tool for just that very thing. Unfortunately, the envelope sizes available on the punch board still didn’t match what I needed. I played around a bit, changing the starting size of the paper and the different positions for scoring and punching and determined this:
To create an envelope for a 3″ x 5.5″ card, start with a piece of 7.5″ x 7.5″ paper (Red Envelope Paper, in this case), using the Envelope Punch Board, punch and score at 2 7/8″. Then carry on with the punch board as you normally would until your envelope is complete.
I also took the time to trim one of the side flaps on my envelope to give it a professional finish. I just drew a pencil line where I wanted to cut, then used my paper trimmer to remove the unwanted bit of paper.
This sketch is simple and cute. You should give it a try and share it with us on the As You See It Challenge blog. We love to see your take on our challenges!!
Did my card make you sing out loud? The words on the star are from one of my favourite Christmas tunes, “Have Yourself a Merry Little Christmas”.
Do you have a favourite Christmas song? Leave a comment and let me know!
 So fun and simple, don’t you think!? At first glance, I liked how the dots on the sketch went light to dark across the page and tried to think of how I could use that in my own design. But my final result rarely goes as planned and I found myself inspired by a deep desire for bright colours to pull me out of the winter blues.
 I used the Large Letters Framelits from Stampin’ Up! to cut the letters ‘P’, ‘R’, and ‘Y’ from a piece of Whisper White cardstock and stamped the sentiment from the Endless Birthday Wishes stamp set above the ‘Y’ with Melon Mambo ink. I then adhered a piece of the Festive Birthday Designer Series Paper (DSP) to my Thick Whisper White cardstock base before adhering the stamped and die cut Whisper White layer over the DSP with Stampin’ Up Dimensionals.
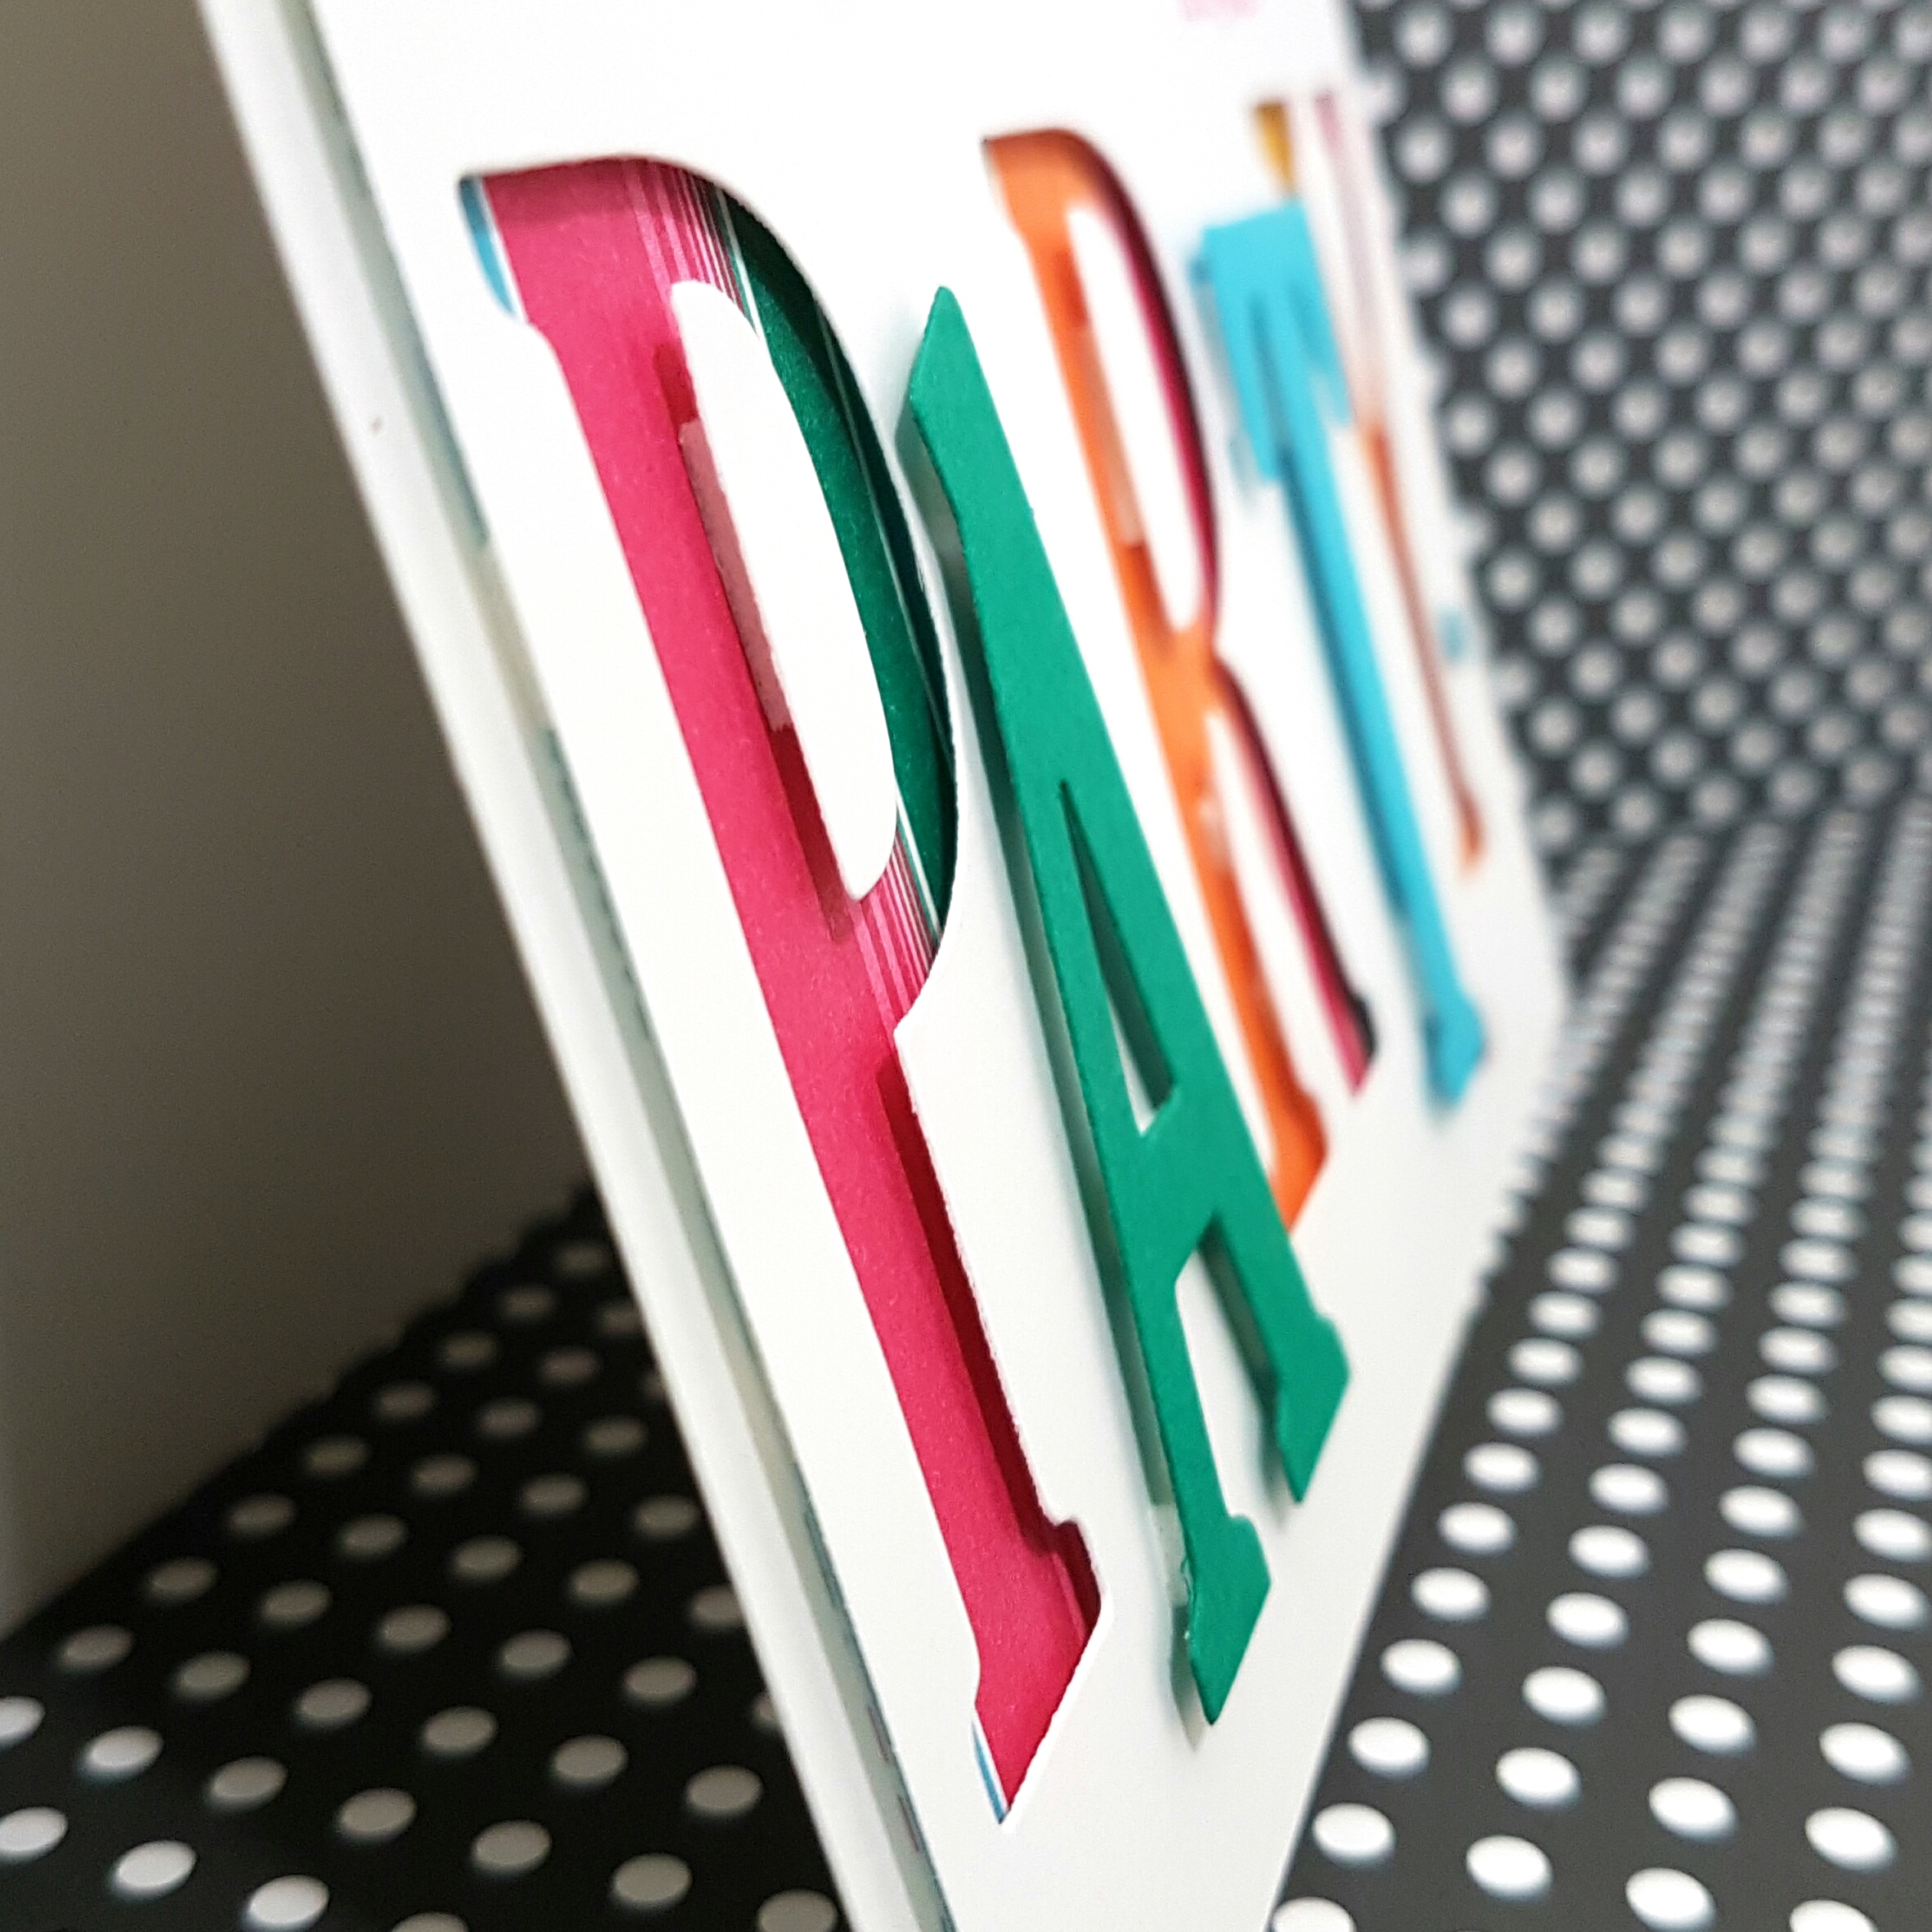 I added the inside of the letter ‘P’ and ‘R’ using Dimensionals cut in half because those pieces are so narrow. The letter ‘A’ is die cut from Emerald Envy cardstock, while the letter ‘T’ is cut from Tempting Turquoise cardstock. These letters were added to the front of the card using Stampin’ Up! Dimensionals.
 For a festive confetti-like flare, I added some Brights Candy Dots. Sadly, these are no longer available, but the current Brights Enamel Dots would be perfect for this card. In fact, if I had them, I would have used the star shapes to make this card even more fun!