Fleece Navidad
I took a break last week. Basically, I ran out of time. I made a card for last week’s challenge, but … well … I did the wrong challenge. I suppose I should have posted it anyway, but the wind was knocked out of my sails and my time was waning.
I might show it to you later.
Not much is different this week with the whole being short on time thing (when am I not?), but I did do the right challenge and I am posting it for you today. Phew!
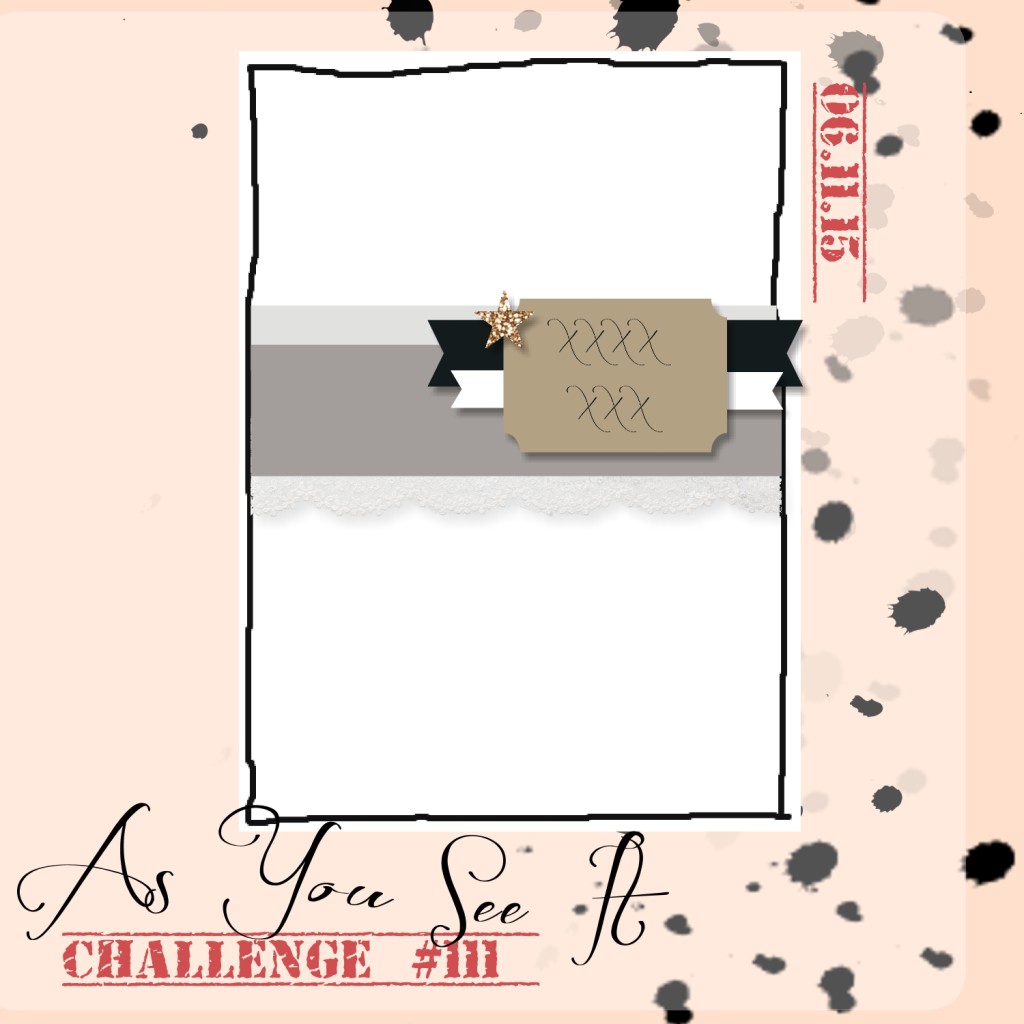
Today, we have a sketch, whoohoo! Check out this fine design idea from the As You See It Challenge blog.
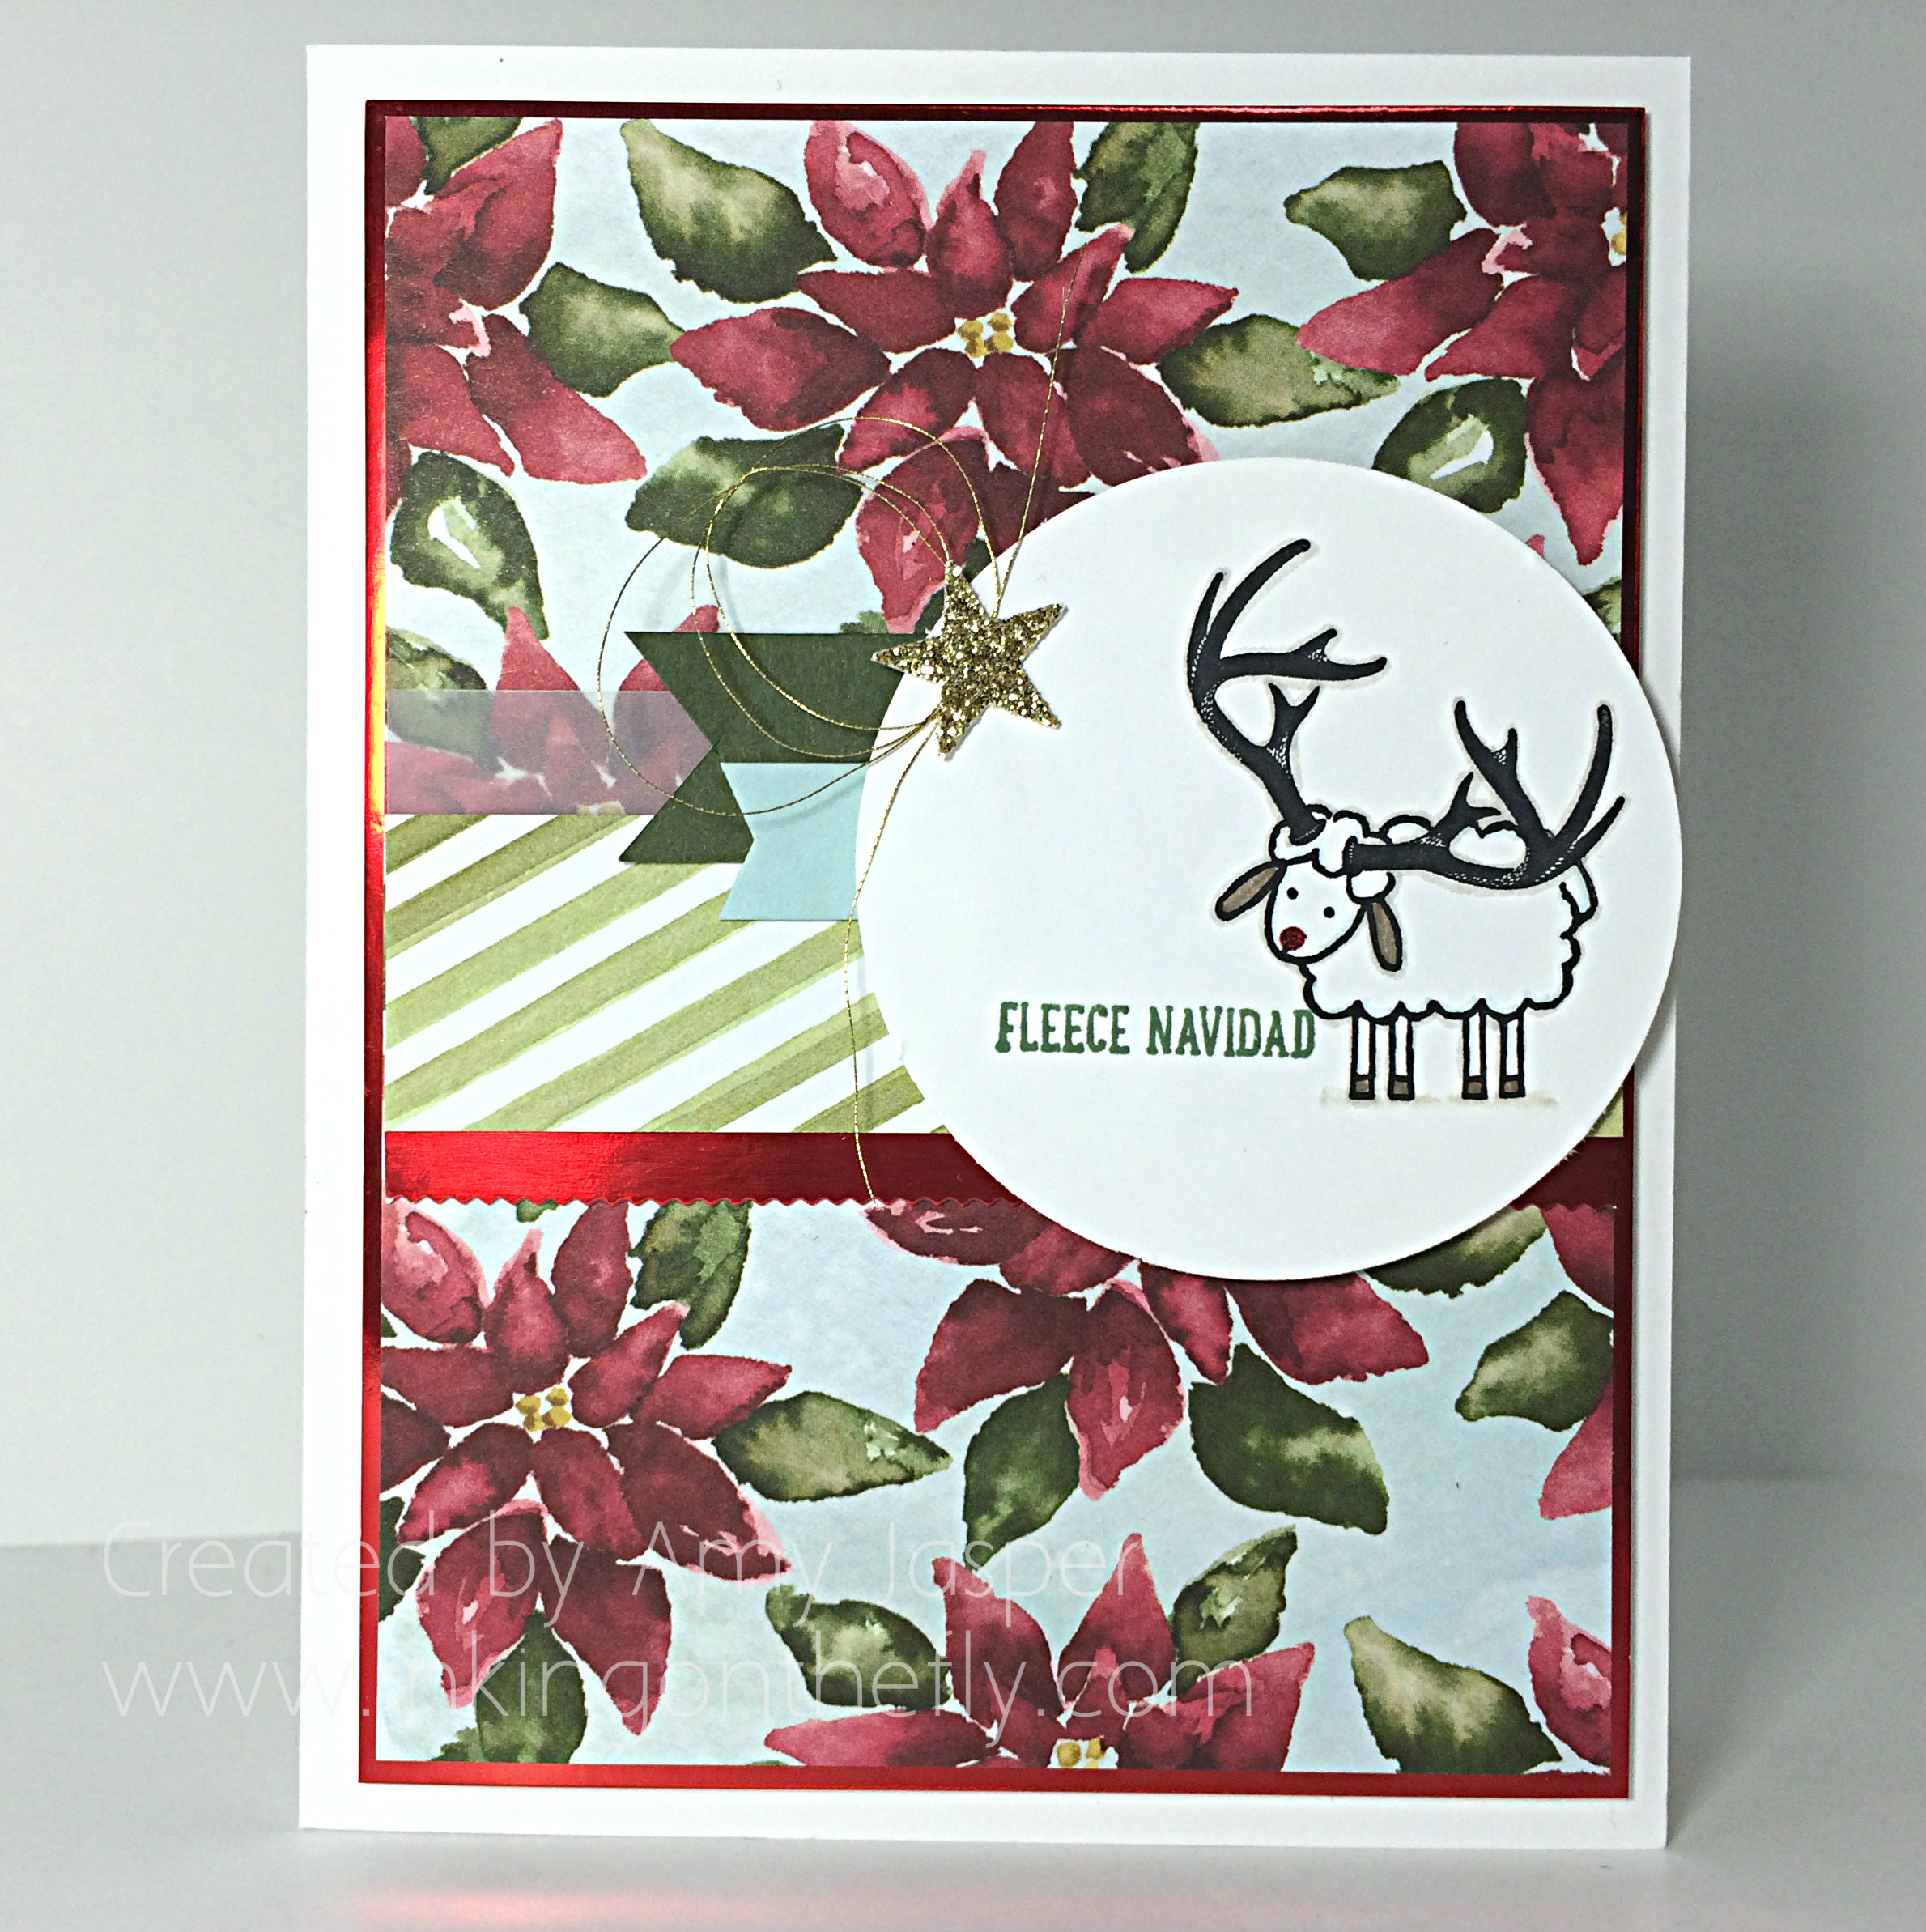
 Being short on time, I grabbed the first piece of pretty patterned paper in reach – the Season of Cheer Designer Series paper with the lovely painted poinsettias on it. Next to that, was the shiny and festive Real Red Foil paper. And so it began …
I saw the CUTEST card designed with the Barnyard Babies stamp set (see card here). Of course, I had to buy this set for myself so I could make it, too. I was inspired!
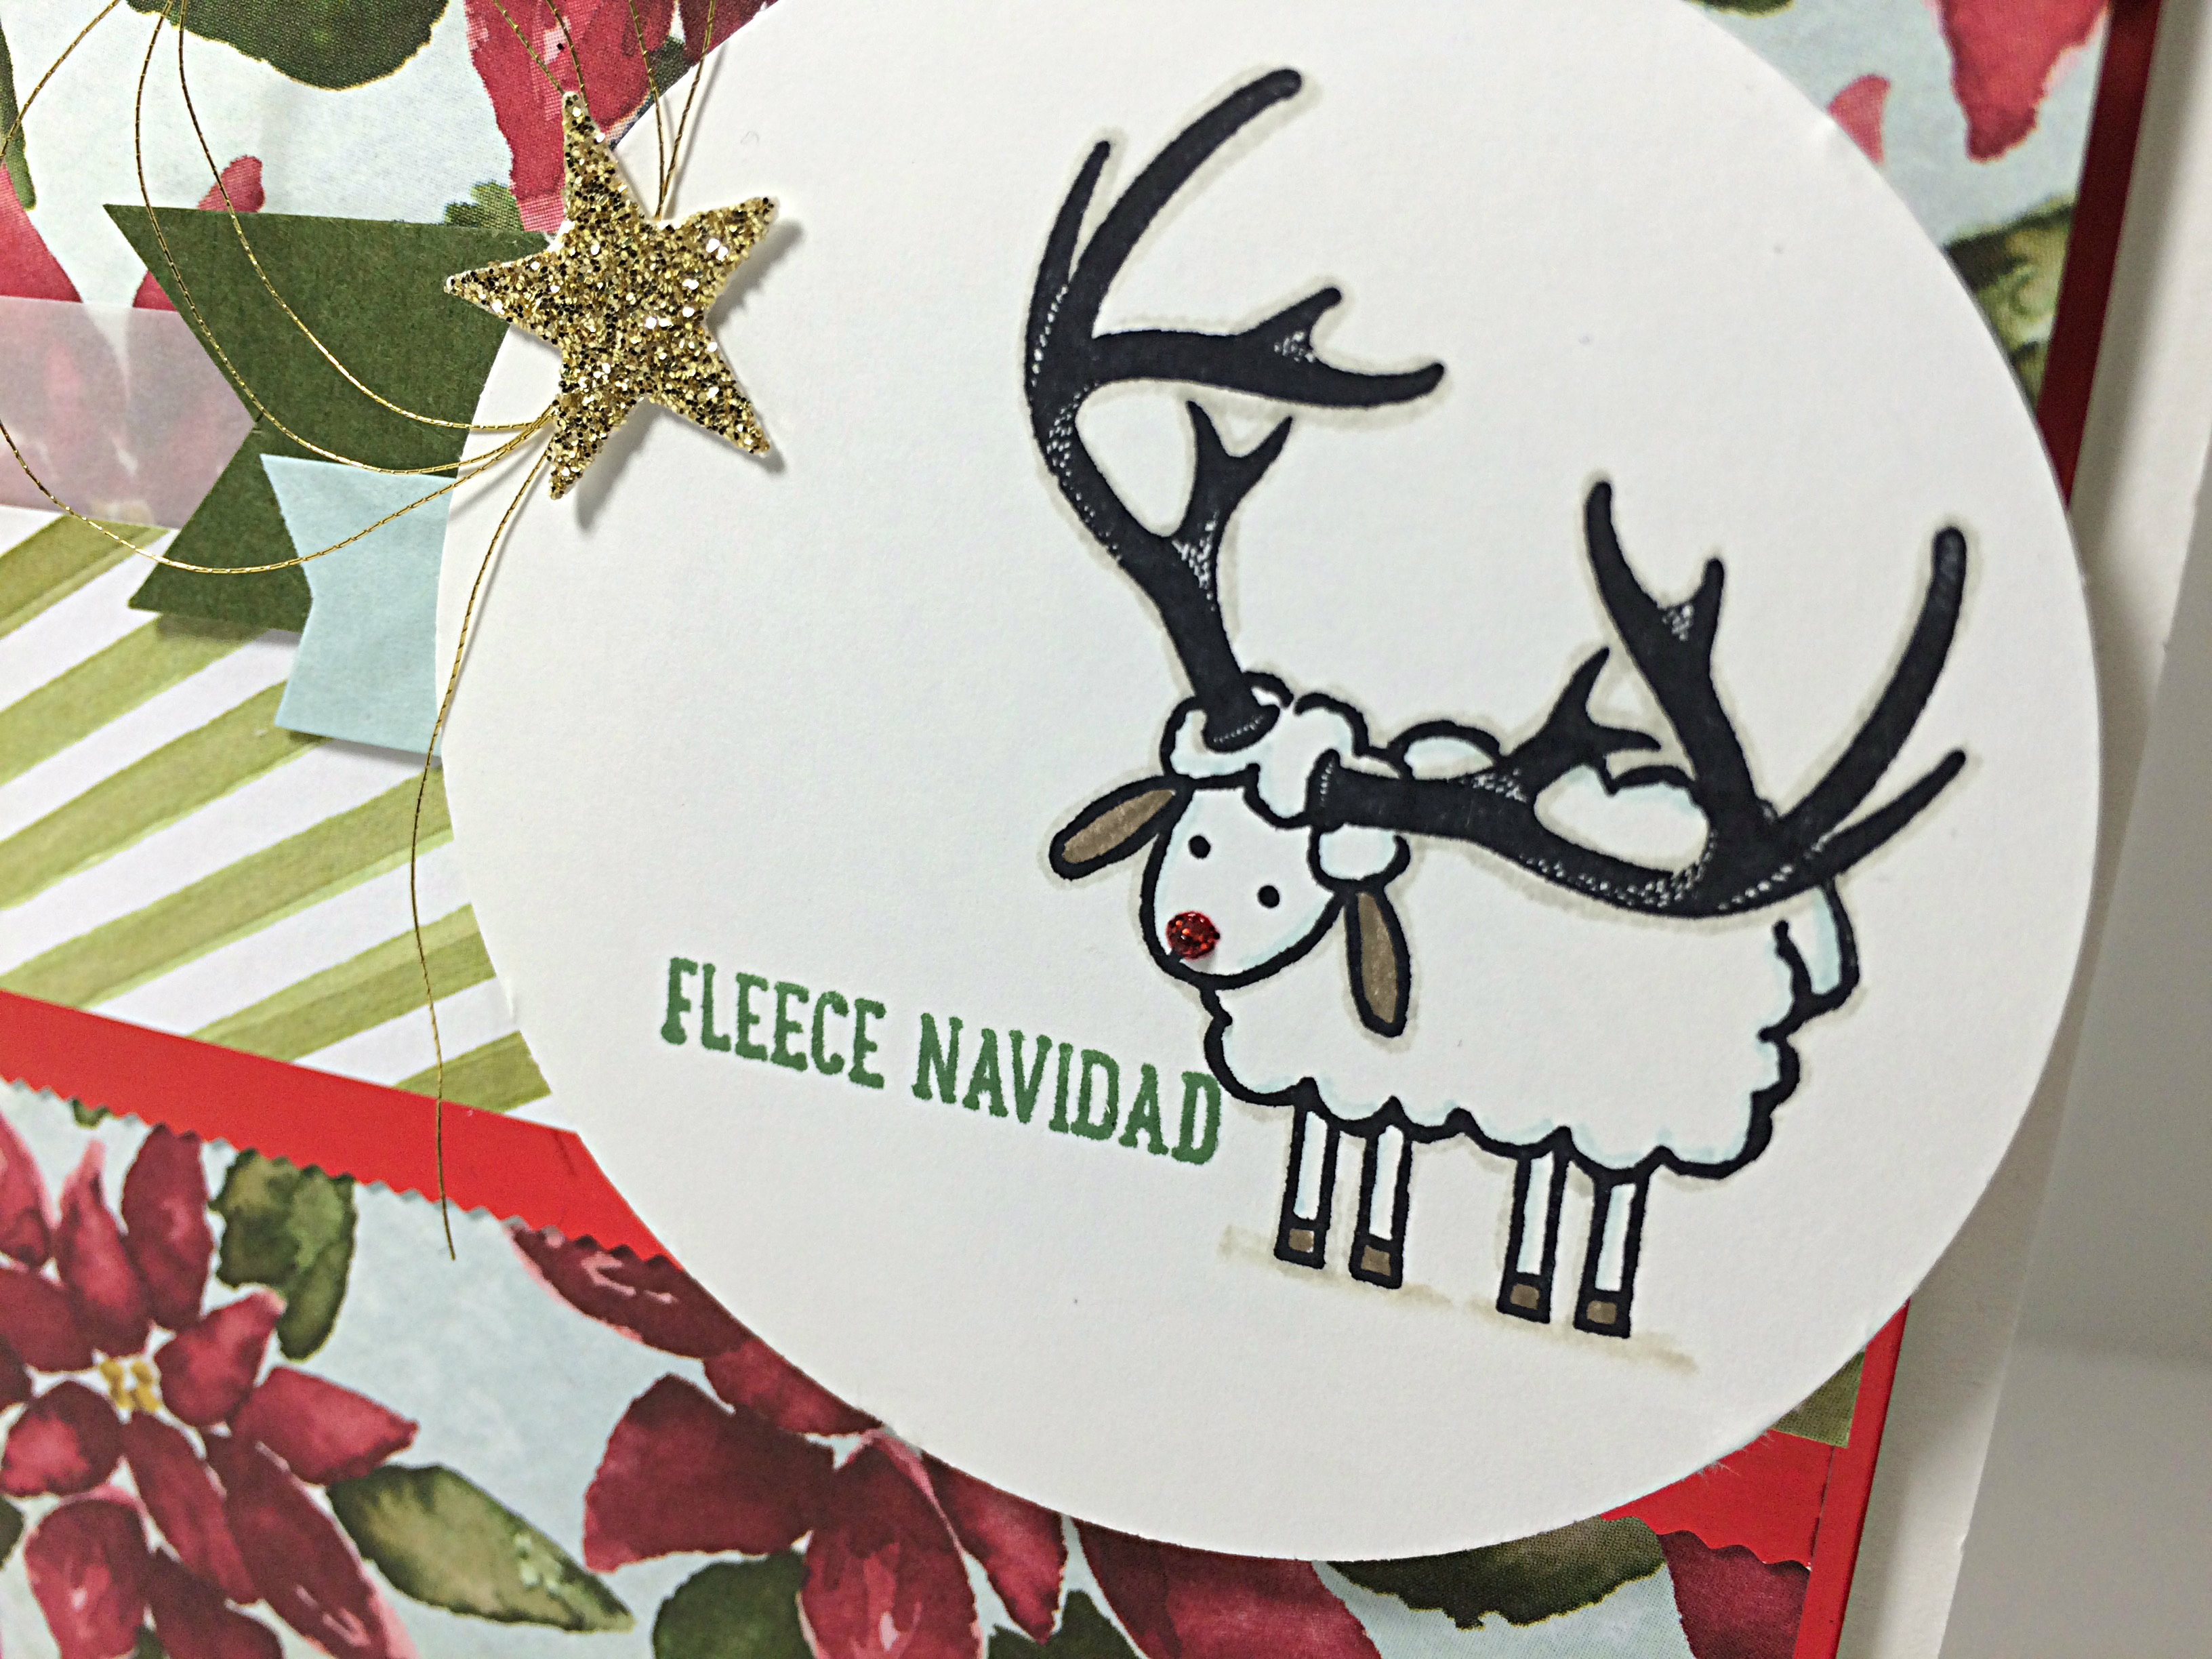
With said stamp set now in my possession, I combined the little lamb stamp with the antlers from the Wonderland stamp set to create this holiday sheep. I’m not sure what I think about his Soft Suede ears, but he’s cute, none-the-less.
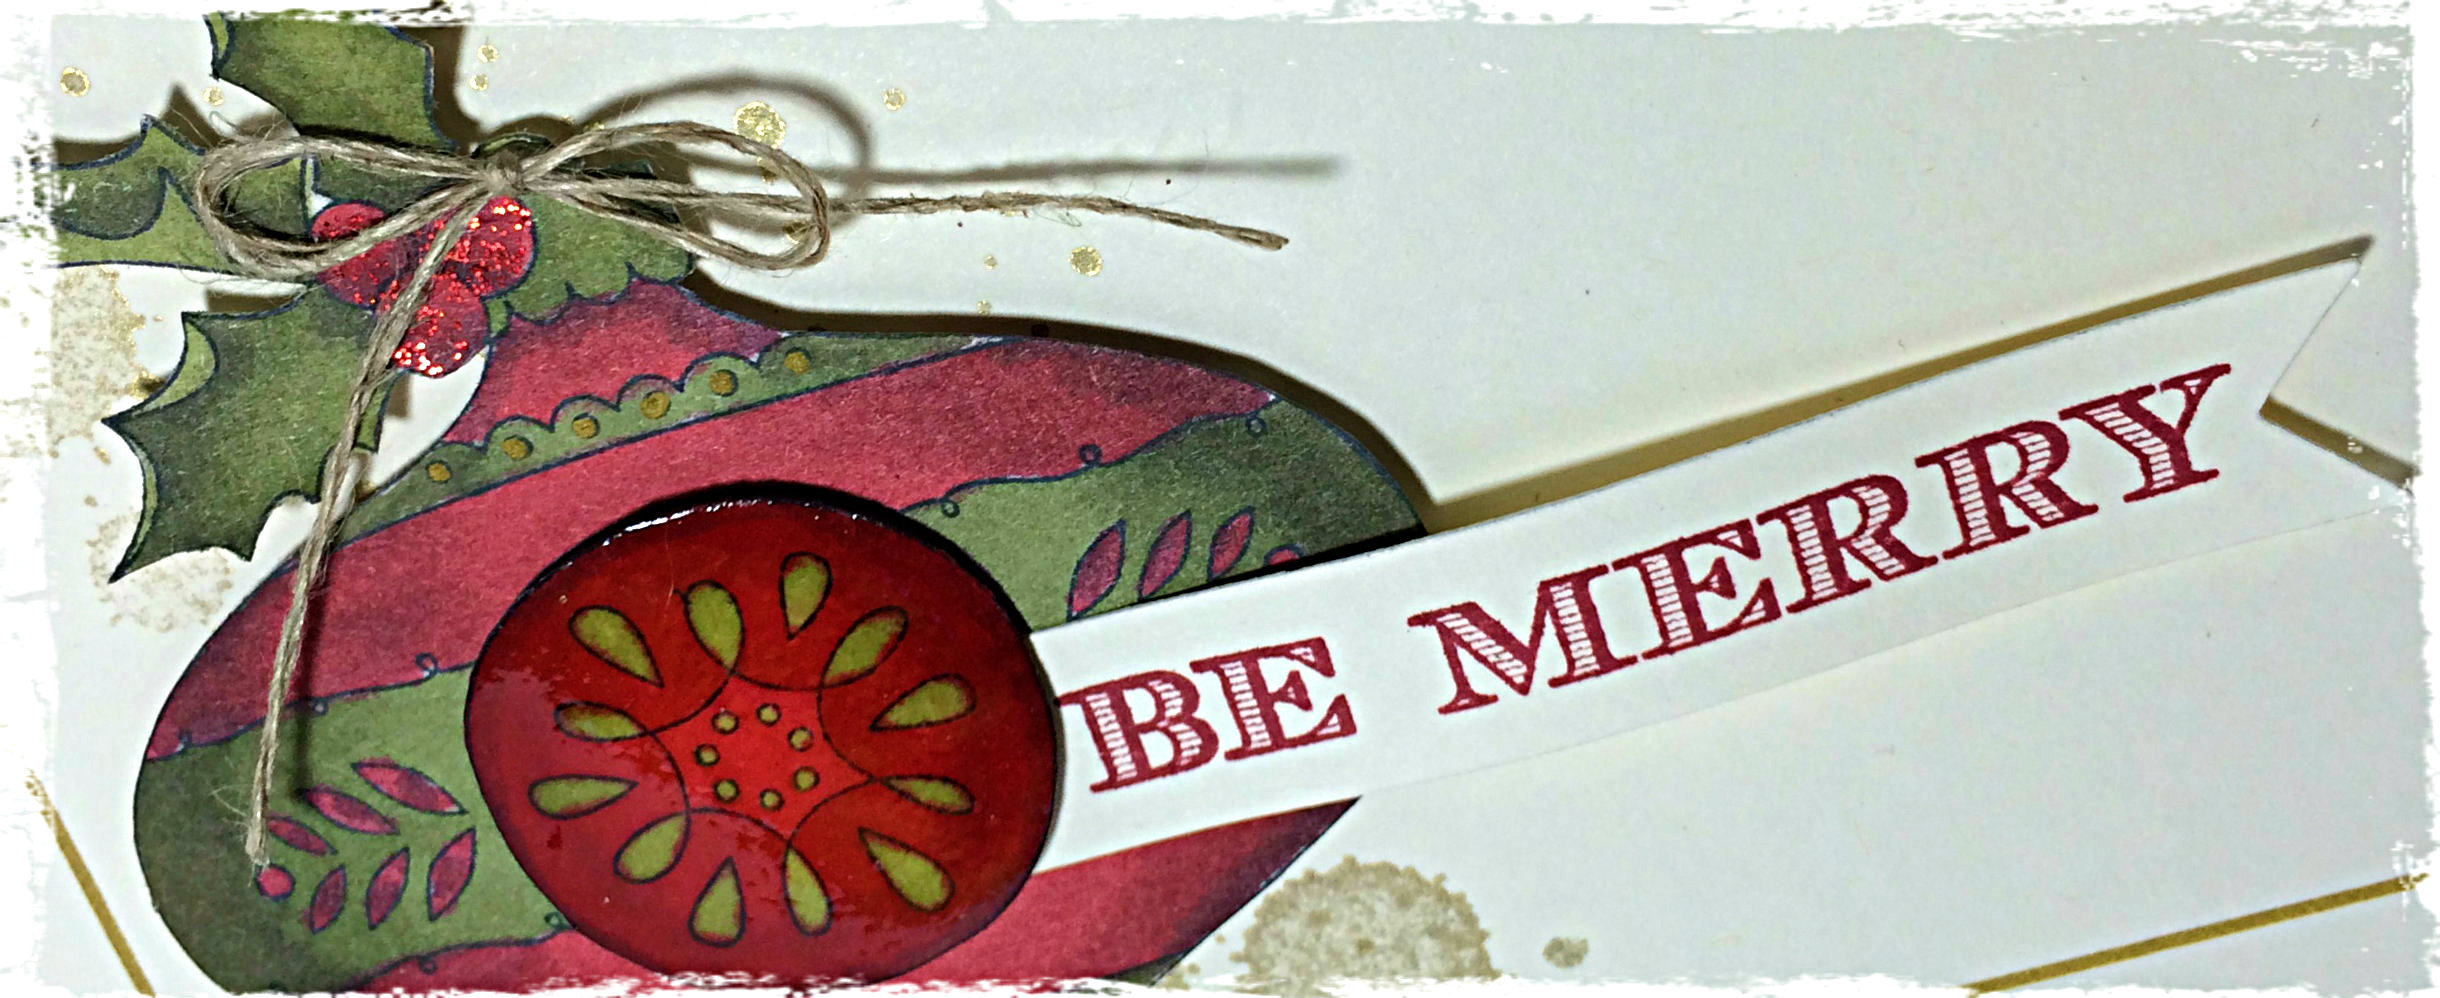
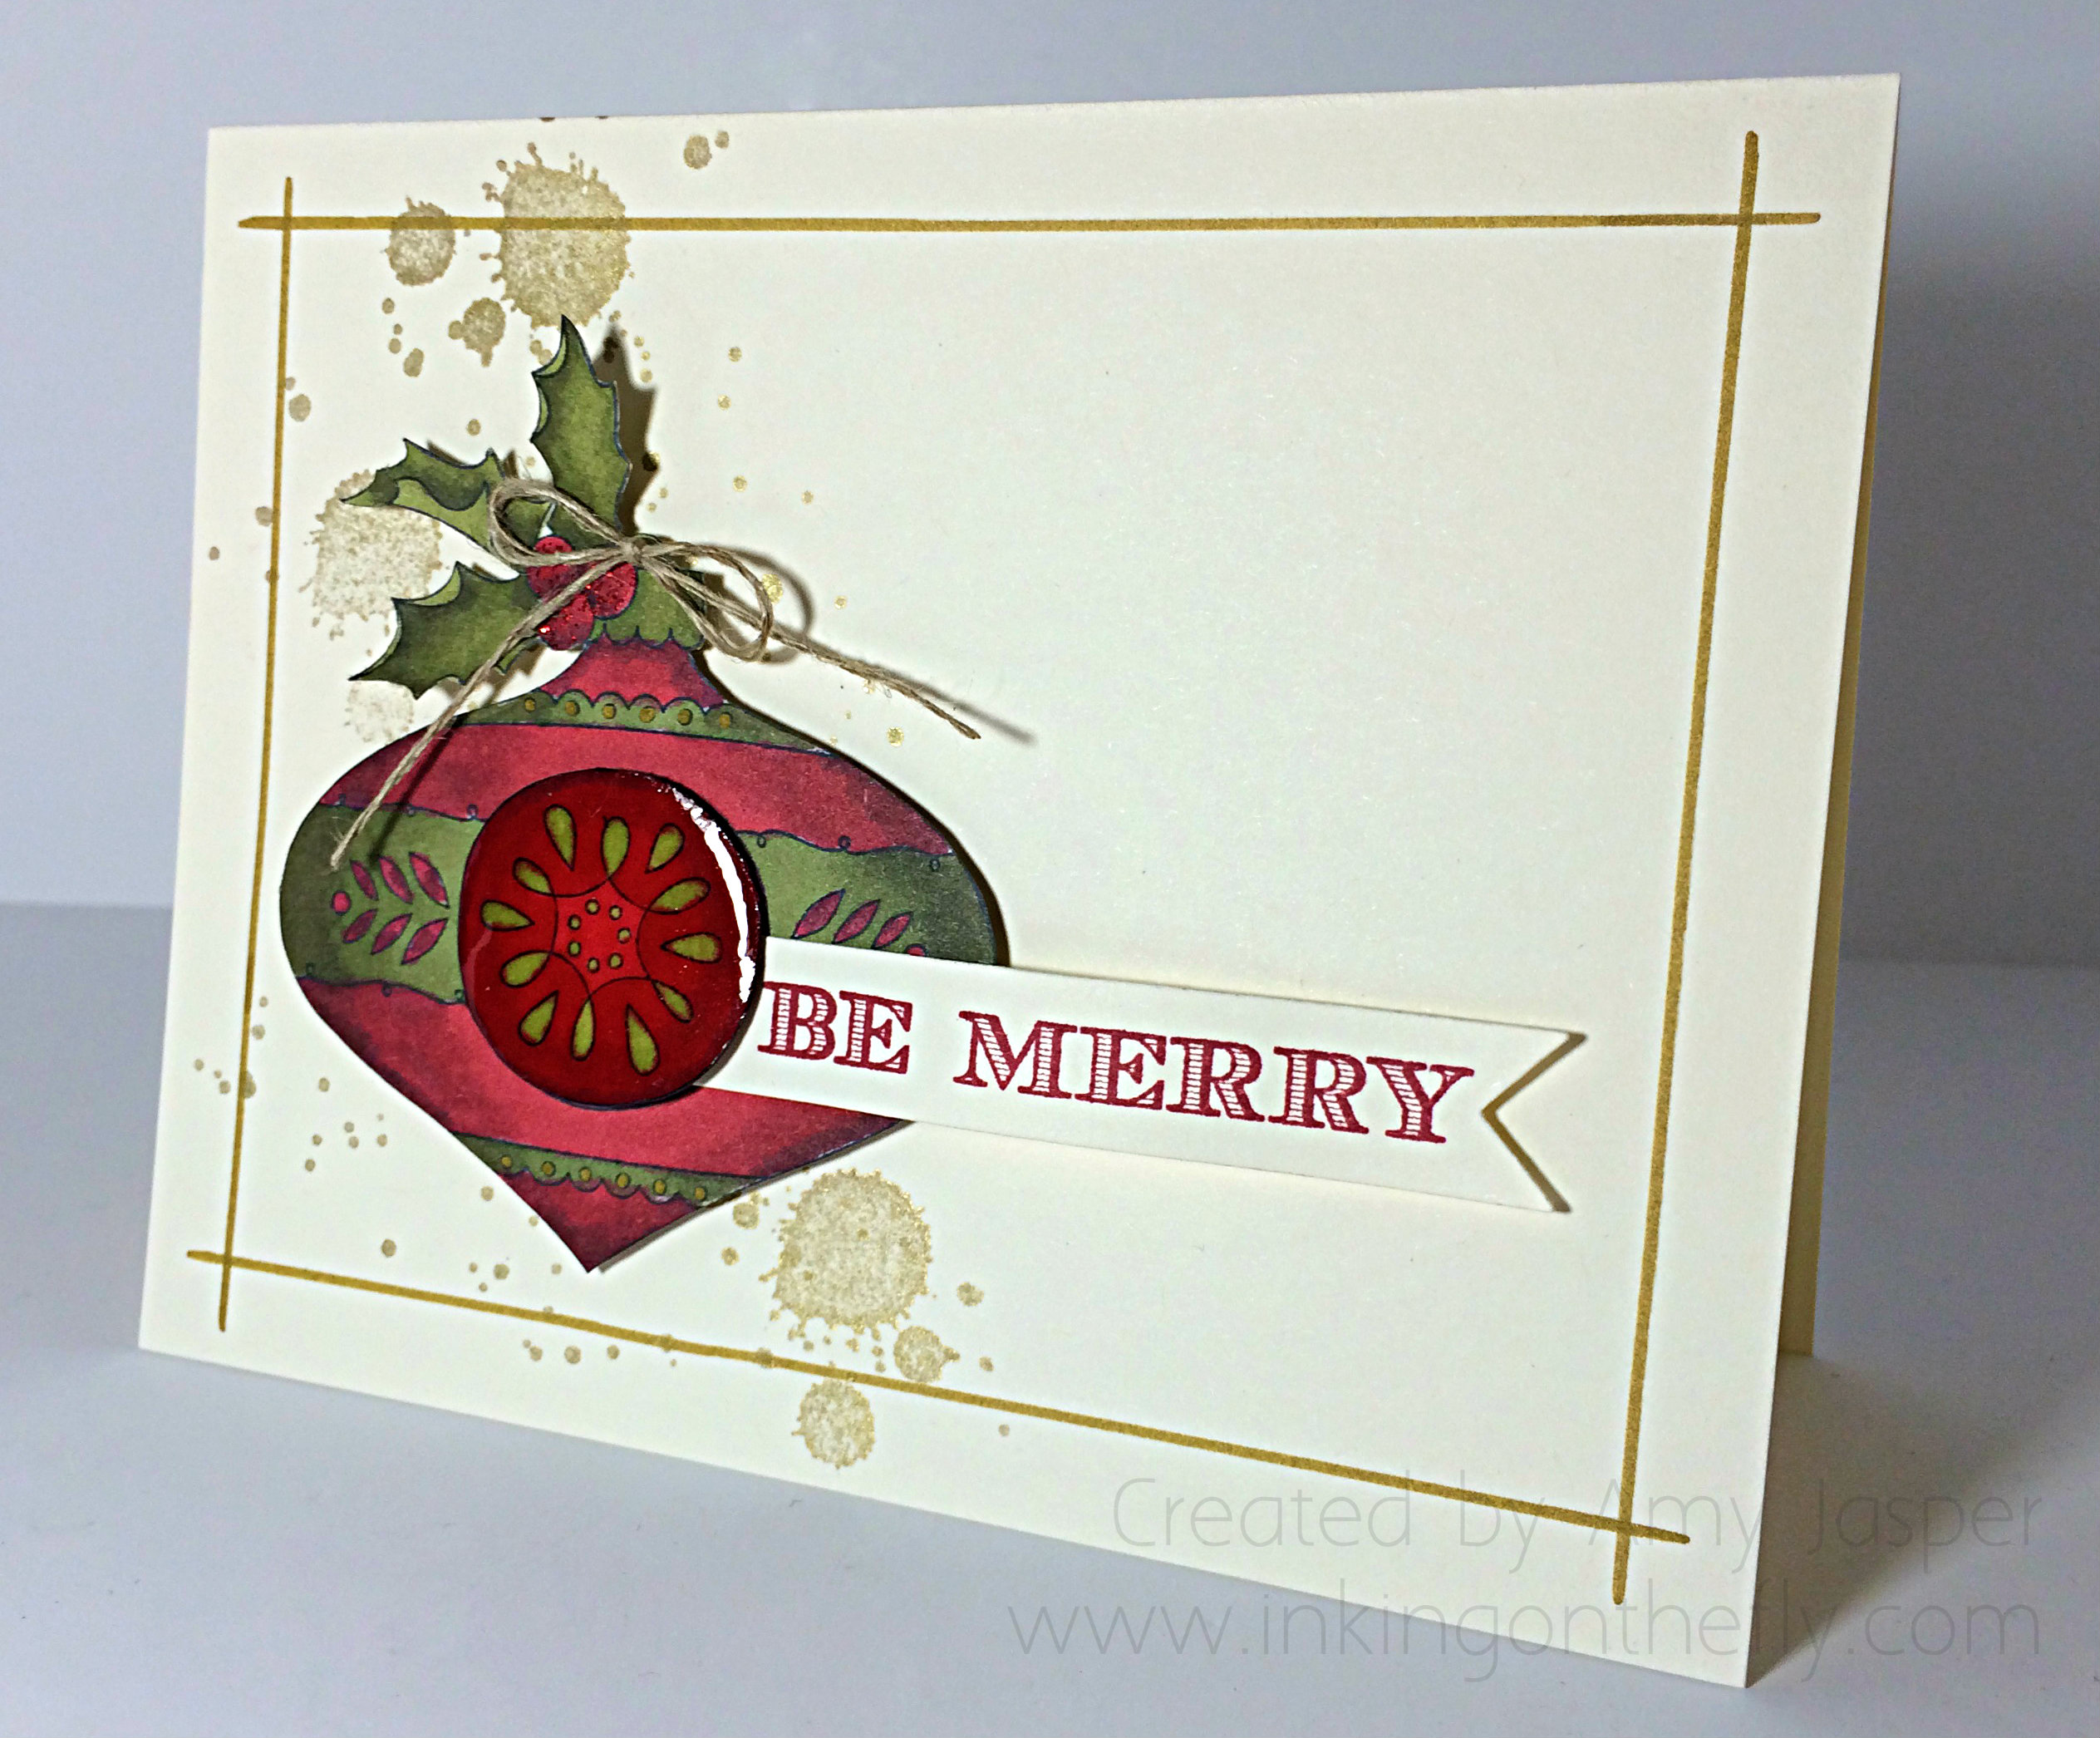
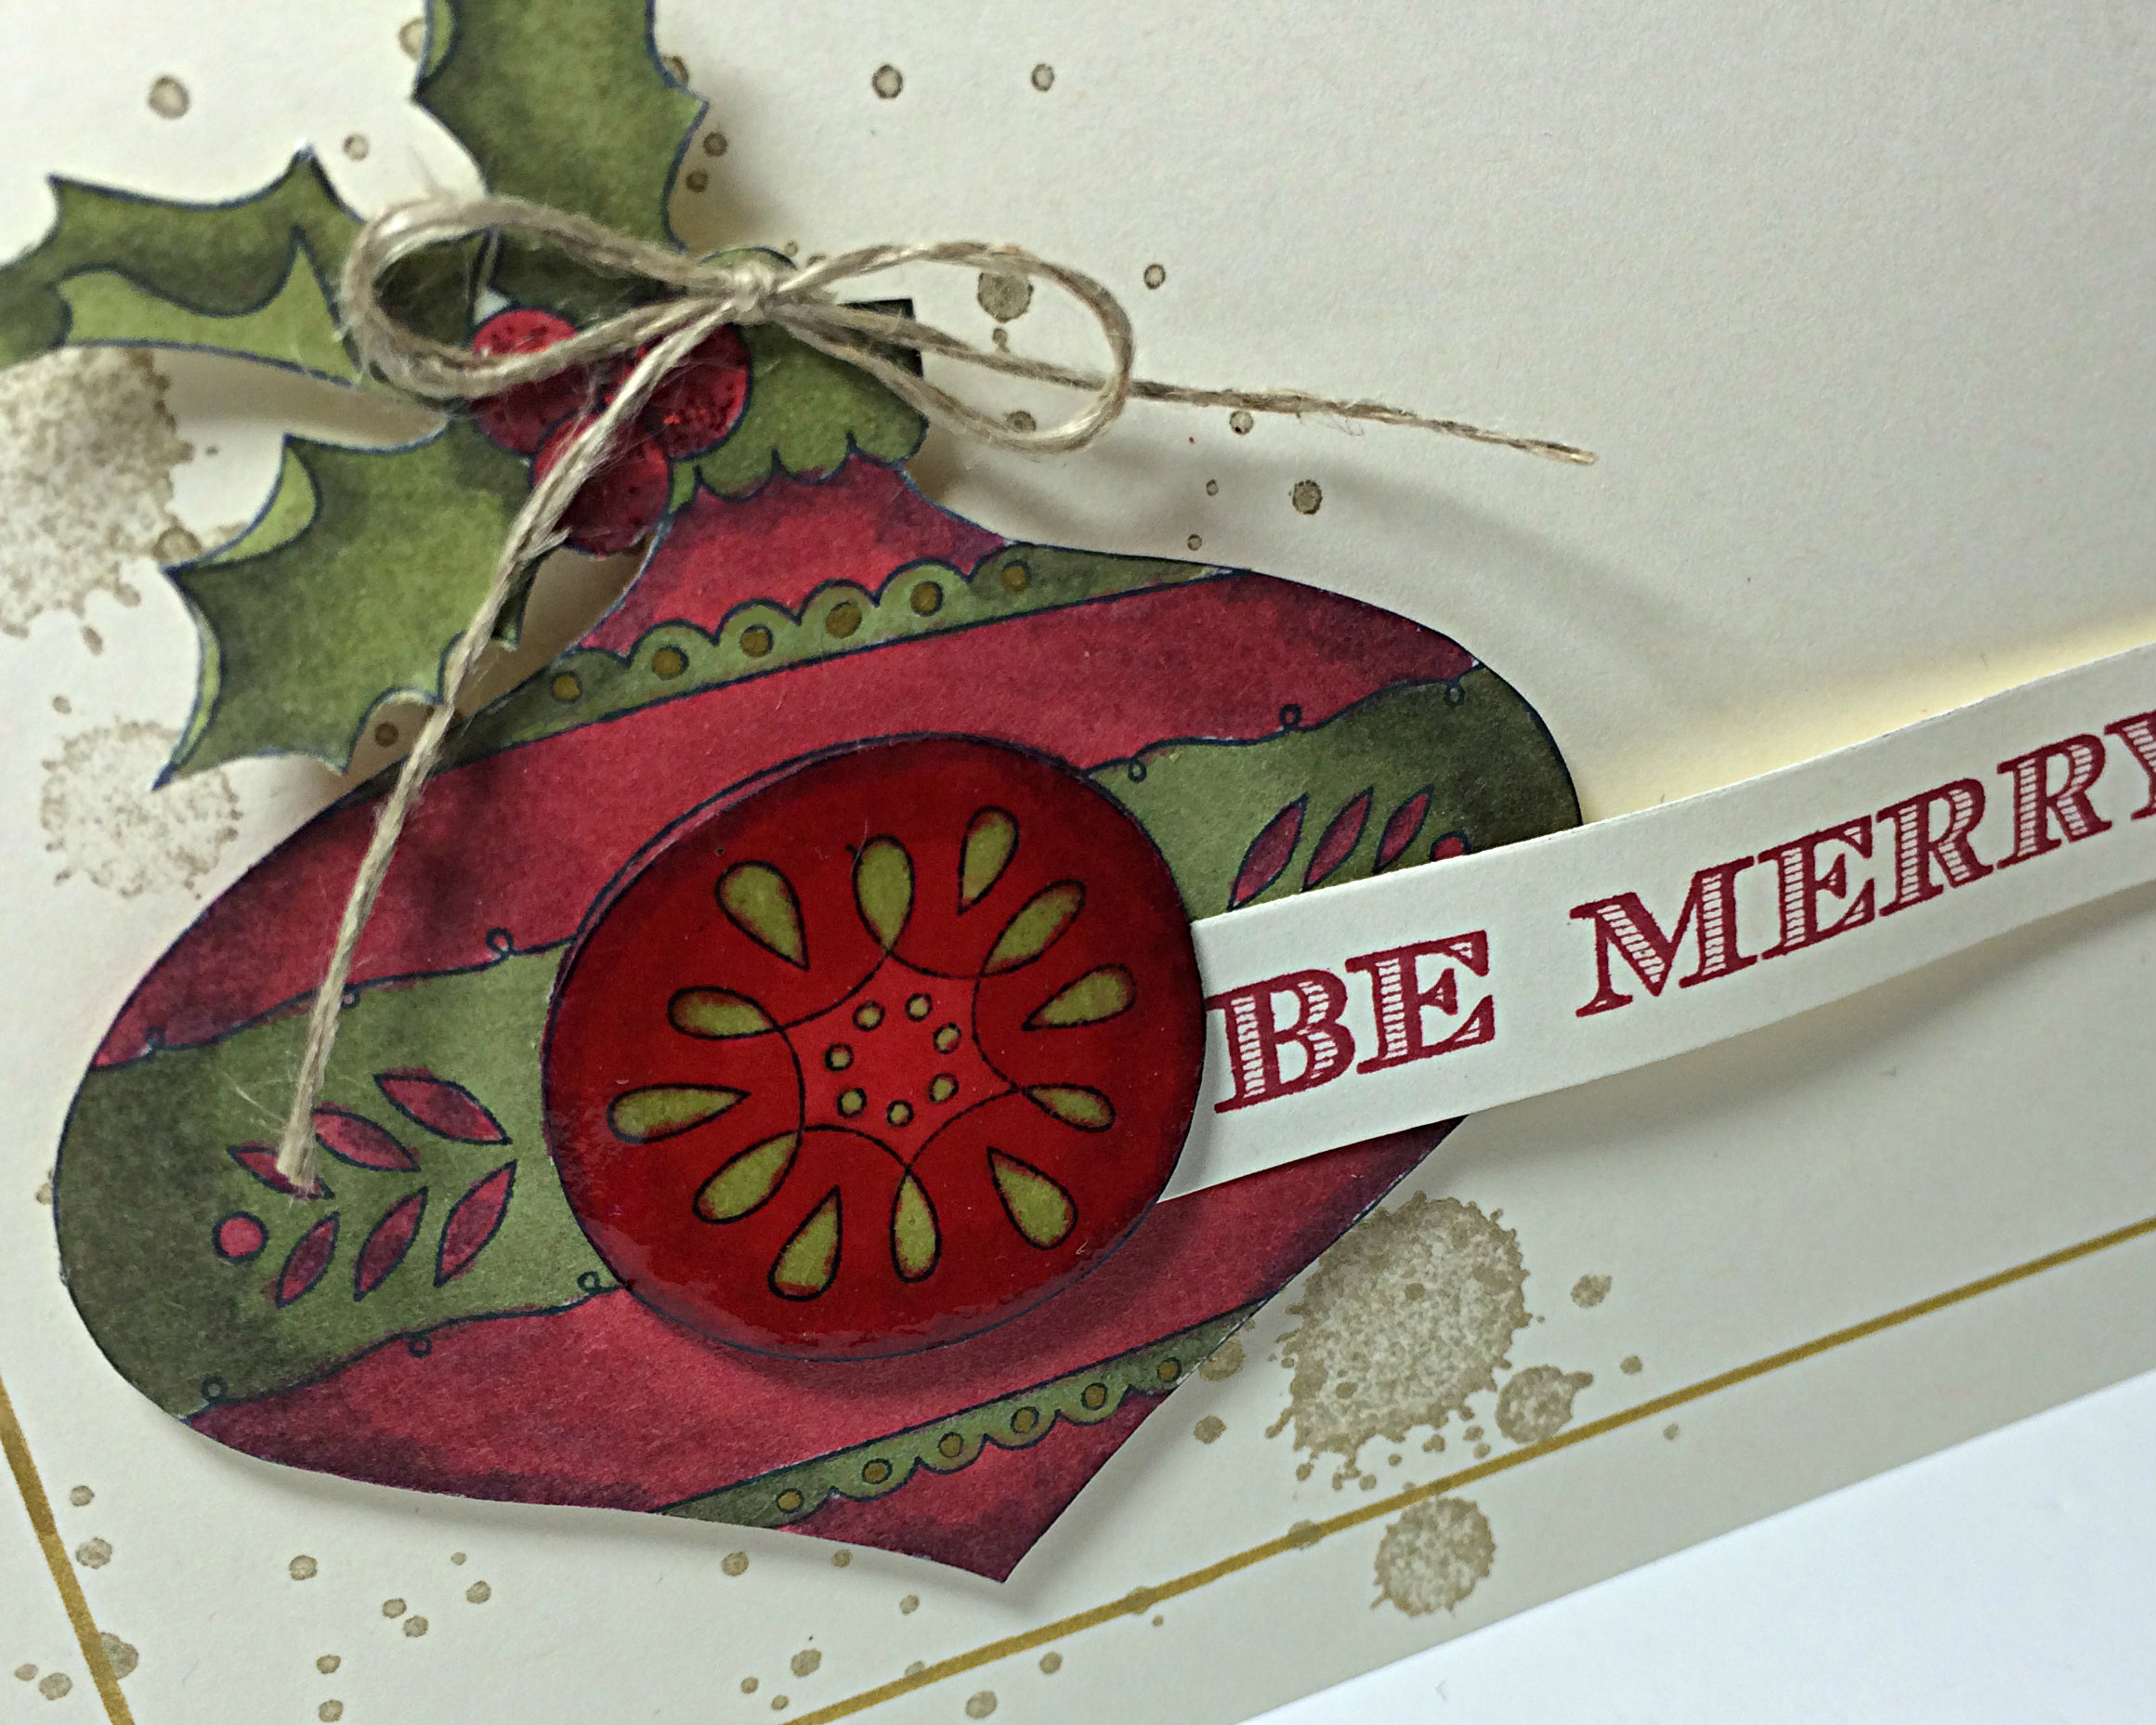
The card base is a sturdy Thick Whisper White cardstock, then you have the Red Foil matted under the Season of Cheer designer series paper. The diagonal striped patterned paper is also from the Season of Cheer paper package.
 Can you see the tiny wave detail on the Red Foil piece across the card front? I finally used my Tiny Wave cutting blade for the rotary trimmer attachment on my Stampin’ Up Paper Trimmer! Yay me!
My “reinsheep” has a little red nose that was drawn in Real Red marker, then made to sparkle and shine with a dob of Cherry Cobbler Dazzling Details. I used my Sahara Sand marker to very thinly outline my reinsheep so he
(though, he could be a she as reindeer girls have antlers, too – bet you didn’t know that little tidbit of trivia!)
could have a little bit of depth. The Soft Sky marker was used around the inside of his body so he/she wouldn’t have boring, flat, white fleece.
And there you have it! How cute it THAT!!
Don’t forget to try this sketch for yourself. It’s a great way to get your creative mojo flowing and you can load it up and share it with us at the As You See It Challenge Blog, too!