Casual Grey
Grey isn’t just for old ladies and sweat pants anymore.
Grey has become one of my favourite colours to wear because it’s not as harsh as black (I look terrible in black!!) and it goes with almost anything. It has also become a very common colour for home decor – there are a lot of grey walls out there!
Grey can be elegant and classy, but I don’t think I have seen many fancy evening dresses in grey. I think of grey as a cozy, casual colour. It is a colour of river rocks, misty skies, and foggy roadways. Casual grey is a comfort colour for me – in the same way that mac and cheese for some people is a comfort food.
Today’s card is all about grey – shades of grey!
(good grief, NOT the movie!! *shudder* LOL!). We haven’t had a speed challenge for a while. I LOVE the speed challenges because they really push me to work fast and keep it simple. I don’t always love how my cards turn out, but I ALWAYS find inspiration. It’s as though the pressure to complete a card is just the right catalyst to get my creativity to flow.
I did this card in 8:28 minutes! It was a good thing, too, because when I started making it, I had 10 minutes before I had to leave my house to pick up my daughter at school. This is another reason that I love speed challenges – I can get ‘er done!!!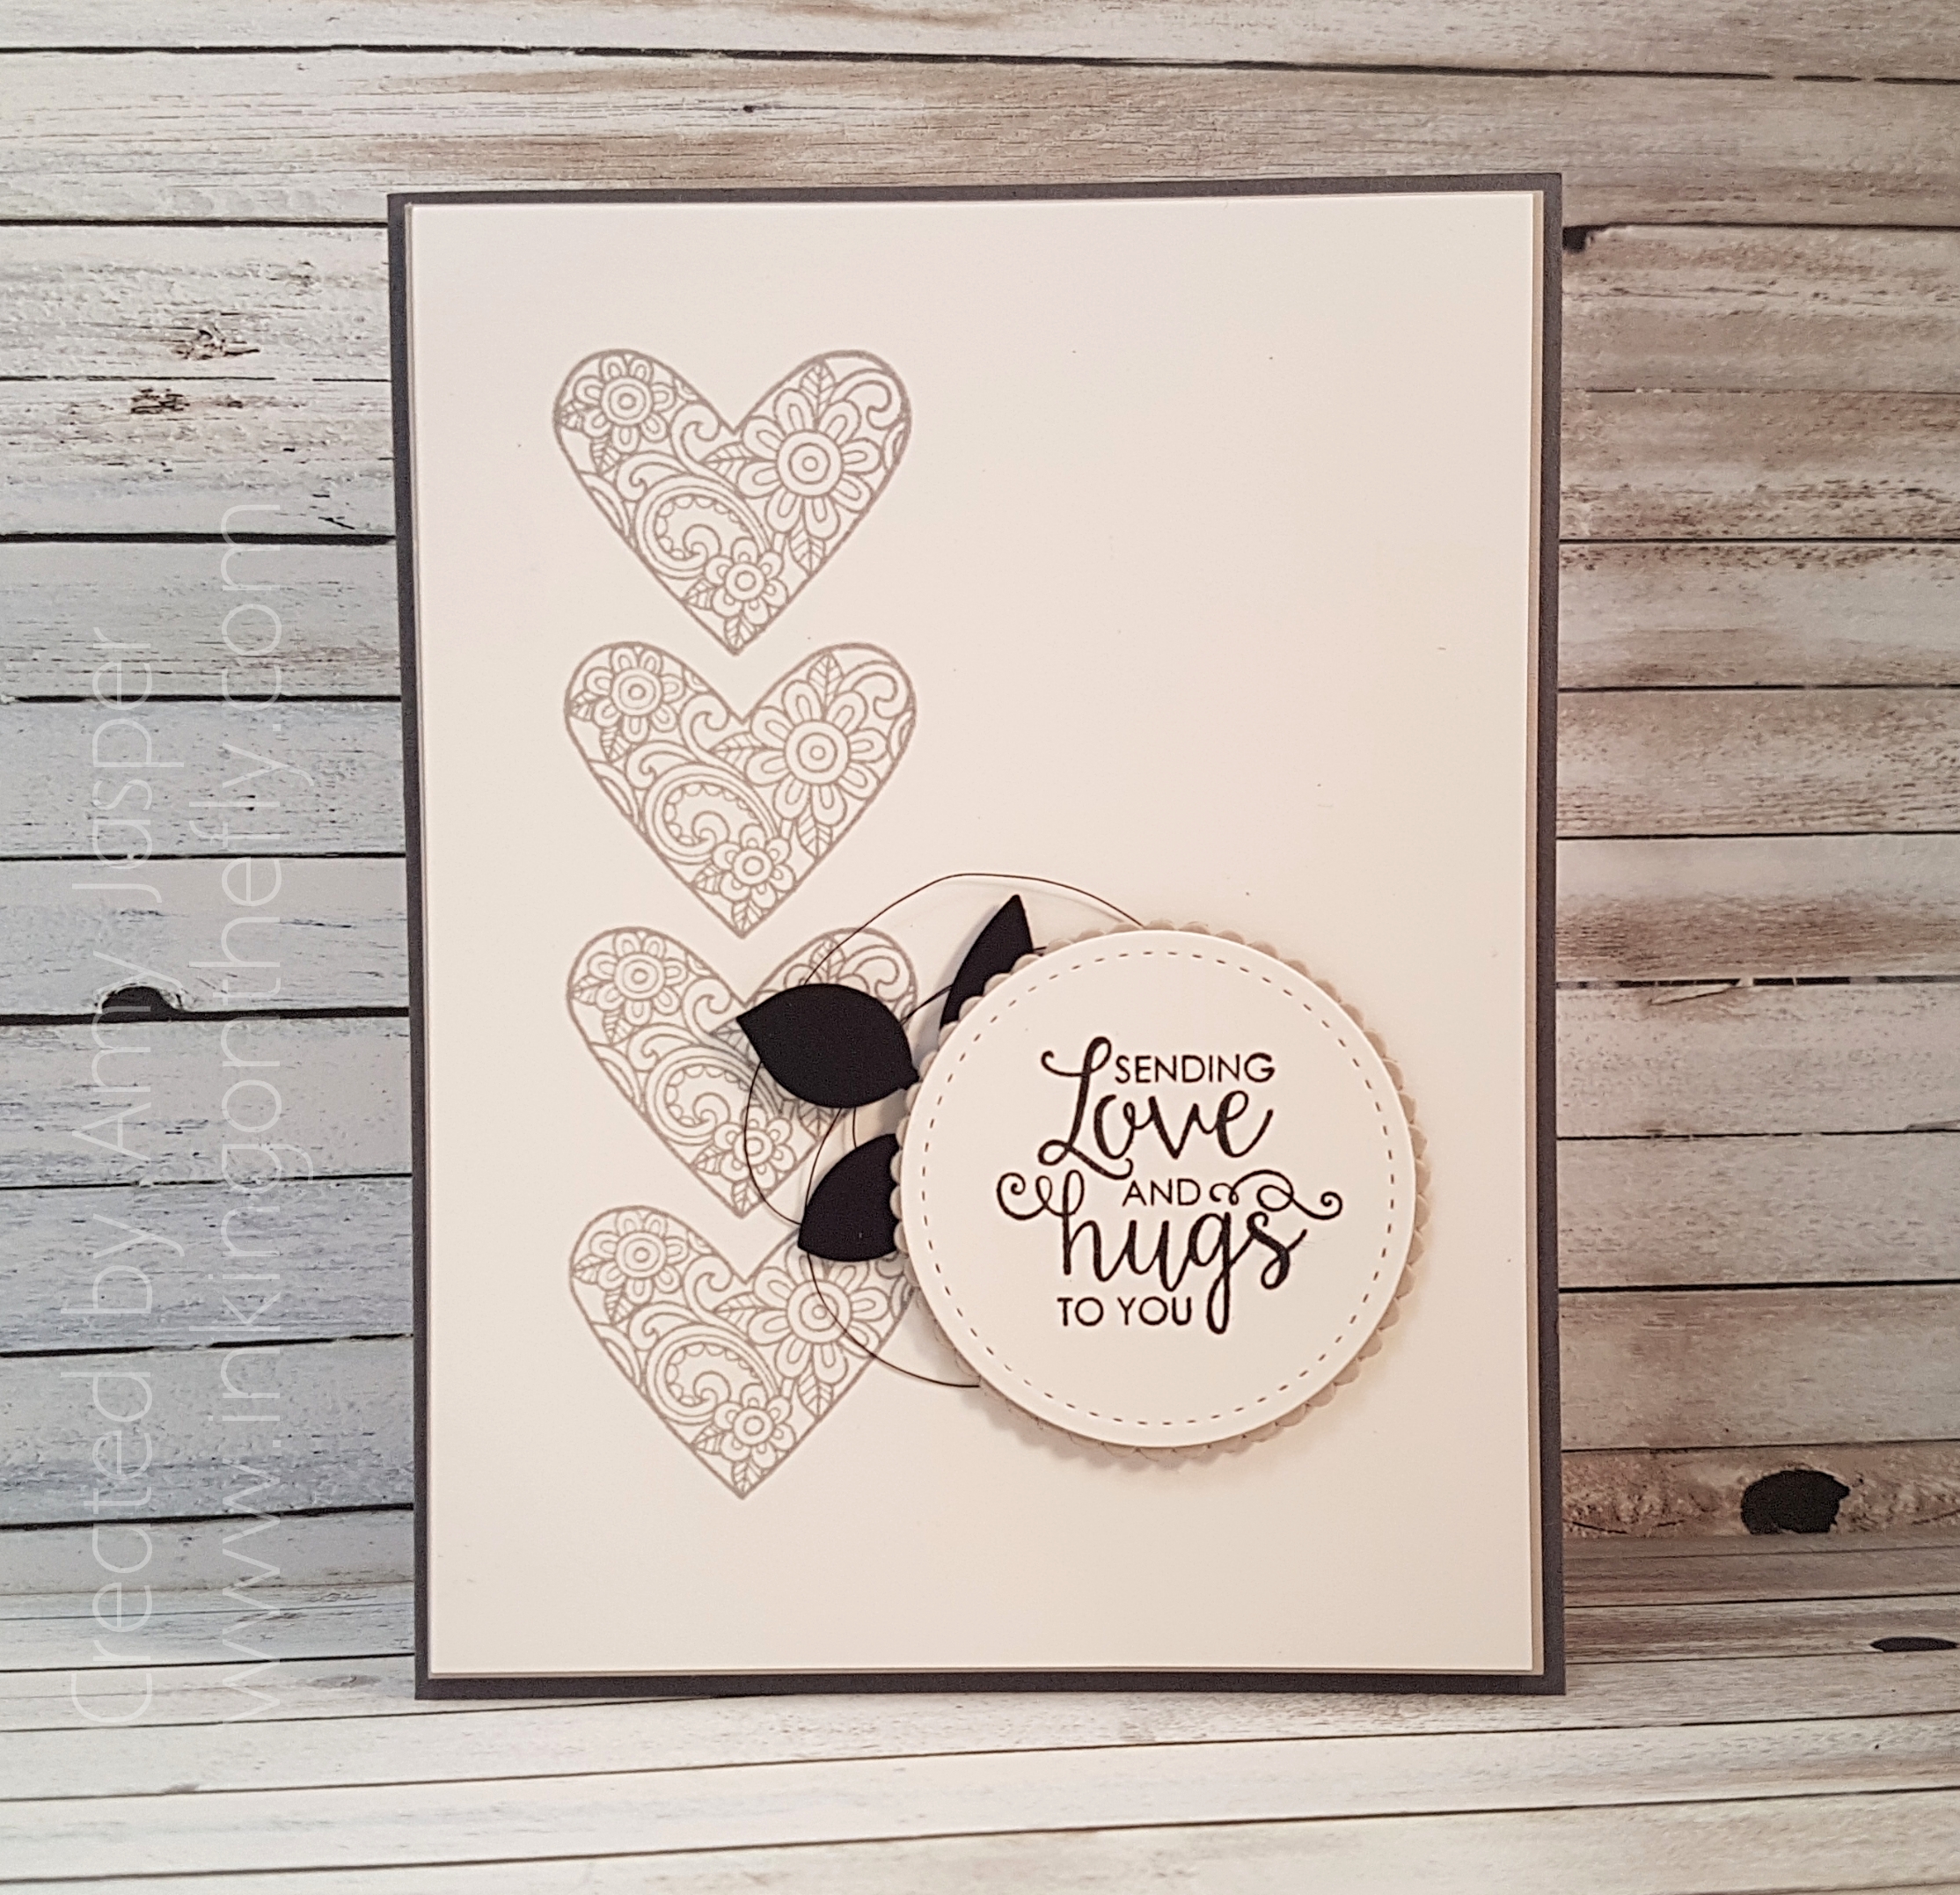 Friends, I have a terrible time photographing my white cards lately. The white never looks right AND it just looks worse the more I fiddle with it in my photo editing program. I think I need to consider trying some different light bulbs for my light box.
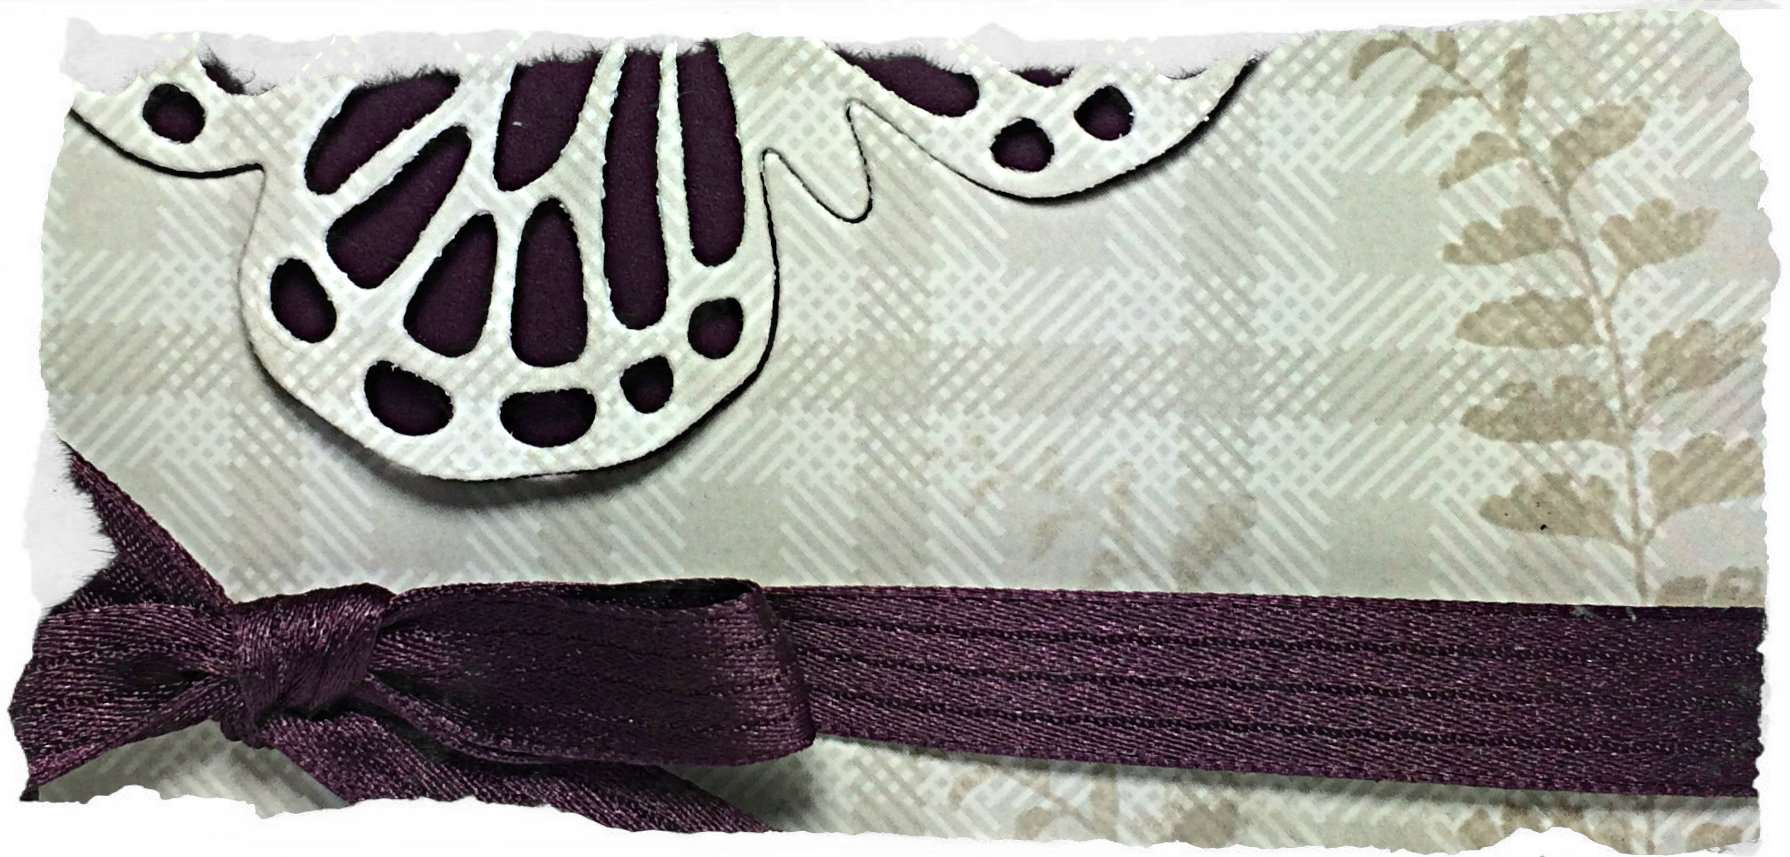
I started with the heart stamp from the Ribbon of Courage Stamp set and used my Stamparatus to stamp it multiple times in a row on my Whisper White cardstock with Smoky Slate Ink.
(I am so excited for you all to be able to purchase this awesome tool in June! It is “da bomb!”)
The sentiment from the same stamp set was stamped on Whisper White cardstock using Tuxedo Black Momento ink. I die cut it using one of the circles from the Stitched Shapes Framelits. That is layered over top of a Sahara Sand (we would categorize this as “greige”, I believe) scallop circle from the Layering Circle Framelits Dies.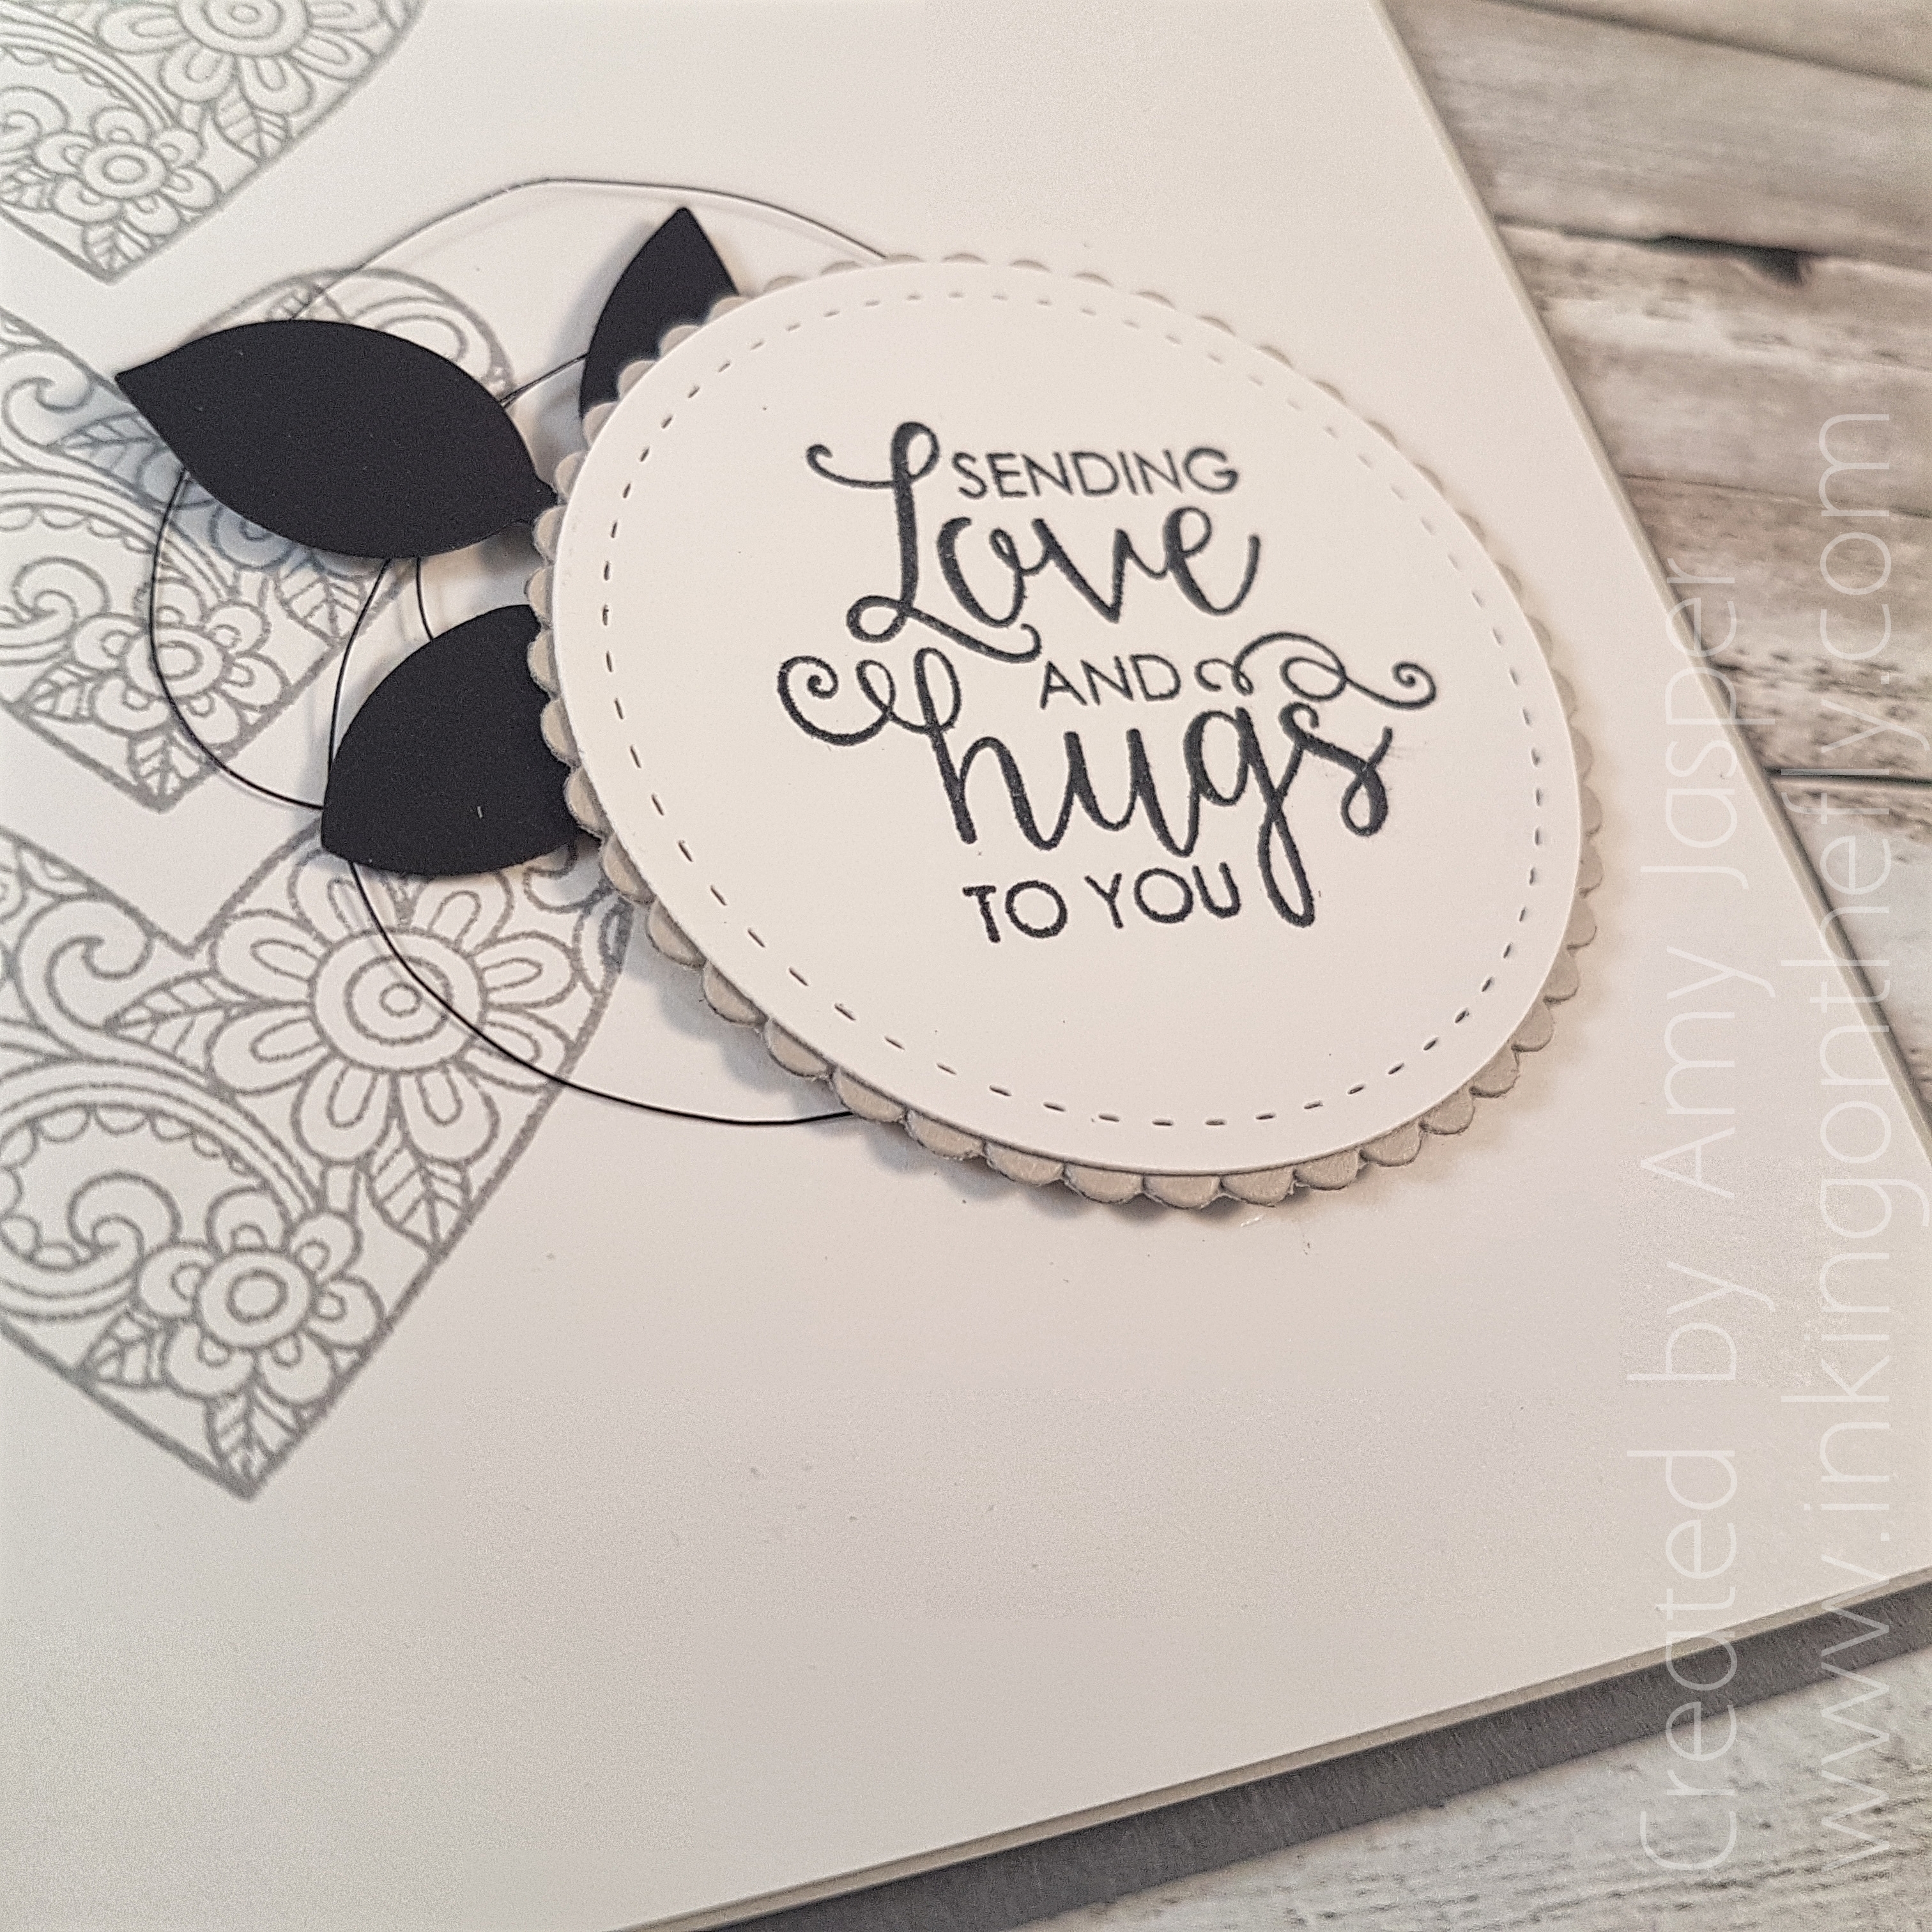 Behind the circle are the leaves made from Basic Black cardstock punched with the Leaf Punch and adhered to the back of the circle. I attached a triple loop of the Basic Black Metallic Thread to the back of the circle/leaf combo using Stampin’ Dimensionals, then attached the entire ensemble to the card front.
Behind the “hearty” Whisper White layer of of the card, you can see a thin matte of Sahara Sand cardstock over a Basic Grey card base.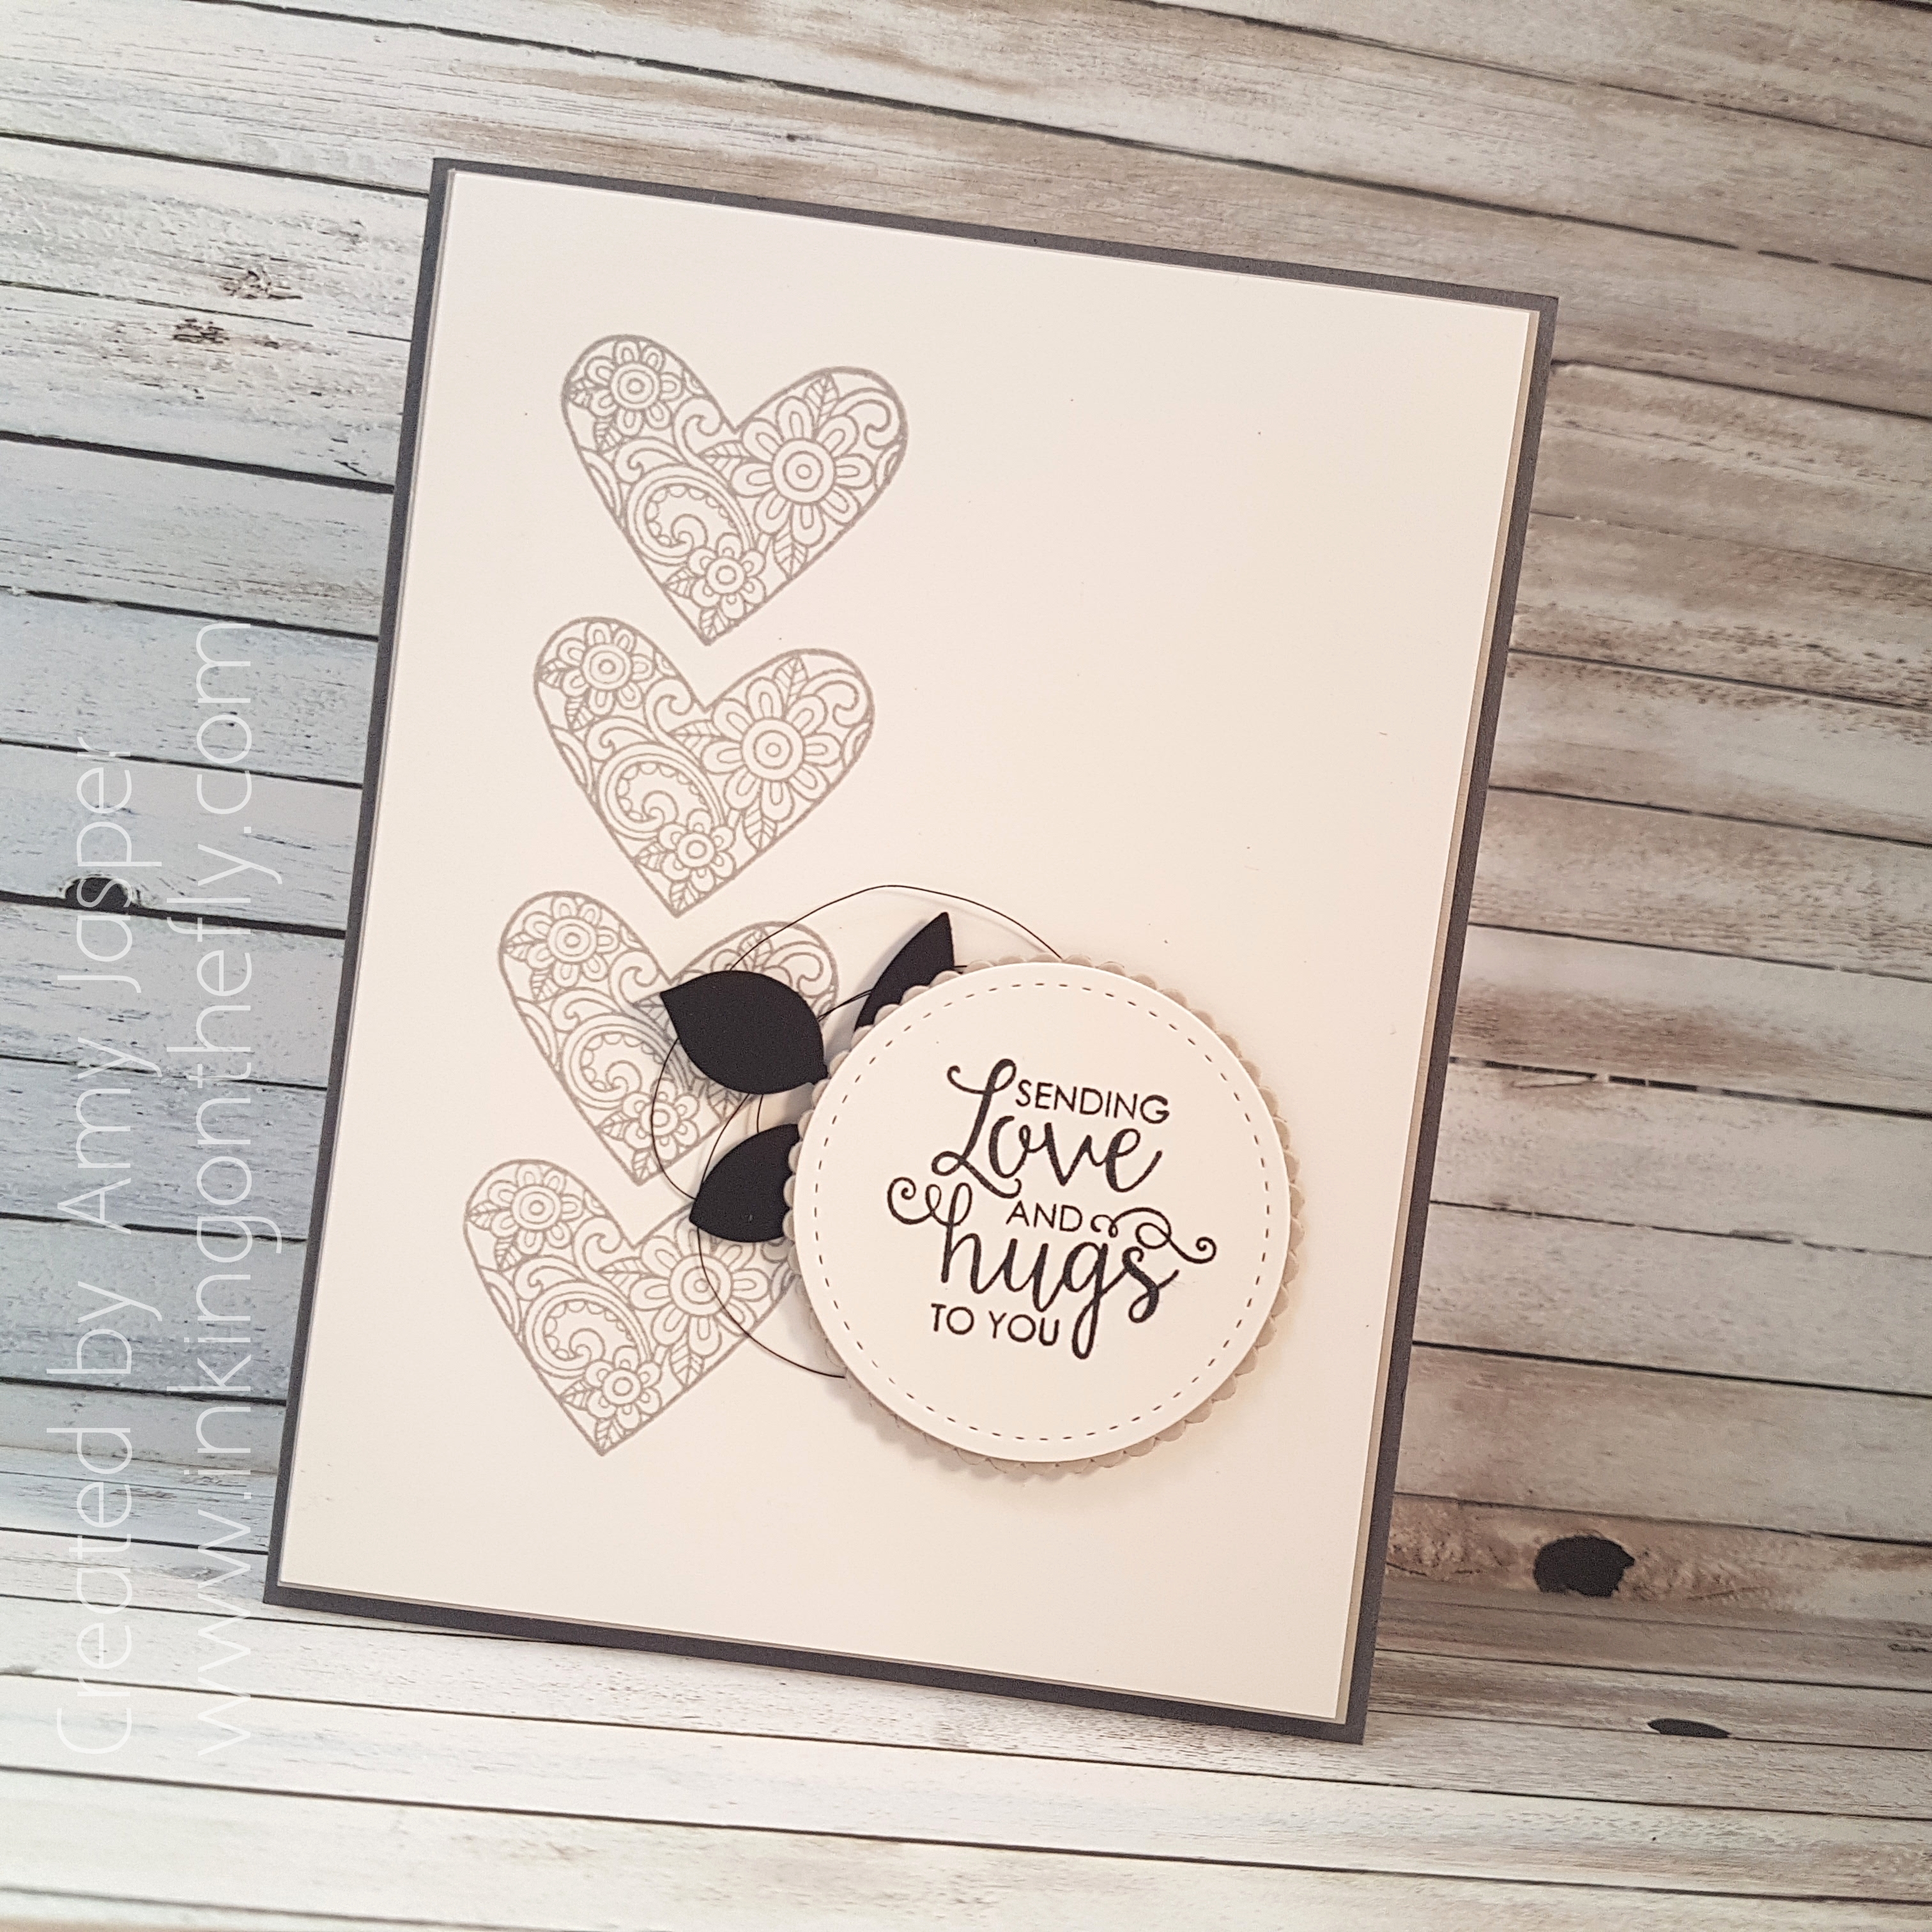 All of this classy, cozy, casual grey goodness in less than 10 minutes!! 8 minutes and 28 seconds, people!! I take hours to do some cards – literally HOURS!! It is quite an accomplishment to design a card in such a short time for me.
And I actually LIKE this one!
So, now it’s your turn. I challenge YOU! You can think it through, gather your supplies (no precutting allowed!) and set your timer for 10 minutes. Show us over at the As You See It Challenge blog what you come up with and get your creative mojo flowin’ in the process!!