More Than Cookies
Here’s another moving arm card design using the Nothing’s Better Than stamp set and the Love You More Dies from Stampin’ Up!
I made this one for my husband’s birthday. Inside the card, I wrote that I also love him more than ice cream, coffee, and wine! Though, there are times, in the moment, that I will choose any one of these things over him. LOL! But, if we’re talking long term here, that man will win over all those things, every time!
You can see the first moving arm pop-up card that I made for a class on my previous post. There’s also a tutorial video that will show you how to make the pop-up mechanism so you can create your own moving arm pop-up cards.

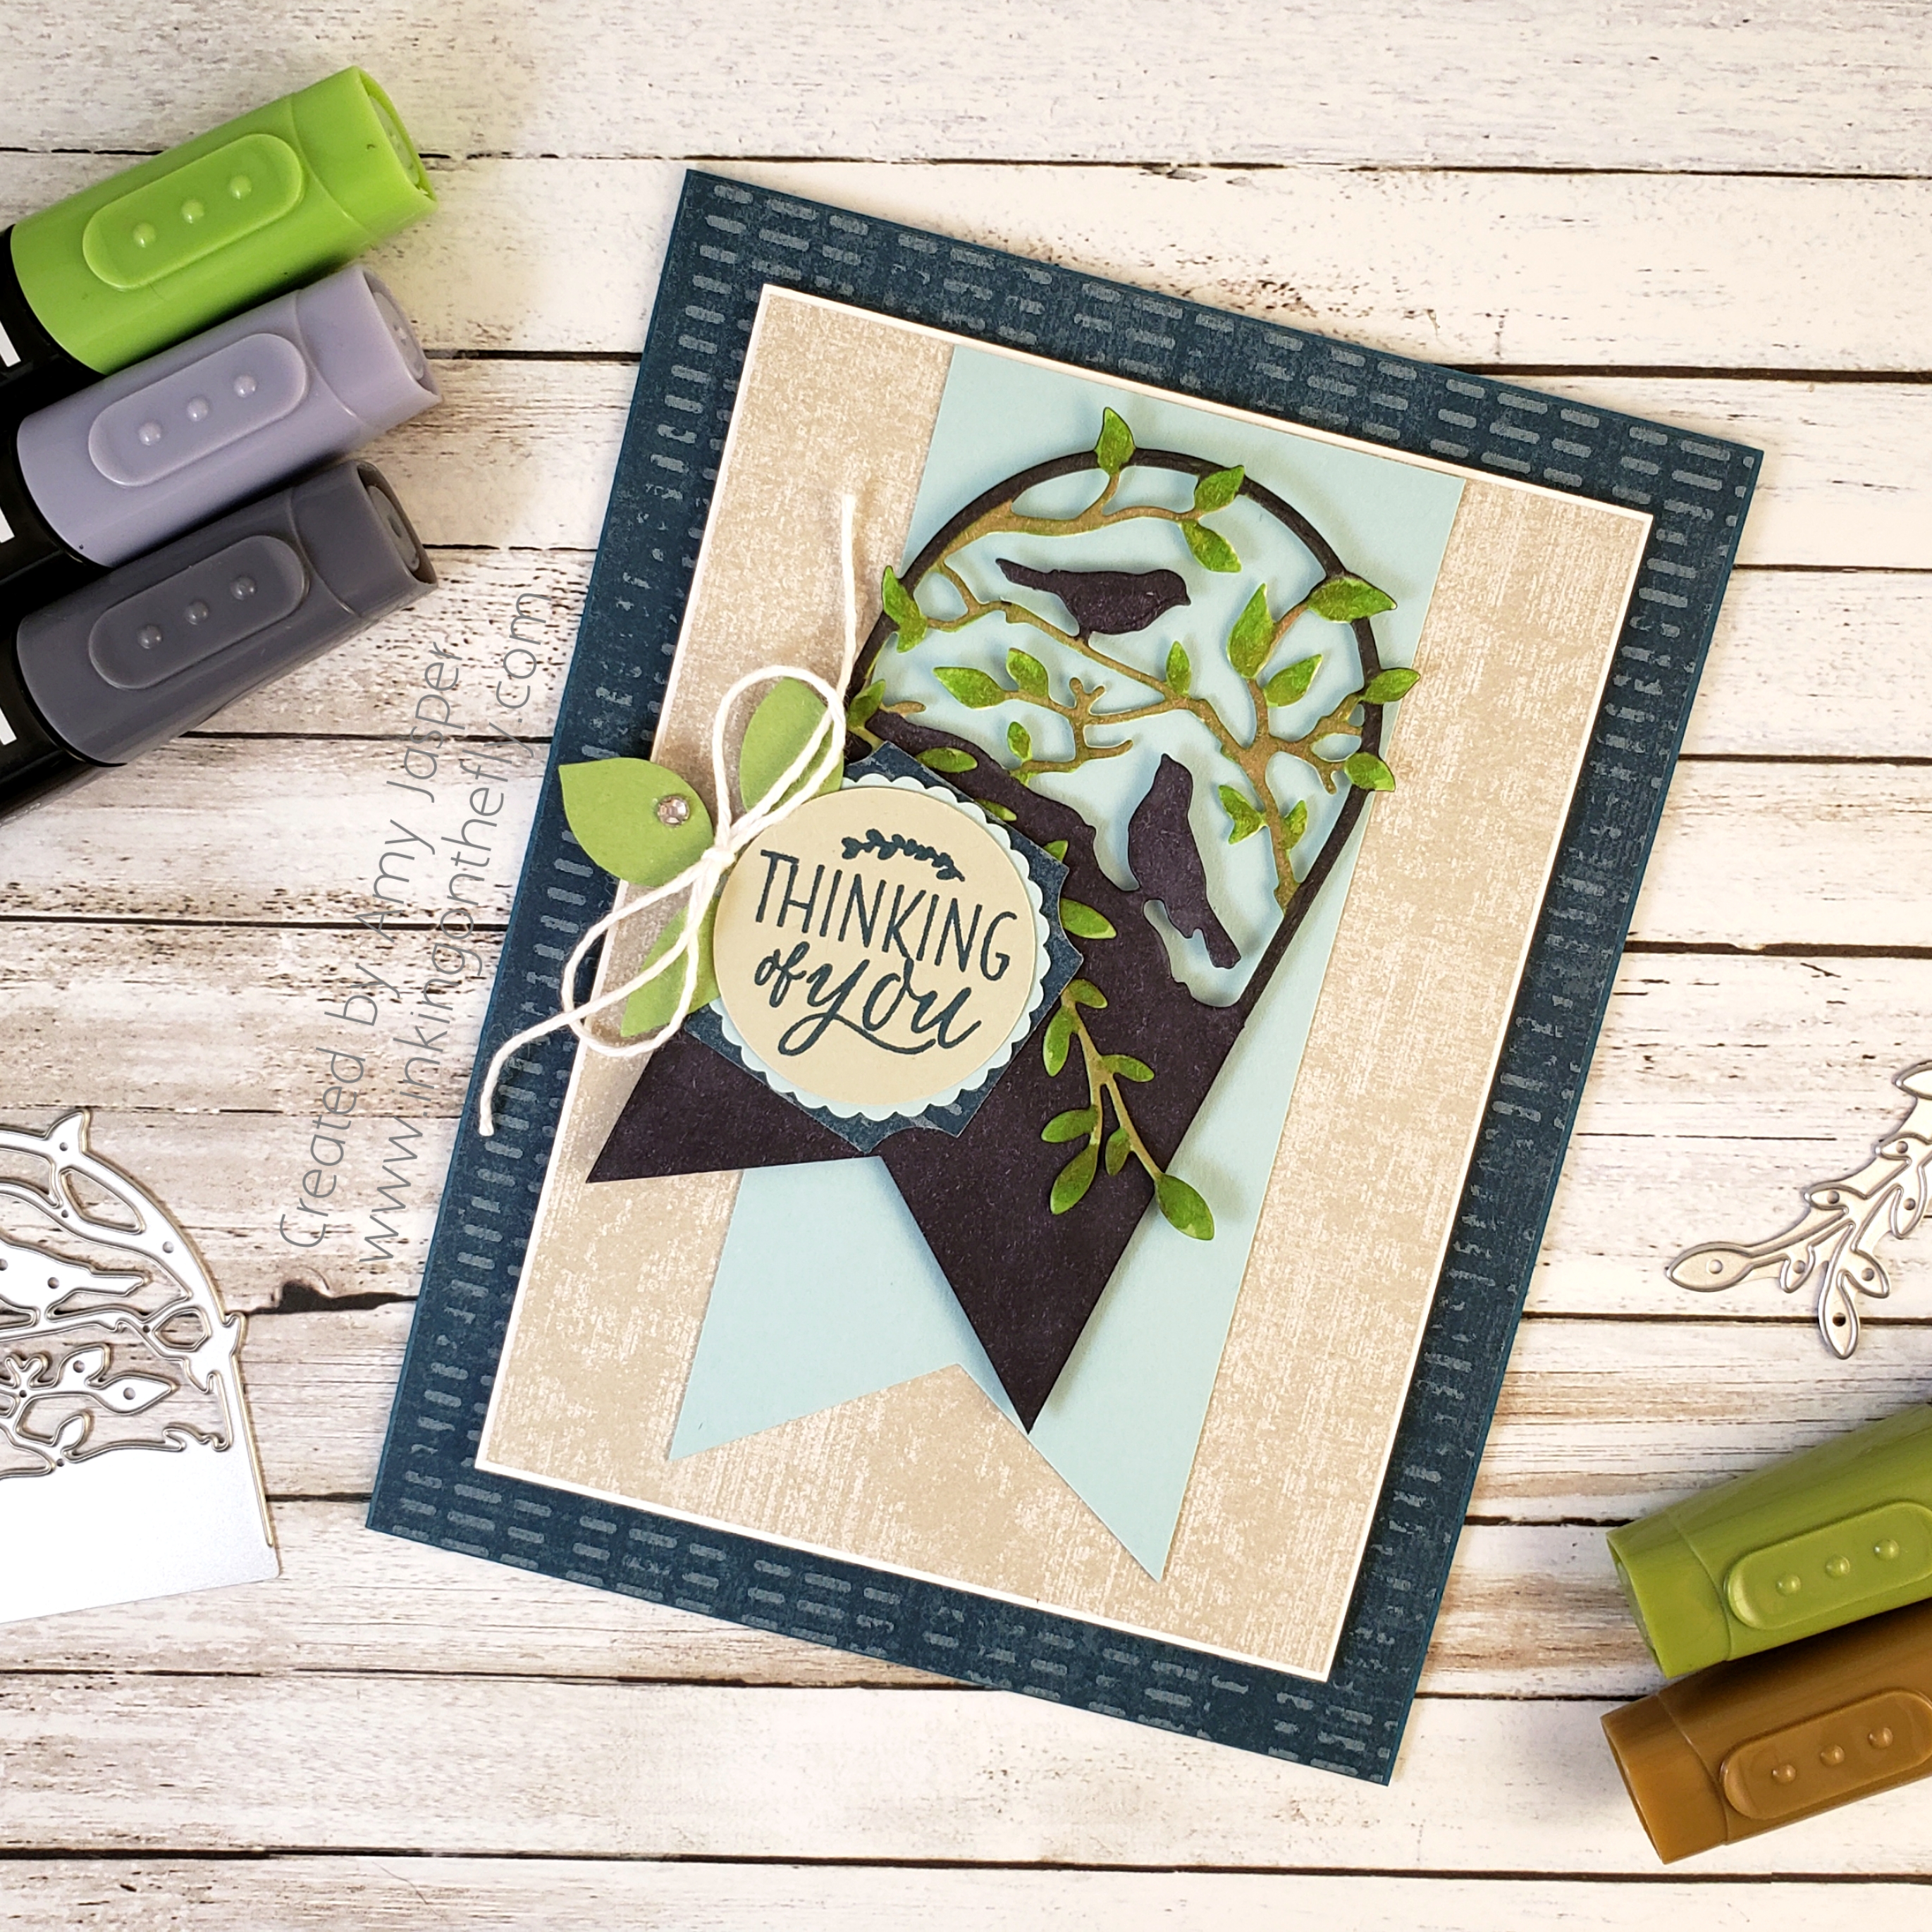
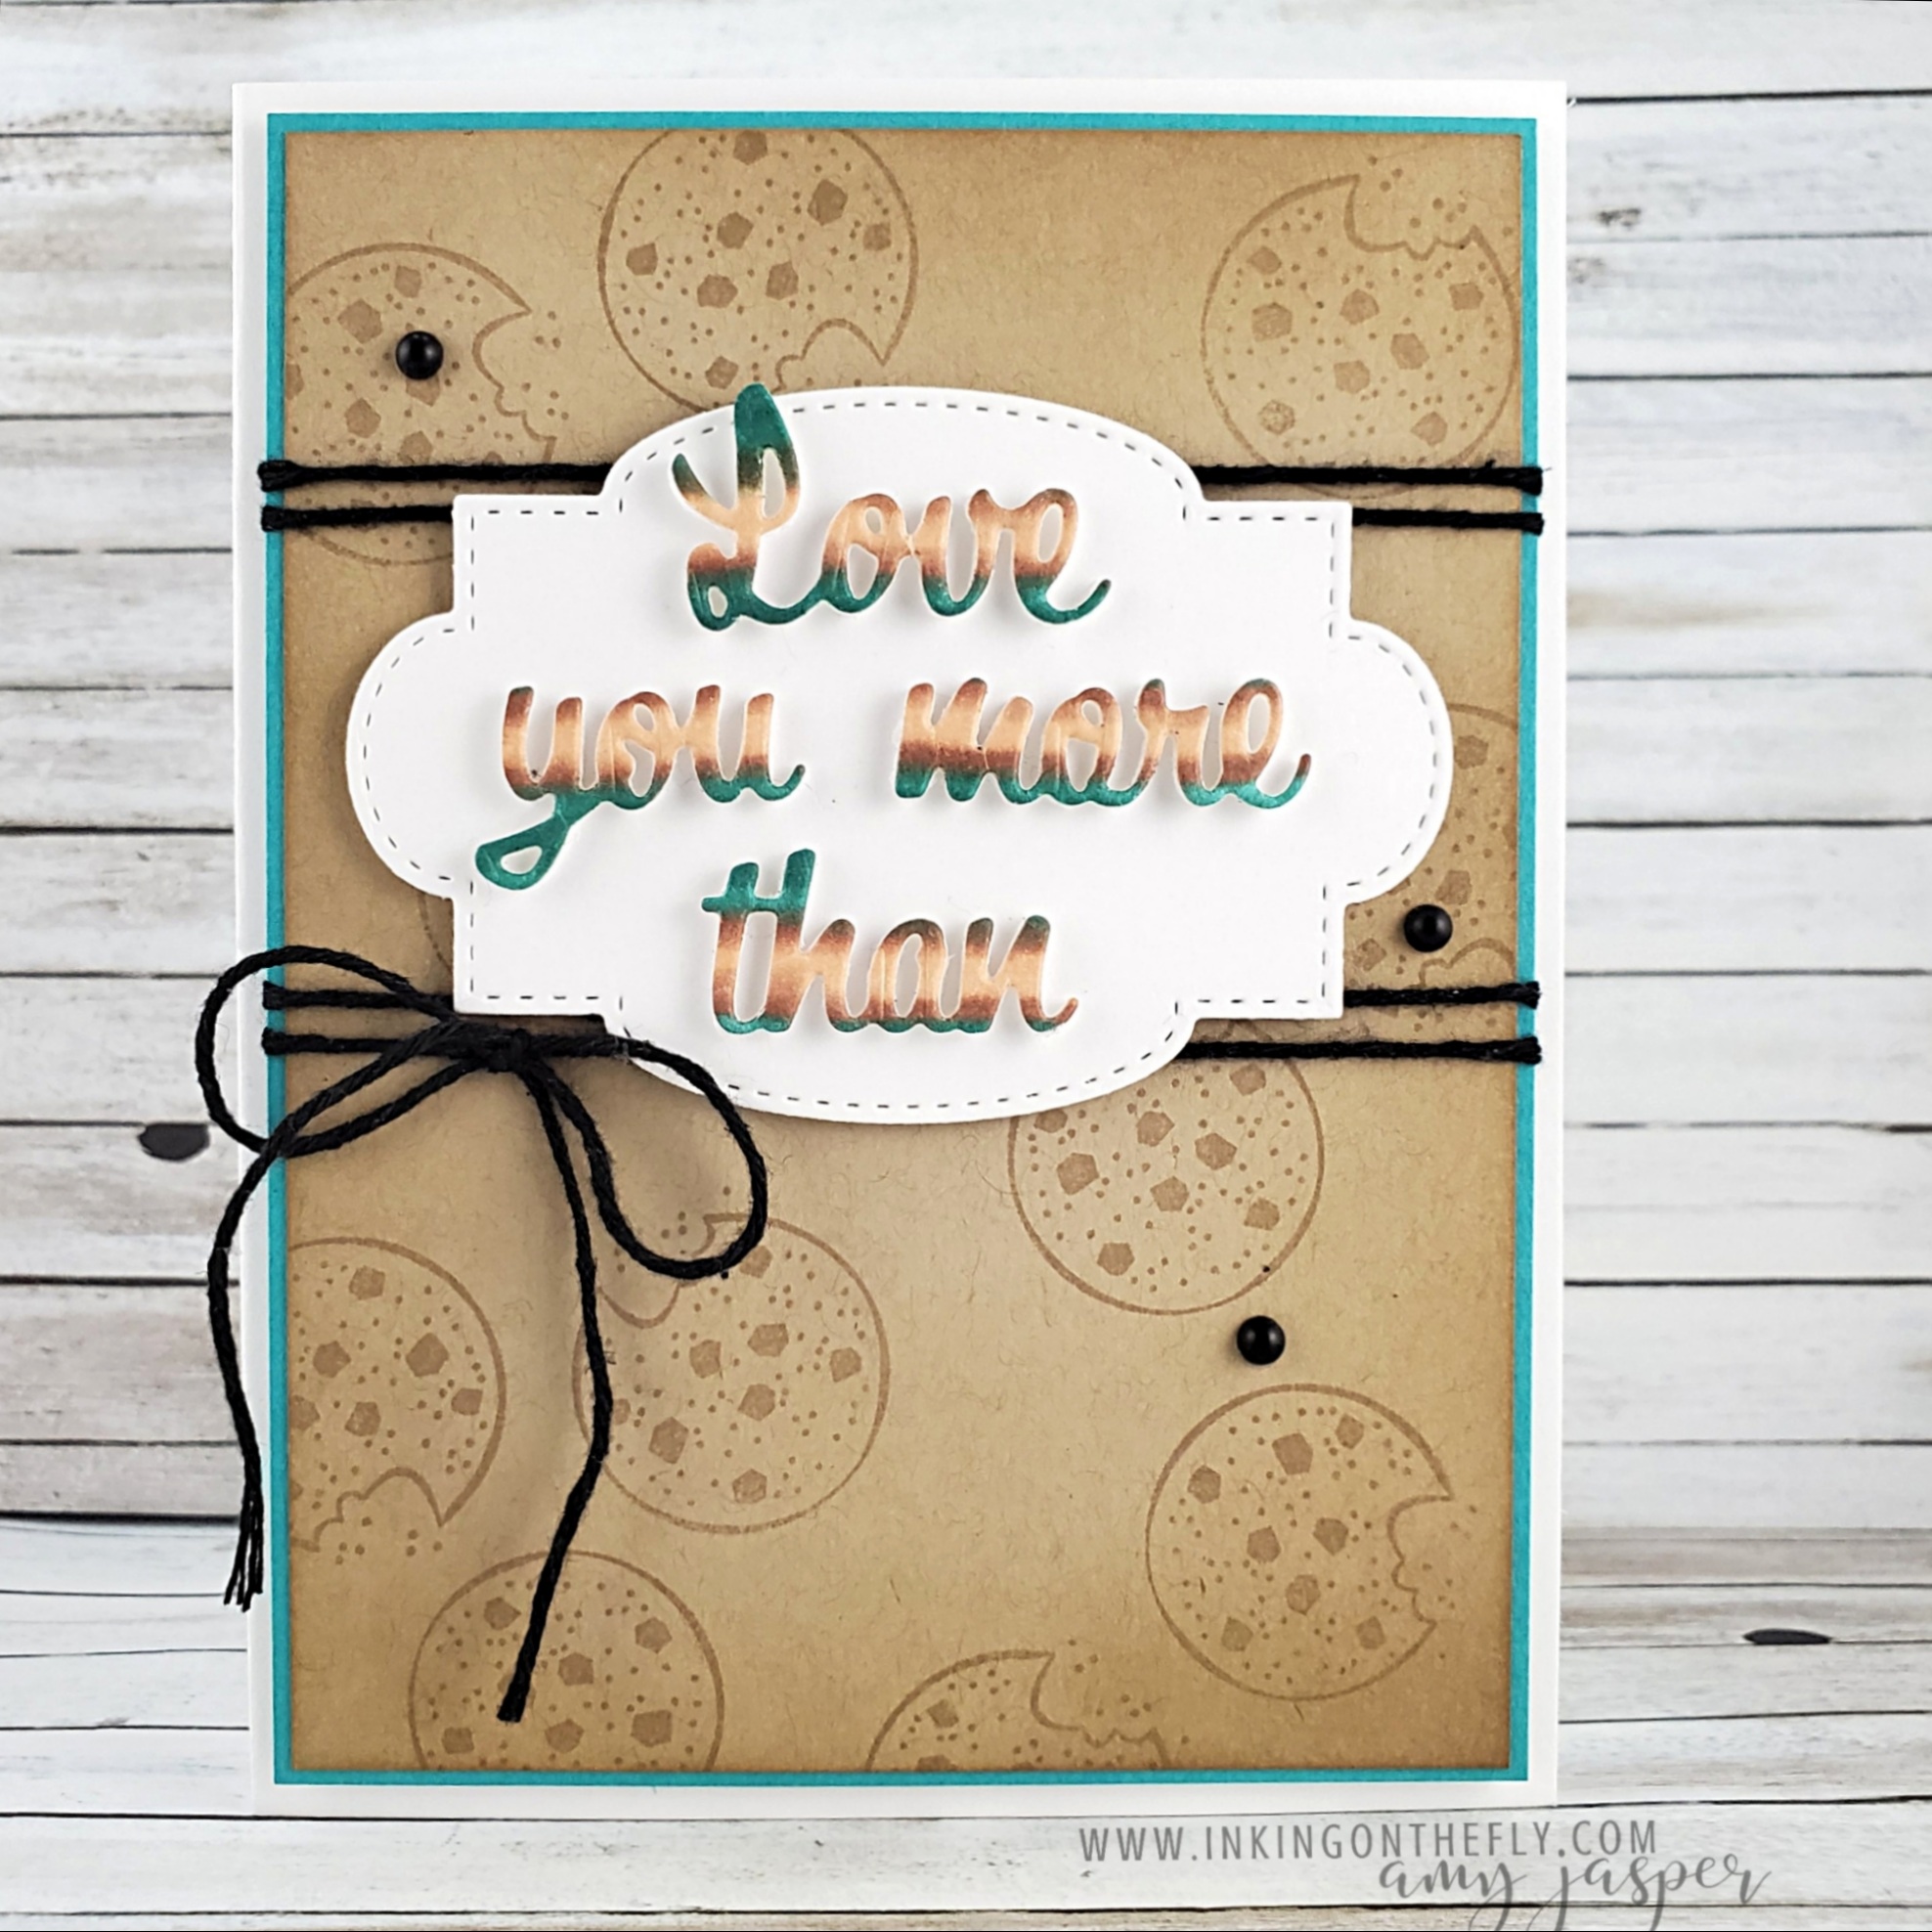
I wanted to keep the front of the card relatively simple because the inside is so fancy, but I still couldn’t help but add some sponging on the Crumb Cake layer. I also used a technique shared by Stampin’ Up! 2020 Artisan Team member, Stesha Bloodhart, to colour the letters using Stampin’ Up! Blends Markers. I love the look! I’ll definitely be using it more often.
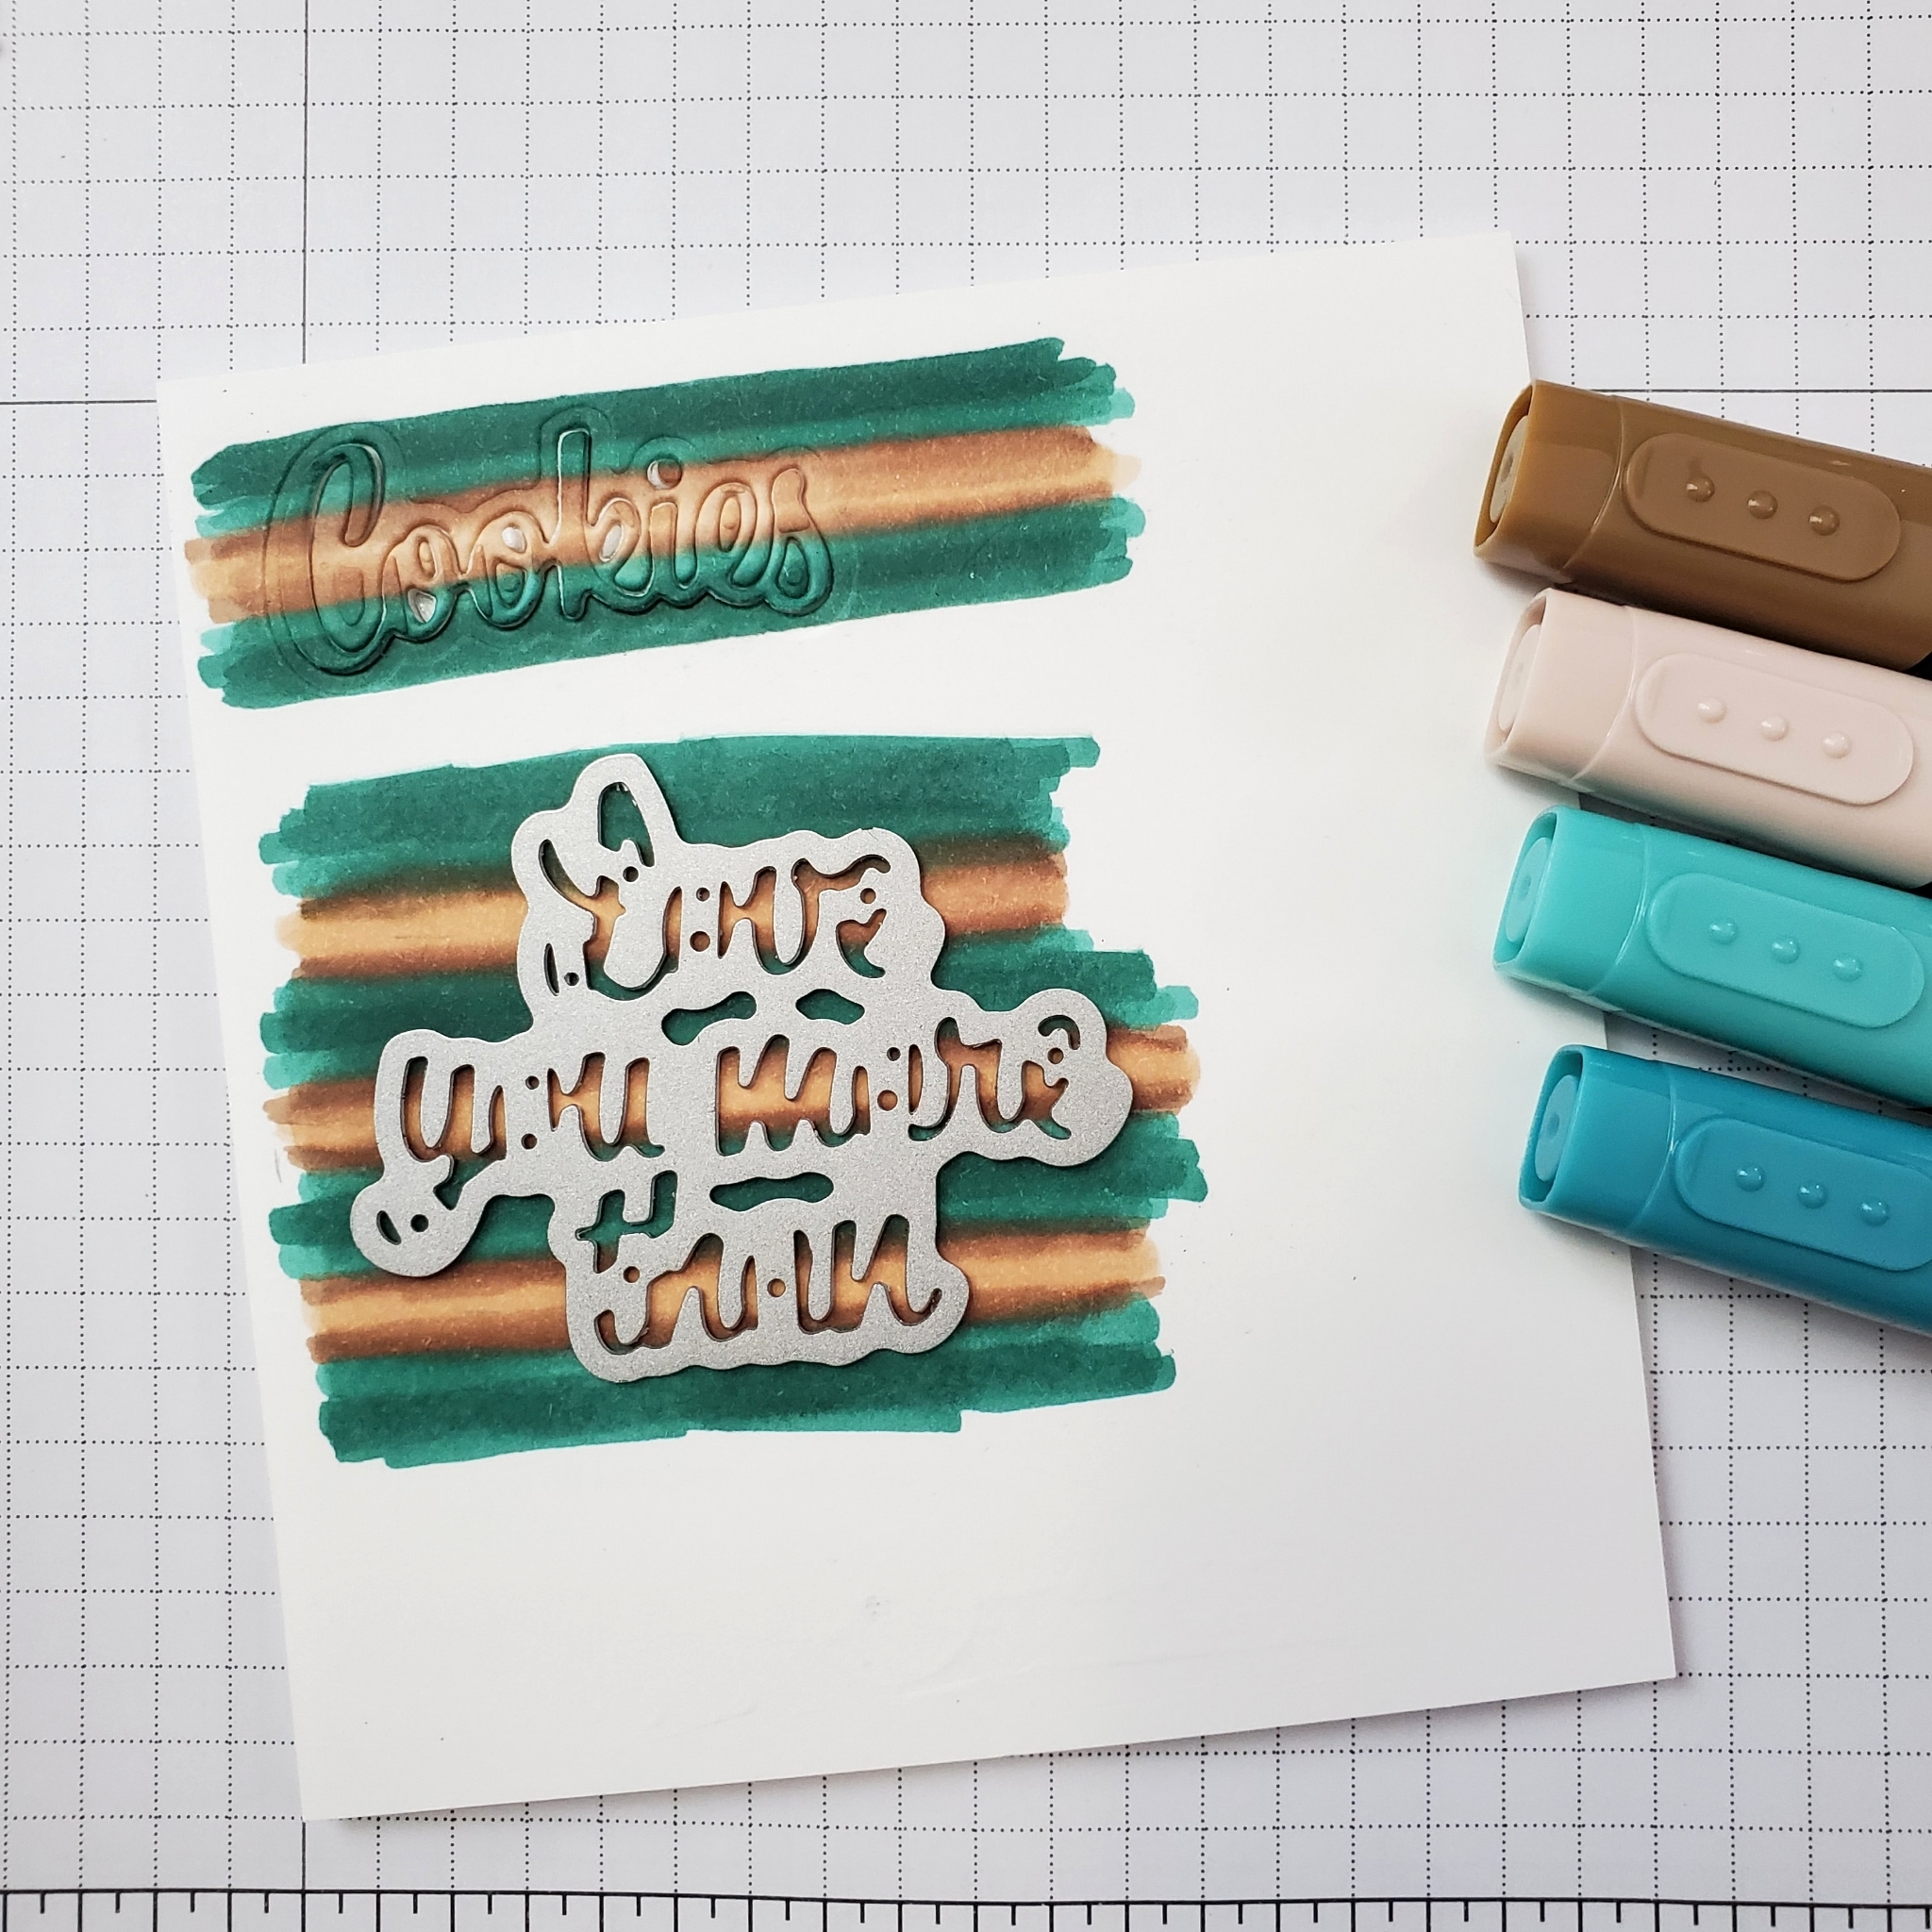
To create these coloured letters, I first had to adhere a piece of Basic White cardstock to a Foam Adhesive Sheet. I used the Stampin’ Blends Markers, Bermuda Bay (light and dark), Ivory, and Bronze, to colour stripes. After colouring, I cut out the letters with the Stampin’ Cut & Emboss Machine.
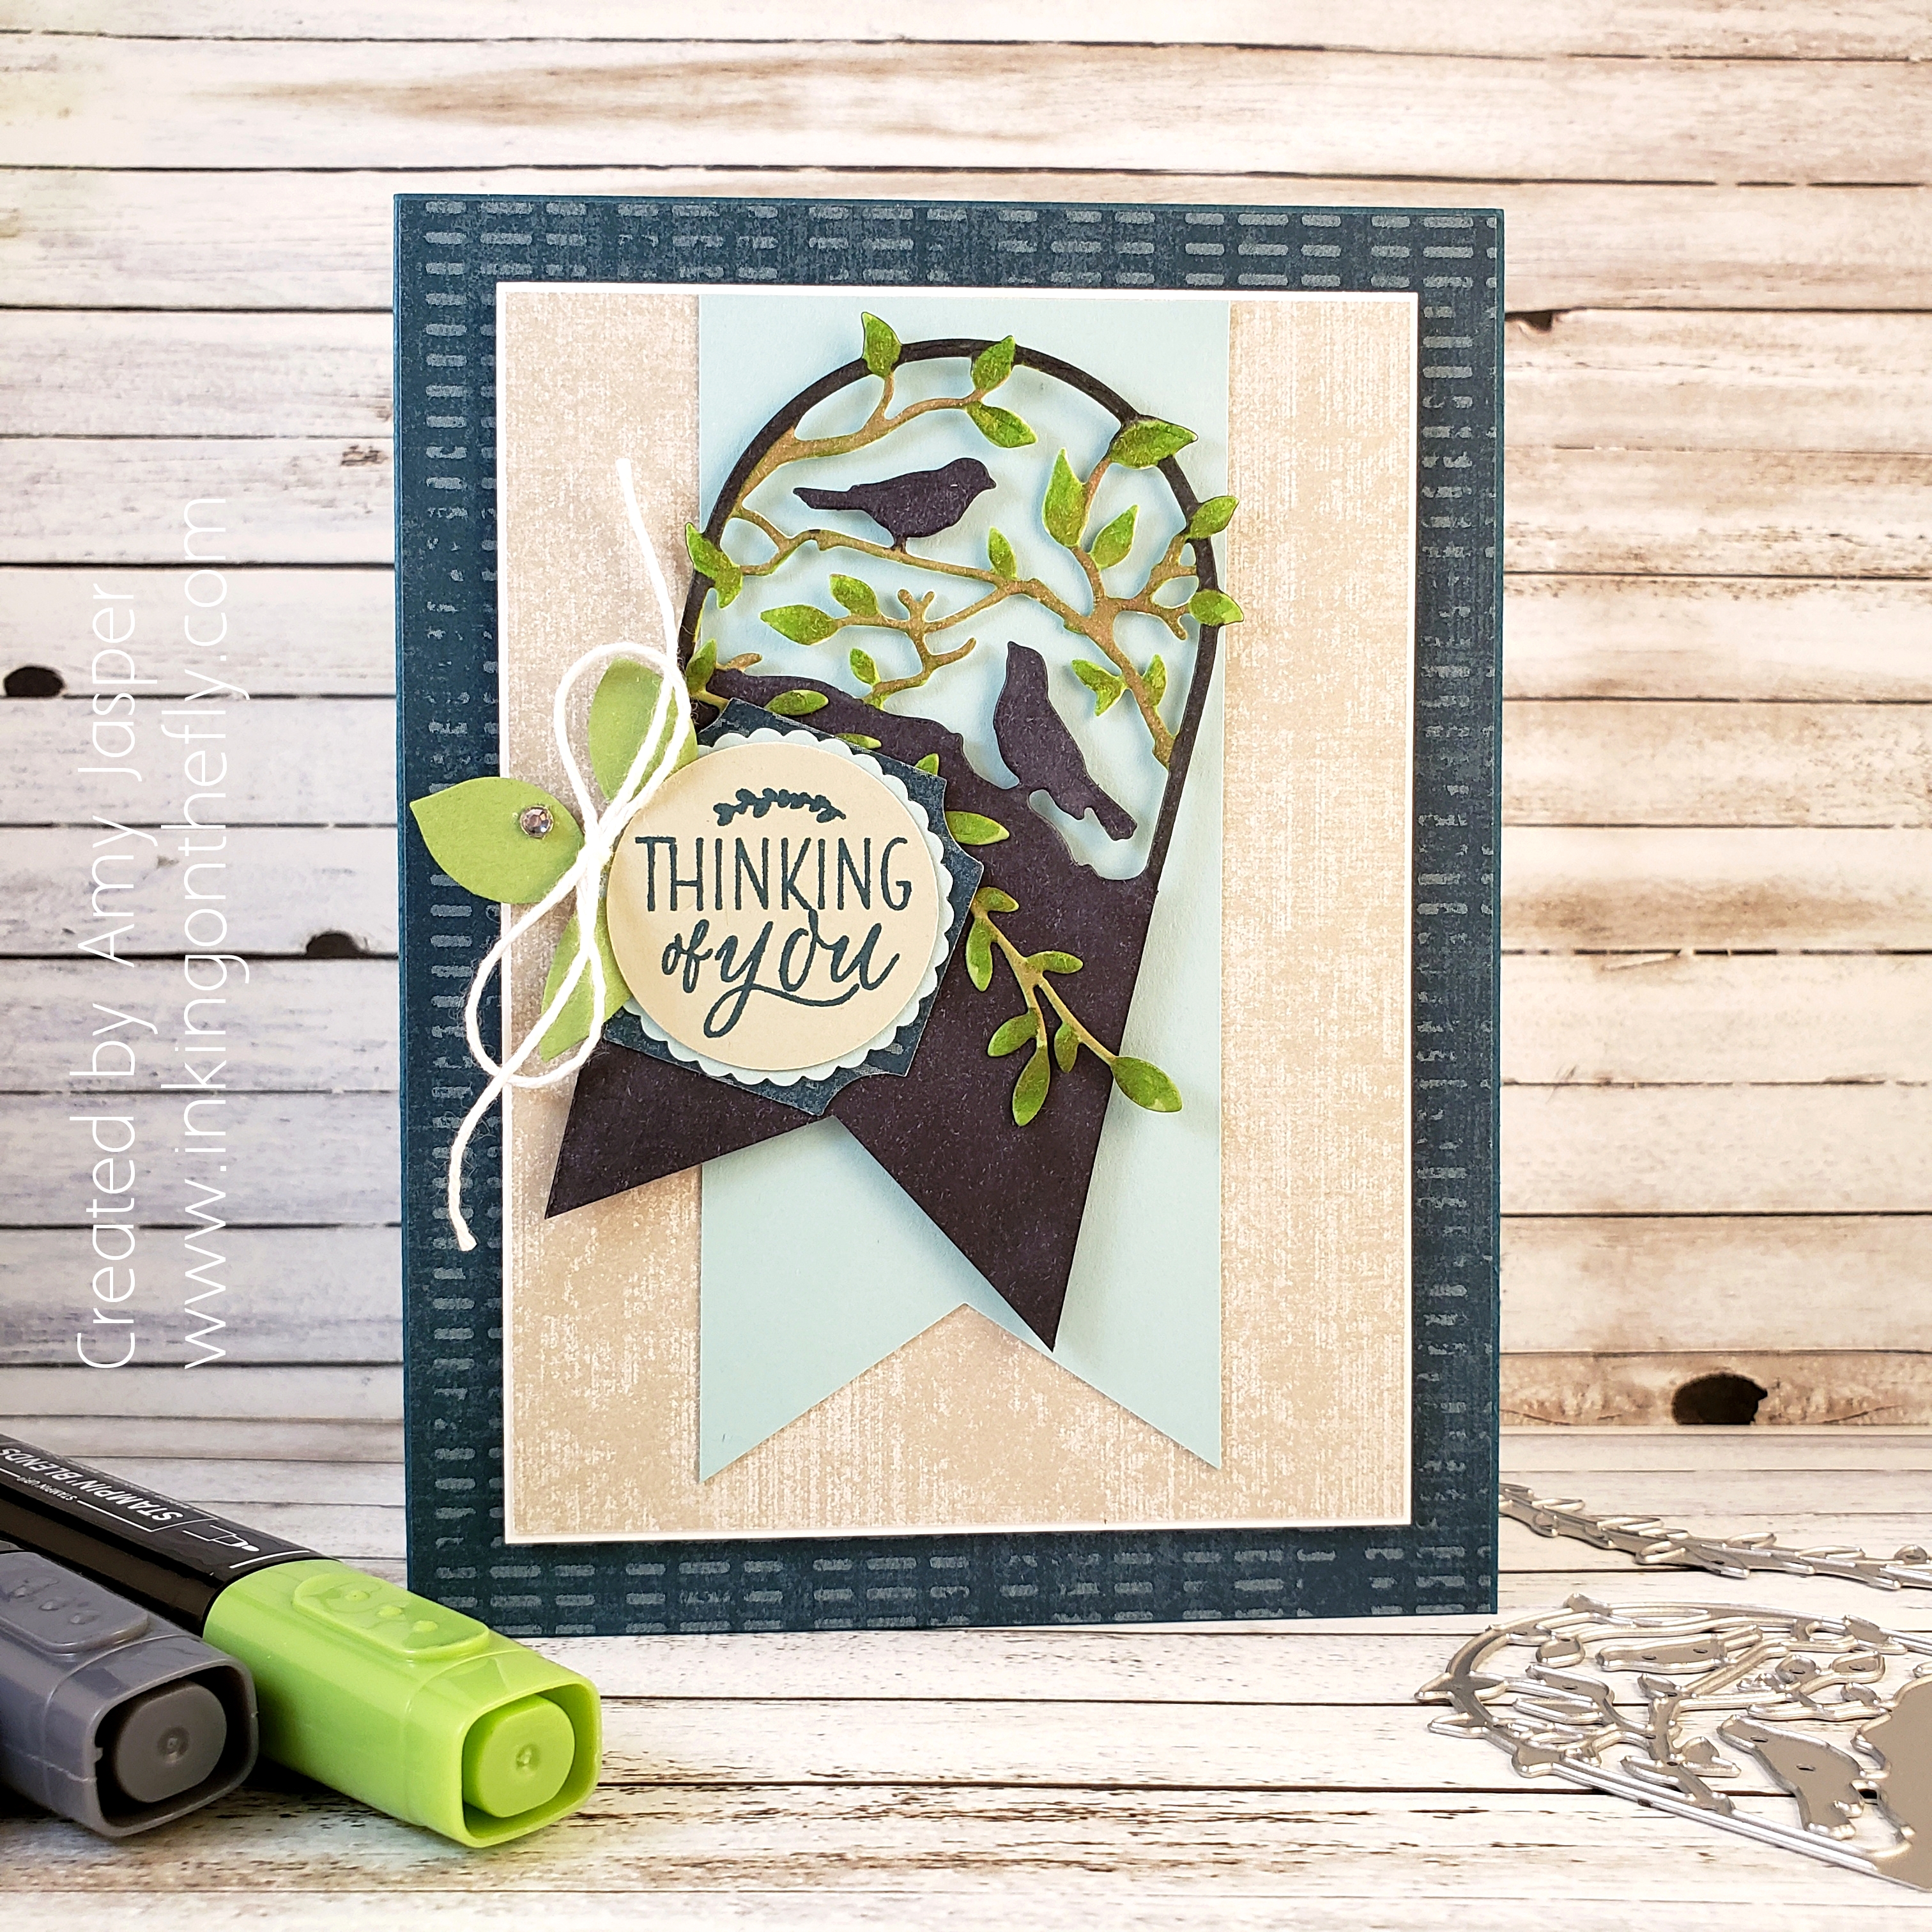
You can see on the card that I started with a Basic White card base, then layered the Bermuda Bay and the sponged and stamped Crumb Cake. Those layers were wrapped with Black Baker’s Twine before attaching them to the card base with Stampin’ Dimensionals. To finish the front of the card, the label was attached with Dimensionals and a few Matte Black Dots were added for interest.
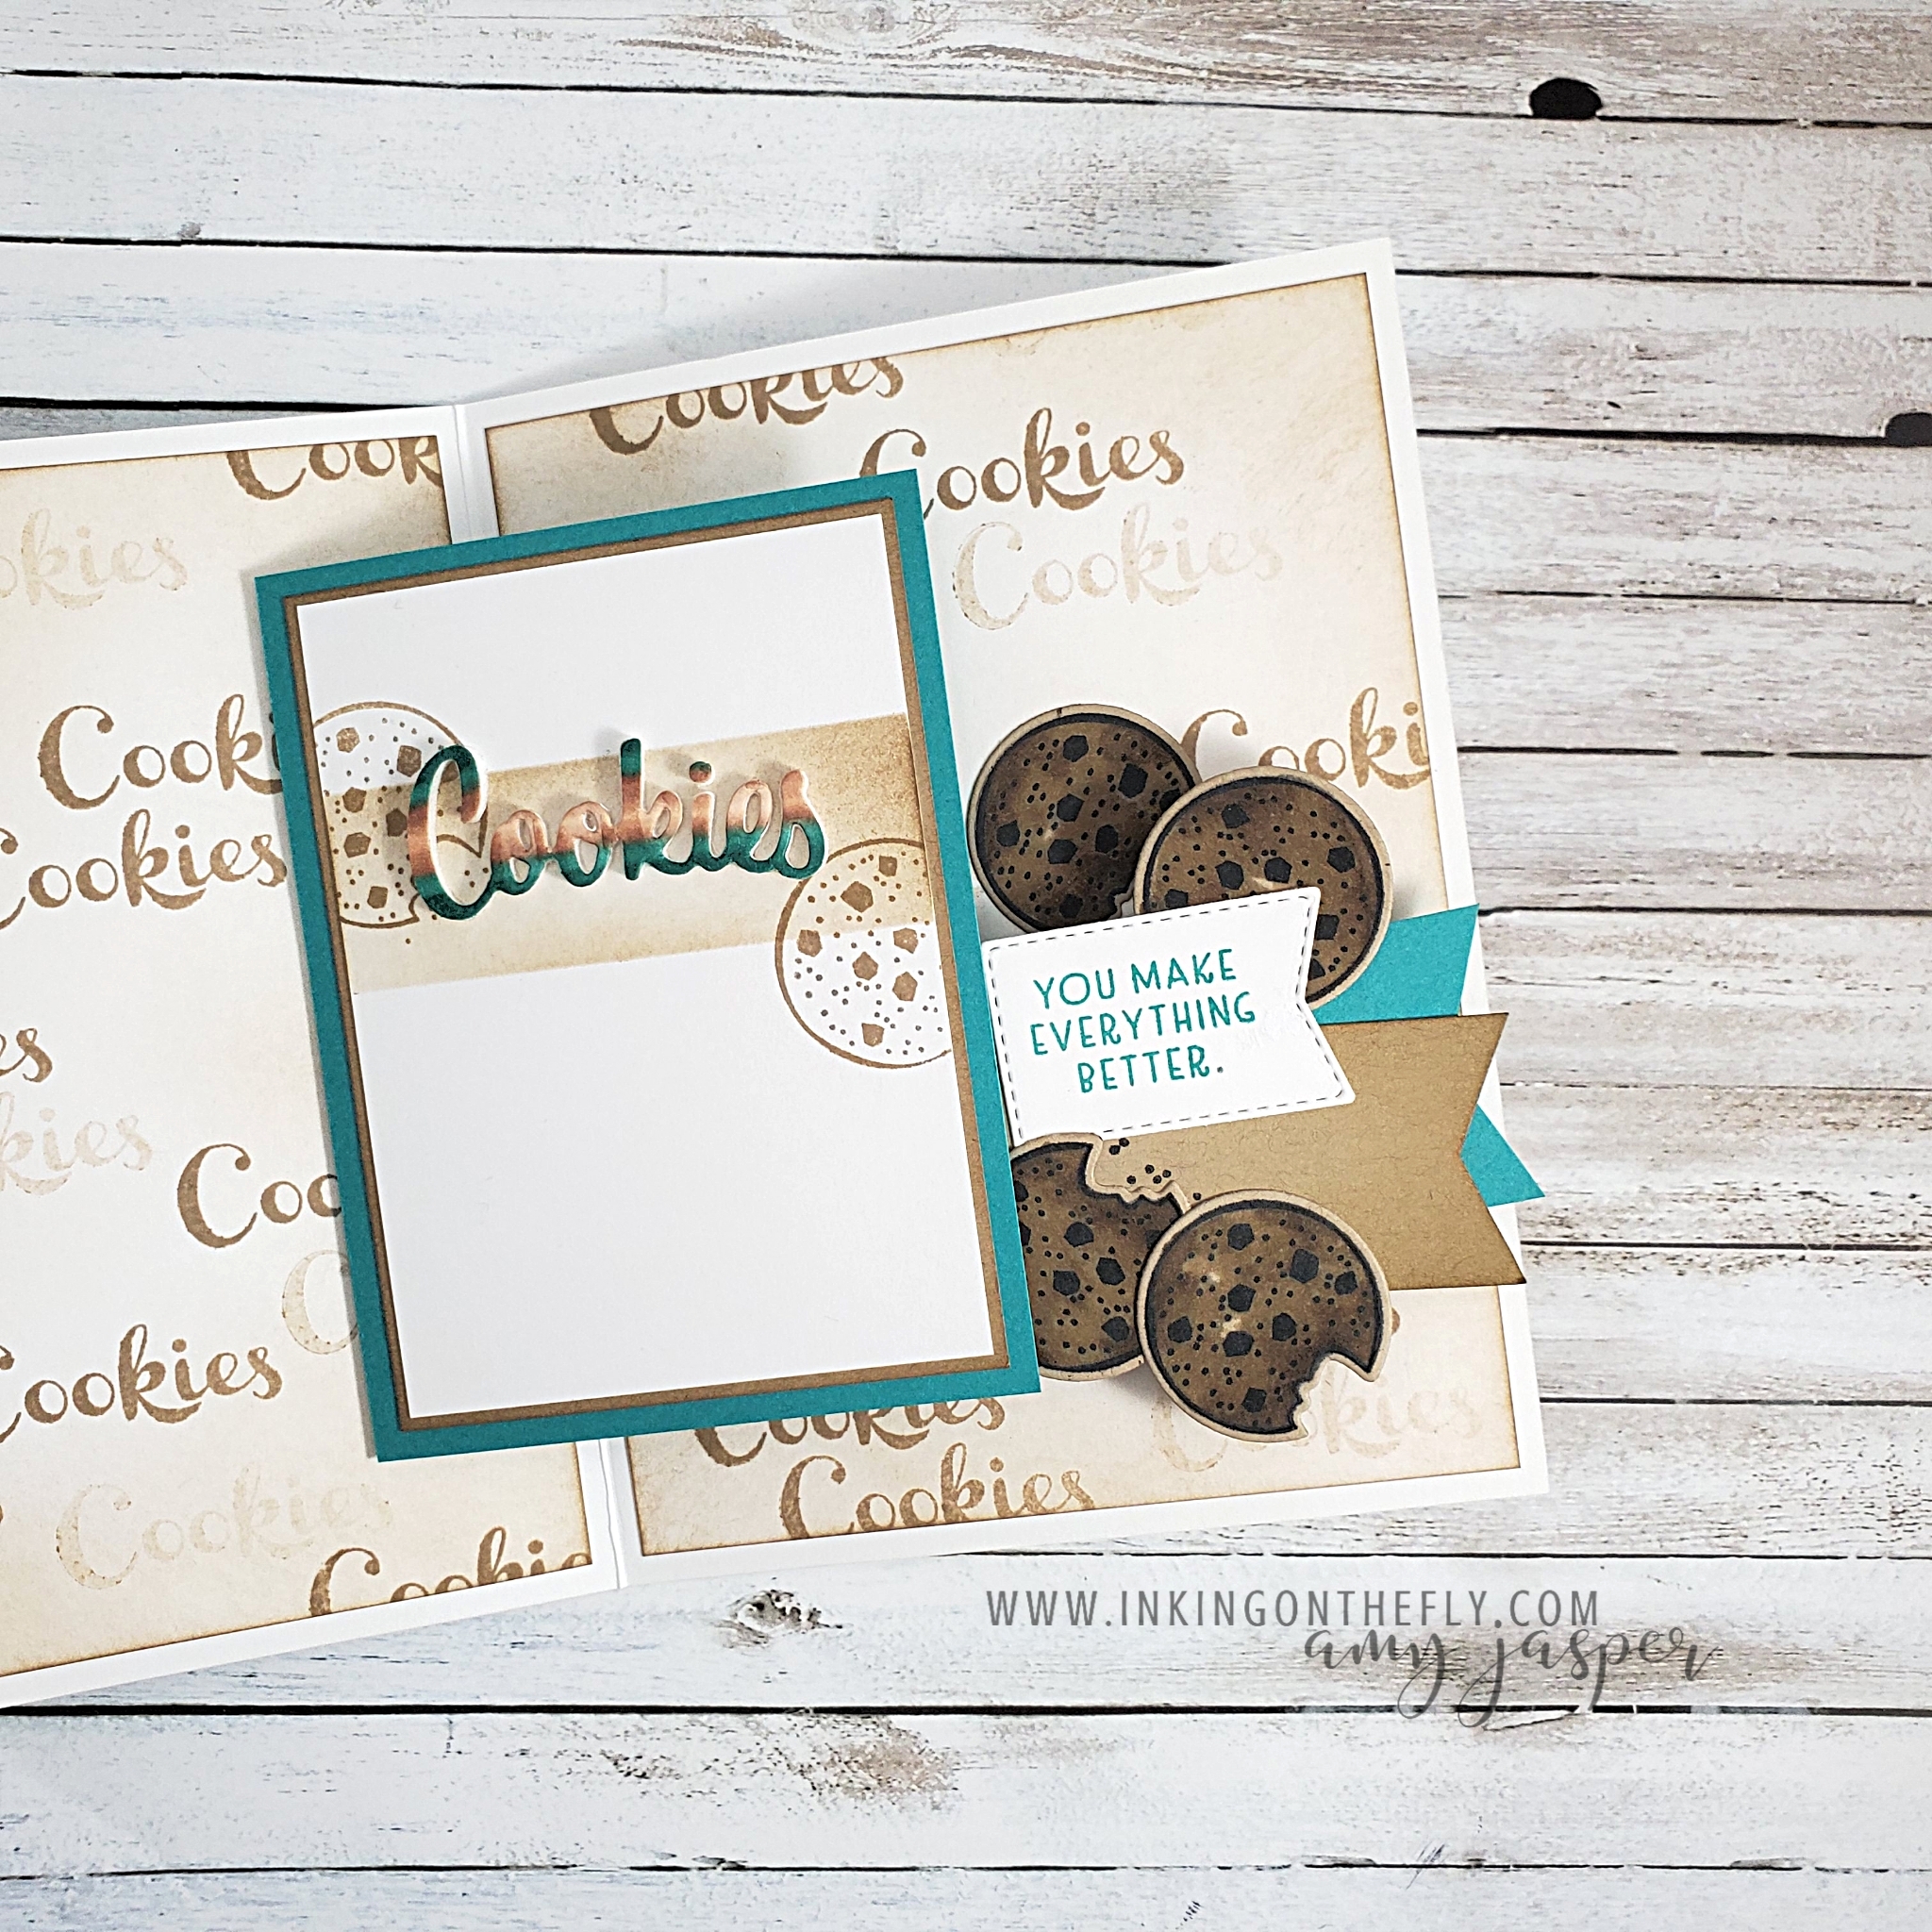
The inside of the card, of course, is the fun part! As the card opens, the banners and cookies move out and down from behind the popped up layer.
It’s a delightful surprise!
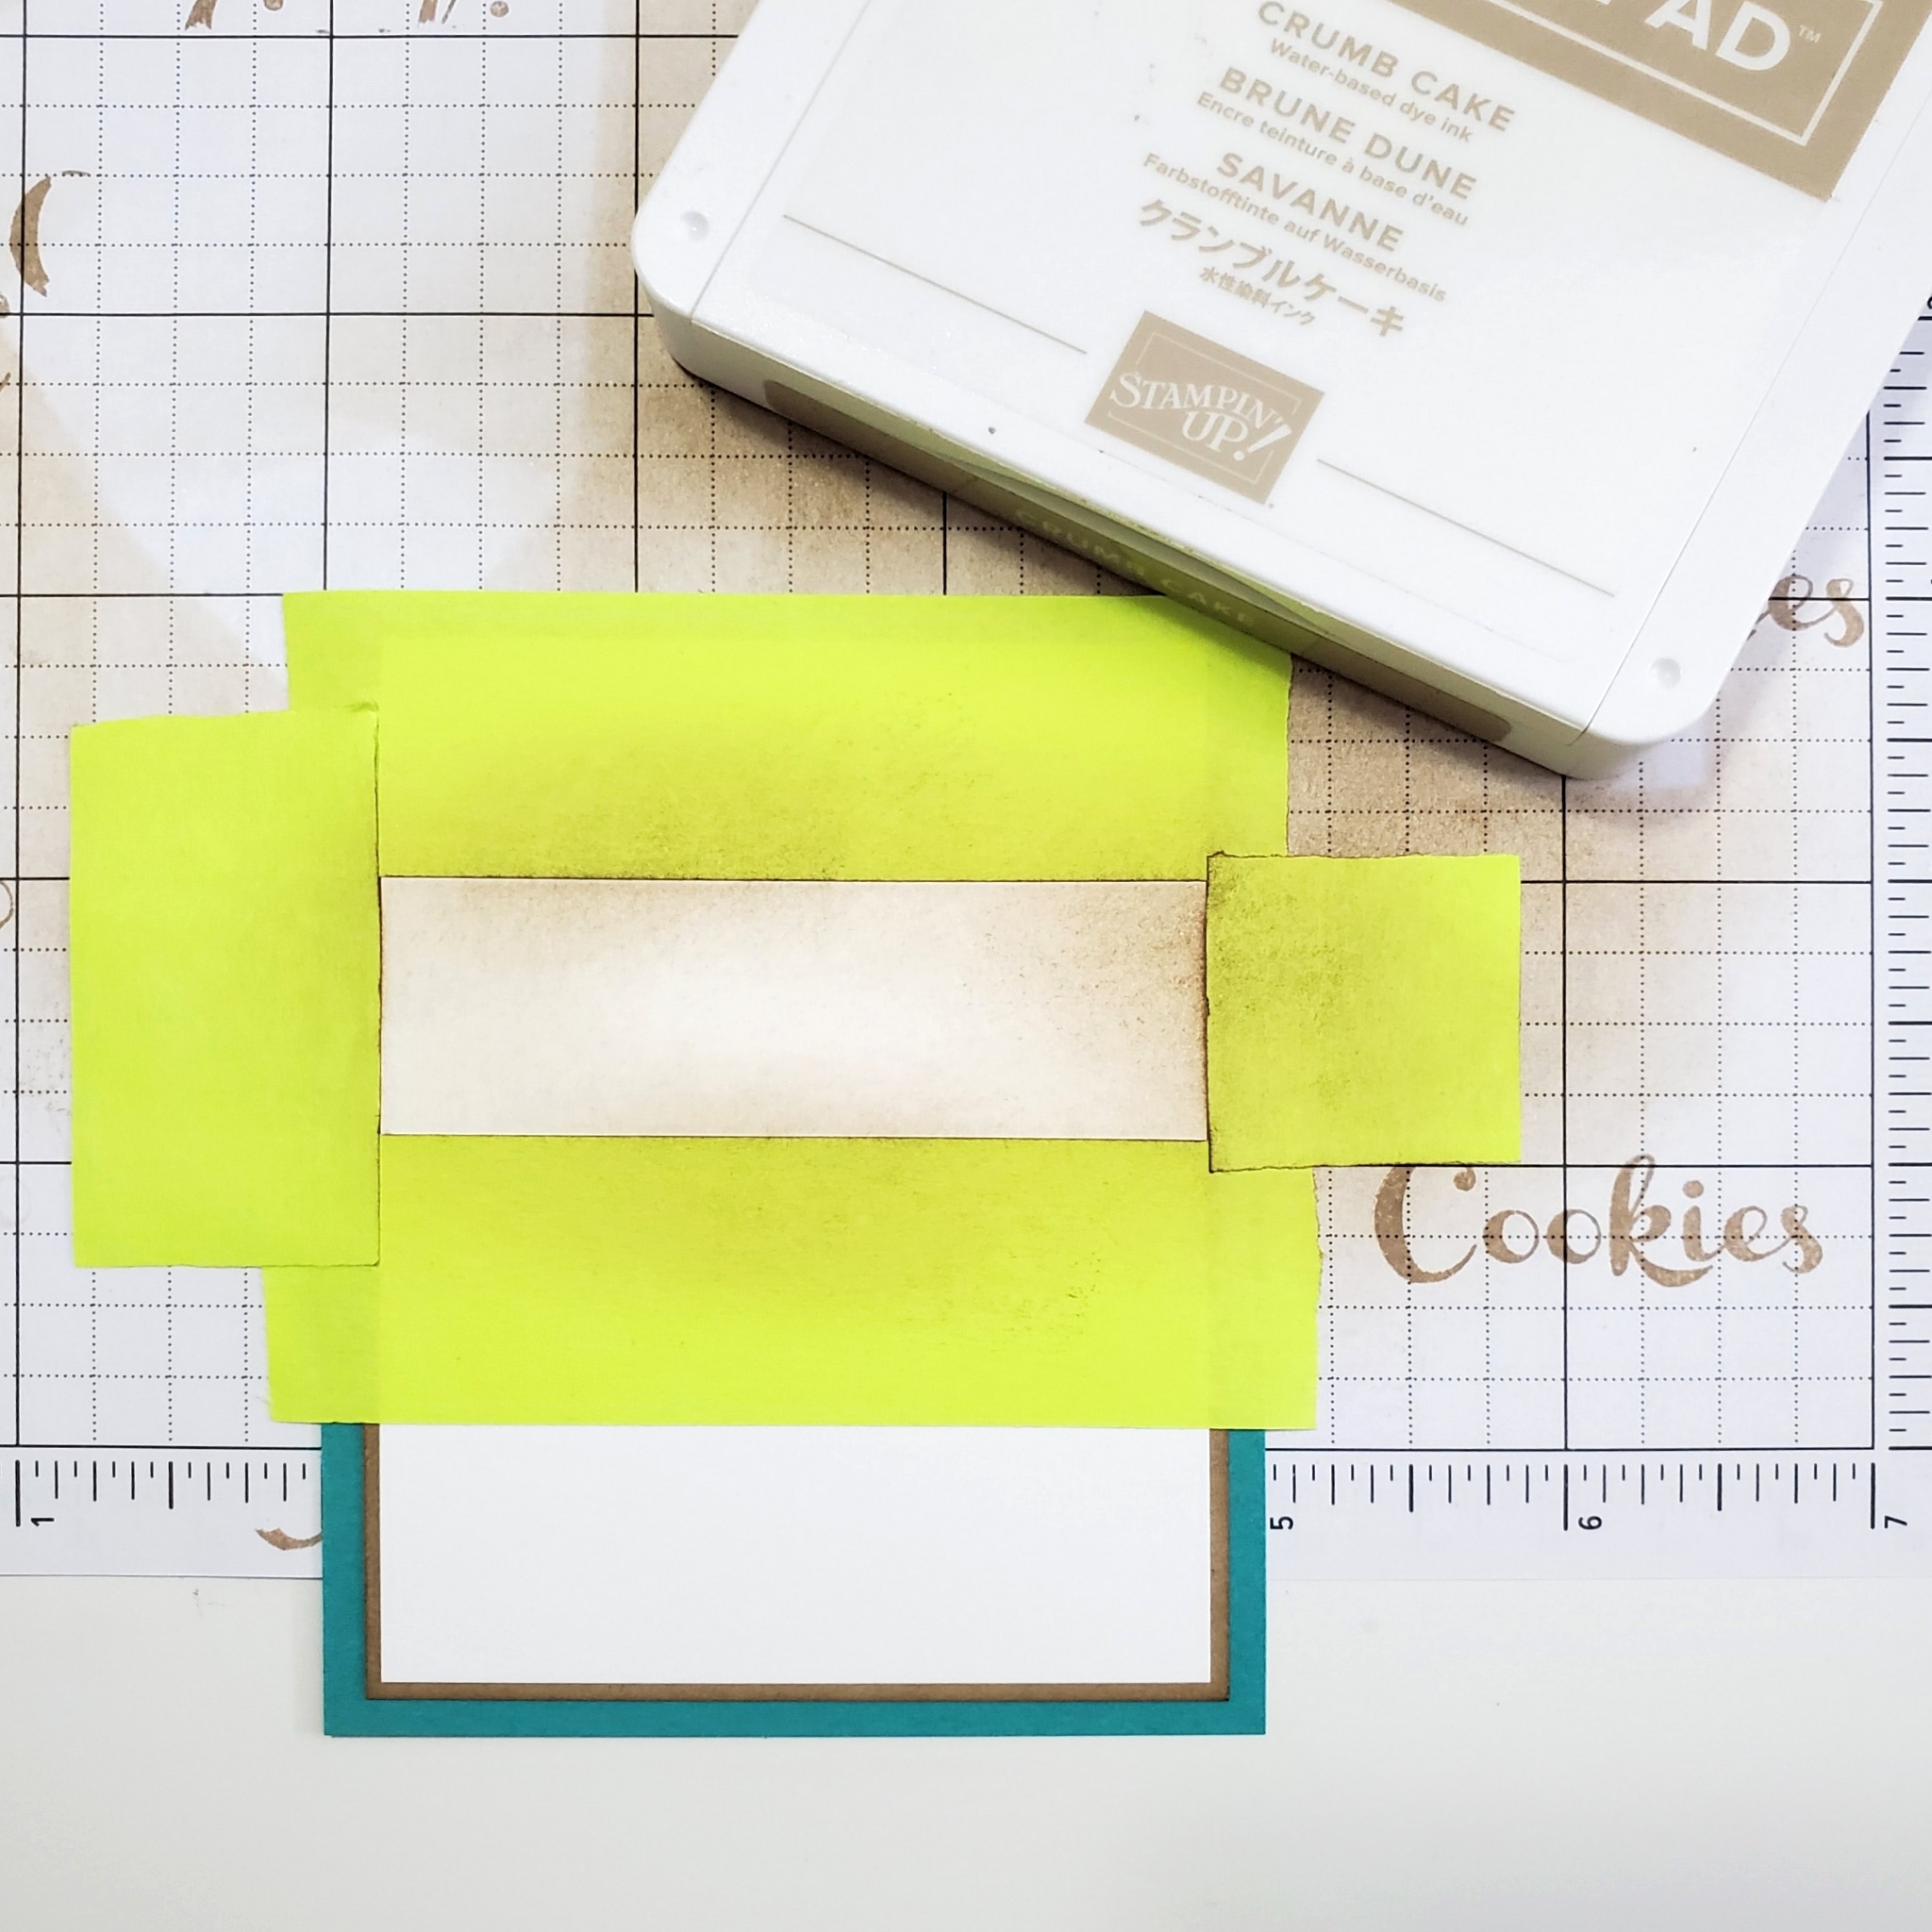
I added some Basic White layers on the inside of the card, stamped and sponged with Crumb Cake ink. The popped up layer has enough space on it to write a brief personal note. I did a bit of masking on the Basic White piece so I could add a line of sponging under the lettering. I didn’t think about adding the sponging until I had already adhered the white piece to the Bermuda Bay and the Crumb Cake, so I used some Post It Tape from Staples to mask off the area and protect it from getting inky.
The main moving arm is the Bermuda Bay cardstock banner. To this, I added a Crumb Cake banner (sponged with Crumb Cake ink) and the cookies. The cookies were stamped with Tuxedo Black Momento Ink on Crumb Cake cardstock and coloured with Soft Suede Stampin’ Blends Markers before being die-cut with the Love You More coordinating die in the Cut & Emboss Machine.
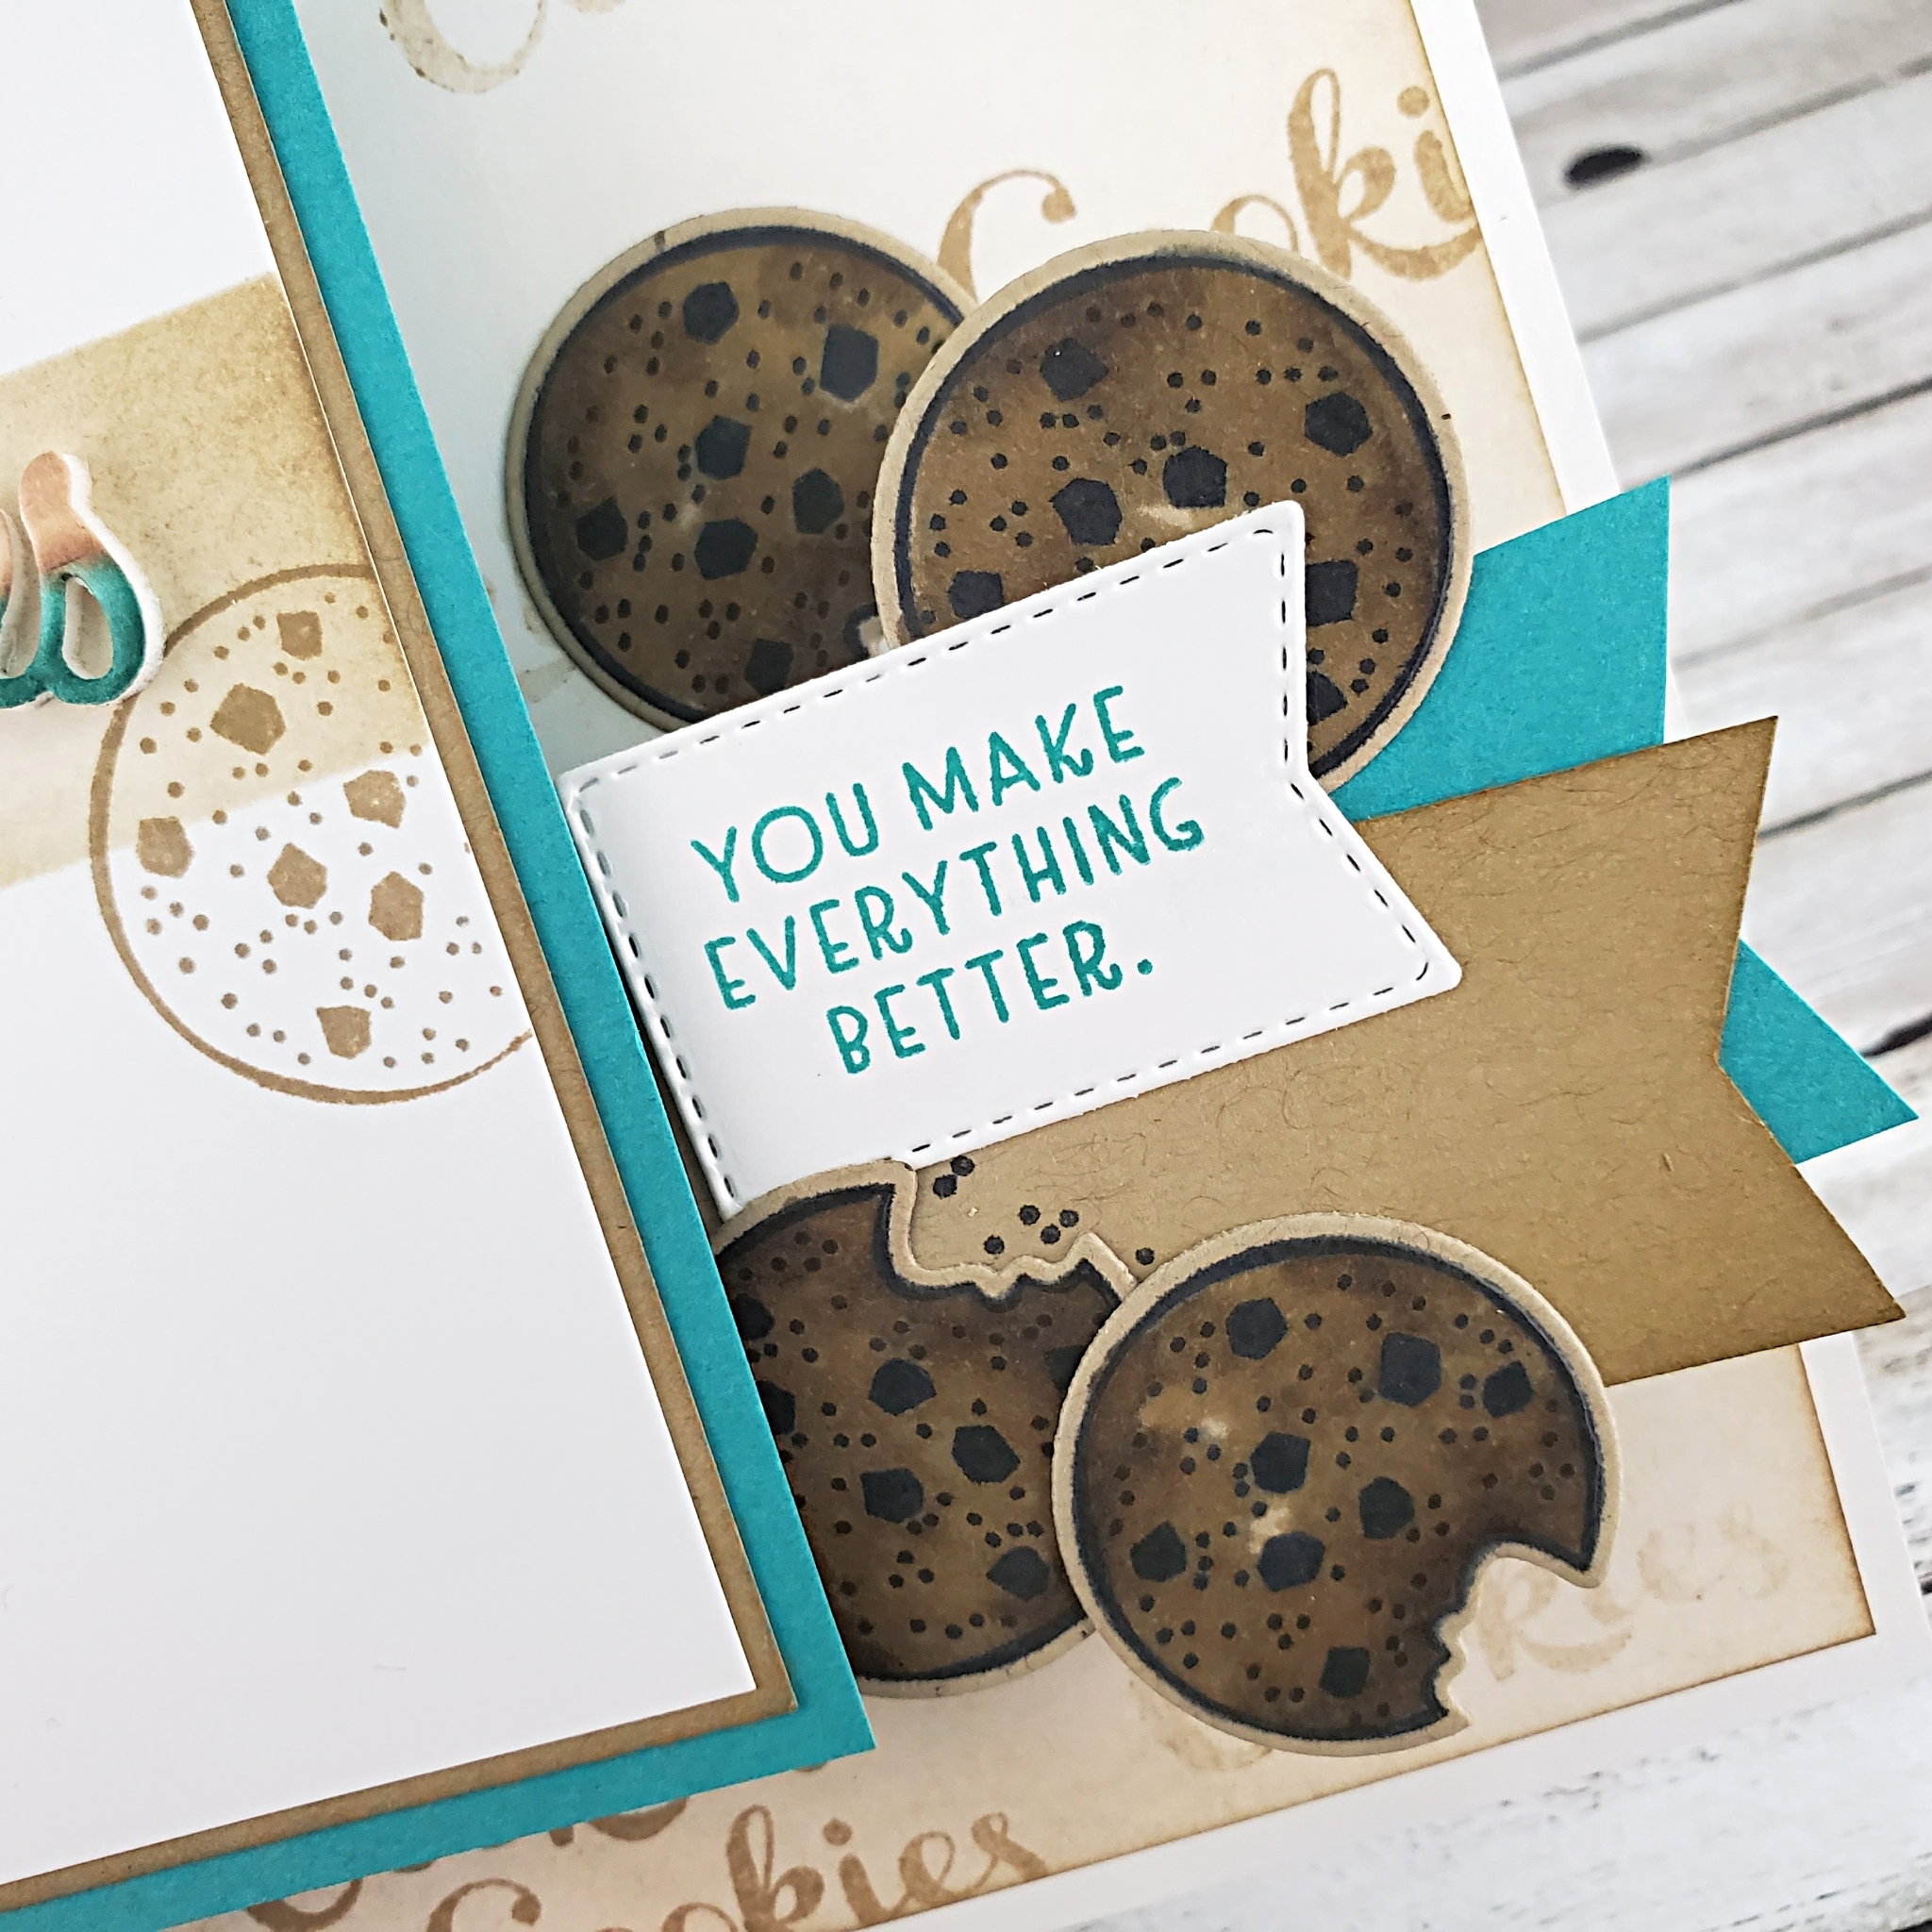
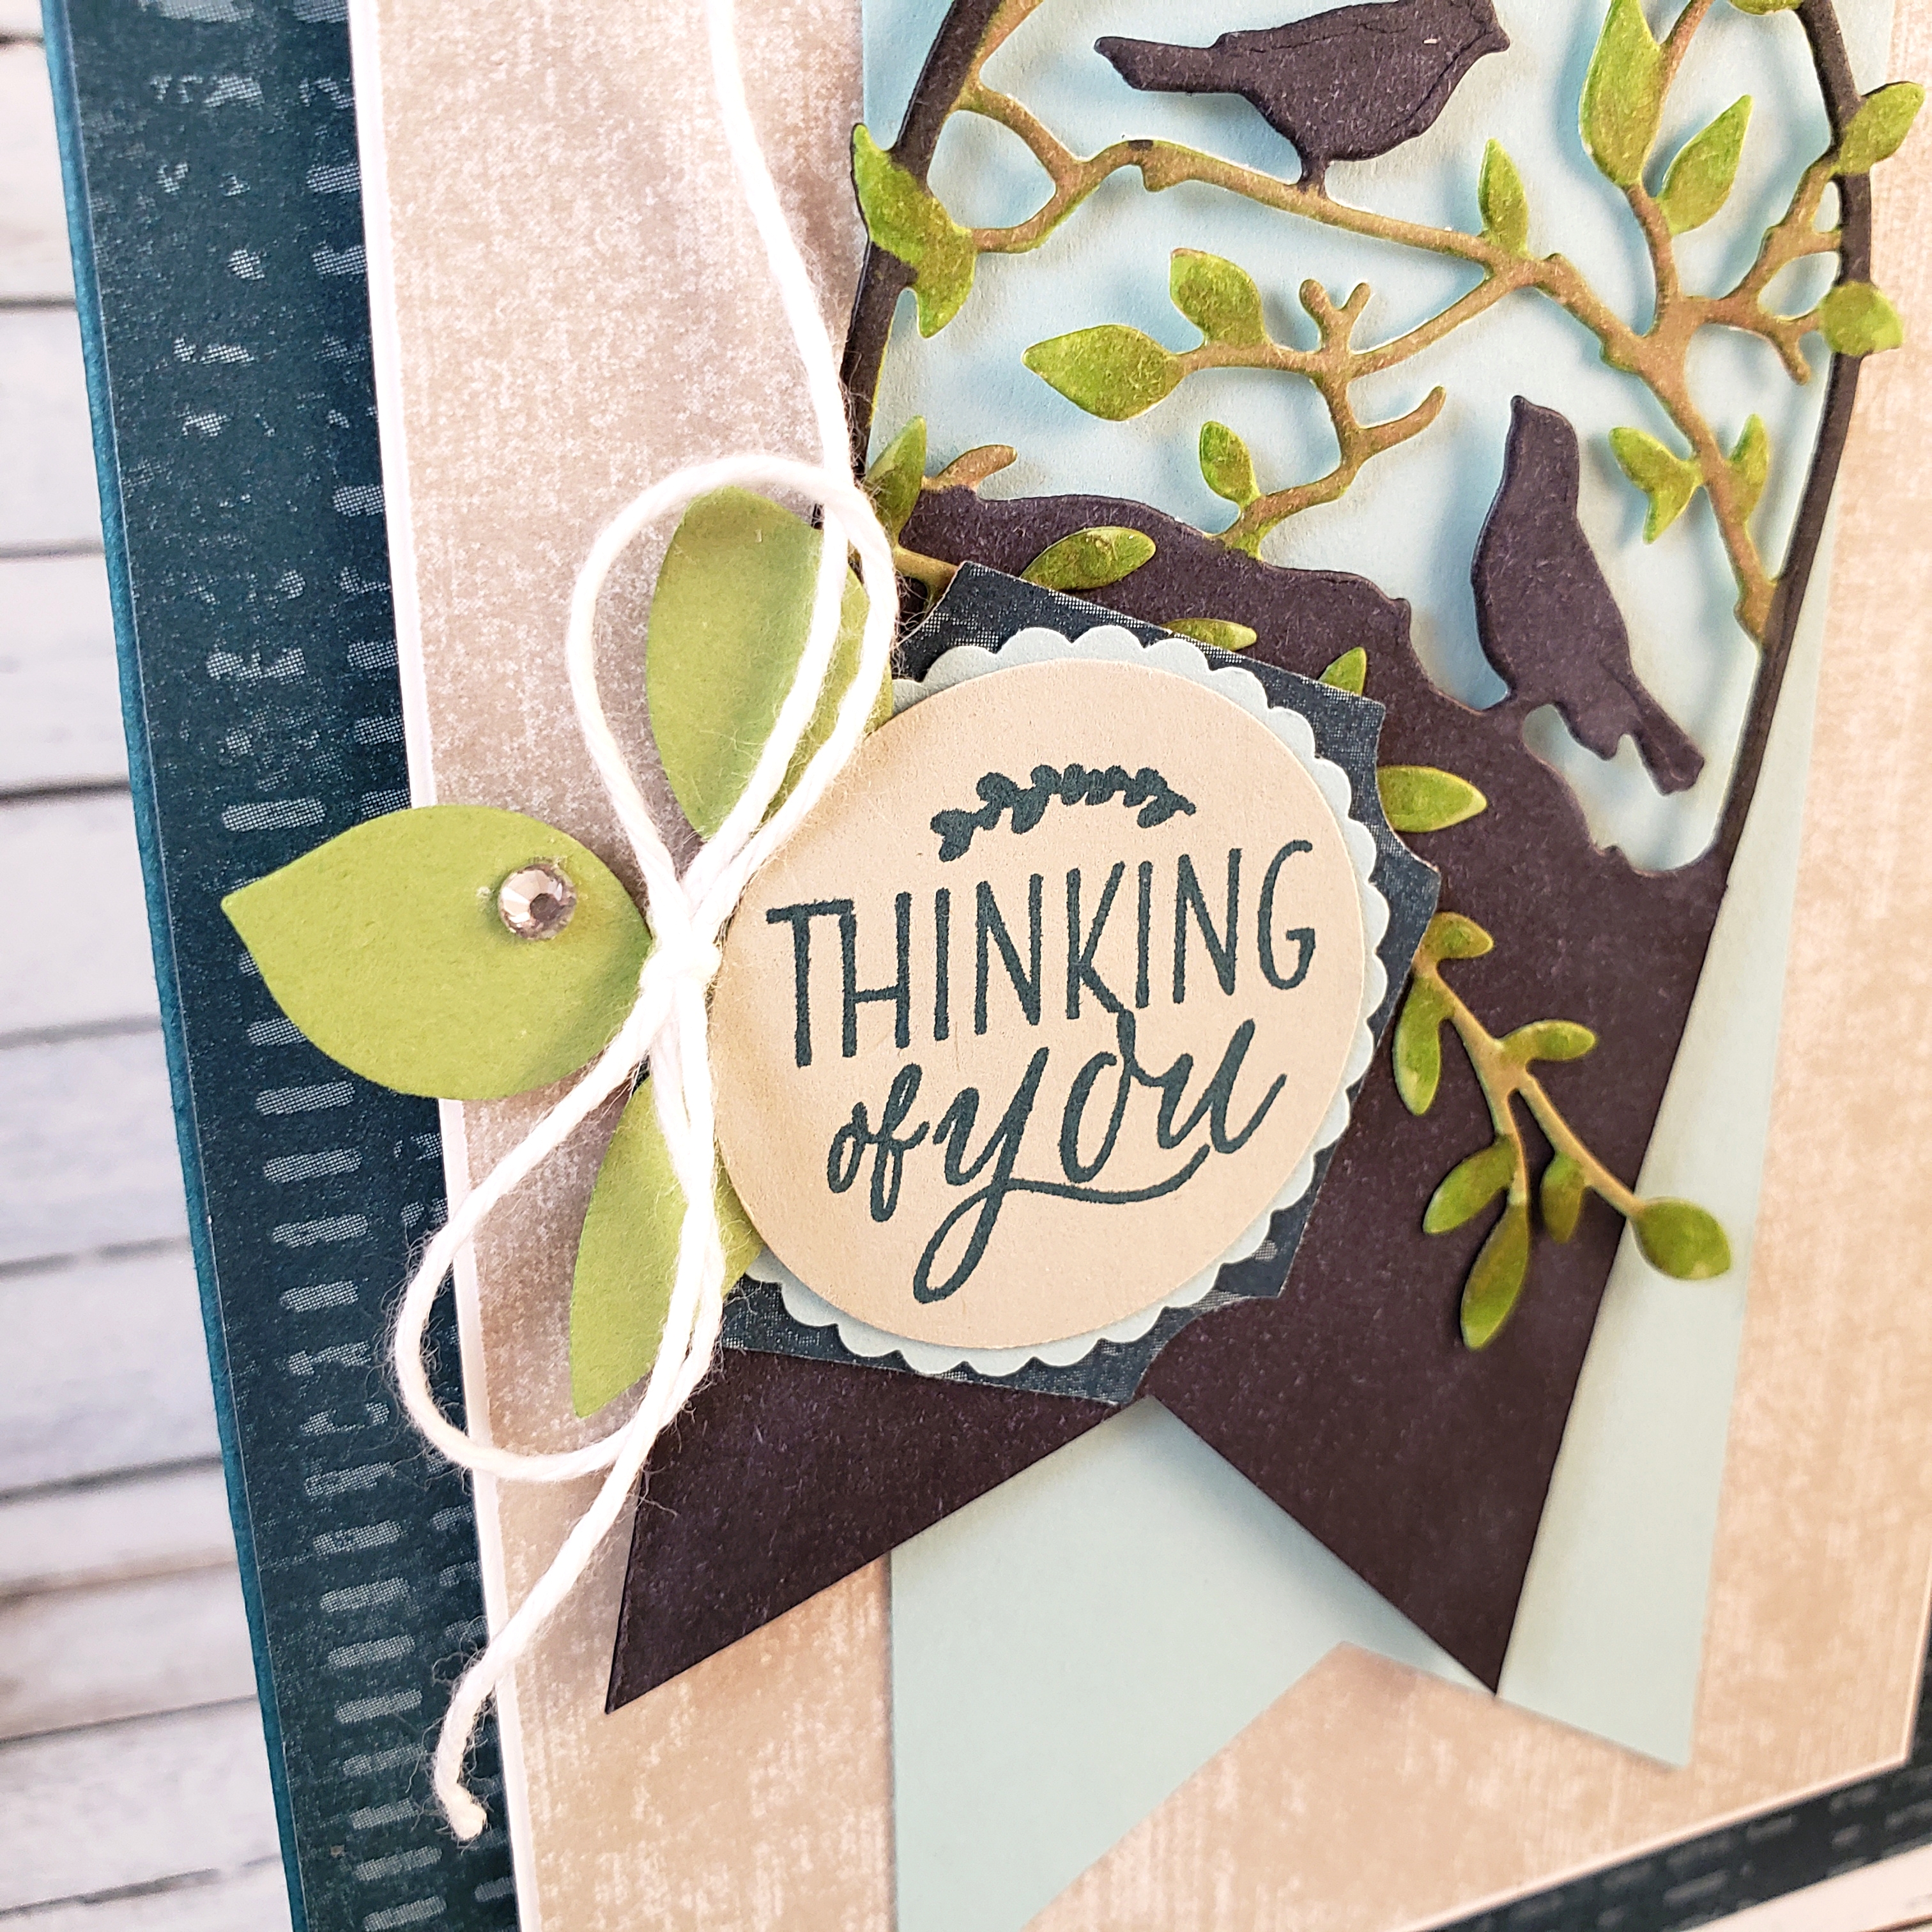
The small die-cut stitched white banner was cut with a die from the Tasteful Labels Dies. The sentiment from the Nothing’s Better Than stamp set was stamped with Bermuda Bay ink.
Because we are in a pandemic, I’ve had to do my classes virtually, which has limited what I can offer. When my classes were in person, I could use multiple stamp sets for one card design. Now, with virtual classes, I design projects that are paper-technique focused with lots of die-cutting, embossing, and fancy folding that can be created with generic sentiments like “happy birthday” or “thinking of you”. I find myself using image stamps less often than I’d like.
Using the coordinating stamps and dies for this card was so much fun and so satisfying!
If you’re in Canada, like I am, you can order the Nothing’s Better Than stamp set and the coordinating Love You More Dies on my Online Store. You’ll find other fantastic crafting and stamping supplies there as well.