sweet and simple

Easy and So Beautiful with Expressions in Ink

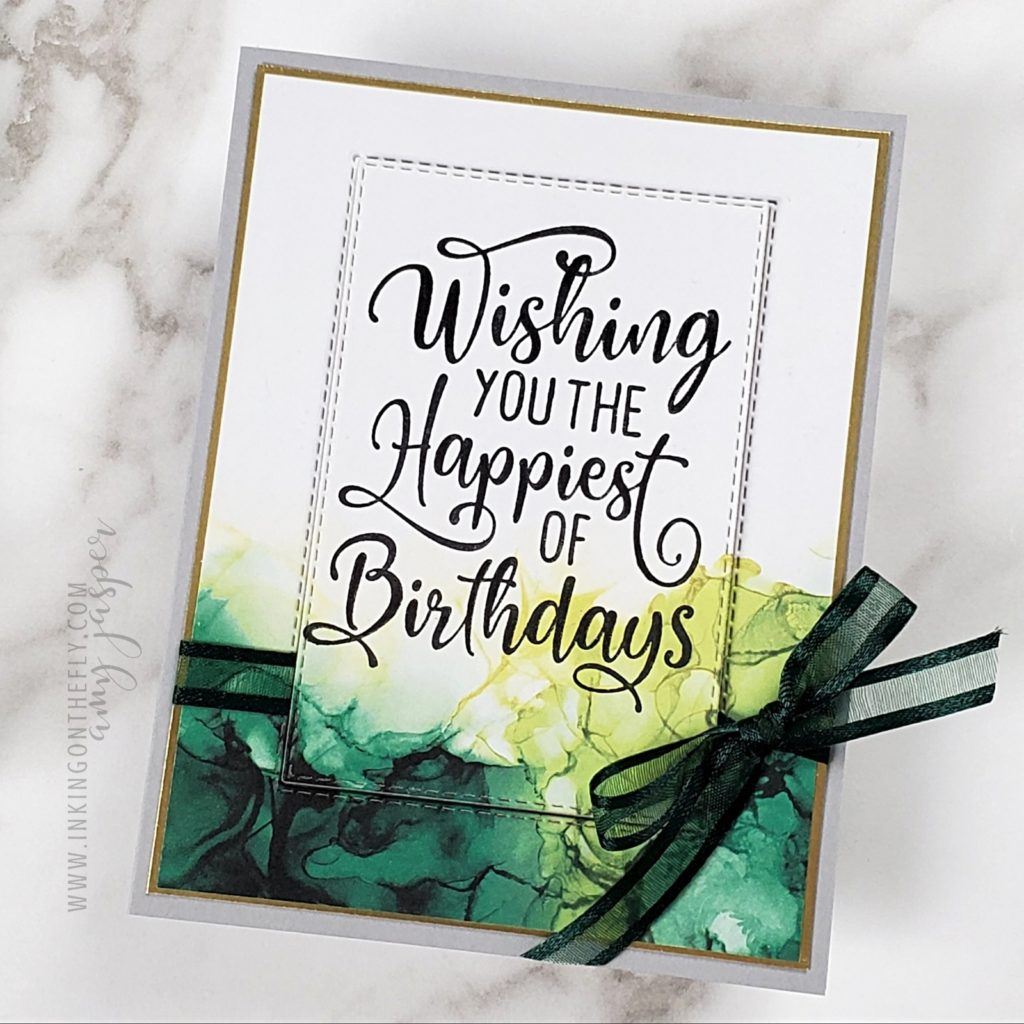
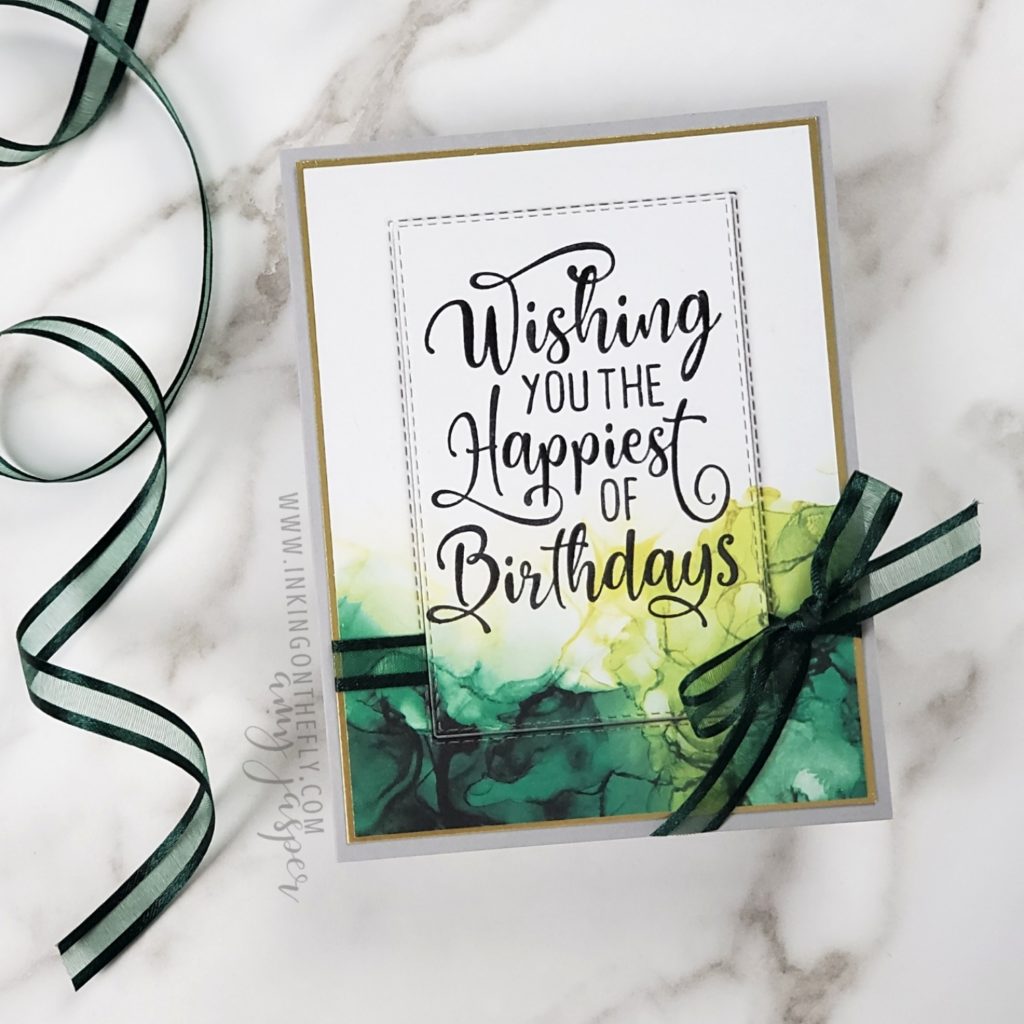
The Expressions in Ink Designer Series Paper is so beautiful that it can practically pull off a solo performance! In other words, it allows you to make a stunning card with hardly any effort!

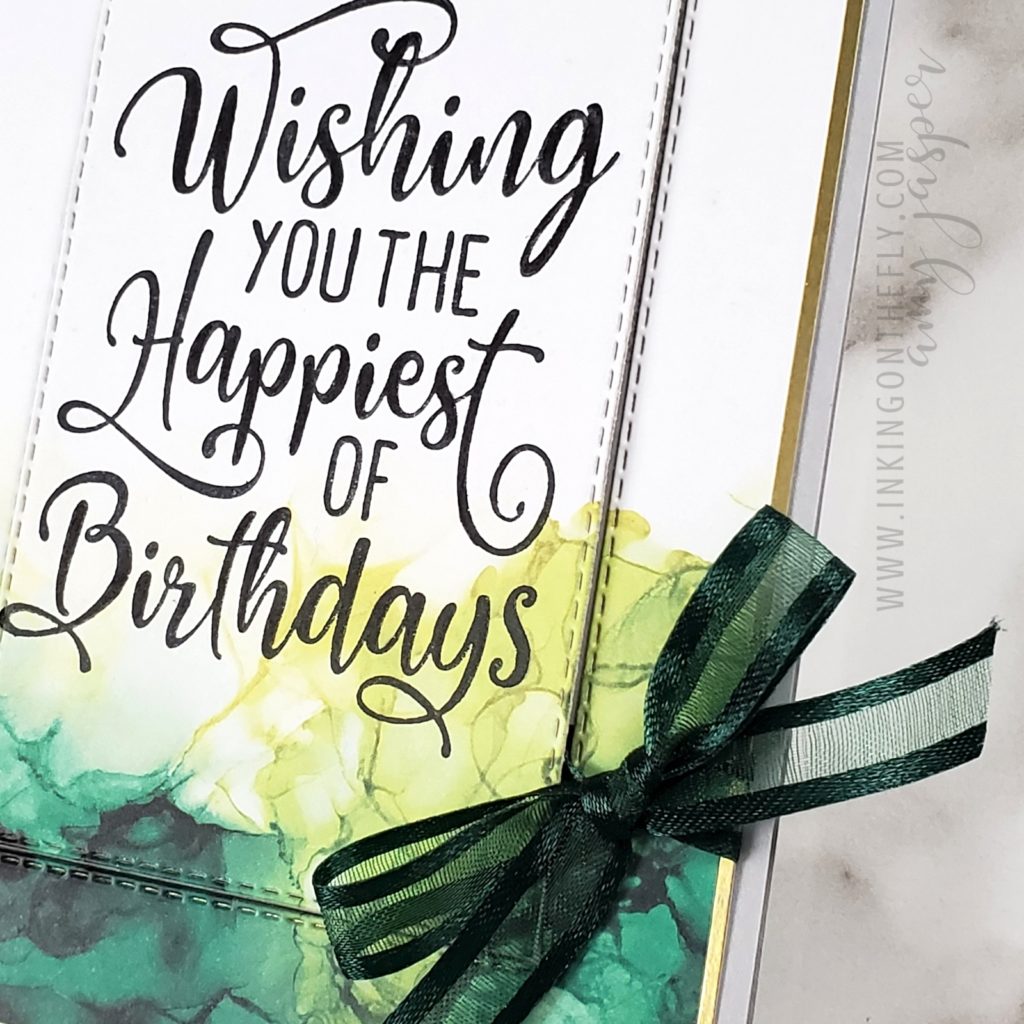
The card I have to share with you today looks fancy, but is actually very easy. It all began with a piece of the Expressions in Ink Designer Series Paper from Stampin’ Up! ®️.

Making the card

I stamped the sentiment on the patterned paper, then used a die to cut around the sentiment. Setting the centre cut piece to the side, I layered the outside frame over the Gold Foil.

Considering that the open weave ribbon is so pretty and ties very cleanly, you can probably guess that I have all the colours! How could I not!? I wrapped it around the two layers and tied a tidy little bow.

Once the ribbon was in place, I could then adhere these elements to the card base. Finally, the die-cut piece with the sentiment could be adhered to the card front with Stampin’ Dimensionals. I love how the lifted cut-out provides interest and texture, yet still allows the paper to be the main feature of the design.

This card was quick and simple. I feel like I cheated somehow by letting the patterned paper do all the work for me!

A few supplies

In the event that you might want to make this card (or assist it to make itself, as the case may be, LOL!), you will certainly want to get your hands on this gorgeous specialty paper. Unfortunately, (or fortunately, depending on how you look at it), this paper is so popular that it keeps going on backorder! Stampin’ Up! just can’t keep up with the demand.

If you find that’s its on backorder and can’t be ordered, keep checking back. The supply will be restocked. Alternatively, you can contact me and I can notify you when it comes available again.

Click on the links below to find each item easily on my online store.

When you use this paper, don’t let it make you feel like you cheated. Instead, be proud at the discovery of a more efficient way to make something beautiful!

It’s not cheating, it’s a life hack!
Delight in the Snow

Snow came so early this year. It wasn’t just a little bit either, it was one huge blanket of snowman-worthy snow. It’s always so strange to see the fall leaves still on the trees when there’s snow on the ground!

I wasn’t ready for it. I had to scramble to get my winter tires on my car and try to find winter boots to fit my kids who keep growing and have their own sense of fashion. It’s harder to buy clothes for them now that they have an opinion! LOL! Though, I had a “mom win” moment this week after I bought a winter jacket for my 14 year old daughter and surprised her with it. When I saw it advertised in a flyer, I just knew it was perfect for her AND it was a door crasher Black Friday deal! It fit! She loved it! I won SO HARD!!

We weren’t ready for the snow. We didn’t build a snowman and we didn’t even enjoy the snow. It was more of an annoyance, really.

Now the snow is melted. Now I’m wishing for it to come back. I’m ready.  I’m ready to be delighted by the winter wonderland.

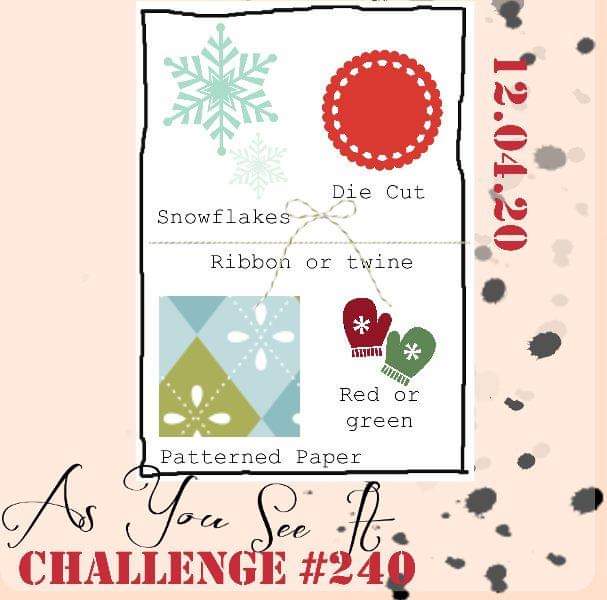
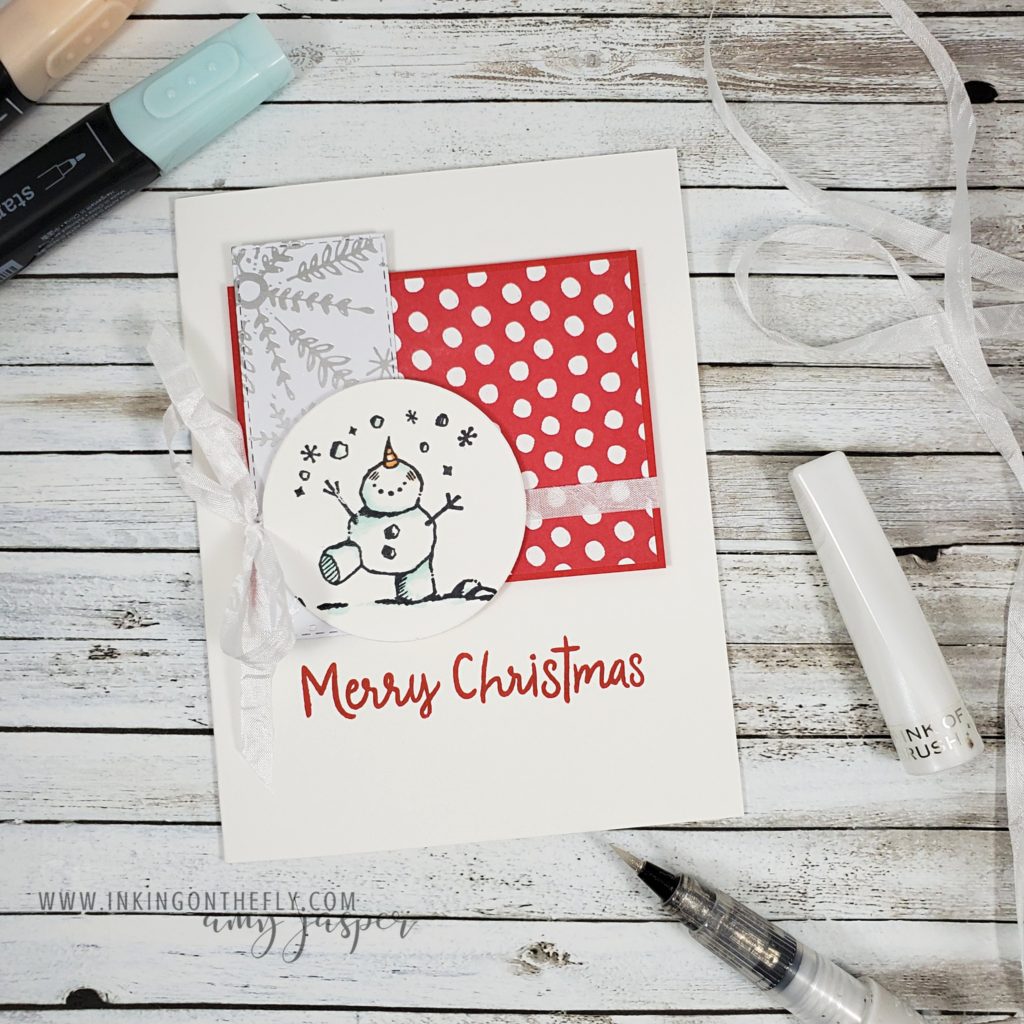
Today’s card is a design inspired by the As You See It Challenge blog. It’s an assortment or recipe challenge!

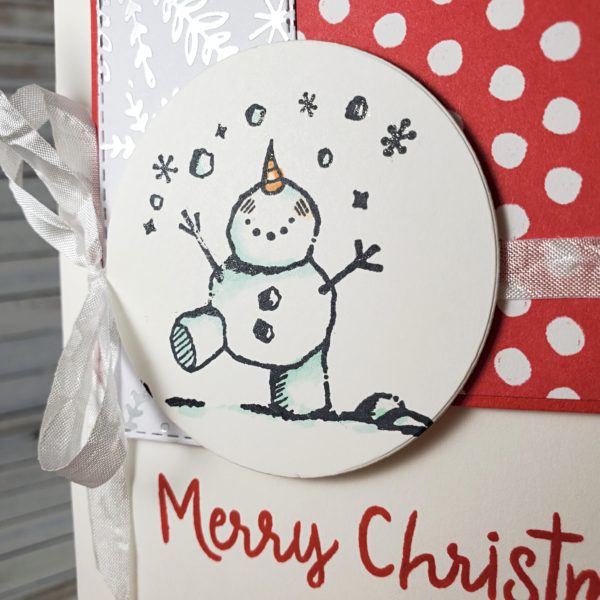
The only current snowflakes I have are in the Feels Like Frost DSP and my Snowman Season stamp set, so I used BOTH!

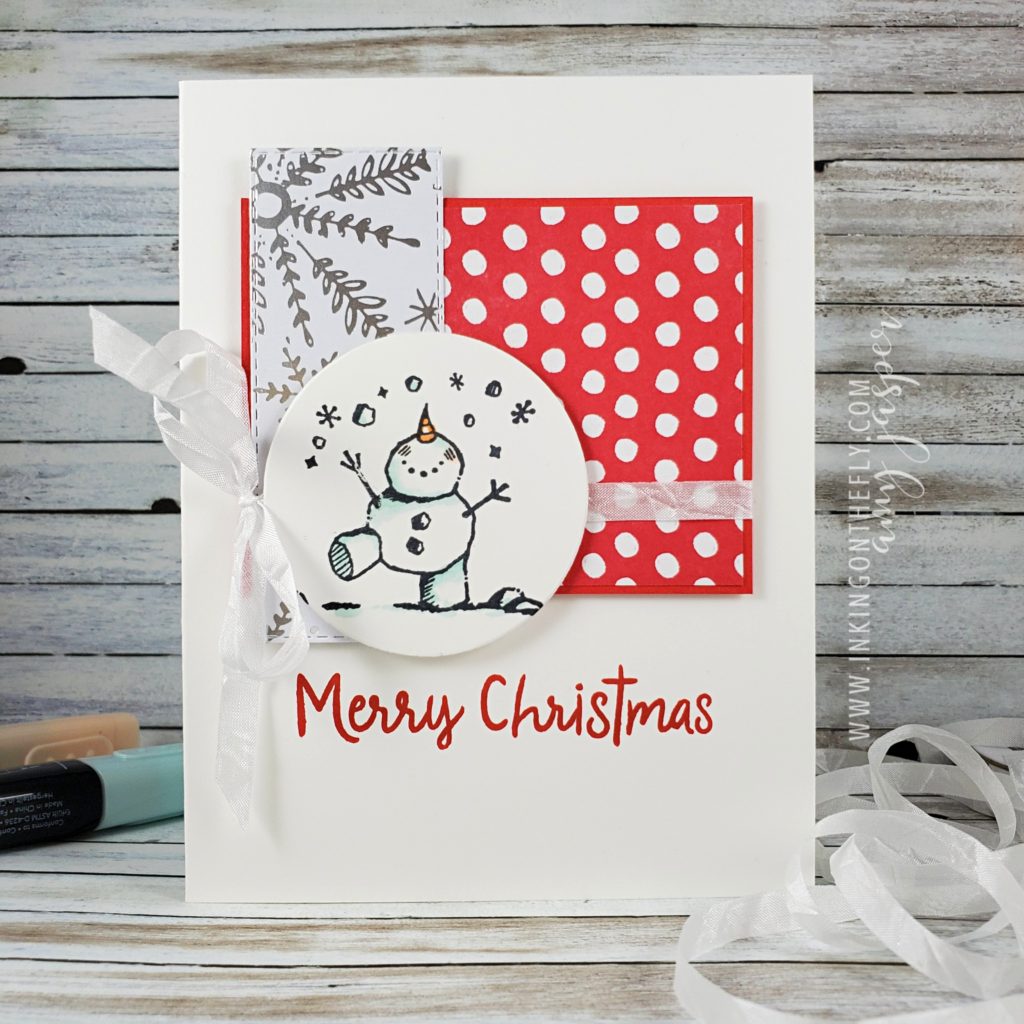
This little snowman is so cheerful and delighted, don’t you think! I stamped him on Whisper White cardstock with Tuxedo Black Momento ink and die-cut the it with a circle from the Circle Layers Dies. Pool Party and Pumpkin Pie Stampin Blends Markers give him a spot of colour. Wink of Stella gives him a bit of a frosty sparkle. It’s so hard to capture that sparkle in a photograph!

The Feels Like Frost Designer Series Paper was cut with one of the dies from the Stitched Rectangle Dies (a staple in my die collection!)

I layered these over the Poppy Parade cardstock and the polka-dot patterned paper from the Trimming the Town Designer Series Paper. Some white Crinkle Seam Binding ribbon wrapped around the layers behind the circle and tied in a bow, adds a touch of softness to this playful layout.

A couple of the layers are raised with Stampin’ Dimensionals – another staple in my craft supplies!

The design is complete with the large Merry Christmas sentiment stamped in Poppy Parade ink on the Thick Whisper White card base.

This card makes me feel very merry! How ’bout you?

Speedy Spring Flowers


“Behold, my friends, the spring is come;

the earth has gladly received the embraces of the sun,

and we shall soon see the results of their love”

~ Sitting Bull

I know that spring has officially arrived when the crocuses in my front yard begin to bloom. I love when the grass gets greener and the street sweepers clean all the sand and grit from the neighborhood streets. You start to hear the red-winged blackbirds and the robins whistling their cheerful tunes. And the kids actually WANT to go outside.

Spring is a sign that the worst is over. Winter can’t throw much more at us. We can look forward to warmer days, barbecues on the patio, and longer hours of daylight. The earth wakes from it’s sleep and we, in turn, feel more alive! It’s a beautiful thing.

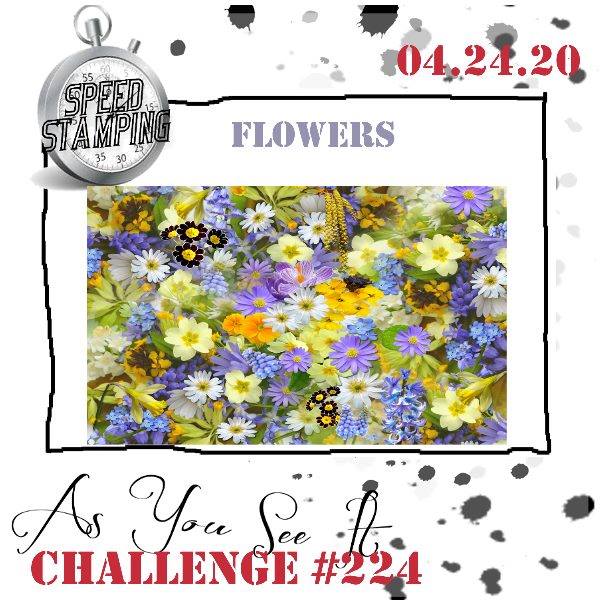
The theme for the speed stamping challenge today, is flowers. As in every speed challenge from the As You See It Challenge Blog, you have to make a card in 10 minutes or less. You can gather your supplies and have a plan, but you cannot pre-cut anything. I put my stamps on their blocks, I pull out the paper and inks that I want to use, and I start the clock!

I always seem to push it to the limit of my time. I usually know to avoid colouring, sponging, tying ribbon, or even die-cutting and embossing, as they just take too much time. I didn’t quite avoid all those things this time. Have a look at what I was able to create in 9 minutes an 50 seconds! Oh man! I just squeaked through, didn’t I?!!

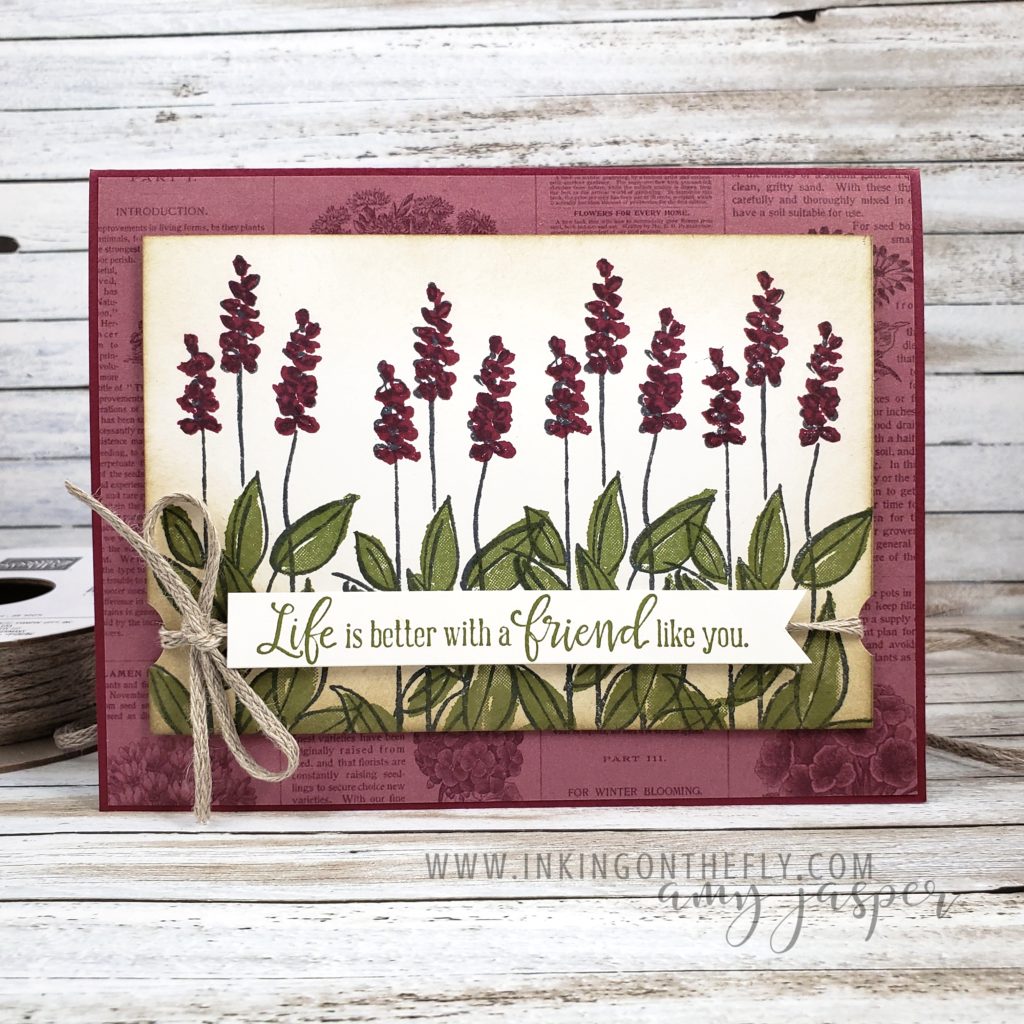
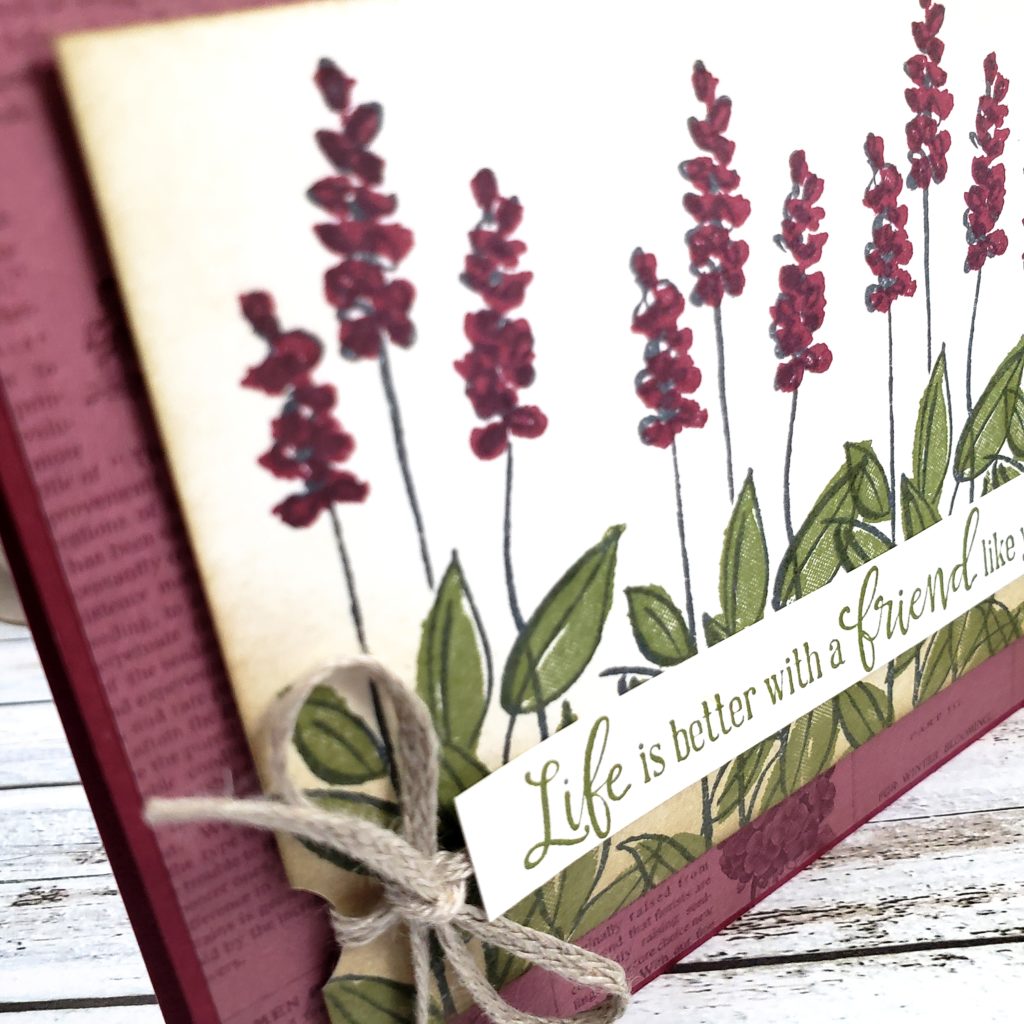
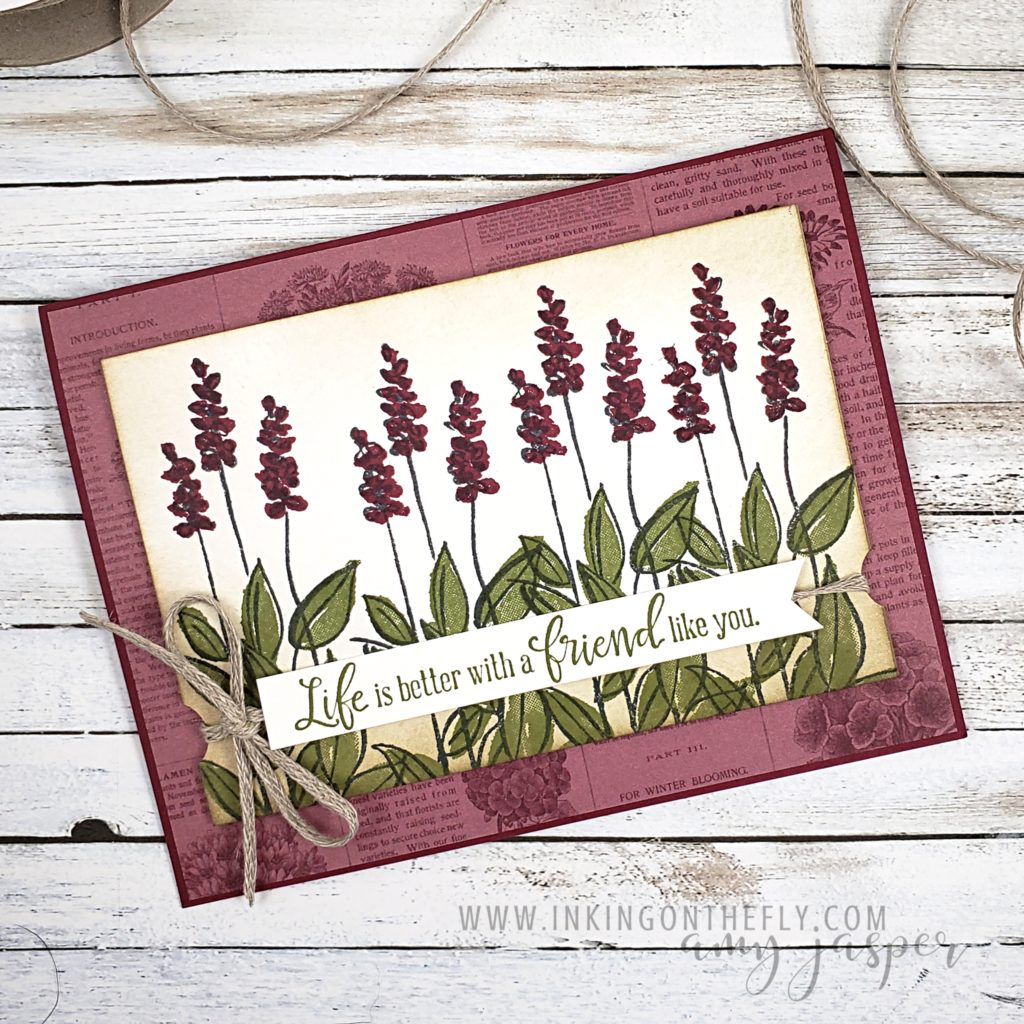
This card has a Merry Merlot Cardstock base, to which I added a layer of my favorite Pressed Petals Specialty Designer Series Paper. So pretty! The stamped layer is Whisper White Cardstock, on which I stamped the flower image from the host stamp set, Soft Spring. This is such a pretty stamp set with multi-step stamping. I stamped the outline of the flower image four time using Momento Tuxedo Black ink. Then I stamped the leaf filler using Old Olive ink. Finally, I added the Merry Merlot flower filler to complete the image. At first, I though these flowers were lupins, but I realize that the leaves are completely wrong. I spent some time trying to figure out what kind of flowers they are, but nothing I found looks right. Either the flowers are wrong, or the leaves are wrong, or the stems are too tall. Whatever flowers these images are supposed to be, they’re very pretty.

After stamping all the parts of the flowers, I used Crumb Cake ink and sponged aroung all the edges to give a bit more of a warmth to the image. I used a small circle punch on both sides of this stamped cardstock to make notches for the Braided Linen Trim. I wrapped the trim around the cardstock and tied it in a bow, then attached the cardstock to my card with Stampin’ Dimensionals.

This is where I should have stopped and called it done, but I wanted to add a sentiment. I chose words from the Peaceful Moments Stamp set and stamped it on a strip of Whisper White cardstock with Old Olive ink. I flagged the end and realized I was RUNNING OUT OF TIME!!

I SLAPPED on a couple of Mini Glue Dots and POPPED it on my card, STOPPING the clock with only

10 SECONDS TO SPARE!

Phew!! DONE!

That was close! I think I’m getting pretty good at making quick cards, though. I feel like I’ve come a long way! Practice practice practice!

Oh my gosh! There’s dog hair in my picture! Can you see it? LOL! I can’t escape it. It’s everywhere! If you have a dog or a cat, then I know you understand. If not, then all you have to know is that I’m an imperfect person and you just have to take me as I am or go enjoy someone else’s dog-hair-free, perfect pictures! HA!

Thanks for stopping by, my stamping friends. I hope you try this speed challenge. It really is a great creative exercise to get your blood pumping and your creative juices flowing. Do share it with us at the As You See It Challenge blog. We love to see your creations!