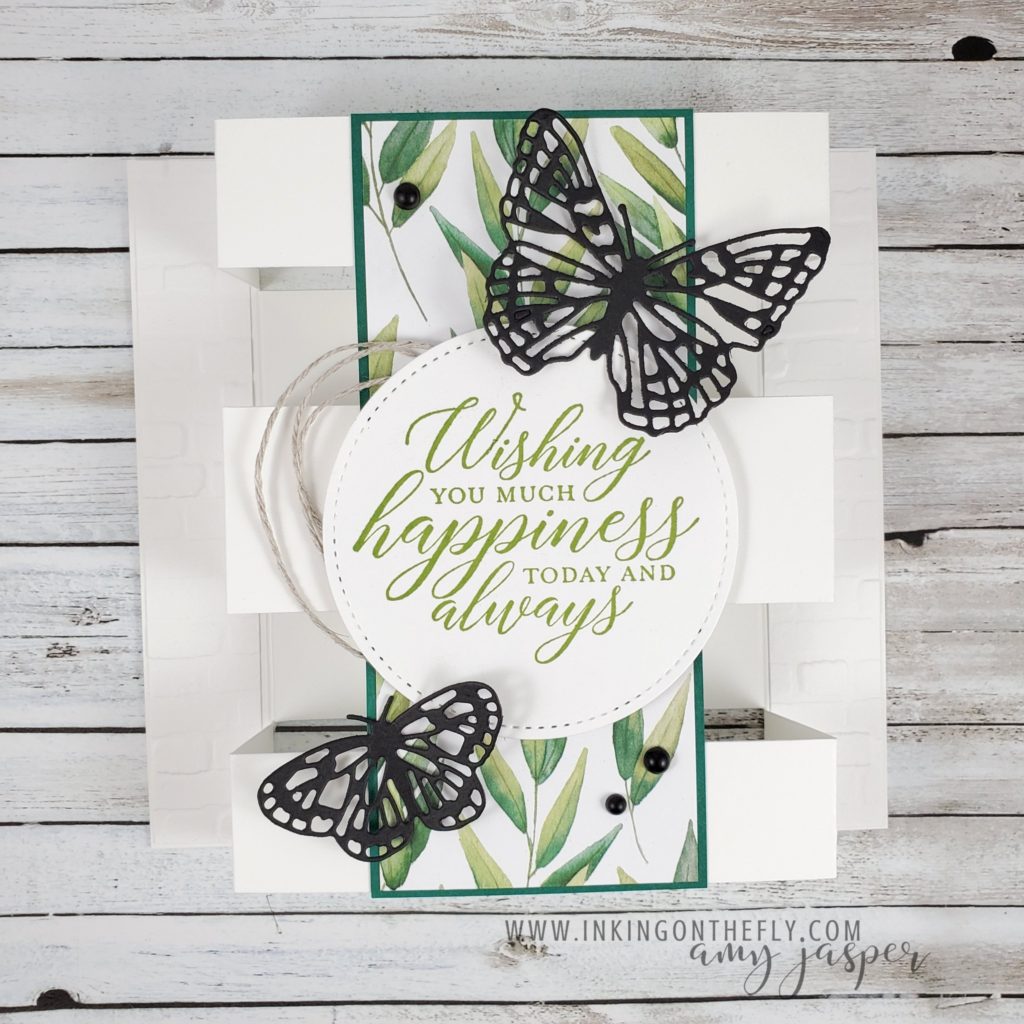
Butterfly Tower Fun Fold
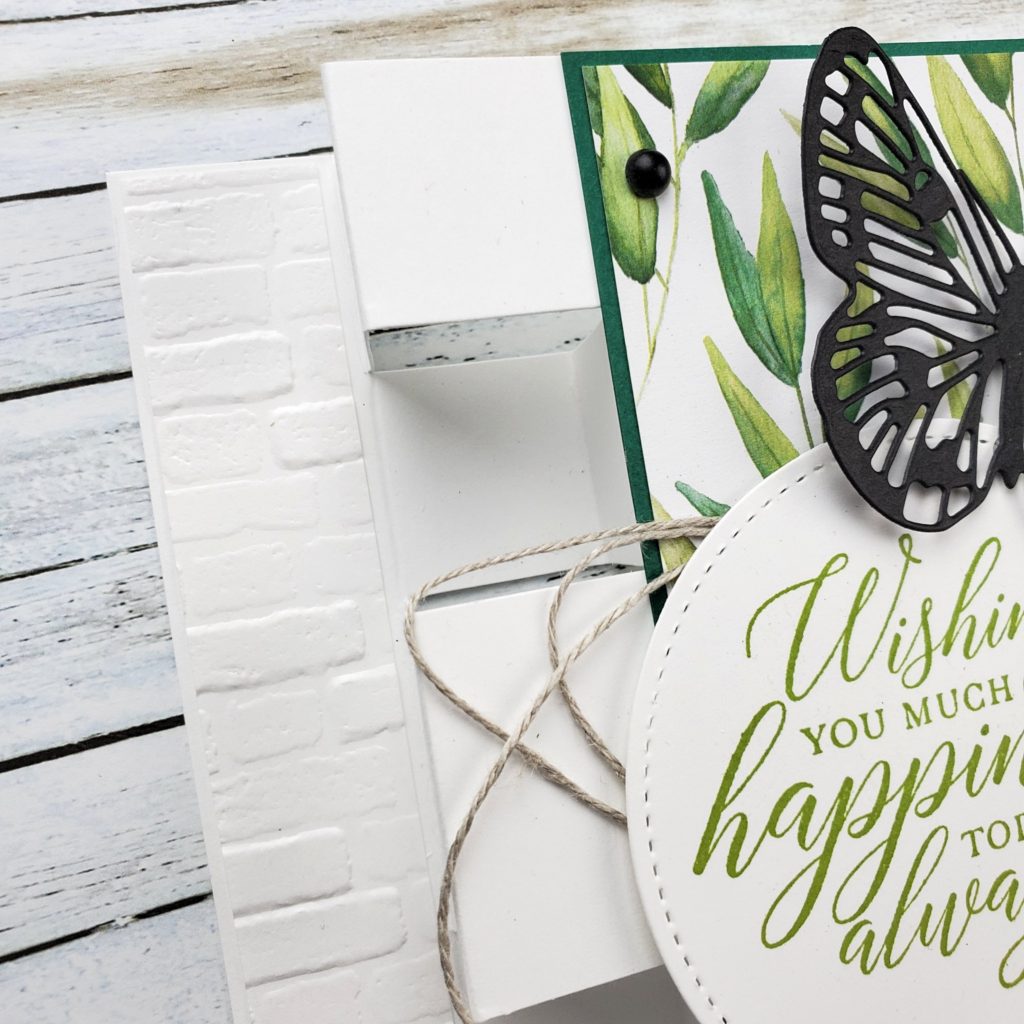
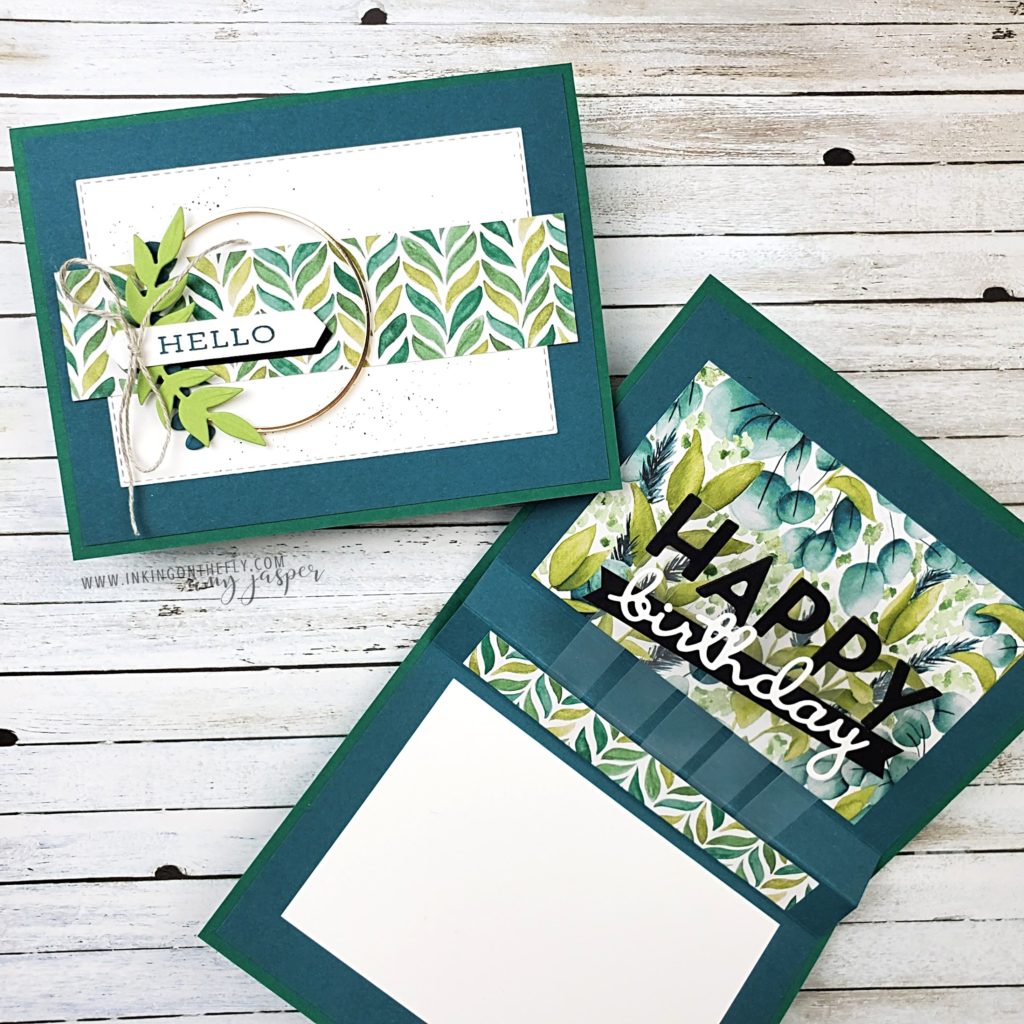
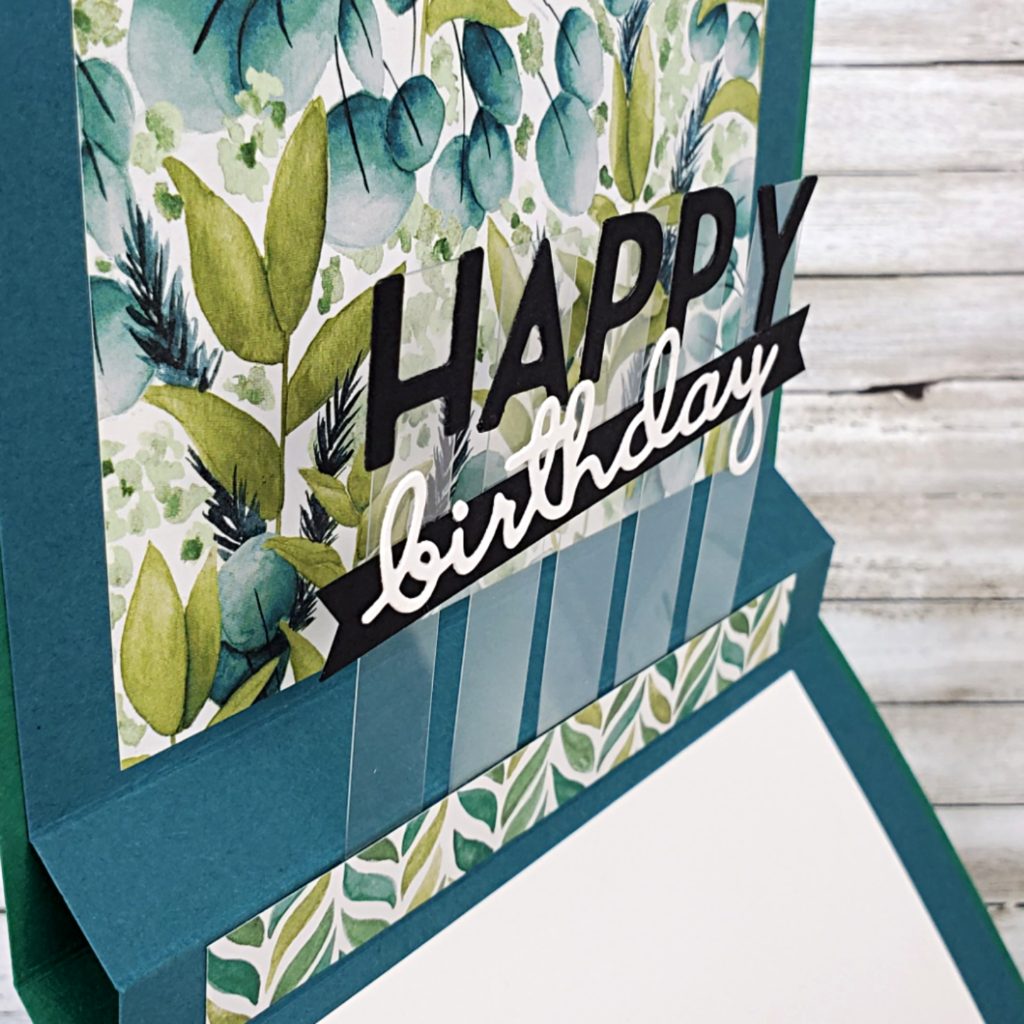
The tower fun fold card design is so unique and is actually very easy to make. You just need to know where to cut and where to fold!
Thankfully, there are amazing and generous people who share their talents online! I first saw the idea shared on one of my demonstrator groups on Facebook, then was directed to the tutorial shared by Julie Davidson, who simplified the concept that she saw from someone else. I think it’s very cool how we get to learn from each other and then make it our own!
My card is one that I offered in my technique class back in March. Those who attend my monthly technique class and those who have VIP Access to the tutorials are given sole viewing privileges for two months. After their private access has come to an end, the tutorial video is available for the general public. Since I designed this project two months ago, some of the supplies used may no longer be available for purchase.
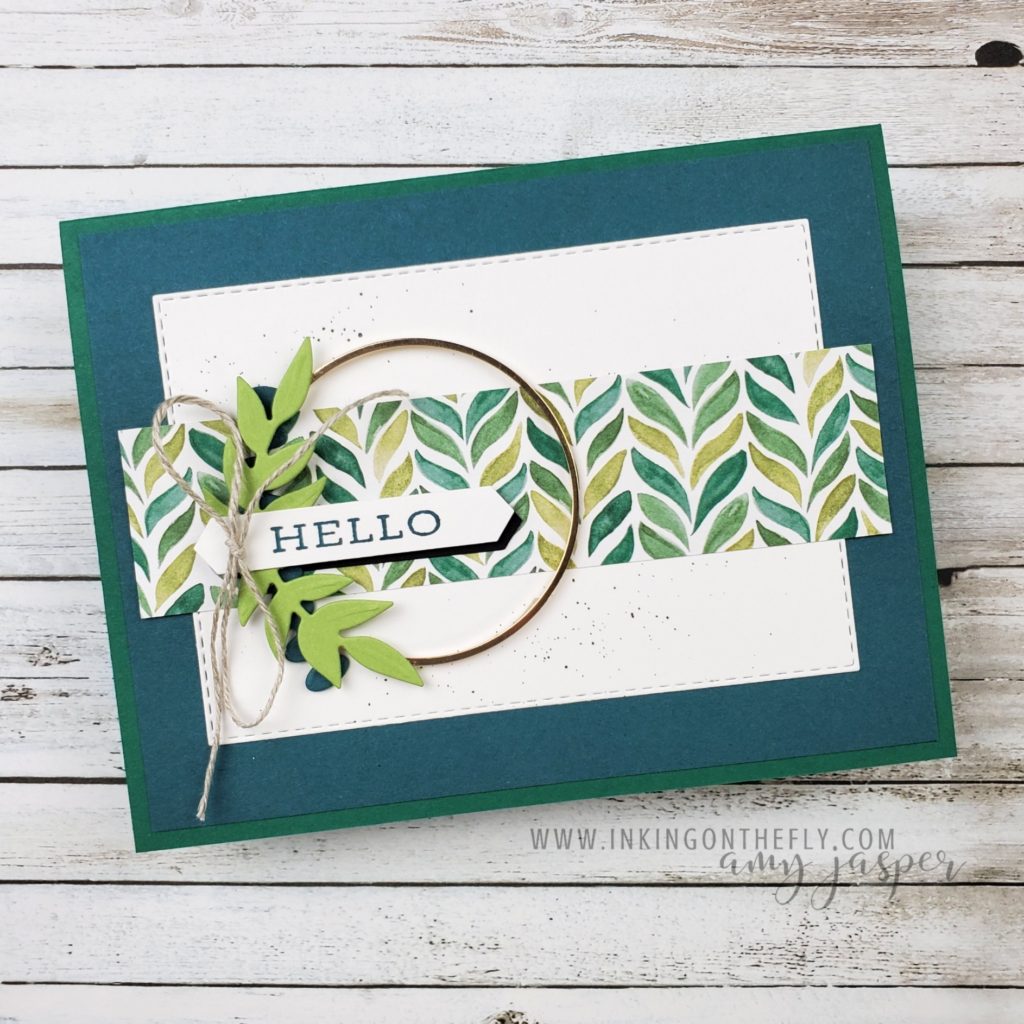
On this particular design, there are three items that are no longer available to purchase from Stampin’ Up!. You can no longer order the stitched circle die, the stamp, or the patterned paper. I recommend using the Layering Circles Dies in place of the stitched circle. The new Expressions in Ink Specialty Designer Series Paper has some beautiful greens that may be a good replacement for the greenery patterned paper that is no longer available. You can use any sentiment that will fit in the circle.
Measurements and supplies used:
- 8 1/4″ x 5 1/2″ Thick Basic White (cut and scored as explained in the video tutorial)
- 7/8 x 5 3/8″ Basic White (x2) embossed with the Brick & Mortar 3D Embossing Folder
- 2 3/8 x 5 1/2″ Shaded Spruce
- 2 1/4″ x 5 3/8″ Forever Greenery Designer Series Paper (Try it with the new Expressions in Ink paper!)
- Basic Black die cut butterflies using the Brilliant Wings Dies
- 3″ Basic White die-cut circle from the Stitched Shapes Dies (Try it with the Layering Circles Dies)
- 21″ Linen Thread
- Granny Apple Green Ink
- Black Matt Dots
